Articles
How To Dry Shoes In The Dryer
Modified: February 21, 2024
Discover the most effective method to dry your shoes in the dryer with this informative article. Say goodbye to wet shoes in no time!
(Many of the links in this article redirect to a specific reviewed product. Your purchase of these products through affiliate links helps to generate commission for Storables.com, at no extra cost. Learn more)
Introduction
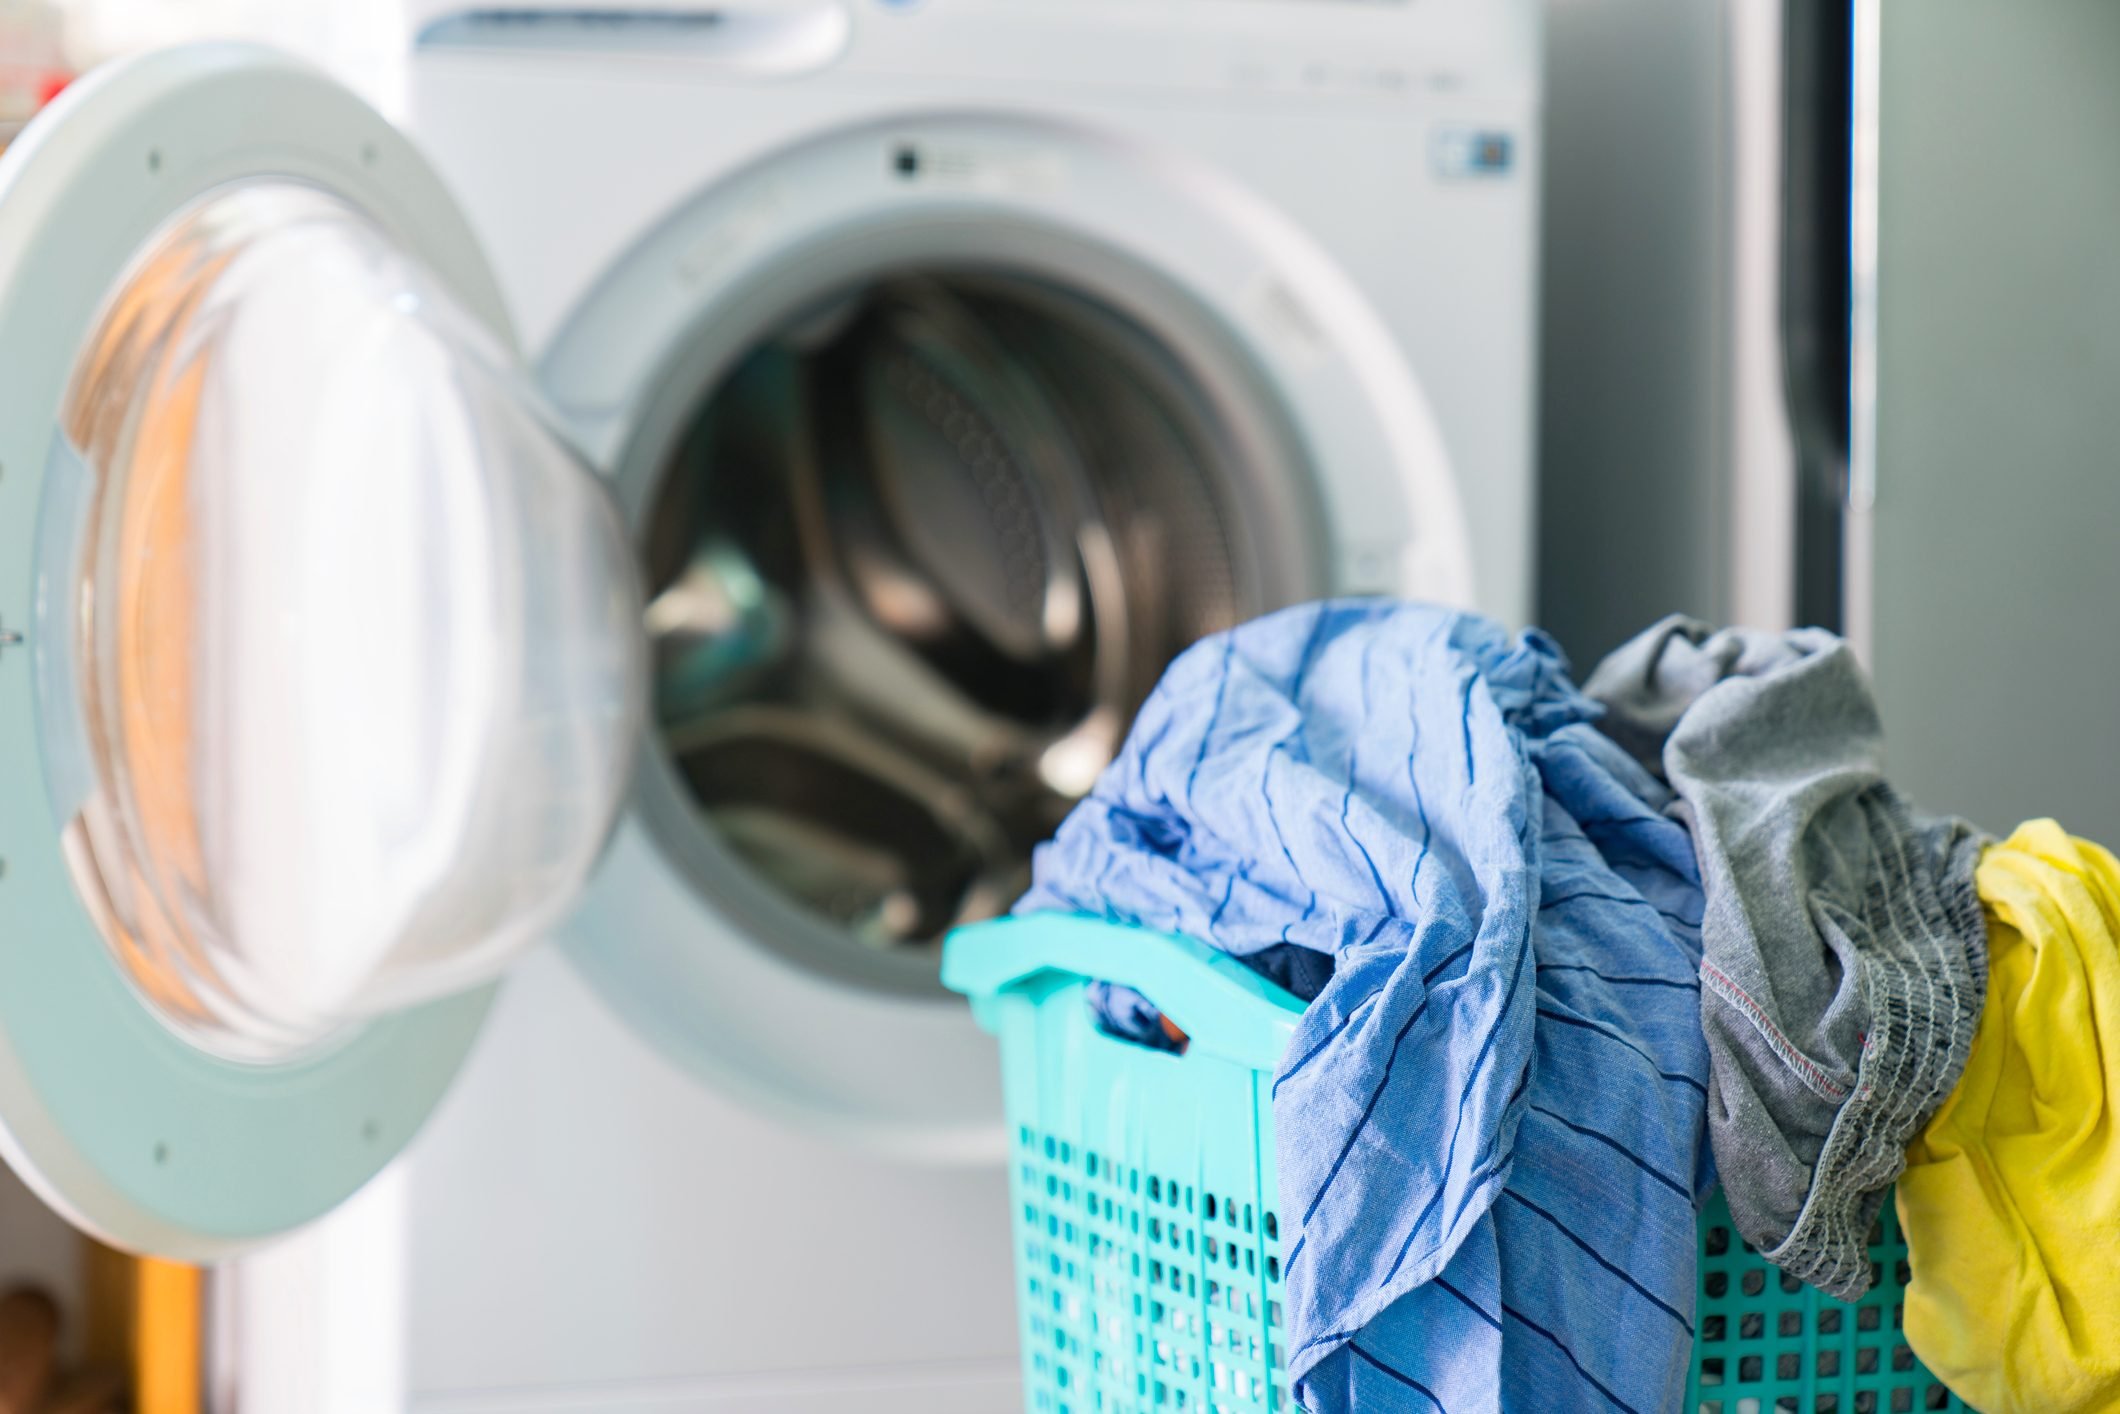
Drying shoes in the dryer is a convenient option when you’re in a hurry or when the weather conditions aren’t suitable for air drying. It’s a quick and efficient method that can help you get your shoes ready to wear in no time. However, there are some precautions and steps you should follow to ensure the process is done safely and effectively.
In this article, we will guide you through the correct process of drying shoes in the dryer. You’ll learn how to prepare the shoes, select the right dryer settings, and monitor the progress to avoid any damage or mishaps. So, whether you need to dry your sports shoes after a rainy run or dry your child’s soaked sneakers before school, we’ve got you covered.
Before we dive into the steps, it’s important to note that not all types of shoes are suitable for drying in the dryer. Delicate materials like leather, suede, or shoes with glued-on embellishments can be damaged or deformed by the heat or tumbling action of the dryer. Always check the manufacturer’s instructions or label on the shoes to determine if they are dryer-safe. If in doubt, it’s best to opt for air drying to avoid any potential damage.
Now that we’ve covered the introductory details, let’s move on to the precautions you should take before drying shoes in the dryer.
Key Takeaways:
- Safely and effectively dry your shoes in the dryer by following precautions, preparing the shoes, selecting appropriate settings, and monitoring the process to avoid damage and ensure optimal results.
- Remember to remove excess dirt and moisture, use a protective covering, program the right dryer settings, and add finishing touches to ensure your shoes are ready to wear after drying.
Read more: How To Make High Heels Non-Slip
Precautions before drying shoes in the dryer
Before you start the process of drying your shoes in the dryer, there are a few precautions you should keep in mind to ensure the safety of your shoes and the dryer itself.
- Check the manufacturer’s instructions: Always refer to the manufacturer’s instructions or label on the shoes to determine if they are dryer-safe. Some shoes may have specific recommendations for drying methods, and it’s important to follow them to avoid damaging the shoes or voiding any warranties.
- Remove loose or detachable parts: If your shoes have any loose or detachable parts, such as insoles, laces, or inserts, it’s crucial to remove them before placing the shoes in the dryer. These parts can get tangled in the dryer’s drum or become damaged in the process.
- Clean the dryer: Before drying your shoes, make sure the dryer’s drum is clean and free of any lint or debris. Lingering debris can get trapped in the shoes and compromise the drying process. It’s also a good practice to clean the lint trap or filter to ensure efficient airflow during the drying process.
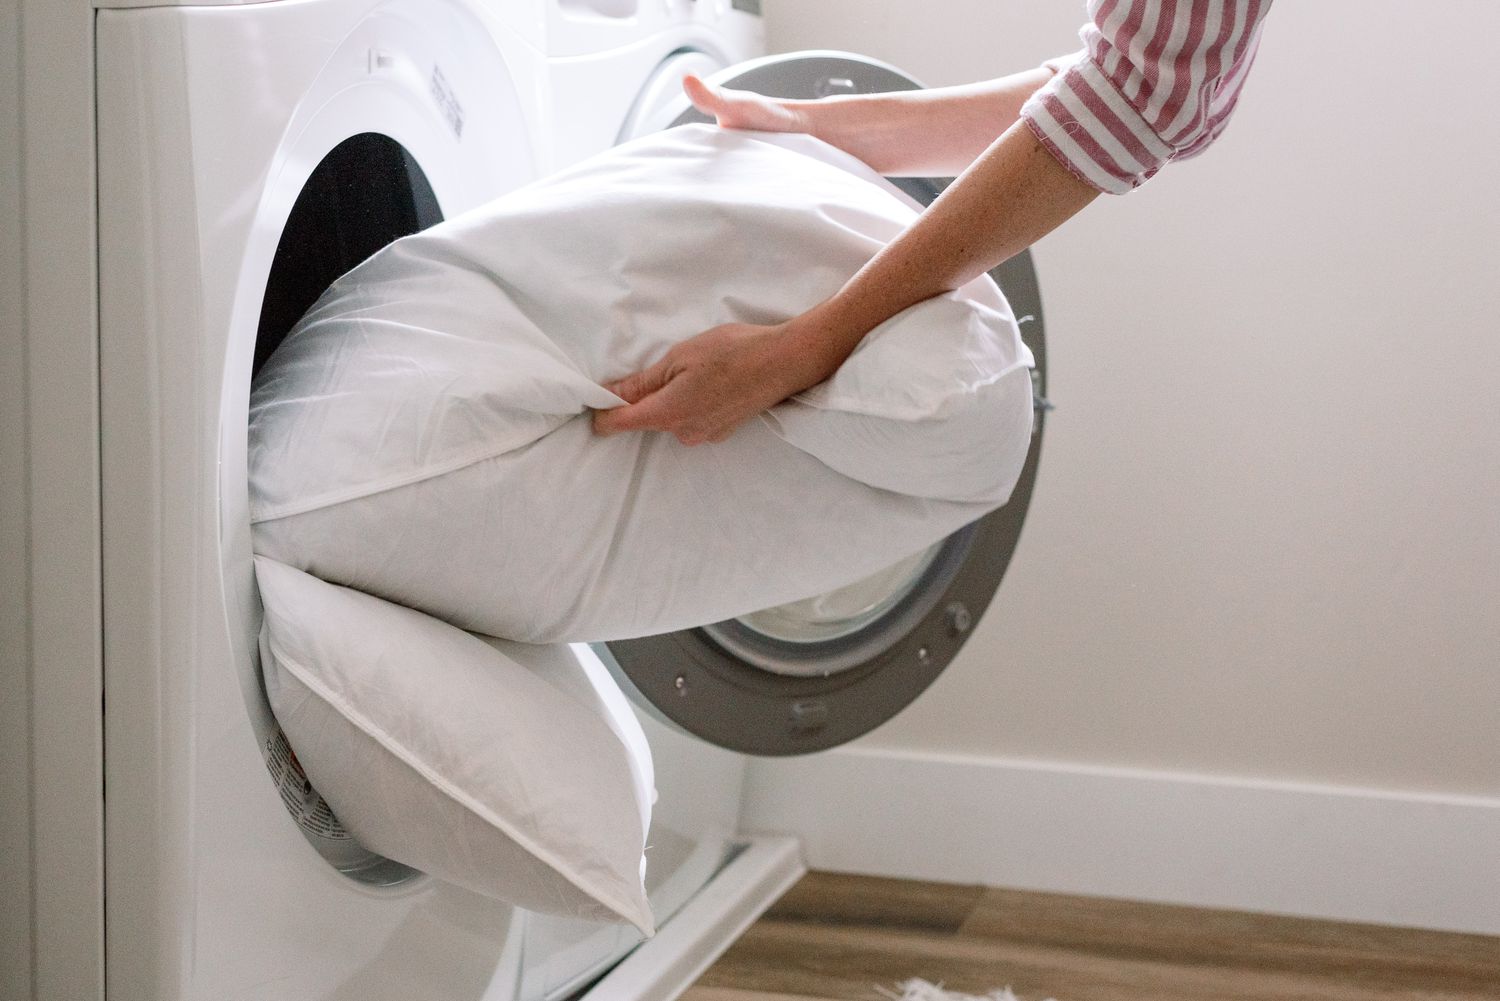
- Wrap the shoes: To prevent the shoes from banging against the dryer’s drum and causing potential damage, you can wrap them in a mesh laundry bag or pillowcase. This will provide some level of protection and help keep the shoes in place during tumbling.
- Avoid overcrowding: It’s important not to overload the dryer with too many shoes at once. Overcrowding can lead to ineffective drying and increase the risk of damaging the shoes or the dryer. Allow enough space for proper airflow and movement inside the dryer.
- Choose the right heat setting: Selecting the appropriate heat setting is crucial to avoid melting or warping the shoes. For most shoes, a low or delicate heat setting is recommended. However, if your shoes are made of sturdy materials like canvas or rubber, you may opt for a higher heat setting. Refer to the shoe’s manufacturer instructions for specific recommendations.
- Regularly check the shoes: Monitor the drying process regularly to ensure the shoes aren’t getting too hot or experiencing any issues. If you notice any signs of damage or overheating, immediately stop the drying process and let the shoes cool down before examining them further.
- Avoid extended drying times: While it may be tempting to leave the shoes in the dryer for an extended period, it’s best to avoid over-drying. Over-drying can cause shrinkage, warping, or damage to the shoes. Remove the shoes from the dryer as soon as they are dry to the touch.
By following these precautions, you can minimize the risk of damaging your shoes or the dryer and ensure a successful drying process. Now that you’re aware of the precautions, let’s move on to the step-by-step guide on how to dry shoes in the dryer.
Step 1: Remove Excess Dirt and Moisture
Before you place your shoes in the dryer, it’s important to remove any excess dirt or moisture. This will help prevent the shoes from getting damaged or causing any issues during the drying process.
Start by taking a brush or a paper towel and gently brush or wipe away any loose dirt or debris from the surface of the shoes. Pay attention to the soles, crevices, and any other areas where dirt may be trapped. The goal is to ensure the shoes are as clean as possible before drying to avoid any stains or damage.
Next, you’ll want to remove any moisture from the shoes. If your shoes are wet or soaked, you can use a dry towel or paper towels to soak up as much moisture as possible. Gently press the towel against the inside and outside of the shoe to absorb the moisture. Avoid using excessive force, as this can potentially damage the shoe material.
If the shoes are extremely wet, you can also stuff them with crumpled newspaper or dry towels. This will help the shoes retain their shape and absorb moisture from the inside. Leave the newspaper or towels in the shoes for a few minutes to absorb the excess moisture.
By removing excess dirt and moisture from your shoes, you’ll ensure that the drying process is more effective and reduce the chances of any damage occurring. With step one complete, you’re ready to move on to the next step: preparing the shoes for the dryer.
Step 2: Prepare the Shoes for the Dryer
After removing excess dirt and moisture from your shoes, it’s time to prepare them for the drying process. Proper preparation will ensure that the shoes are protected and undergo an efficient drying cycle.
Start by checking the shoes for any loose or detachable parts. Remove items like insoles, laces, or inserts that can easily get tangled in the dryer or become damaged during the drying process. Set these aside in a safe place.
Next, consider using a protective covering for your shoes. While not mandatory, wrapping the shoes in a mesh laundry bag or placing them inside a pillowcase can offer an extra layer of protection during tumbling. This will help prevent the shoes from banging against the dryer’s drum and potentially causing damage.
If you decide to use a protective covering, be sure to secure it tightly around the shoes. You can tie the mesh bag or pillowcase with a rubber band or string to prevent it from opening during the drying cycle.
Additionally, if your shoes have any metal components, such as eyelets or buckles, you may want to consider wrapping them with a soft cloth or masking tape. This will provide an added layer of protection to prevent scratching or damage to the shoes themselves or the dryer drum.
Once you’ve prepared the shoes for the dryer, make sure there are no loose items or debris inside the dryer drum. Any loose items can interfere with the drying process or cause damage to both the shoes and the dryer. Double-check the drum’s cleanliness and remove any lint or debris that may have accumulated.
Now that your shoes are properly prepared for the dryer, you’re ready to move on to the next step: placing the shoes in the dryer and selecting the appropriate settings.
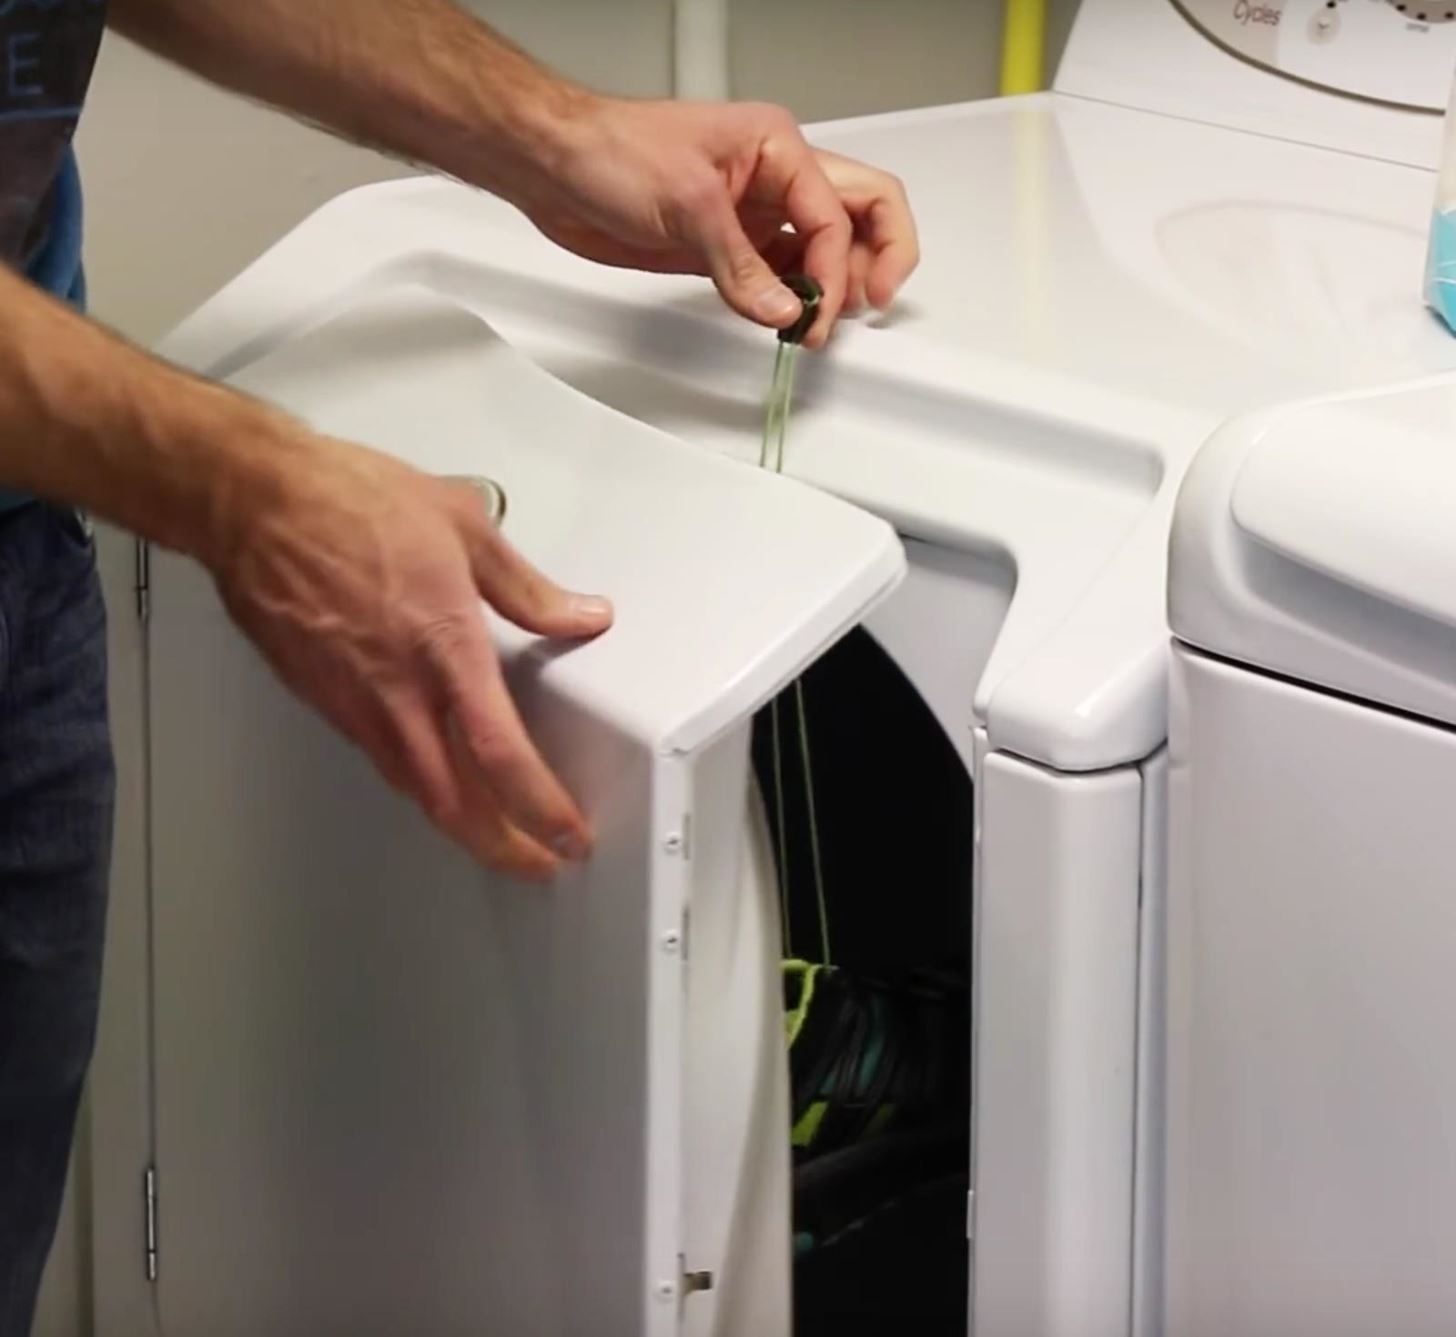
Step 3: Place the Shoes in the Dryer
With your shoes prepared for the drying process, it’s time to place them inside the dryer. This step requires some care to ensure that the shoes are positioned properly for efficient and safe drying.
If you’re using a mesh laundry bag or pillowcase to protect your shoes, place them inside the bag or pillowcase. Make sure the shoes are arranged in a way that allows for even airflow and tumbling inside the dryer. Avoid overcrowding the bag or pillowcase, as this can hinder the drying process.
Hold the bag or pillowcase by the top and gently place it in the dryer, making sure it’s centered and balanced. If you’re not using a protective covering, you can place the shoes directly inside the dryer drum. Arrange them in a way that allows for adequate space between each shoe to promote proper airflow.
It’s important to note that if you’re drying different types of shoes together, consider their materials and sizes. It’s generally recommended to dry shoes of similar materials and sizes together to ensure even drying and prevent any potential damage to the shoes. If you have different types of shoes, you may want to dry them in separate loads.
Once the shoes are placed inside the dryer, you’re ready to move on to the next step: selecting the appropriate dryer settings for the drying process.
To dry shoes in the dryer, first remove any excess dirt or debris. Then, place the shoes in a mesh laundry bag or pillowcase to protect the dryer and the shoes. Use a low heat setting and check the shoes periodically to avoid overheating.
Read more: How To Store Thigh High Boots
Step 4: Program the Dryer Settings
Choosing the right dryer settings is crucial to ensure effective and safe drying of your shoes. Different types of shoes and materials may require specific heat and time settings. Here are some general guidelines to follow when programming the dryer settings:
- Heat setting: Most shoes can be dried using a low or delicate heat setting. This helps prevent excessive heat that can cause damage or shrinkage. However, if your shoes are made of sturdy materials like canvas or rubber, you can opt for a slightly higher heat setting. Always refer to the manufacturer’s instructions for specific recommendations.
- Temperature control: If your dryer offers temperature control settings, ensure it is set to the appropriate level depending on the material of your shoes. Avoid using the high temperature setting unless specifically recommended by the shoe manufacturer.
- Time setting: The drying time can vary depending on the shoes’ material and level of dampness. Start with a shorter drying time, such as 20 to 30 minutes, and check the shoes periodically to assess their dryness. You can always add additional drying time if necessary.
- Tumble or no-heat option: Some dryers may have a tumble or no-heat cycle, which can be useful for delicate shoes or if you’re concerned about heat exposure. This option allows the shoes to tumble and circulate airflow without the addition of heat. It can be beneficial for shoes that specifically require air drying or if you’re uncertain about the shoe’s tolerance to heat.
Remember, these are general guidelines, and it’s important to refer to the manufacturer’s instructions or the shoe label for specific recommendations. Every shoe is different, and certain materials may require special care or specific drying techniques.
Once you have programmed the appropriate dryer settings for your shoes, you’re ready to move on to the next step: starting the drying process.
Step 5: Start the Drying Process
With the dryer settings programmed, it’s time to start the drying process for your shoes. It’s important to follow these steps carefully to ensure the best results:
- Double-check: Before starting the dryer, double-check that the shoes are properly positioned inside the dryer drum. Ensure that the bag or pillowcase, if used, is securely closed to prevent the shoes from falling out during tumbling.
- Close the dryer door: Once you’ve confirmed that the shoes are positioned correctly, close the dryer door firmly. This will ensure that the dryer operates efficiently and that no heat or air escapes during the drying cycle.
- Start the dryer: Depending on the type of dryer you have, press the appropriate buttons or turn the dial to start the drying cycle. The dryer will begin tumbling and applying heat (if selected) to dry your shoes.
- Avoid excessive heat: While the selected heat setting is important to dry the shoes, it’s essential to avoid using excessive heat. This can cause damage to the shoes or even risk melting certain materials. Stick to the recommended heat setting and monitor the shoes throughout the drying process.
- Stay nearby: It’s important to stay nearby during the drying process to monitor the shoes and ensure they are drying correctly. This allows you to keep an eye on the shoes’ progress and intervene if any issues arise.
- Consider using a dry towel: If you notice that the shoes are taking longer than expected to dry, you can place a dry towel inside the dryer with the shoes. The towel will help absorb excess moisture and speed up the drying process.
Once you have started the drying process, avoid opening the dryer door unnecessarily. Opening the door during the cycle can disrupt the airflow and increase the drying time. However, if you need to check the shoes’ dryness or monitor their progress, you can briefly pause the dryer and open the door cautiously.
Now that you have started the drying process, it’s time to move on to the next step: monitoring the shoes periodically throughout the cycle.
Step 6: Monitor the Shoes Periodically
As your shoes are drying in the dryer, it’s important to periodically check on their progress. Monitoring the shoes ensures that they are drying properly and avoids any potential issues or damage. Here are some guidelines for monitoring your shoes:
- Check the dryness: Periodically open the dryer door and touch the shoes to assess their dryness. If the shoes still feel damp or wet, you may need to continue the drying process. Remember, different materials may take varying amounts of time to dry, so be patient and thorough.
- Reposition the shoes: While checking the dryness, take the opportunity to reposition the shoes inside the dryer if needed. Gently shake or readjust the shoes to promote even drying and prevent them from clinging together or getting tangled.
- Check for overheating: Be mindful of the shoes’ temperature during the drying process. If the shoes feel excessively hot to the touch, it may indicate that the dryer’s heat setting is too high. In such cases, stop the drying process temporarily, let the shoes cool down, or adjust the heat setting accordingly before resuming drying.
- Address any issues: If you notice any signs of damage or issues with your shoes, such as melting, warping, or discoloration, stop the drying process immediately. Remove the shoes from the dryer and let them cool down. Assess the damage and consider alternative drying methods or repair options if necessary.
- Be patient: Drying shoes in the dryer may take some time, especially if they are heavily soaked or made from thick materials. It’s important to be patient and not rush the process. Avoid extending the drying time excessively, as over-drying can lead to shrinkage or damage to the shoes.
Remember to carefully follow the manufacturer’s instructions for drying your specific type of shoes. Different materials and designs may require different drying temperatures and times. If in doubt, it’s always better to err on the side of caution and use a lower heat setting or opt for air drying.
By periodically monitoring the shoes and addressing any issues promptly, you can ensure a successful and safe drying process. With the monitoring step complete, it’s time to move on to the final step: adding the finishing touches to the dried shoes.
Step 7: Finishing Touches
Once your shoes have completed the drying process in the dryer, it’s time to add the finishing touches to ensure they are ready for use. These final steps will help to restore the shoes to their optimal condition:
- Cool down: Before handling the shoes, allow them to cool down completely. Removing hot shoes from the dryer can be uncomfortable and may potentially cause burns. Give the shoes sufficient time to cool down to a comfortable temperature.
- Reattach detachable parts: If you removed any detachable parts, such as insoles or inserts, during the preparation stage, now is the time to reattach them. Make sure they are clean and dry before inserting them back into the shoes.
- Lace up or fasten: If your shoes require laces or fastening, make sure to lace them up or fasten them securely. This not only helps with the proper fit but also enhances the appearance of the shoes.
- Inspect for damage or deformities: Carefully inspect the shoes for any signs of damage, warping, or deformities that may have occurred during the drying process. If you notice any issues, consider seeking specialized care or repair options to restore the shoes to their original condition.
- Clean any residue: Check for any residue, such as lint or debris, that may have accumulated on the shoes during the drying process. Gently wipe or brush away any residue to ensure the shoes are clean and ready to wear.
- Air out: After drying, it’s always a good idea to give your shoes some time to air out. Place them in a well-ventilated area to allow any lingering odors or moisture to dissipate. This will help keep your shoes fresh and ready for use.
With these finishing touches, your shoes should now be dry, clean, and in good condition. Remember to store them in a suitable location, away from excessive moisture or heat, to maintain their quality.
By following these steps and taking the necessary precautions, you can safely and effectively dry your shoes in the dryer. Remember to always refer to the manufacturer’s instructions for specific guidelines regarding your shoes’ drying methods.
Now that you’ve completed the drying process and added the finishing touches, your shoes are ready to be worn again. Enjoy the comfort and convenience of having dry shoes whenever you need them!
Read more: How To Store Knee High Boots
Conclusion
Drying shoes in the dryer can be a convenient and efficient way to get your shoes ready to wear, especially when time is of the essence or the weather doesn’t permit air drying. However, it’s important to follow the proper steps and precautions to ensure the safety and longevity of your shoes.
In this article, we have outlined a comprehensive guide on how to dry shoes in the dryer. We started by discussing the precautions you should take before drying, such as checking the manufacturer’s instructions, removing loose parts, and cleaning the dryer. We then walked you through each step of the drying process, from removing excess dirt and moisture to preparing the shoes, placing them in the dryer, and programming the appropriate settings. We highlighted the importance of periodically monitoring the shoes to ensure they are drying properly and addressed any potential issues. Finally, we discussed the finishing touches you can add to ensure your shoes are in optimal condition.
Remember, not all types of shoes are suitable for drying in the dryer. Delicate materials, such as leather or suede, may be damaged by the heat or tumbling action. Always refer to the manufacturer’s instructions or label on the shoes for the recommended drying methods.
By following these guidelines and taking the necessary precautions, you can safely and effectively dry your shoes in the dryer. Properly dried shoes will not only be comfortable to wear but can also maintain their shape and quality for a longer period.
Thank you for reading our guide on how to dry shoes in the dryer. With these insights and steps in mind, you can confidently and successfully dry your shoes using this method when needed. Take care of your shoes, and they will continue to serve you well for many occasions to come!
Frequently Asked Questions about How To Dry Shoes In The Dryer
Was this page helpful?
At Storables.com, we guarantee accurate and reliable information. Our content, validated by Expert Board Contributors, is crafted following stringent Editorial Policies. We're committed to providing you with well-researched, expert-backed insights for all your informational needs.

0 thoughts on “How To Dry Shoes In The Dryer”