Articles
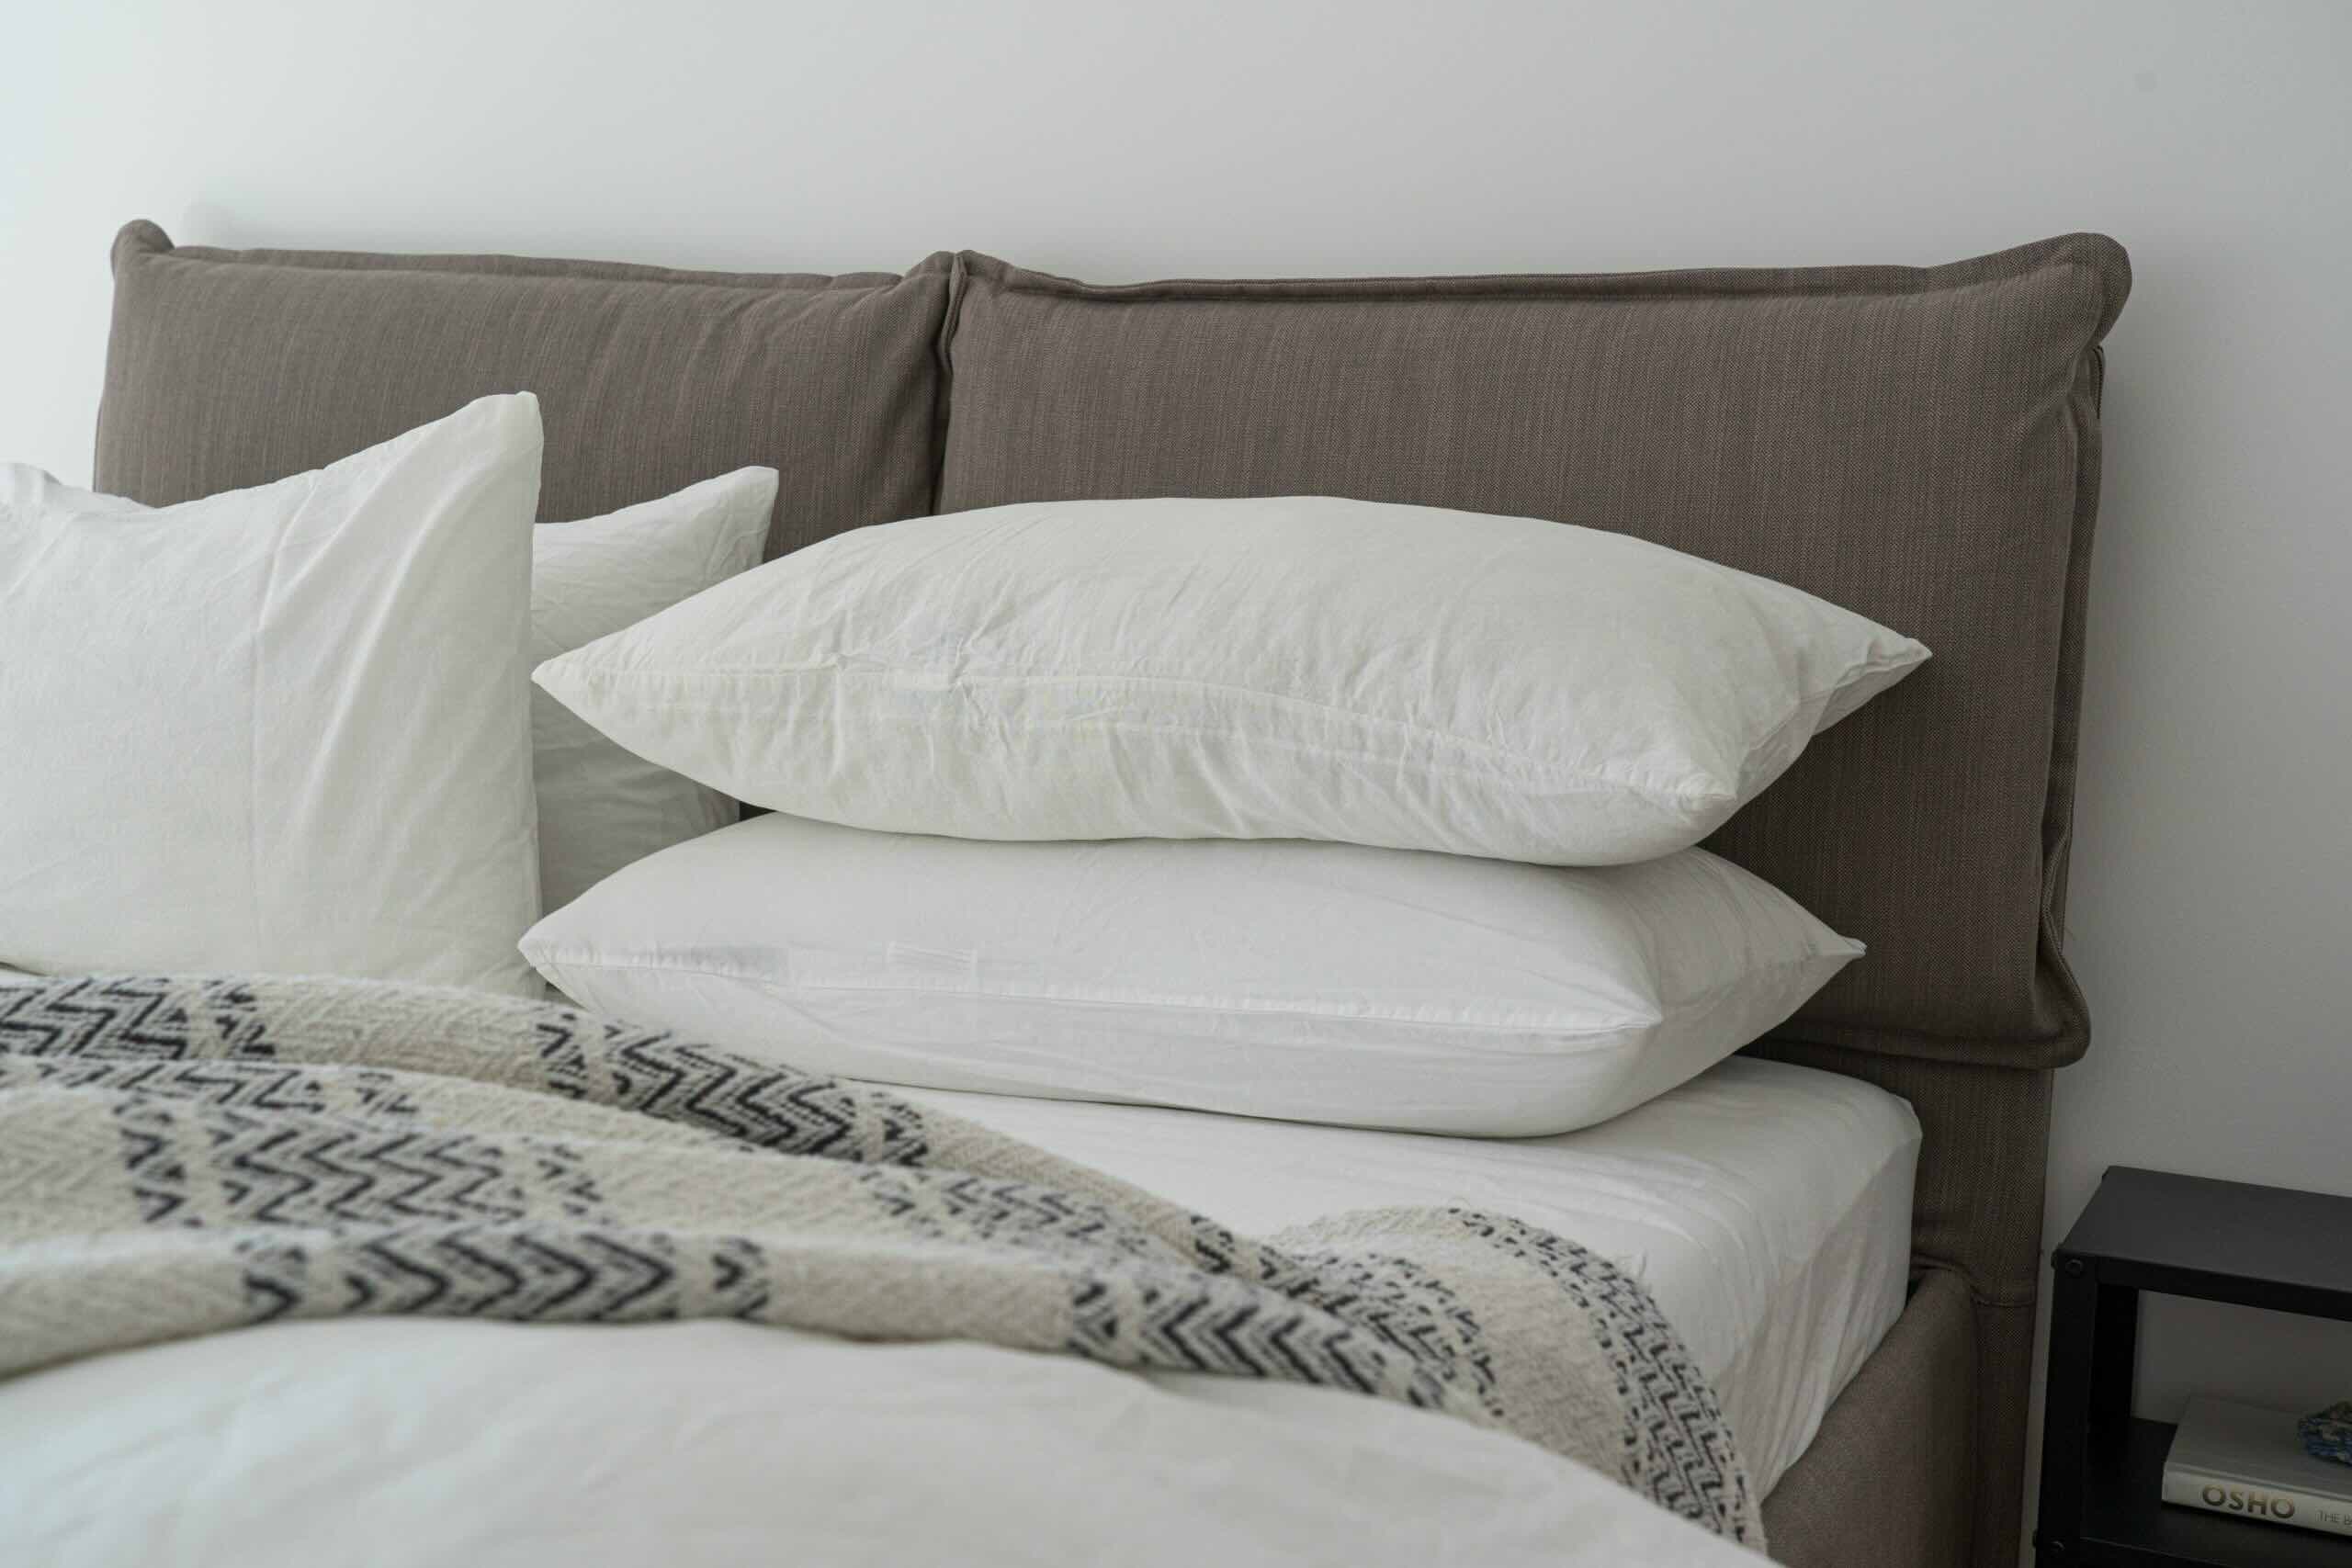
How To Fix Lumpy Pillows
Modified: October 20, 2024
Discover effective ways to fix lumpy pillows with our insightful articles. Say goodbye to uncomfortable sleep and restore your pillows to their original comfort and support.
(Many of the links in this article redirect to a specific reviewed product. Your purchase of these products through affiliate links helps to generate commission for Storables.com, at no extra cost. Learn more)
Introduction
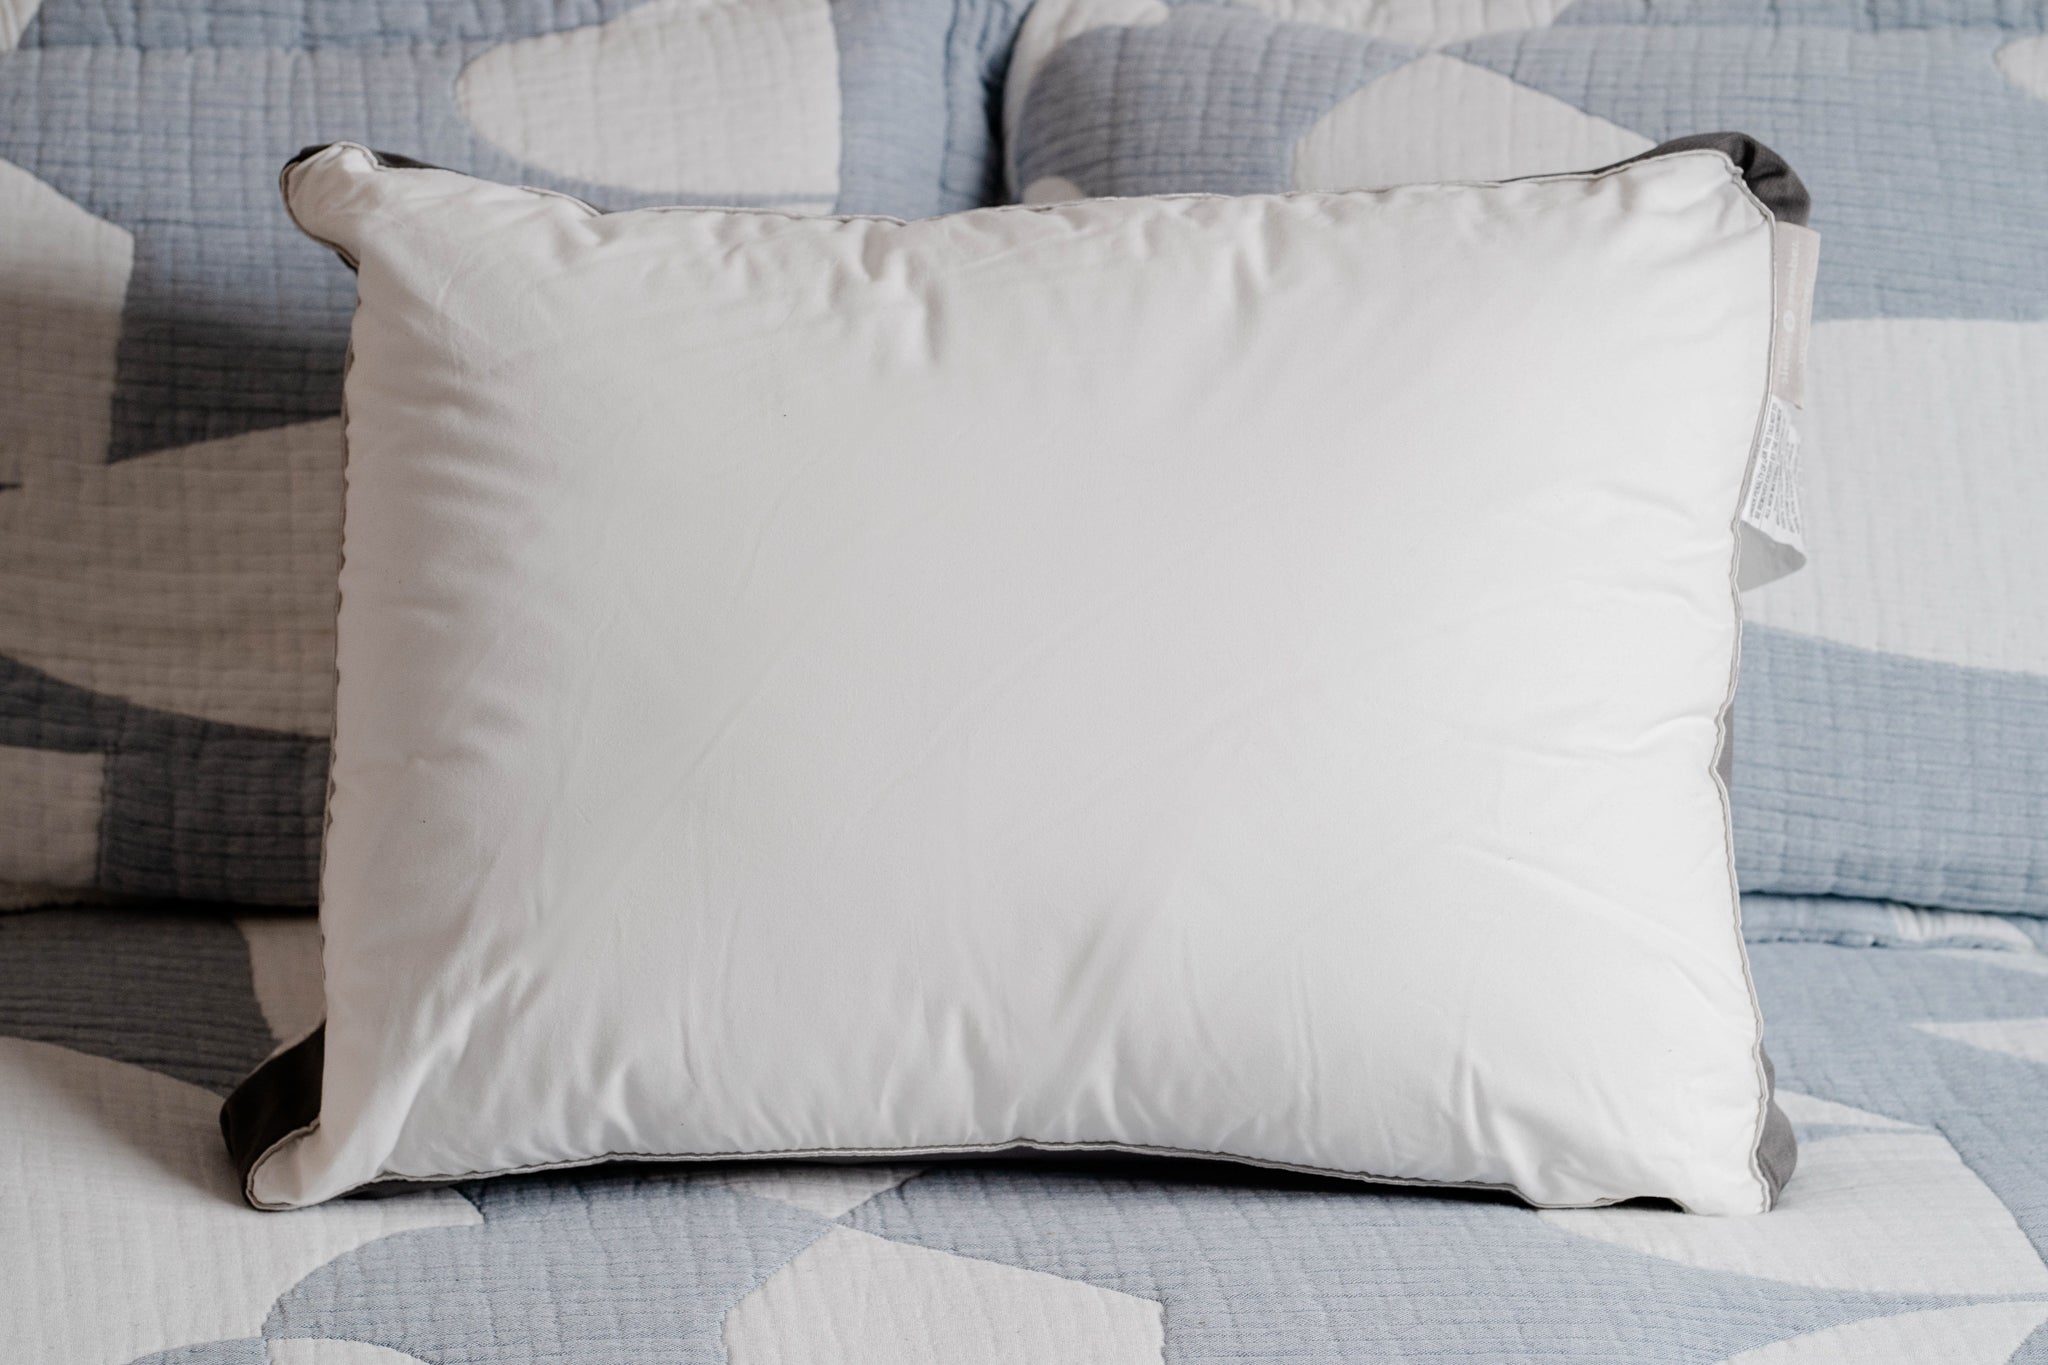
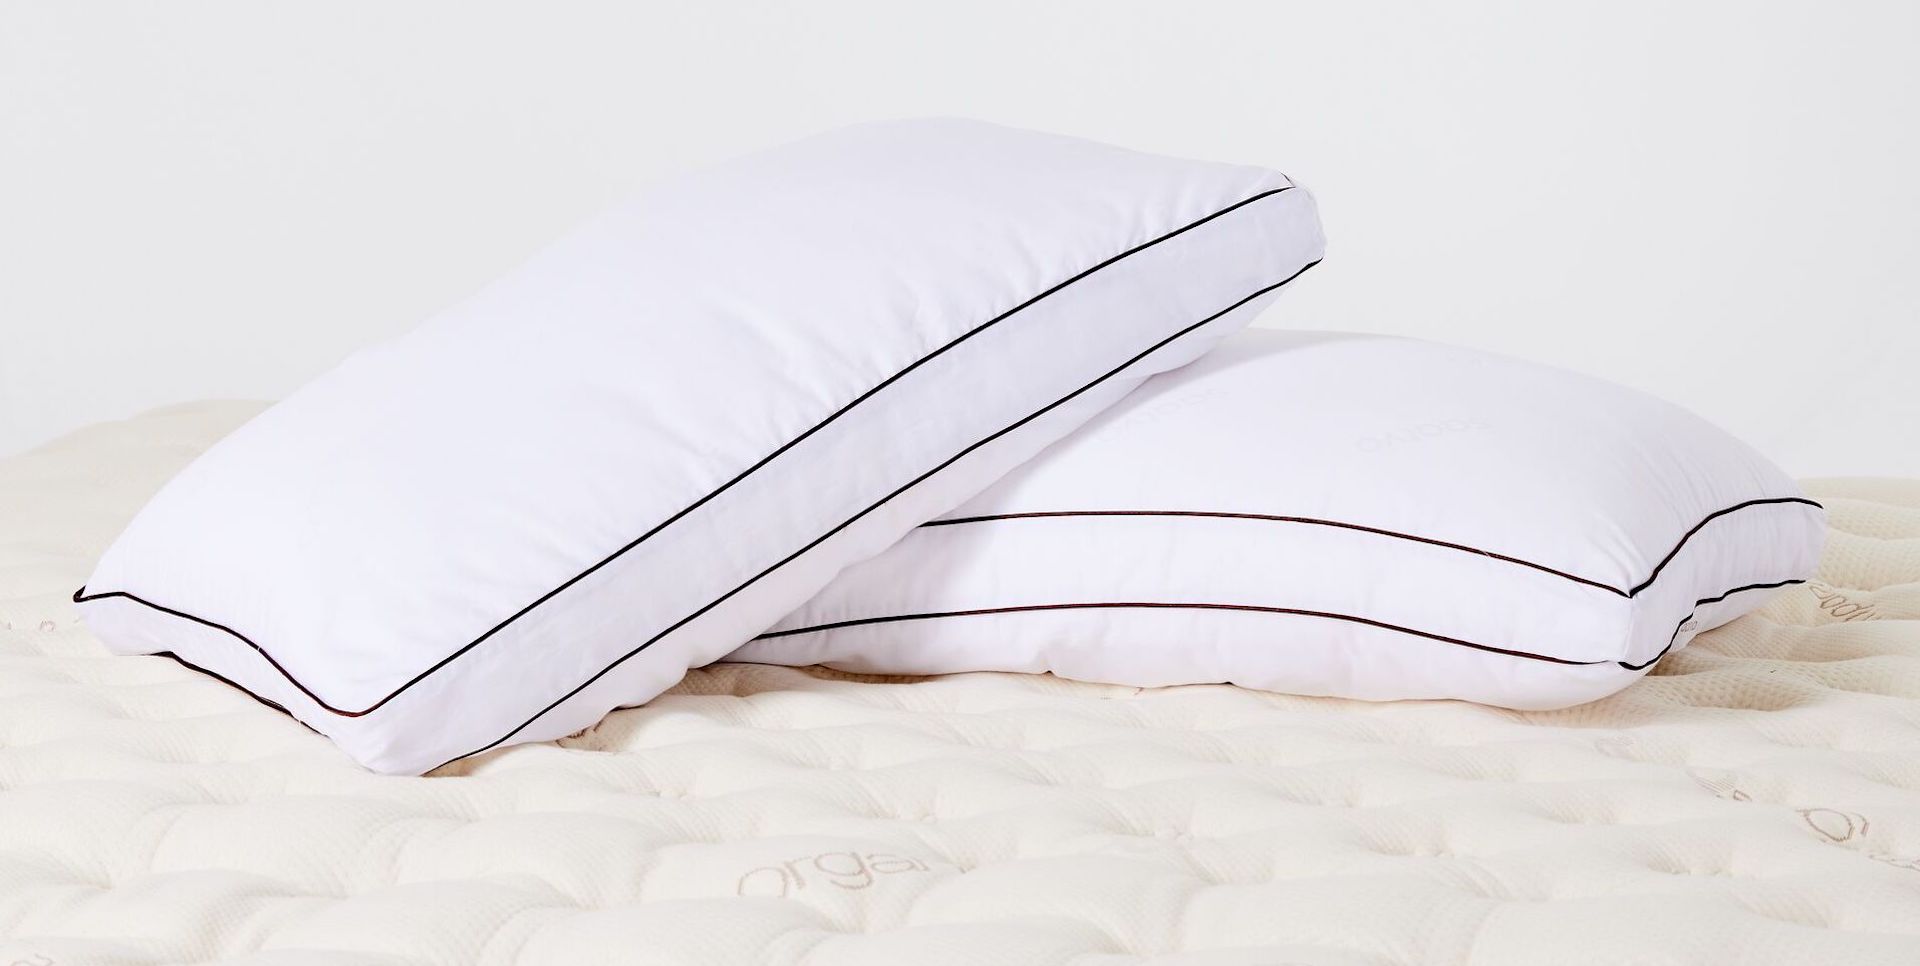
Pillows are an essential part of our sleep routine, providing support and comfort throughout the night. However, over time, pillows can become lumpy and lose their shape, compromising both their aesthetic appeal and functionality. If you’ve ever experienced the frustration of a lumpy pillow, you’re not alone!
In this article, we will explore the causes of lumpy pillows and provide effective methods to revive and restore them to their original fluffiness. Whether your pillow has become lumpy due to age, improper care, or filling displacement, we’ve got you covered with simple and practical solutions.
Before diving into the fixes, it’s important to understand the factors that contribute to pillow lumpiness. The primary reason behind lumpy pillows is the shifting and clumping of pillow filling, which can occur due to continuous use, moisture buildup, or incorrect washing techniques. Additionally, low-quality pillow fillings or inadequate pillow construction can also lead to lumpiness.
Now that we have a better understanding of the causes, let’s explore the different methods you can employ to restore your lumpy pillows. From using a dryer to manipulating the filling by hand, we’ll cover a range of techniques that are effective and easy to implement.
So, if you’re tired of tossing and turning on a lumpy pillow, let’s roll up our sleeves and learn how to bring back the fluff and comfort for a great night’s sleep.
Key Takeaways:
- Say goodbye to lumpy pillows by using simple methods like fluffing, airing out, and even freezing to restore their original comfort and shape. Prevent future lumps with proper care and maintenance.
- Revive your lumpy pillows with techniques like using a dryer, hand manipulation, or even replacing the filling. Keep your pillows fluffy and comfortable by following preventive measures for long-term pillow bliss.
Read more: How To Fix Lumpy Artificial Grass
Understanding the Causes of Lumpy Pillows
Before we dive into the methods to fix lumpy pillows, it’s important to understand the root causes behind their formation. This knowledge will not only help you prevent future lumps but also guide you in choosing the right pillows in the first place.
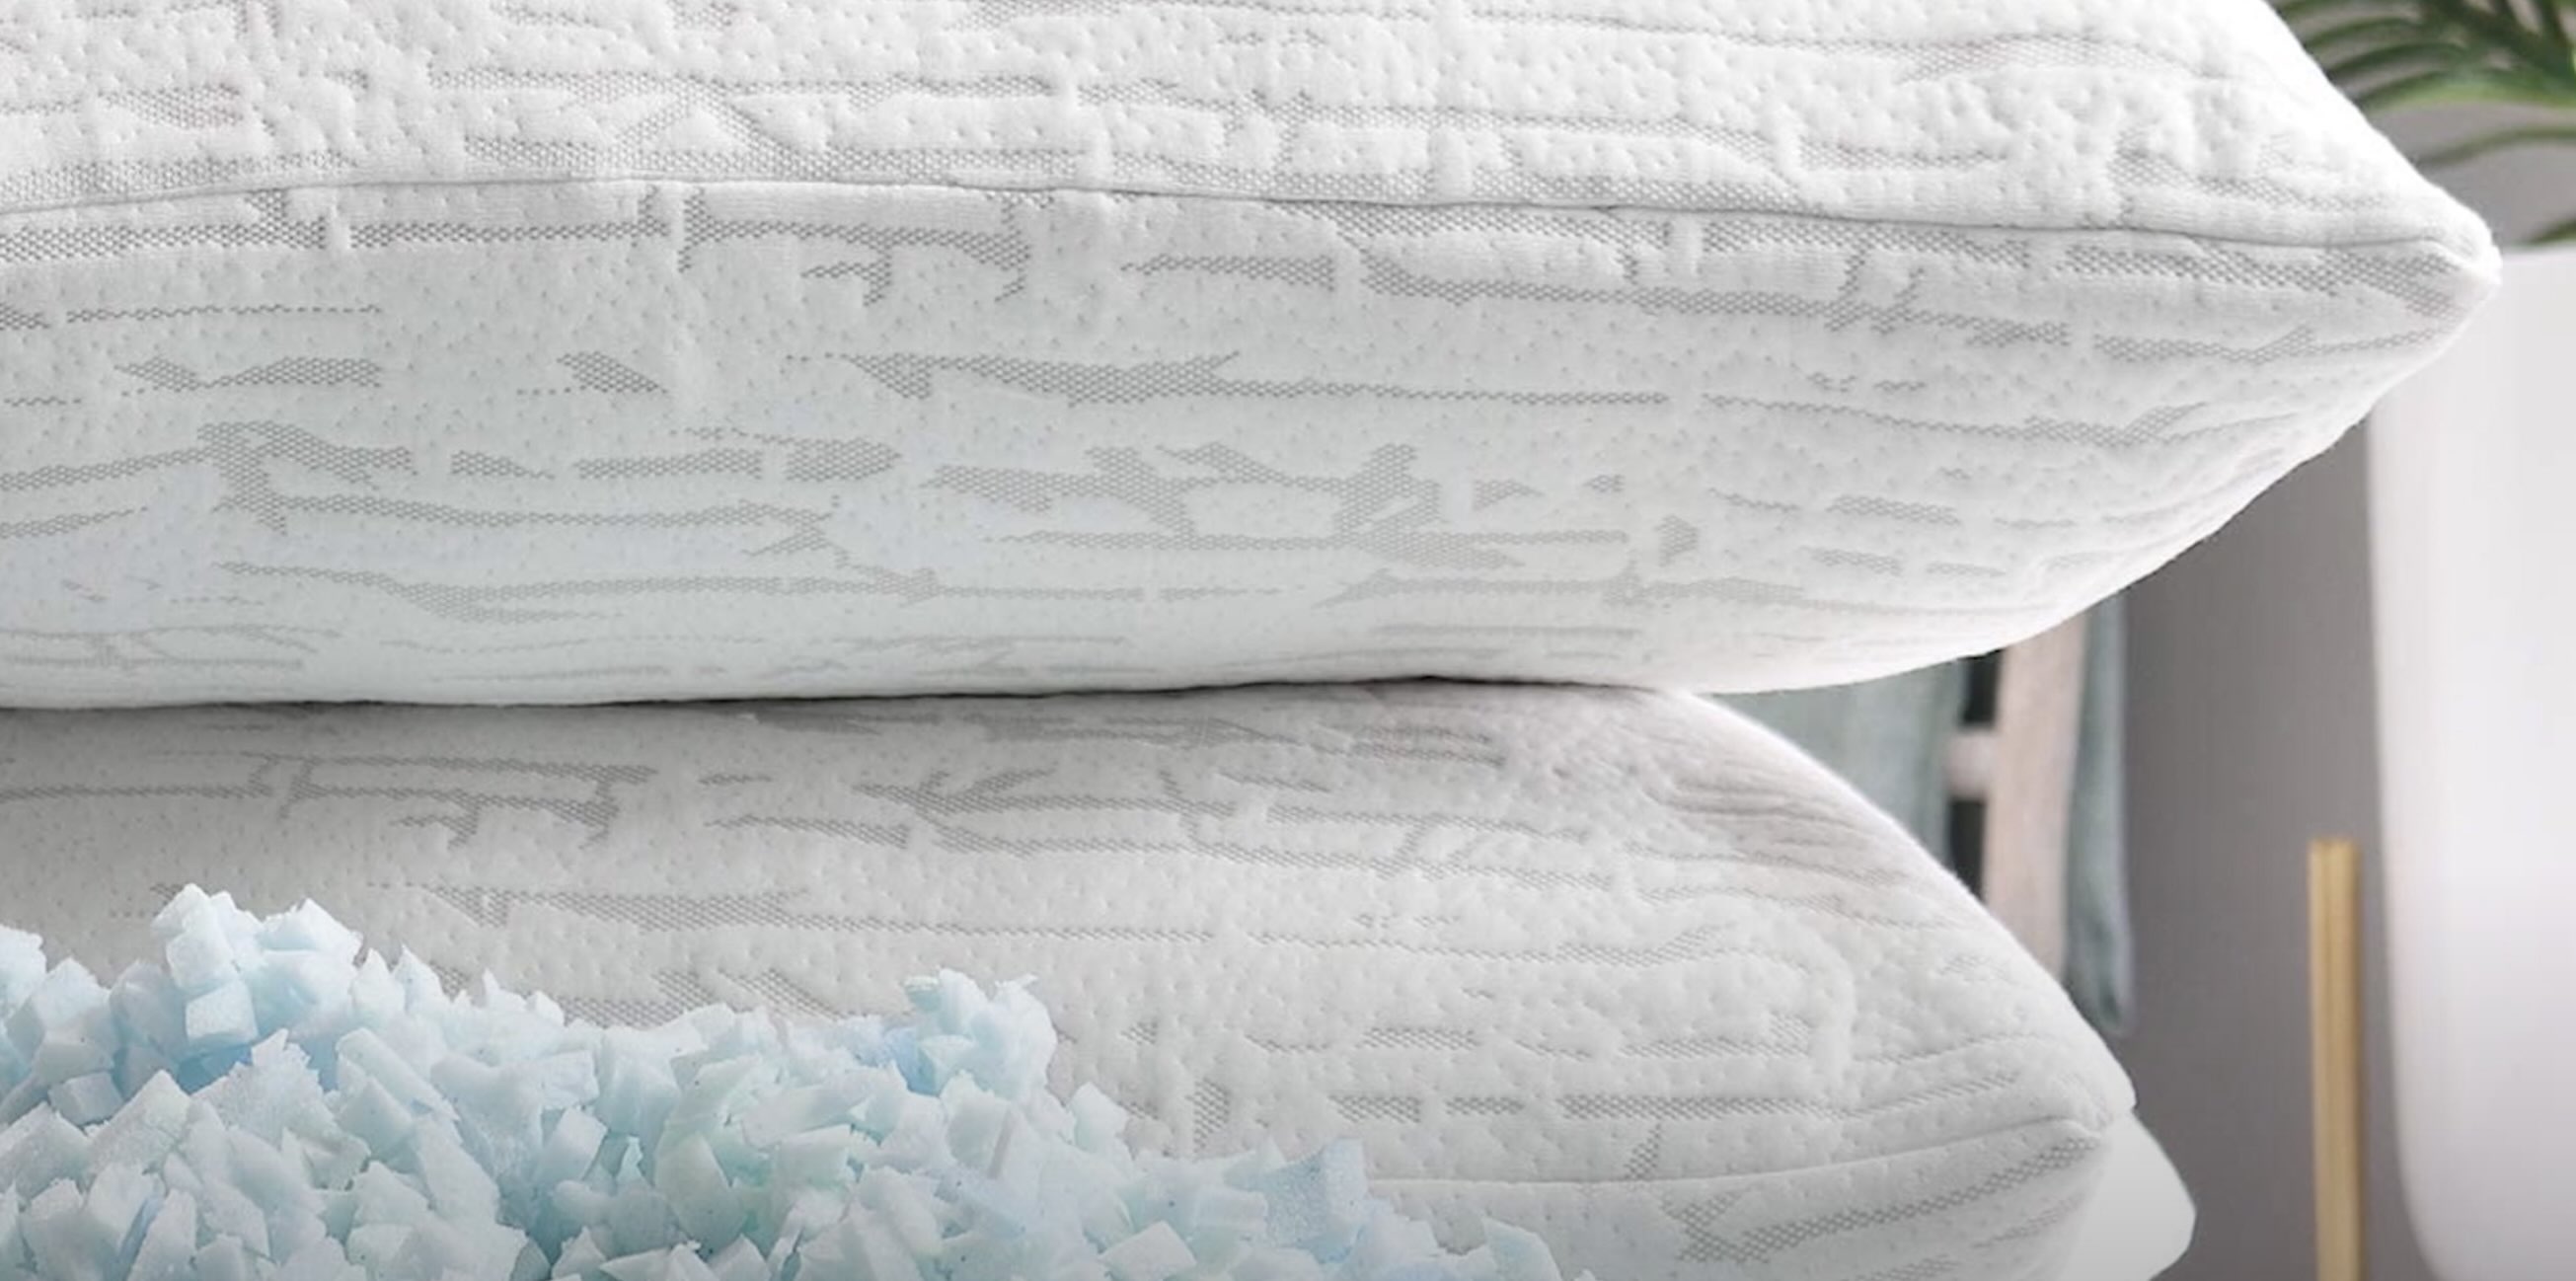
One of the main causes of lumpy pillows is the shifting and clumping of the filling material. Pillows are typically filled with materials such as down feathers, foam, polyester fibers, or a combination of these. Over time, the filling can shift and accumulate in certain areas, creating uneven and lumpy sections.
Misalignment of pillow filling can occur due to various reasons. Continuous use without proper fluffing or shaking can lead to uneven distribution of the filling. Additionally, pressure from your head and body can cause the filling to settle and clump in certain areas, resulting in a lumpy texture.
In some cases, moisture can also contribute to lumpy pillows. Pillow filling can absorb moisture from sweat or spilt liquids, causing the fibers to stick together and lose their fluffiness. If your pillow is not properly dried or aired out, the moisture can lead to clumping and lumpiness.
Improper washing techniques can also exacerbate pillow lumpiness. If the pillow is not adequately fluffed or dried after washing, the filling can become compressed and matted, resulting in lumps. Using the wrong washing temperature or detergent can also damage the filling and cause it to lose its shape.
Furthermore, the quality of the pillow filling and construction can play a significant role in the formation of lumps. Low-quality materials or a poorly designed pillow can break down and clump together more easily, leading to a lumpy pillow surface.
By understanding these causes, you can take proactive steps to prevent lumpy pillows from forming in the future. Regular fluffing, proper maintenance, and investing in high-quality pillows can go a long way in preserving their shape and comfort.
Now that we’ve explored the causes of lumpy pillows, let’s move on to the methods you can employ to revive your lumpy pillows and bring them back to their original fluffiness.
Methods for Fluffing Up Lumpy Pillows
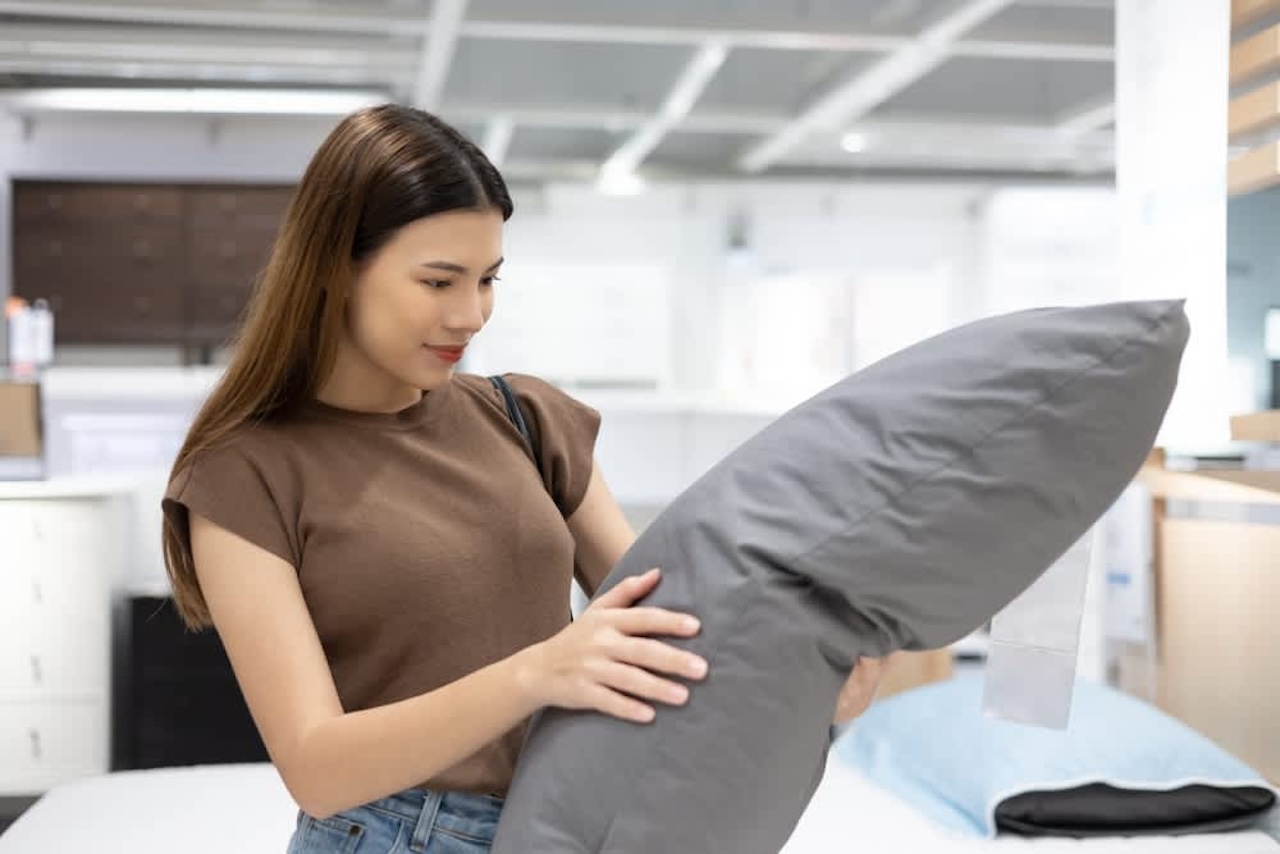
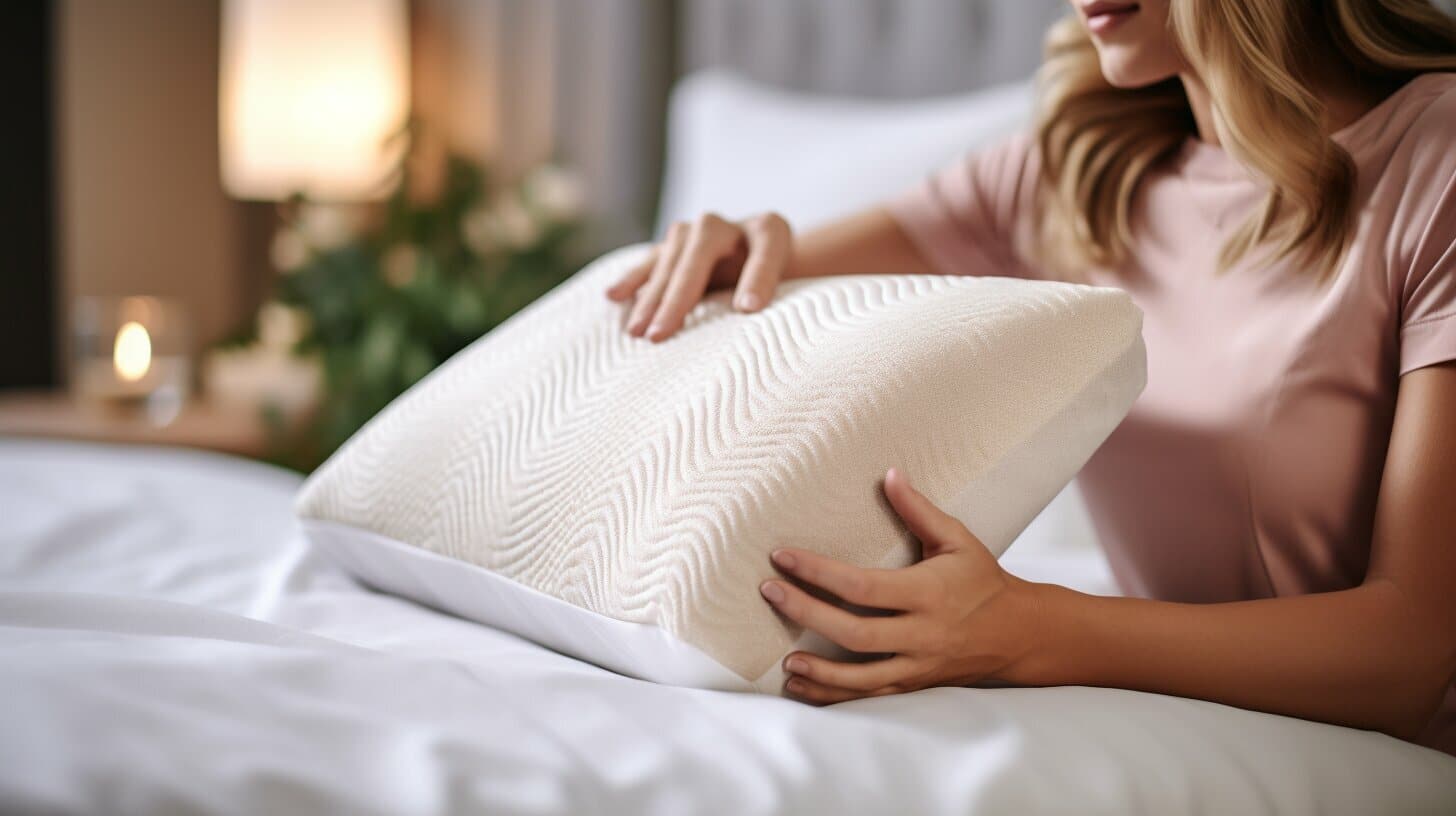
When faced with a lumpy pillow, it’s important to remember that there are effective methods to revive and fluff them up. You don’t necessarily have to invest in new pillows right away. With a little effort and the right techniques, you can bring your lumpy pillows back to life. Here are some methods to consider:
1. Fluffing and Shaking: Start by vigorously fluffing and shaking your pillow to redistribute the filling. This will help break up any clumps and even out the distribution. It may take a few minutes of vigorous shaking, but the results are often worth it. Don’t be afraid to put some muscle into it!
2. Using a Pillow Protector: Consider using a pillow protector, especially if you tend to sweat during sleep. Pillow protectors provide an extra layer of protection against moisture and stains, helping to keep your pillow clean and prolong its lifespan. By preventing moisture buildup, you can reduce the likelihood of clumping and lumpiness.
3. Airing Out in the Sun: On a sunny day, take your lumpy pillow outside and let it soak up some natural sunlight. The warmth and fresh air can help fluff up the filling and eliminate any moisture that may be contributing to the lumpiness. Just make sure to place your pillow in a clean and dry area to avoid picking up dirt or dust.
4. Using a Pillow Refluffing Machine: If you’re dealing with severely lumpy pillows or have multiple pillows to fix, investing in a pillow refluffing machine can be a game-changer. These machines use air to fluff up the filling, effectively eliminating clumps and restoring the pillow’s shape. Simply place the pillow in the machine, turn it on, and let it work its magic.
5. Freezing and Fluffing: This method is particularly useful for pillows filled with down feathers. Place your lumpy pillow in a plastic bag and seal it tightly. Then, put it in the freezer for a few hours. The cold temperature will cause the feathers to contract, breaking up any clumps. Once you take it out, vigorously shake the pillow to fluff up the feathers.
Remember, mixing and combining these methods can yield the best results. Experiment with different techniques to find the one that works best for your lumpy pillow. In some cases, you might need to repeat the process a few times to achieve the desired fluffiness.
Now that you’re armed with these fluffing methods, it’s time to put them into practice and say goodbye to lumpy pillows!
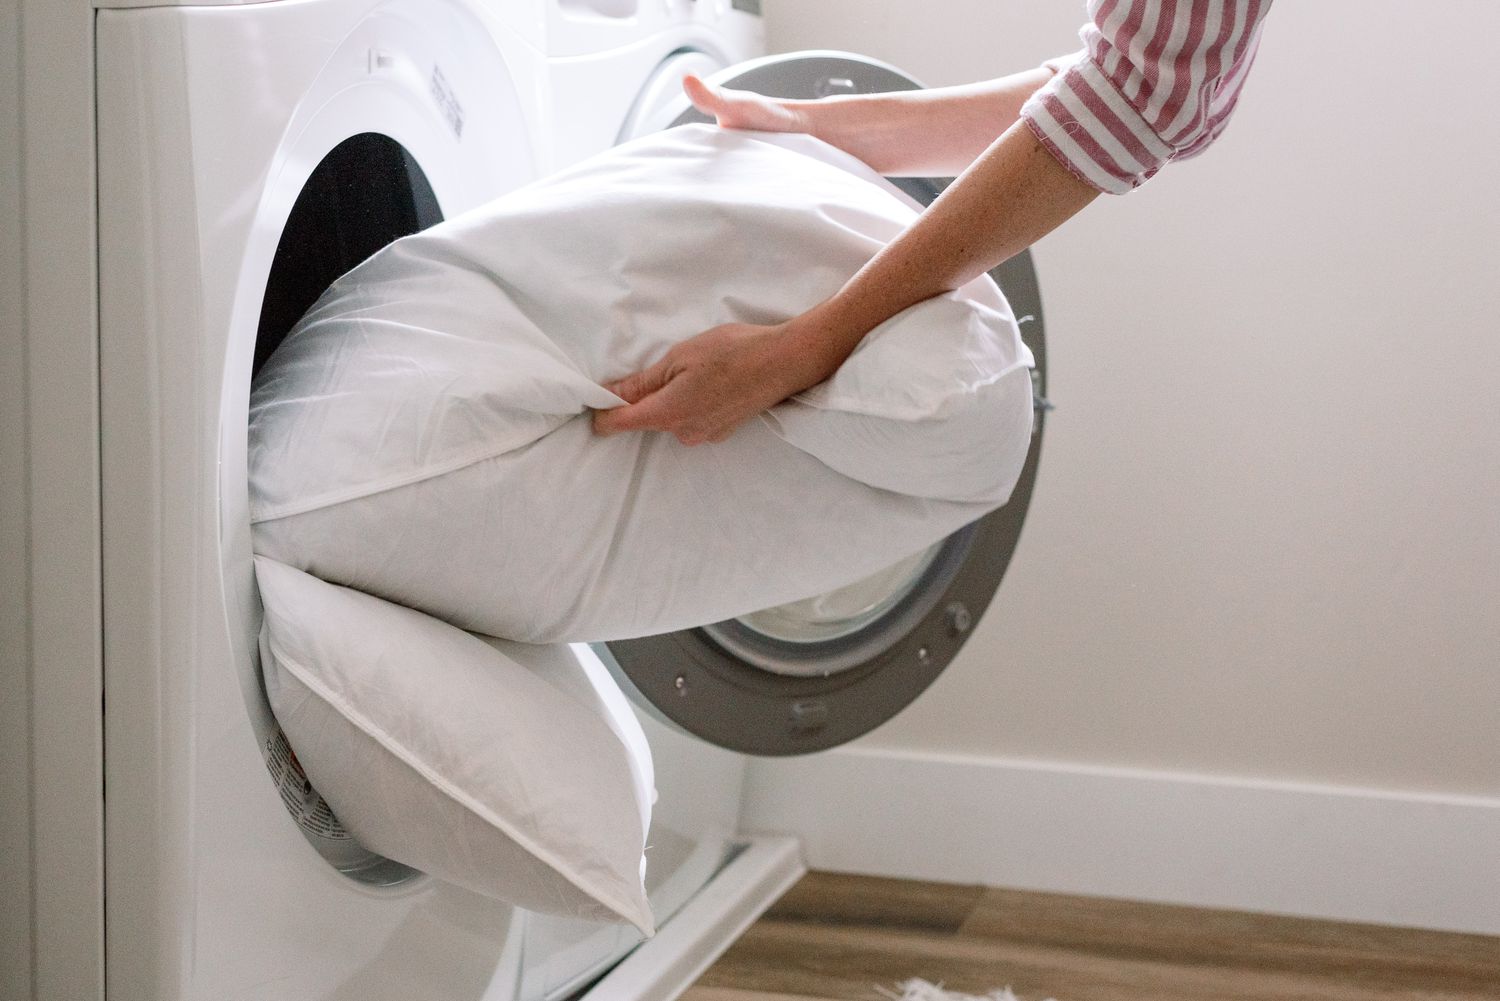
Using a Dryer to Revive Lumpy Pillows
If your pillow has lost its fluffiness and developed lumps, using a dryer can be a simple yet effective method to revive it. The combination of heat and tumbling action helps redistribute the filling and restore your pillow’s shape. Here’s how you can use a dryer to fix lumpy pillows:
1. Check the care label: Before placing your pillow in the dryer, make sure to check the care label for any specific instructions. Some pillows may have specific heat or drying settings that you should adhere to. If the care label advises against machine drying, consider using alternative methods discussed earlier.
2. Prepare your pillow: Remove any pillowcases or covers from the pillow and give it a good fluffing and shaking to loosen the clumps. This will ensure better airflow and heat distribution during the drying process.
3. Add dryer balls or tennis balls: To facilitate the fluffing process, add a couple of dryer balls or clean tennis balls to the dryer. These balls will help break up any clumps and evenly distribute the filling as the pillow tumbles. Make sure the balls are clean and free from any dirt or debris.
4. Start the dryer: Place your pillow and the balls in the dryer and set it to a low or delicate heat setting. High heat can damage the pillow filling or even melt synthetic materials. Add a couple of clean towels to the mix to provide extra cushioning and promote even drying.
5. Monitor the drying process: Check on the pillow periodically to assess its fluffiness. Depending on the size and thickness of the pillow, the drying process may take a few cycles. Avoid over-drying, as excessive heat can compromise the pillow’s integrity.
6. Finishing touches: Once the pillow is dry and sufficiently fluffed, give it another good shake to distribute the filling evenly. Feel free to manually stretch and manipulate the pillow to smooth out any remaining lumps or clumps. You can also gently knead the pillow to break up any stubborn areas.
Using a dryer is an excellent method for reviving lumpy pillows, as the combination of heat and tumbling action helps restore the fluffiness and shape. However, keep in mind that this method is not suitable for all pillow types, so always refer to the care label or manufacturer’s instructions for guidance.
By utilizing the power of your dryer, you can say goodbye to lumps and enjoy a rejuvenated pillow that provides optimal comfort for your well-deserved sleep.
To fix lumpy pillows, try fluffing them in the dryer with a couple of tennis balls or dryer balls. This will help redistribute the filling and restore their shape.
Hand Manipulation Techniques for Fixing Lumpy Pillows
If you prefer a more hands-on approach to fixing lumpy pillows, there are manual techniques you can use to manipulate the filling and restore their fluffiness. These methods are simple and require no special tools or equipment. Here are some hand manipulation techniques to try:
1. Fluffing and kneading: Start by fluffing up the pillow with your hands. Grab the pillow on opposite sides and give it a good shake to distribute the filling evenly. Next, knead the pillow gently by pressing and rolling it in various directions. This helps break up any clumps and redistributes the filling more evenly throughout the pillow.
2. Stretching and pulling: To further disperse the clumps, grab the pillow from opposite corners and gently stretch and pull it in opposite directions. This action helps loosen the filling and smooth out any lumpy areas. Be careful not to apply excessive force, as it can damage the pillow’s structure.
3. Accurate hitting: Lay the pillow flat on a surface and use a closed fist or a soft object (like a tennis racket without the strings) to accurately hit the pillow in various areas. This encourages the filling to shift and fluff, breaking up clumps in the process. Make sure to hit the pillow with controlled force to avoid damaging the pillow or tearing the fabric.
4. Pressing and rolling: Lay the pillow on a flat surface and press down on it with your palms or forearms, applying even pressure. Then, roll the pillow back and forth under your hands to redistribute the filling. This action helps break up any clumps and smoothens out the pillow’s surface.
5. Spot fluffing: Identify specific lumpy areas on the pillow and target them individually. By focusing your attention on these problem spots, you can apply more direct pressure and manipulation to break up the clumps. Use your fingers or thumbs to massage and fluff the filling in those areas until they become smooth and even.
It’s important to note that hand manipulation techniques may require some patience and repetition to achieve the desired results. If your pillow is severely lumpy, you may need to repeat these techniques multiple times or combine them with other methods discussed earlier. Additionally, it’s crucial to handle the pillow gently and avoid exerting excessive force, as it can lead to the pillow losing its shape or tearing.
By using these hand manipulation techniques, you can take control of restoring your lumpy pillows to their former fluffiness. With a little time and effort, you’ll be able to transform your pillows into comfortable and inviting sleep companions once again.
Read more: How To Wash Pillows
Removing and Replacing Pillow Filling
If your efforts to revive lumpy pillows using fluffing methods haven’t yielded the desired results, it may be time to consider removing and replacing the pillow filling. This option allows you to start fresh with new filling and ensures optimal fluffiness and support. Here’s how you can remove and replace the pillow filling:
1. Assess the pillow: Evaluate the condition of your pillow and determine if it’s feasible to remove and replace the filling. Some pillows may have a zipper or a seam that allows for easy access to the filling, while others may require some careful handiwork to open up.
2. Prepare a new filling: Decide on the type of filling you want to use for your pillow. You can choose from options such as down feathers, foam, polyester fibers, or a combination of these. Ensure that the filling is clean, hypoallergenic if necessary, and well-suited to your personal comfort preferences.
3. Open the pillow: If your pillow has a zipper or a seam that can be easily undone, carefully open it up to access the old filling. If your pillow doesn’t have an opening, you’ll need to use a seam ripper or small scissors to create one. Take your time and be cautious not to damage the fabric.
4. Remove the old filling: Once the pillow is open, carefully remove the old filling. You may need to pull it apart or use your hands to extract it completely. Dispose of the old filling responsibly, following appropriate waste disposal guidelines.
5. Insert the new filling: Take the new filling and evenly distribute it inside the pillow. Start by filling the corners and edges, then gradually fill the center. Be mindful not to overstuff the pillow, as it can affect its shape and comfort. Adjust the filling as needed to achieve the desired loft.
6. Close the pillow: After filling the pillow, carefully close the opening using a needle and thread, or use a sewing machine if available. Ensure that the closure is secure to prevent the filling from escaping. If your pillow had a zipper, simply zip it back up.
By removing and replacing the pillow filling, you have the opportunity to customize your pillow to your exact preferences and ensure its fluffiness and support. This method is particularly useful for pillows with irreparable clumps or deteriorated filling.
Keep in mind that not all pillow designs lend themselves well to replacing the filling, as some may have intricate construction or be tightly sealed. In such cases, it may be more practical to purchase new pillows that meet your specific needs and comfort requirements.
With a fresh filling, your pillow will have a new lease on life, providing you with the comfort and support needed for a restful night’s sleep.
Preventing Lumpy Pillows in the Future
Now that you’ve successfully revived your lumpy pillows, it’s essential to take steps to prevent them from becoming lumpy again in the future. By implementing some preventive measures and adopting proper pillow care habits, you can extend the lifespan of your pillows and keep them in optimal condition. Here are some tips to prevent lumpy pillows:
1. Regular fluffing: Make it a habit to fluff your pillows regularly. Fluffing helps redistribute the filling and prevents it from clumping and settling in specific areas. Give your pillows a good shake and fluff them up every morning when you make your bed.
2. Proper drying: Ensure that your pillows are thoroughly dried after washing or exposure to moisture. Moisture can lead to clumping and lumpiness, so use low heat settings or air-dry them if possible. Avoid direct sunlight, as it can cause fading or damage to some pillow materials.
3. Protective covers: Invest in high-quality pillow protectors or covers. These covers provide an extra layer of protection against sweat, spills, and stains, helping to keep your pillows clean and free from moisture buildup. It’s easier to wash and maintain a pillow cover than the entire pillow itself.
4. Pillow rotation: Rotate your pillows regularly to even out wear and tear. By switching the pillows you use, you allow them to regain their shape and prevent over-compression in specific areas. Consider rotating them weekly or monthly, depending on your personal preference.
5. Proper washing: Follow the manufacturer’s instructions or the care label when washing your pillows. Use a gentle cycle, mild detergent, and lukewarm water. Avoid using harsh chemicals, high heat, or aggressive washing techniques that can damage the filling or pillow structure.
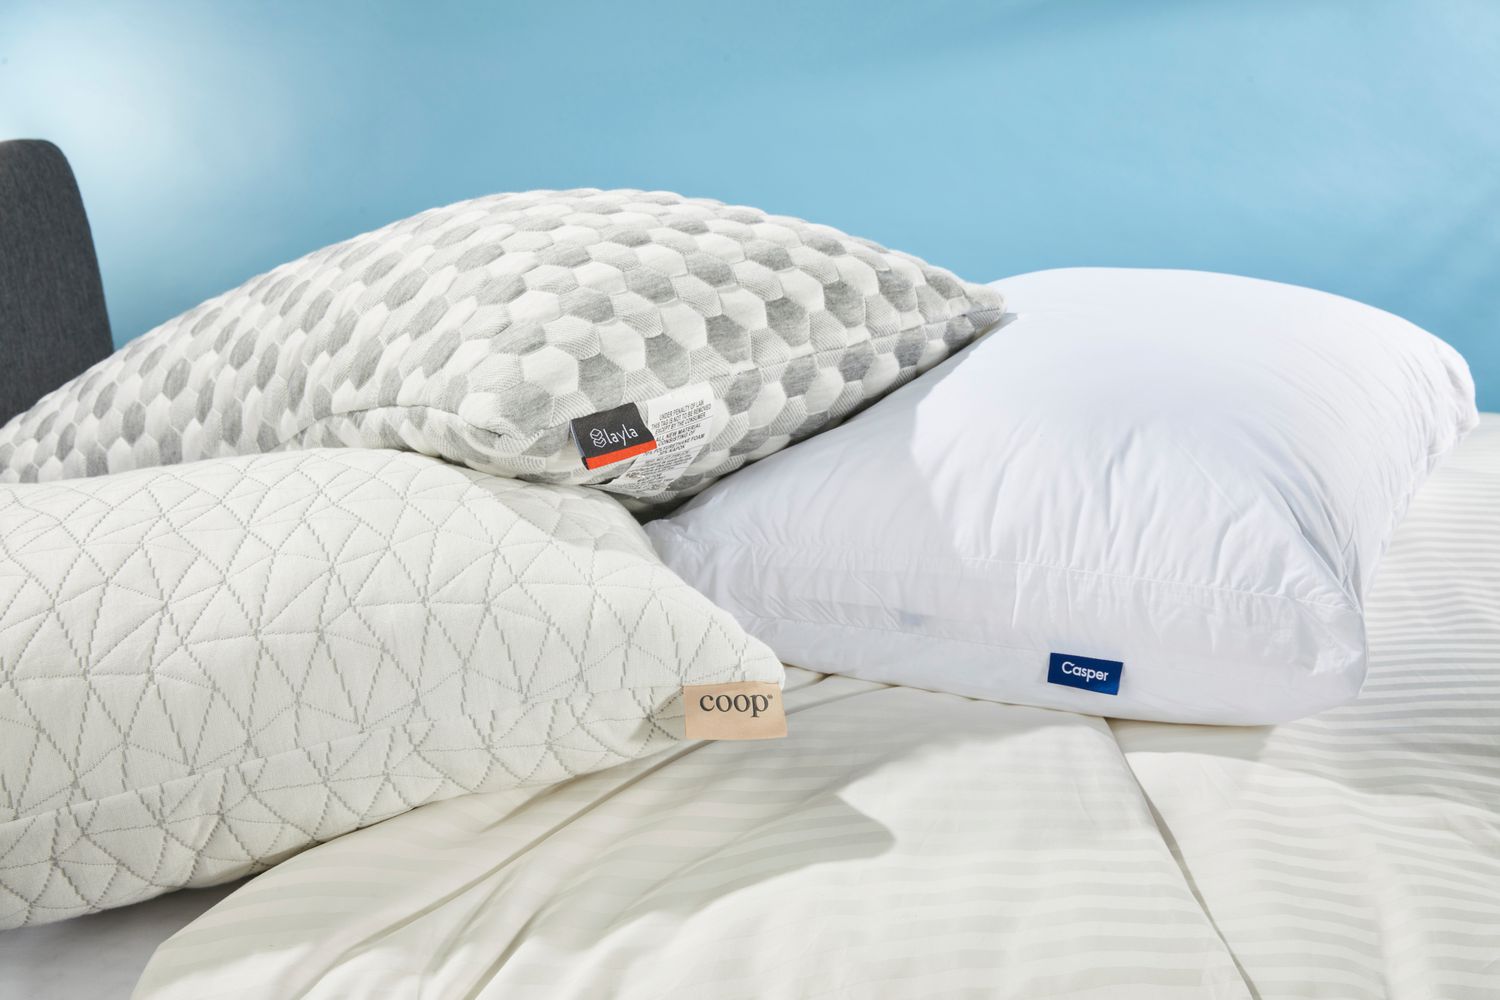
6. High-quality pillows: Invest in high-quality pillows made from durable materials. Tightly woven covers and firm stitching help prevent the filling from shifting and clumping. High-quality pillows are more resistant to lumpiness and retain their shape and support for a longer time.
7. Pillow care awareness: Be aware of how you use your pillows and avoid activities that could damage them. Avoid sitting or placing heavy objects on your pillows, as this can compress the filling. Be mindful of pets that may scratch or chew on pillows, causing damage or shifting of the filling.
By adopting these preventive measures, you can significantly reduce the chances of your pillows becoming lumpy in the future. Incorporating proper care habits and investing in high-quality pillows will ensure that your pillows remain comfortable, supportive, and free from clumps for a prolonged period.
Remember, proper pillow care is essential for a good night’s sleep and the longevity of your pillows. So, take care of your pillows, and they will take care of you!
Conclusion
Pillows are essential for a comfortable and restful sleep, but over time, they can become lumpy and lose their shape. The good news is that there are effective methods to revive lumpy pillows and prevent them from future lumpiness.
In this article, we explored various techniques to fix lumpy pillows. We learned about the causes of lumpy pillows, such as shifting and clumping of the filling due to continuous use, moisture buildup, improper washing techniques, and low-quality materials. Armed with this understanding, we delved into methods like fluffing and shaking, using a dryer, hand manipulation techniques, and even removing and replacing the filling.
Additionally, we discussed preventive measures to keep your pillows from becoming lumpy in the first place. Regular fluffing, proper drying, protective covers, pillow rotation, proper washing, investing in high-quality pillows, and being mindful of pillow care habits can all contribute to maintaining pillows in optimal condition for a longer period.
Remember, a good pillow plays a vital role in your sleep quality, and lumpy pillows can lead to discomfort and restless nights. By implementing the techniques and preventive measures discussed in this article, you can revive your lumpy pillows and ensure they stay in excellent shape for years to come.
So, don’t let lumpy pillows disrupt your sleep any longer. Follow the tips provided and enjoy the blissful comfort of fluffy and supportive pillows every night. Your well-rested self will thank you!
Frequently Asked Questions about How To Fix Lumpy Pillows
Was this page helpful?
At Storables.com, we guarantee accurate and reliable information. Our content, validated by Expert Board Contributors, is crafted following stringent Editorial Policies. We're committed to providing you with well-researched, expert-backed insights for all your informational needs.
0 thoughts on “How To Fix Lumpy Pillows”