Articles
How To Make Outdoor Pillows
Modified: January 9, 2024
Learn how to make outdoor pillows with our comprehensive articles. Get step-by-step instructions and helpful tips for creating beautiful pillows for your outdoor space.
(Many of the links in this article redirect to a specific reviewed product. Your purchase of these products through affiliate links helps to generate commission for Storables.com, at no extra cost. Learn more)
Introduction
Welcome to our comprehensive guide on how to make outdoor pillows. If you’re looking to spruce up your outdoor living space and add a touch of comfort and style, making your own outdoor pillows is a great DIY project. Not only will you save money compared to buying ready-made pillows, but you’ll also have complete control over the fabric, design, and size of your pillows.
Outdoor pillows are not only an excellent way to add a pop of color and personality to your patio, deck, or porch, but they also provide extra support and comfort when you’re relaxing outdoors. Additionally, making your own outdoor pillows allows you to choose fabric that is specifically designed to withstand the elements, ensuring durability and longevity.
In this article, we’ll walk you through the step-by-step process of making your own outdoor pillows. From choosing the right fabric to sewing the pillow cover and stuffing the insert, we’ll cover everything you need to know to create beautiful and functional outdoor pillows. So, grab your sewing machine and let’s get started!
Key Takeaways:
- Create personalized and durable outdoor pillows by choosing the right fabric, measuring accurately, and adding decorative touches. Enjoy a DIY project that enhances your outdoor space and showcases your creativity.
- Elevate your outdoor oasis with custom-made pillows that withstand the elements and reflect your unique style. From fabric selection to final touches, enjoy the process of creating comfortable and vibrant outdoor pillows.
Read more: How To Make Homemade Pillows
Choosing the Right Fabric
When it comes to making outdoor pillows, selecting the right fabric is crucial. Outdoor pillows are exposed to harsh weather conditions, including rain, wind, and sunlight, so it’s important to choose a fabric that is resistant to fading, mold, and mildew.
One of the most popular choices for outdoor pillows is outdoor fabric. Outdoor fabric is specifically designed to withstand the elements and is made from materials such as acrylic, polyester, or a blend of both. This type of fabric is water-resistant, fade-resistant, and easy to clean, making it ideal for outdoor use.
Another option to consider is marine-grade fabric. This type of fabric is commonly used for boat cushions and is highly durable and resistant to water, UV rays, and stains. Marine-grade fabric is often made from solution-dyed acrylic, which means the color is embedded in the fiber, making it fade-resistant.
When selecting fabric for your outdoor pillows, look for materials that are labeled as “outdoor” or “UV-resistant.” These fabrics are treated to withstand the elements and will maintain their color and integrity over time.
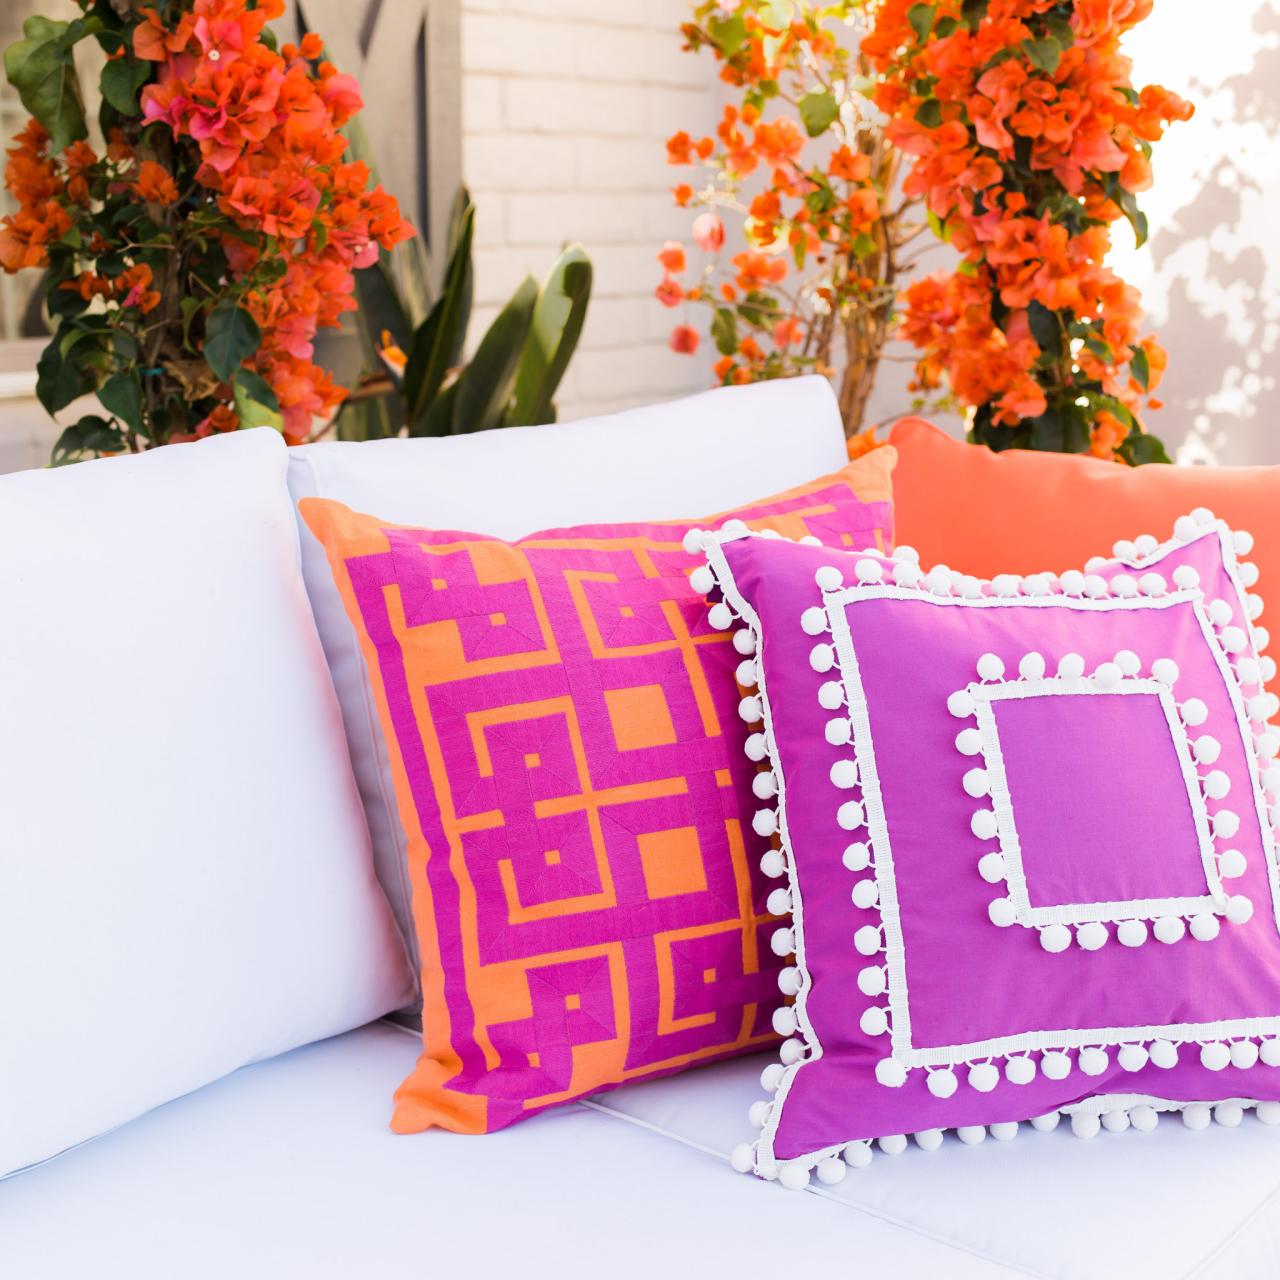
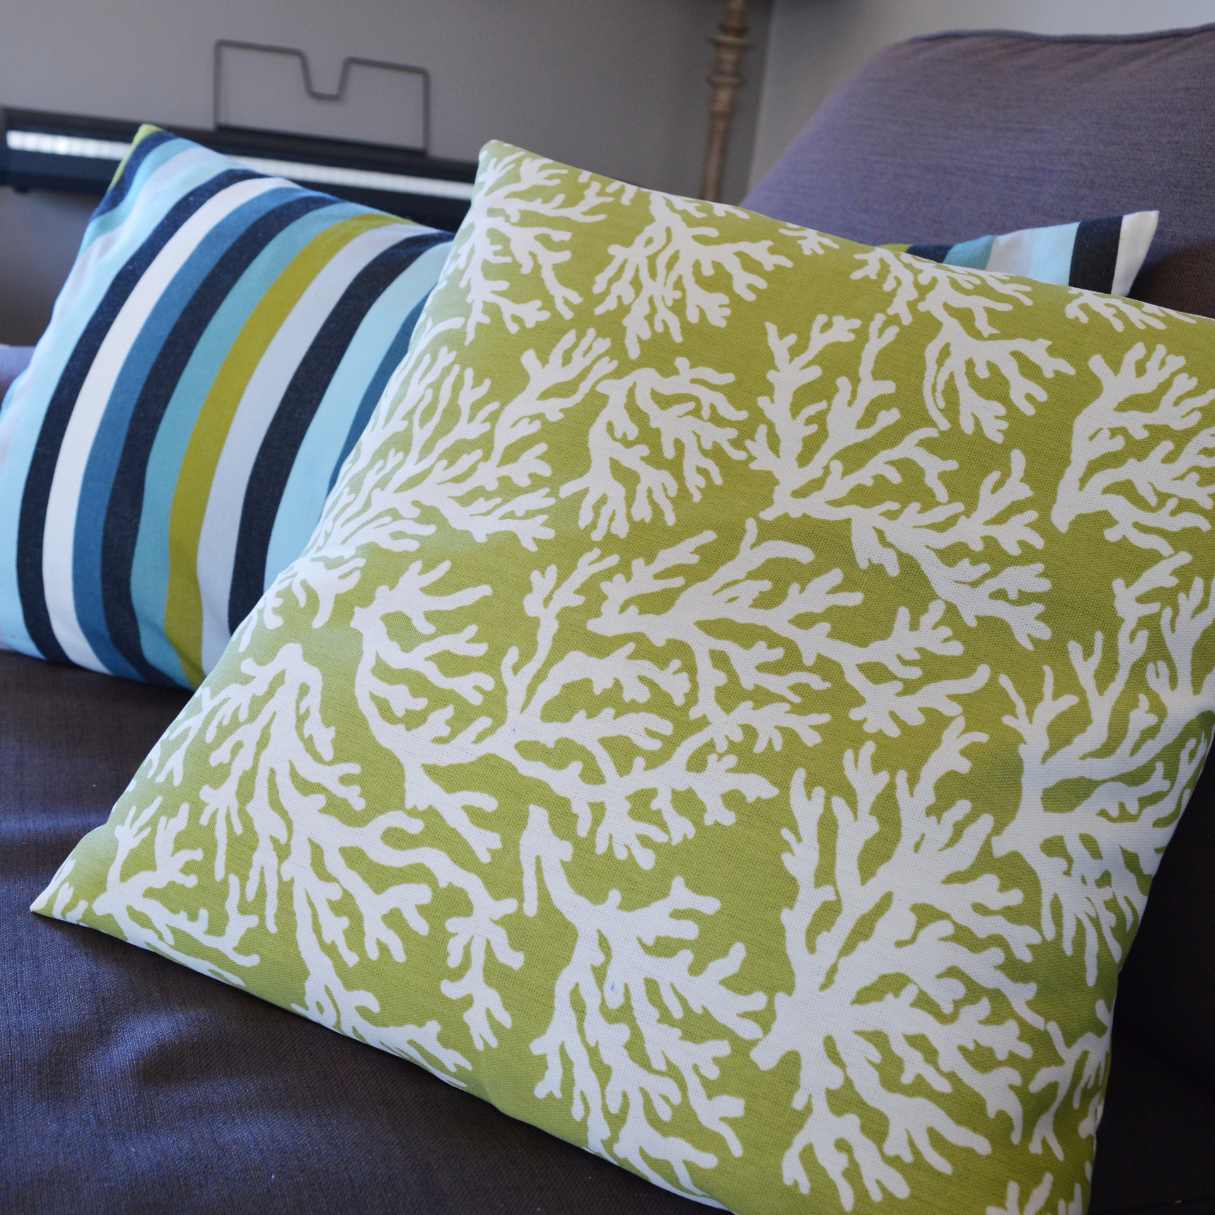
In terms of design, outdoor fabrics come in a wide range of patterns, colors, and textures. From bold stripes and floral prints to solid colors and textured weaves, there’s something to suit every outdoor decor style. Consider the overall aesthetic of your outdoor space and choose a fabric that complements your existing furniture and outdoor theme.
Additionally, it’s important to consider the level of comfort you desire. Some outdoor fabrics have a softer, more fabric-like feel, while others have a more rigid and durable texture. Depending on your preferences, you can choose a fabric that offers the right balance of comfort and durability for your outdoor pillows.
Lastly, don’t forget to consider the maintenance requirements of the fabric. Look for fabrics that are easy to clean and can withstand regular washing or spot cleaning. This will ensure that your outdoor pillows stay looking fresh and vibrant for years to come.
Measuring and Cutting the Fabric
Once you’ve chosen the perfect fabric for your outdoor pillows, it’s time to measure and cut the fabric to the desired size. Follow these steps to ensure accurate measurements and clean cuts:
- Determine the pillow size: Before you begin cutting the fabric, decide on the size of your outdoor pillows. Common sizes for outdoor pillows range from 18×18 inches to 22×22 inches. Choose the size that works best for your outdoor furniture and personal preference.
- Measure and mark the fabric: Lay the fabric flat on a clean surface and use a fabric tape measure or ruler to measure and mark the dimensions of your pillow cover. Make sure to add an extra 1 inch to each side for seam allowance.
- Cut the fabric: Using sharp fabric scissors or a rotary cutter, carefully cut along the marked lines to create the fabric pieces for your pillow cover. Take your time and make smooth, straight cuts to ensure clean edges.
It’s important to note that if you’re making a pillow with a patterned fabric, you’ll need to take extra care when cutting the fabric pieces. Align the pattern correctly and make sure that all the pieces are cut in the same direction to maintain a cohesive and visually appealing look.
In addition to the fabric for the pillow cover, you may also need to cut a piece of fabric for a lining or reinforcement. This additional layer of fabric can help enhance the durability of your outdoor pillows and provide added support.
Remember to keep your fabric scraps for any future repairs or smaller decorative projects. Recycling and repurposing fabric is both economical and environmentally friendly.
Once you have cut the fabric pieces to the appropriate size, you’re ready to move on to the next step – sewing the pillow cover.
Sewing the Pillow Cover
Now that you have the fabric pieces cut to size, it’s time to sew the pillow cover. Follow these steps to create a professional-looking pillow cover:
- Prepare your sewing machine: Make sure your sewing machine is set up with the appropriate thread and needle for your fabric. Refer to the manual for your sewing machine to ensure proper threading and tension settings.
- Pin the fabric pieces: Take the two fabric pieces for the front and back of the pillow cover and place them right sides together. Align the edges and corners, then use straight pins to secure the pieces in place. This will ensure that the fabric doesn’t shift while sewing.
- Sew the edges: Using a straight stitch, sew along the edges of the fabric, leaving a 1-inch seam allowance. Start sewing a few inches away from one corner and continue around the fabric, backstitching at the start and end to secure the stitches. Leave a small opening, approximately 6-8 inches wide, at the bottom for turning the cover right-side out and inserting the pillow insert.
- Trim the corners: Trim the excess fabric from the corners to reduce bulkiness and create crisp corners when the pillow cover is turned right-side out. Be careful not to cut through the stitches.
- Turn the cover right-side out: Carefully turn the pillow cover right-side out through the opening. Use a turning tool or the blunt end of a pencil to gently push out the corners for a neat finish.
- Press and topstitch: Iron the pillow cover on a low heat setting to remove any wrinkles and creases. Then, if desired, you can topstitch around the edges of the cover for a polished look. This step is optional but can add a decorative touch to the pillow cover.
Once you’ve completed these steps, your pillow cover is ready for the next stage – adding a zipper or Velcro closure.
When making outdoor pillows, be sure to use outdoor fabric that is water and UV resistant to ensure the pillows will withstand the elements. Additionally, consider using a water-resistant pillow insert to further protect the pillows from moisture.
Adding a Zipper or Velcro Closure
Adding a zipper or Velcro closure to your outdoor pillow cover not only ensures a secure fit but also makes it easier to insert and remove the pillow insert for cleaning or storage. Follow these steps to add a closure to your pillow cover:
- Choose your closure: Decide whether you want to use a zipper or Velcro closure based on your personal preference and sewing skills. A zipper provides a sleek and professional finish, while Velcro offers a quicker and more beginner-friendly option.
- Prepare the closure: If using a zipper, measure and cut the zipper to the length of the pillow cover opening plus an additional inch. If using Velcro, cut two strips to match the length of the opening.
- Attach the zipper: For a zipper closure, align the edges of the pillow cover opening and place the zipper face down onto the fabric, aligning the teeth with the fabric edge. Pin the zipper in place, then use a zipper foot attachment on your sewing machine to sew along one side of the zipper, securing it to the fabric. Repeat on the other side of the zipper.
- Attach the Velcro: For a Velcro closure, align one strip of Velcro along the edge of one side of the pillow cover opening and sew it in place using a straight or zigzag stitch. Repeat with the other strip of Velcro on the opposite side of the opening.
- Test the closure: Before finalizing the closure, test it by zipping up the zipper or pressing the Velcro strips together. Make sure the closure is secure and the pillow insert fits comfortably inside the cover.
- Finish the closure: To complete the closure, sew across the bottom of the zipper or the ends of the Velcro strips to secure them in place. This will prevent the closure from accidentally opening during use.
Once you’ve added the closure to your pillow cover, it’s time to move on to the next step – sewing the pillow insert or stuffing.
Read more: How To Make Miniature Pillows
Sewing the Pillow Insert or Stuffing
After completing the pillow cover and adding a closure, it’s time to sew the pillow insert or stuff the cover with filling. Follow these steps to create a comfortable and plush pillow:
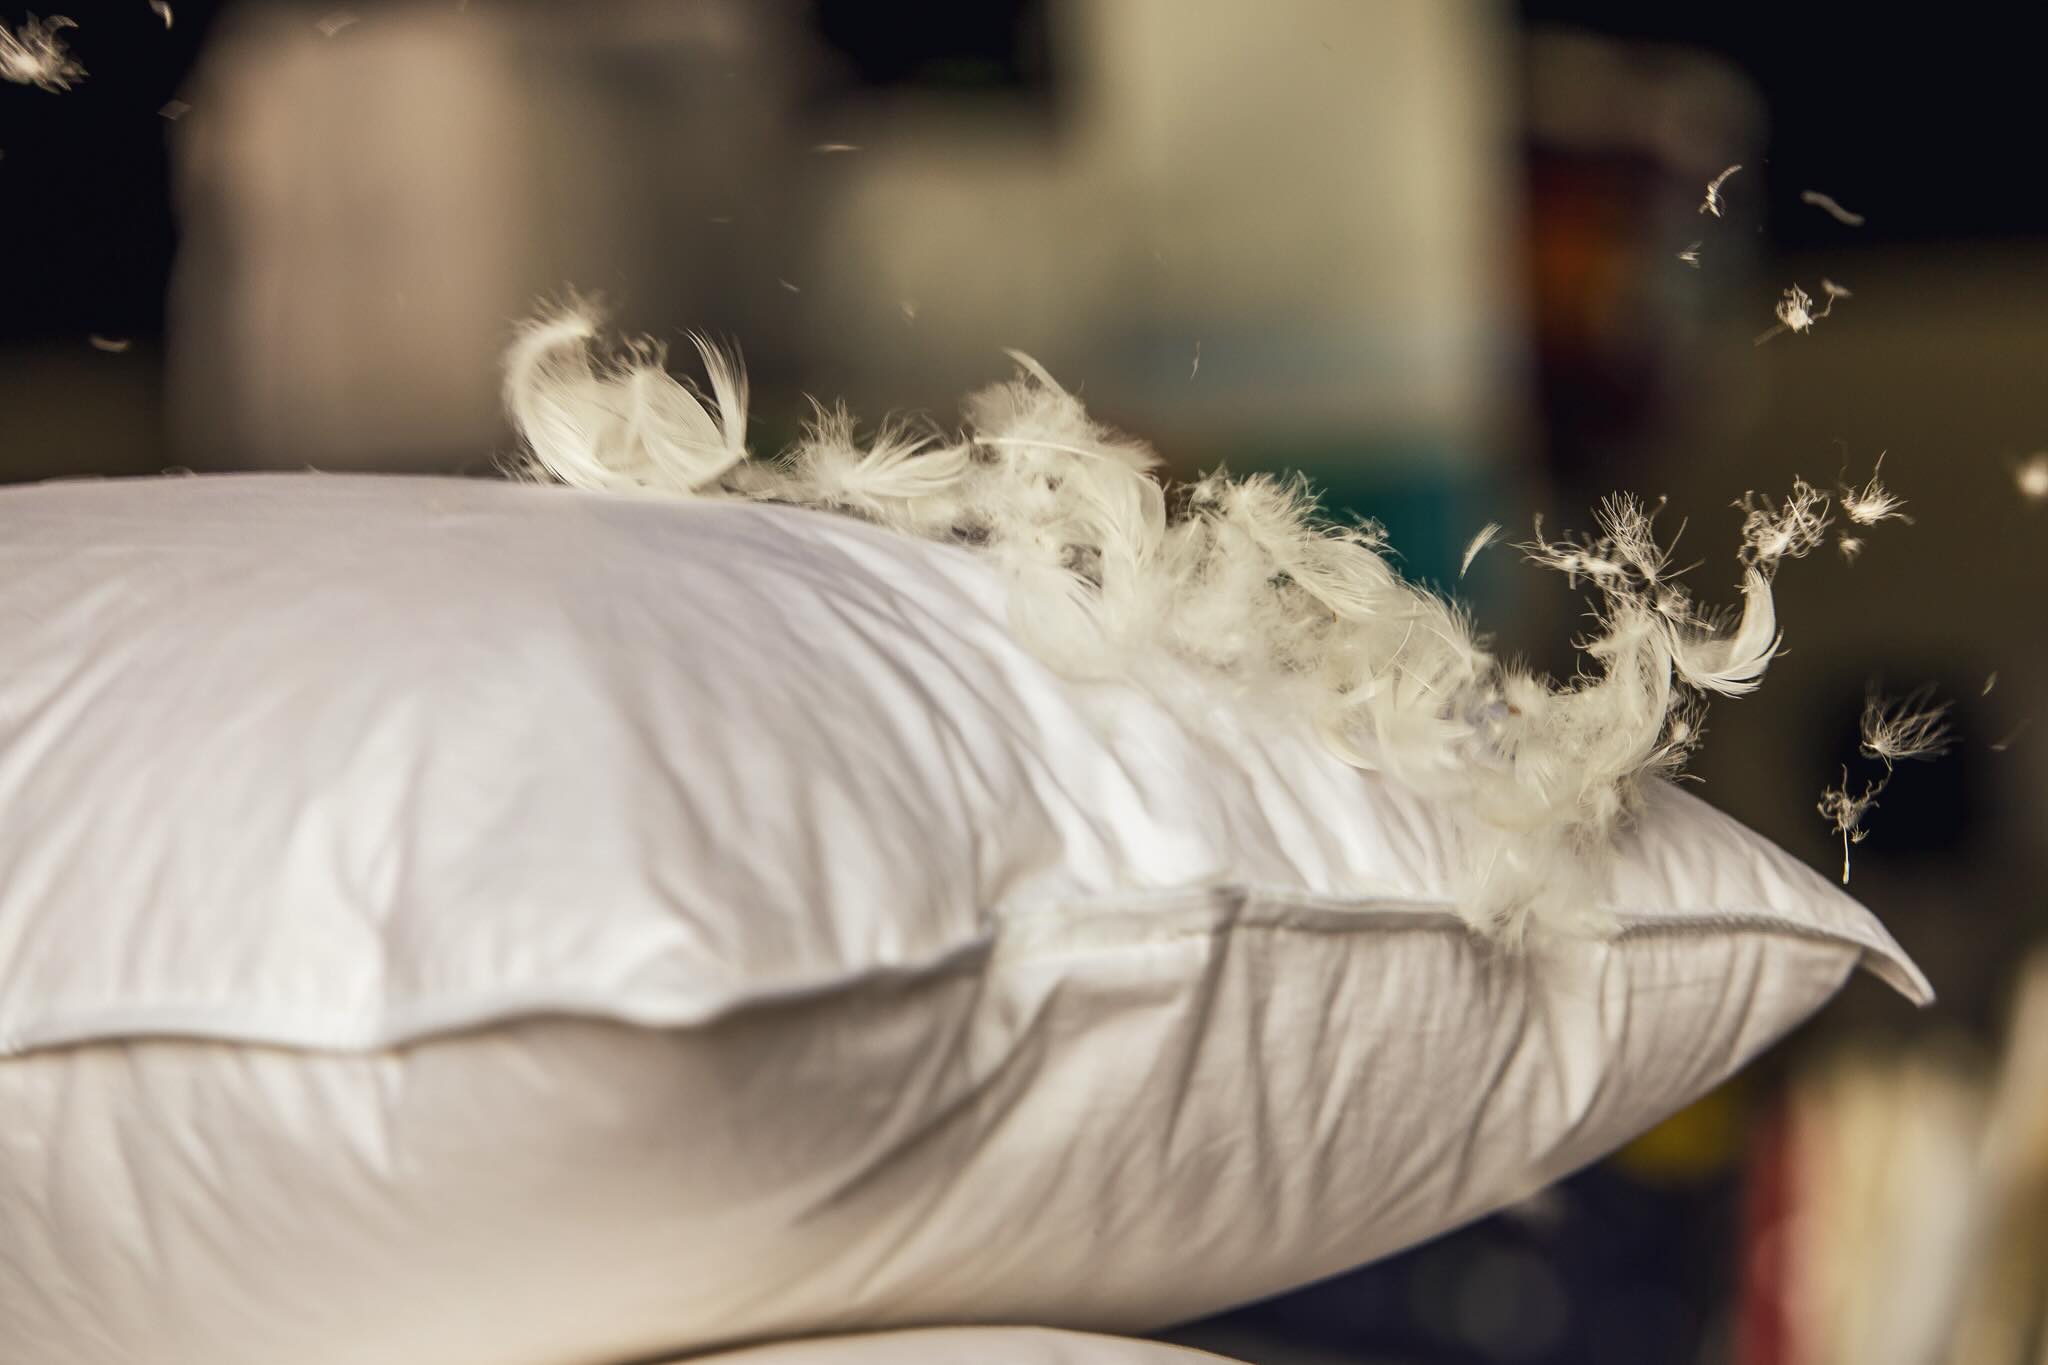
- Choose your filling: Decide on the type of filling you want for your outdoor pillow. Common options include polyester fiberfill, foam inserts, or shredded foam. Choose a filling that is suitable for outdoor use and provides the desired level of comfort and support.
- Create the pillow insert: If you’re using polyester fiberfill, cut a piece of fabric slightly smaller than the pillow cover dimensions. Sew around three sides of the fabric, leaving one side open. Stuff the fiberfill into the opening, ensuring an even distribution throughout the insert. Sew the opening closed, either by hand-stitching or using a sewing machine.
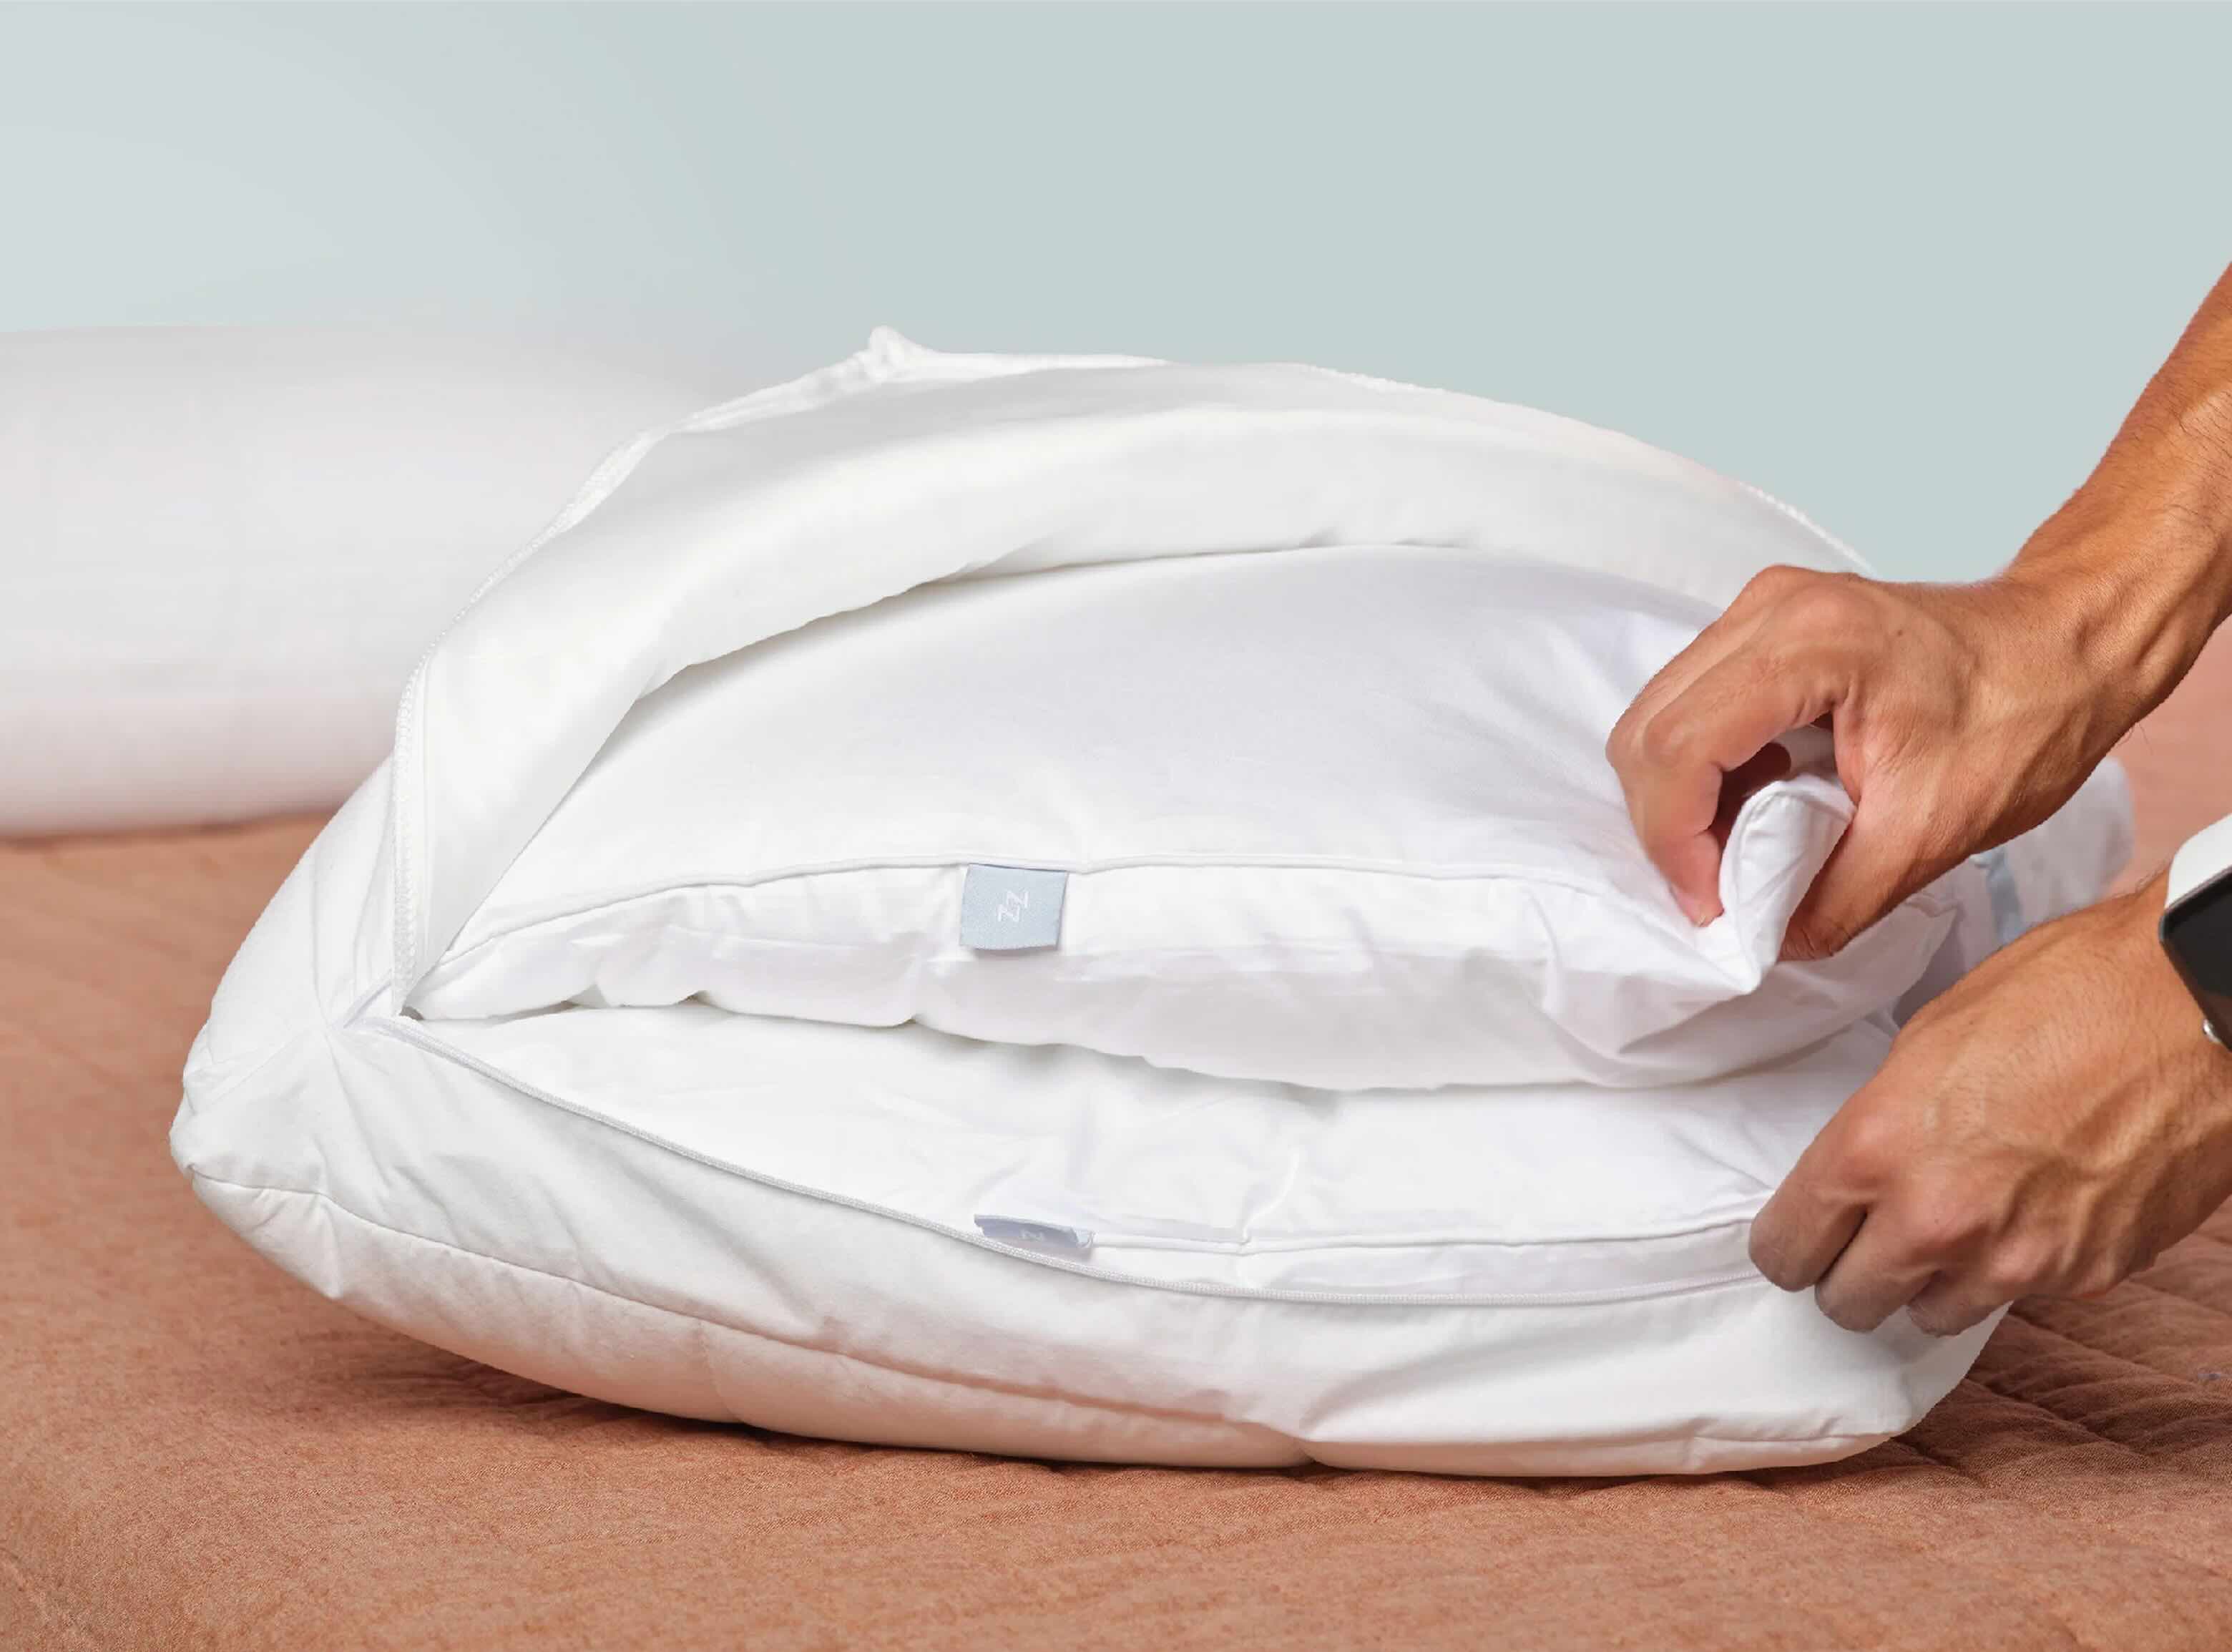
- Insert the pillow insert: If you’re using a foam insert or shredded foam, simply insert it into the pillow cover through the closure. Use your hands to push the foam into the corners and distribute it evenly within the cover. Zip up the zipper or fasten the Velcro closure to secure the insert inside the cover.
- Fluff and adjust: Once the insert is inside the pillow cover, take a moment to fluff and adjust the filling. Gently pat and shake the pillow to distribute the filling evenly and create a plush, full shape.
If you’re using a foam insert, you may want to consider making a removable cover for easy cleaning. Simply follow the steps for sewing the pillow cover, but leave one side completely open instead of adding a closure. This way, you can easily remove and wash the cover when needed.
Once the pillow insert is sewn or stuffed inside the cover, your outdoor pillow is almost complete. Just a few final touches, and your DIY masterpiece will be ready to enhance your outdoor space.
Final Touches
With the pillow cover sewn, the closure added, and the pillow insert or stuffing in place, it’s time to add some final touches to your outdoor pillows. These finishing details will give your pillows a polished and professional look:
- Trim any loose threads: Take a pair of scissors and carefully trim any loose threads or excess fabric around the seams. This will give your outdoor pillows a clean and tidy appearance.
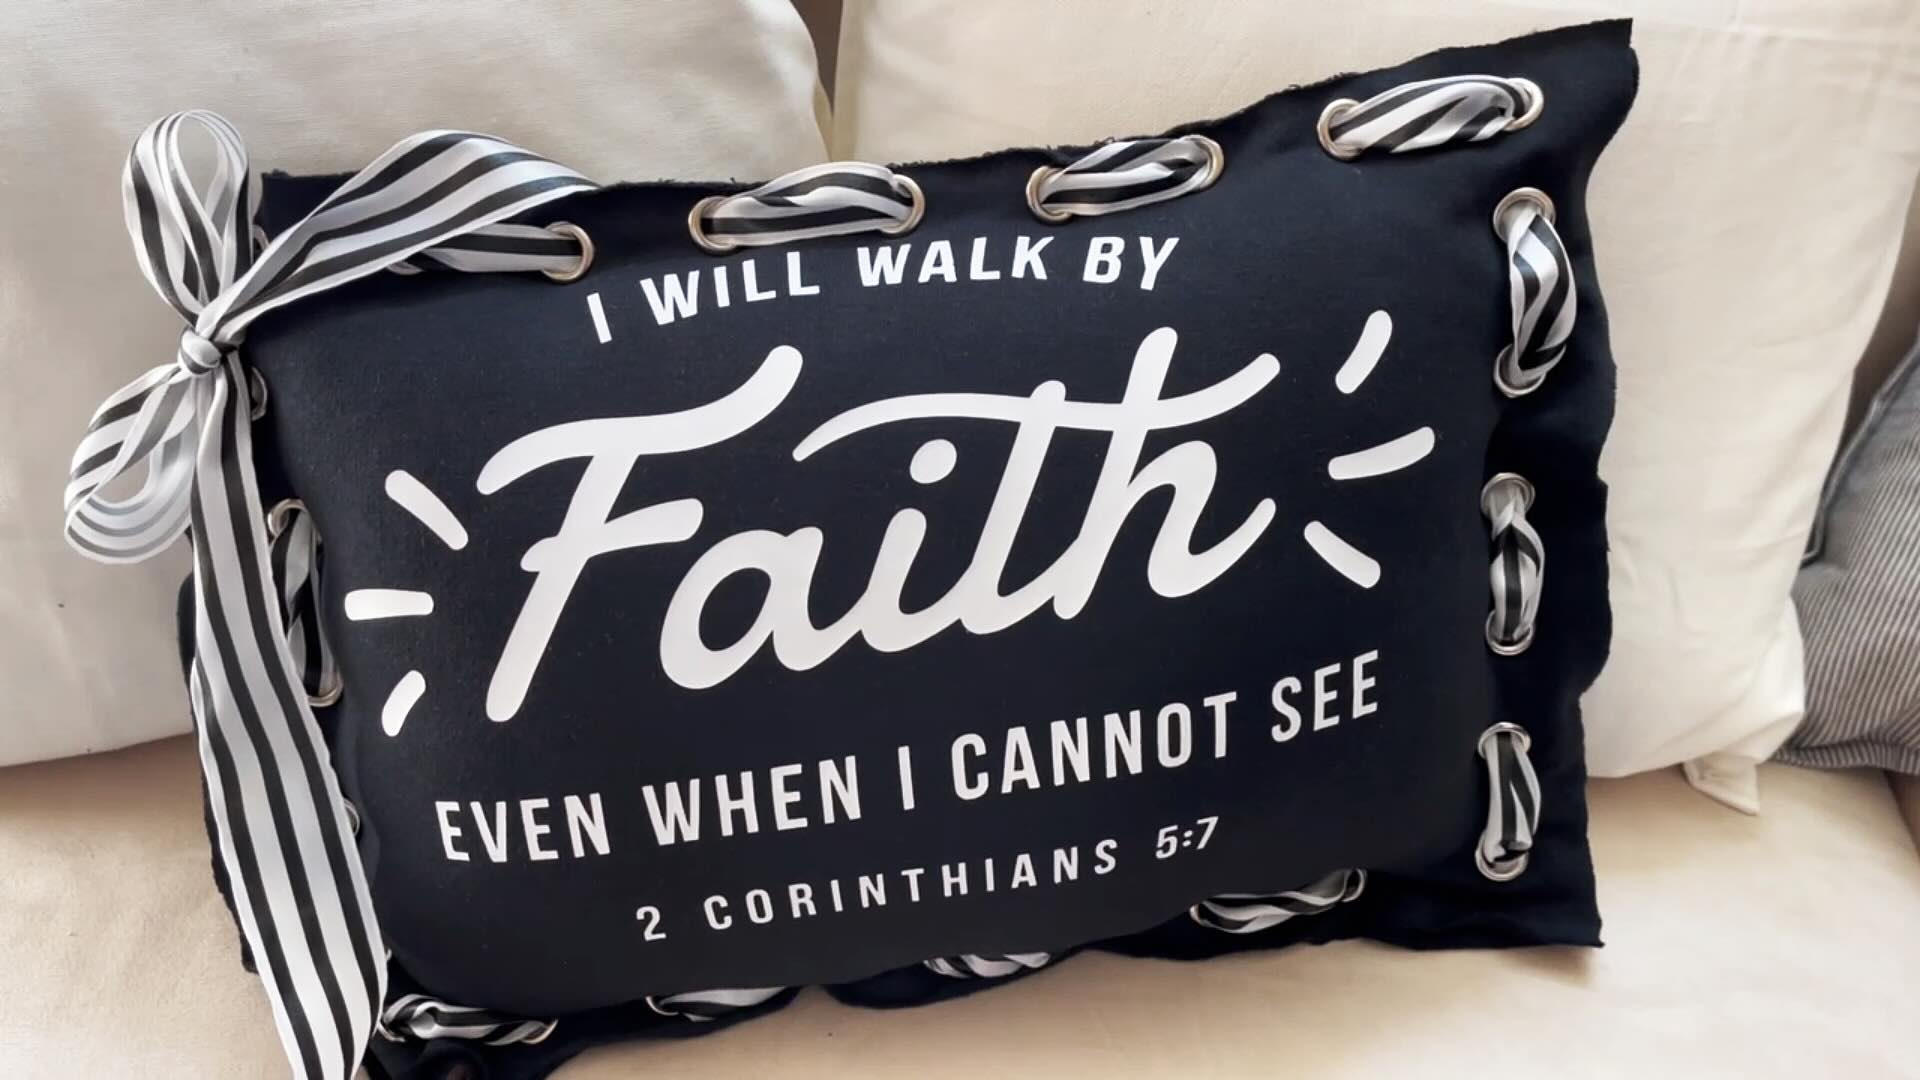
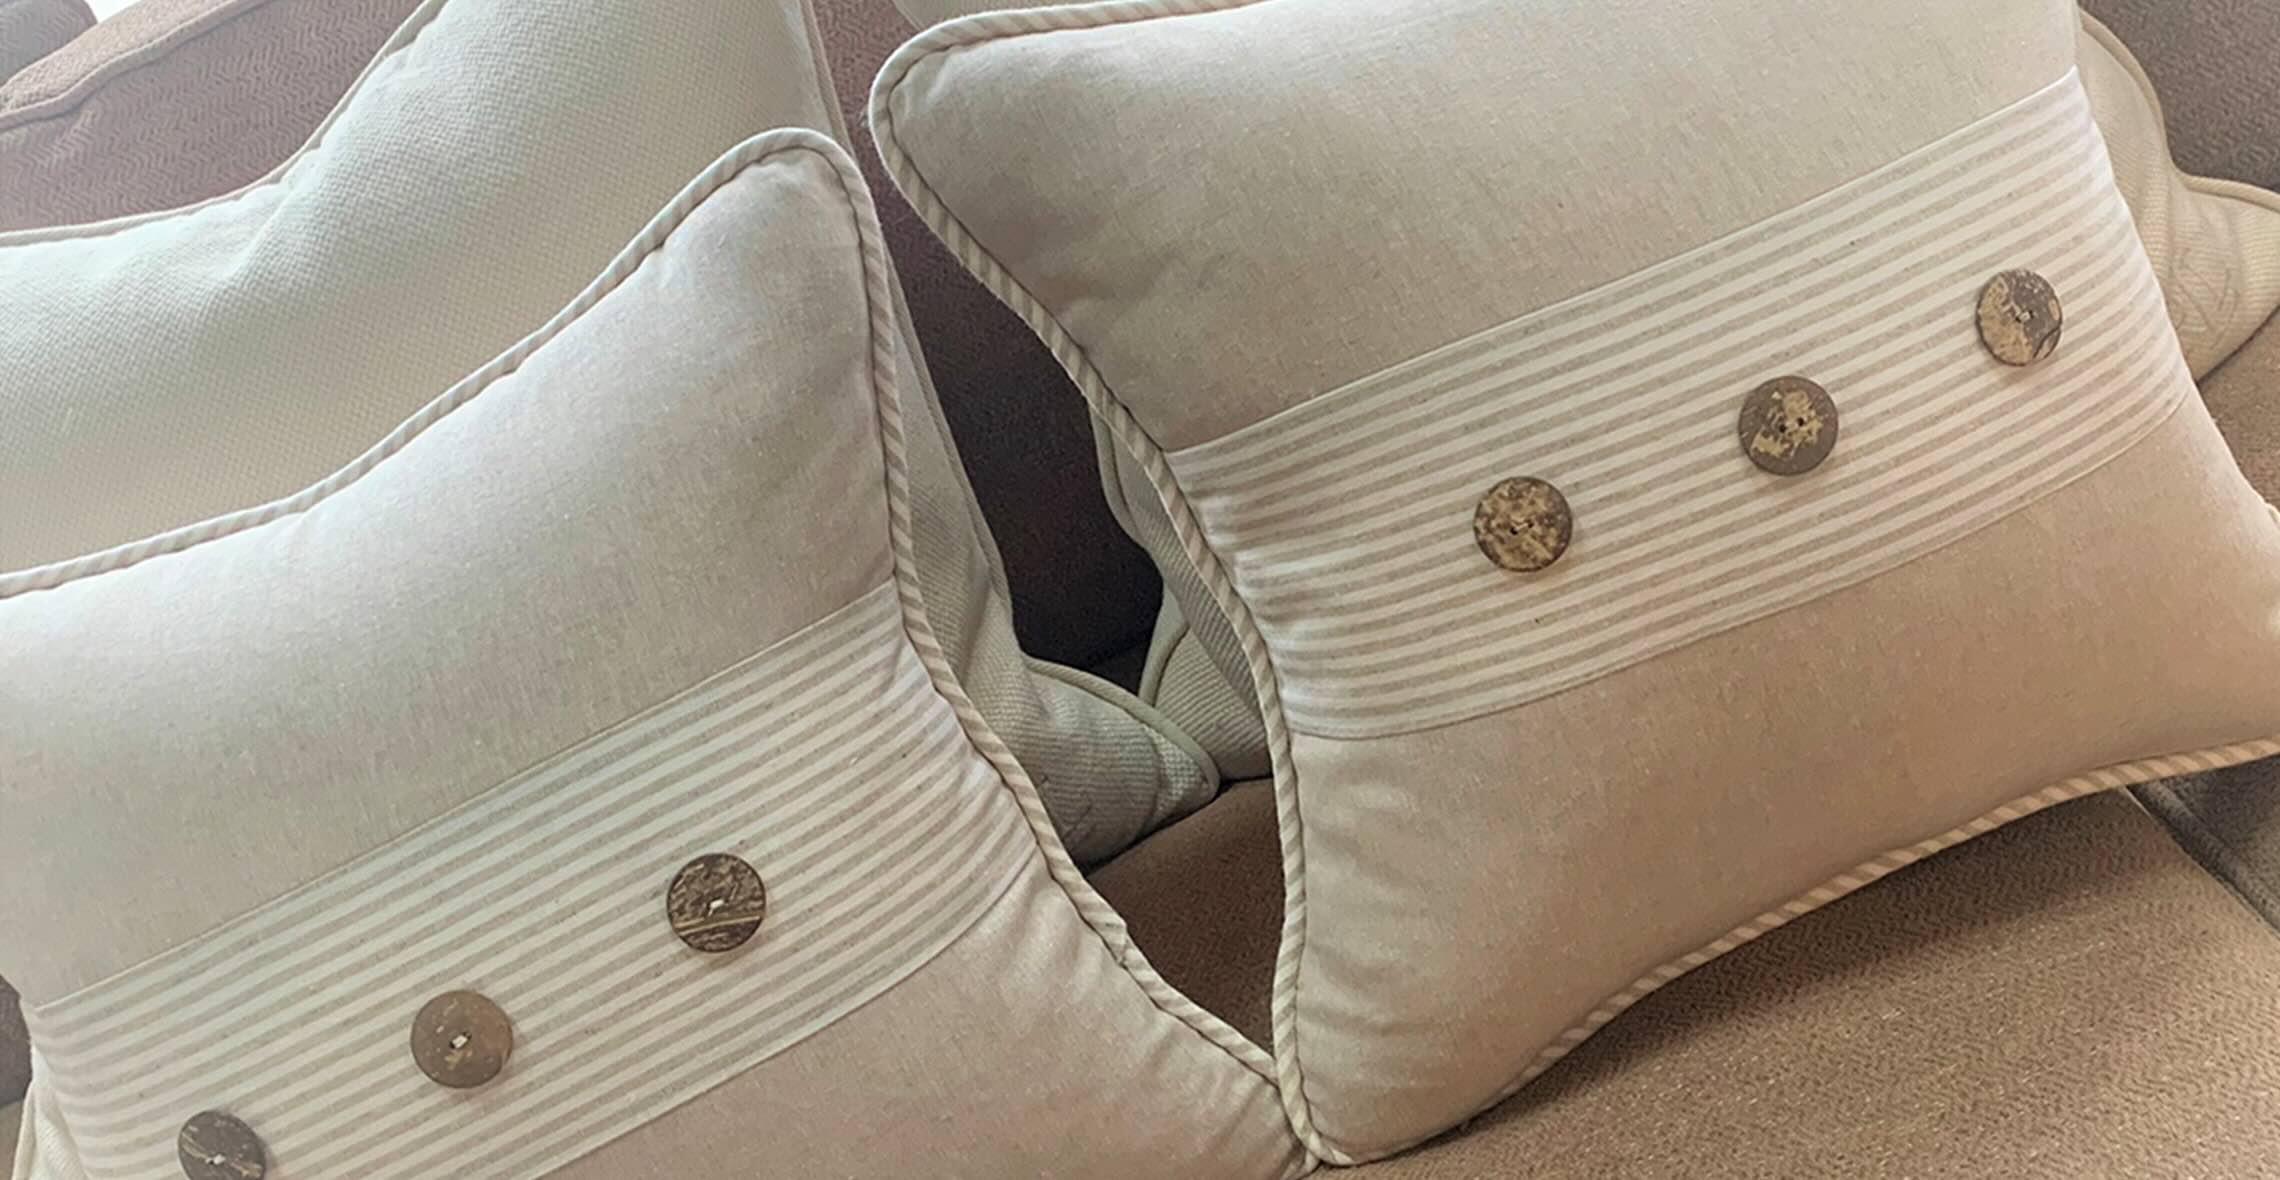
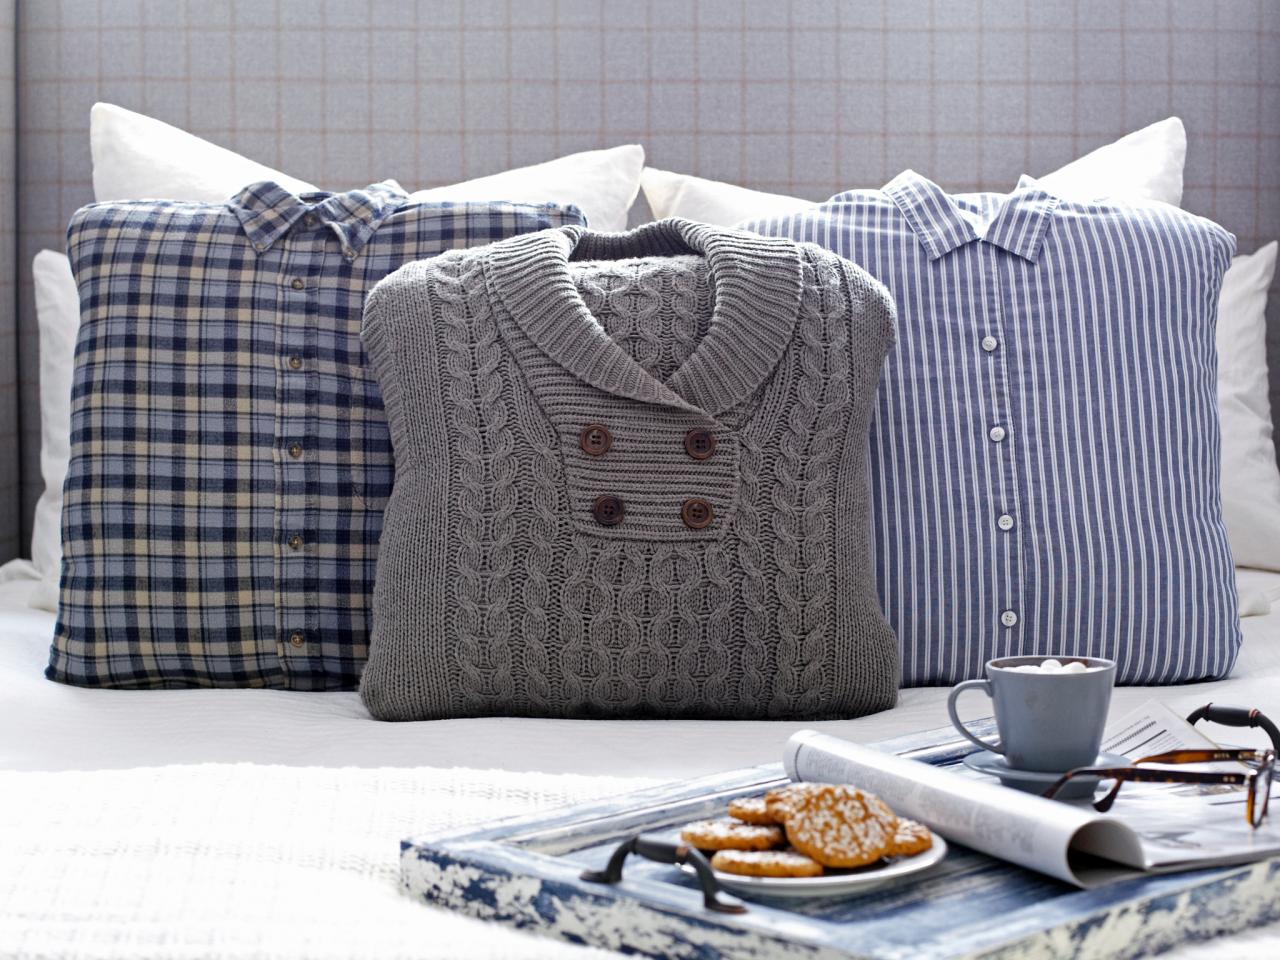
- Consider decorative accents: If you want to add some extra flair to your outdoor pillows, consider incorporating decorative accents. You could sew on buttons, attach fabric flowers, or add piping or trim along the edges of the pillows. These small details can elevate the look of your pillows and customize them to suit your style.
- Give it a final press: To ensure a crisp and neat finish, lightly steam or press your outdoor pillows with an iron. Be sure to follow the fabric care instructions to avoid damaging the fabric. This step will remove any wrinkles and give your pillows a professional appearance.
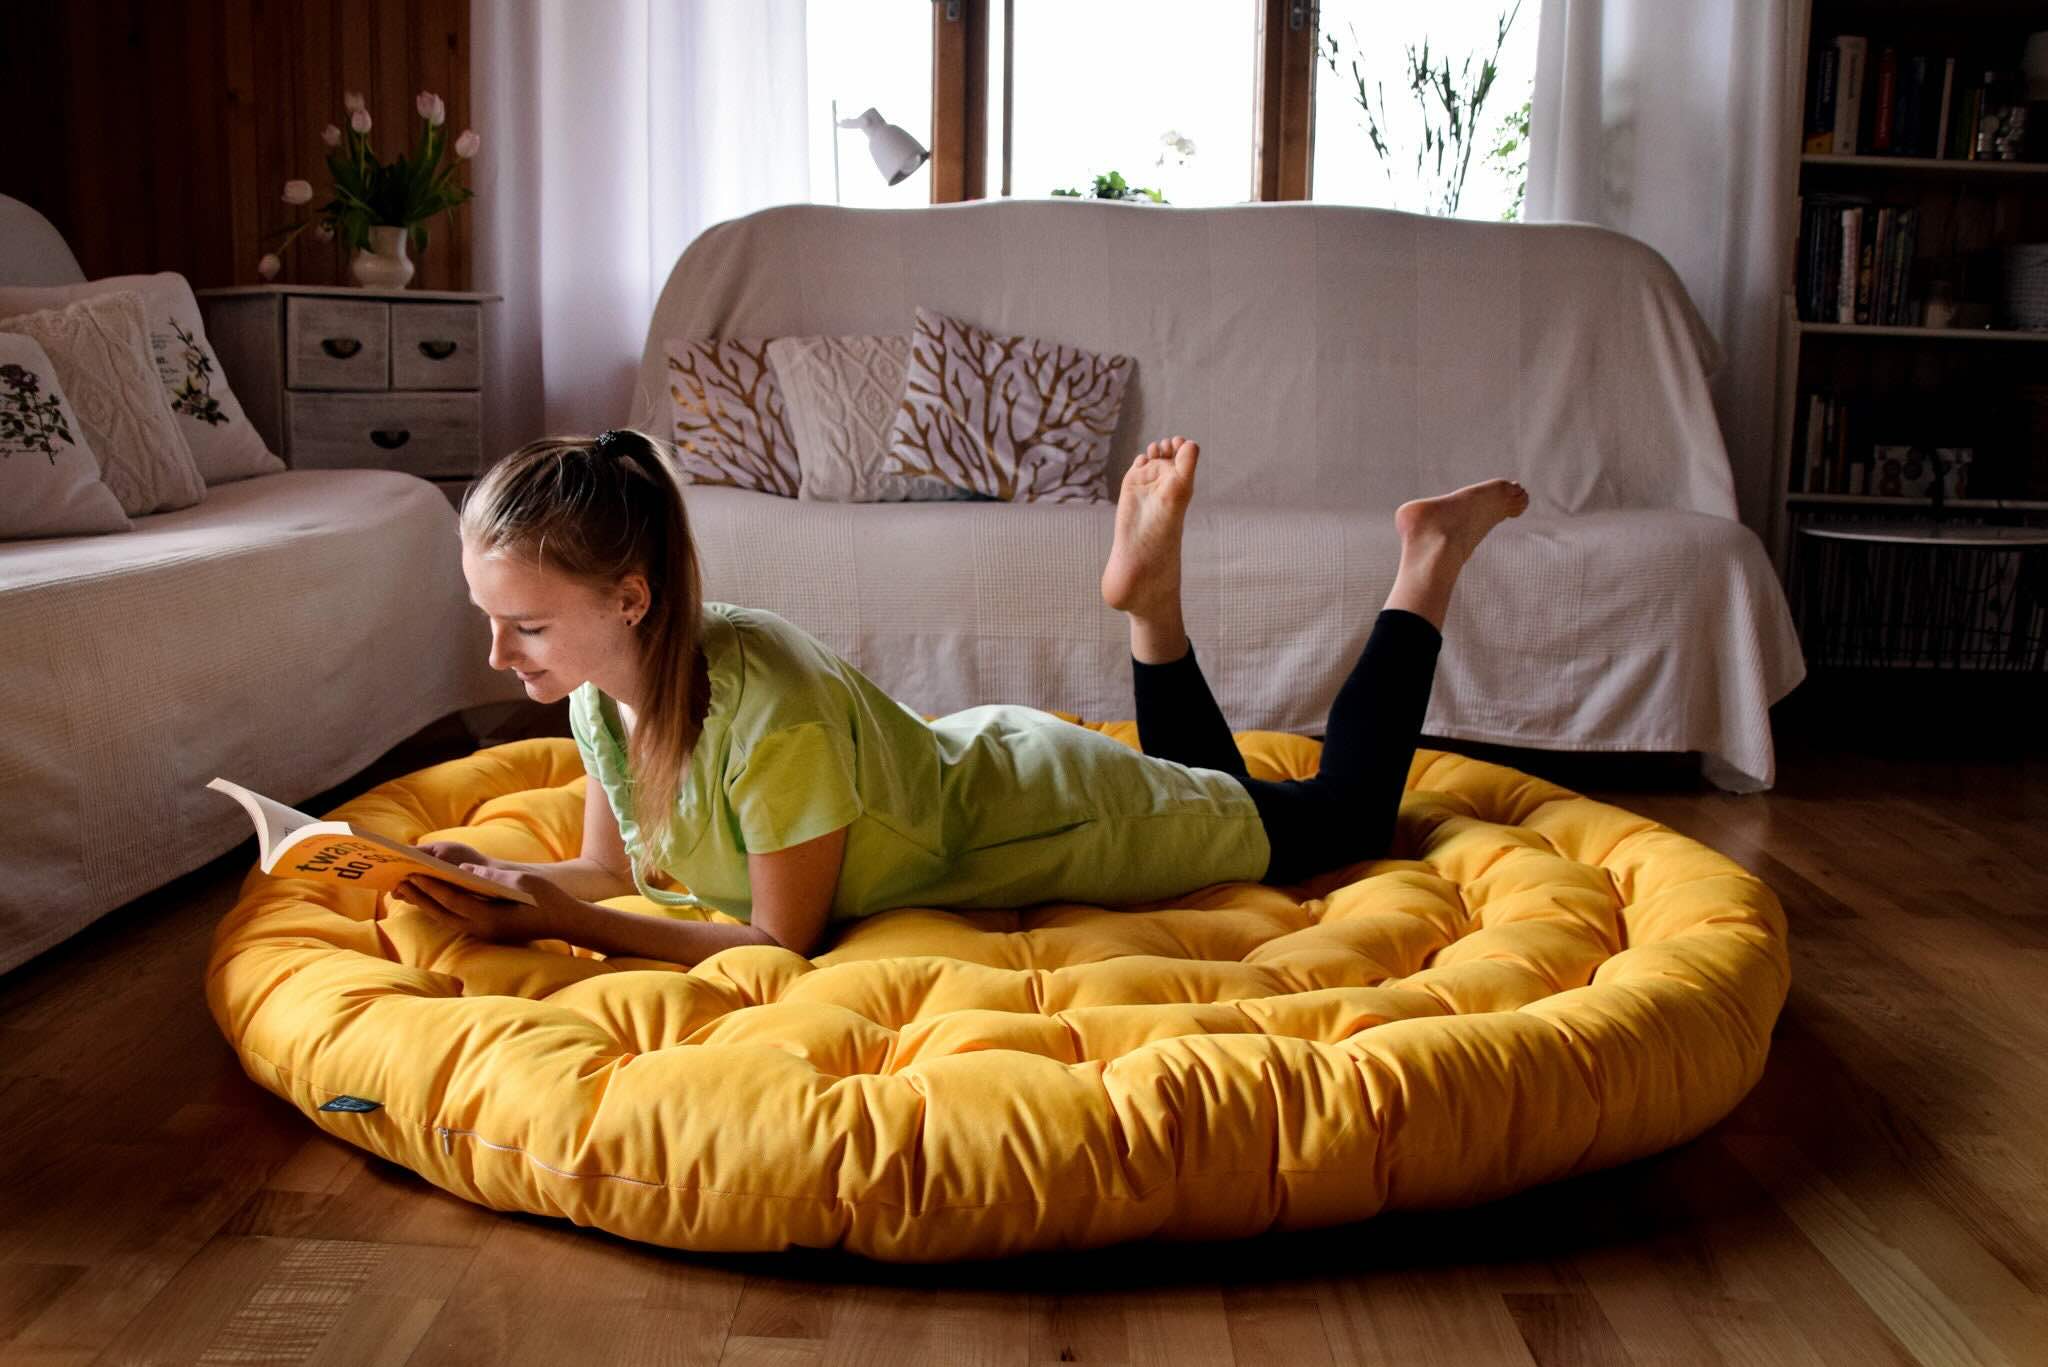
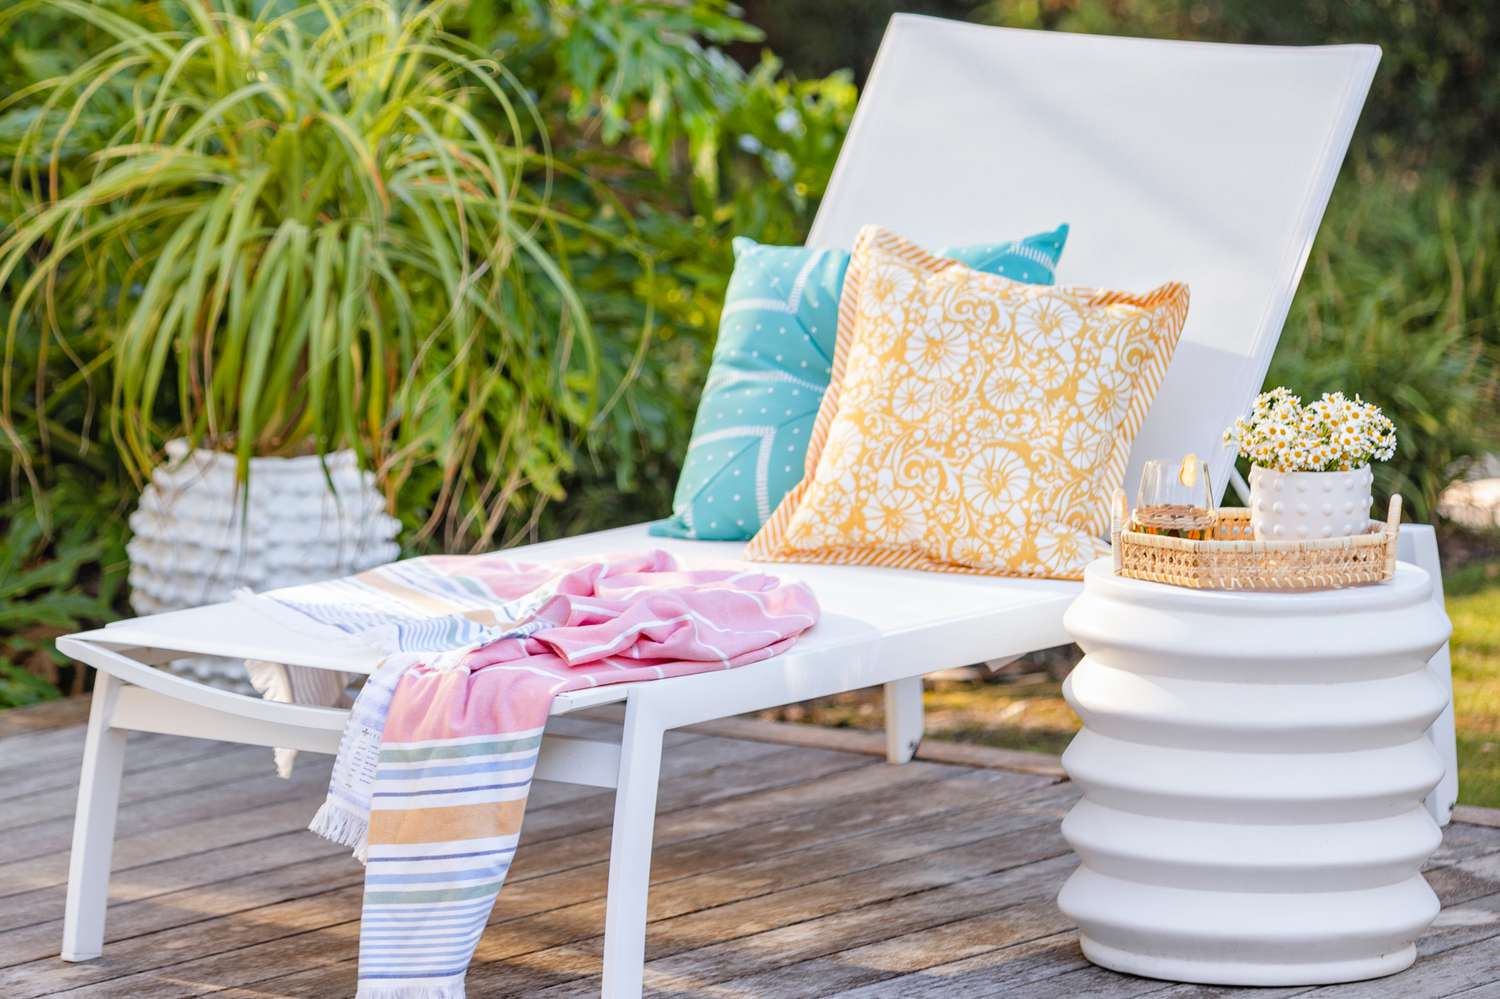
- Arrange and style: Once your outdoor pillows are complete, arrange them on your patio furniture, outdoor sofa, or lounge chairs. Experiment with different configurations and placements to create an inviting and cozy outdoor space. Mix and match patterns, colors, and sizes to add visual interest and create a cohesive look.
Remember, outdoor pillows are exposed to the elements, so it’s important to regularly clean and maintain them to ensure their longevity. Check the care instructions for your specific fabric and follow the recommended cleaning methods.
By following these steps and adding those final touches, you’ll have beautiful and comfortable outdoor pillows that are tailored to your style and made with love. Enjoy your outdoor oasis and don’t forget to relax and unwind on your DIY creations!
Conclusion
Congratulations! You’ve successfully learned how to make outdoor pillows from start to finish. By choosing the right fabric, measuring and cutting accurately, sewing the pillow cover, adding a zipper or Velcro closure, and stuffing the insert, you’ve created beautiful and functional outdoor pillows that will enhance your outdoor living space.
Making your own outdoor pillows not only allows you to showcase your creativity but also offers the opportunity to customize the pillows to match your outdoor decor and personal style. The ability to select durable and weather-resistant fabrics ensures that your pillows will withstand the elements and remain vibrant and comfortable for years to come.
Remember, don’t shy away from adding decorative touches like buttons, trim, or piping to give your pillows a unique and personalized look. These small details can make a big difference in elevating the overall aesthetic of your outdoor space.
Now that you have the skills and knowledge to create your own outdoor pillows, feel free to experiment with different patterns, colors, and designs. Mix and match pillow sizes and styles to create a visually appealing and inviting outdoor seating area.
Lastly, remember to properly care for your outdoor pillows. Regular cleaning and maintenance will help prolong their lifespan and keep them looking fresh and vibrant. Follow the fabric care instructions and clean as needed to remove dirt, stains, or mildew.
We hope this comprehensive guide has inspired you to embark on your DIY outdoor pillow-making journey. Enjoy the process, get creative, and transform your outdoor space into a cozy and stylish oasis of comfort. Happy sewing!
Frequently Asked Questions about How To Make Outdoor Pillows
Was this page helpful?
At Storables.com, we guarantee accurate and reliable information. Our content, validated by Expert Board Contributors, is crafted following stringent Editorial Policies. We're committed to providing you with well-researched, expert-backed insights for all your informational needs.

0 thoughts on “How To Make Outdoor Pillows”