Articles
How To Quilt A Pillow Cover
Modified: December 7, 2023
Learn how to quilt a beautiful pillow cover with our step-by-step articles. Discover techniques and tips for creating stunning designs.
(Many of the links in this article redirect to a specific reviewed product. Your purchase of these products through affiliate links helps to generate commission for Storables.com, at no extra cost. Learn more)
Introduction
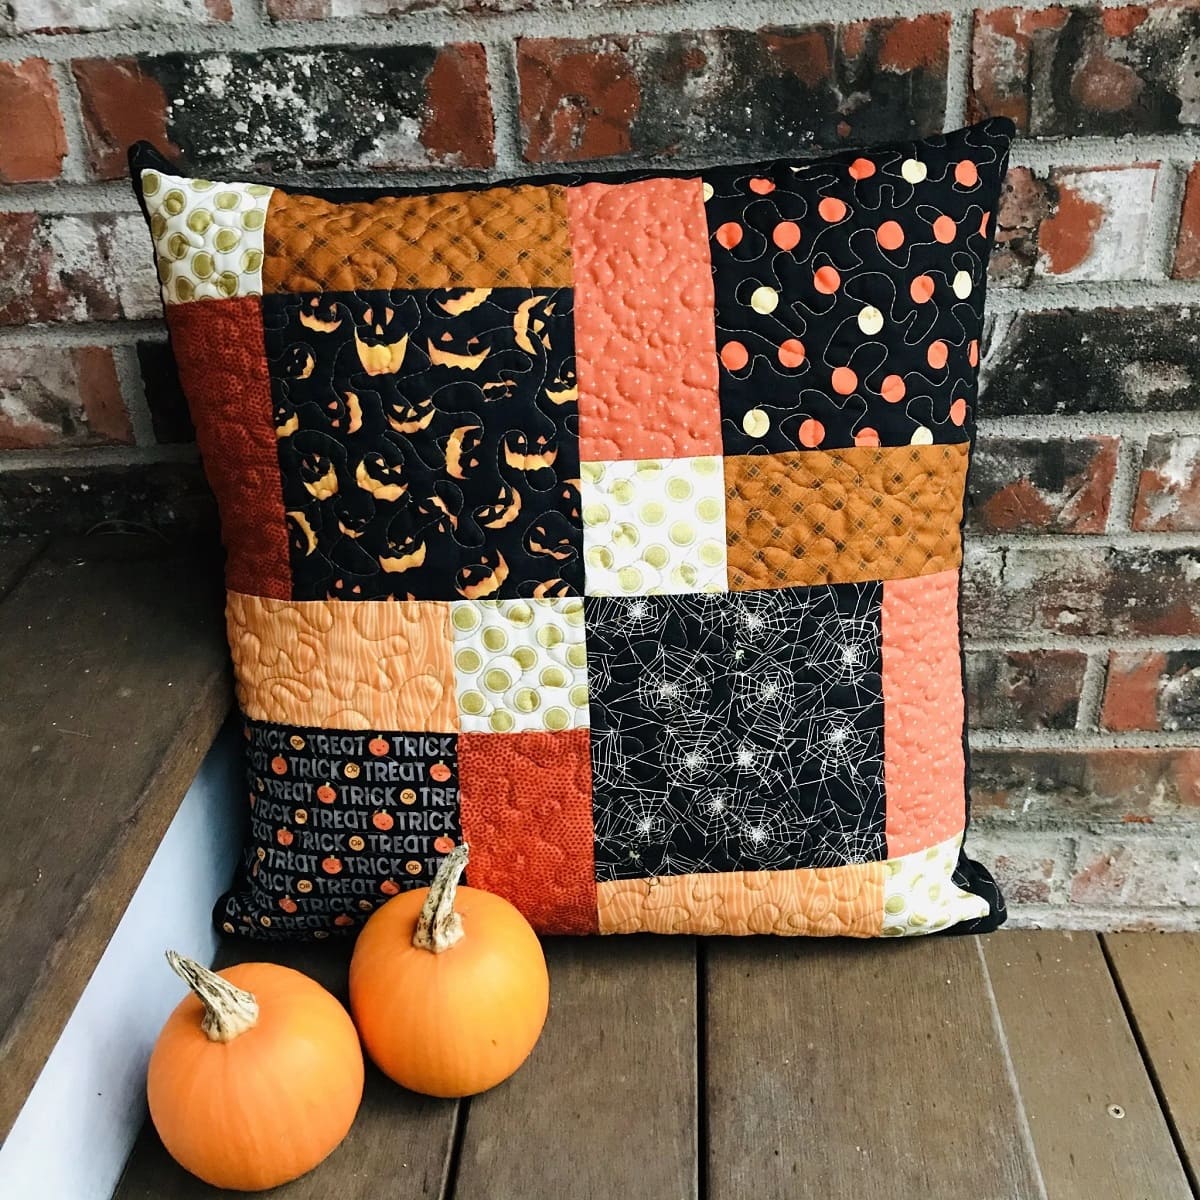
Quilting is a timeless craft that allows you to create beautiful and functional pieces. One popular quilting project is making a pillow cover. Not only does it add a personal touch to your home decor, but it also provides a cozy and inviting feel. Whether you’re a beginner or an experienced quilter, creating a quilted pillow cover is a satisfying and rewarding endeavor.
In this article, we will guide you through the process of quilting a pillow cover step by step. From choosing the fabric to adding the finishing touches, you’ll learn all the essential techniques to create a stunning and durable pillow cover that will be the perfect addition to any room.
Before we dive into the details, let’s gather all the materials you’ll need for this project.
Key Takeaways:
- Create stunning and durable quilted pillow covers by carefully choosing fabric, precise cutting, and experimenting with quilting designs. Let your creativity shine and enjoy the rewarding process of quilting.
- Quilting not only adds beauty to your home decor but also provides a sense of accomplishment and relaxation. Embrace the artistry, unleash your imagination, and let your quilted creations bring warmth and beauty to your surroundings.
Read more: How To Cover Pillows With Fabric
Materials Needed
Before getting started, gather the following materials:
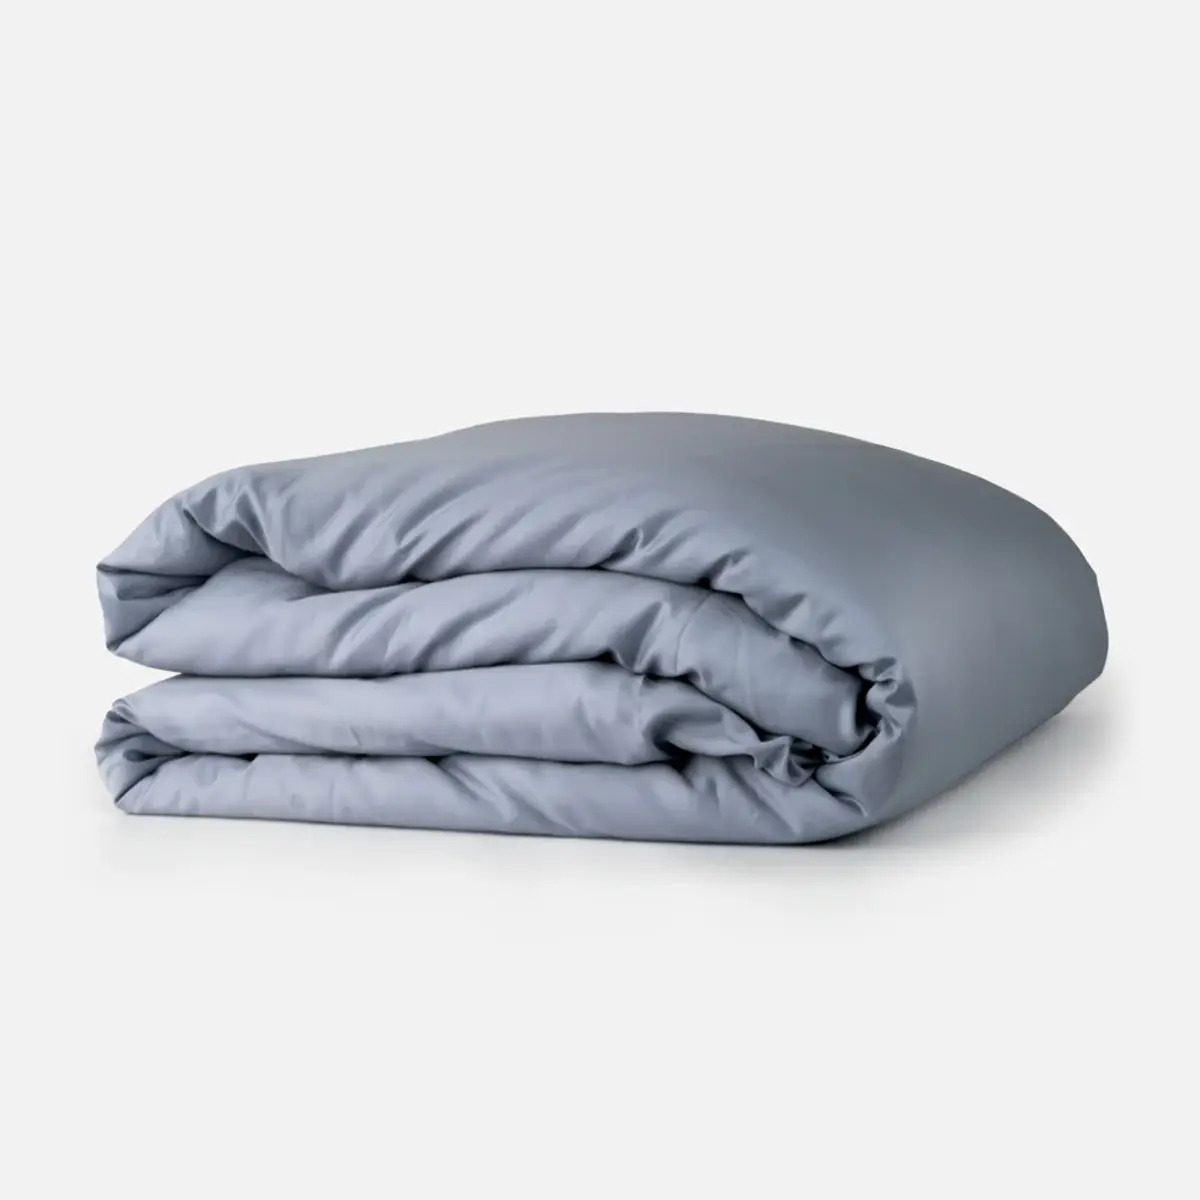
- Fabric: Choose a sturdy and durable fabric for the front and back of the pillow cover.
- Batting: This will provide the ‘quilted’ look and add dimension to the cover.
- Thread: Select a high-quality thread that complements your fabric choices.
- Scissors or Rotary Cutter: These will be used to cut the fabric pieces accurately.
- Ruler: Use a ruler to measure and draw straight lines for precise cutting.
- Pins: These will help secure the fabric layers together during the quilting process.
- Quilting Needles: Choose needles specifically designed for quilting.
- Zipper or Buttons: Depending on your preference, you’ll need a zipper or buttons for the closure.
- Iron and Ironing Board: These will be used to press the fabric and achieve crisp seams.
- Sewing Machine: An essential tool for sewing and quilting.
Once you have all the materials ready, it’s time to move on to the next step – choosing the fabric for your pillow cover.
Step 1: Choosing the Fabric
Selecting the right fabric for your pillow cover is crucial as it sets the foundation for the overall aesthetic and durability of your project. Consider the following factors when choosing your fabric:
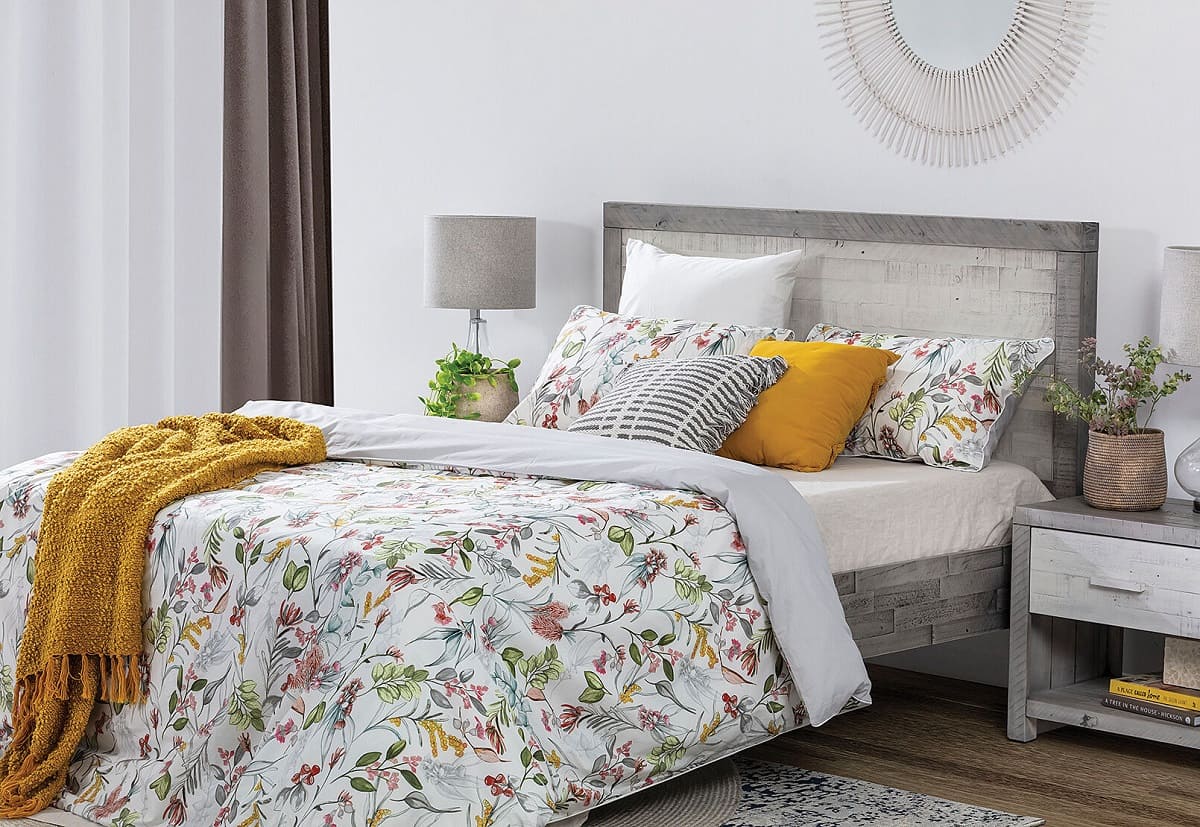
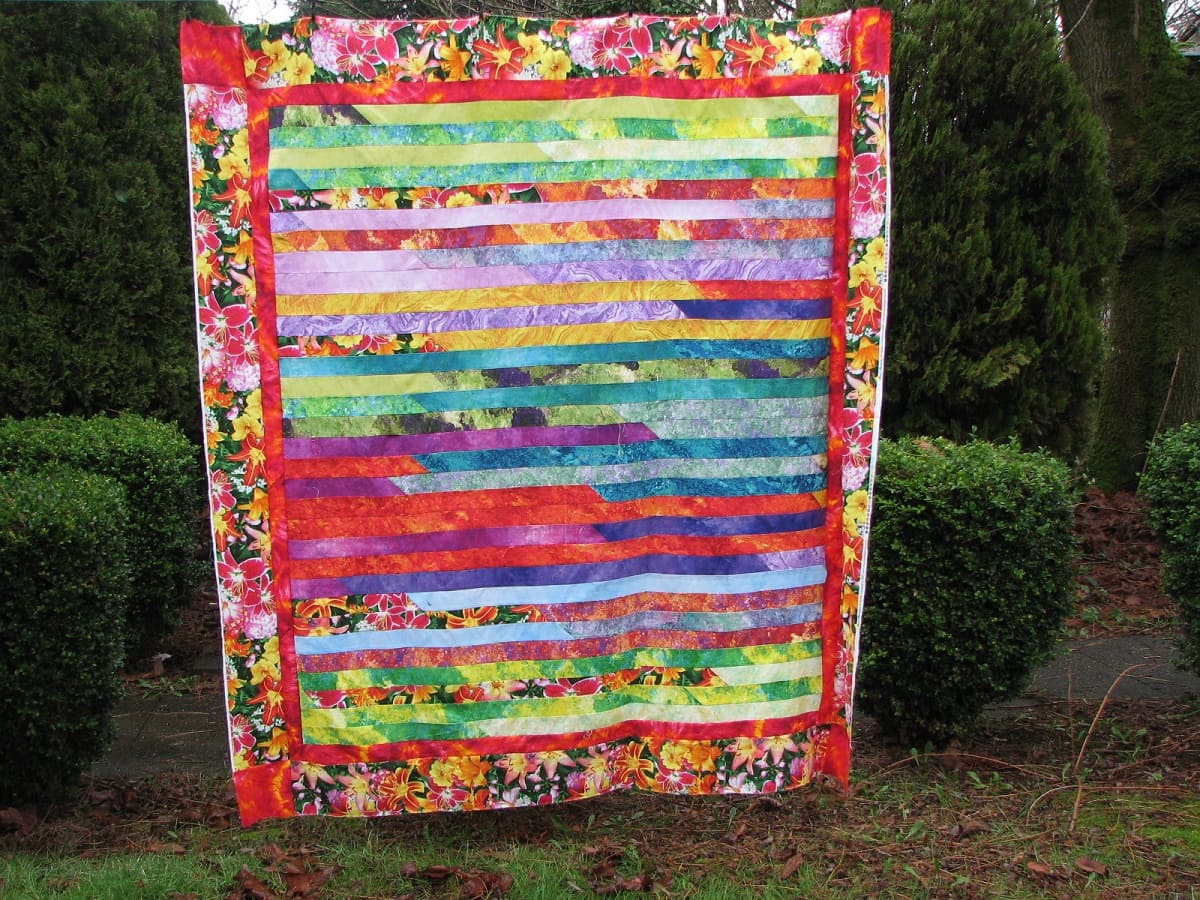
- Color and Pattern: Decide on a color scheme and pattern that matches your personal style and the existing décor in the room where the pillow will be placed. You can choose a solid color, a floral print, or even a geometric design depending on your preference.
- Texture and Feel: Consider the texture of the fabric to ensure it complements the purpose of the pillow. For example, if you want a cozy and soft pillow, opt for fabrics like flannel or fleece. If you prefer a more structured and crisp look, go for a cotton or linen fabric.
- Durability: Since pillows are often used for relaxation and support, it’s important to choose a fabric that can withstand regular use. Fabrics like cotton blends or upholstery-grade materials are excellent choices for durability.
- Washability: Think about the practicality of maintaining your pillow cover. If you anticipate frequent spills or stains, choose a fabric that is easy to clean and can withstand machine washing.
Once you have considered these factors, visit your local fabric store or browse online to explore a wide range of options. Don’t be afraid to mix and match different fabrics for the front and back of your pillow cover to add visual interest. Remember, the fabric you choose will play a significant role in the final outcome of your quilted pillow cover.
Step 2: Cutting the Fabric Pieces
Now that you have chosen your fabric, it’s time to cut the pieces needed for your pillow cover. Follow these steps to ensure accurate and precise cuts:
- Measurements: Determine the size of your pillow cover. Measure the dimensions of your pillow insert or an existing pillow cover to guide you. Add seam allowances of about 1/2 inch on all sides for the front and back pieces.
- Front Panel: Cut a square or rectangle for the front panel of your pillow cover using the measurements you determined. This will be the focal point of your quilted design.
- Back Panel: Cut two pieces for the back panel of the pillow cover. These should be the same width as the front panel but slightly longer to account for the closure. You can choose to have an envelope closure or add a zipper to one side.
- Batting: Cut a piece of batting that matches the size of your front panel. This will be sandwiched between the front and back panels to create the quilted effect.
Use a ruler and fabric scissors or a rotary cutter to ensure straight and clean cuts. Take your time and double-check your measurements before cutting the fabric. It’s always better to be precise from the start to avoid any fitting issues later on.
Once you have all the fabric pieces cut and ready, you can move on to the next step – piecing the front panel.
Step 3: Piecing the Front Panel
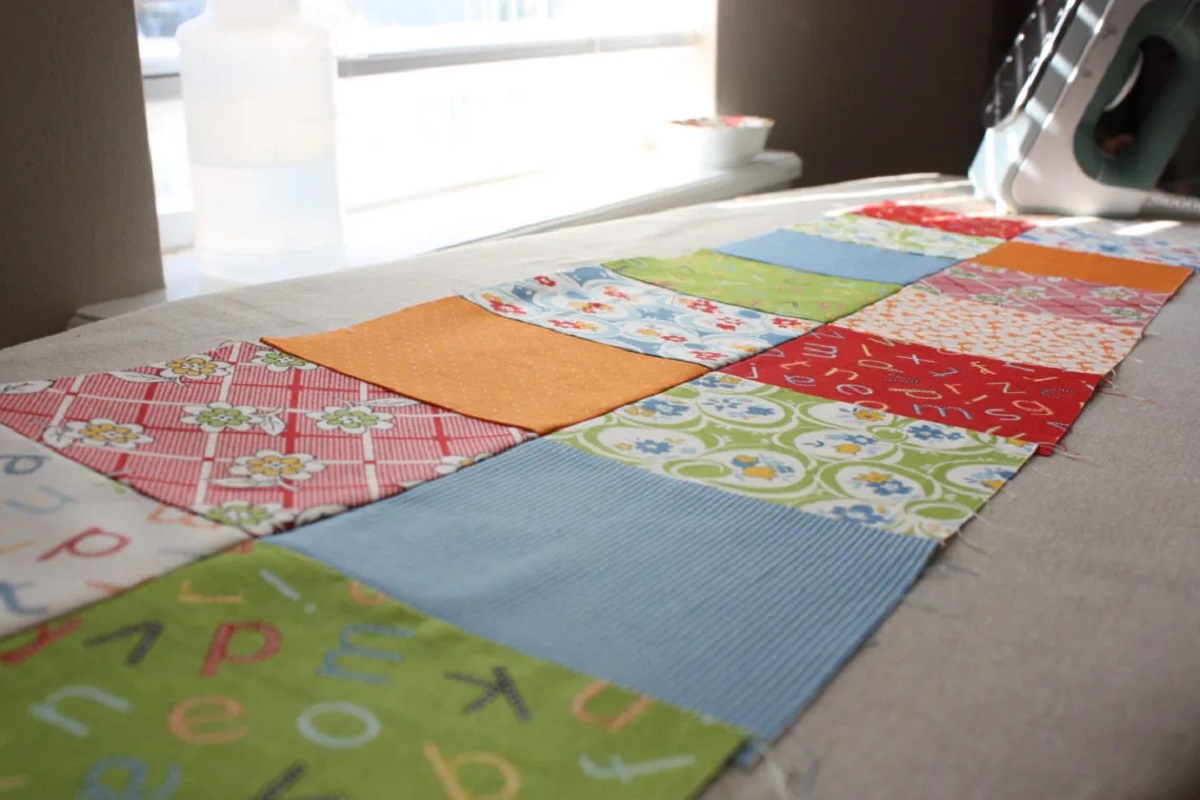
Now that you have all your fabric pieces cut, it’s time to piece together the front panel of your quilted pillow cover. Follow these steps:
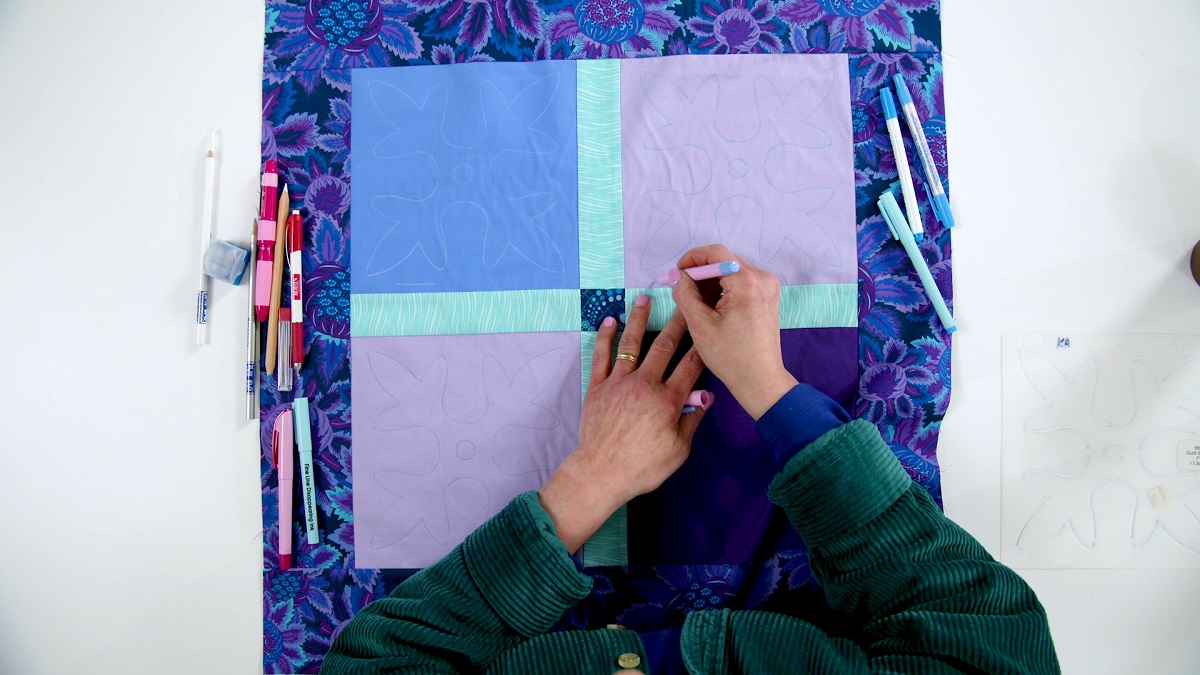
- Layout: Lay out your front panel fabric piece on a flat surface. Visualize the design you want to create with your quilting pattern.
- Pin or Baste: If you’re using a complex quilting design, it’s a good idea to pin or baste the layers together to keep them in place while you sew. This will prevent shifting and ensure accurate quilting lines.
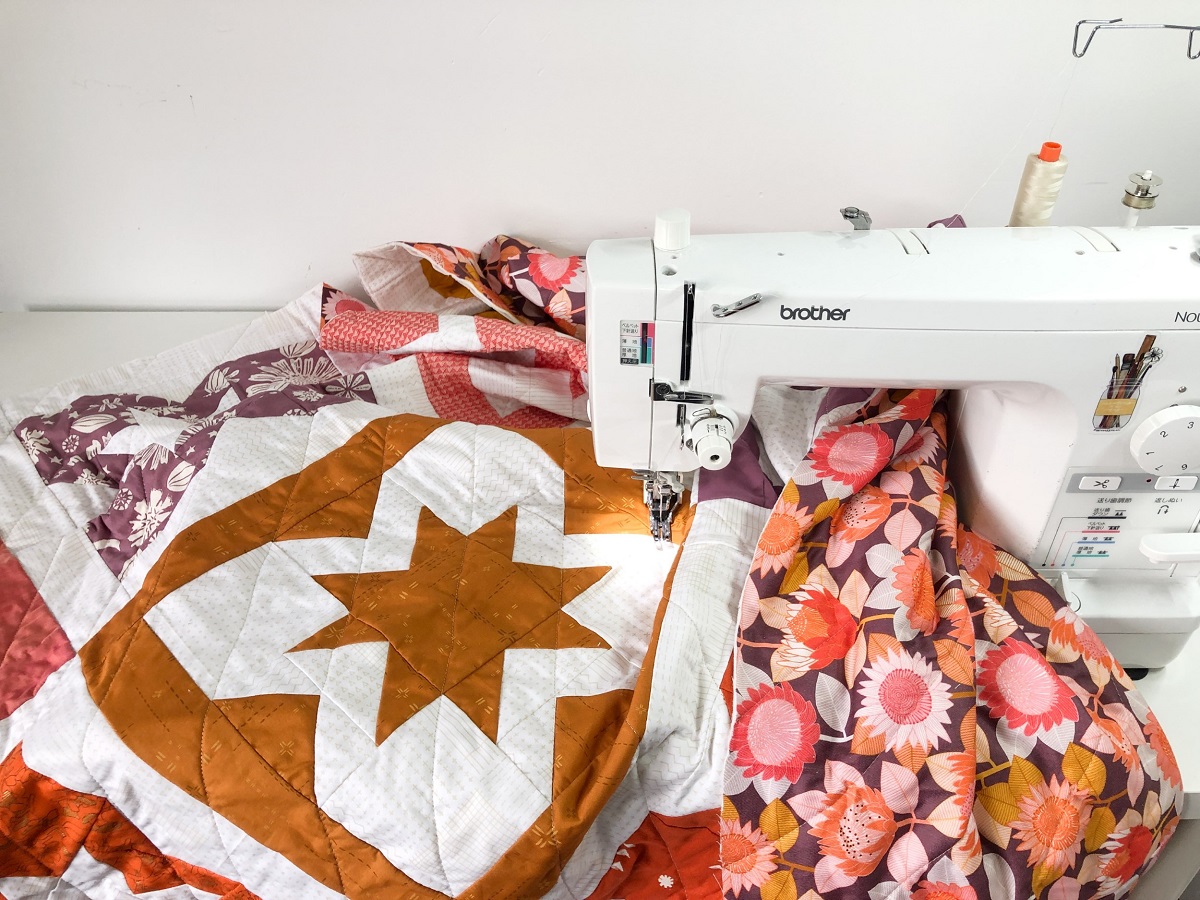
- Quilting: Attach your quilting foot to your sewing machine and select a decorative stitch or a basic straight stitch. Start quilting by sewing along your chosen pattern or lines. You can quilt straight lines, stitch in the ditch (along the seams), or create intricate designs depending on your preference.
- Trim: Once you have finished quilting the front panel, trim any excess batting or fabric along the edges to ensure a neat and even finish.
Remember to take your time and sew at a steady pace to achieve a smooth and consistent quilting pattern on your front panel. Experiment with different quilting designs and techniques to add depth and visual interest to your pillow cover. Once you have completed quilting the front panel, you’re ready for the next step – creating the quilt sandwich.
When quilting a pillow cover, make sure to use a walking foot on your sewing machine to prevent the layers from shifting and ensure even stitching.
Read more: How To Build Outdoor Pillow Covers
Step 4: Creating the Quilt Sandwich
Creating the quilt sandwich is an essential step in quilting a pillow cover. This involves layering the front panel, batting, and back panel together to form a cohesive and quilted piece. Follow these steps to create your quilt sandwich:
- Place the Back Panel: Take one of the back panel pieces and lay it right side down on your work surface.
- Layer the Batting: Place the batting on top of the back panel, aligning the edges.
- Add the Front Panel: Place the quilted front panel on top of the batting, right side facing up. Align all the edges of the fabric layers.
- Pin or Baste the Layers: Pin or use basting stitches to secure the layers together. Start in the center and work your way out, making sure all layers are smooth and wrinkle-free.
Creating a quilt sandwich ensures that the layers remain secure during the quilting process and helps maintain the overall shape and structure of the pillow cover. Take your time to ensure that the layers are aligned correctly and neatly pinned or basted together.
Now that the quilt sandwich is complete, you’re ready to move on to the next step – quilting the layers together.
Step 5: Quilting the Layers
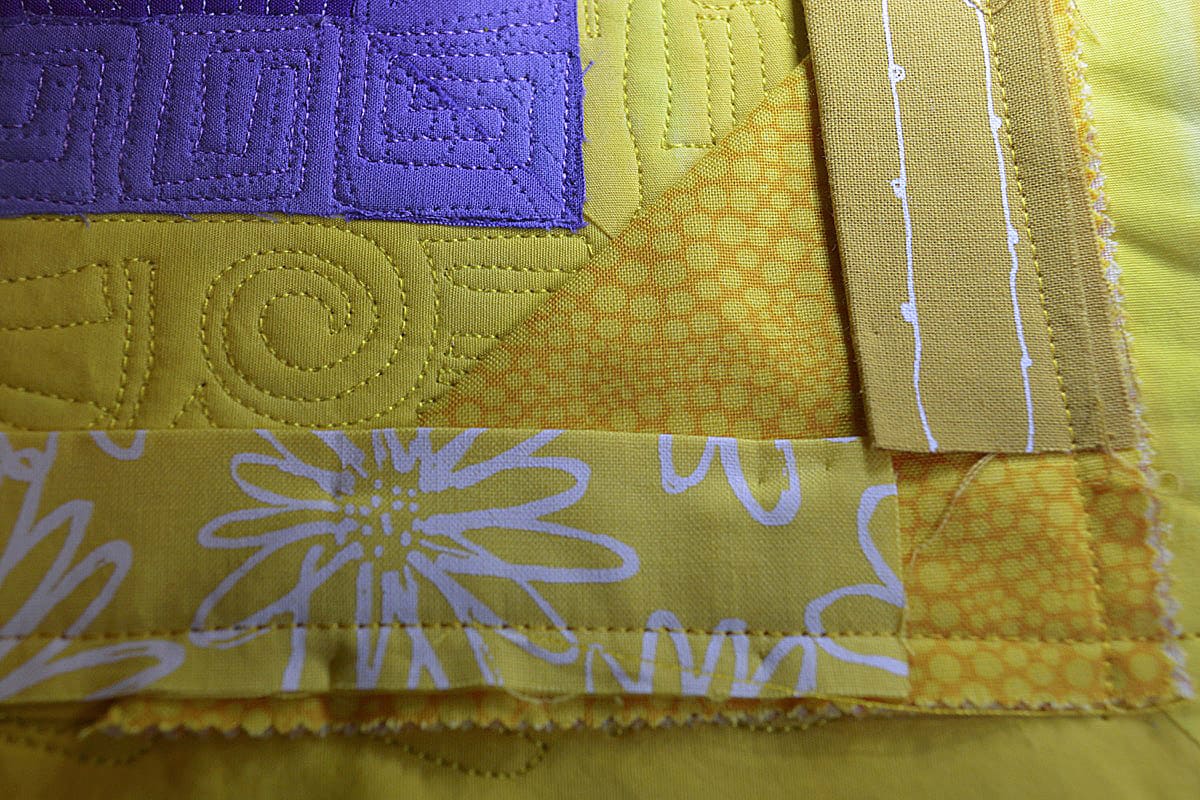
With the quilt sandwich prepared, it’s time to quilt the layers together. Quilting not only adds a decorative touch to your pillow cover but also ensures that the layers stay securely attached. Follow these steps to quilt your pillow cover:
- Select a Quilting Design: Decide on the quilting design you want to use. It can be as simple as straight lines or as intricate as free-motion quilting. Consider the overall look you want to achieve and the level of quilting experience you have.
- Thread Selection: Choose a thread color that complements your fabric choices. Make sure to use a thread suitable for quilting to ensure durability.
- Start Quilting: Begin quilting by following your chosen design. If using a sewing machine, attach the walking foot or quilting foot. Sew along the lines, ensuring smooth and even stitches.
- Backstitching: To secure your quilting stitches, backstitch at the beginning and end of each quilting line.
- Vary Quilting Techniques: Feel free to mix different quilting techniques within your design, such as straight lines, curves, or stippling, to add visual interest to your pillow cover.
- Trim Excess Threads: After quilting, trim any excess threads to give your pillow cover a clean finish.
Remember to take your time and maintain a consistent pace while quilting. If you’re new to quilting, start with simpler designs and gradually work your way up to more intricate patterns. Quilting the layers together adds both functionality and beauty to your pillow cover.
Once you have completed quilting, you’re ready to move on to the next step – adding a zipper or envelope closure.
Step 6: Adding a Zipper or Envelope Closure
Adding a closure to your quilted pillow cover ensures easy access for inserting and removing the pillow insert. There are two common methods for closures – adding a zipper or creating an envelope closure.
- Adding a Zipper:
- Measure the length of one side of your pillow cover opening.
- Cut a zipper tape that is slightly shorter than the measured length.
- Pin the zipper face-down along the opening edge of the pillow cover, aligning the zipper teeth with the edge.
- Using a zipper foot on your sewing machine, stitch the zipper in place, making sure to backstitch at the beginning and end.
- Once the first side of the zipper is attached, repeat the same process for the other side of the zipper.
- Creating an Envelope Closure:
- Take one back panel piece and fold the short edge towards the wrong side by 1 inch and press with an iron.
- Repeat the same fold on the other back panel piece.
- Overlap the folded edges of the back panel pieces, aligning them with the front panel.
- Pin or baste along the outer edges to secure the back panels in place.
- Using a 1/4 inch seam allowance, stitch around the entire outer edge of the pillow cover, reinforcing the edges of the closure.
Choose the closure method that suits your preference and sewing skills. Both methods provide a secure and professional finish to your quilted pillow cover.
With the closure in place, your pillow cover is nearly complete. It’s time to move on to the final step – adding the finishing touches.
Step 7: Finishing Touches
Now that your quilted pillow cover is almost finished, it’s time to add the final touches to make it look polished and professional. Follow these steps to complete your pillow cover:
- Trim Excess Fabric: Check for any excess fabric or loose threads and trim them carefully to ensure a clean and neat appearance.
- Press Your Pillow Cover: Use an iron to press your completed pillow cover, paying attention to the seams and corners to make them crisp and smooth.
- Insert Pillow Form: Open the closure and insert your pillow form or stuffing through the opening. Adjust the pillow form until it fills the cover evenly.
- Closing the Pillow: If you added a zipper closure, zip it closed. If you created an envelope closure, overlap the back panels to fully enclose the pillow form.
- Enjoy Your Quilted Pillow Cover: Place your finished quilted pillow cover on your desired spot and admire the beautiful and cozy addition it brings to your home.
Congratulations! You’ve successfully created a quilted pillow cover using your quilting skills. The final touches make a significant difference in the appearance and functionality of your pillow cover.
Remember, don’t be afraid to experiment with different fabric choices, quilting designs, and closures to create unique and personalized pillow covers that match your style and décor.
Now that you know how to quilt a pillow cover, have fun exploring different patterns and techniques to make more stunning quilted creations for your home or as thoughtful gifts.
Happy quilting!
Read more: How To Turn A Duvet Cover Into A Quilt
Conclusion
Quilting a pillow cover is a rewarding and enjoyable project that allows you to add a personal touch to your home decor. By following the steps outlined in this article, you have learned how to choose the right fabric, cut the pieces accurately, piece and quilt the front panel, create a quilt sandwich, add a closure, and put the finishing touches on your quilted pillow cover.
Throughout the process, remember to let your creativity shine by selecting fabrics and quilting designs that align with your personal style and preferences. Don’t be afraid to try new techniques and experiment with different patterns to create unique and eye-catching pillow covers.
Quilting not only provides a beautiful aesthetic but also offers a sense of accomplishment and relaxation. Working on a quilted project allows you to unwind, focus on the present moment, and tap into your creativity. The end result is a stunning and functional piece that you can proudly display in your home or gift to loved ones.
Now that you have the knowledge and skills to quilt a pillow cover, venture into new projects, such as quilting bed covers, table runners, or even wall hangings. The possibilities are endless, and quilting offers limitless opportunities to explore your creativity.
So gather your materials, unleash your imagination, and dive into the world of quilting. Enjoy the process, embrace the artistry, and let your quilted creations bring beauty and warmth to your surroundings.
Frequently Asked Questions about How To Quilt A Pillow Cover
Was this page helpful?
At Storables.com, we guarantee accurate and reliable information. Our content, validated by Expert Board Contributors, is crafted following stringent Editorial Policies. We're committed to providing you with well-researched, expert-backed insights for all your informational needs.


0 thoughts on “How To Quilt A Pillow Cover”