Home>Articles>How To Fix The Error Code E9 For GE Dehumidifier
Articles
How To Fix The Error Code E9 For GE Dehumidifier
Modified: May 6, 2024
Learn how to fix the error code E9 on your GE dehumidifier with our informative articles. Find step-by-step solutions and troubleshooting tips for resolving this issue.
(Many of the links in this article redirect to a specific reviewed product. Your purchase of these products through affiliate links helps to generate commission for Storables.com, at no extra cost. Learn more)
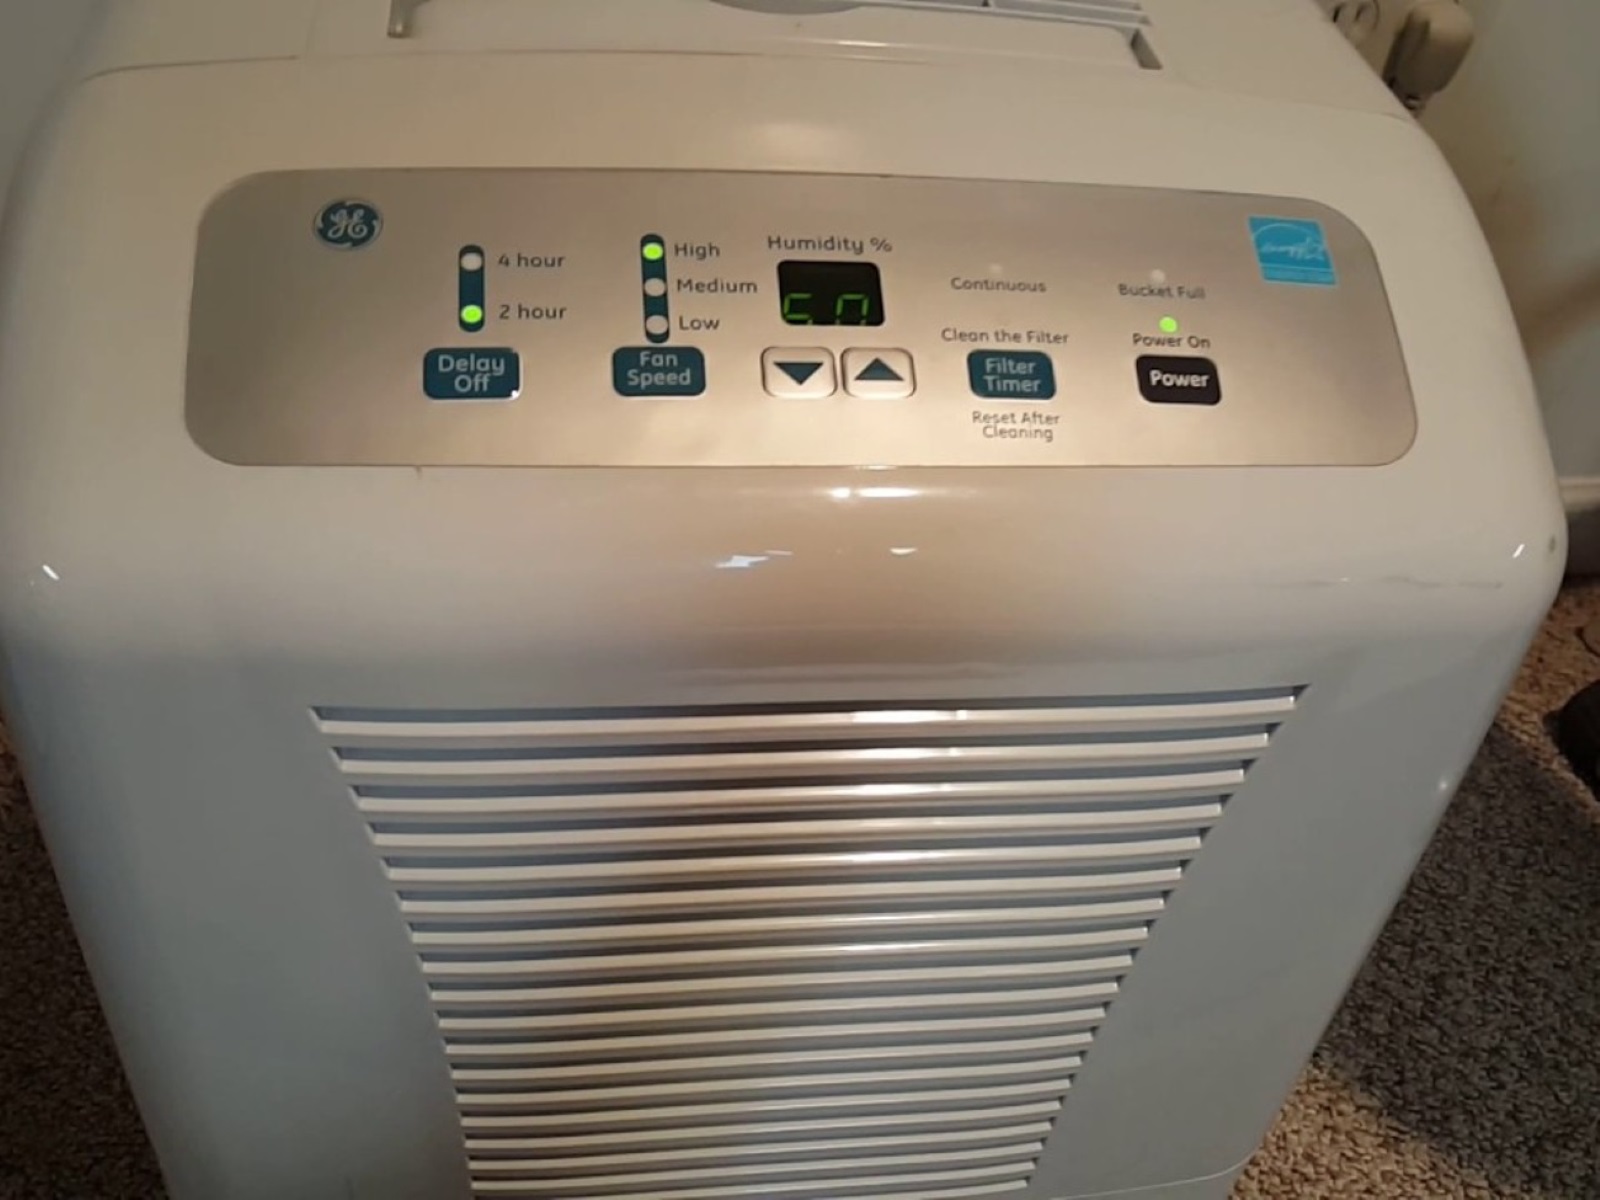
Is your GE dehumidifier showing the E9 error code? Here’s what it means and how to fix it.
If you own a GE dehumidifier and it’s displaying the E9 error code on its screen, you may be wondering what this means and how to resolve it. Don’t worry, we’ve got you covered! In this article, we’ll explain the significance of the E9 error code and provide you with step-by-step instructions on how to fix it.
The E9 error code for a GE dehumidifier indicates that the high-pressure switch has been triggered due to high pressure in the system. This is an important safety feature that helps protect the dehumidifier from potential damage and ensures optimal performance.
Key Takeaways:
- The E9 error code on your GE dehumidifier indicates high pressure in the system, often caused by a dirty air filter or clogged condenser coils. Regular cleaning and maintenance can help prevent this issue and ensure optimal performance.
- If you encounter the E9 error code, try troubleshooting by cleaning the air filter and condenser coils. If the issue persists, seek professional assistance to diagnose and resolve the problem, ensuring your dehumidifier operates efficiently.
Step 1: Power off and unplug
Before attempting any troubleshooting steps, it’s crucial to turn off your dehumidifier and unplug it from the power source. This will help prevent any accidents or further damage during the repair process.
Step 2: Check the air filter
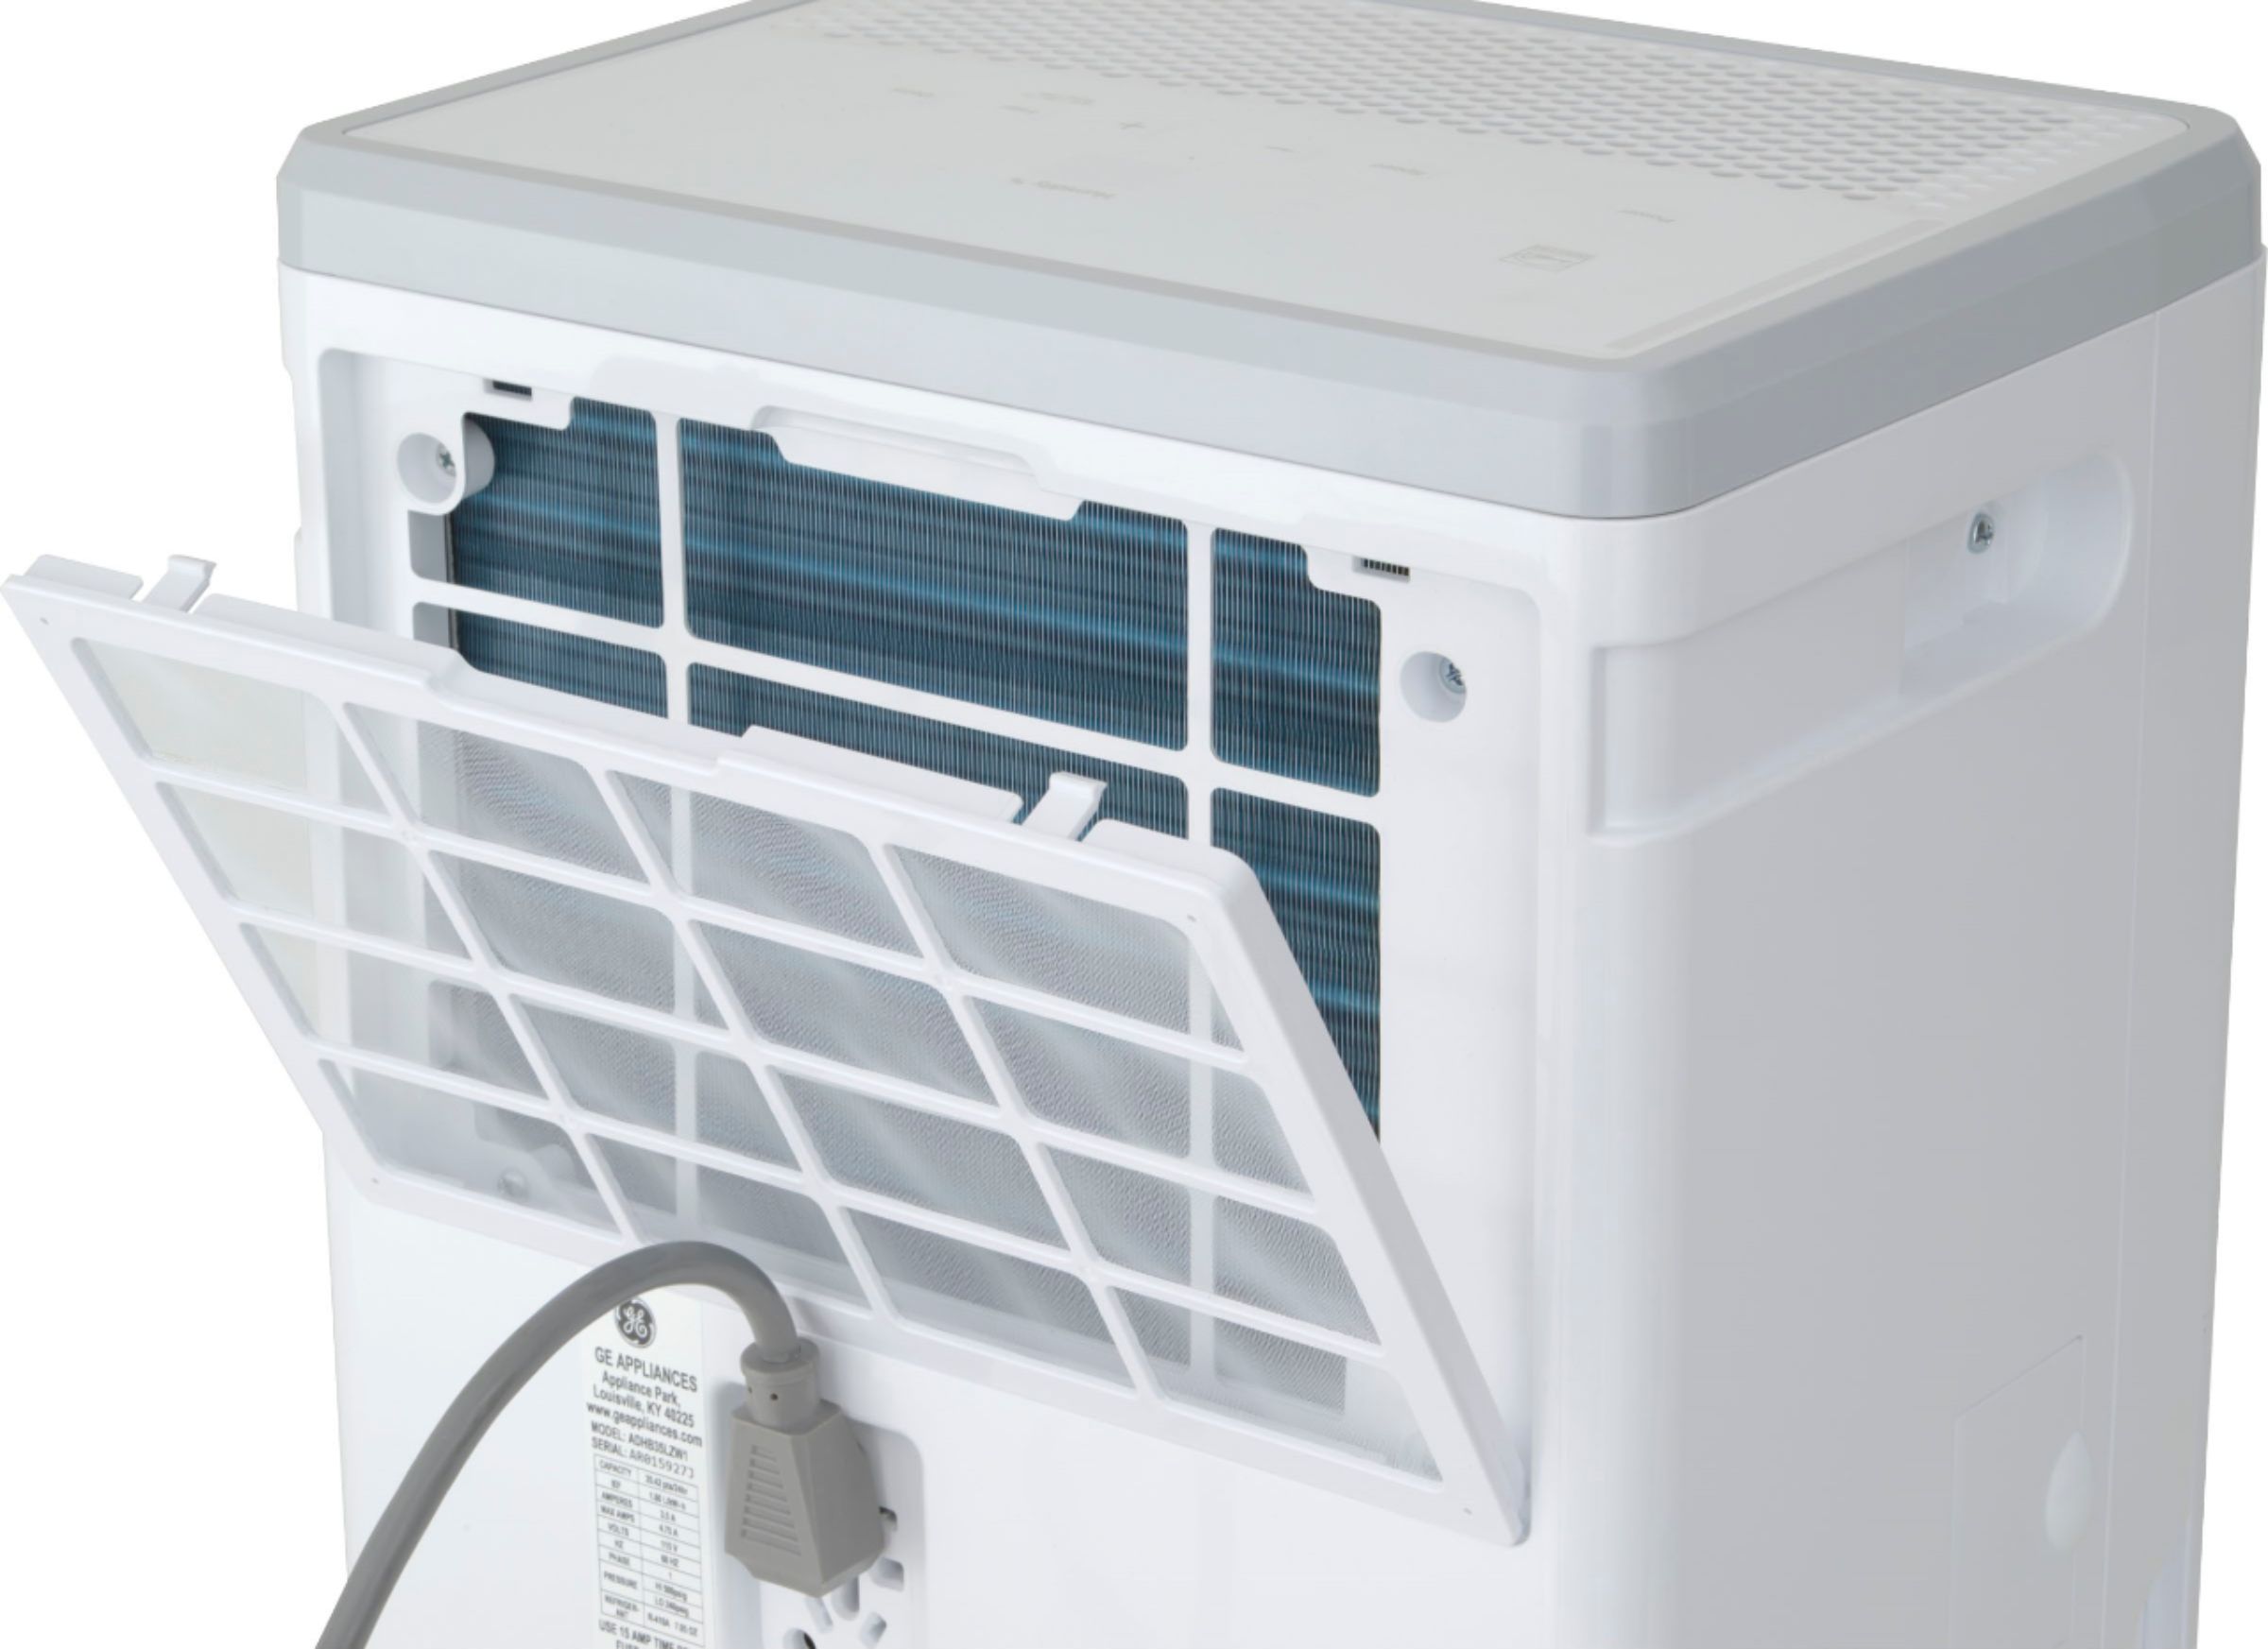
A clogged or dirty air filter can cause high pressure in the system, triggering the E9 error code. Start by locating the air filter in your GE dehumidifier. It is usually located behind a front panel or grille. Remove the panel or grille and carefully take out the air filter.
Inspect the filter for any dirt, dust, or debris. If it’s clogged or dirty, it’s time to clean or replace it. Cleaning methods may vary depending on the specific model of your dehumidifier, so consult the user manual for detailed instructions. If the filter is damaged, it’s best to replace it with a new one to ensure efficient operation.
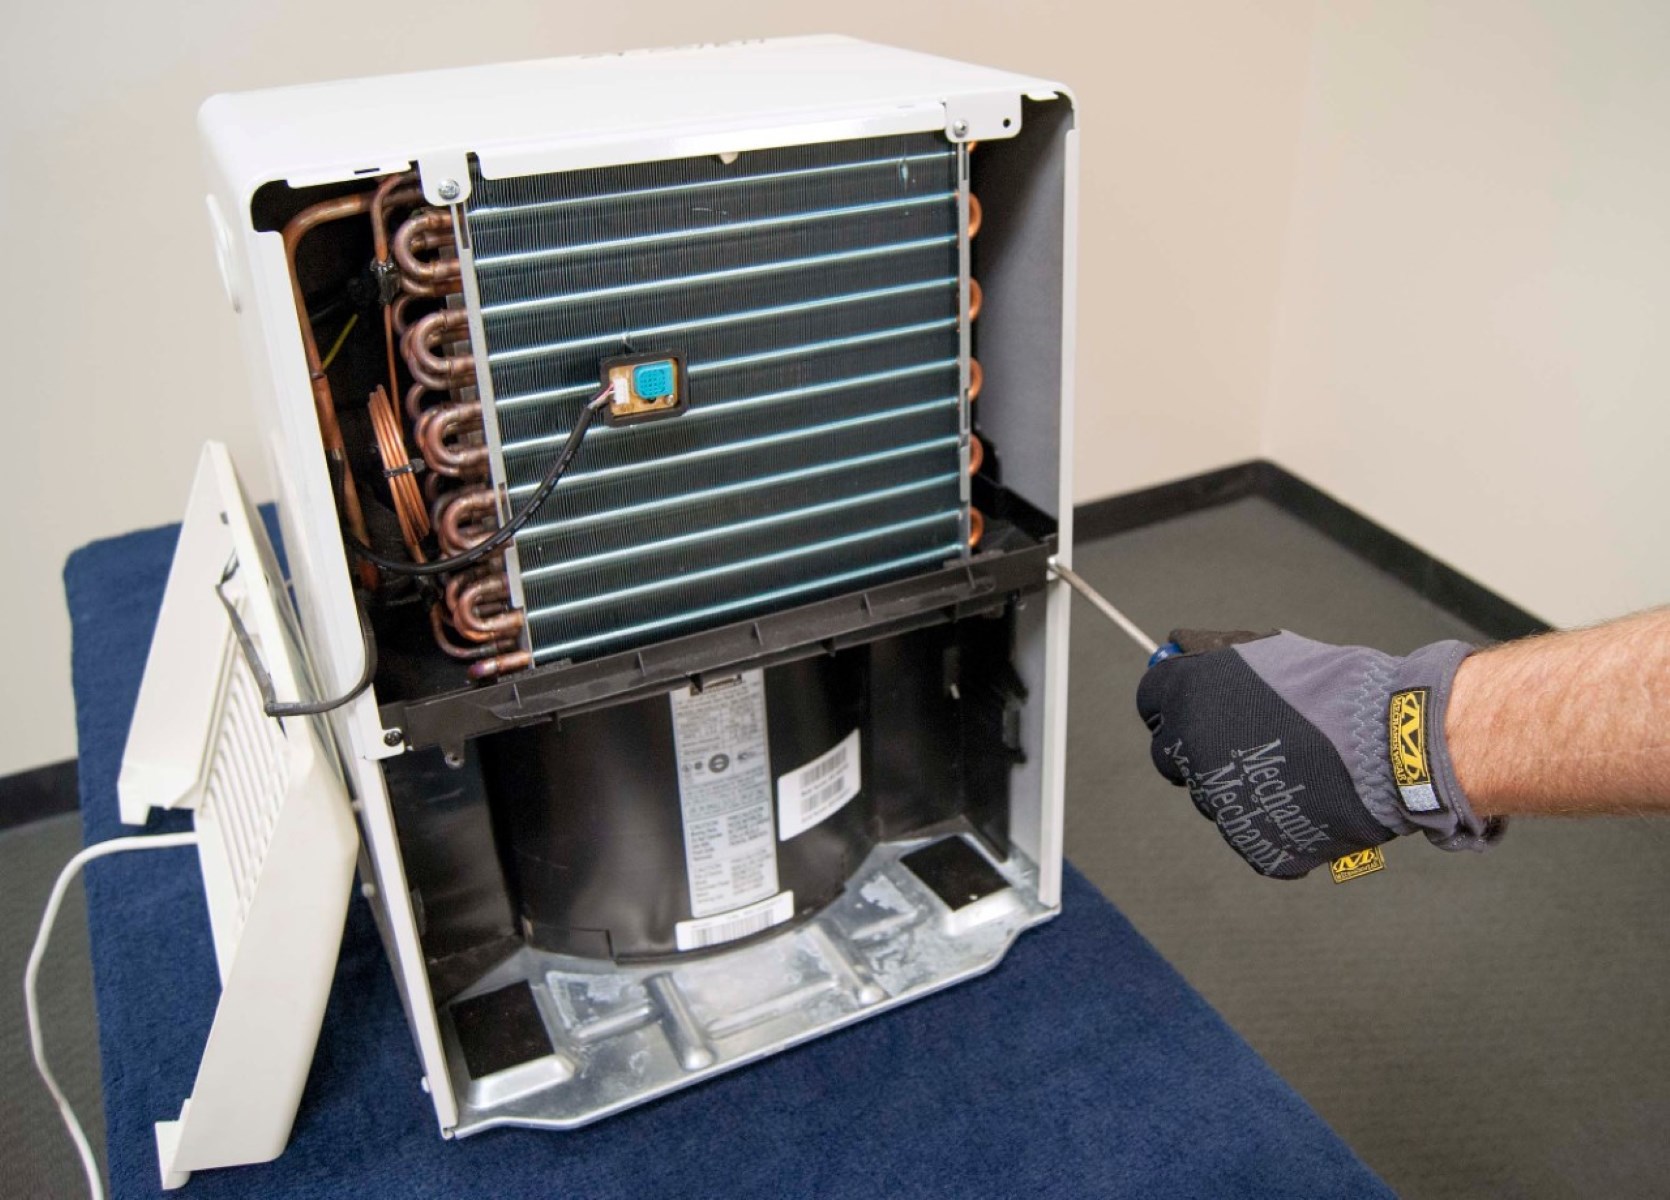
Step 3: Clean the condenser coils
In addition to the air filter, dirty or obstructed condenser coils can also contribute to high pressure in the system. Locate the condenser coils, which are usually located behind the rear panel of the dehumidifier. Remove the panel carefully.
Using a soft brush or a vacuum with a brush attachment, gently remove any dust, dirt, or debris from the coils. Take care not to bend or damage the fragile coils. Ensure that the coils are clean and free from any obstructions before reassembling the rear panel.
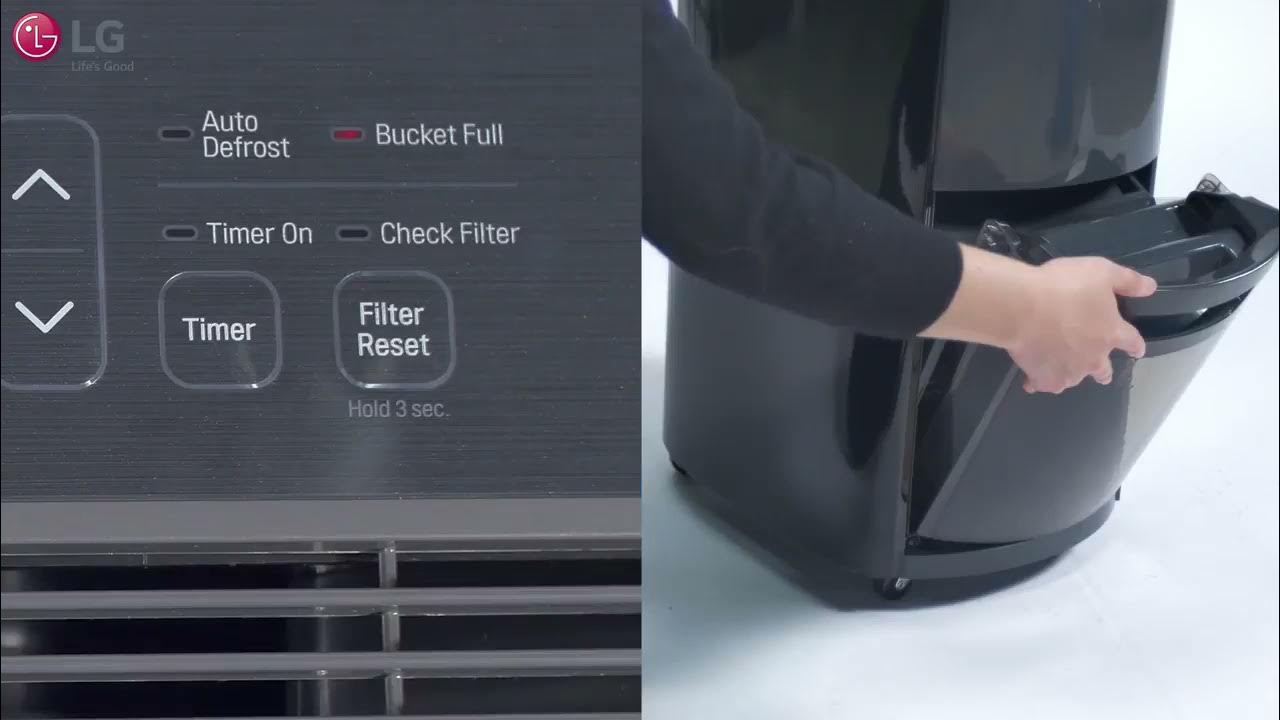
Check the drainage system for clogs or blockages, and ensure the unit is placed on a level surface. If the issue persists, contact GE customer support for further assistance.
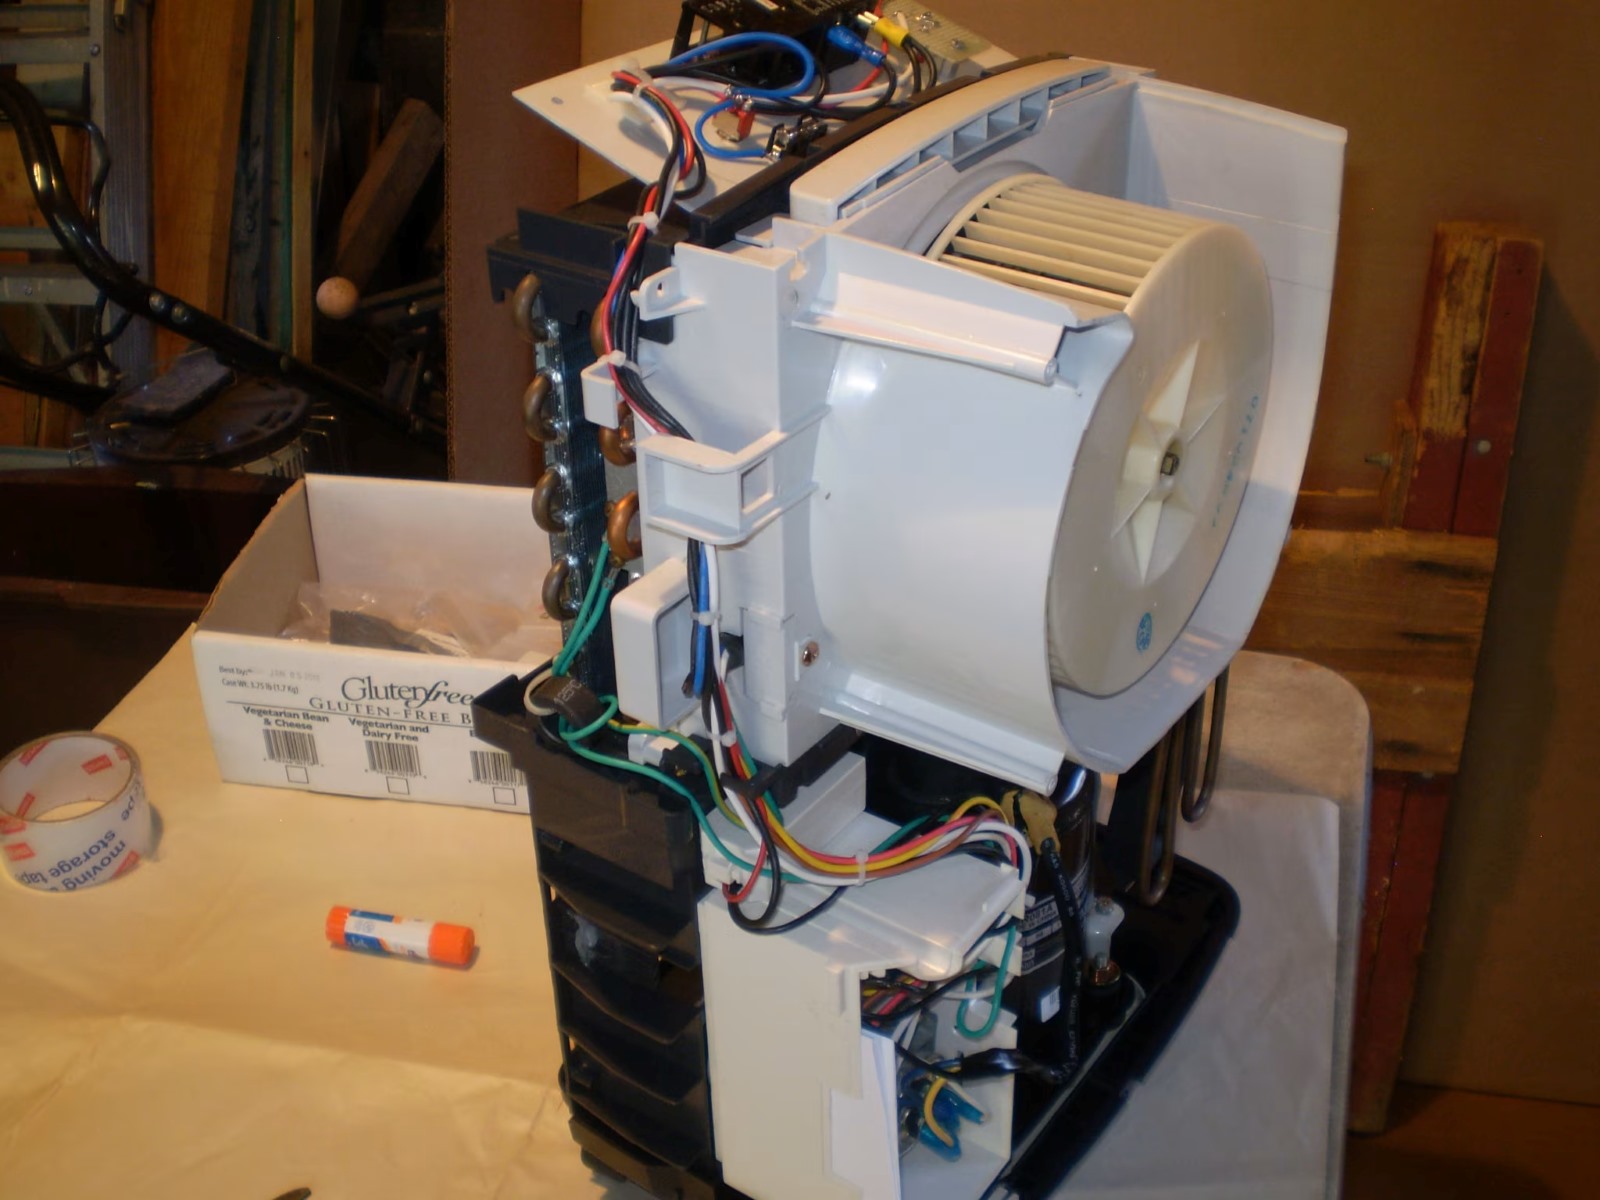
Step 4: Check for refrigerant leaks
In some cases, refrigerant leaks can lead to high pressure in the system, triggering the E9 error code. Inspect your dehumidifier for any signs of refrigerant leakage, such as oily or greasy residue around the unit or a hissing sound coming from the system.
If you suspect a refrigerant leak, it’s best to contact a professional technician who specializes in appliance repair. They will be able to properly diagnose and fix any leaks, ensuring the safe and optimal operation of your dehumidifier.
Step 5: Power on and test
Once you have completed the necessary cleaning and maintenance steps, plug your GE dehumidifier back in and power it on. Monitor its performance for a while to ensure that the E9 error code does not reappear.
If the error code persists even after following these steps, it is recommended to consult the user manual or contact GE customer support for further assistance. They will be able to provide you with specific troubleshooting advice based on the model and specifications of your dehumidifier.
By following these steps, you can address the E9 error code on your GE dehumidifier and restore it to its optimal working condition. Remember to perform regular maintenance and cleaning to prevent any issues and ensure the longevity of your appliance. Happy dehumidifying!
Frequently Asked Questions about How To Fix The Error Code E9 For GE Dehumidifier
1. Turn off the dehumidifier and unplug it from the power source.
2. Wait for a few minutes to allow the unit to reset.
3. Plug the dehumidifier back in and turn it on.
4. Check if the Error Code E9 is still displayed.
5. If the error persists, you may need to contact GE customer support or a professional technician for further assistance.
1. Turn off the dehumidifier and unplug it from the power source.
2. Wait for at least 10 minutes to allow the system to reset.
3. Plug the dehumidifier back in and turn it on.
4. Check if the error message disappears.
5. If the Error Code E9 reappears, it may indicate a more significant issue and require professional attention.
Now that you've tackled the E9 error on your GE dehumidifier, why not consider upgrading? Check out our comprehensive guide on the latest models perfect for any home or office. Whether you're dealing with high humidity levels or just looking for a more efficient unit, this list has something for everyone. Don't miss out on finding your ideal moisture control solution!
Was this page helpful?
At Storables.com, we guarantee accurate and reliable information. Our content, validated by Expert Board Contributors, is crafted following stringent Editorial Policies. We're committed to providing you with well-researched, expert-backed insights for all your informational needs.

0 thoughts on “How To Fix The Error Code E9 For GE Dehumidifier”