
Articles
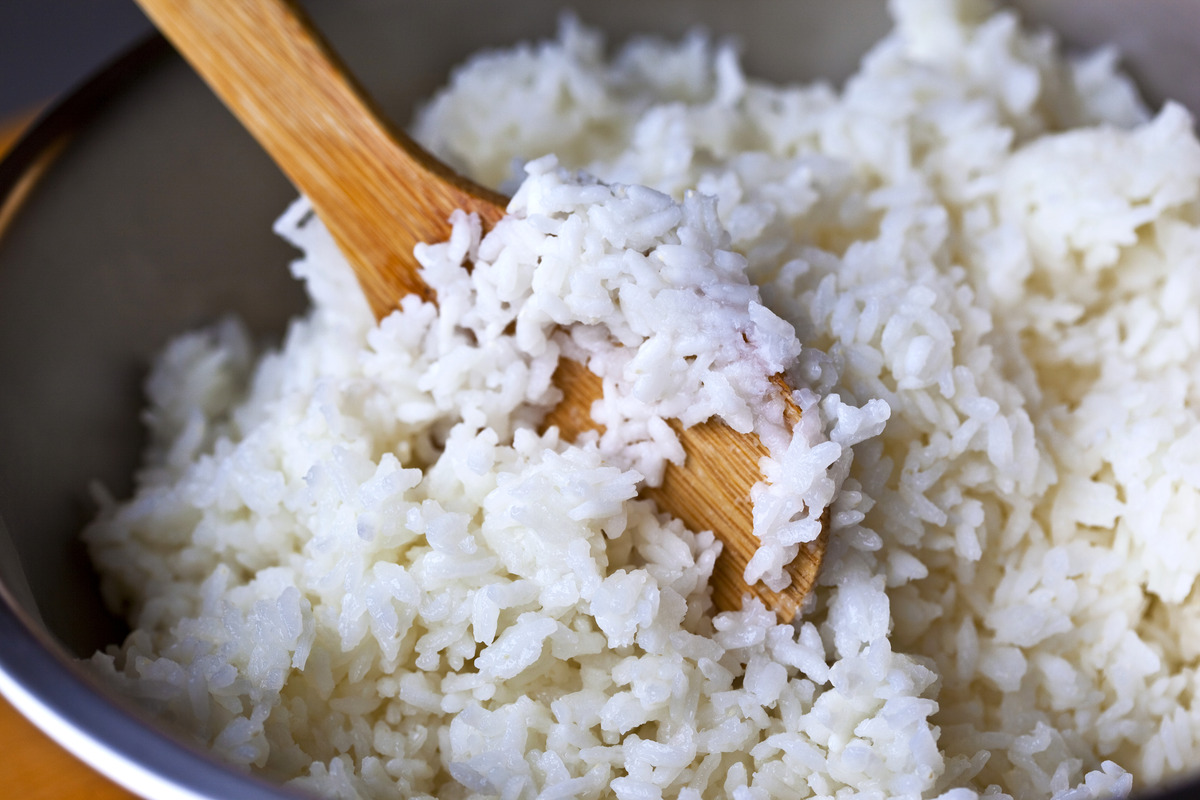
How To Fix Wet Rice In Rice Cooker
Modified: August 20, 2024
Learn how to fix wet rice in a rice cooker with these helpful articles. Find expert tips and tricks to salvage your rice and avoid culinary mishaps.
(Many of the links in this article redirect to a specific reviewed product. Your purchase of these products through affiliate links helps to generate commission for Storables.com, at no extra cost. Learn more)
Introduction
There’s nothing more frustrating than finding out that your rice has turned out wet and soggy after using your rice cooker. Whether it’s due to using the wrong amount of water or not enough cooking time, it can be disappointing when your perfectly planned meal is compromised by the texture of the rice. However, fixing wet rice in a rice cooker is not as difficult as it may seem. With a few simple steps, you can salvage your rice and still enjoy a delicious meal.
In this article, we will guide you through the process of fixing wet rice in a rice cooker. We will provide you with step-by-step instructions to help you rescue your rice and ensure it turns out perfectly cooked and fluffy. So, let’s get started and learn how to fix wet rice in a rice cooker!
Key Takeaways:
- Don’t let wet rice ruin your meal! Assess, drain, and restart the cooking process to salvage soggy rice in your rice cooker. With patience and care, you can enjoy perfectly fluffy rice every time.
- Master the art of fixing wet rice in a rice cooker. Remove excess moisture, monitor the cooking process, and adjust as needed to achieve the ideal texture and flavor. Your perseverance will result in a delicious dining experience.
Read more: How To Fix Wet Basement
Step 1: Assess the Wet Rice Situation
The first step in fixing wet rice in a rice cooker is to assess the situation and determine the extent of the moisture in the rice. This will help you decide the appropriate course of action to take.
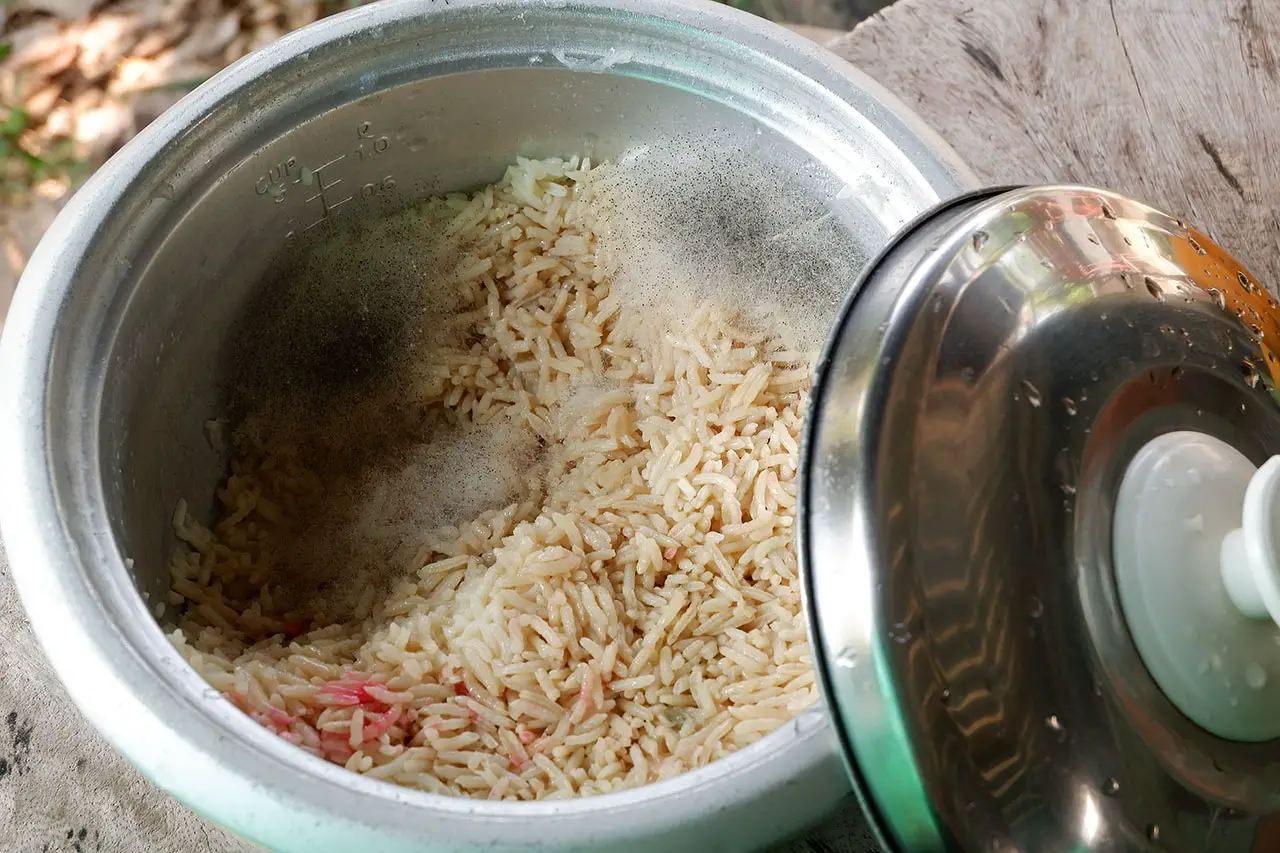
Start by checking the consistency of the rice. Is it slightly wet or excessively watery? If it’s slightly wet, you may be able to fix it with minimal effort. If it’s very watery, you might need to take more drastic measures to salvage the rice.
Next, consider the cooking time. Did you cook the rice for the recommended duration or did you stop it prematurely? If the rice is wet but still partially cooked, you will need to continue cooking it to ensure it reaches the desired doneness. However, if the rice is already fully cooked and simply has excess moisture, you can focus on removing the water and improving the texture.
Lastly, take note of the type of rice you are working with. Different varieties of rice have different levels of moisture absorption, so the amount of water needed may vary. This is important to keep in mind when determining how to fix the wet rice.
Once you have assessed the wet rice situation, you can move on to the next step – removing excess moisture from the rice cooker.
Step 2: Remove Excess Moisture
After assessing the wet rice situation, it’s time to remove the excess moisture from the rice cooker. This step is crucial in improving the texture and consistency of the rice.
Start by carefully transferring the wet rice from the rice cooker to a colander or strainer. Allow the rice to drain for a few minutes to let the excess water drip off. Gently shaking the colander or lightly fluffing the rice with a fork can help speed up the draining process.
If the rice is still too wet after draining, you can place it back in the rice cooker without the inner pot. Turn on the rice cooker and let it run with the lid open for a few minutes. The heat from the cooker will help evaporate the excess moisture. However, be cautious not to leave it unattended or for too long as it may result in overcooking the rice.
Another method to remove excess moisture is by using kitchen towels or paper towels. Line the bottom of the rice cooker’s inner pot with a few layers of absorbent towels. Place the wet rice back into the pot and cover it with additional layers of towels. Press down gently to absorb the moisture. Leave it for a few minutes and repeat the process if necessary.
Once you have successfully removed the excess moisture, it’s time to restart the rice cooking process to ensure the rice is cooked to perfection.
Step 3: Restart the Rice Cooking Process
Now that you have removed the excess moisture from the wet rice, it’s time to restart the rice cooking process to ensure that it is properly cooked and achieves the desired texture.
First, carefully transfer the drained and slightly dried rice back into the inner pot of the rice cooker. Make sure to spread it evenly to ensure uniform cooking.
Next, measure the appropriate amount of water needed for the specific type of rice you are using. Generally, the ratio is 1:1 for white rice (1 cup of rice to 1 cup of water) and 1.25:1 for brown rice (1 cup of rice to 1.25 cups of water). Adjust the ratio according to your preference and the specific instructions for your rice cooker.
Add the measured water to the rice cooker, ensuring that it covers the rice evenly. Be careful not to add too much water to avoid the rice becoming too mushy or wet.
Close the lid of the rice cooker and start the cooking process. Select the appropriate setting for the type of rice you are cooking, whether it’s white rice, brown rice, or another variety. If your rice cooker has a timer function, set it to the recommended cooking time for the specific type of rice.
During the cooking process, avoid opening the lid too frequently to prevent heat and steam from escaping. This will ensure that the rice cooks properly and absorbs the right amount of moisture.
Now, you can sit back and let the rice cooker do its job. It will automatically regulate the temperature and timing to cook the rice to perfection. Monitor the cooking process, and once the rice cooker switches to the “Keep Warm” mode, proceed to the next step to check the rice for doneness.
Add a dry cloth or paper towel to the rice cooker and let it absorb the excess moisture for a few minutes. Then fluff the rice with a fork to separate the grains and remove any remaining moisture.
Step 4: Monitor the Rice Cooker
As the rice continues to cook in the rice cooker, it’s important to monitor the cooking process to ensure that the rice is progressing as desired. By doing so, you can make any necessary adjustments to achieve the perfect texture and doneness.
During the cooking process, keep an eye on the rice cooker’s display or indicator lights. This will give you a sense of how much longer the rice needs to cook. Take note of the recommended cooking time for the specific type of rice you are using and compare it to the elapsed time.
Additionally, pay attention to the steam and aroma coming from the rice cooker. These indicators can help you gauge the progress of the rice cooking. The steam will become less visible and the aroma will become more pronounced as the rice nears its completion.
While it’s tempting to open the lid to check on the rice, try to resist the urge as much as possible. Frequent opening of the lid can cause a loss of heat and steam, which may result in uneven cooking or extended cooking time.
If you notice that the rice is still too wet or undercooked as the cooking time nears completion, you can adjust the settings on the rice cooker. Increase the cooking time slightly to ensure that the rice is thoroughly cooked and the excess moisture is evaporated.
Remember that every rice cooker is different and may require slight adjustments in cooking times or settings. By closely monitoring the rice cooker during the cooking process and making necessary adjustments, you will increase the chances of obtaining perfectly cooked rice.
Read more: How To Fix Hard Rice In Rice Cooker
Step 5: Check the Rice for Doneness
Once the rice cooker has completed its cooking cycle and switched to the “Keep Warm” mode, it’s time to check the rice for doneness. This step is crucial in ensuring that the rice is cooked to the desired texture and consistency.
To check the rice for doneness, carefully open the lid of the rice cooker. Use a fork or spoon to fluff the rice, separating the grains gently. Take a small portion of the rice and taste it to evaluate its doneness.
When assessing the rice’s doneness, look for the following indicators:
- Texture: The rice should be tender, with each grain separate and not mushy or clumped together.
- Moisture: The rice should be moist but not excessively wet. It should not have pools of water or be overly dry.
- Flavor: The rice should have a neutral, pleasant taste without any raw or uncooked grains.
If the rice is slightly undercooked or still has excess moisture, you can close the lid and let it remain in the “Keep Warm” mode for a few more minutes. The residual heat will continue to cook the rice and help evaporate any remaining moisture. Recheck the rice periodically until it reaches the desired doneness.
On the other hand, if the rice is overcooked or too dry, you can sprinkle a little water onto the rice and gently fluff it with a fork or spoon. This will help rehydrate and soften the grains.
Once you are satisfied with the texture and doneness of the rice, it is ready to be served and enjoyed alongside your favorite dishes.
Step 6: Serve and Enjoy the Fixed Rice
Congratulations! You have successfully fixed the wet rice in your rice cooker and now it’s time to savor the fruits of your labor. Follow this final step to serve and enjoy the perfectly cooked rice.
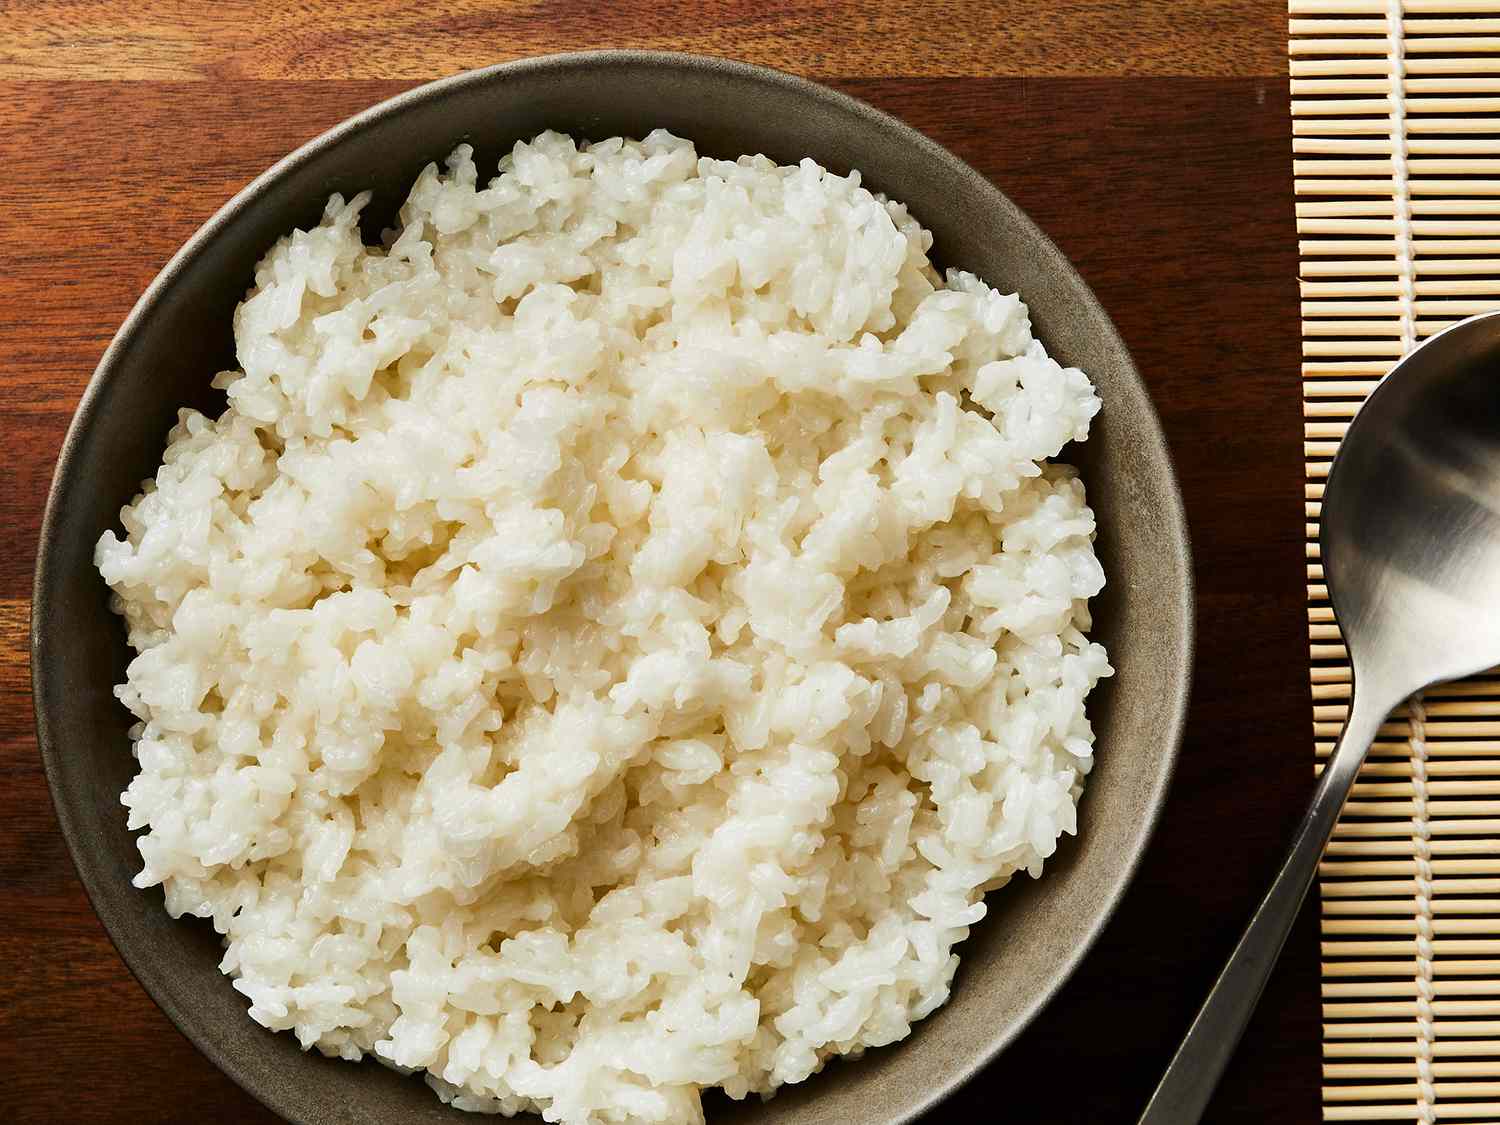
To serve the fixed rice, use a rice paddle or a large spoon to gently fluff the grains, ensuring they separate and create a light and fluffy texture. Be careful not to press down too hard as it may cause the rice to become compacted.
Transfer the fixed rice to a serving bowl or individual plates, taking care to present it in an aesthetically pleasing manner. You can garnish it with some chopped herbs, a sprinkle of sesame seeds, or a drizzle of soy sauce for added flavor and visual appeal.
Pair the fixed rice with your favorite main dishes, such as stir-fries, curries, or grilled proteins. The neutral taste of the rice will complement a wide range of flavors and cuisines.
As you enjoy your meal, take a moment to appreciate the effort and patience you put into fixing the wet rice. The end result is a bowl of perfectly cooked rice that enhances the overall dining experience.
Remember, practice makes perfect, and over time, you will become more familiar with your rice cooker and the optimal cooking times for different types of rice. Don’t be discouraged if you encounter wet rice again in the future. With the knowledge and skills you’ve acquired, you can confidently fix it and continue to enjoy delicious rice as part of your meals.
Now, sit back, relax, and savor the delightful flavors and comforting texture of your fixed rice. Bon appétit!
Frequently Asked Questions about How To Fix Wet Rice In Rice Cooker
Was this page helpful?
At Storables.com, we guarantee accurate and reliable information. Our content, validated by Expert Board Contributors, is crafted following stringent Editorial Policies. We're committed to providing you with well-researched, expert-backed insights for all your informational needs.


0 thoughts on “How To Fix Wet Rice In Rice Cooker”