Articles
How To Clean Mold Out Of Rice Cooker
Modified: August 25, 2024
Learn effective methods to remove mold from your rice cooker with these helpful articles. Prevent health risks and maintain a clean cooking environment.
(Many of the links in this article redirect to a specific reviewed product. Your purchase of these products through affiliate links helps to generate commission for Storables.com, at no extra cost. Learn more)
Introduction
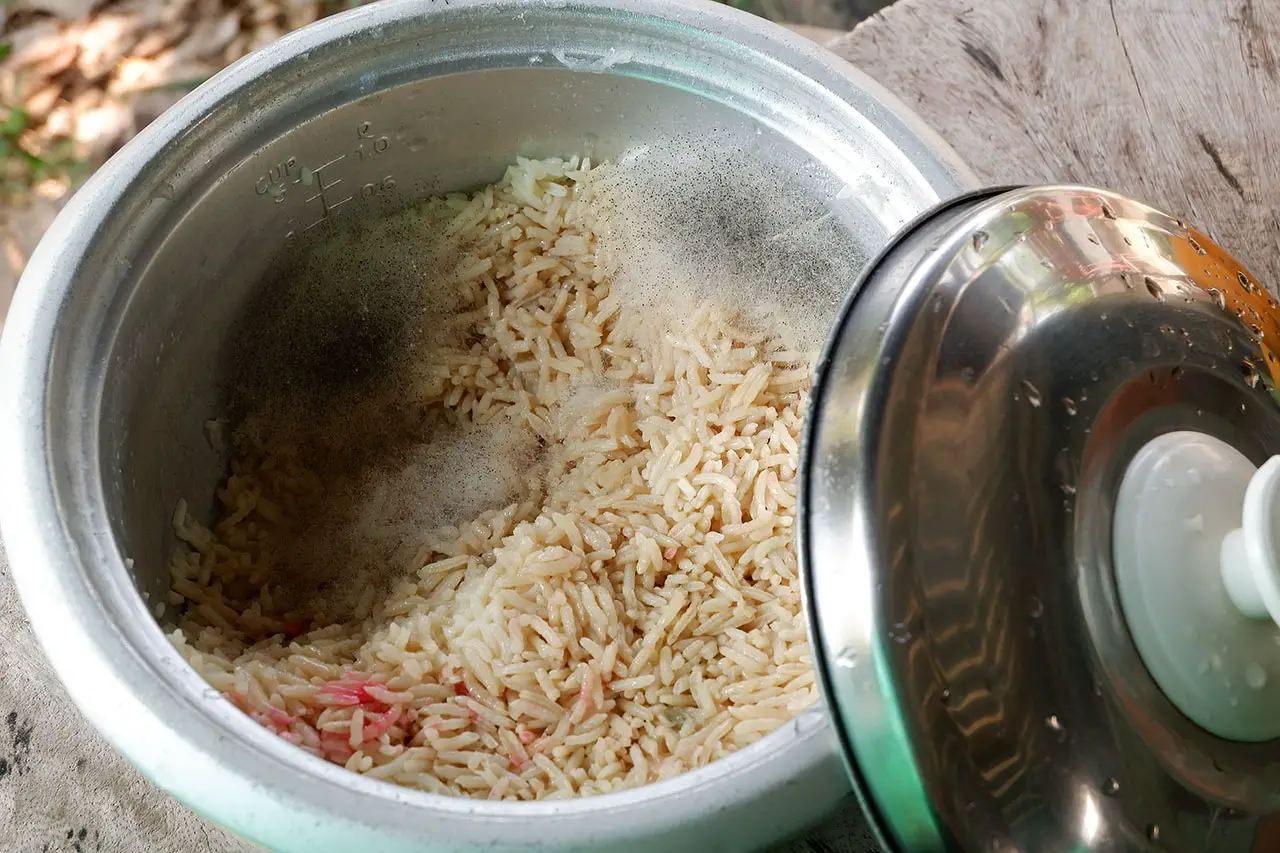
Welcome to our comprehensive guide on how to clean mold out of a rice cooker. Rice cookers are a convenient and time-saving appliance that many people rely on for perfectly cooked rice. However, if not cleaned properly, mold can begin to grow and affect the performance and safety of your rice cooker. In this article, we will provide you with step-by-step instructions on how to effectively clean mold out of your rice cooker, ensuring that it remains in optimal working condition.
Mold is a common issue that can occur in a rice cooker due to the warm and moist environment it provides. When rice is cooked and left to cool inside the cooker without proper cleaning, it creates the ideal conditions for mold to develop. Not only does mold affect the taste and quality of your rice, but it can also pose a health risk if consumed. Therefore, it is crucial to regularly clean and maintain your rice cooker to prevent mold growth.
Before we dive into the cleaning process, let’s first understand the importance of safety precautions when dealing with mold. Mold spores can cause respiratory issues and allergic reactions, so it’s essential to protect yourself during the cleaning process. Make sure to wear gloves, a mask, and work in a well-ventilated area to minimize any potential health risks.
Now that we’ve covered the basics, let’s move on to the supplies you will need to clean your rice cooker efficiently and effectively.
Key Takeaways:
- Regularly cleaning and thoroughly drying all components of your rice cooker, including the inner pot, seals, and gaskets, is crucial to prevent mold growth and maintain the appliance’s longevity.
- Taking safety precautions, such as wearing protective gear and working in a well-ventilated area, is essential when cleaning mold out of a rice cooker to minimize health risks associated with mold exposure.
Read more: How To Clean Mold Out Of An Electric Kettle
Understanding Mold in Rice Cooker
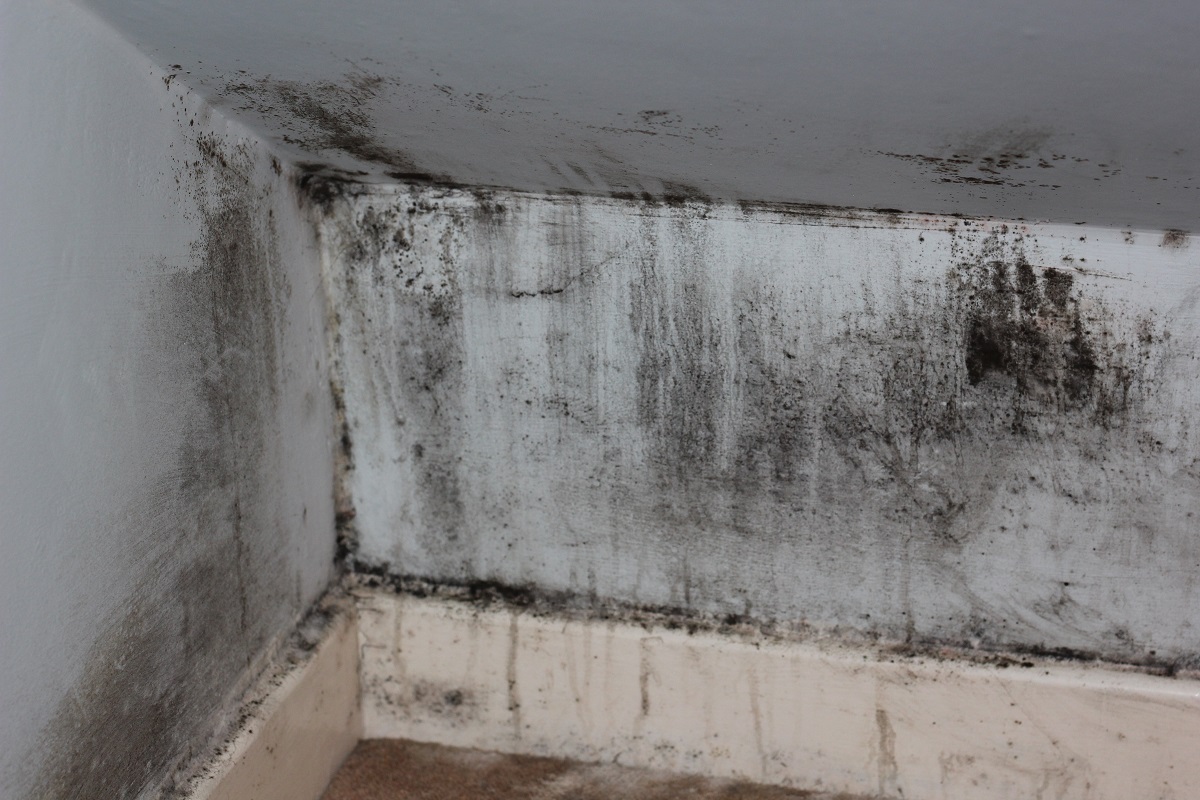
Mold is a type of fungus that can grow in damp and warm environments, making a rice cooker an ideal breeding ground. When rice is cooked and left in the cooker for too long without proper cleaning, the moisture and nutrients present in the rice create a perfect environment for mold to thrive.
Mold spores are everywhere, including the air we breathe. These spores can easily find their way into the rice cooker and start multiplying under the right conditions. The warm and humid environment inside the cooker, combined with leftover food particles, provides an ample food source for mold to grow.
Not only does mold affect the quality and taste of the rice, but it can also pose health risks if consumed. Some molds produce mycotoxins, which are toxic substances that can cause various health problems, including allergic reactions, respiratory issues, and even organ damage in severe cases.
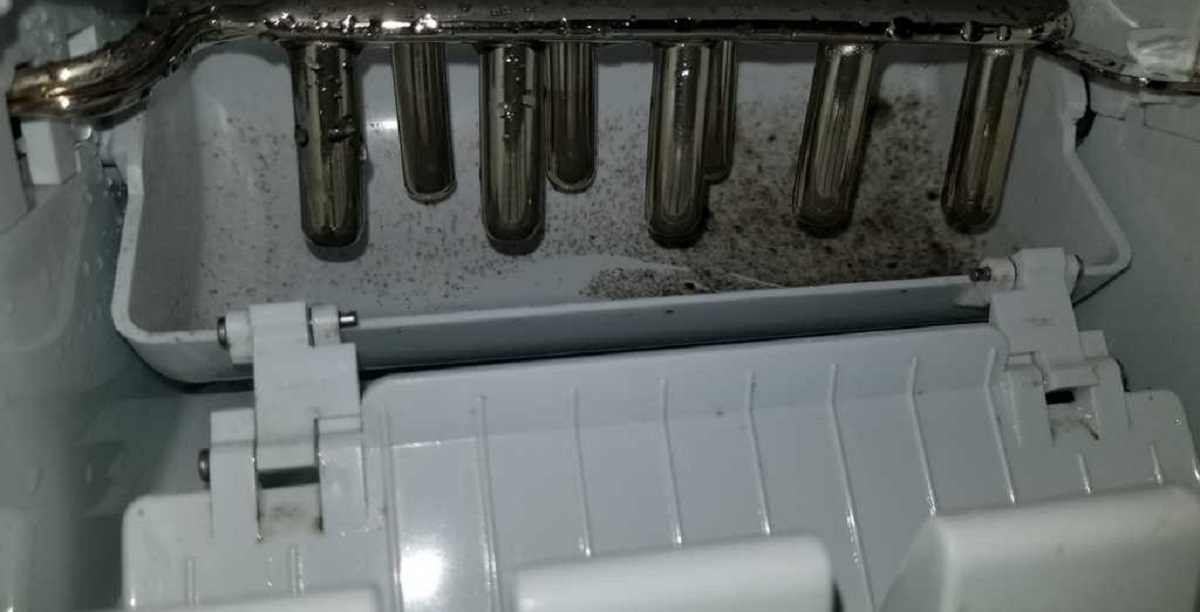
It’s important to note that mold growth in a rice cooker is not limited to the interior where the rice is cooked. It can also develop on the exterior surfaces, such as the lid, control panel, and seals. This is why it’s crucial to thoroughly clean all parts of your rice cooker to ensure complete mold removal.
Regular cleaning and maintenance can prevent mold growth in your rice cooker. However, if you notice mold or a musty odor coming from your rice cooker, it’s essential to take immediate action to eliminate it and prevent any further contamination.
Now that we understand how and why mold can develop in a rice cooker, let’s move on to the safety precautions you should take before cleaning.
Safety Precautions
When dealing with mold in a rice cooker, it’s important to take necessary safety precautions to protect yourself from potential health risks. Mold can release spores that can cause respiratory issues and allergic reactions, so it’s crucial to follow these safety guidelines:
- Wear protective gear: Before handling a moldy rice cooker, make sure to wear gloves, a mask, and protective eyewear. This will help minimize your exposure to mold spores and reduce the risk of respiratory irritation.
- Work in a well-ventilated area: Mold spores can become airborne during the cleaning process, so it’s important to work in a well-ventilated area. Open windows and turn on fans to improve airflow and prevent the accumulation of mold spores in the air.
- Avoid direct contact with mold: Mold can cause skin irritation and allergic reactions, so it’s best to avoid direct contact with it. Use tools, such as brushes or scrubbers, to clean the moldy areas instead of using your bare hands.
- Dispose of moldy materials properly: After cleaning the rice cooker, make sure to properly dispose of any moldy materials, such as paper towels or gloves, in a sealed bag. This will prevent further spread of mold spores in your home.
- Clean surrounding areas: Mold can spread easily, so it’s important to clean any surrounding surfaces that may have come into contact with the moldy rice cooker. This includes countertops, cabinets, and utensils that were used during the cleaning process.
- Monitor your health: If you experience any allergic reactions or respiratory issues after cleaning the moldy rice cooker, seek medical attention. Mold can have adverse effects on health, especially for individuals with respiratory conditions or weakened immune systems.
By following these safety precautions, you can minimize the risks associated with cleaning a moldy rice cooker. Now that you’re aware of the precautions, let’s move on to the supplies you’ll need for the cleaning process.
Cleaning Supplies Needed
Before you begin cleaning your moldy rice cooker, it’s essential to gather all the necessary supplies. Having the right cleaning tools and materials will make the process more efficient and effective. Here’s a list of supplies you will need:
- Gloves: Disposable gloves will protect your hands from coming into direct contact with mold and cleaning agents. Choose gloves that are resistant to chemicals and provide a good grip.
- Face mask: A face mask or respirator will help filter out mold spores and prevent you from inhaling them. Look for masks specifically designed for mold remediation with a high filtration rating.
- Protective eyewear: Safety goggles or glasses will shield your eyes from any splashes or airborne mold spores during the cleaning process.
- Cleaning brushes: Stiff-bristled cleaning brushes in various sizes will help you scrub away mold from different surfaces, such as the inner pot, exterior, and seals.
- Cleaning solution: You can create a homemade cleaning solution by mixing equal parts of white vinegar and water. Vinegar is a natural disinfectant that can effectively kill mold and remove stains. Alternatively, you can use a mild dish soap or a commercial mold and mildew cleaner.
- Microfiber cloths: Soft and absorbent microfiber cloths are ideal for wiping and drying surfaces without leaving lint or streaks behind. They are also reusable and environmentally friendly.
- Cotton swabs: Cotton swabs or cotton buds are useful for getting into hard-to-reach areas, such as tight crevices or seals, where mold may be lurking.
- Water: You will need clean water for rinsing the rice cooker and diluting the cleaning solution.
- Trash bags: Sealable trash bags will be needed to dispose of any moldy materials or cleaning cloths safely.
Make sure you have all these supplies ready before you start cleaning your rice cooker. Now that you’re prepared, let’s move on to the step-by-step process of cleaning a moldy rice cooker.
Step 1: Unplugging the Rice Cooker
Before you begin cleaning your rice cooker, ensure that it is unplugged from the electrical outlet. This is an essential safety precaution to avoid any risk of electric shock or damage to the appliance.
Unplugging the rice cooker not only ensures your safety but also allows you to have better access to all the parts that need to be cleaned. It is important to handle electrical appliances with caution and always follow proper safety procedures.
Once the rice cooker is unplugged, you can proceed to the next steps of the cleaning process without any worries of accidental electrical hazards. Safety should always be the top priority when dealing with any household appliance.
Now that you have unplugged the rice cooker, let’s move on to the next step: removing excess rice from the appliance.
Read more: How To Clean Mold Out Of Bath Toys
Step 2: Removing Excess Rice
After unplugging the rice cooker, the next step in the cleaning process is to remove any excess rice that may be remaining in the appliance. This step is crucial to ensure that no mold or residue is left behind.
Start by gently tipping the rice cooker over a trash can or sink to allow any loose rice grains to fall out. Use a soft-bristled brush or a dry cloth to wipe away any remaining rice from the inner pot, as well as the heating element and surrounding areas.
Be careful not to scratch or damage any of the surfaces while removing the rice. If there are any stubborn rice grains stuck to the inner pot, you can use a plastic spatula or a non-abrasive sponge to scrape them off.
Remember to be thorough in this step, as any leftover rice can provide a breeding ground for mold and compromise the cleanliness and performance of your rice cooker.
Once you have removed all the excess rice, dispose of it in a trash bag and seal it tightly. This will prevent any stray rice grains from spreading and potentially causing further contamination in your kitchen.
Now that you have removed the excess rice, it’s time to move on to preparing a cleaning solution for the next step.
Step 3: Preparing a Cleaning Solution
Preparing a cleaning solution is an important step in effectively cleaning mold out of your rice cooker. There are a few options for cleaning solutions that you can use, including a vinegar-water solution or a mild dish soap solution.
If you choose to use a vinegar-water solution, mix equal parts of white vinegar and water in a container. Vinegar is a natural disinfectant that can effectively kill mold and remove stains. It also helps to neutralize any unpleasant odors.
Alternatively, you can mix a small amount of mild dish soap with water to create a soapy solution. Make sure to choose a dish soap that does not contain any abrasive ingredients or strong chemicals that could damage the rice cooker.
Whichever option you choose, ensure that the cleaning solution is well-mixed before proceeding to the next step.
Now that you have your cleaning solution ready, it’s time to move on to cleaning the exterior of the rice cooker in step 4.
To clean mold out of a rice cooker, mix equal parts water and vinegar in the cooker and let it soak for 30 minutes. Then, scrub the affected areas with a sponge or brush, rinse thoroughly, and dry completely before using again.
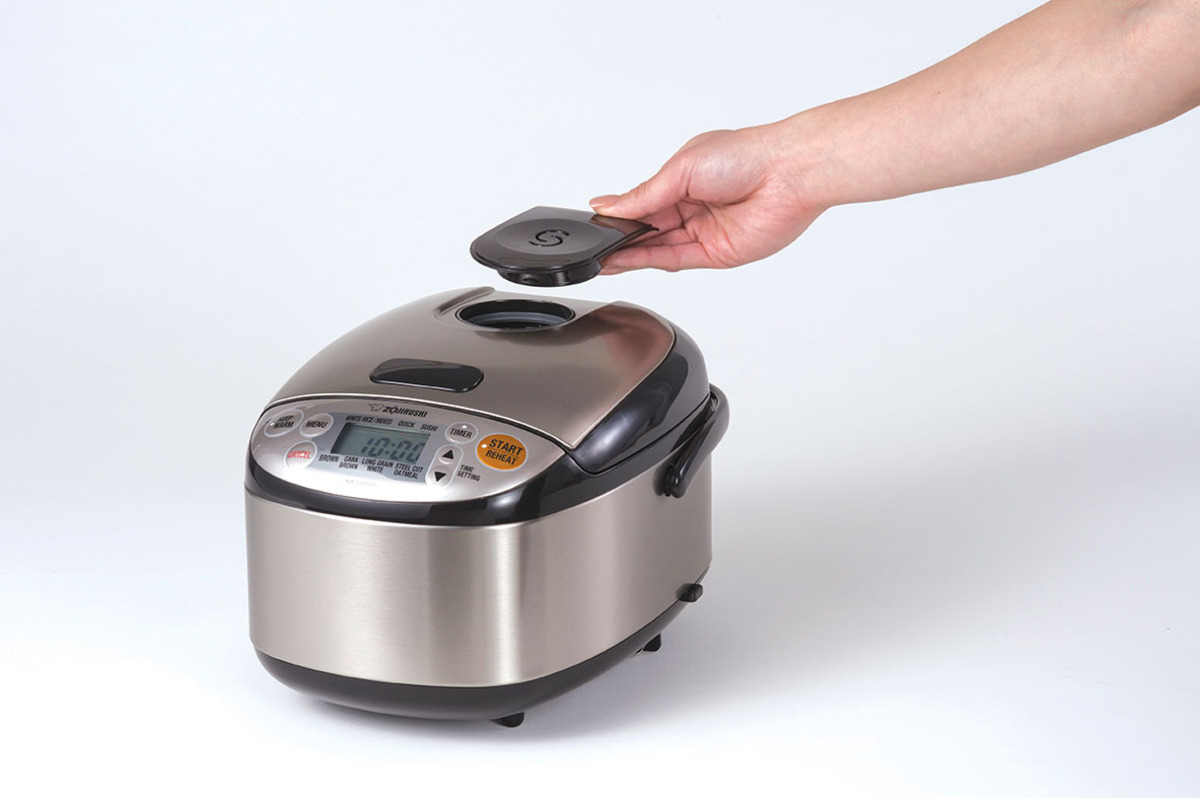
Step 4: Cleaning the Rice Cooker Exterior
Now that you have prepared the cleaning solution, it’s time to start cleaning the exterior of the rice cooker. The exterior surfaces, such as the lid, control panel, and body of the rice cooker, can also accumulate mold and grime over time.
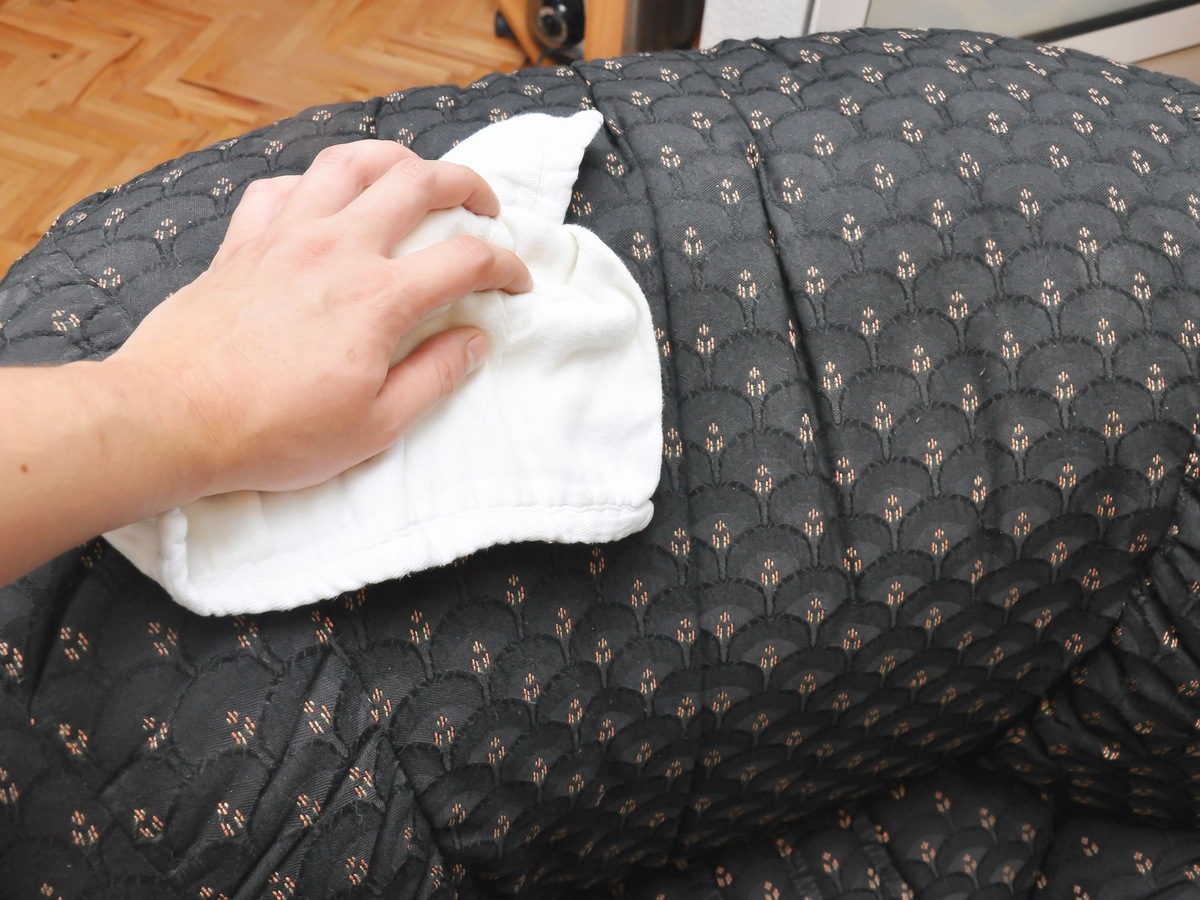
Dip a soft cloth or sponge into the cleaning solution, ensuring it is damp but not soaking wet. Gently wipe down the exterior of the rice cooker, paying attention to any areas where mold or stains may be present.
If there are stubborn stains or dried-on food particles, you can use a soft-bristled brush or toothbrush to scrub the affected areas. Be gentle yet thorough to avoid scratching or damaging the surfaces.
For areas with visible mold growth, apply a bit of additional cleaning solution and let it sit for a few minutes to help loosen the mold. Then, scrub the area with the brush or sponge to remove the mold completely.
Remember to clean all the nooks and crevices, including the hinges, buttons, and vents. These areas can easily collect dirt and mold, so be diligent in your cleaning efforts.
Once you have cleaned the entire exterior of the rice cooker, use a clean, damp cloth to wipe away any remaining cleaning solution residues. Finally, dry the exterior surfaces thoroughly with a dry cloth to prevent any moisture from lingering.
With the exterior of the rice cooker now clean, let’s move on to the next step: cleaning the inner pot in Step 5.
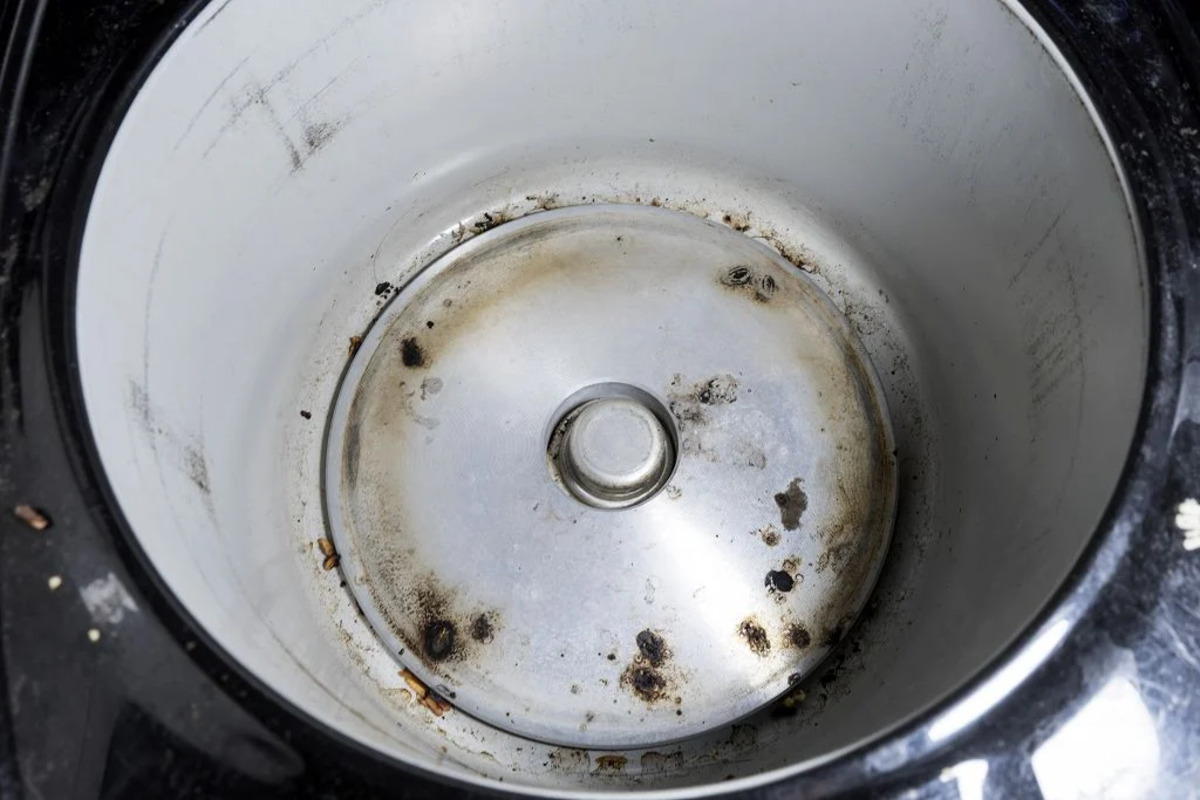
Step 5: Cleaning the Inner Pot
With the exterior of the rice cooker clean, it’s time to focus on cleaning the inner pot. The inner pot is where the rice is cooked and can develop mold if not properly cleaned and maintained.
Start by removing the inner pot from the rice cooker. Empty any remaining water or rice into the sink or trash. Rinse the inner pot with warm water to remove any loose debris or food particles.
Next, apply the cleaning solution you prepared in Step 3 to the inner pot. Use a soft sponge or cloth to scrub the inner surface, ensuring that you reach all areas, including the bottom and sides of the pot.
For stubborn stains or residues, you can sprinkle a small amount of baking soda on the sponge or cloth and scrub the affected areas. Baking soda is a natural cleaning agent that can help remove stains and odors.
Once you have thoroughly cleaned the inner pot, rinse it with clean water to remove any remaining cleaning solution or baking soda. Ensure that all traces of the cleaning solution are removed to avoid any interference with the taste or quality of the rice.
After rinsing, dry the inner pot with a clean, dry cloth or allow it to air dry completely before reassembling the rice cooker.
Now that the inner pot is clean, let’s move on to Step 6, which is focused on removing mold from the seals and gaskets.
Read more: How To Clean Mold Out Of A Car Carpet
Step 6: Removing Mold from Seals and Gaskets
While cleaning the inner pot and exterior surfaces of the rice cooker is important, it’s equally crucial to address the seals and gaskets. Mold can easily accumulate in these areas and compromise the performance and safety of your rice cooker.
Start by inspecting the seals and gaskets for any visible mold growth or residue. Use a damp cloth or sponge to wipe away any loose mold or dirt from these areas. Be gentle to prevent any damage to the seals or gaskets.
If the mold is stubborn and difficult to remove, you can dip a cotton swab in the cleaning solution you prepared in Step 3. Gently scrub the affected areas with the cotton swab, ensuring that you reach into all the crevices.
For particularly stubborn mold or residue, you can create a paste by mixing baking soda with a small amount of the cleaning solution. Apply the paste to the affected areas using a cotton swab and let it sit for a few minutes. Then, gently scrub the mold away before rinsing with clean water.
After removing the mold, make sure to thoroughly rinse the seals and gaskets with clean water to remove any traces of the cleaning solution or baking soda.
Once the seals and gaskets are clean and rinsed, use a clean, dry cloth or paper towel to wipe away any residual moisture. It’s important to ensure that these areas are completely dry before reassembling the rice cooker to prevent mold or mildew from returning.
Now that you have cleaned the seals and gaskets, let’s proceed to the final step: drying and reassembling the rice cooker.
Step 7: Drying and Reassembling the Rice Cooker
After completing all the cleaning steps, it’s essential to properly dry and reassemble the rice cooker before using it again.
Start by ensuring that all the cleaned components of the rice cooker are thoroughly dried. Use a dry cloth or paper towel to remove any excess moisture from the inner pot, exterior surfaces, seals, and gaskets.
To expedite the drying process, you can leave the components in a well-ventilated area or use a fan to circulate the air. It’s crucial to ensure that there is no moisture remaining, as any lingering dampness can promote mold growth.
Once all the components are completely dry, carefully reassemble the rice cooker. Place the clean and dry inner pot back into the cooker, making sure it is properly aligned and secured.
Ensure that the seals and gaskets are placed correctly and in good condition. If you notice any signs of wear or damage, it may be necessary to replace them to maintain the efficiency of the rice cooker.
Once the rice cooker is reassembled, it’s important to keep it in a clean and dry location. Moisture and humidity can contribute to mold growth, so store the rice cooker in a well-ventilated area to minimize these factors.
Remember to always follow the manufacturer’s instructions and recommendations for maintaining and storing your specific rice cooker model.
Congratulations! You have successfully cleaned and reassembled your rice cooker, ensuring that it is free from mold and ready for use. By following these cleaning steps regularly, you can prevent mold growth and ensure the longevity of your rice cooker.
Now that you have completed the cleaning process, let’s explore some preventive measures to avoid mold in the future.
Preventing Mold in the Future
Preventing mold growth in your rice cooker is key to maintaining its performance and ensuring the quality of your cooked rice. Here are some preventive measures you can take to avoid mold in the future:
- Clean your rice cooker regularly: Make it a habit to clean your rice cooker after each use. Remove any remaining rice or food, and wipe down all surfaces with a damp cloth or sponge.
- Thoroughly dry the rice cooker: Before storing your rice cooker, ensure that all parts, especially the inner pot and seals, are completely dry. Moisture provides an ideal environment for mold growth, so it’s important to eliminate any residual moisture.
- Avoid leaving rice in the cooker for extended periods: After cooking rice, avoid leaving it in the rice cooker for excessive amounts of time. Mold can quickly develop when rice is left to cool and sit in a warm and moist environment.
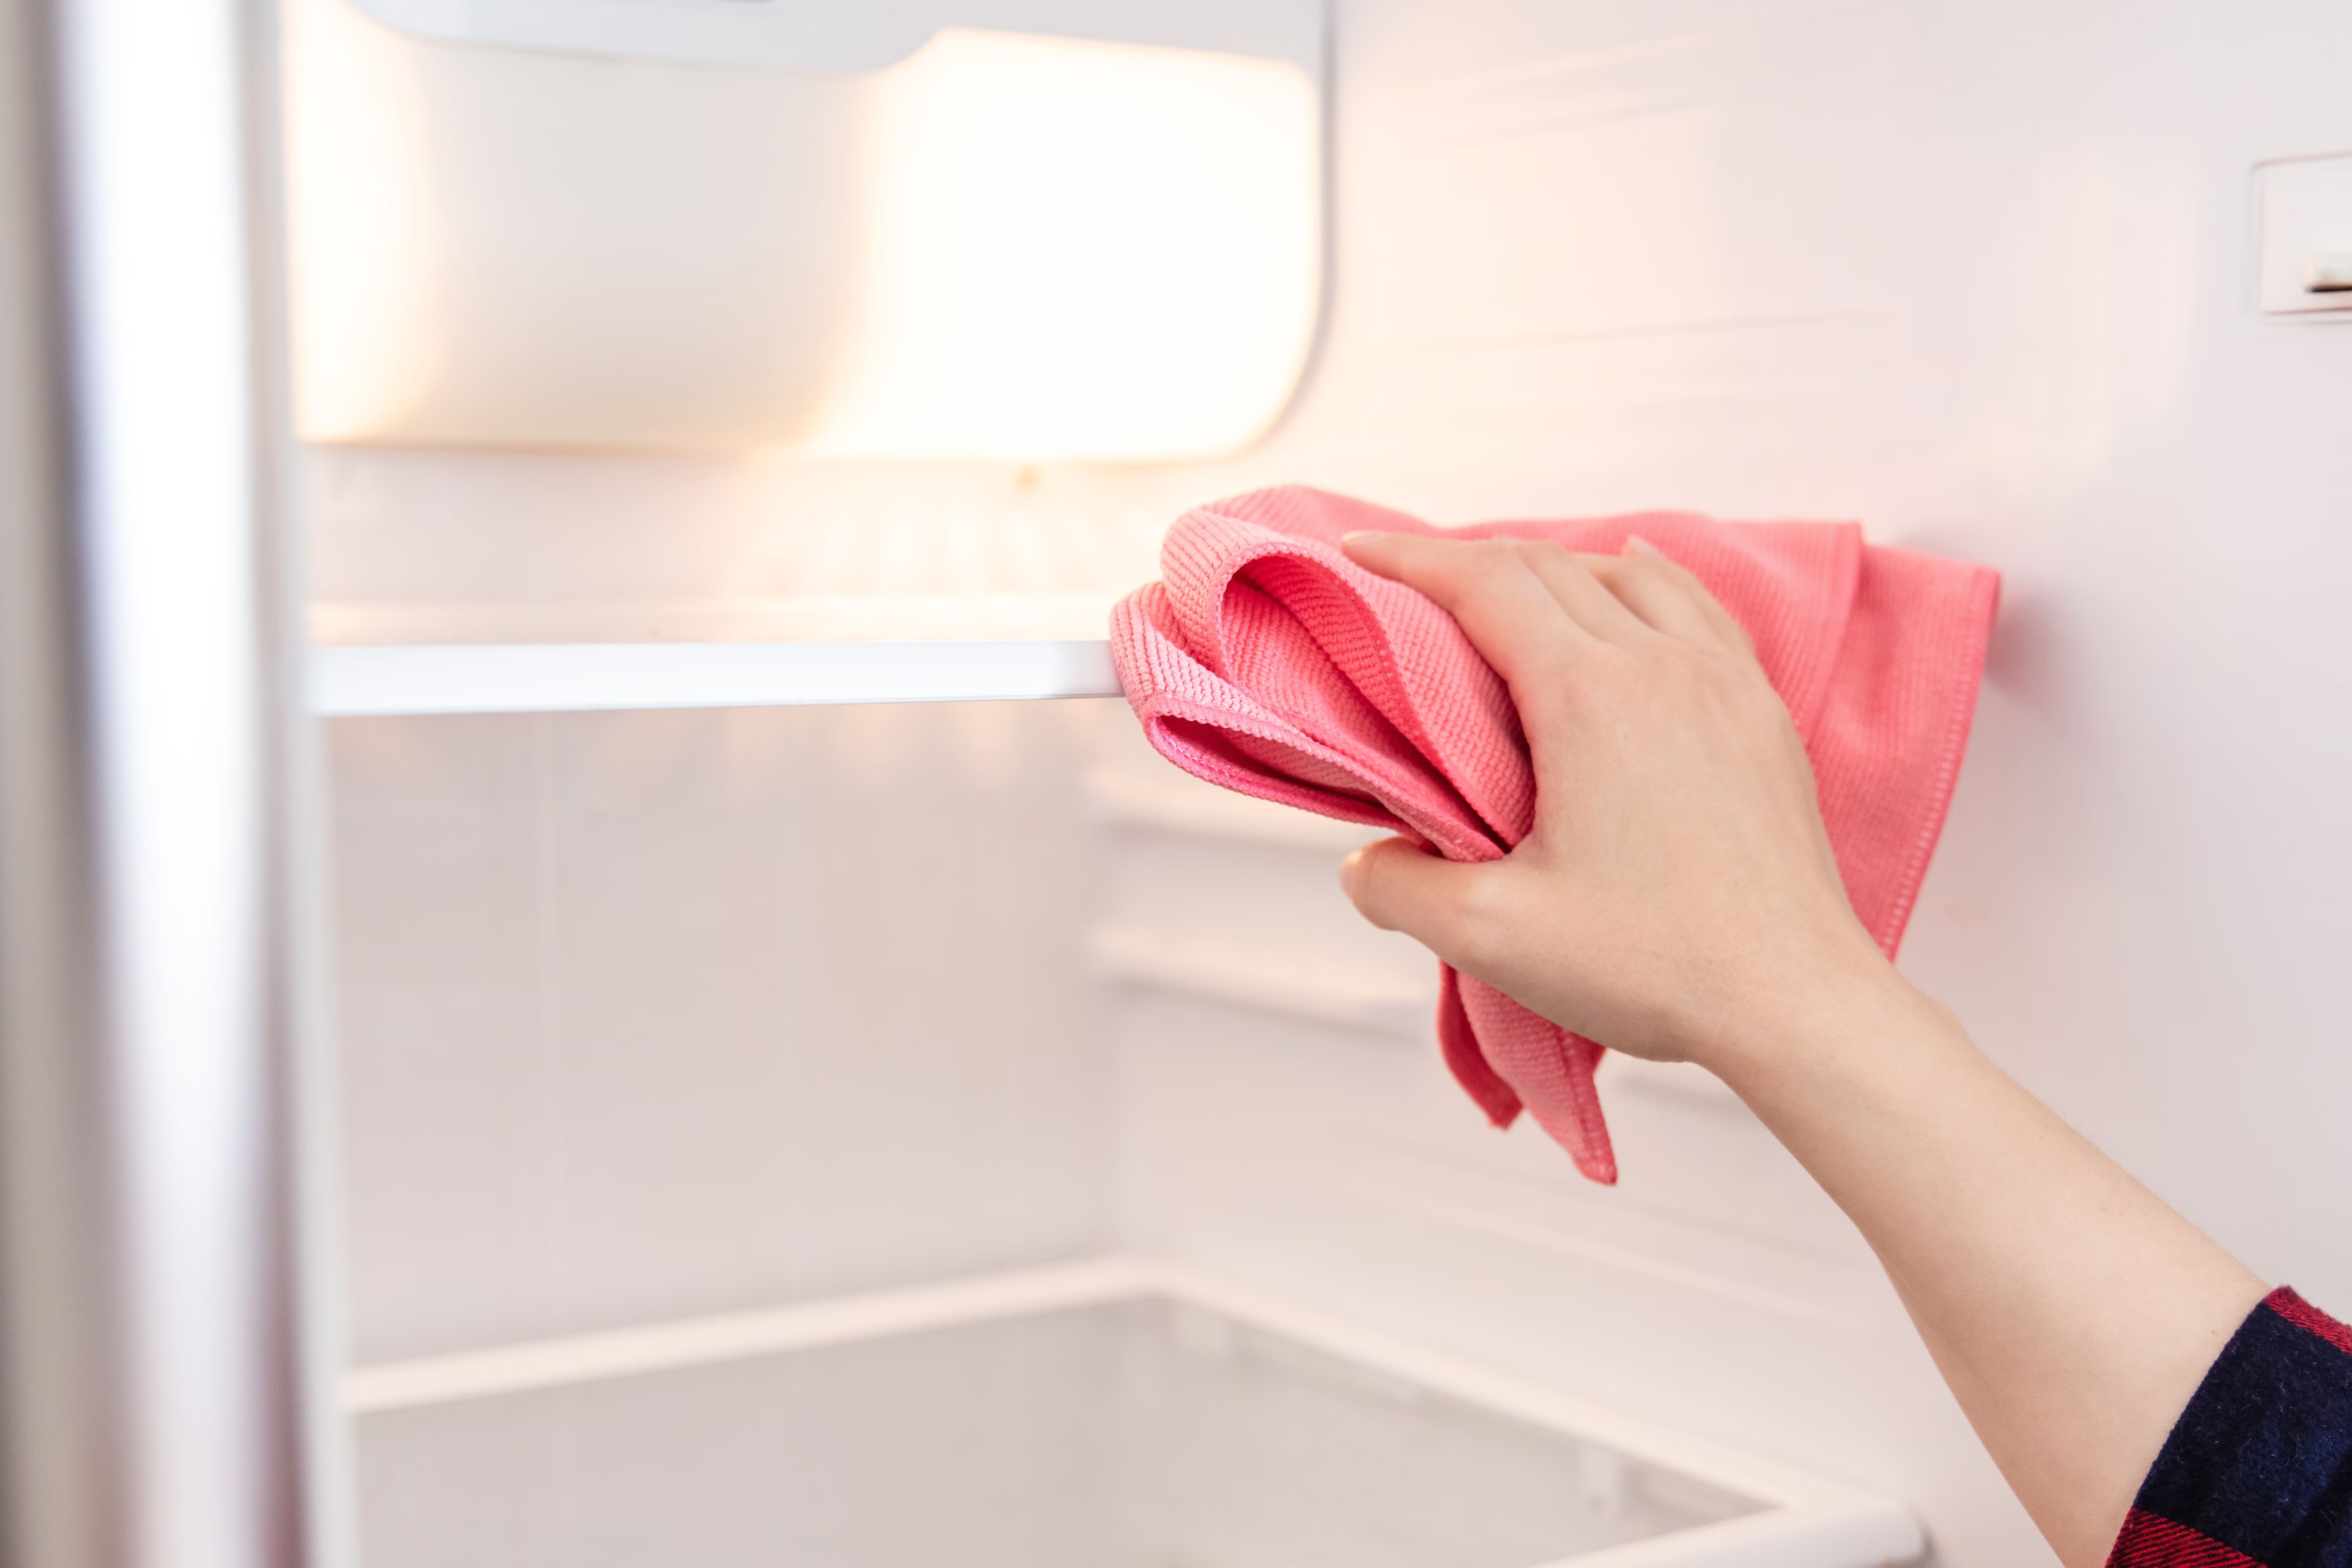
- Store rice properly: Store any leftover cooked rice in airtight containers in the refrigerator. This helps to prevent the growth of mold and bacteria.
- Inspect and clean seals and gaskets regularly: Check the seals and gaskets of your rice cooker regularly for any signs of mold or damage. Clean them thoroughly and replace them if necessary to maintain their effectiveness in preventing mold growth.
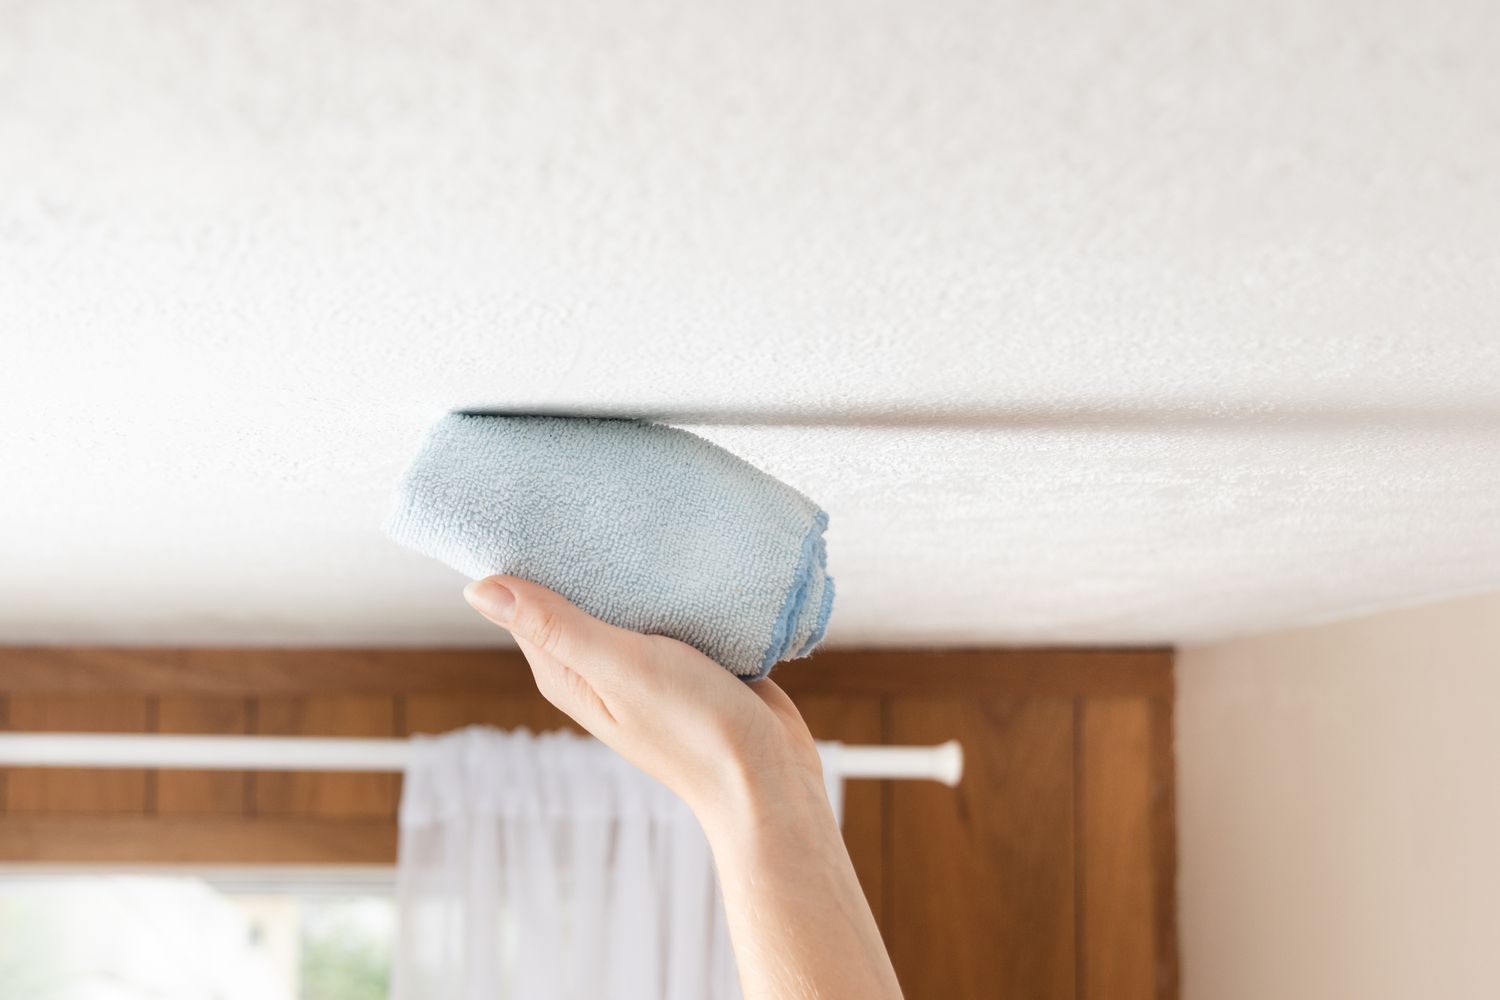
- Keep the rice cooker in a well-ventilated area: Proper ventilation helps to prevent moisture buildup and create an environment that is less favorable for mold growth. Avoid storing the rice cooker in damp or humid areas.
- Use rice cookers with removable inner pots: Rice cookers with removable inner pots are easier to clean and maintain. Being able to remove the inner pot allows for more thorough cleaning, reducing the risk of mold growth.
- Regularly inspect the rice cooker for any signs of mold: Keep an eye out for any moldy odor or visible mold growth in your rice cooker. If you notice any signs, take immediate action to clean and eliminate the mold to prevent it from spreading.
By incorporating these preventive measures into your routine, you can keep your rice cooker mold-free and ensure that you consistently enjoy delicious and healthy rice.
Now that you have learned how to prevent mold in your rice cooker, let’s conclude this guide.
Conclusion
Cleaning mold out of a rice cooker is essential to maintain its performance, ensure the quality of cooked rice, and prevent any health risks associated with mold consumption. By following the step-by-step process outlined in this guide, you can effectively eliminate mold and keep your rice cooker in optimal condition.
Understanding how mold develops in a rice cooker and taking appropriate safety precautions are crucial first steps. Wearing protective gear, working in a well-ventilated area, and avoiding direct contact with mold spores are essential for your safety during the cleaning process.
Gathering the necessary cleaning supplies, such as gloves, masks, cleaning brushes, and a suitable cleaning solution, will help you achieve a thorough and efficient cleaning process. Whether you choose a vinegar-water solution or a mild dish soap solution, ensure that it is well-mixed and ready for use.
The step-by-step process covers unplugging the rice cooker, removing excess rice, preparing a cleaning solution, cleaning the exterior, inner pot, seals, and gaskets, and finally drying and reassembling the rice cooker. Each step plays a vital role in eliminating mold and maintaining the cleanliness of your rice cooker.
Preventing mold in the future is equally important. Regularly cleaning your rice cooker, thoroughly drying all components, storing rice properly, and inspecting seals and gaskets will help minimize the risk of mold growth and maintain the longevity of your rice cooker.
Remember, safety should always be a priority when dealing with mold. If you experience any adverse reactions or have concerns about the severity of the mold, it’s best to consult a professional for assistance.
By following the guidance provided in this comprehensive guide, you can effectively clean mold out of your rice cooker, prevent future mold growth, and enjoy perfectly cooked rice for years to come.
Now that you've tackled mold in your rice cooker, consider keeping other areas of your home just as pristine. Dive into our guide on cleaning tips to ensure your refrigerator is spotless inside and out. For broader care, our home maintenance article offers essential strategies to keep your living space in top shape. If you’re focused on rice cookers, our detailed instructions on rice cooker cleaning will help you maintain it effortlessly. Keep your home environment healthy and welcoming with these straightforward, practical tips.
Frequently Asked Questions about How To Clean Mold Out Of Rice Cooker
Was this page helpful?
At Storables.com, we guarantee accurate and reliable information. Our content, validated by Expert Board Contributors, is crafted following stringent Editorial Policies. We're committed to providing you with well-researched, expert-backed insights for all your informational needs.


0 thoughts on “How To Clean Mold Out Of Rice Cooker”