

Articles
How To Fold A Flat Sheet
Modified: August 27, 2024
Learn the art of folding a flat sheet with this step-by-step guide. Our informative articles will help you master this essential laundry skill.
(Many of the links in this article redirect to a specific reviewed product. Your purchase of these products through affiliate links helps to generate commission for Storables.com, at no extra cost. Learn more)
Introduction
Learning how to fold a flat sheet can seem like a daunting task, conjuring up images of crumpled fabric and frustration. But fear not! With a little practice and the right technique, you’ll be able to fold your flat sheets neatly and efficiently.
In this article, we will guide you through the step-by-step process of folding a flat sheet, ensuring that you achieve crisp, wrinkle-free results every time. Whether you’re a seasoned home-maker or a novice in the laundry room, mastering this skill will not only save you space but also help you maintain an organized linen closet.
So, gather your flat sheet and let’s dive into the art of folding!
Key Takeaways:
- Master the art of folding flat sheets with ease, creating a neat and organized linen closet while saving valuable space. Practice makes perfect, and crisp, wrinkle-free results await!
- Start by spreading out the sheet, folding in the corners, then the sides, and finally making the last fold to achieve a compact and uniform shape. Happy folding!
Read more: How To Turn A Flat Sheet Into A Fitted Sheet
Materials Needed
Before we begin our folding journey, let’s gather the materials you’ll need:
- A flat sheet: Choose a flat sheet that is clean and free of wrinkles. It can be any size, from twin to king.
- A clean, flat surface: Find a spacious, clean surface like a table or bed to work on. Make sure it’s free of any objects that could interfere with the folding process.
That’s it! With these two essentials, you’re ready to embark on the folding adventure.
Step 1: Spread Out the Sheet
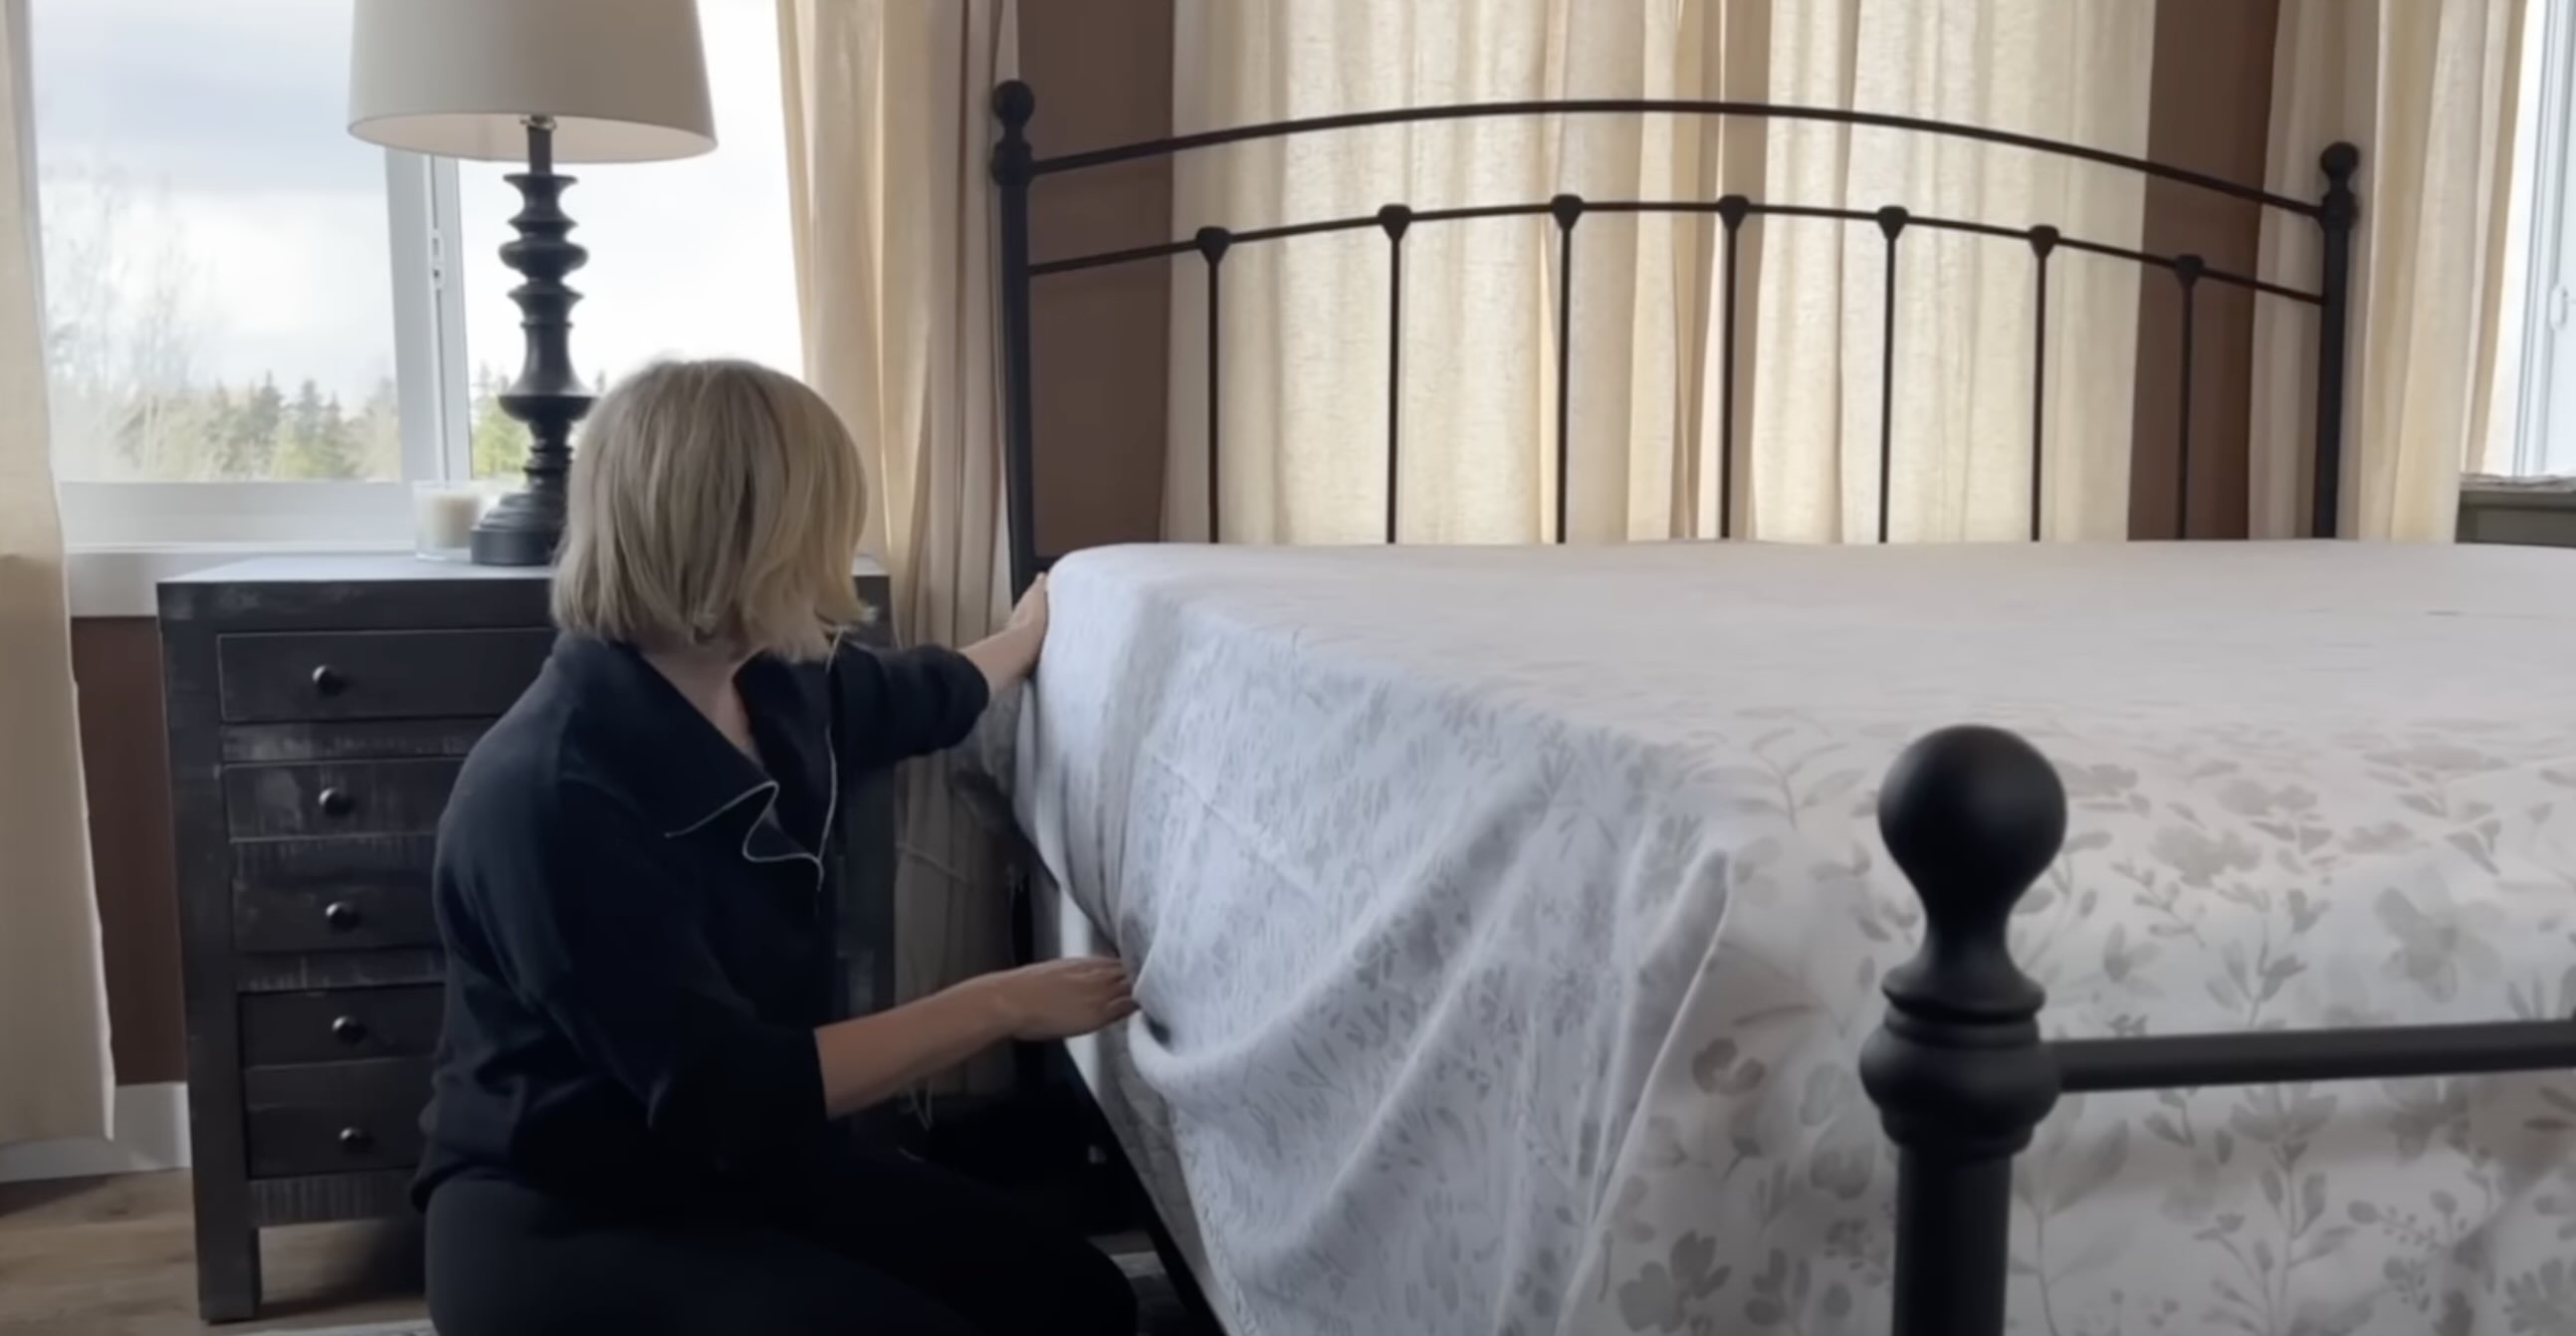
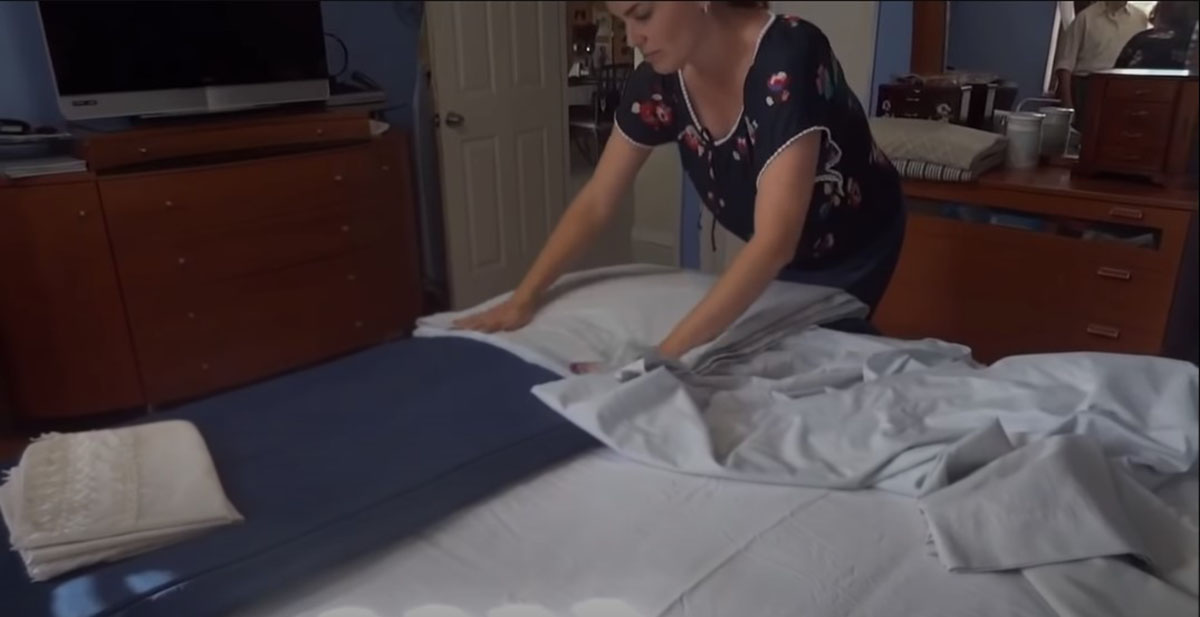
The first step to folding a flat sheet is to spread it out on your clean, flat surface. Smooth out any wrinkles or creases so that the sheet lies flat.
If your sheet has elasticized corners, locate these corners and stretch them out to ensure they are fully extended. This will make it easier to fold the sheet evenly.
Once the sheet is spread out, take a moment to examine its shape. You will notice that it has four corners: two shorter sides and two longer sides.
Now that your sheet is prepped and ready, let’s move on to the next step: folding in the corners.
Step 2: Fold in the Corners
After spreading out the sheet, it’s time to fold in the corners. This step will help create a neater and more manageable shape for folding.
Start by taking one of the shorter sides of the sheet and pick up the corner. Fold it diagonally towards the opposite corner of the sheet.
Repeat this process with the other shorter side, folding the corner diagonally towards the opposite corner.
At this point, you should have a sheet with two folded corners, creating a triangular shape.
Take a moment to smooth out any wrinkles and adjust the corners to ensure they are neatly aligned. This will help you achieve a symmetrical fold in the next step.
Great job! Now that the corners are folded in, let’s move on to the next step: folding the sides in.
When folding a flat sheet, start by laying it flat with the pattern side down. Fold the sheet in half lengthwise, then fold it in half again. Smooth out any wrinkles as you go to ensure a neat and tidy fold.
Step 3: Fold the Sides In
With the corners neatly folded, it’s time to focus on folding the sides of the sheet. This step will help you create a more compact shape for easy storage.
Start by taking one of the longer sides of the sheet and fold it towards the center, about one-third of the way in. Smooth out any wrinkles as you go.
Next, take the other longer side of the sheet and fold it towards the center, overlapping the previously folded side. Again, smooth out any wrinkles and ensure the edges are aligned.
Now you should have a long rectangular shape with the edges neatly folded inwards.
Take a moment to adjust any wrinkles and ensure everything is aligned before moving on to the next step.
Great job so far! You’re almost done. Let’s move on to the next step: folding the sheet in half.
Read more: How To Tuck A Flat Sheet
Step 4: Fold the Sheet in Half
Now that the sides are folded in, it’s time to fold the sheet in half to create a more compact shape.
Start by taking one end of the sheet and fold it towards the center, aligning it with the opposite end. Smooth out any wrinkles and ensure the edges are neatly aligned.
Once the first half is folded, take the other end of the sheet and fold it towards the center, overlapping the previously folded half. Again, smooth out any wrinkles and align the edges.
At this point, you should have a rectangular shape that is approximately half the original size of the sheet. The edges should be neatly aligned, and there should be no visible wrinkles or folds.
Take a moment to adjust any imperfections and ensure the sheet is folded evenly before proceeding to the final step.
Excellent progress! You’re almost finished. Let’s move on to the final step: the last fold.
Step 5: Final Fold
We’ve reached the final step of folding a flat sheet. This step will help you achieve a compact and uniform fold.
Start by taking one end of the folded sheet and fold it towards the center, about one-third of the way in. Smooth out any wrinkles as you go.
Next, take the other end of the sheet and fold it towards the center, overlapping the previously folded portion. Again, smooth out any wrinkles and ensure the edges are aligned.
At this point, you should have a rectangular shape that is now a fraction of the original size of the sheet. The edges should be neatly aligned, and the sheet should be free of any visible wrinkles or folds.
Take a moment to adjust any imperfections and ensure the sheet is folded evenly before proceeding.
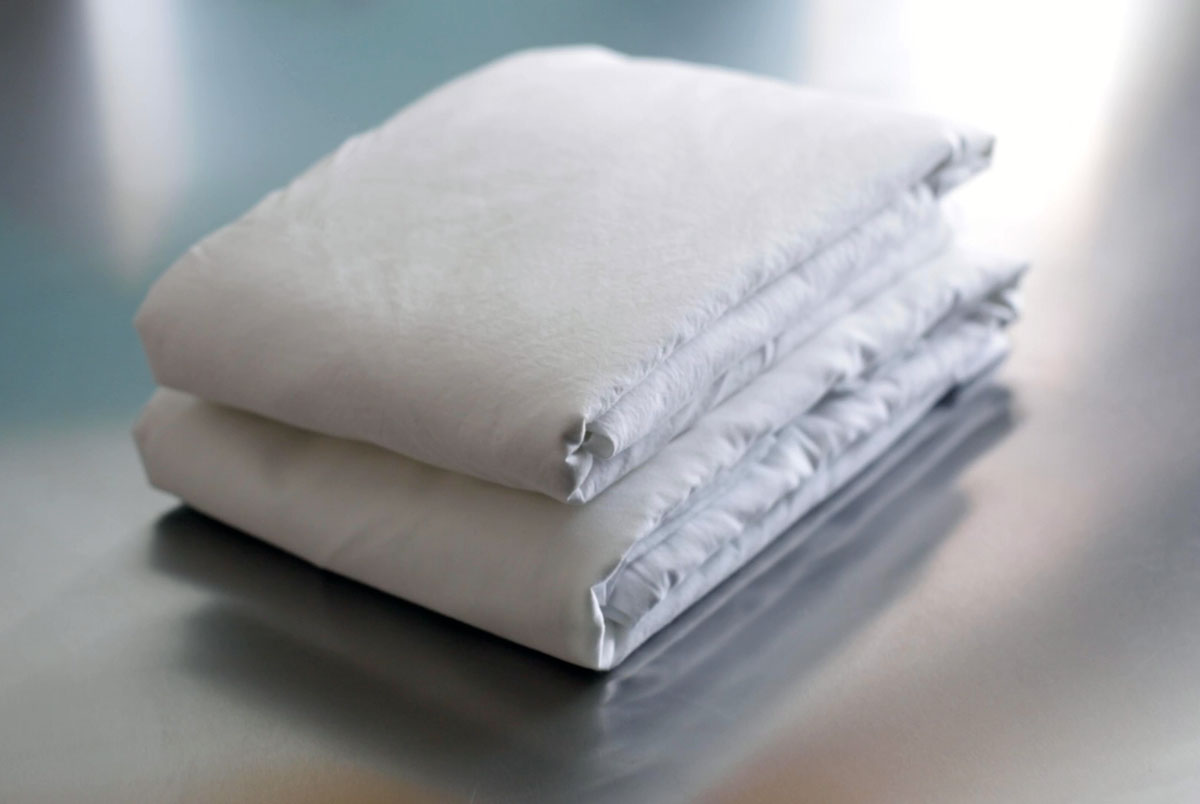
And there you have it! You’ve successfully folded a flat sheet. Now, you can store it neatly in your linen closet, ready for use whenever needed.
Remember, practice makes perfect. With a little bit of practice, you’ll be able to master this folding technique and achieve consistent, wrinkle-free results.
Happy folding!
Conclusion
Congratulations on learning how to fold a flat sheet! By following the step-by-step process outlined in this article, you can now fold your sheets neatly and efficiently, creating a more organized linen closet and saving valuable space.
Remember to start by spreading out the sheet on a clean, flat surface, and then fold in the corners to create a triangular shape. Fold the sides inwards to create a rectangular shape, and then fold the sheet in half. Finally, make the last fold to achieve a compact and uniform shape.
With practice, you’ll be able to fold your flat sheets with ease, achieving crisp, wrinkle-free results every time. Not only will this help you keep your sheets neat and organized, but it will also make your linen closet a joy to navigate.
Now that you’ve mastered the art of folding flat sheets, you can apply this technique to other bedding items such as fitted sheets, pillowcases, and duvet covers.
Thank you for joining us on this folding adventure. Happy folding!
Frequently Asked Questions about How To Fold A Flat Sheet
Was this page helpful?
At Storables.com, we guarantee accurate and reliable information. Our content, validated by Expert Board Contributors, is crafted following stringent Editorial Policies. We're committed to providing you with well-researched, expert-backed insights for all your informational needs.








0 thoughts on “How To Fold A Flat Sheet”