Articles
How To Tuck A Flat Sheet
Modified: August 16, 2024
Learn the best techniques for tucking a flat sheet in this comprehensive guide. Read articles and get step-by-step instructions for achieving a smooth and snug fit.
(Many of the links in this article redirect to a specific reviewed product. Your purchase of these products through affiliate links helps to generate commission for Storables.com, at no extra cost. Learn more)
Introduction
Creating a neat and tidy bed can bring a sense of peace and organization to your bedroom. One essential step in achieving this is properly tucking in the flat sheet. While it may seem like a simple task, tucking a flat sheet in a way that stays in place can be a challenge for many. In this article, we will guide you through the step-by-step process of tucking a flat sheet to ensure a smooth and tidy bed.
Tucking in a flat sheet not only enhances the overall aesthetic of the bed but also keeps the sheet securely in place, preventing it from becoming entangled or wrinkled during sleep. A well-tucked sheet can also make it easier to straighten the bed in the morning and create a more inviting and comfortable sleeping environment.
Before we delve into the detailed steps of tucking a flat sheet, it’s important to prepare the sheet properly. Begin by choosing a flat sheet that fits your mattress size. A sheet that is too small will be difficult to tuck, while a sheet that is too large will result in excess fabric and make it harder to achieve a smooth and secure tuck.
Additionally, make sure to launder the sheet before tucking it in for a fresh and clean feel. Properly ironing or steaming the sheet will also help eliminate any wrinkles and make the tucking process easier. Once you have a clean and wrinkle-free flat sheet, you’re ready to begin tucking!
Key Takeaways:
- Master the art of tucking a flat sheet to create a polished and inviting bed. Proper preparation, alignment, and attention to detail will elevate your sleeping environment and enhance your overall aesthetic.
- Embrace the satisfaction of creating hospital corners for a luxurious and tailored look. With practice and patience, you can achieve a hotel-like bed that exudes comfort and elegance.
Read more: How To Fold A Flat Sheet
Step 1: Preparing the Flat Sheet
Before you start tucking the flat sheet, it’s important to prepare it properly to ensure a smooth and secure tuck. Follow these steps to prepare your flat sheet:
- Ensure that the flat sheet is clean and freshly laundered. This will not only provide a pleasant feel but also eliminate any dirt or dust that may have collected on the sheet.
- If the sheet is wrinkled, take the time to iron or steam it. Smooth out any creases and folds to make the tucking process easier and to achieve a polished look.
- It’s also a good idea to check the dimensions of the flat sheet in relation to your mattress size. Make sure the sheet is the appropriate size, as a too-small sheet will be difficult to tuck in, while a too-large sheet will result in excess fabric that may be cumbersome to manage.
- Once you have positively assessed the cleanliness, wrinkle-free condition, and appropriate dimensions of your flat sheet, you are ready to move on to the next step: aligning the sheet with the mattress.
By properly preparing your flat sheet, you are not only setting yourself up for success in tucking it in but also ensuring a comfortable and clean sleeping environment. Take the time to follow these preparatory steps, and you’ll be on your way to a beautifully made bed!
Step 2: Aligning the Sheet with the Mattress
Once you have prepared the flat sheet, the next step is to align it properly with the mattress. This will ensure that the sheet fits snugly and securely, allowing for a neat and tidy appearance. Follow these steps to align the sheet:
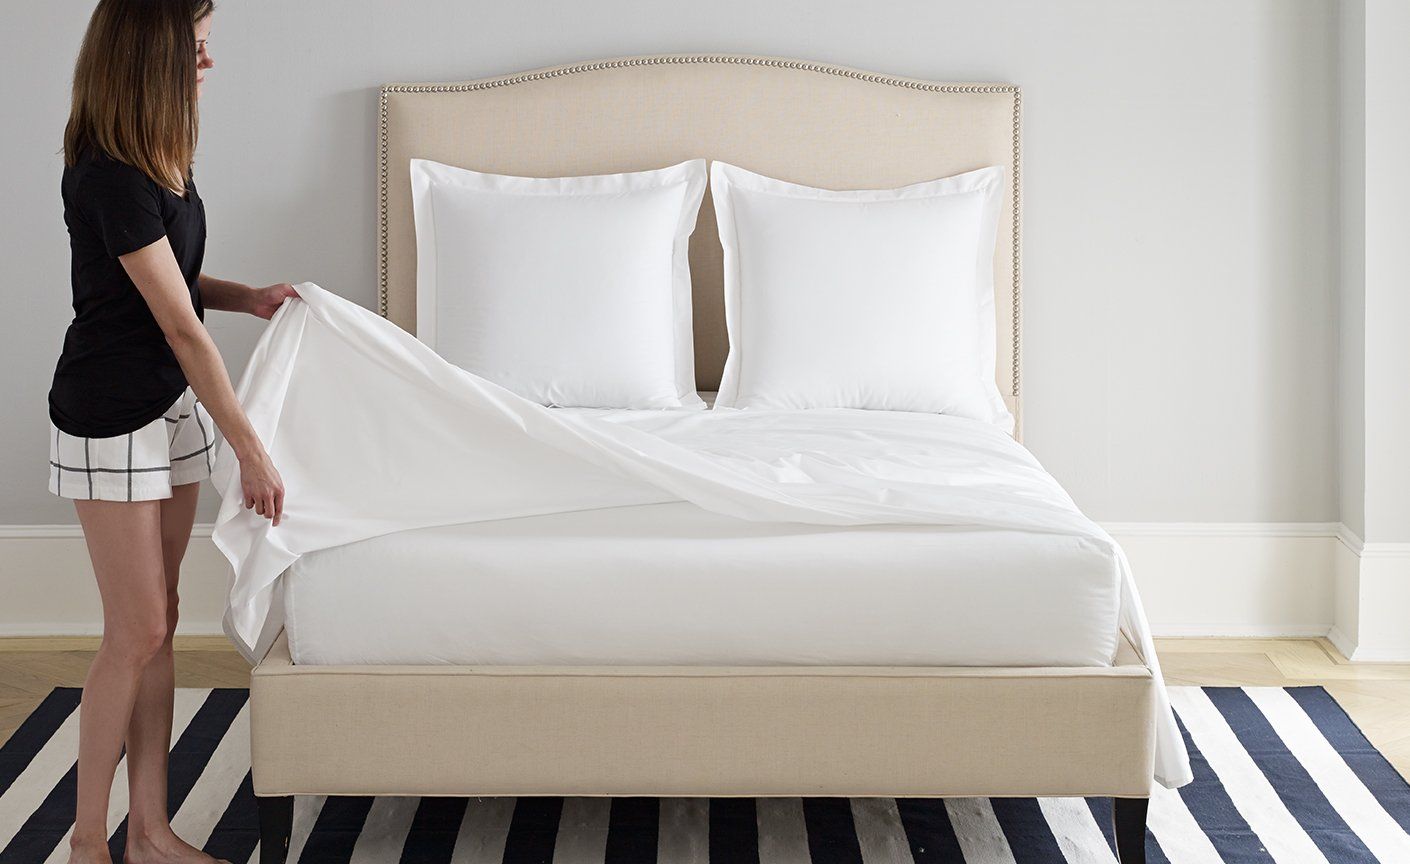
- Start by laying the flat sheet evenly over the mattress, ensuring that the top edge of the sheet aligns with the top edge of the mattress.
- Smooth out any wrinkles or folds in the sheet, making sure it is completely flat and even.
- Tuck the sides of the sheet under the mattress, starting from one corner and working your way around. This will anchor the sheet in place and prevent it from shifting during sleep.
Aligning the sheet with the mattress is a crucial step in achieving a neatly made bed. Taking the time to ensure proper alignment will set the foundation for the remaining tucking steps and contribute to an overall polished appearance.
Step 3: Tucking the Flat Sheet at the Foot of the Bed
Now that you have aligned the flat sheet properly, it’s time to tuck it in at the foot of the bed. This step will add a clean and finished look to your bed. Follow these steps to tuck the flat sheet at the foot of the bed:
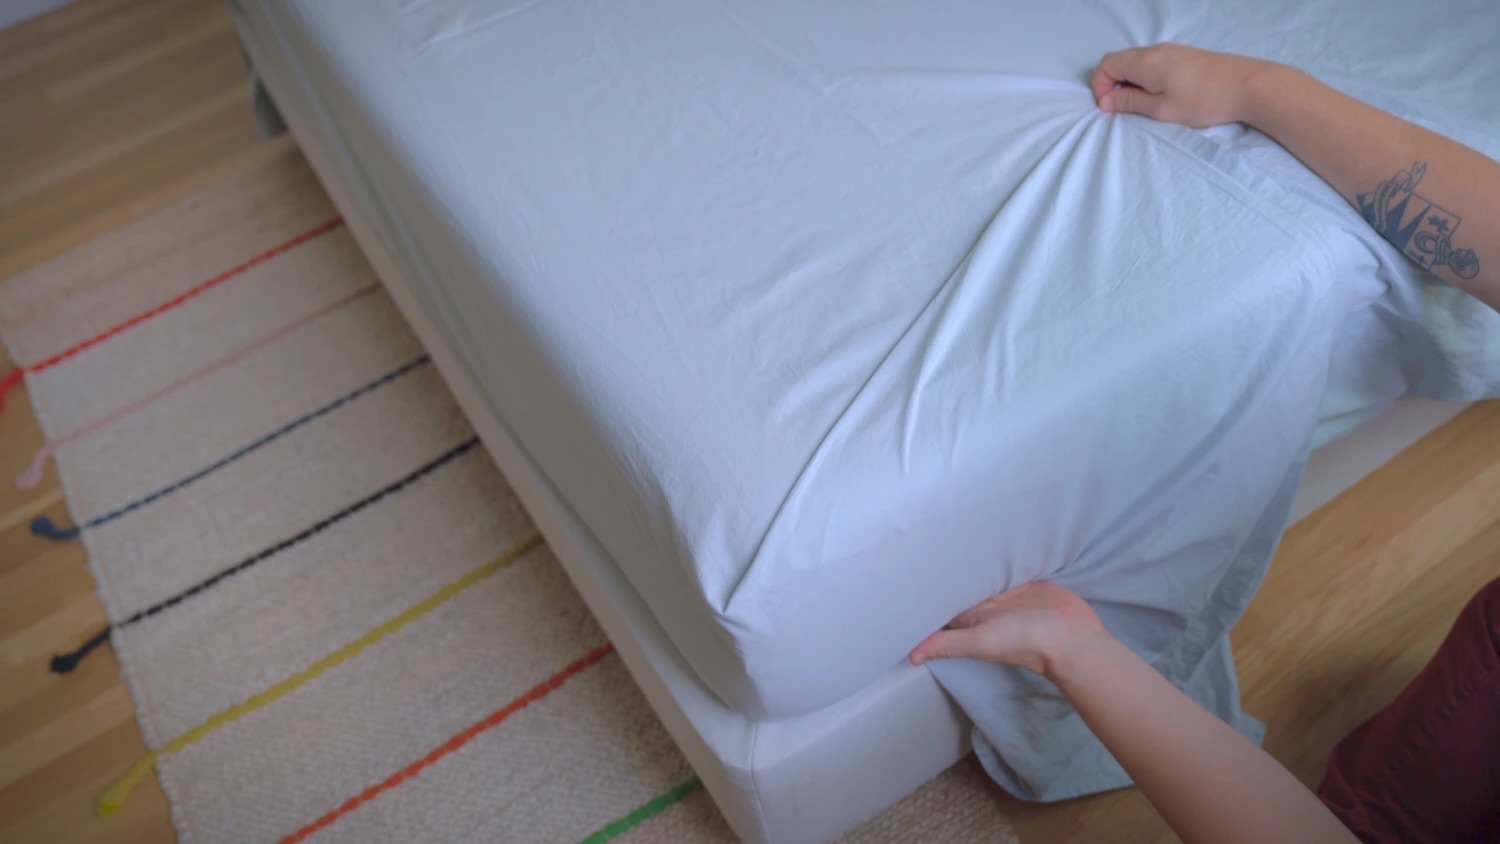
- Stand at the foot of the bed and lift the mattress slightly to create a space between the mattress and the foot of the bed frame.
- Hold the edge of the flat sheet and tuck it tightly under the mattress, ensuring that it is straight and even.
- Smooth out any wrinkles or folds in the sheet as you tuck it in, ensuring a neat appearance.
- Continue working your way along the foot of the bed, tucking the sheet in securely.
Tucking the flat sheet at the foot of the bed not only adds a tidy touch, but it also prevents the sheet from slipping or bunching up during sleep. This step creates a clean and polished look that will enhance the overall appearance of your bed.
When tucking in a flat sheet, start at the head of the bed and work your way down, ensuring the sheet is pulled taut and tucked securely under the mattress at each corner. This will help keep the sheet in place and prevent it from coming loose during the night.
Step 4: Tucking the Sides of the Flat Sheet
After tucking the flat sheet at the foot of the bed, it’s time to move on to tucking the sides. This step will ensure that the sheet stays securely in place and maintains a smooth and wrinkle-free appearance. Follow these steps to tuck the sides of the flat sheet:
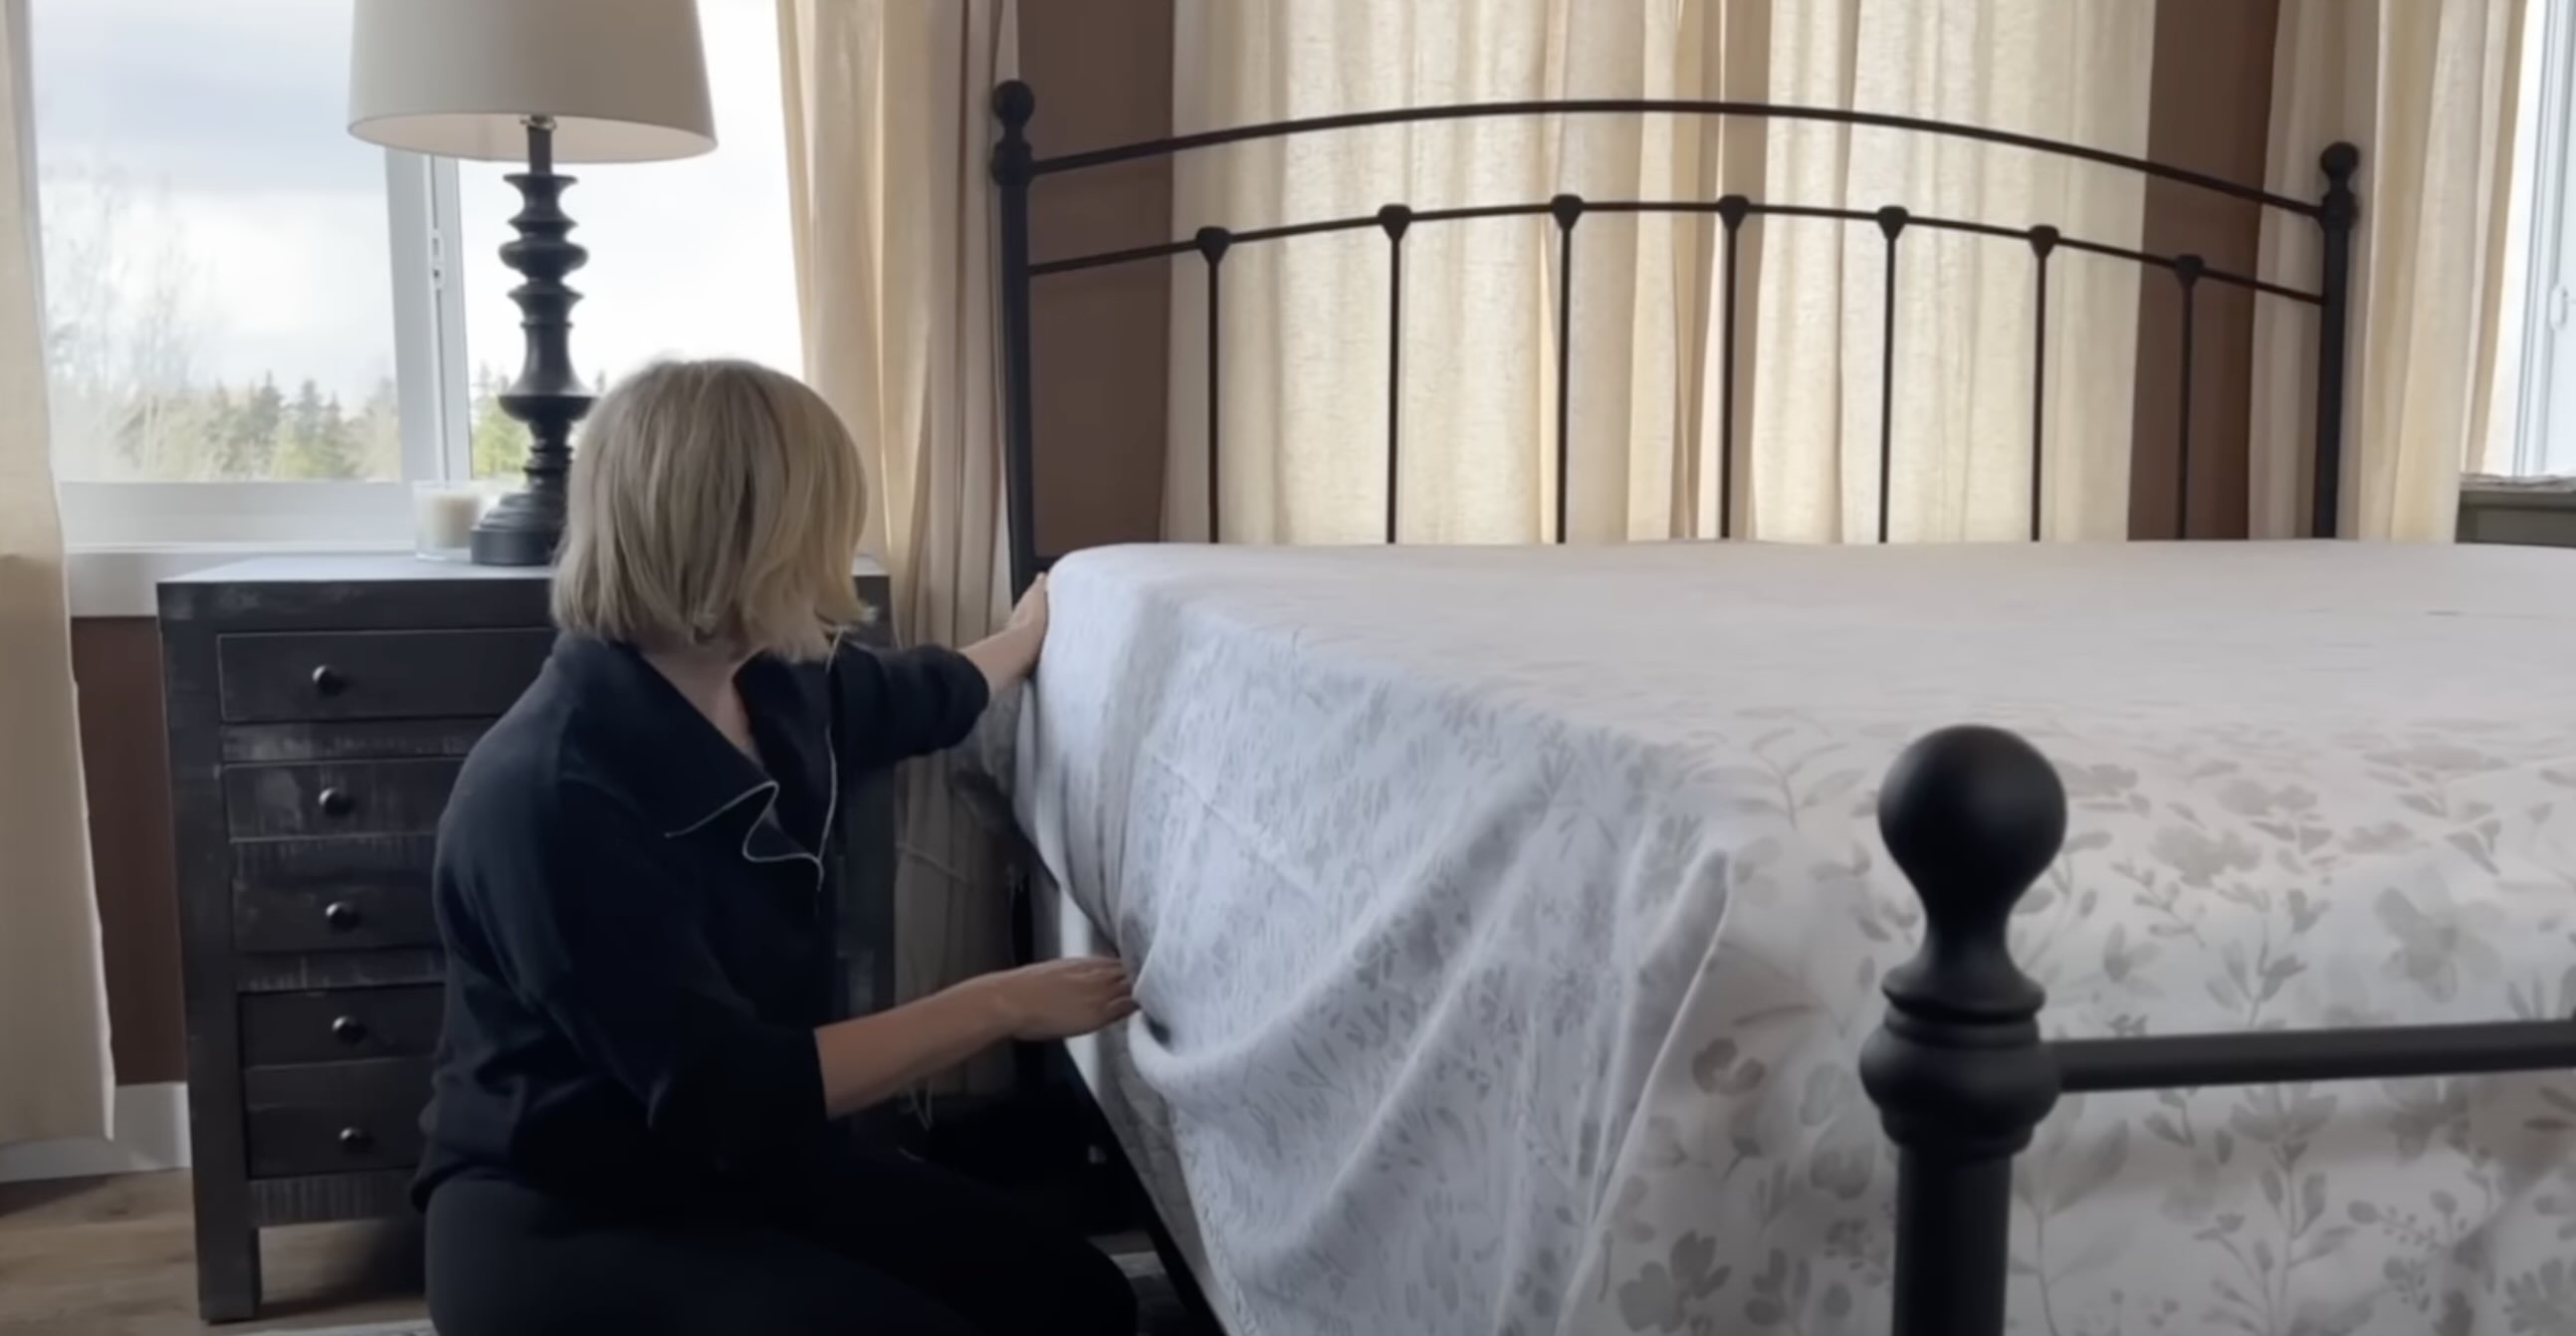
- Start at one side of the bed and lift the mattress slightly, creating a space between the mattress and the side of the bed frame.
- Hold the edge of the flat sheet and tuck it tightly under the mattress, making sure it is straight and even. Use your hand to smooth out any wrinkles or folds as you tuck.
- Continue tucking the sheet along the side of the bed, working your way to the top. Ensure that the sheet is securely tucked and lies flat against the mattress.
- Repeat the same process on the other side of the bed, ensuring that the sheet is tucked tightly and evenly under the mattress.
Tucking the sides of the flat sheet is a crucial step in achieving a well-made bed. It not only keeps the sheet in place but also creates a polished and tailored appearance. Take your time to tuck the sides properly, and enjoy the satisfying result of a neatly tucked sheet.
Read more: How To Turn A Flat Sheet Into A Fitted Sheet
Step 5: Creating Hospital Corners
Creating hospital corners is a technique that adds a professional and neatly tailored look to your bed. This step is optional but highly recommended for those who want to achieve a more polished and refined appearance. Follow these steps to create hospital corners:
- Stand at the foot of the bed and lift the mattress slightly on one side, exposing the tucked-in portion of the flat sheet.
- Take the excess fabric of the sheet that is hanging down from the corner and lift it diagonally towards the head of the bed, forming a 45-degree angle.
- Hold the fabric firmly in place and tuck it neatly under the mattress, ensuring that the corner is tightly secured.
- Smooth out any wrinkles or folds in the sheet as you tuck it in, creating a crisp and clean corner.
- Repeat the same process on the other side of the bed, creating a hospital corner on that side as well.
Creating hospital corners not only adds a stylish touch, but it also helps to keep the sheet in place and prevent it from coming untucked while you sleep. This technique gives your bed a tailored and refined look that is often found in luxury hotels.
Practice and patience are key when creating hospital corners. It may take a few attempts to achieve the desired result, but the effort will be well worth it when you see the crisp and neat corners on your perfectly made bed.
Step 6: Final Adjustments
After tucking the flat sheet and creating hospital corners, it’s time to make final adjustments to ensure that your bed looks pristine and inviting. Follow these steps to make the final adjustments:
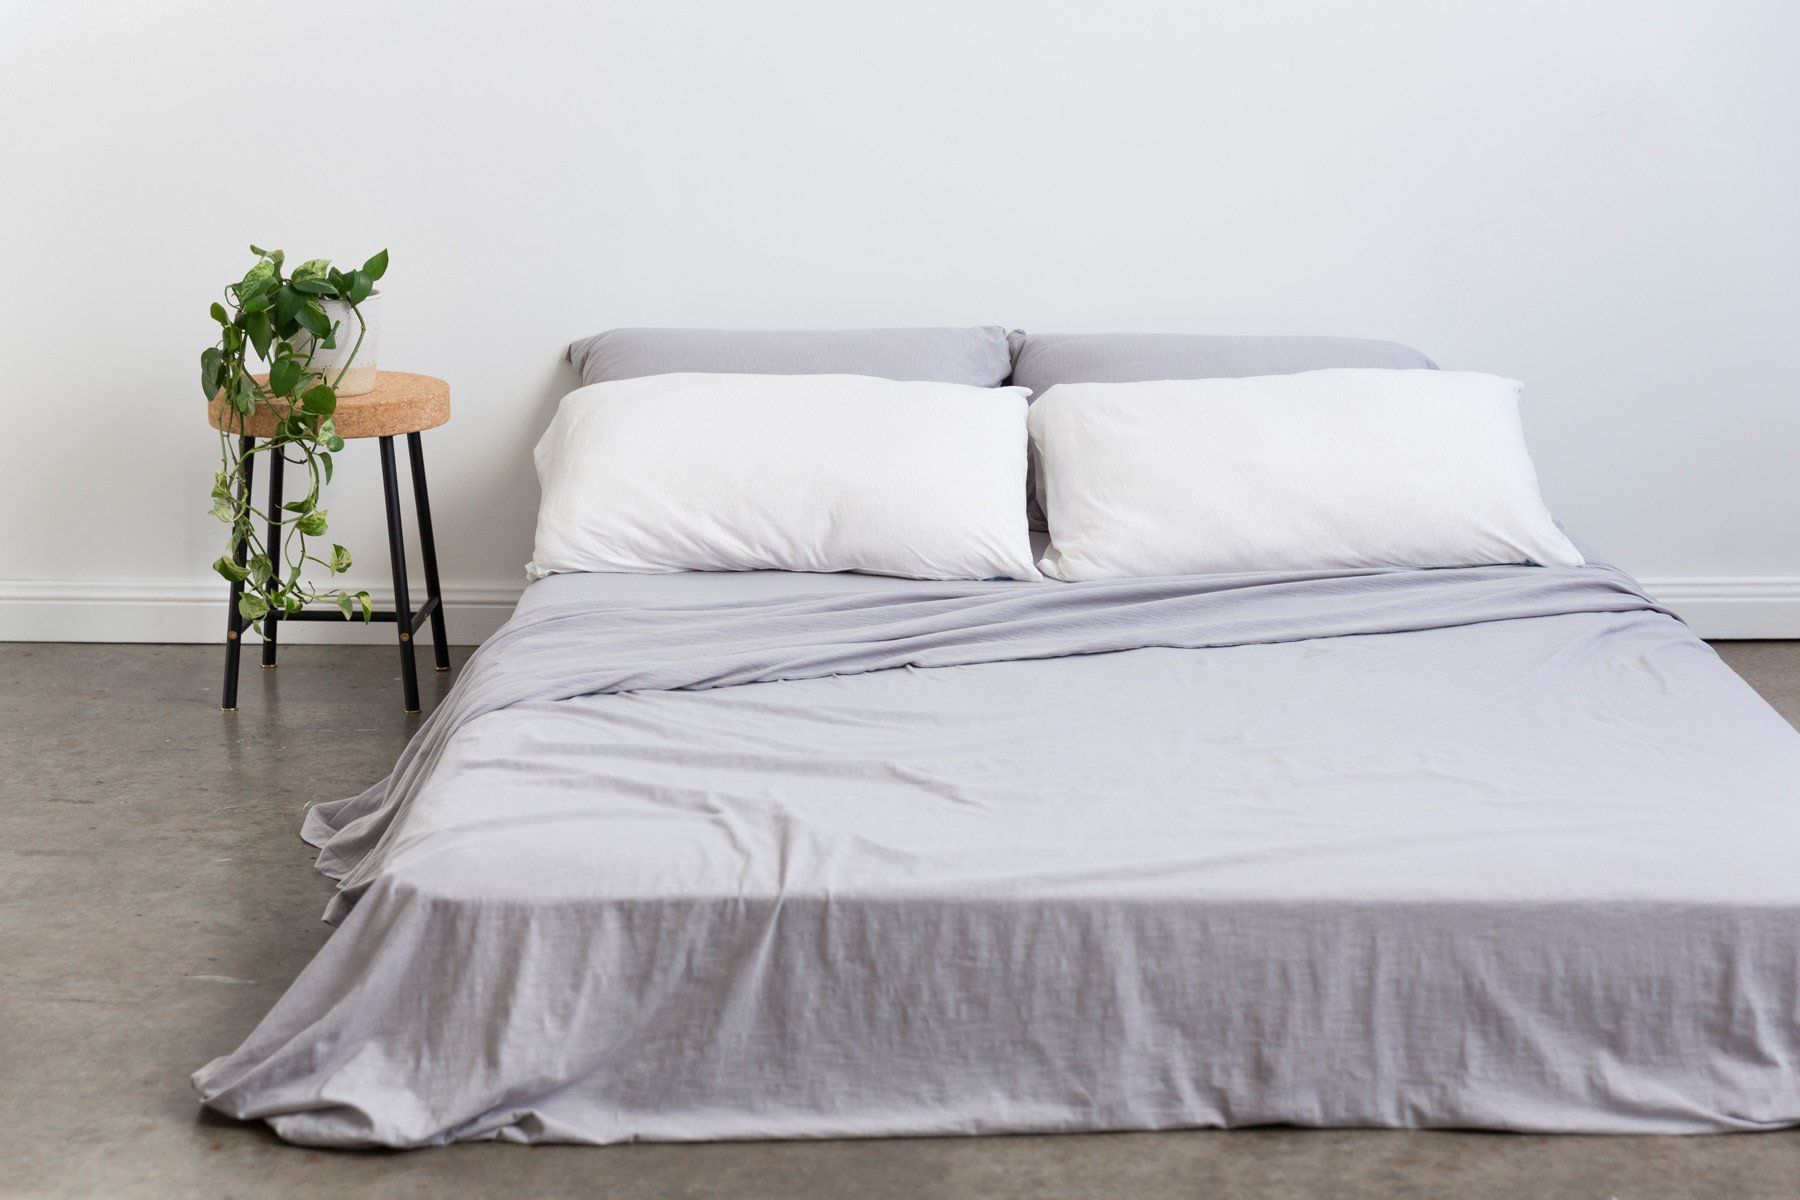
- Take a step back and assess the overall appearance of the bed. Look for any wrinkles, folds, or uneven edges that need to be addressed.
- Smooth out any wrinkles or folds in the sheet by gently pulling and adjusting the fabric. Use your hands or a flat surface, such as the edge of your palm, to create a flat and wrinkle-free surface.
- Check the alignment of the sheet with the mattress. Ensure that all edges are even and straight, giving the bed a balanced and symmetrical look.
- If necessary, re-tuck any loose or uneven areas of the sheet. Pay attention to the sides and corners, ensuring that the sheet is securely tucked under the mattress.
- Take a moment to fluff and arrange the pillows and other bedding items on top of the sheet. Plump the pillows, straighten the duvet or comforter, and adjust any decorative accents.
By making these final adjustments, you are putting the finishing touches on your perfectly made bed. These minor tweaks can make a big difference in the overall appearance and comfort of your bed.
Remember, creating a well-made bed not only enhances the aesthetic of your bedroom but also contributes to a better night’s sleep. The effort you put into tucking the flat sheet and making these final adjustments will be rewarded with a clean, tidy, and inviting bed to retreat to every night.
Conclusion
Tucking a flat sheet is a simple yet essential task in achieving a neatly made bed. By following the step-by-step guide outlined in this article, you can achieve a professional and polished look for your bed. Whether you’re striving for a hotel-like aesthetic or simply want a tidy and inviting sleeping environment, proper sheet tucking can make all the difference.
Remember to begin by preparing the flat sheet, ensuring that it is clean, wrinkle-free, and the appropriate size for your mattress. Take the time to align the sheet properly with the mattress, tucking it in securely at the foot and sides of the bed. If you want to go the extra mile, consider creating hospital corners for a refined and tailored appearance.
Lastly, don’t forget to make the final adjustments, smoothing out wrinkles and arranging pillows and bedding for a picture-perfect bed. By taking these steps, you’ll not only create an aesthetically pleasing space but also enhance your sleep experience.
So go ahead and embrace the art of tucking a flat sheet. With practice, you’ll become a master of creating a beautiful and comfortable bed that you can’t wait to crawl into at the end of the day. Sweet dreams!
Frequently Asked Questions about How To Tuck A Flat Sheet
Was this page helpful?
At Storables.com, we guarantee accurate and reliable information. Our content, validated by Expert Board Contributors, is crafted following stringent Editorial Policies. We're committed to providing you with well-researched, expert-backed insights for all your informational needs.


0 thoughts on “How To Tuck A Flat Sheet”