Articles
How To Get Rid Of Bees Nest In Roof
Modified: December 7, 2023
Learn effective ways to remove a bee nest from your roof in this informative articles. Safely eliminate bees and protect your home from potential damages.
(Many of the links in this article redirect to a specific reviewed product. Your purchase of these products through affiliate links helps to generate commission for Storables.com, at no extra cost. Learn more)
Introduction
Discovering a bee’s nest in your roof can be a cause for concern. Not only can it pose a safety risk, but it can also potentially damage your property. Bees are important pollinators and play a crucial role in our ecosystem, but when they choose to build their nest in an inconvenient location, such as your roof, it becomes necessary to take action.
In this article, we will guide you on how to safely and effectively get rid of a bee’s nest in your roof. It is important to approach this task with caution and respect for these beneficial insects. By following the steps outlined below, you can remove the nest while minimizing harm to both yourself and the bees.
Before we delve into the steps, it is important to note that there are different types of bees, and some may require professional bee removal services. Honey bees, for example, are valuable pollinators and removing their nest should be done by experienced beekeepers. If you are unsure of the type of bees or the potential risks involved, it is best to consult with a local beekeeping association or pest control professionals.
With that being said, if you have identified the bees in your roof as non-aggressive species, such as carpenter bees or bumblebees, you can proceed with the following steps to safely remove the nest. Remember to always prioritize your safety and the well-being of the bees throughout the process.
Key Takeaways:
- Safely remove a bee’s nest from your roof by identifying, approaching, and removing the nest with caution and respect for the bees. Prioritize safety, use protective gear, and seal entry points to prevent future infestations.
- Minimize harm to yourself and the bees while effectively removing a bee’s nest from your roof. Prioritize safety, choose the right time for removal, use protective gear, and implement preventive measures to create a harmonious environment for both humans and bees.
Read more: How To Get Rid Of Bees On Porch
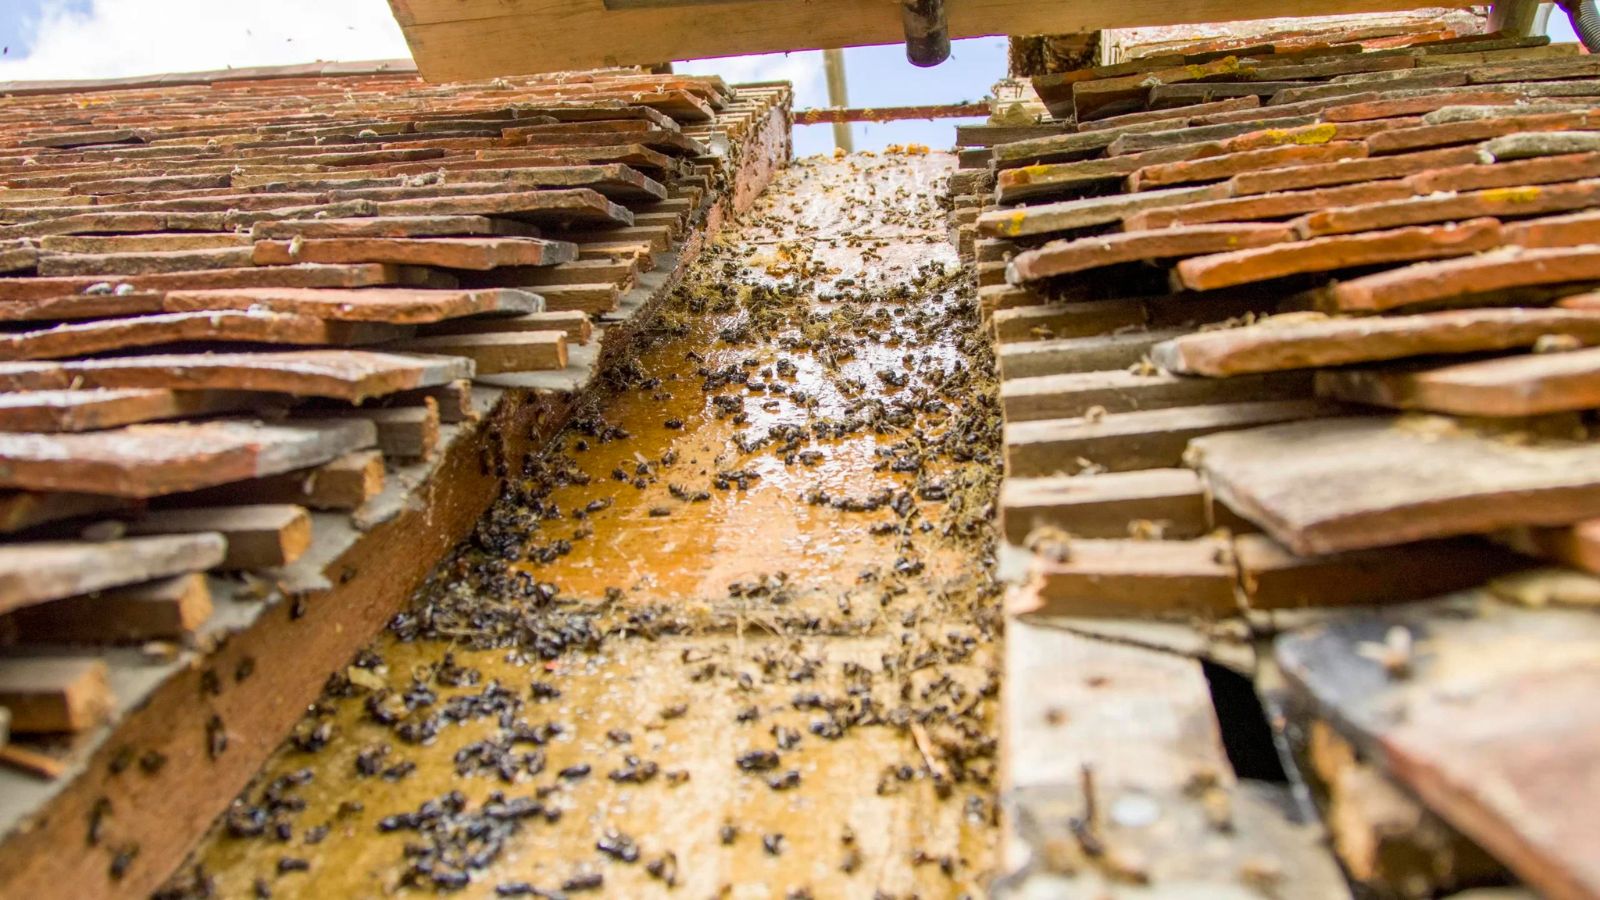
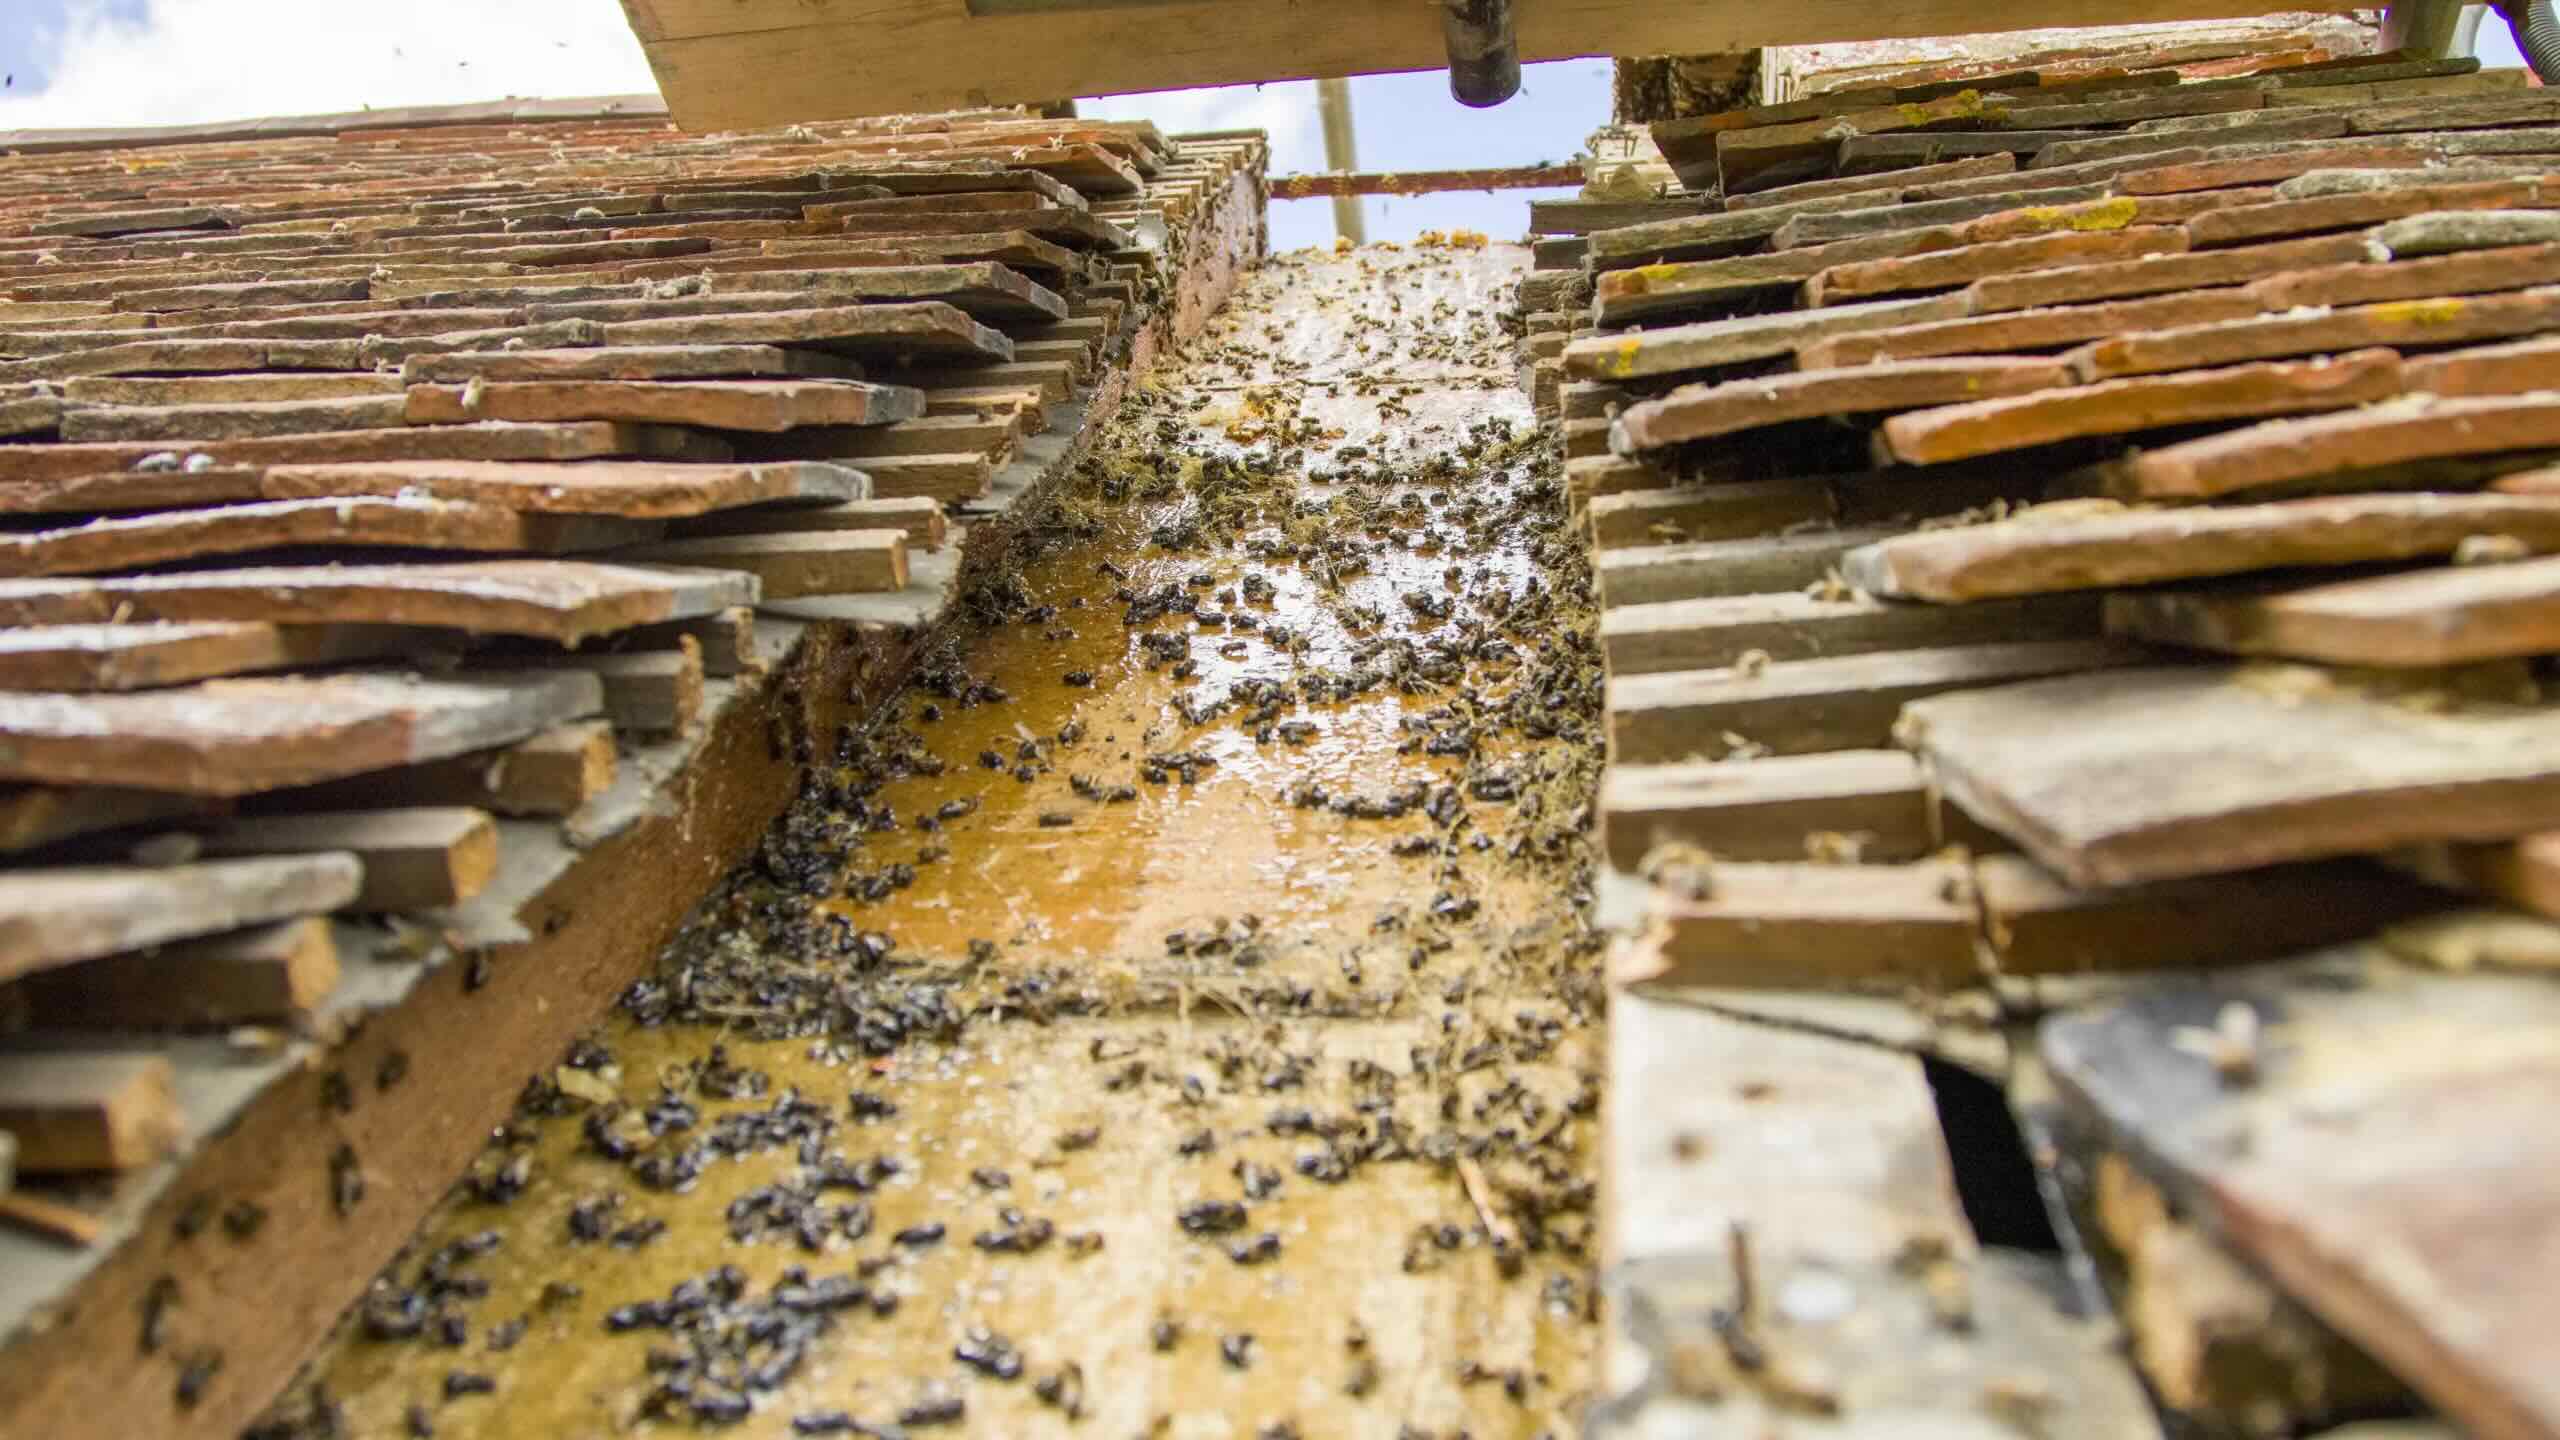
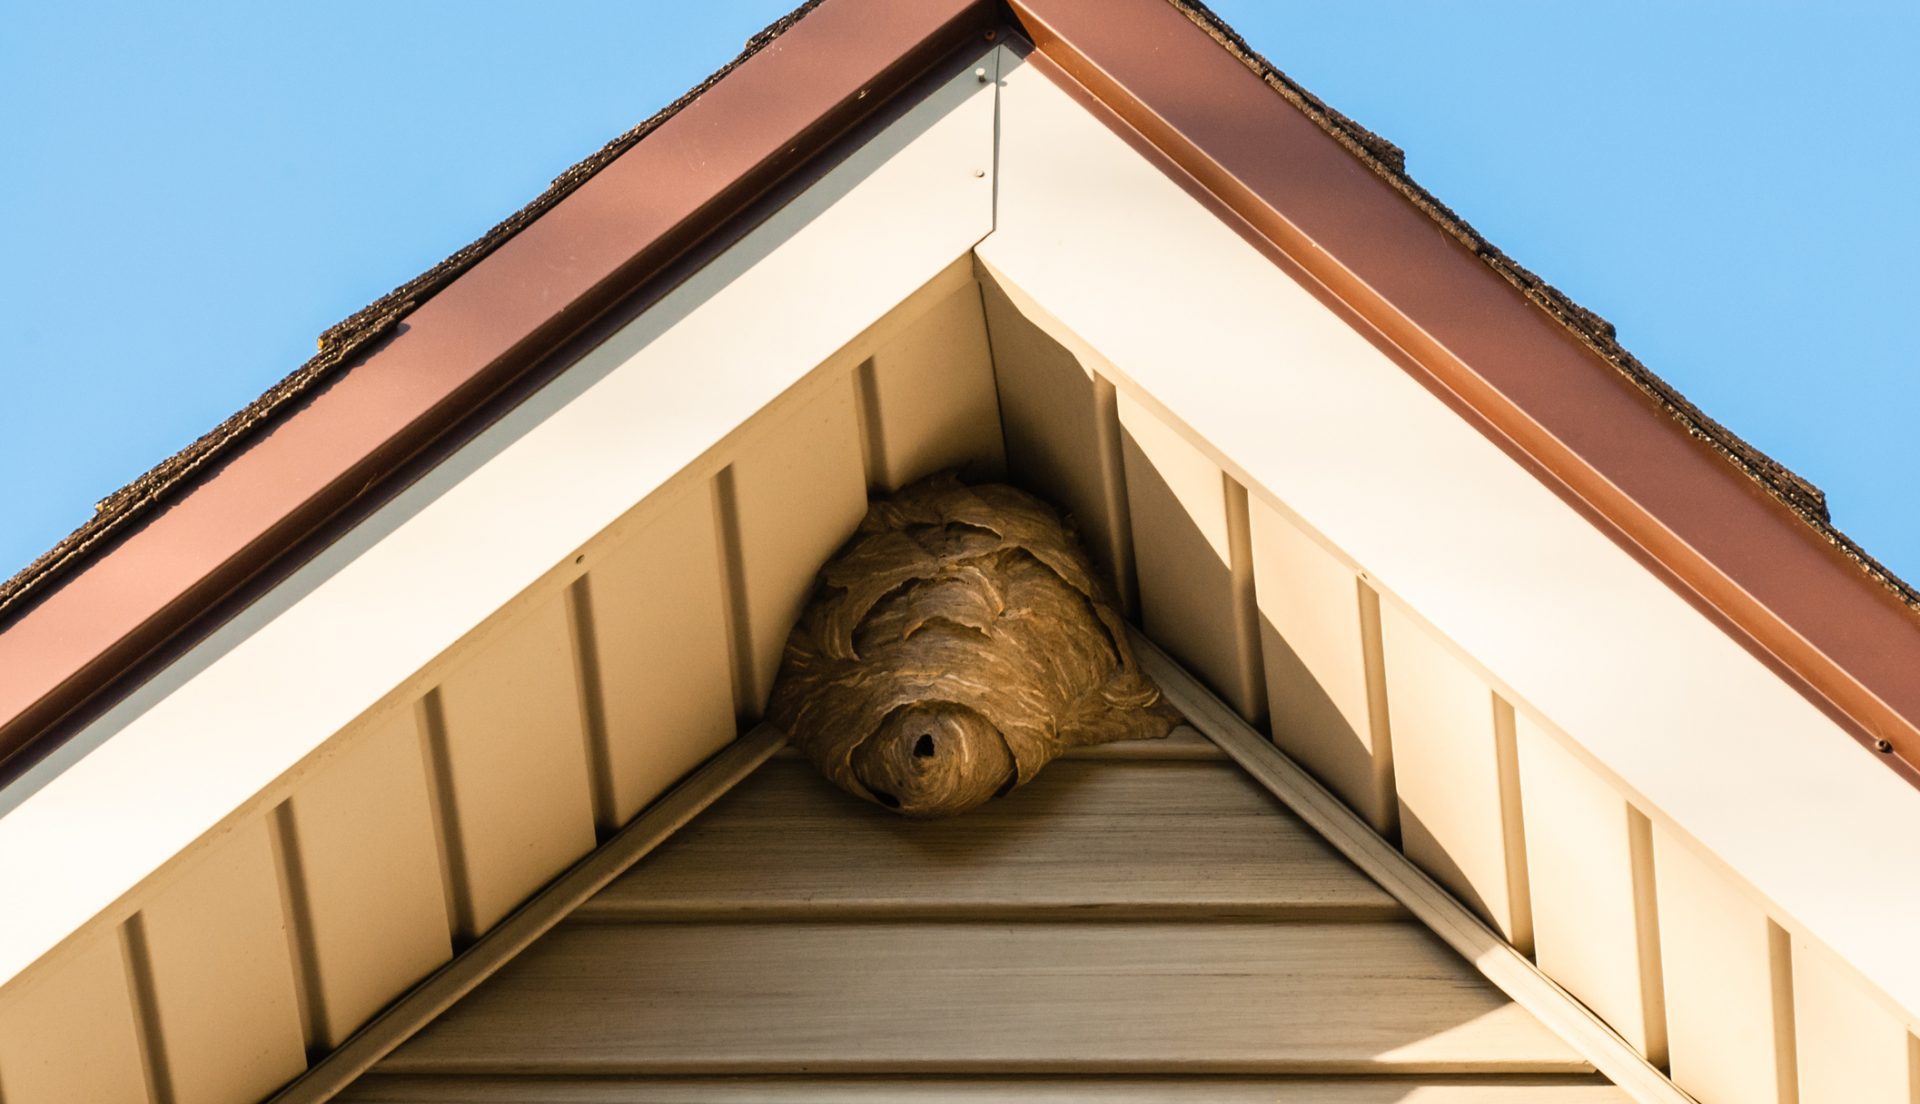
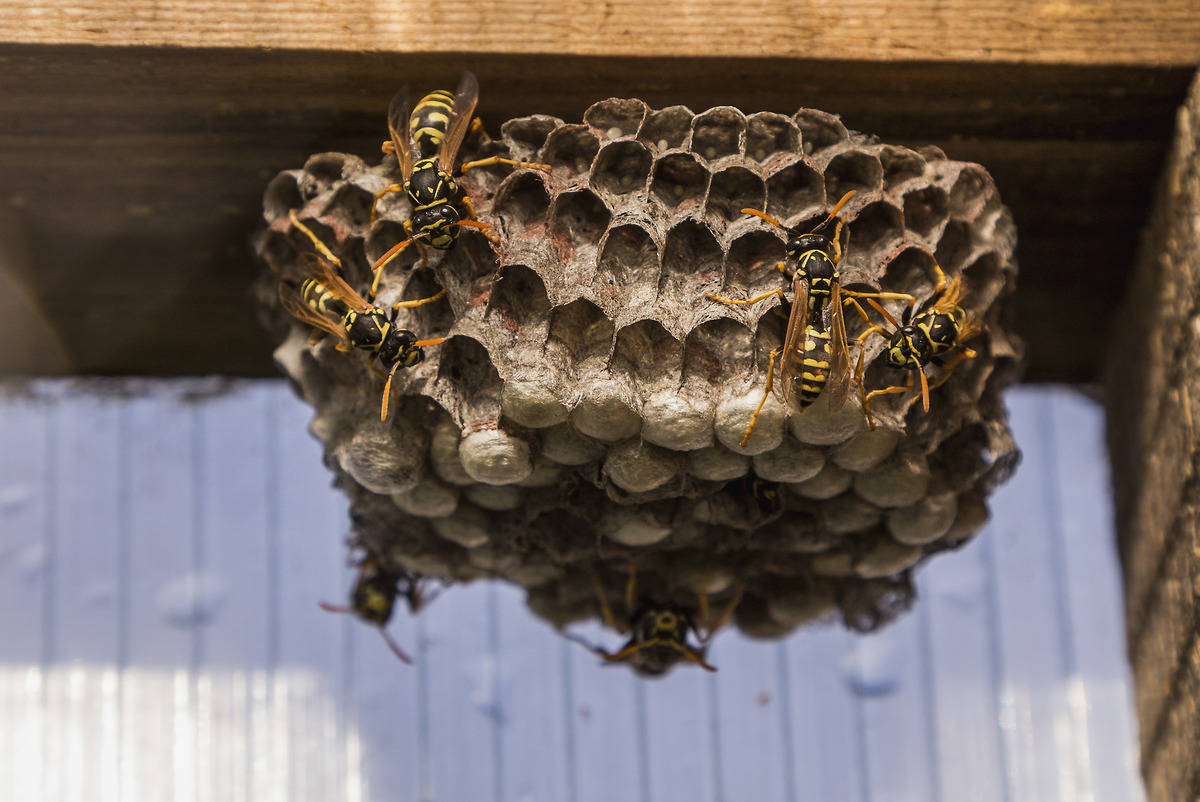
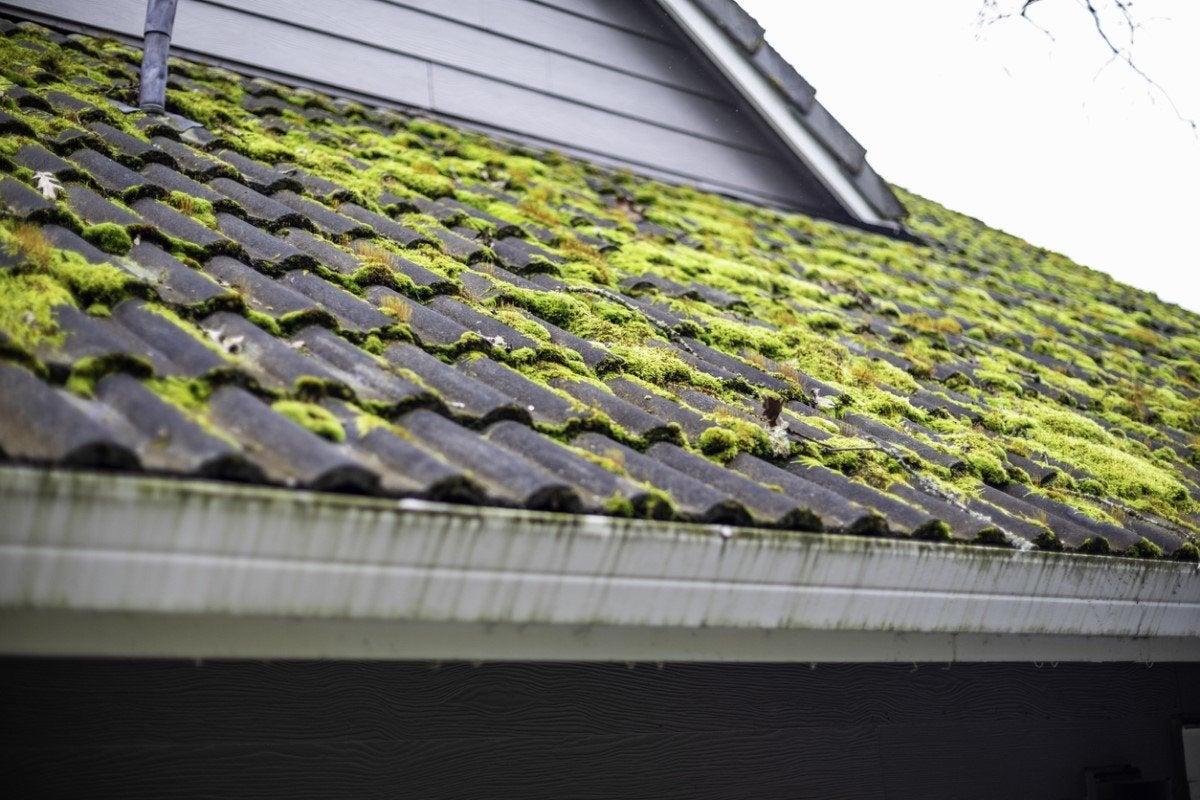
Step 1: Identifying the Bee’s Nest
The first step in getting rid of a bee’s nest in your roof is to accurately identify its location. This will help you plan your removal strategy effectively. Here’s how you can identify the bee’s nest:
- Observation: Spend some time observing the bees’ activity around your roof. Look for signs of a nest such as a high concentration of bees flying in and out of a particular area. You may also notice bees entering through small holes or gaps in the roof.
- Bee Behavior: Pay attention to the behavior of the bees. Different species have distinct behaviors. For example, honey bees tend to fly in a more straight path, while bumblebees may hover or fly in a zigzag pattern.
- Noise: Listen for buzzing sounds coming from your roof. This can indicate the presence of a nest nearby.
- Visual Clues: Look for physical signs of a nest, such as small holes or openings in the roof where bees may be entering or exiting. You may also see wax or honeycomb structures if the nest is visible.
It’s important to exercise caution during the identification process. Stay at a safe distance and avoid disturbing the bees unnecessarily. If you have any concerns or uncertainties, it is recommended to seek the assistance of a professional bee removal service.
Once you have successfully identified the bee’s nest, it’s time to move on to the next step: Safety Precautions.
Step 2: Safety Precautions
Before you proceed with removing the bee’s nest, it is crucial to prioritize your safety. Bees can become aggressive when they feel threatened, and their stings can be painful or, in some cases, even life-threatening, especially if you are allergic. Here are some safety precautions to take:
- Protective Clothing: Wear thick clothing that covers your entire body, including long sleeves, pants, gloves, and closed-toe shoes. Opt for light-colored clothing, as bees are attracted to dark colors.
- Face Protection: Use a beekeeping veil or a hat with a fine mesh screen to protect your face from bee stings. Ensure that it is securely fastened to prevent bees from entering.
- Secure the Area: Clear the immediate area around the nest to minimize any potential obstructions or tripping hazards. Keep children and pets away from the work area.
- Work during Calm Weather: Choose a time to remove the nest when weather conditions are calm. Bees are more docile and less active during cooler parts of the day, like early morning or late evening.
- Inform Others: Let your neighbors know about your bee removal process. This will help them take necessary precautions and avoid any accidental encounters with the bees.
- Have an Escape Plan: It’s always a good idea to have an escape route planned in case things don’t go as expected. Be prepared to retreat to safety if the bees become aggressive.
- Allergic Reactions: If you know you are allergic to bee stings or have had severe reactions in the past, it is highly recommended to hire a professional bee removal service for your safety.
By taking these safety precautions, you can minimize the risk of bee stings and ensure a safer removal process. Now that you are prepared, let’s move on to Step 3: Choosing the Right Time.
Step 3: Choosing the Right Time
Timing is crucial when it comes to removing a bee’s nest from your roof. Choosing the right time can help ensure a successful and efficient removal process. Here’s what you need to consider:
- Cool Weather: Bees are generally less active during cooler times of the day, such as early morning or late evening. The lower temperatures make them less aggressive, as they are focused on regulating the temperature of their nest. Avoid removing the nest during hot, sunny, or humid conditions, as bees are more likely to be active and agitated.
- Clear Skies: Choose a day with clear skies to minimize the chance of surprise rain or wind that could make the removal process more challenging.
- Minimal Disturbance: Aim to remove the bee’s nest during a time when there is minimal human activity around the area. This will help reduce the risk of accidental disturbances and ensure a smoother removal process.
- Consider Flowering Seasons: Be mindful of the flowering seasons in your area. During peak nectar and pollen production, bees may be more focused on foraging and less defensive of their nest.
- Plan Sufficient Time: Allow yourself enough time to complete the removal process without rushing. Rushing can lead to mistakes or hasty decisions, which may compromise your safety and the effectiveness of the removal.
By considering these factors, you can choose the optimal time to remove the bee’s nest. Remember, if you are unsure about the best time or if the nest belongs to an aggressive species like honey bees, it is recommended to seek professional assistance.
With the right time chosen, we can now move on to Step 4: Using Protective Gear.
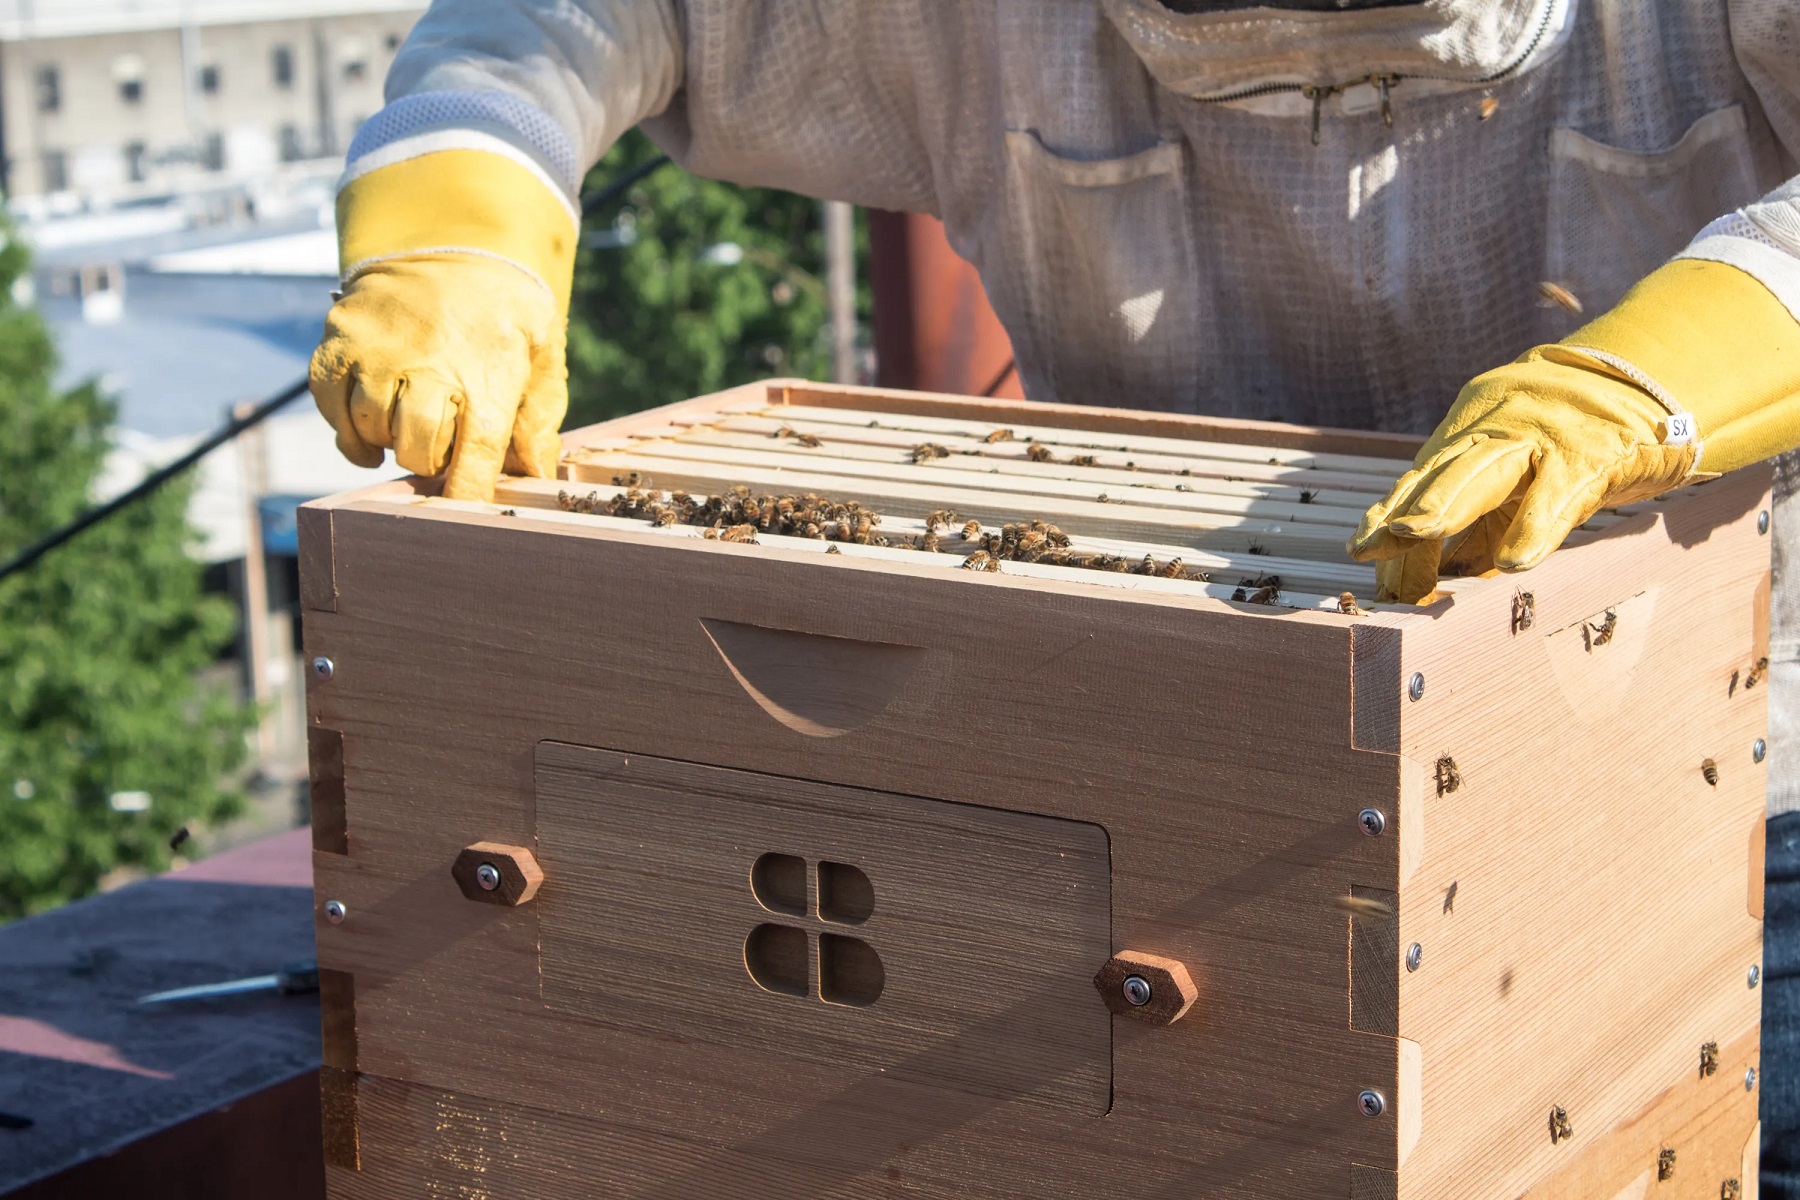
Step 4: Using Protective Gear
Now that you have identified the bee’s nest and chosen the right time for removal, it’s essential to ensure your personal safety by using the appropriate protective gear. This gear will act as a barrier between you and the bees, reducing the risk of bee stings. Here’s what you need:
- Full Body Suit: Wear a full-body suit made of thick material, such as denim or canvas. Make sure it covers your entire body, including your arms, legs, and neck.
- Gloves: Opt for thick gloves made of leather or rubber. This will protect your hands from bee stings.
- Boots and Socks: Wear sturdy, closed-toe boots that cover your ankles. It’s also advisable to tuck your pants into your socks to prevent bees from entering your clothing.
- Beekeeping Veil: Use a beekeeping veil or a hat with a mesh screen to protect your face and neck from bee stings. Ensure that it fits securely and covers your entire face.
- Duct Tape: Secure any openings or gaps in your protective gear with duct tape to prevent any bees from entering.
It’s important to wear your protective gear correctly and securely before approaching the bee’s nest. Take the time to inspect your gear and ensure there are no holes or openings that could allow bees to reach your skin.
Remember, even with protective gear, it’s crucial to proceed with caution and not provoke the bees unnecessarily. Now that you are properly suited up, it’s time to move on to Step 5: Removing the Nest.
To get rid of a bees nest in the roof, it’s best to call a professional pest control service. Attempting to remove it yourself can be dangerous and may result in stings.
Read more: How To Get Rid Of Bees In The Grass
Step 5: Removing the Nest
Removing the bee’s nest from your roof requires careful execution to ensure the safety of both yourself and the bees. Follow these steps to effectively remove the nest:
- Approach Carefully: Slowly and cautiously approach the nest, keeping in mind the behavior and potential aggression of the bees. Avoid sudden movements or loud noises that could startle them.
- Use a Residual Insecticide: Before removing the nest, you can apply a residual insecticide specifically labeled for bees. Follow the instructions on the product carefully, ensuring that it is safe to use in your desired area. This will help eliminate any remaining bees and prevent reinfestation.
- Remove the Nest: Gently pry or scrape the nest away from the surface using a long-handled tool, such as a garden rake or a broom. Place the nest in a sealable bag or container to prevent any escapees.
- Take Precautions: Be vigilant of any bees that may become agitated during the removal process. Stay calm and move slowly, avoiding direct contact with the bees as much as possible.
- Dispose of the Nest: Seal the bag or container tightly and dispose of it in an appropriate manner. Consult local regulations or guidelines for proper disposal methods, as some areas may require professional disposal of certain types of nests.
- Clean the Area: Thoroughly clean the area where the nest was located. Use a mild detergent and water to remove any remaining traces of pheromones, which could attract other bees to the same spot.
It’s important to note that the removal process may vary depending on the type and size of the bee’s nest. If you encounter any complications or if the nest is too large or inaccessible, it is recommended to seek professional assistance.
With the nest removed, let’s proceed to Step 6: Sealing Entry Points.
Step 6: Sealing Entry Points
Once you have successfully removed the bee’s nest from your roof, it’s essential to take preventive measures to avoid future infestations. This involves sealing the entry points to prevent bees from reestablishing their presence. Here’s how you can effectively seal the entry points:
- Inspect for Gaps and Cracks: Carefully inspect your roof and surrounding areas for any gaps, cracks, or openings where bees may have been entering. Pay close attention to areas around vents, chimneys, eaves, and siding.
- Use Sealants: Use a suitable sealant, such as caulk or foam, to fill in the identified gaps and cracks. Ensure that the sealant is weather-resistant and capable of providing a long-lasting barrier.
- Reinforce Weak Areas: Strengthen weak areas of your roof by reinforcing them with durable materials, such as metal flashing or mesh screens. This will make it harder for bees to gain access to your roof.
- Maintain Regular Inspections: Routinely inspect your roof and surrounding areas for any signs of new bee activity or potential entry points. Address any issues promptly to prevent future nest formations.
By sealing off potential entry points, you can significantly reduce the chances of bees returning to your roof. However, it’s important to remain proactive and vigilant in maintaining the integrity of these sealants.
With the entry points sealed, we are now ready for the final step: Step 7: Preventing Future Nests.
Step 7: Preventing Future Nests
Preventing future bee nests in your roof is crucial to avoid the hassle of dealing with infestations in the future. Here are some effective strategies to prevent future nests:
- Trim Vegetation: Keep trees, shrubs, and other vegetation trimmed and away from your roof. Bees are attracted to flowering plants and may use them as a food source, increasing the likelihood of nest formation.
- Fill Potential Nesting Sites: Identify and fill any potential nesting sites around your property. These may include old tree cavities, abandoned birdhouses, or unused equipment stored outside.
- Secure Garbage and Food Sources: Make sure outdoor garbage bins are securely covered to prevent bees from being attracted to leftover food or sweet odors. Keep outdoor dining areas clean and free of food debris.
- Install Bee Deterrents: Consider installing bee deterrents, such as fake wasp nests or motion-activated sprinklers, near potential nesting areas. These can disrupt bee behavior and discourage them from building nests.
- Consult with Beekeepers: Reach out to local beekeepers or beekeeping associations for guidance on bee-friendly landscaping and ways to deter bees from nesting in undesirable areas.
- Regular Roof Maintenance: Regularly inspect and maintain your roof, ensuring that there are no damaged or deteriorating areas that could attract bees seeking nesting sites.
By implementing these prevention measures, you can help minimize the chances of future bee nests in your roof. However, it’s important to remember that bees play a vital role in our ecosystem, so it is always best to prioritize their preservation and conservation whenever possible.
With these steps completed, you have successfully learned how to get rid of a bee’s nest in your roof while prioritizing safety and eco-friendliness. Remember, if you are unsure or uncomfortable with the removal process, it is advisable to seek professional assistance from beekeepers or pest control experts.
By following these guidelines and taking the necessary precautions, you can effectively and safely address bee nest infestations and maintain a harmonious environment for both humans and bees.
Thank you for reading, and best of luck in your bee nest removal journey!
Conclusion
Dealing with a bee’s nest in your roof can be a challenging and potentially dangerous situation. However, by following the steps outlined in this guide, you can safely and effectively remove the nest while minimizing harm to both yourself and the bees.
From identifying the bee’s nest and taking necessary safety precautions to choosing the right time for removal and utilizing protective gear, each step plays a crucial role in ensuring a successful outcome. Additionally, sealing entry points and implementing preventive measures are vital in preventing future nest formations and maintaining a bee-free environment.
Throughout the entire process, it is important to approach the situation with respect for these valuable pollinators. Bees are essential for our ecosystem, and whenever possible, it is best to prioritize their preservation and conservation. If you are uncertain about the type of bees or the potential risks involved, it is recommended to consult with professional beekeepers or pest control experts for assistance.
Remember, safety should always be a top priority when dealing with bee nests. Wear the appropriate protective gear, work during calm weather, and take necessary precautions to minimize disturbances. Should you encounter any challenges or feel uncomfortable, do not hesitate to seek professional help.
By responsibly removing and preventing bee nests in your roof, you can create a safer environment for yourself, your family, and the bees. So, approach the task with care, stay informed, and take the necessary steps to maintain a harmonious coexistence with these fascinating creatures.
Thank you for reading, and we hope this guide has provided you with valuable insights and guidance on how to get rid of a bee’s nest in your roof.
Frequently Asked Questions about How To Get Rid Of Bees Nest In Roof
Was this page helpful?
At Storables.com, we guarantee accurate and reliable information. Our content, validated by Expert Board Contributors, is crafted following stringent Editorial Policies. We're committed to providing you with well-researched, expert-backed insights for all your informational needs.


0 thoughts on “How To Get Rid Of Bees Nest In Roof”