Articles
How To Get Rid Of Black Mold In Sink
Modified: August 30, 2024
Discover effective articles on how to eliminate black mold in your sink and prevent its reappearance.
(Many of the links in this article redirect to a specific reviewed product. Your purchase of these products through affiliate links helps to generate commission for Storables.com, at no extra cost. Learn more)
Introduction
Welcome to our guide on how to get rid of black mold in your sink. Black mold, also known as Stachybotrys chartarum, is a common problem that can occur in damp and poorly ventilated areas of your home. It not only looks unsightly but can also pose a health risk to you and your family.
Black mold thrives in environments with high moisture levels, making your sink a prime target for its growth. Constant exposure to water and food debris can create the perfect conditions for mold spores to settle and multiply. If left untreated, black mold can spread and cause damage to your sink and surrounding areas.
In this article, we will guide you through the process of identifying black mold in your sink and provide you with step-by-step instructions on how to remove it effectively. We will also share some useful tips on preventing future mold growth, ensuring a clean and sanitary environment in your kitchen.
Before we dive into the specifics, it’s important to mention that dealing with black mold requires caution and proper safety measures. Mold spores can be harmful when inhaled or come into contact with your skin. Make sure to wear protective gear, such as gloves, goggles, and a mask, to minimize your exposure to these spores during the cleaning process.
Now, let’s get started on understanding more about black mold and how to identify it in your sink.
Key Takeaways:
- Identifying black mold in your sink is crucial for prompt action. Look out for visual patches, musty odors, water leaks, and associated health symptoms to detect and address mold growth effectively.
- Prioritize safety when removing black mold from your sink. Wear protective gear, ventilate the area, and follow proper disposal and hygiene practices to minimize exposure to mold spores and ensure a safe cleaning process.
Understanding Black Mold
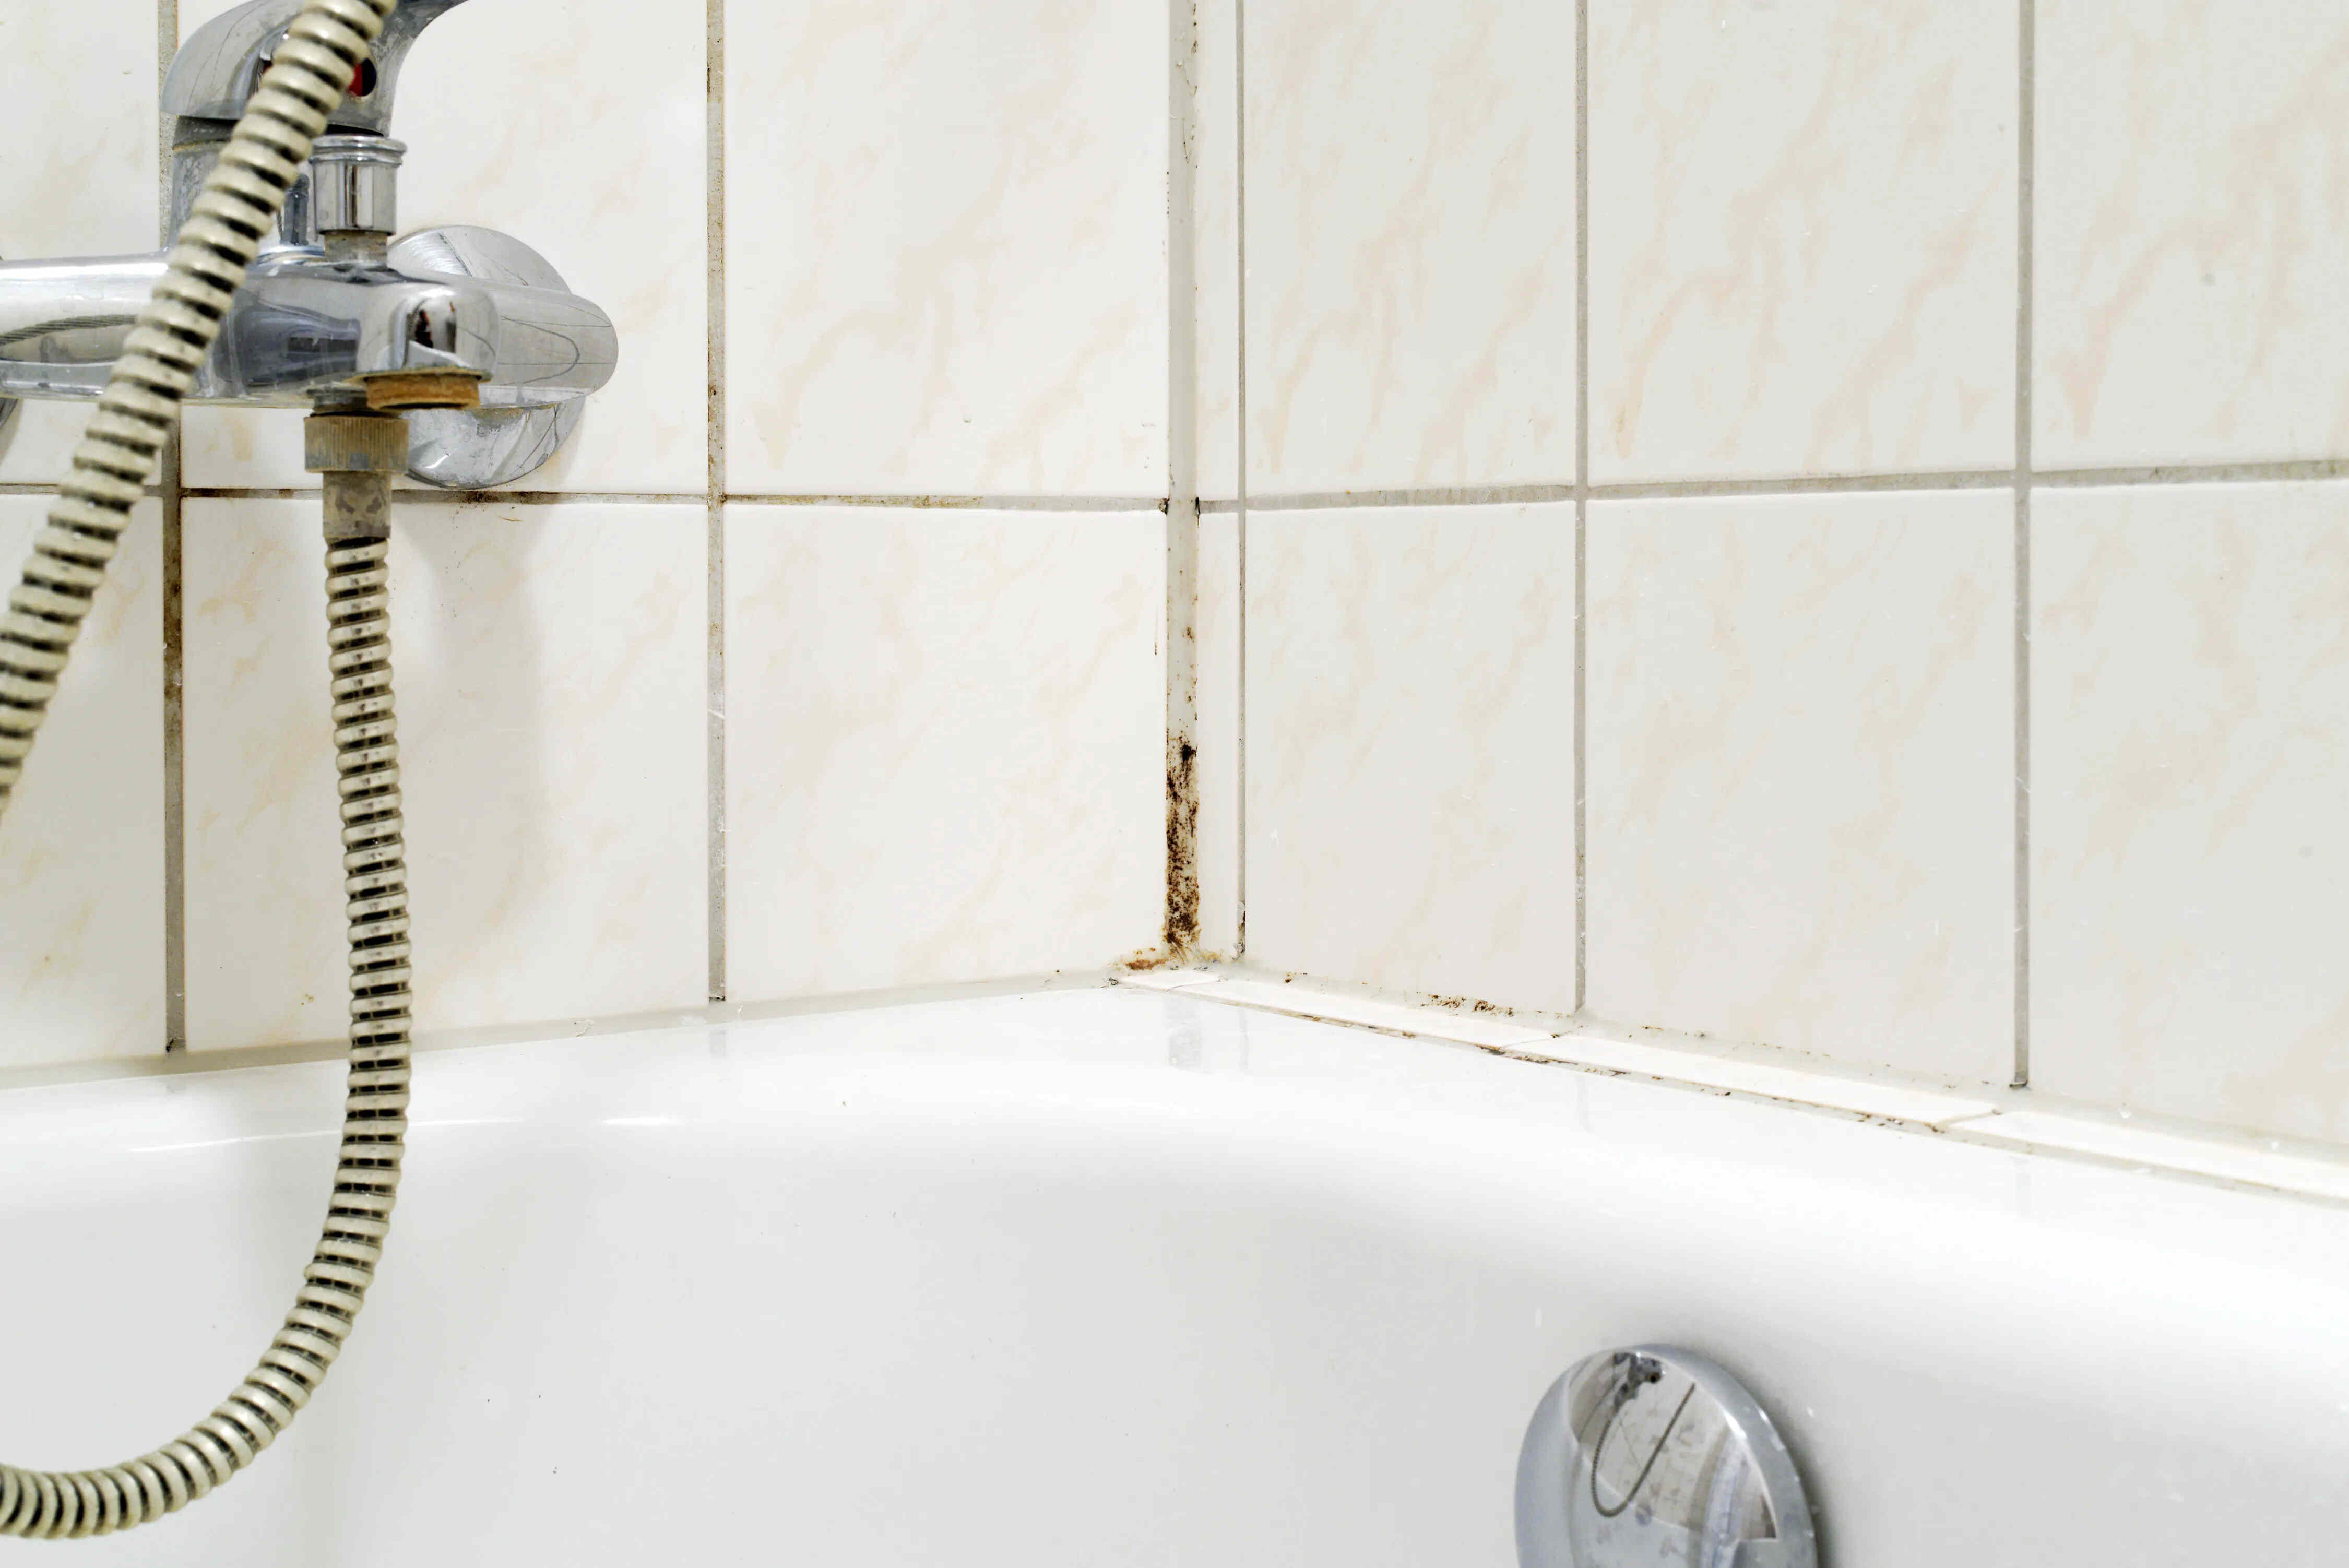
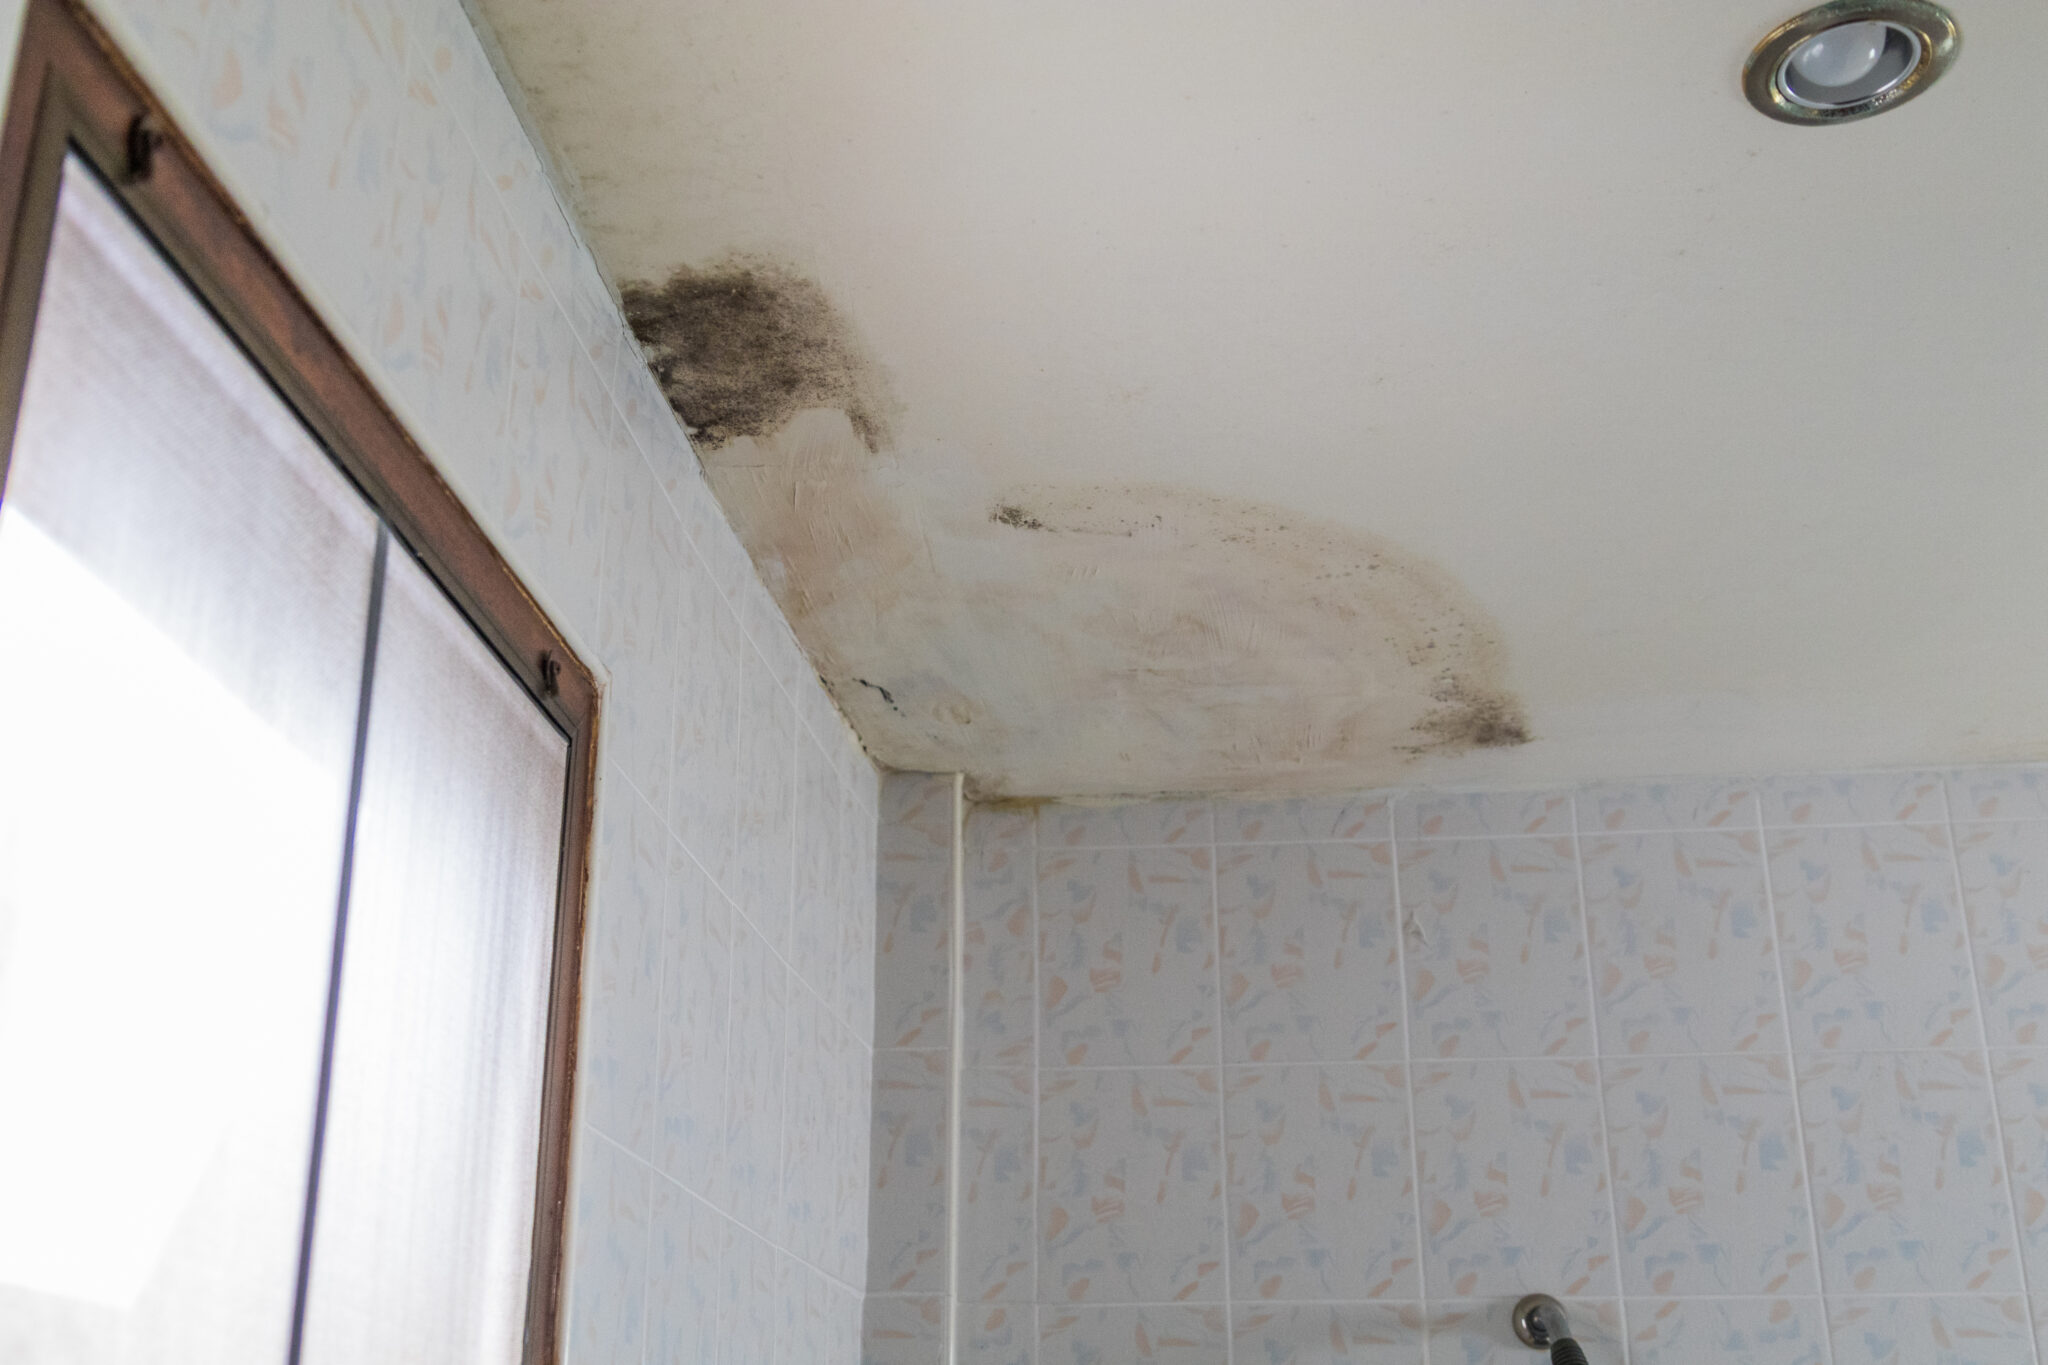
Black mold, scientifically known as Stachybotrys chartarum, is a type of fungi that can grow indoors and outdoors. It thrives in areas with high humidity and organic substances, making your sink an ideal breeding ground. The appearance of black mold can vary, ranging from dark green to black and sometimes even gray.
Black mold releases spores into the air, which can cause respiratory issues, allergies, and other health problems when inhaled. It can also produce mycotoxins, which are toxic substances that can be harmful when ingested or come into contact with your skin.
Identifying black mold in your sink is crucial as early detection can help minimize its spread and potential health risks. Knowing what to look for will enable you to take appropriate action and prevent further growth.
Common signs of black mold in your sink include:
- Visible dark patches or discoloration: Black mold often appears as slimy or fuzzy dark patches on the surface of your sink. It can also cause discoloration, causing the sink to appear black or greenish in certain areas.
- Musty odor: Black mold has a distinct musty smell. If you notice an unpleasant and strong odor emanating from your sink area, it could be a sign of mold growth.
- Water leaks or moisture: Black mold requires moisture to thrive. If you frequently experience leaks or notice excessive moisture around your sink, it is important to investigate and address the issue promptly to prevent mold growth.
- Allergic reactions: If you or your family members experience unexplained allergy-like symptoms such as sneezing, coughing, or watery eyes when near the sink, it could be an indication of mold presence.
By carefully observing these signs, you can identify the presence of black mold in your sink and take appropriate measures to eliminate it.
In the next section, we will discuss the necessary safety precautions before attempting to remove black mold from your sink.
Identifying Black Mold in Sink
Identifying black mold in your sink is an important step in effectively addressing the issue. It is crucial to distinguish between normal dirt or discoloration and actual mold growth. Here are some key points to consider when identifying black mold in your sink:
- Visual appearance: Black mold often appears as dark, slimy or fuzzy patches on the surface of your sink. It can vary in color from black to green and even gray. These patches may be small or cover a larger area, depending on the extent of the mold growth.
- Texture: Unlike dirt or stains, black mold has a fuzzy or velvety texture. If you notice any patches that feel soft and fuzzy to the touch, it is likely to be mold.
- Odor: Black mold has a distinct musty smell. If you detect a strong, unpleasant odor near your sink, it could indicate the presence of mold. This odor may be more noticeable when the sink is damp or after using it for a while.
- Growth patterns: Black mold tends to grow in clusters or spread in a circular pattern. It may start as small spots and gradually expand over time if left untreated.
- Associated health symptoms: Exposure to black mold can cause health issues such as respiratory problems, allergies, and skin irritation. If you or your family members experience these symptoms consistently when near the sink, it could be an indication of mold growth.
- Water leaks or moisture: Black mold requires moisture to grow. If your sink area is prone to leaks or consistently damp, it provides an ideal environment for mold to thrive.
It is important to note that while these signs can help you identify black mold, it is always recommended to seek professional mold testing and remediation services for an accurate assessment. They can conduct tests to determine the specific type of mold present and provide appropriate solutions.
Now that we have covered the identification process, let’s move on to the next section, where we will discuss the necessary safety precautions before attempting to remove black mold from your sink.
Safety Precautions
When dealing with black mold in your sink, it is important to prioritize your safety and take proper precautions to minimize exposure to mold spores and potential health risks. Here are some safety measures to follow:
- Protective gear: Before starting the mold removal process, make sure to wear protective gear, including disposable gloves, goggles, and a mask. This will help prevent direct contact with mold spores and minimize the risk of inhalation.
- Ventilation: Ensure proper ventilation in the area surrounding the sink. Open windows if possible or use fans to encourage air circulation. This will help reduce the concentration of mold spores in the air.
- Containment: Seal off the affected area to prevent the spread of mold spores to other parts of your home. Cover nearby furniture and flooring with plastic sheets or tarps to protect them during the cleaning process.
- Clean-up tools: Use disposable cleaning supplies, such as paper towels or disposable rags, to clean the affected area. Avoid reusing these materials to prevent cross-contamination.
- Remove debris: Before starting the cleaning process, remove any visible debris or loose mold from the sink. This will help reduce the amount of mold spores released during cleaning.
- Avoid harsh chemicals: While it is important to disinfect the sink properly, avoid using harsh chemicals or bleach, as they can release toxic fumes. Opt for environmentally friendly cleaning solutions or natural alternatives, such as vinegar or hydrogen peroxide.
- Proper disposal: After cleaning, seal all the mold-contaminated materials in a plastic bag before disposing of them. This will prevent the spread of mold spores to other areas of your home or the outdoor environment.
- Maintain personal hygiene: After completing the mold removal process, thoroughly wash your hands, and clean any exposed skin. Change your clothes and wash them separately to avoid cross-contamination.
By following these safety precautions, you can protect yourself and your family while effectively addressing black mold in your sink. Remember, if you are unsure about the severity of the mold infestation or lack the necessary expertise, it is best to consult a professional mold remediation service for assistance.
Next, we will discuss the materials needed for the mold removal process.
Materials Needed
Before you begin the process of removing black mold from your sink, gather the necessary materials to ensure a smooth and effective cleansing process. Here are the materials you will need:
- Gloves: Disposable gloves are essential to protect your hands from direct contact with mold and cleaning products.
- Goggles: Safety goggles provide eye protection and prevent mold spores or cleaning solutions from entering your eyes.
- Mask: A mask, such as an N95 respirator or a mask specifically designed for mold removal, helps filter out mold spores and prevents inhalation.
- Plastic sheets or tarps: Use plastic sheets or tarps to cover nearby areas, furniture, and flooring, ensuring that mold spores do not spread during the cleaning process.
- Disposable cleaning supplies: Prepare disposable cleaning supplies such as paper towels, rags, or scrub brushes. Avoid using reusable materials to prevent cross-contamination.
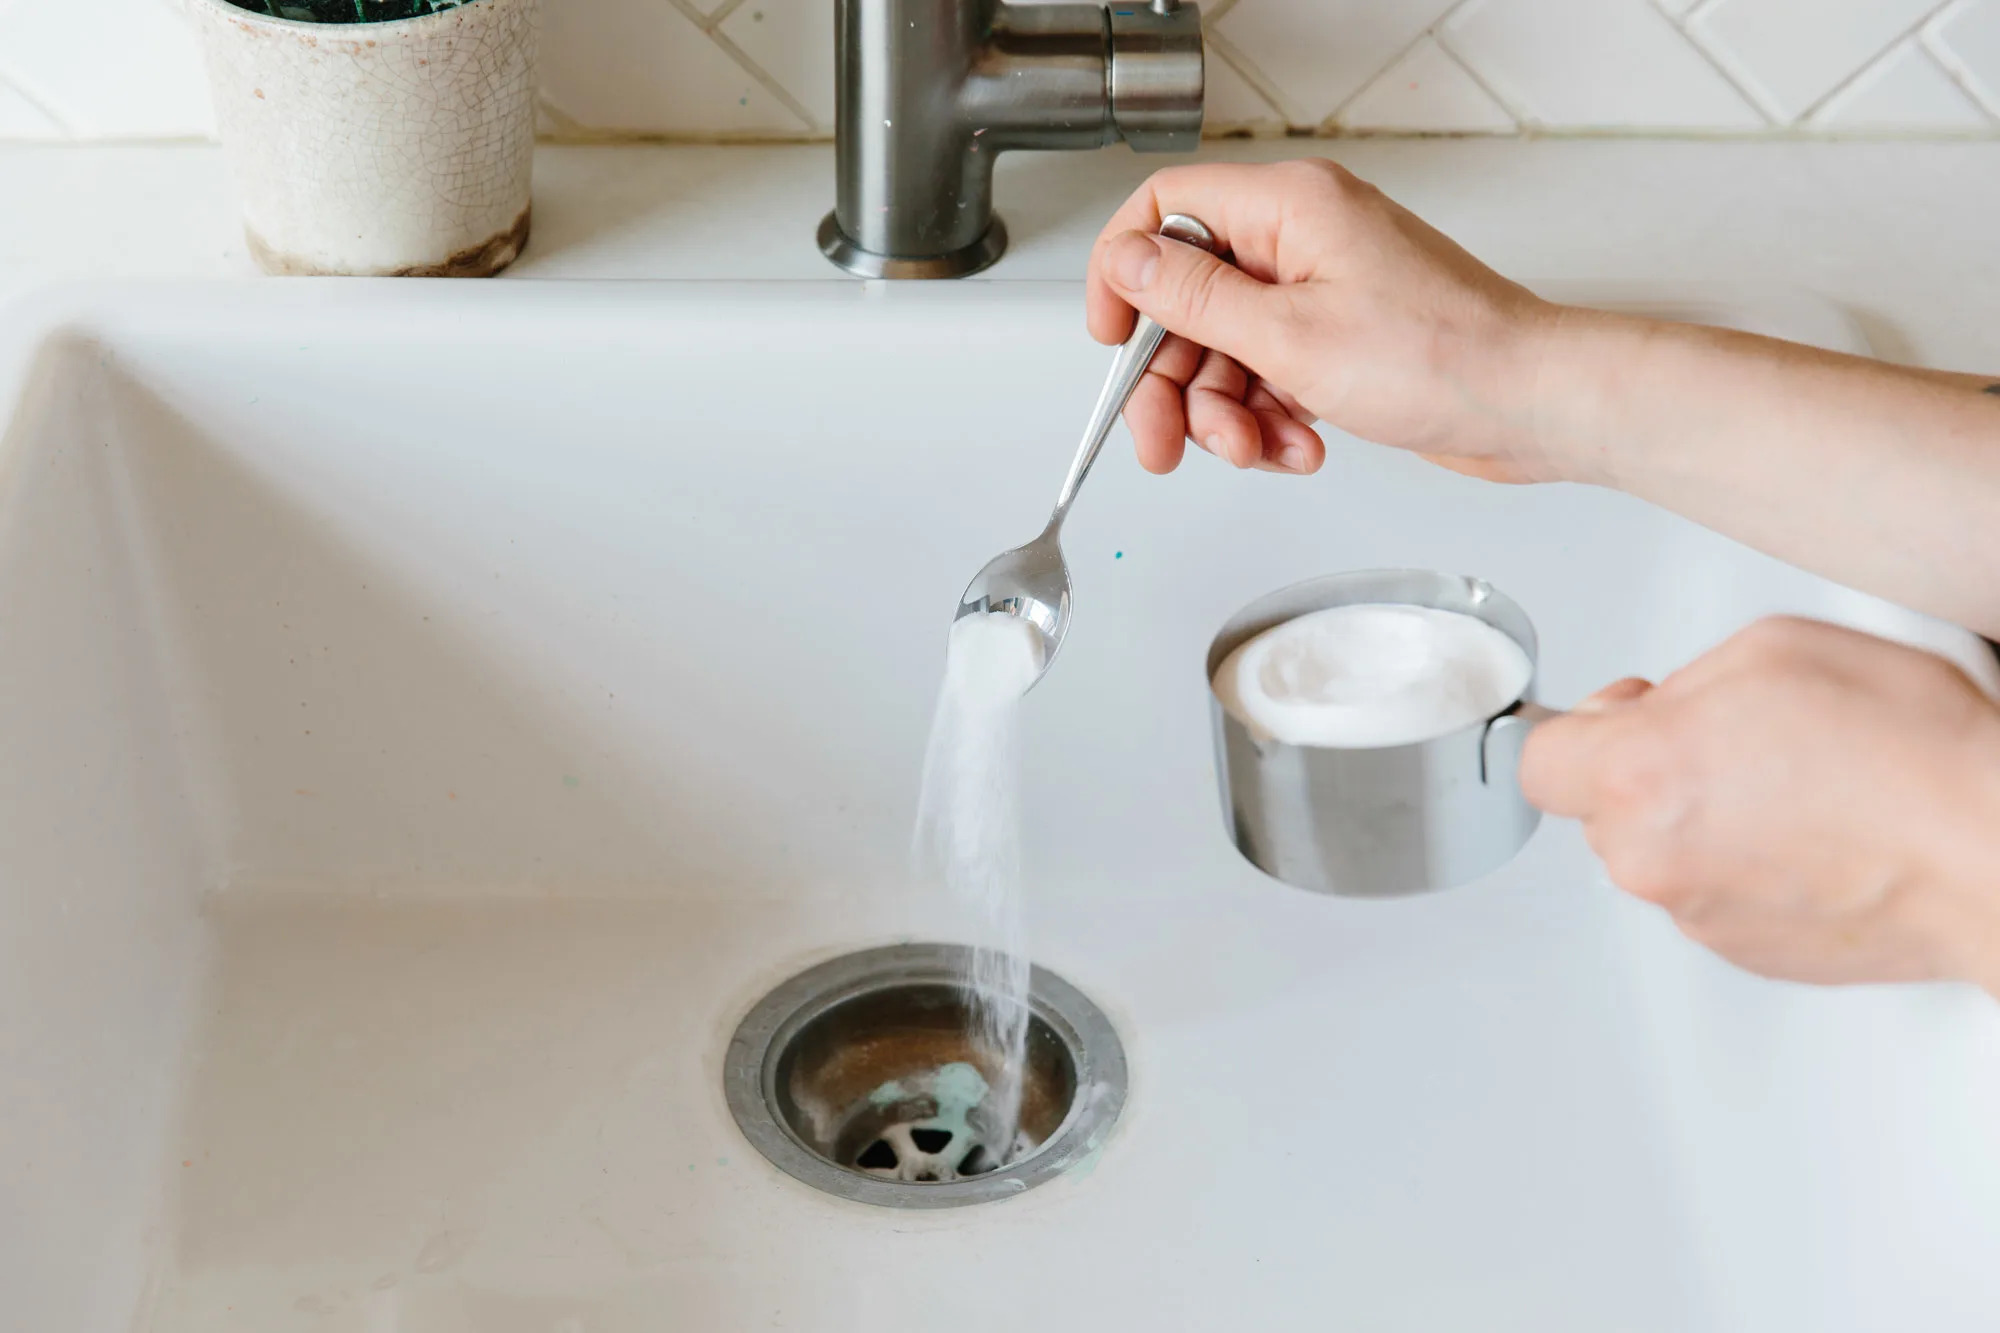
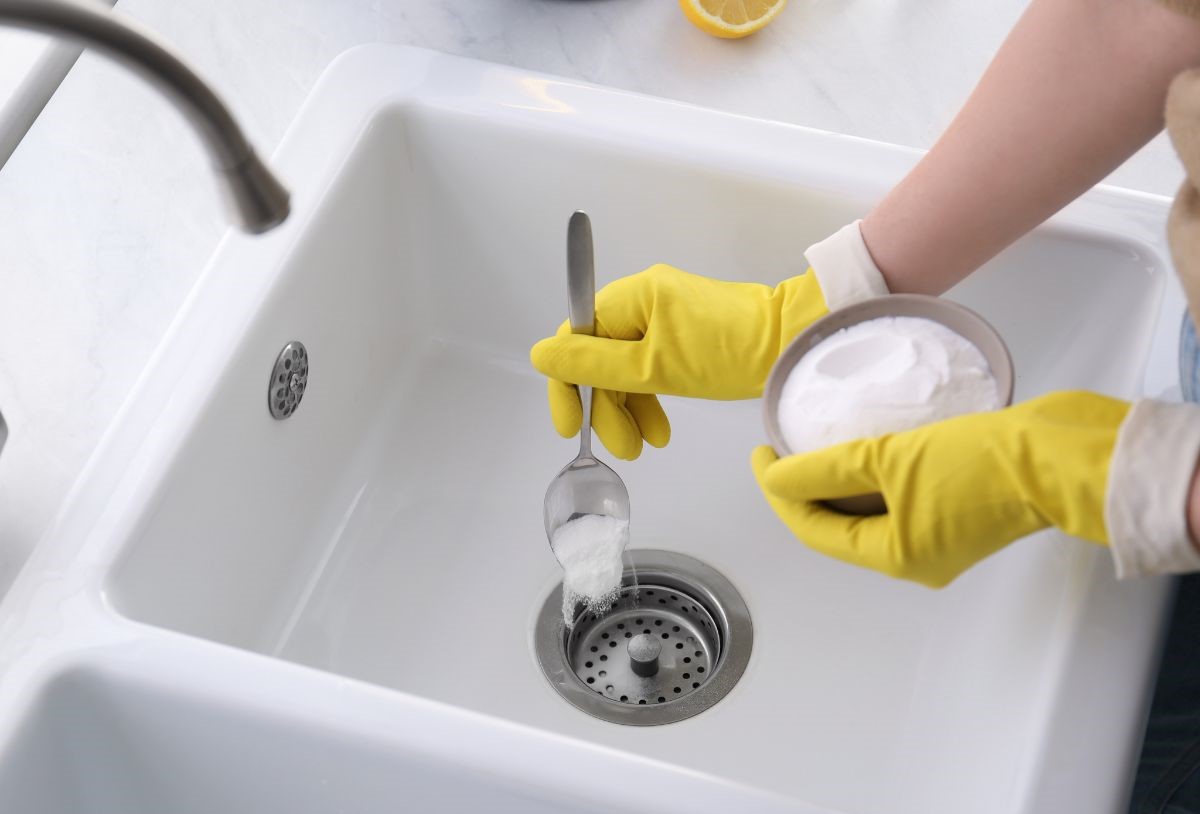
- Mold cleaner or natural alternatives: Select a mold cleaner specifically designed for removing black mold, or opt for natural alternatives such as vinegar, hydrogen peroxide, or baking soda.
- Old toothbrush: An old toothbrush can be useful for removing mold from hard-to-reach areas or grout lines.
- Plastic bags: Seal mold-contaminated materials in plastic bags for proper disposal, preventing the spread of mold spores.
- Protective clothing: Consider wearing old clothing that covers your skin and can be easily washed or discarded after the cleaning process.
- Ventilation: Ensure proper ventilation in the area by opening windows or using fans to minimize the concentration of mold spores in the air.
By having these materials ready, you will be equipped to tackle the black mold in your sink effectively and safely.
Now that you have gathered the necessary materials, let’s move on to the step-by-step process of removing visible mold from your sink.
Read more: How To Get Rid Of Mold On Brick
Step 1: Preparation
Before you start the process of removing black mold from your sink, it is important to adequately prepare the area and yourself to ensure a safe and effective cleaning process. Follow these steps to prepare:
- Put on protective gear: Wear disposable gloves, goggles, and a mask to protect your skin, eyes, and lungs from mold spores and cleaning products.
- Ventilate the area: Open windows or use fans to create proper ventilation in the room where the sink is located. This will help reduce the concentration of mold spores in the air.
- Contain the area: Seal off the affected area, covering nearby furniture and flooring with plastic sheets or tarps. This will prevent the spread of mold spores during the cleaning process.
- Remove debris: Clear any visible debris or loose mold from the sink. Use a paper towel or disposable rag to wipe away any loose particles.
- Create a cleaning solution: Depending on the type of cleaning agent you are using, follow the instructions on the label to prepare the cleaning solution. If you are using natural alternatives like vinegar or hydrogen peroxide, dilute them with water as necessary.
- Test the cleaning solution: It’s a good idea to test the cleaning solution on a small, inconspicuous area of the sink to ensure it doesn’t cause any damage or discoloration.
By properly preparing the area and yourself, you are setting the stage for a safe and effective mold removal process. Once you have completed the preparation, you are ready to move on to the next step: removing visible mold from your sink.
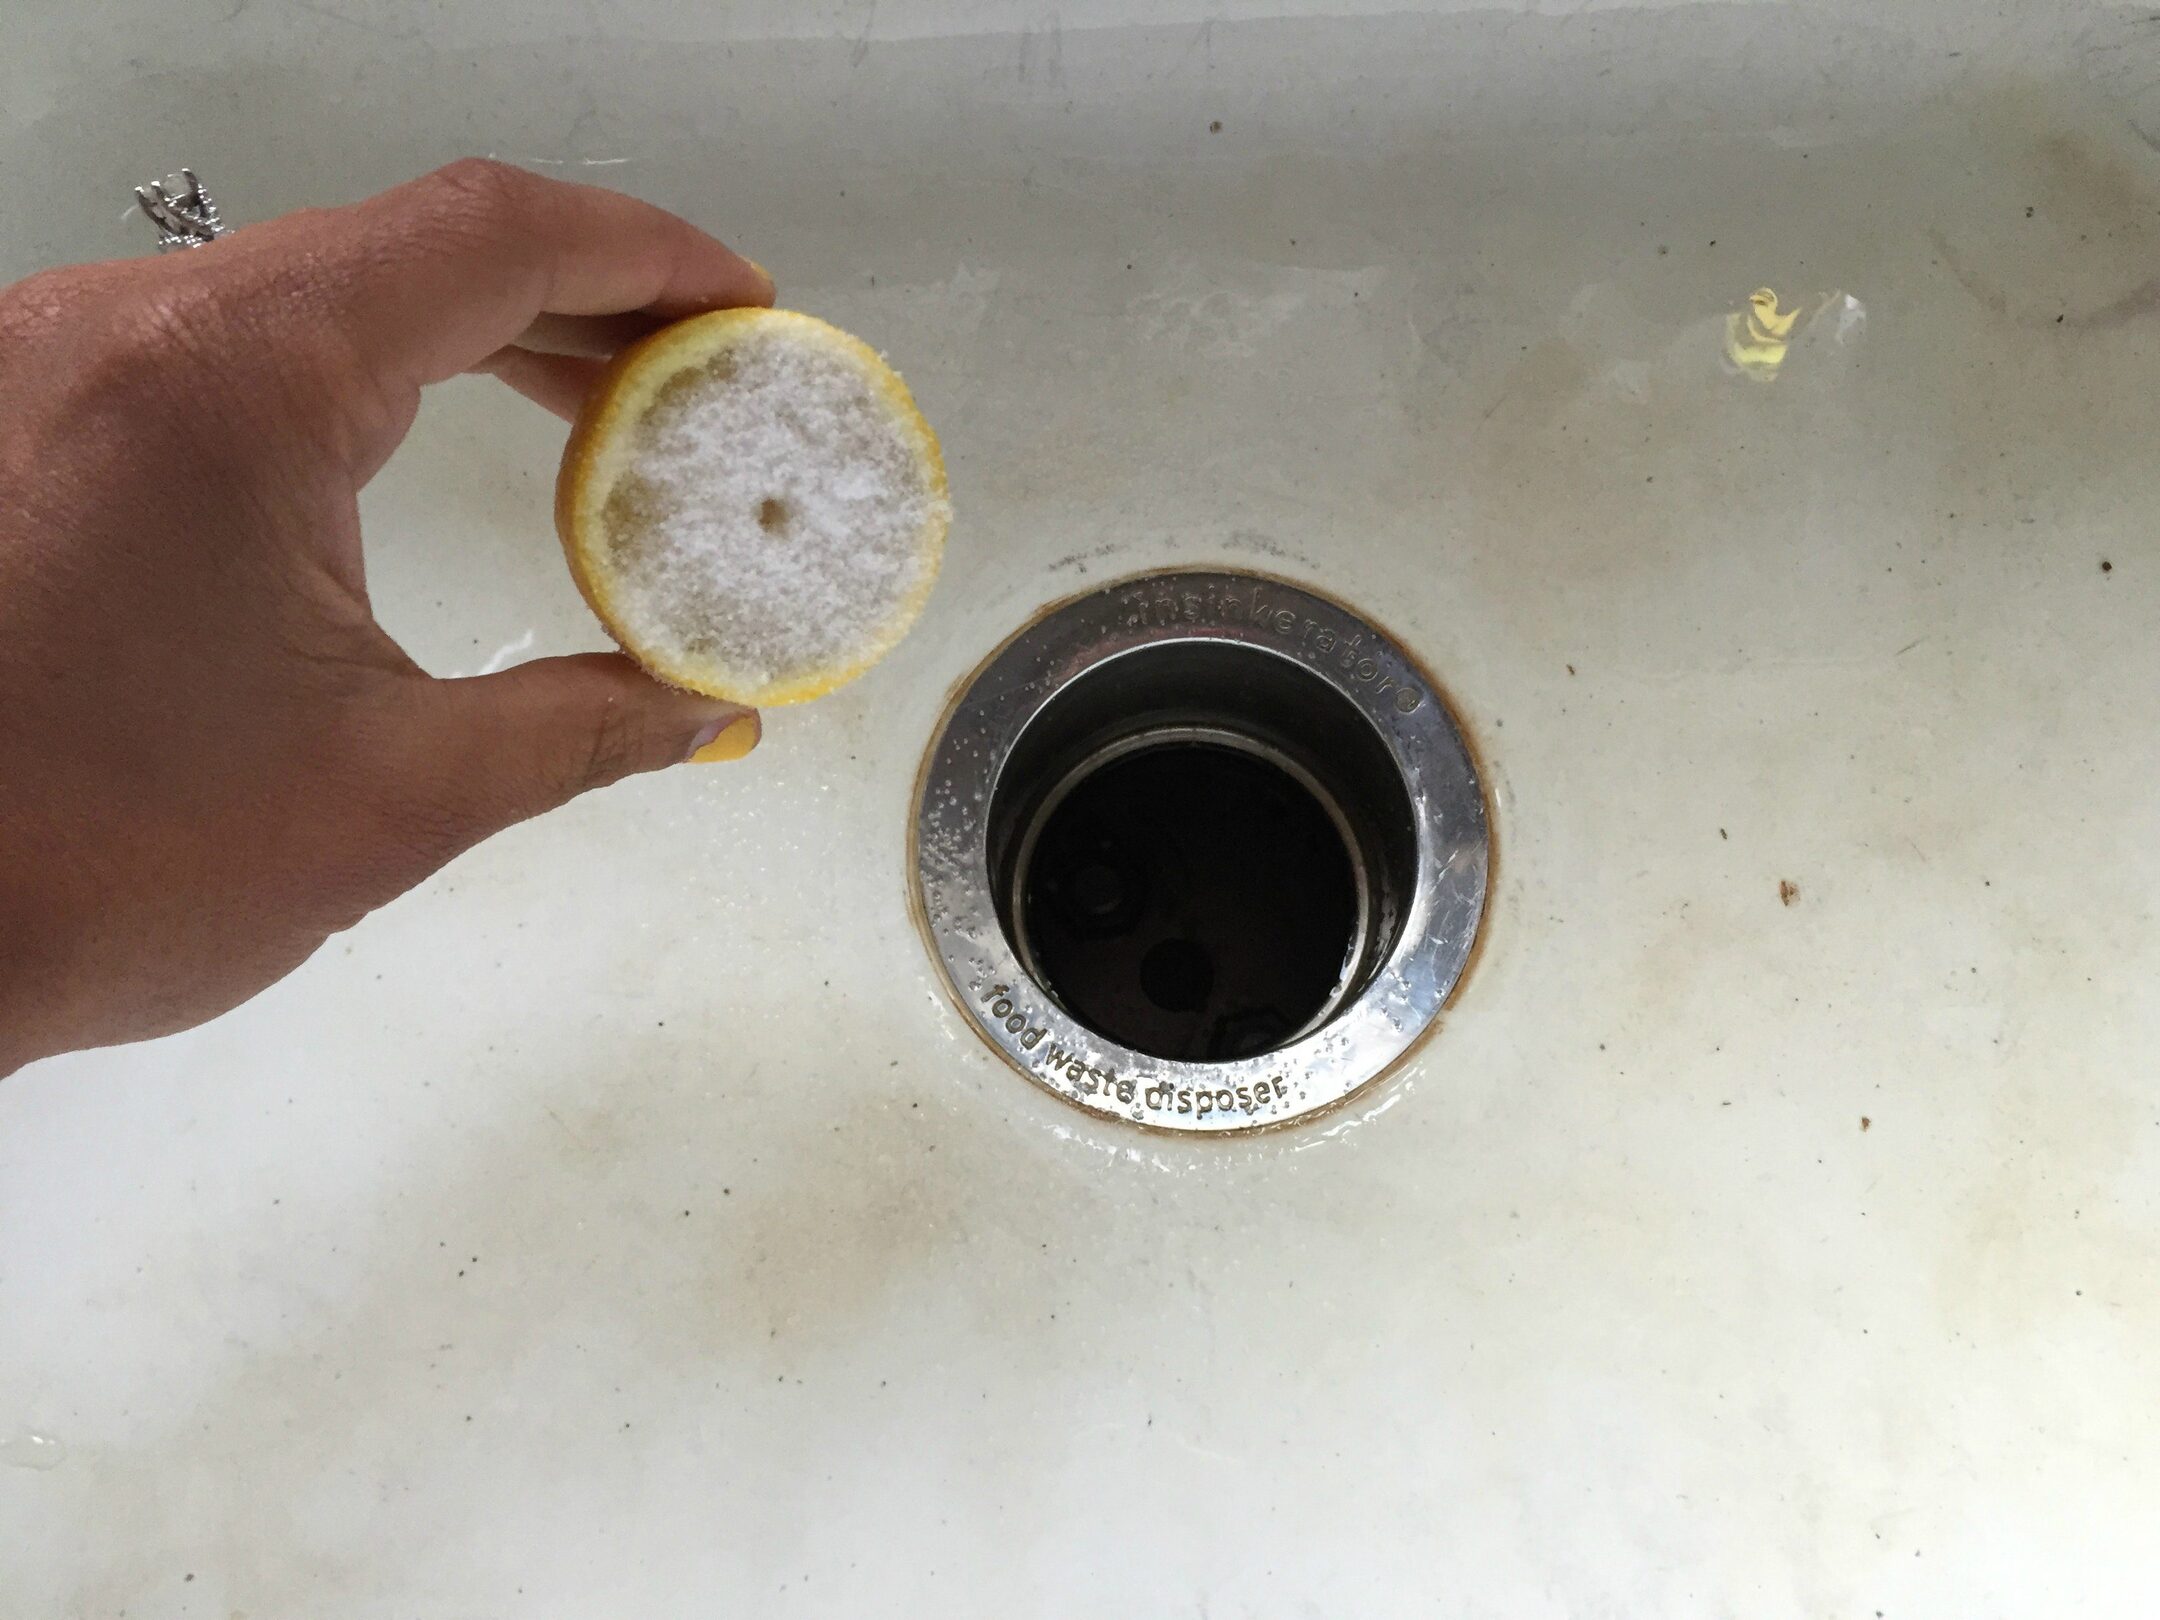
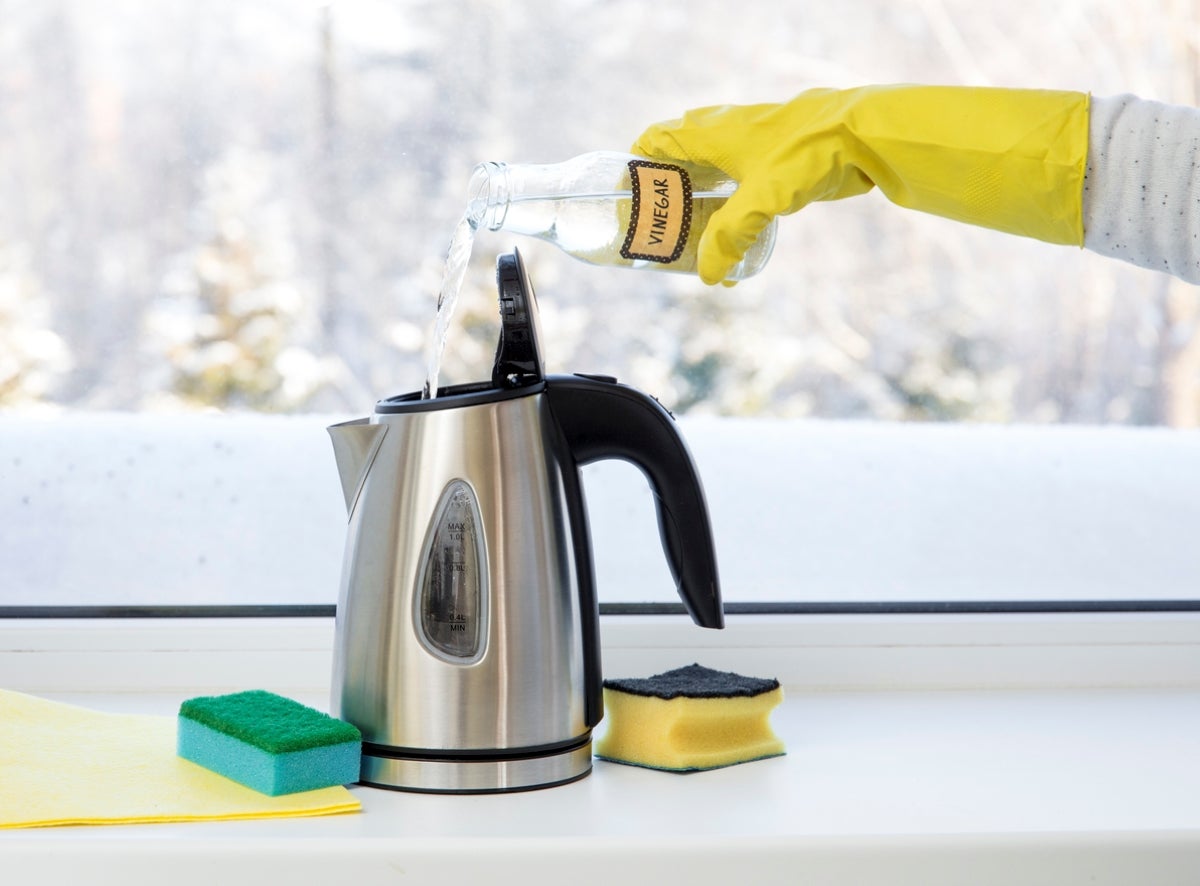
To get rid of black mold in the sink, mix equal parts of water and white vinegar in a spray bottle and spray the affected area. Let it sit for an hour, then scrub with a brush and rinse thoroughly. Repeat if necessary.
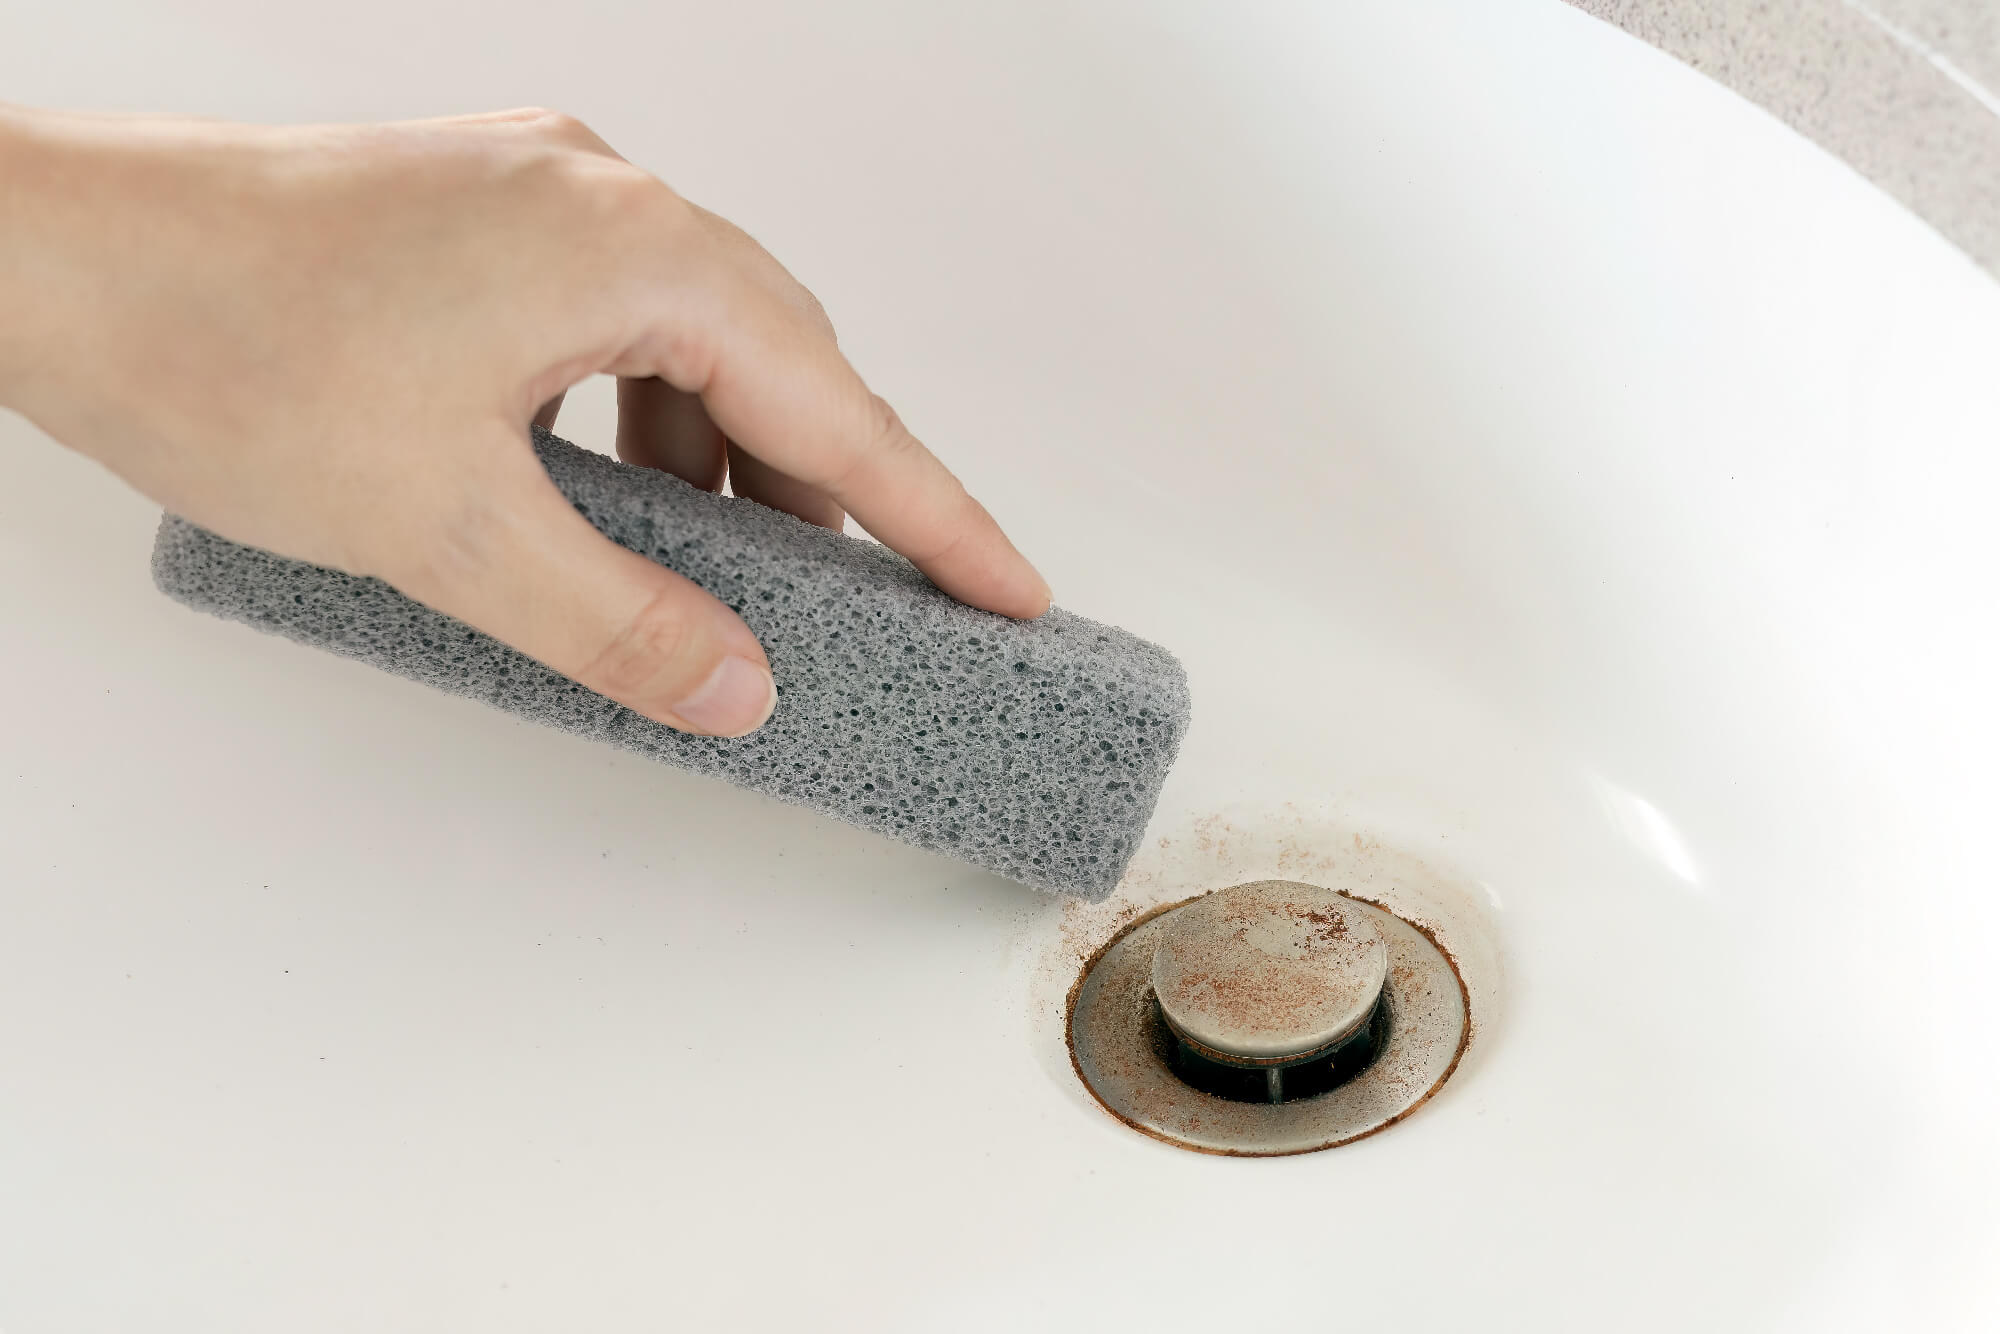
Step 2: Removing Visible Mold
Now that you have prepared the area and gathered the necessary materials, it’s time to start removing the visible black mold from your sink. Follow these steps to effectively eliminate the mold:
- Apply the cleaning solution: Using a disposable cleaning supply, apply the chosen cleaning solution to the areas affected by black mold. Ensure that the solution covers the entire mold-infested surface.
- Let the solution sit: Allow the cleaning solution to sit on the mold-infested areas for the recommended amount of time as per the instructions on the label. This will help break down the mold and make it easier to remove.
- Scrub the mold: Using a scrub brush, old toothbrush, or disposable rag, scrub the mold-infested areas in a circular motion. Apply gentle pressure to avoid damaging the sink surface. Continue scrubbing until the visible mold is loosened and removed.
- Rinse the sink: Once the mold is scrubbed away, rinse the sink thoroughly with clean water. Use a disposable cloth or paper towels to wipe off any remaining cleaning solution and debris.
- Dry the sink: After rinsing, dry the sink completely. Mold thrives in moist environments, so ensuring the sink is dry will help discourage future mold growth. Use a clean, dry cloth or allow it to air dry naturally.
It is important to note that if the mold is extensive or has penetrated deep into the sink surface, it may require professional remediation. In such cases, it is advisable to seek the assistance of a certified mold removal specialist.
Once you have successfully removed the visible mold from your sink, it’s time to move on to the next step: deep cleaning the sink to ensure thorough mold removal.
Step 3: Deep Cleaning the Sink
After removing the visible black mold from your sink, it’s important to perform a deep cleaning to ensure thorough mold removal and prevent any future growth. Follow these steps to deep clean your sink:
- Prepare a cleaning solution: Mix a mild dish soap or a specialized sink cleaner with warm water to create a cleaning solution.
- Apply the cleaning solution: Using a sponge or a cloth, apply the cleaning solution to the entire surface of the sink, including the sides and edges.
- Scrub the sink: Use a non-abrasive sponge or brush to scrub the sink thoroughly. Pay attention to crevices, corners, and any areas where mold was previously present.
- Rinse the sink: Rinse the sink with clean water until all traces of the cleaning solution are removed.
- Dry the sink: Use a clean, dry cloth or allow the sink to air dry completely. Ensure that no moisture remains as it can promote mold growth.
It is important to note that regular cleaning and maintenance of your sink can help prevent black mold growth. Ensure that you clean your sink regularly using mild detergents or specialized sink cleaners. Keep the sink dry and fix any leaks promptly to prevent moisture buildup.
Now that your sink is thoroughly cleaned and free from black mold, it’s time to address any remaining mold stains that may be present.
Step 4: Removing Mold Stains
Even after successfully removing visible mold from your sink, you may still be left with stubborn mold stains. Follow these steps to effectively get rid of mold stains:
- Create a stain-removing solution: Mix equal parts of hydrogen peroxide and water in a spray bottle. Hydrogen peroxide is an effective stain remover and can help lighten or remove mold stains.
- Spray the stained areas: Spray the hydrogen peroxide solution directly onto the mold-stained areas of your sink. Ensure that the stains are thoroughly coated.
- Let it sit: Allow the solution to sit on the stains for about 15 minutes. This will give the hydrogen peroxide enough time to penetrate and break down the mold stains.
- Scrub the stains: Use a non-abrasive sponge or brush to gently scrub the stained areas. Apply a little pressure while scrubbing to help lift the stains, but be cautious not to damage the sink surface. Continue until the stains are lightened or completely removed.
- Rinse the sink: Thoroughly rinse the sink with clean water to remove any residual hydrogen peroxide solution.
- Dry the sink: Dry the sink completely using a clean, dry cloth. Ensuring the sink is dry will help prevent any remaining moisture from encouraging mold growth.
If the mold stains persist, you may need to repeat the process or consider using specialized stain removers specifically designed for mold stains. Follow the instructions on the stain remover product for best results.
Now that you have successfully removed the mold stains from your sink, it’s time to take preventative measures to avoid future black mold growth.
Read more: How To Get Rid Of Mold In Basement
Step 5: Preventing Black Mold in Sink
Preventing black mold growth in your sink is essential to maintain a clean and healthy environment. By following these preventive measures, you can minimize the risk of mold recurrence:
- Keep the sink dry: After using the sink, wipe it dry with a clean cloth or paper towel. Standing water and moisture provide an ideal breeding ground for mold.
- Fix leaks promptly: If you notice any leaks in or around your sink, fix them as soon as possible. Even minor leaks can lead to excessive moisture buildup and promote mold growth.
- Improve ventilation: Ensure proper ventilation in your kitchen to reduce humidity levels. Open windows or use exhaust fans to allow air circulation and prevent excessive moisture accumulation.
- Regular cleaning: Clean your sink regularly using mild dish soap or specialized sink cleaners to remove any food debris or organic matter that can attract mold. Pay attention to hard-to-reach areas and crevices.
- Deep cleaning: Perform a deep cleaning of your sink periodically to remove any hidden mold spores or potential mold growth. Use non-abrasive cleaners and scrub brushes to thoroughly clean all surfaces.
- Monitor humidity levels: Use a hygrometer to monitor the humidity levels in your kitchen. Keep the humidity between 30% and 50% to discourage mold growth.
- Avoid leaving wet items in the sink: Remove wet sponges, dishcloths, or other wet items from the sink and allow them to dry properly to prevent mold from growing on them.
By implementing these preventive measures, you can significantly reduce the risk of black mold growth in your sink. Remember to stay vigilant and address any signs of mold or moisture promptly to prevent further issues.
With the completion of these steps, you have successfully removed black mold from your sink and taken measures to prevent its recurrence. Regular maintenance and proactive prevention will help keep your sink clean and mold-free.
By following these simple steps, you can enjoy a clean and sanitary sink, free from the unsightly and potentially harmful effects of black mold.
Keep in mind that if the black mold infestation is extensive or persists despite your efforts, it is recommended to seek professional assistance to ensure thorough mold remediation.
We hope this guide has been informative and helpful in your journey to get rid of black mold in your sink. Here’s to a mold-free and healthy kitchen environment!
Please note that dealing with black mold may have specific regulations and guidelines in your area. Make sure to familiarize yourself with any local regulations and seek professional advice if needed.
Conclusion
Dealing with black mold in your sink may seem like a daunting task, but with the right knowledge and actions, you can successfully remove it and prevent its recurrence. By understanding the nature of black mold, identifying its presence in your sink, and taking proper safety precautions, you can tackle the problem effectively.
We covered the step-by-step process of removing visible mold, deep cleaning the sink, and getting rid of mold stains. Additionally, we discussed preventive measures to minimize the chances of black mold growth in the future.
Remember to always prioritize your safety when dealing with black mold. Wear appropriate protective gear, properly ventilate the area, and dispose of contaminated materials safely. If you are uncertain about the severity of the mold infestation or lack the necessary expertise, consider consulting a professional mold remediation service.
Maintaining a clean and dry sink, fixing leaks promptly, improving ventilation, and practicing regular cleaning routines are key to preventing black mold growth. By following these preventive measures, you can create a healthier and mold-free environment in your kitchen.
We hope this guide has provided you with valuable insights and actionable steps to tackle black mold in your sink. By taking the appropriate measures and staying vigilant, you can enjoy a kitchen free from the harmful effects of black mold.
Remember, the key to dealing with black mold is early identification and prompt action. By staying proactive, you can ensure a safe and healthy living environment for you and your family.
So, go ahead and take the necessary steps to get rid of black mold in your sink, and enjoy a clean and sanitary kitchen space once again!
Frequently Asked Questions about How To Get Rid Of Black Mold In Sink
Was this page helpful?
At Storables.com, we guarantee accurate and reliable information. Our content, validated by Expert Board Contributors, is crafted following stringent Editorial Policies. We're committed to providing you with well-researched, expert-backed insights for all your informational needs.

0 thoughts on “How To Get Rid Of Black Mold In Sink”