Articles
How To Turn Off Water Under Bathroom Sink
Modified: August 16, 2024
Learn how to turn off the water under your bathroom sink with these helpful articles. Save yourself from potential leaks and plumbing issues.
(Many of the links in this article redirect to a specific reviewed product. Your purchase of these products through affiliate links helps to generate commission for Storables.com, at no extra cost. Learn more)
Introduction
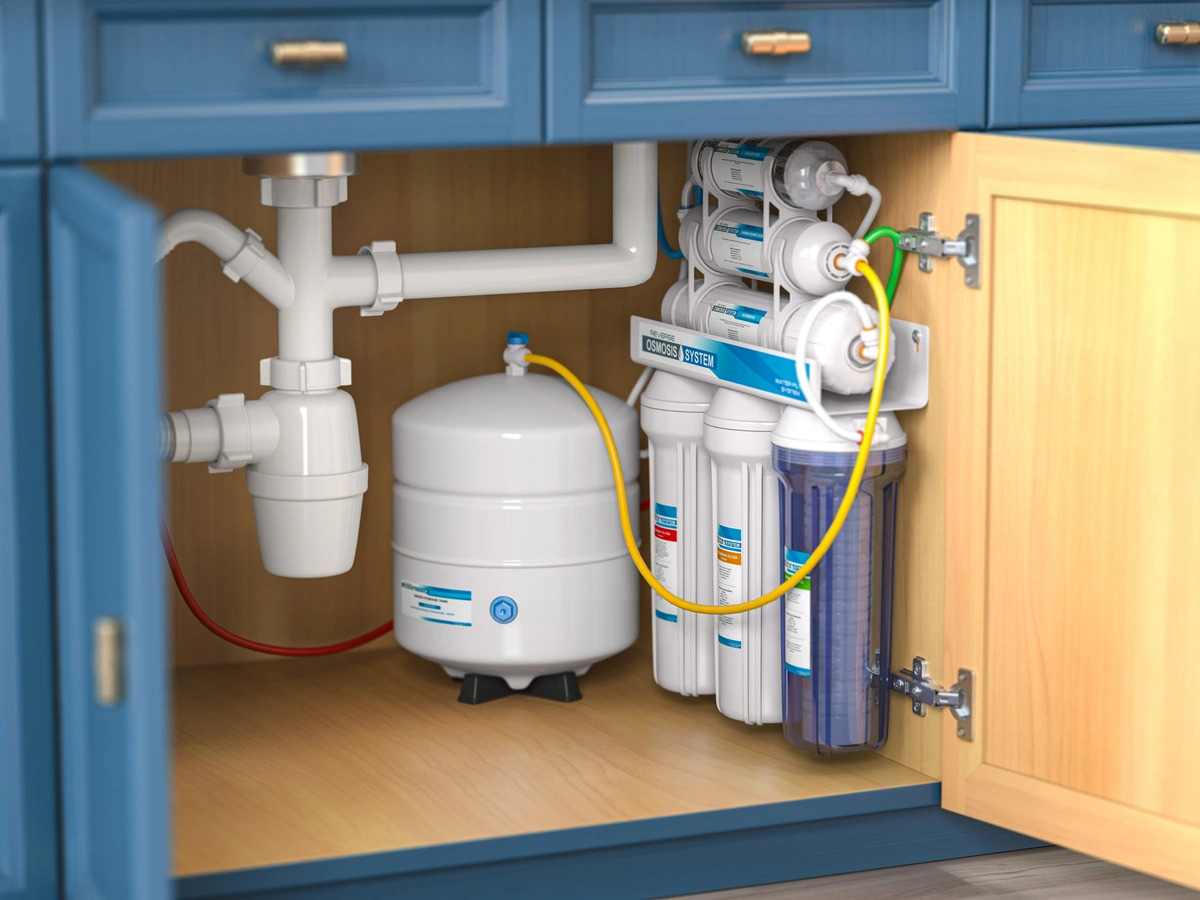
The water supply under the bathroom sink is an essential component of any plumbing system. It allows you to control the flow of water to your sink faucet, making it a crucial feature to know how to turn off. Whether you need to repair a leaky faucet, replace the sink, or perform any other plumbing-related task, being able to shut off the water supply is a necessary step to ensure a smooth and hassle-free process.
In this article, we will guide you through the steps on how to turn off the water under your bathroom sink. By following these instructions, you will be equipped with the knowledge to handle any plumbing issue that may arise in your bathroom.
Before we dive into the details, it’s important to note that safety should always be a priority. As you work with water and plumbing fixtures, make sure to exercise caution and take necessary precautions to avoid any accidents or injuries. Now, let’s get started!
Key Takeaways:
- Master the art of turning off the water supply under your bathroom sink to tackle plumbing tasks with confidence. Remember safety first and enjoy a functional, leak-free bathroom!
- Equip yourself with the necessary tools and follow the step-by-step guide to handle future plumbing challenges under your bathroom sink like a pro. Happy plumbing!
Step 1: Gather necessary tools and materials
Before you can turn off the water under your bathroom sink, you’ll need to gather a few essential tools and materials. Having everything ready beforehand will save you time and frustration in the long run. Here are the items you’ll need:
- Adjustable wrench
- Pliers
- Bucket or towels to catch any water
The adjustable wrench will help you loosen and tighten any nuts or fittings, while pliers will assist in disconnecting pipes. The bucket or towels will come in handy to catch any water that may leak during the process.
Once you have gathered these tools, you’re ready to move on to the next step.
Step 2: Locate the shut-off valve
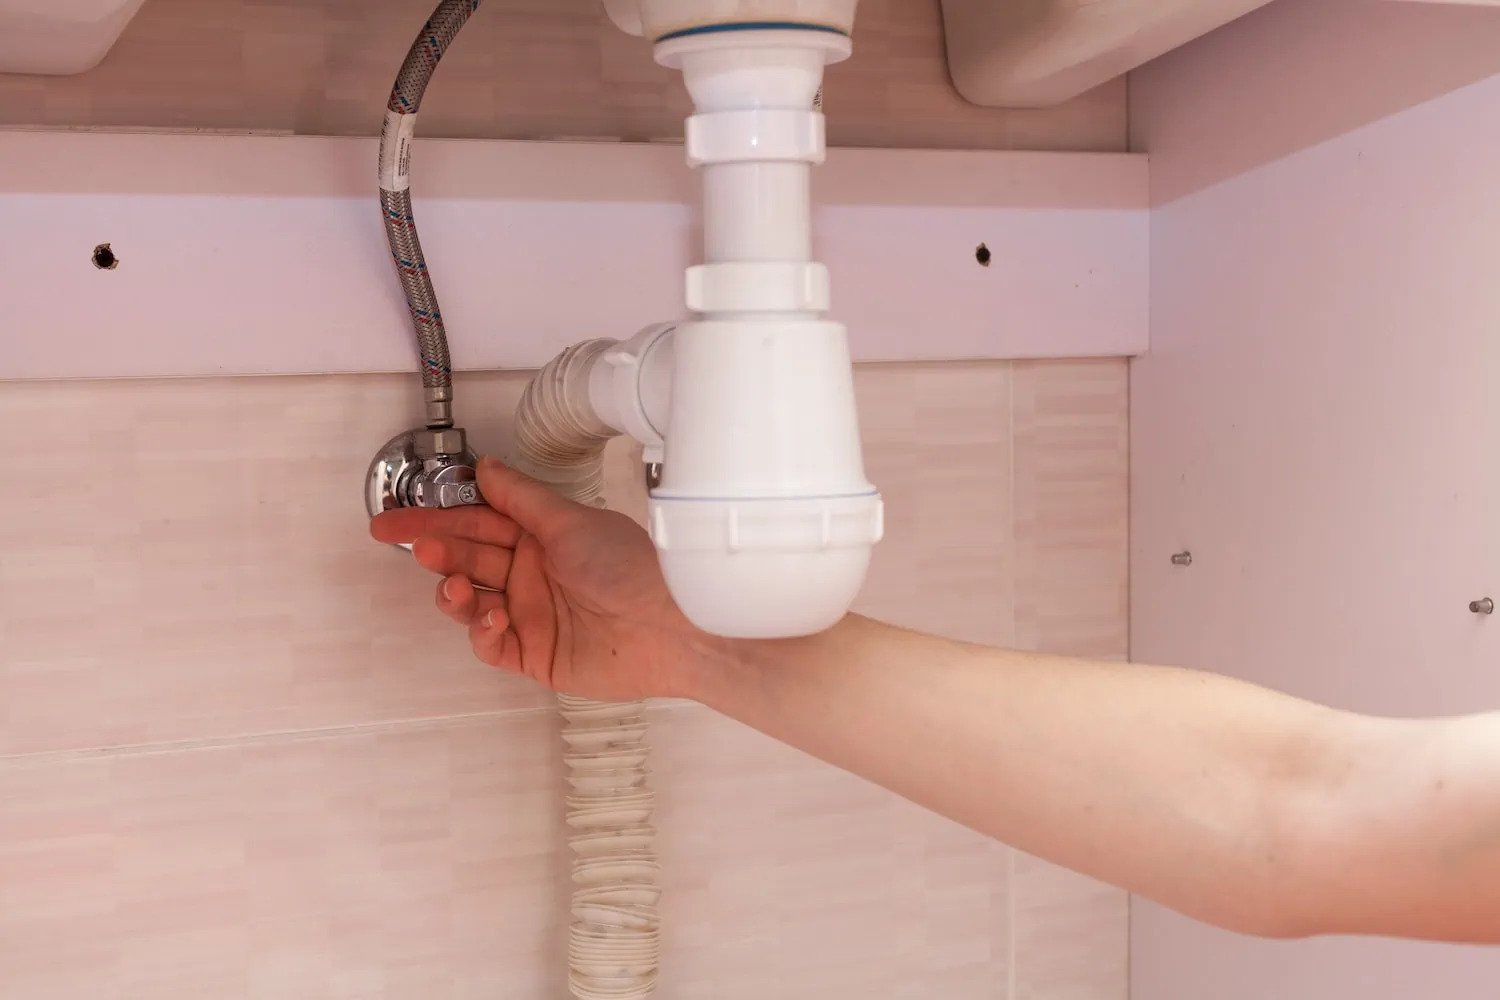
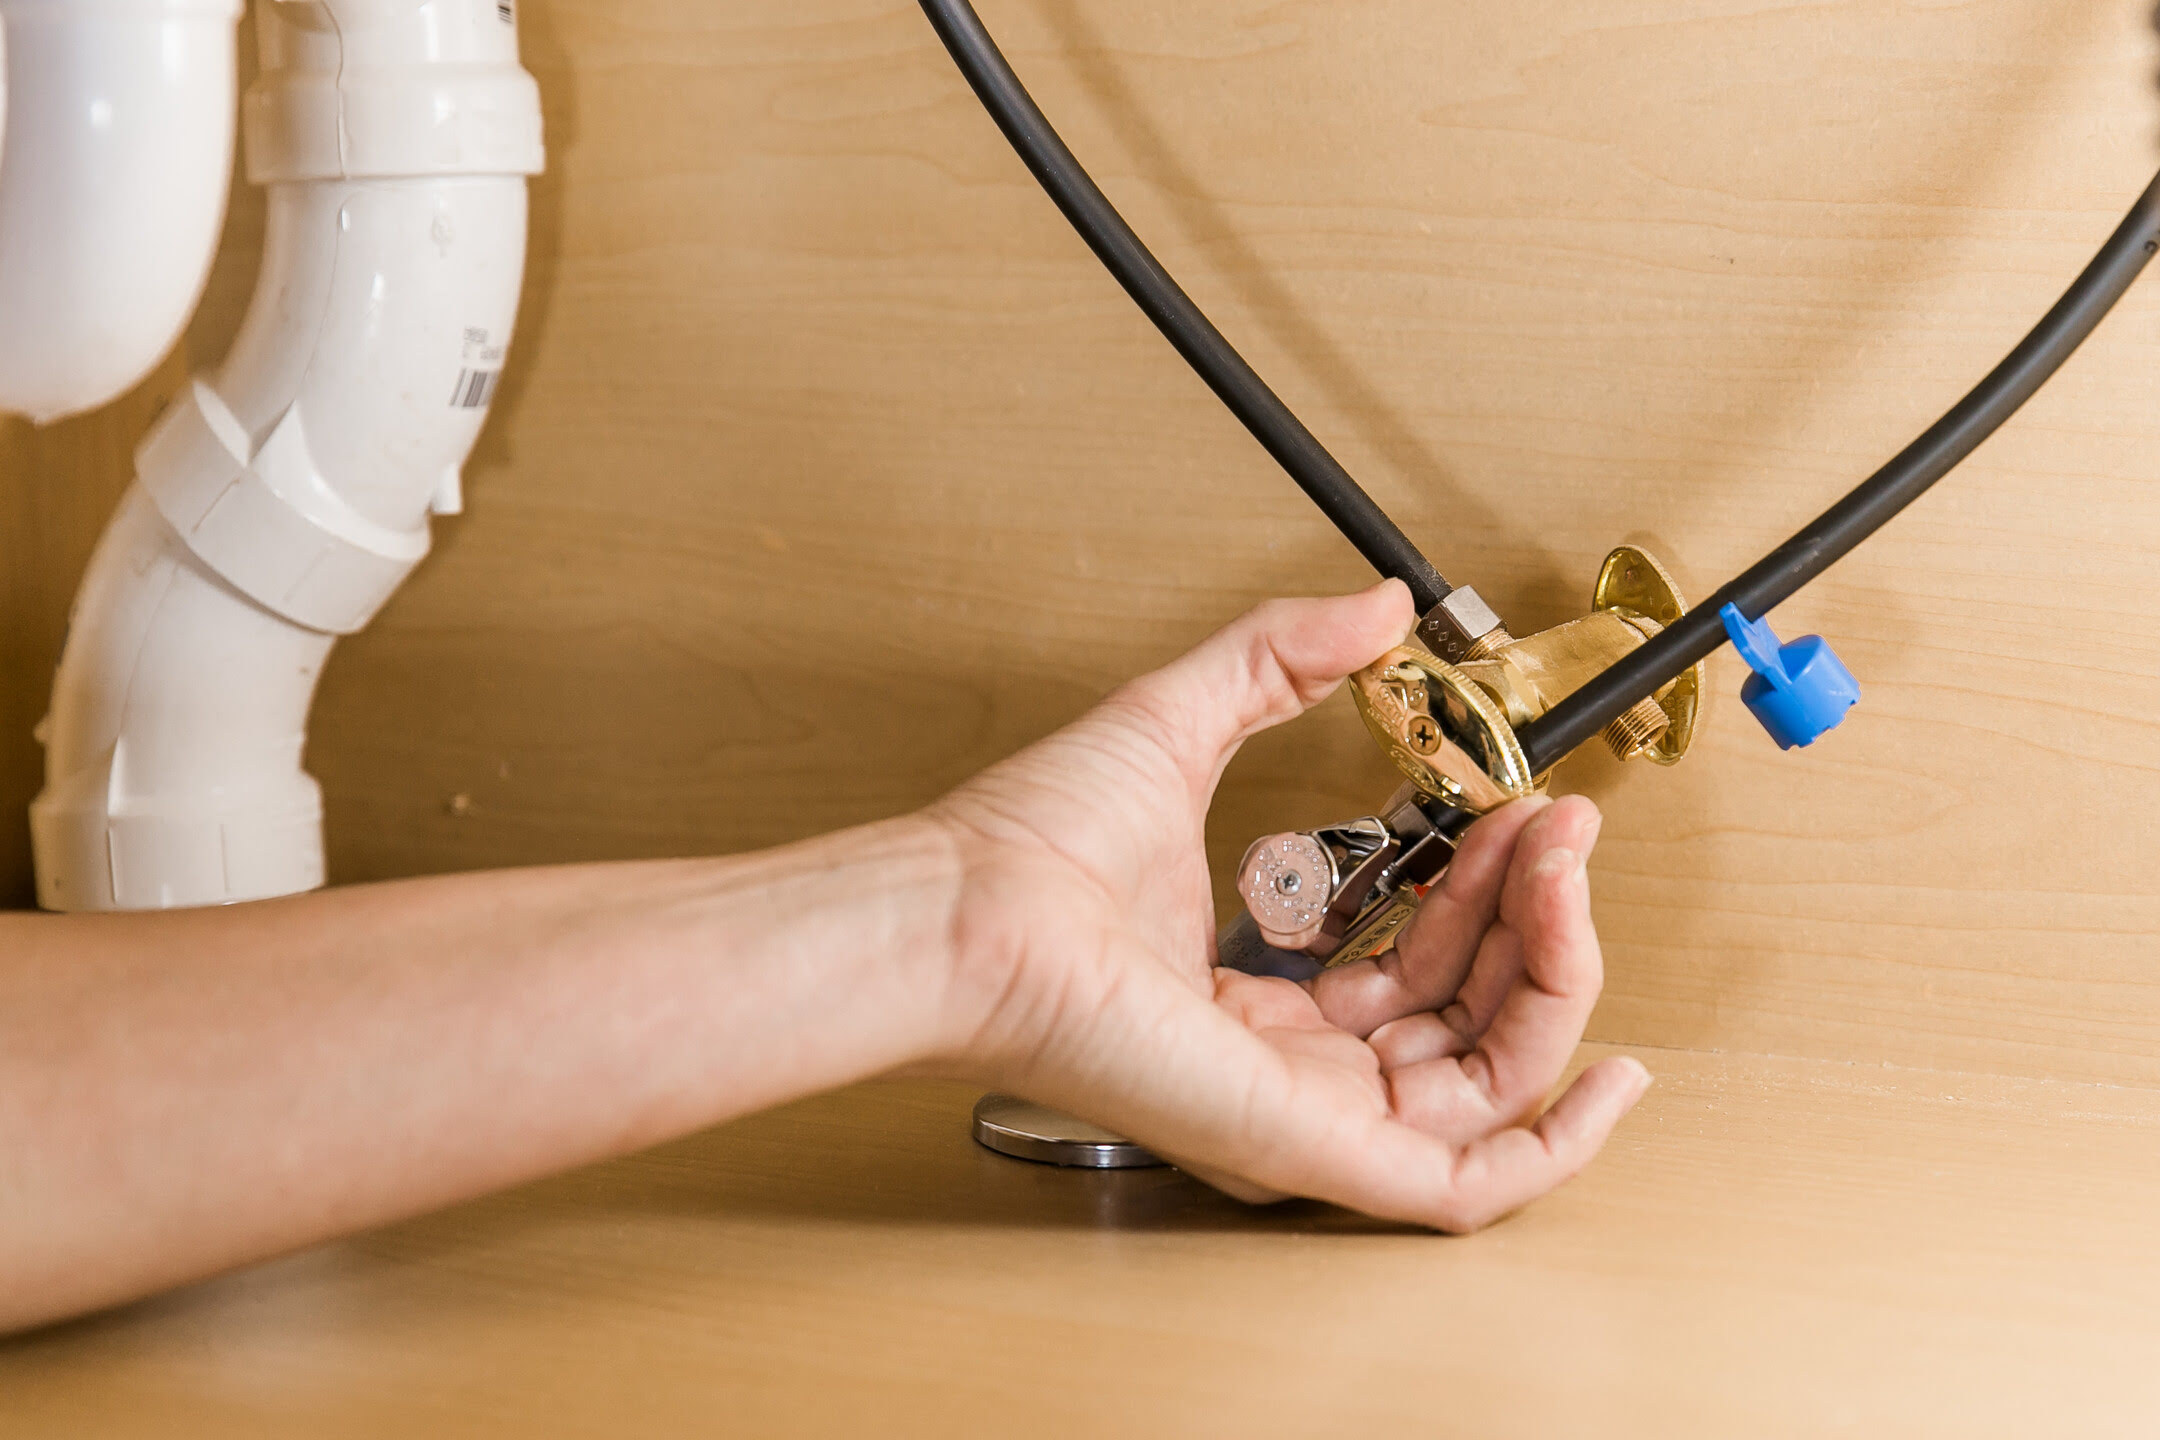
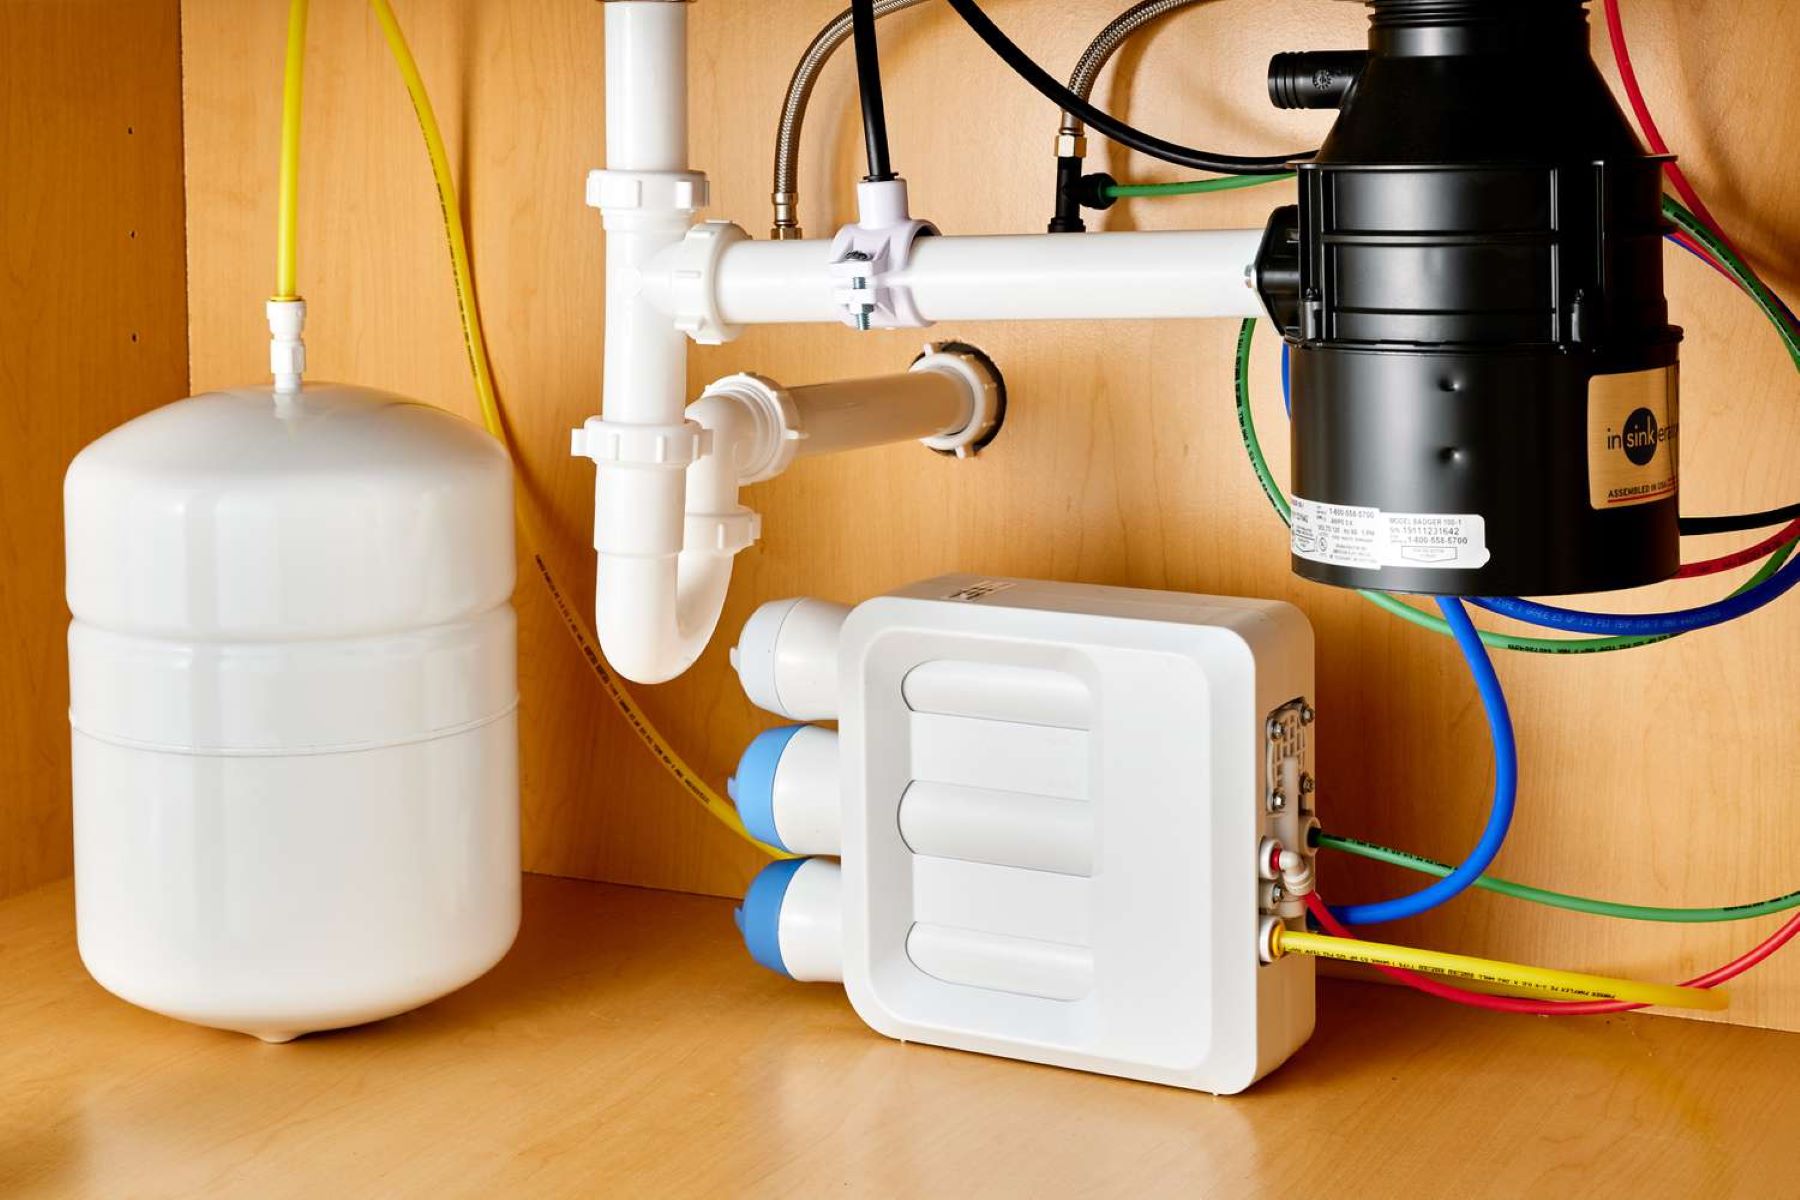
The shut-off valve is the key to turning off the water supply under your bathroom sink. It is usually located near the pipes connected to the sink faucet. Here’s how you can find it:
- Start by looking under the sink. You may find the shut-off valve attached to the water supply line coming out of the wall.
- If you can’t locate the shut-off valve under the sink, check for a valve in the basement or utility room. In some cases, the shut-off valve may be located in a different area of your home.
- If you still can’t find the shut-off valve, consult your home’s plumbing blueprints or contact a professional plumber for assistance. They will be able to guide you to the precise location.
Once you have located the shut-off valve, you’re ready to proceed to the next step.
Step 3: Turn off the water supply
Now that you have found the shut-off valve, it’s time to turn off the water supply to your bathroom sink. Follow these steps:
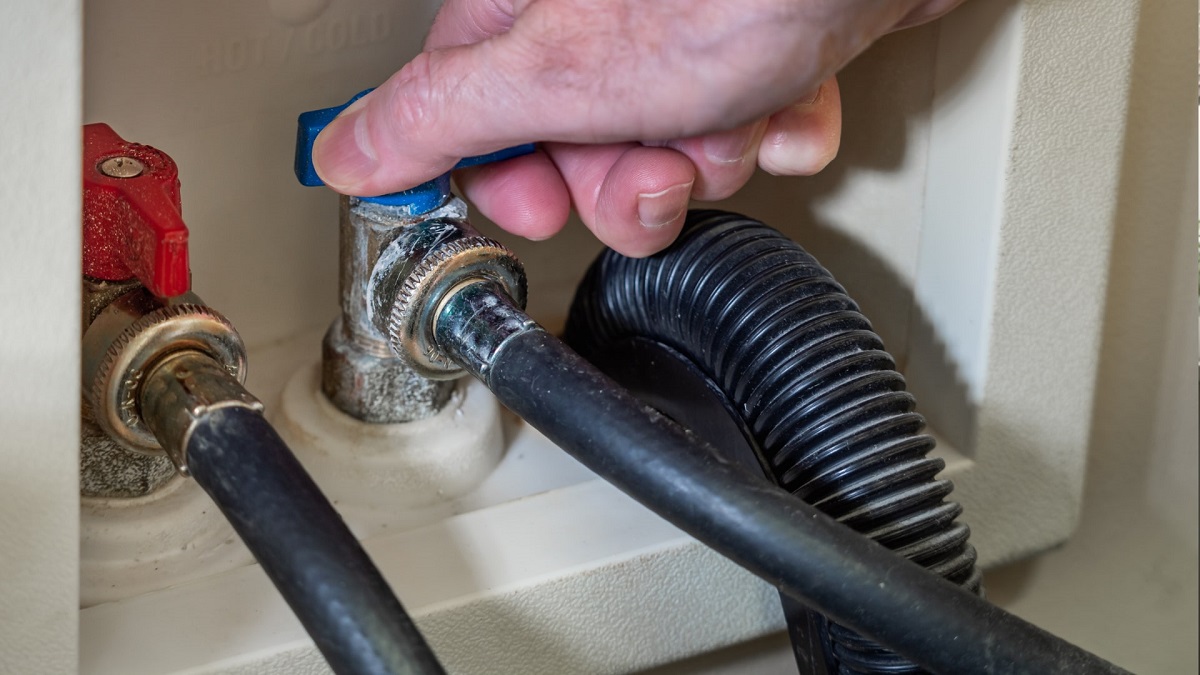
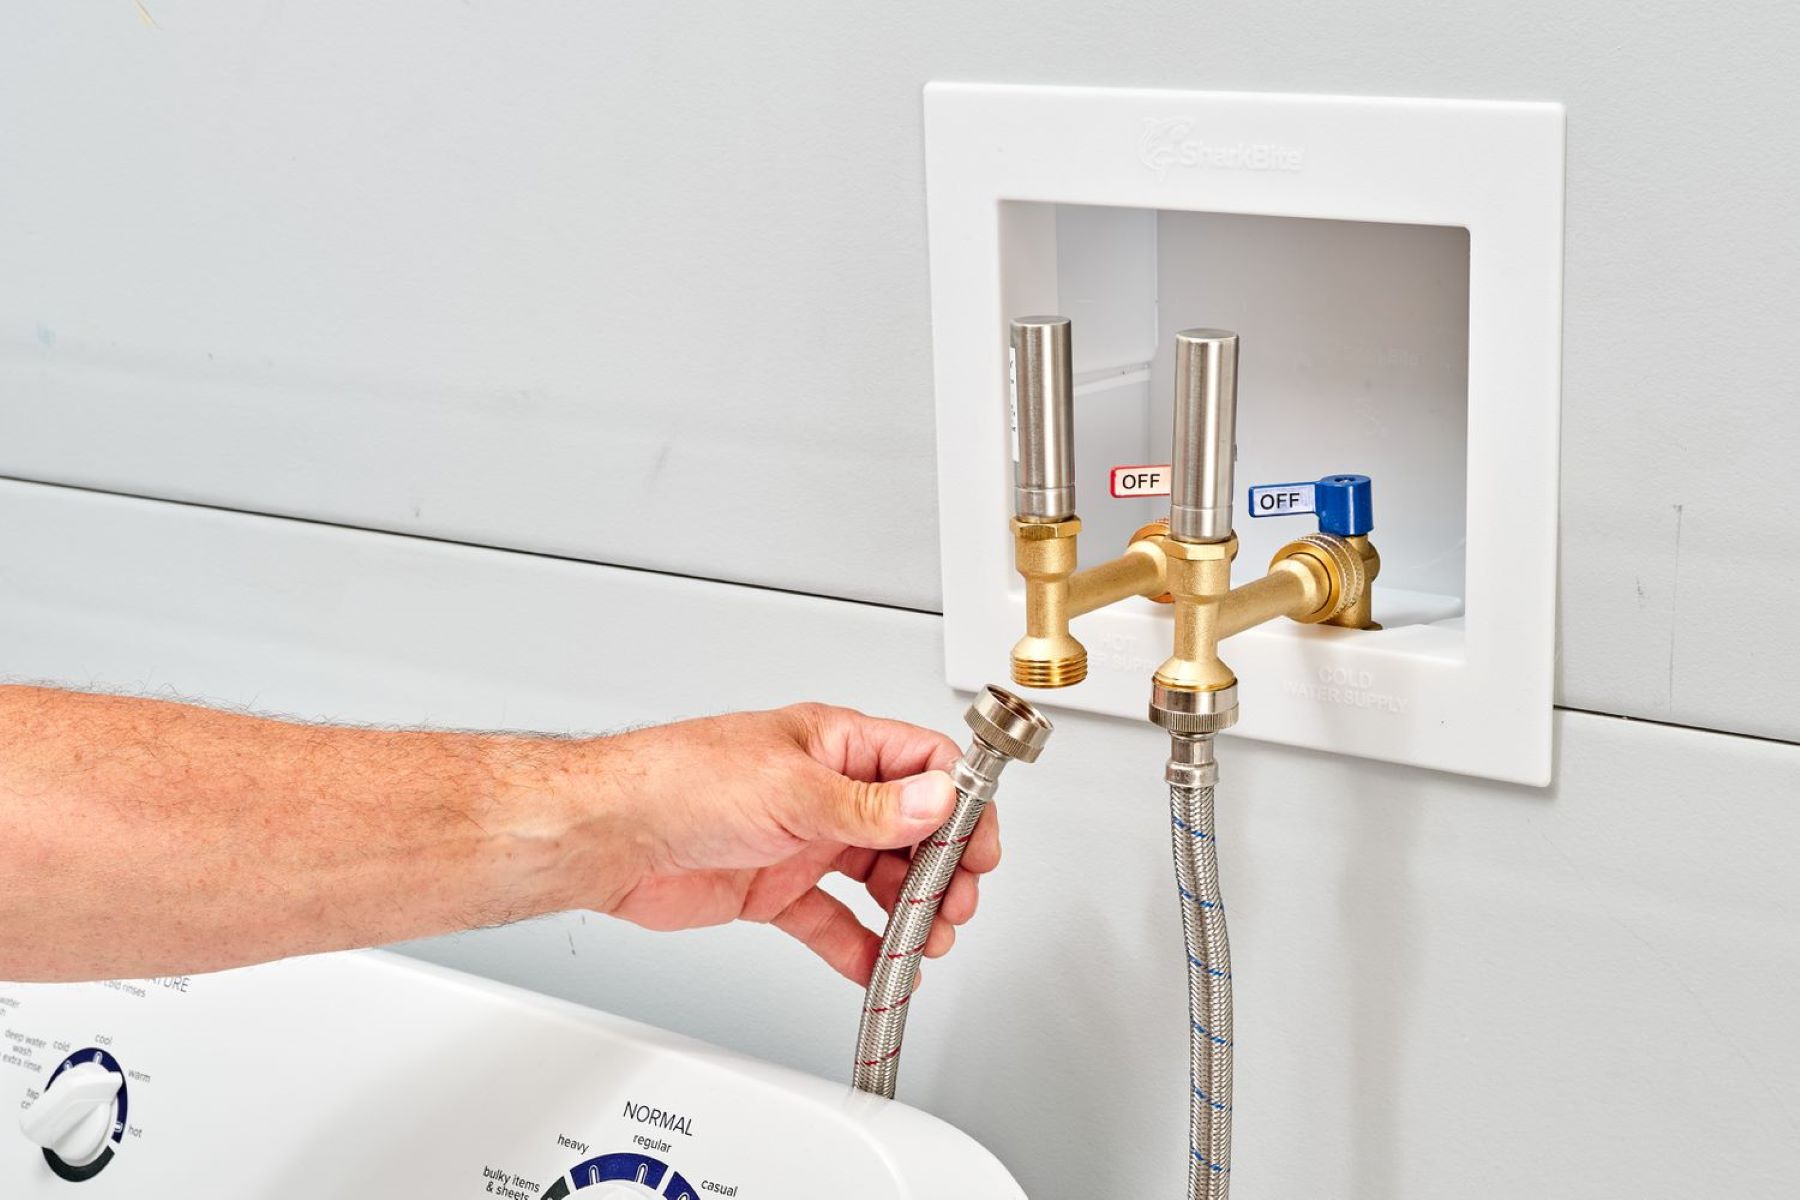
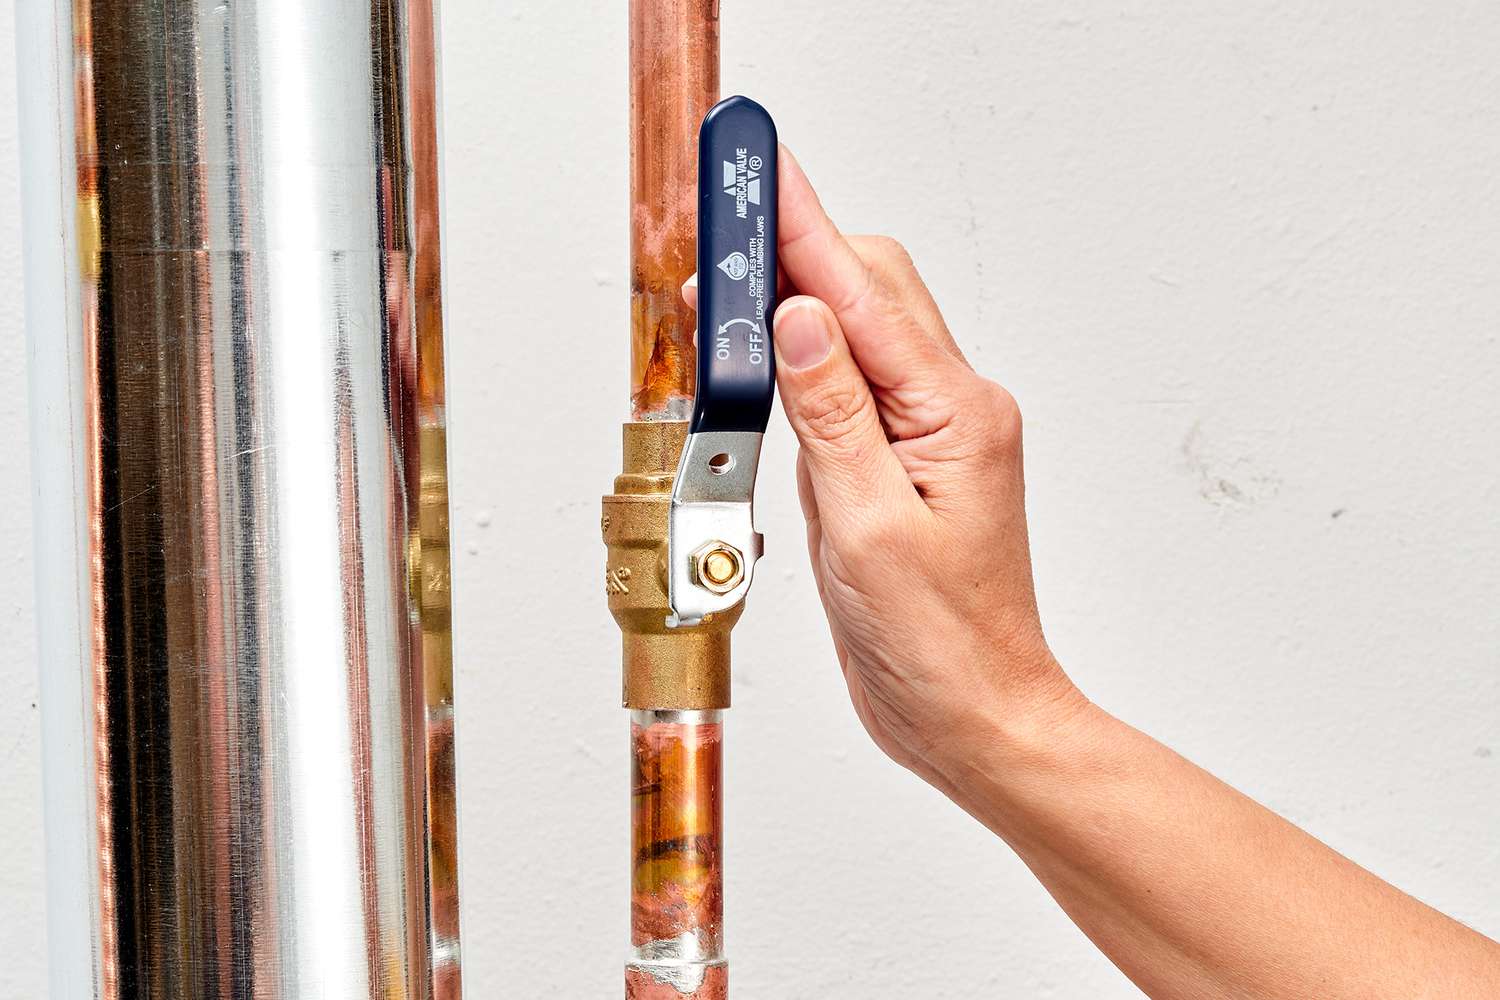
- Locate the handle or lever on the shut-off valve. It is typically a small, round knob or a lever that can be turned.
- Using your hand or an adjustable wrench, turn the handle or lever clockwise (to the right) until it stops. This will shut off the water flow to your bathroom sink.
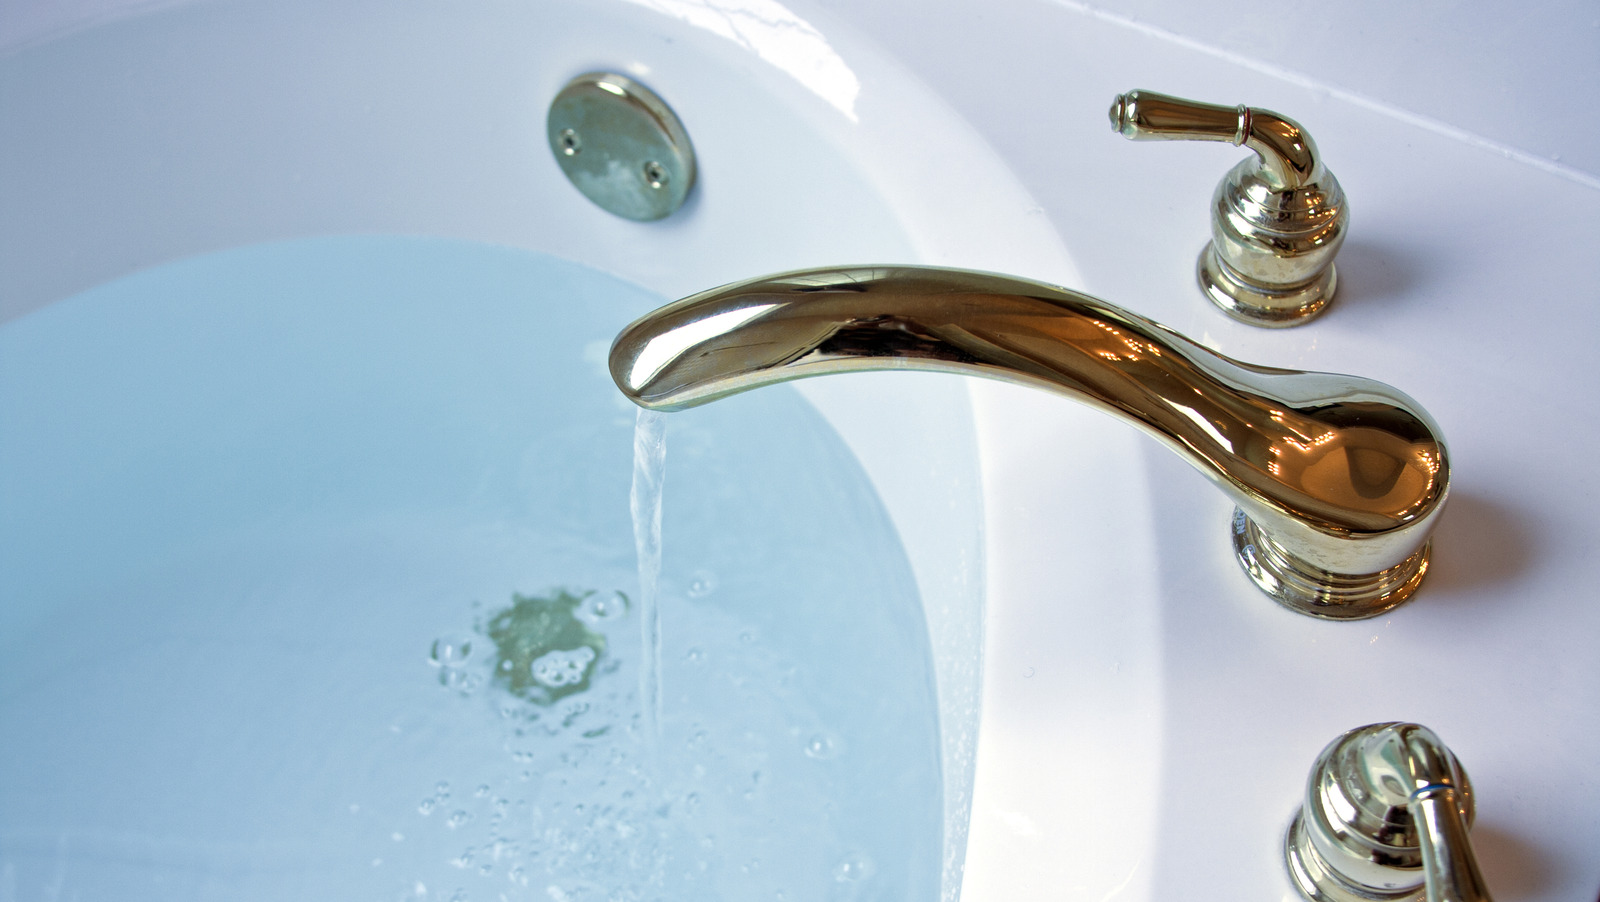
- Double-check that the water supply is indeed turned off by turning the faucet handles on your sink. If no water comes out, you have successfully shut off the water supply.
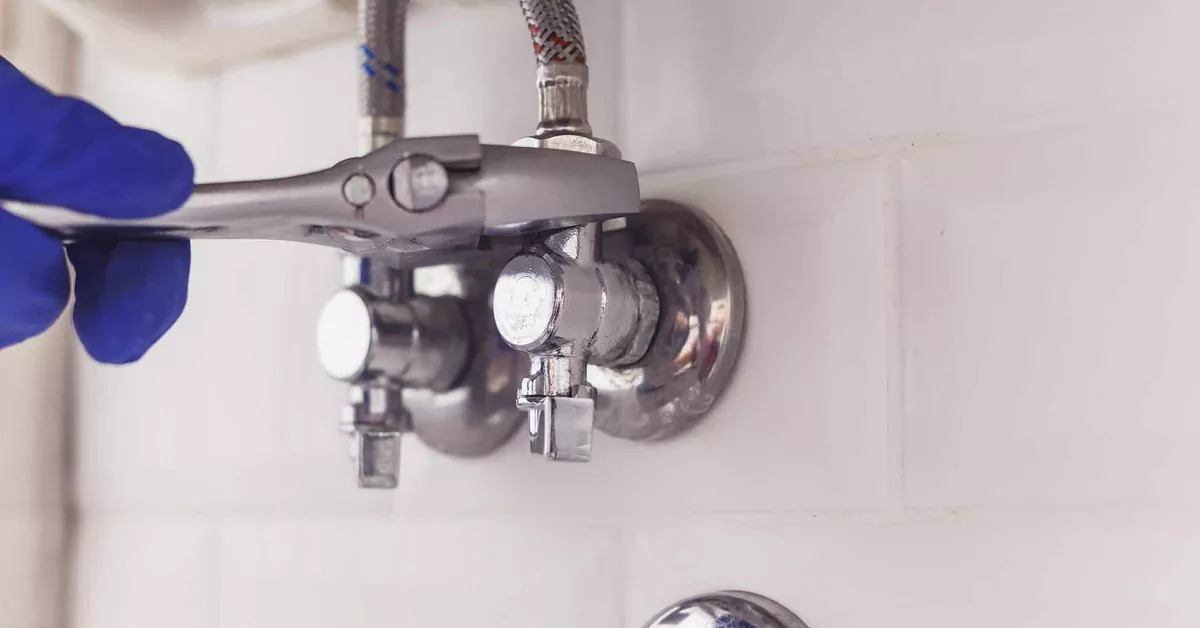
It is important to note that some shut-off valves may be stiff or difficult to turn, especially if they haven’t been used for a while. If you encounter resistance, apply gentle pressure or use pliers to help you turn the valve.
Once the water supply is turned off, you can proceed with confidence to the next step of the process.
Step 4: Drain the remaining water
After turning off the water supply, there may still be some water left in the pipes and the sink trap. To avoid any leaks or spills, it’s important to drain the remaining water. Follow these steps:
- Place a bucket or towels under the sink to catch any water that may come out.
- Underneath the sink, locate the sink trap. It is a curved section of pipe that connects the drainpipe from the sink to the main plumbing line.
- Using a wrench or pliers, loosen the slip nuts on both ends of the sink trap. Be prepared for some water to come out when you remove the trap.
- Allow the water to drain into the bucket or towels. Depending on how much water is left, this may take a few moments.
- Once the water has drained completely, remove the sink trap carefully and set it aside.
By draining the remaining water, you minimize the risk of leaks and make it easier to work on the plumbing components beneath the sink.
With the water drained, you’re now ready to move on to the next step of the process.
Locate the shut-off valve under the sink, turn it clockwise to close. If there’s no valve, use the main water shut-off for the house. Always test the faucet to ensure the water is off.
Read more: How To Turn Off Water To Kitchen Sink
Step 5: Remove the P-trap
The P-trap is a curved pipe that traps debris and prevents foul odors from entering your bathroom. Removing the P-trap will give you access to the plumbing connections under your sink. Follow these steps to remove the P-trap:
- Place a bucket or towels under the P-trap to catch any water or debris that may come out.
- Using pliers or an adjustable wrench, loosen the slip nuts on both ends of the P-trap. These slip nuts are typically located where the P-trap connects to the drainpipe and the vertical pipe leading to the wall.
- Once the slip nuts are loose, carefully remove the P-trap from the drainpipe and the wall pipe. Take note of the orientation and positioning of the P-trap for ease of reinstallation.
- Inspect the P-trap for any clogs or debris. If necessary, clean out the P-trap using a brush or running water.
- Set the removed P-trap aside temporarily, making sure to keep it in a safe place where it won’t be damaged or lost.
Removing the P-trap allows you to access the plumbing connections and inspect them for any issues. It also gives you the opportunity to clean out any obstructions, improving the overall functionality of your bathroom sink.
With the P-trap removed, you’re now ready to proceed to the next step of the process.
Step 6: Turn off the faucet
Before you continue with any repairs or replacements under your bathroom sink, it’s important to turn off the faucet to prevent any accidental water flow. Follow these steps to turn off the faucet:
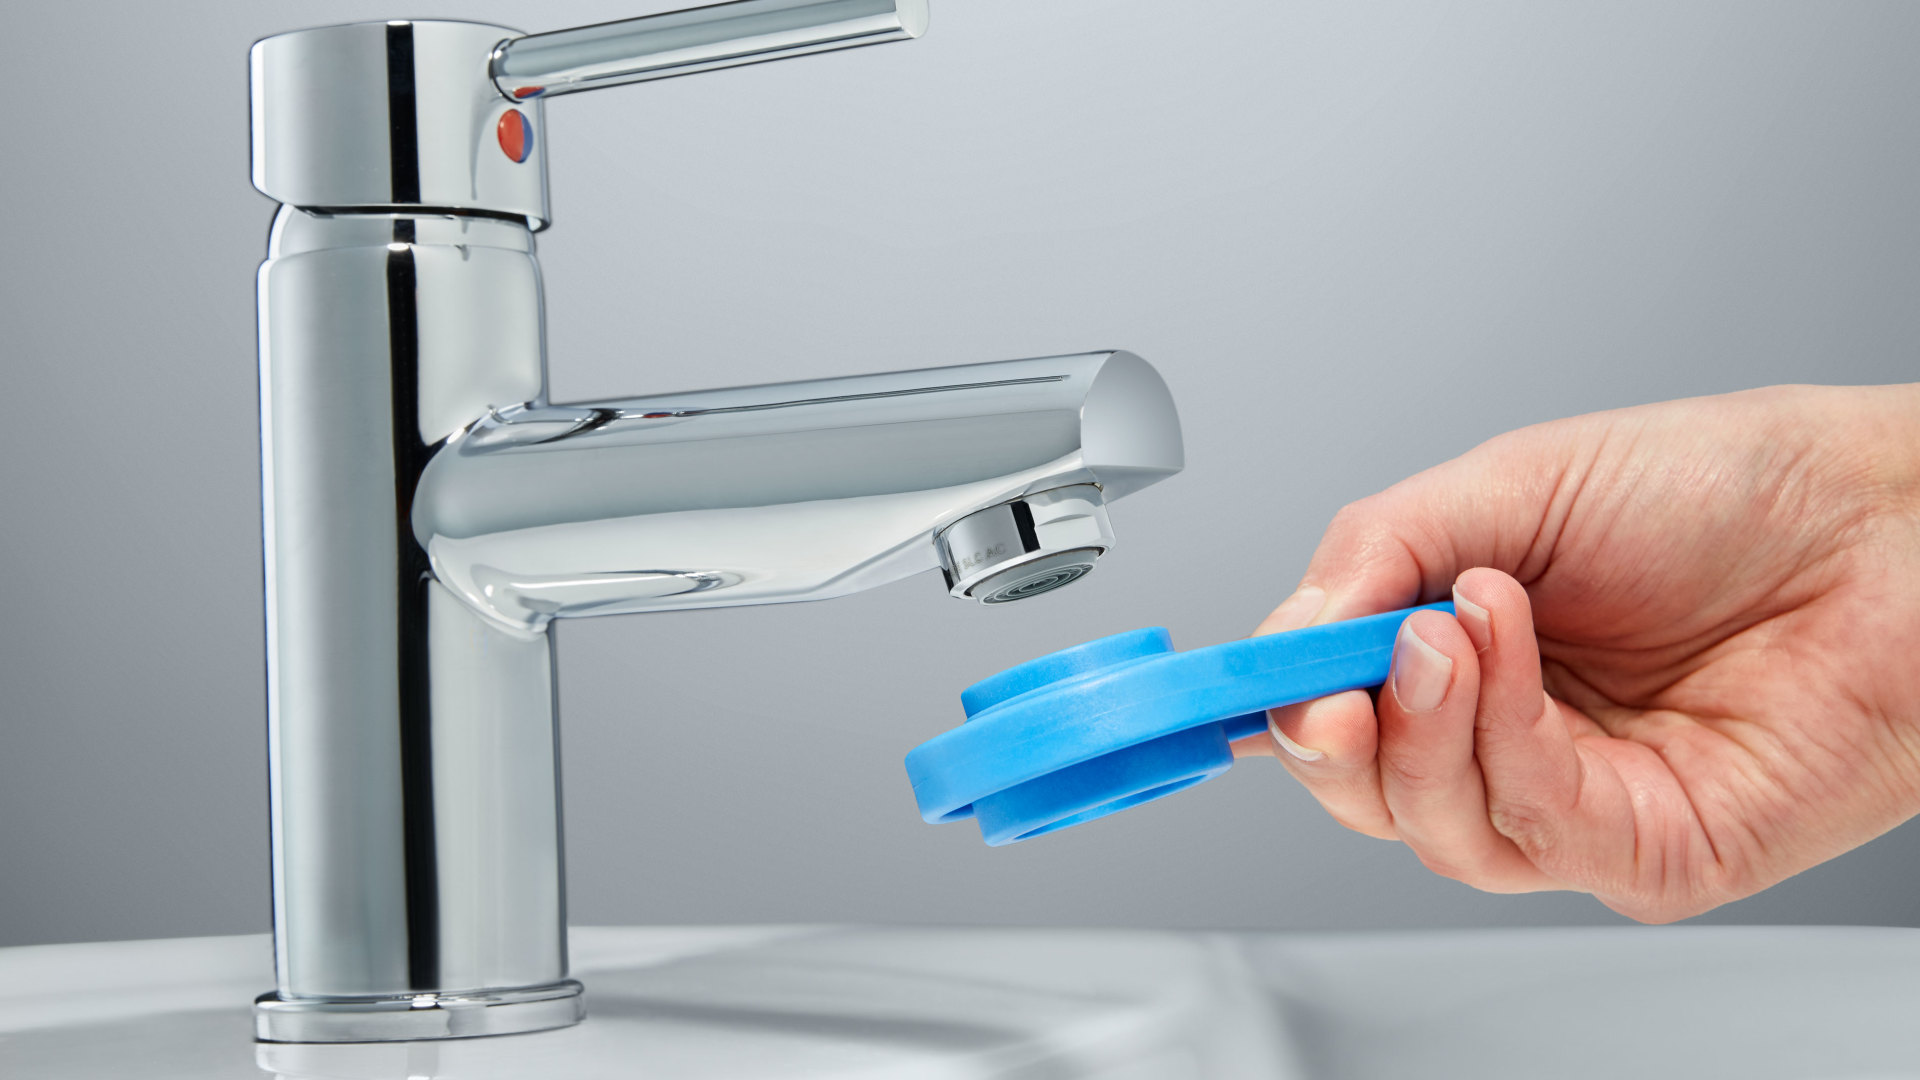
- Locate the handles or knobs on your sink faucet. These are typically located above the sink basin.
- If your faucet has separate hot and cold handles, turn both handles clockwise (to the right) until they stop. This will shut off the water flow from the faucet.
- If your faucet has a single lever handle, move it to the “off” position. This should stop the water flow.
By turning off the faucet, you ensure that no water will accidentally flow out while you work on the plumbing components under the sink. This step is crucial for preventing any potential mess or water damage.
With the faucet turned off, you’re now ready to move on to the final step of the process.
Step 7: Check for any leaks
After completing the necessary repairs or replacements under your bathroom sink, it’s important to check for any leaks before restoring the water supply. Follow these steps to ensure that there are no unwanted leaks:
- Inspect all the connections and fittings that you worked on. This includes the shut-off valve, the P-trap, and any other pipes or fixtures that you had to loosen or disconnect.
- Look for any signs of water dripping or moisture around the connections. Pay close attention to the joint areas and ensure that everything is properly tightened.
- If you notice any leaks, use a wrench or pliers to gently tighten the connections until the leaking stops. Be careful not to overtighten, as this could cause damage.
- Once you are confident that there are no leaks, it’s time to restore the water supply.
To restore the water supply, follow the reverse steps of turning off the water supply. Turn the shut-off valve handle or lever counterclockwise (to the left) to open the valve and allow water to flow into the pipes.
Once the water supply is restored, turn on the faucet and check for any new leaks. If you notice any leaks or issues, repeat the necessary steps to fix them.
By checking for leaks, you ensure that the plumbing system under your bathroom sink is in proper working condition and ready for regular use.
Congratulations! You have successfully learned how to turn off the water supply under your bathroom sink and perform basic maintenance or repairs. Remember, if you encounter any complex plumbing issues or are unsure about any step, it’s always best to seek the assistance of a professional plumber.
Take pride in your newfound plumbing skills and enjoy a functional and leak-free bathroom sink!
Conclusion
Knowing how to turn off the water supply under your bathroom sink is a valuable skill that can save you time, money, and frustration when dealing with plumbing issues. By following the steps outlined in this guide, you can easily shut off the water, drain the remaining water, remove the P-trap, turn off the faucet, and check for any leaks.
Remember, safety should always be a priority when working with plumbing fixtures and water. Take the necessary precautions, such as wearing gloves and using appropriate tools, to avoid accidents or injuries.
Regular maintenance and prompt repairs are essential for keeping your bathroom plumbing in top shape. By taking the time to learn how to turn off the water under your bathroom sink, you have the foundation to tackle various plumbing tasks, such as fixing leaks, replacing fixtures, or cleaning out clogs.
If you are uncertain about any step or encounter complex plumbing issues, it’s always a good idea to consult a professional plumber. They have the expertise and experience to handle intricate plumbing systems and ensure that everything is done correctly.
By mastering the art of turning off the water supply under your bathroom sink, you can take control of your plumbing and maintain a well-functioning and leak-free bathroom for years to come.
So, equip yourself with the necessary tools, follow the steps laid out in this guide, and confidently handle any future plumbing challenges that arise under your bathroom sink. Happy plumbing!
Frequently Asked Questions about How To Turn Off Water Under Bathroom Sink
Was this page helpful?
At Storables.com, we guarantee accurate and reliable information. Our content, validated by Expert Board Contributors, is crafted following stringent Editorial Policies. We're committed to providing you with well-researched, expert-backed insights for all your informational needs.


0 thoughts on “How To Turn Off Water Under Bathroom Sink”