Articles
How To Deep Clean A Sink
Modified: October 20, 2024
Learn effective techniques to deep clean your sink with articles that provide step-by-step instructions and expert tips. Create a spotless and hygienic sink today!
(Many of the links in this article redirect to a specific reviewed product. Your purchase of these products through affiliate links helps to generate commission for Storables.com, at no extra cost. Learn more)
Introduction
Keeping a clean and hygienic sink is essential for maintaining a healthy kitchen or bathroom environment. Over time, sinks can accumulate stains, mineral deposits, and bacteria, which not only affect the aesthetic appeal but can also lead to unpleasant odors and potential health risks. That’s why deep cleaning your sink on a regular basis is crucial.
Deep cleaning a sink involves more than just a quick wipe-down. It requires thorough cleaning techniques and the use of appropriate materials to effectively remove stains, discoloration, mineral deposits, and unclog the drain. By following the right cleaning methods, you can restore the shine and cleanliness of your sink, making it look and feel brand new.
In this article, we will guide you through the step-by-step process of deep cleaning a sink. From removing stains and discoloration to unclogging the drain and cleaning faucet fixtures, we will provide you with all the information you need to achieve a sparkling and sanitary sink. So, let’s get started!
Key Takeaways:
- Regular deep cleaning of your sink not only enhances its appearance but also prevents bacterial growth, eliminates odors, and maintains a healthy environment for food preparation.
- Incorporating daily maintenance tips and preventive measures can help you maintain a clean and well-maintained sink, prolonging its lifespan and ensuring a sparkling and hygienic space.
Read more: How To Clean A Deep Fryer
Why Deep Cleaning Matters
Deep cleaning your sink is not just about maintaining a sparkling appearance; it plays a crucial role in ensuring a healthy and hygienic space. Here’s why deep cleaning matters:
- Removes Stains and Discoloration: Over time, your sink can accumulate stubborn stains from food, beverages, and other substances. These stains not only make your sink look dirty but can also be a breeding ground for bacteria. Deep cleaning helps to remove these stains and discolorations, restoring the shine and cleanliness of your sink.
- Prevents Bacterial Growth: Sinks, especially in the kitchen, are prone to bacteria due to the frequent use and exposure to food particles. By deep cleaning your sink, you effectively eliminate bacteria and prevent the growth of potentially harmful pathogens. This helps to maintain a clean and safe environment for food preparation and everyday use.
- Eliminates Odors: Over time, food particles, grease, and other organic matter can build up in your sink, causing unpleasant odors. Deep cleaning removes these odorous substances, leaving your sink smelling fresh and clean.
- Prevents Drain Clogs: A clogged sink drain can be a major inconvenience. By regularly deep cleaning your sink and unclogging the drain, you can prevent the accumulation of debris and keep the water flowing smoothly.
- Improves Aesthetic Appeal: A clean and well-maintained sink enhances the overall appearance of your kitchen or bathroom. Deep cleaning helps to restore the original shine and beauty of your sink, making it a focal point of your space.
By understanding the importance of deep cleaning your sink, you can prioritize this task in your cleaning routine and ensure a healthier and more appealing environment.
Materials Needed
Before you begin deep cleaning your sink, gather the following materials:
- All-purpose cleaner: Choose a quality all-purpose cleaner suitable for the material of your sink, whether it’s stainless steel, porcelain, or another material. Make sure the cleaner is safe for your sink to avoid causing damage.
- Soft sponge or cloth: Use a soft sponge or cloth to gently scrub the surface of your sink. Avoid using abrasive scrub brushes or steel wool, as they can scratch and damage the sink.
- Vinegar or lemon juice: These natural acids are effective in removing mineral deposits and stains from the sink. They are especially useful for tackling hard water stains.
- Baking soda: Baking soda is a versatile cleaning agent that can help remove tough stains and odors from your sink. It’s a gentle and environmentally-friendly option.
- Toothbrush: A toothbrush is handy for reaching tight corners and crevices, especially when cleaning faucet fixtures and drains.
- Plunger or drain snake: If your sink drain is clogged, a plunger or drain snake can help remove the blockage. These tools are especially useful for unclogging kitchen sinks.
- Microfiber cloth: Use a microfiber cloth to dry and buff the sink after cleaning. Microfiber cloths are effective in removing water spots and leaving a streak-free shine.
- Gloves: It’s always a good idea to wear gloves to protect your skin from the cleaning agents and potential bacteria present in the sink.
- Protective eyewear (optional): If you’re using strong chemical cleaners, consider wearing protective eyewear to shield your eyes from any splashes.
- Old toothbrush: Keep an old toothbrush dedicated to cleaning tasks, as it is useful for scrubbing hard-to-reach areas and tight spots around the sink.
Having these materials ready will make the deep cleaning process easier and more efficient. Now that you’re equipped with the necessary tools, let’s move on to the specific steps involved in deep cleaning your sink.
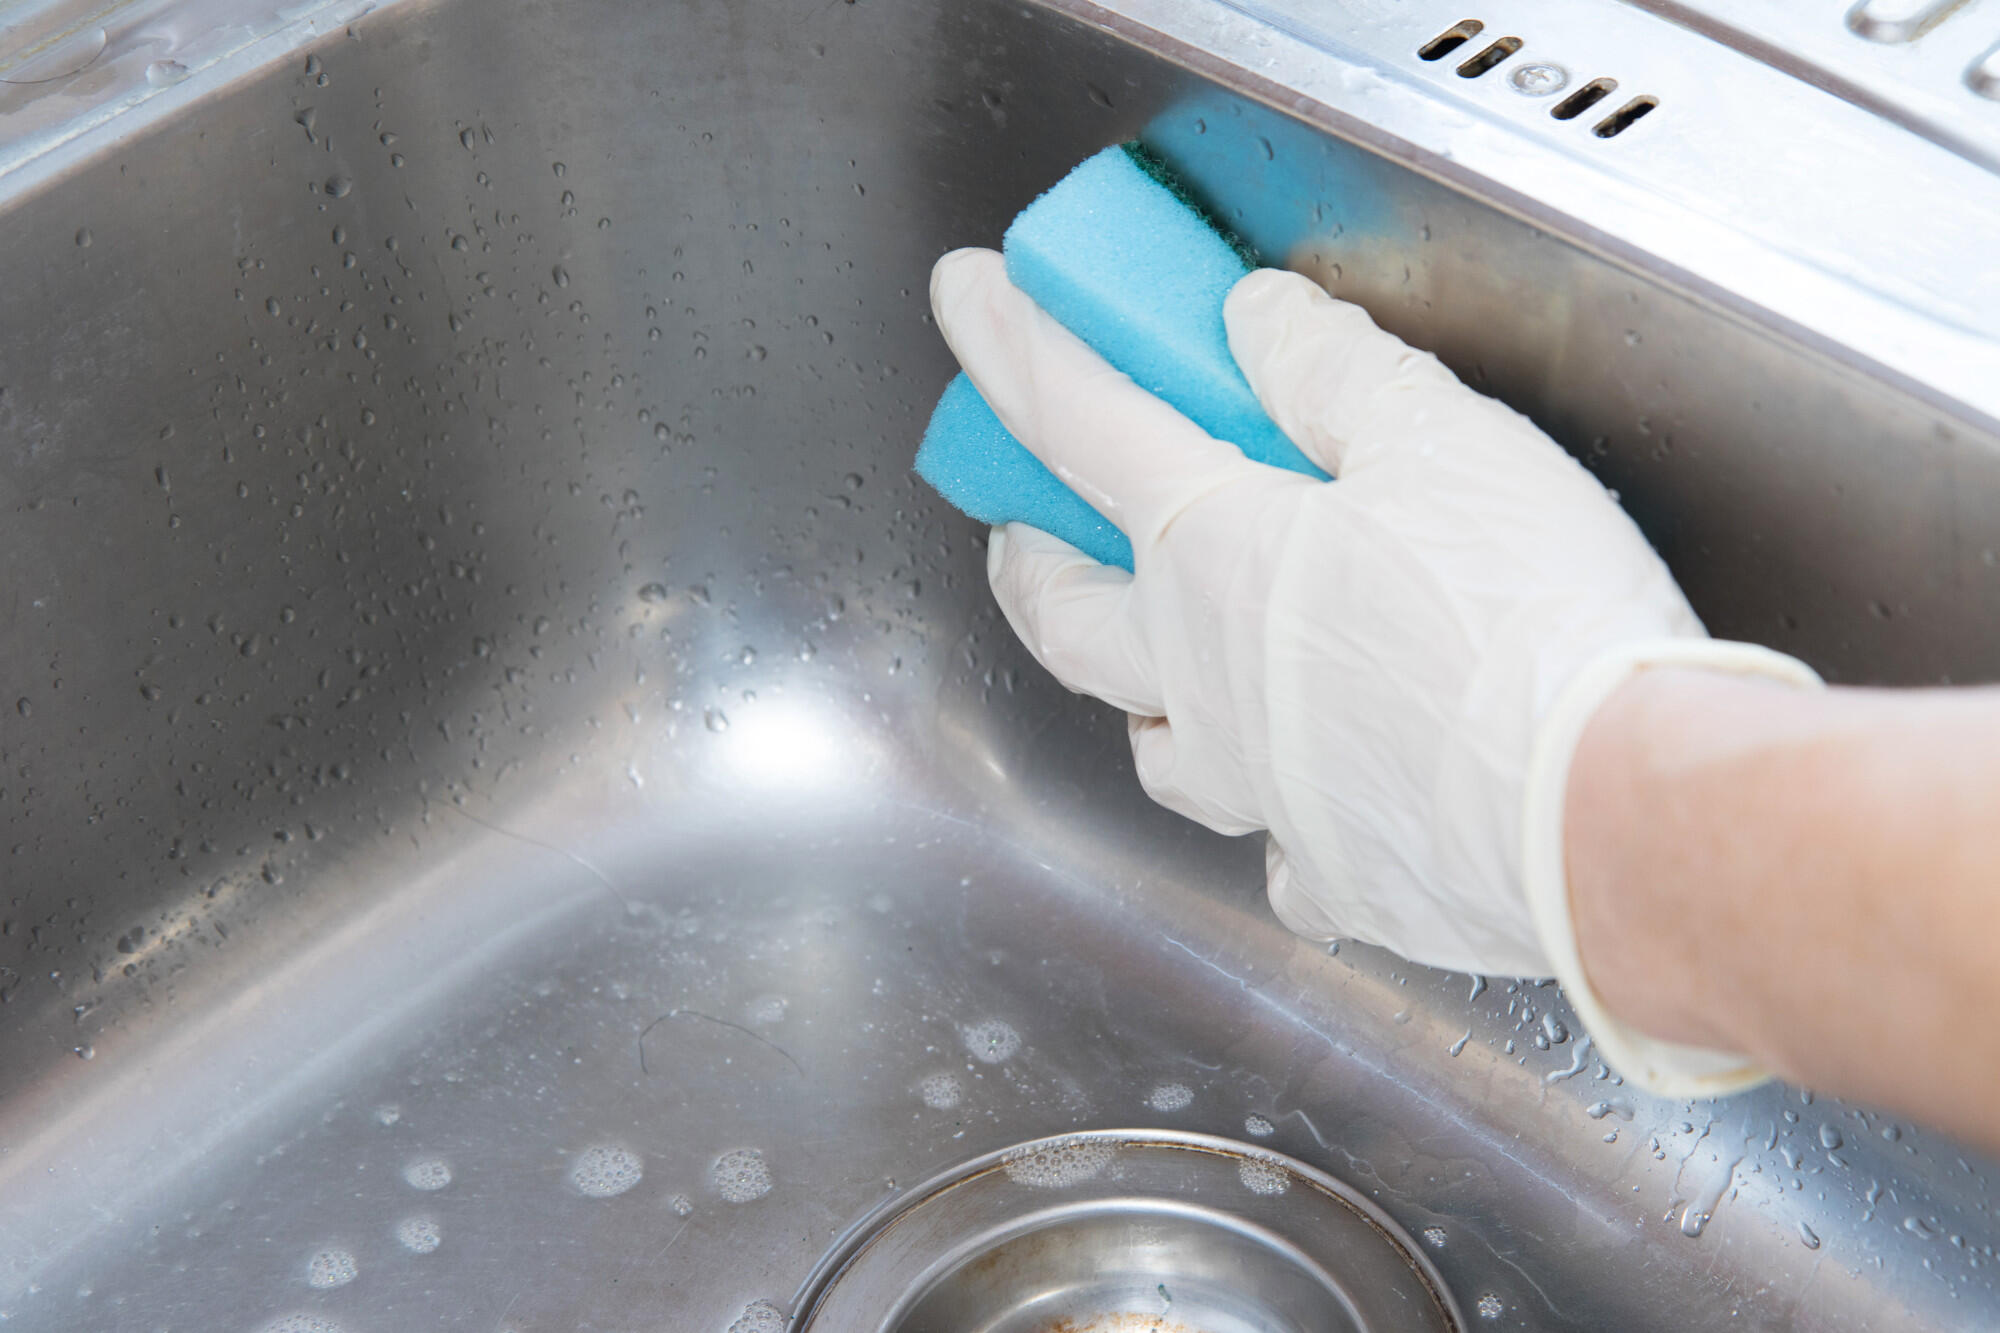
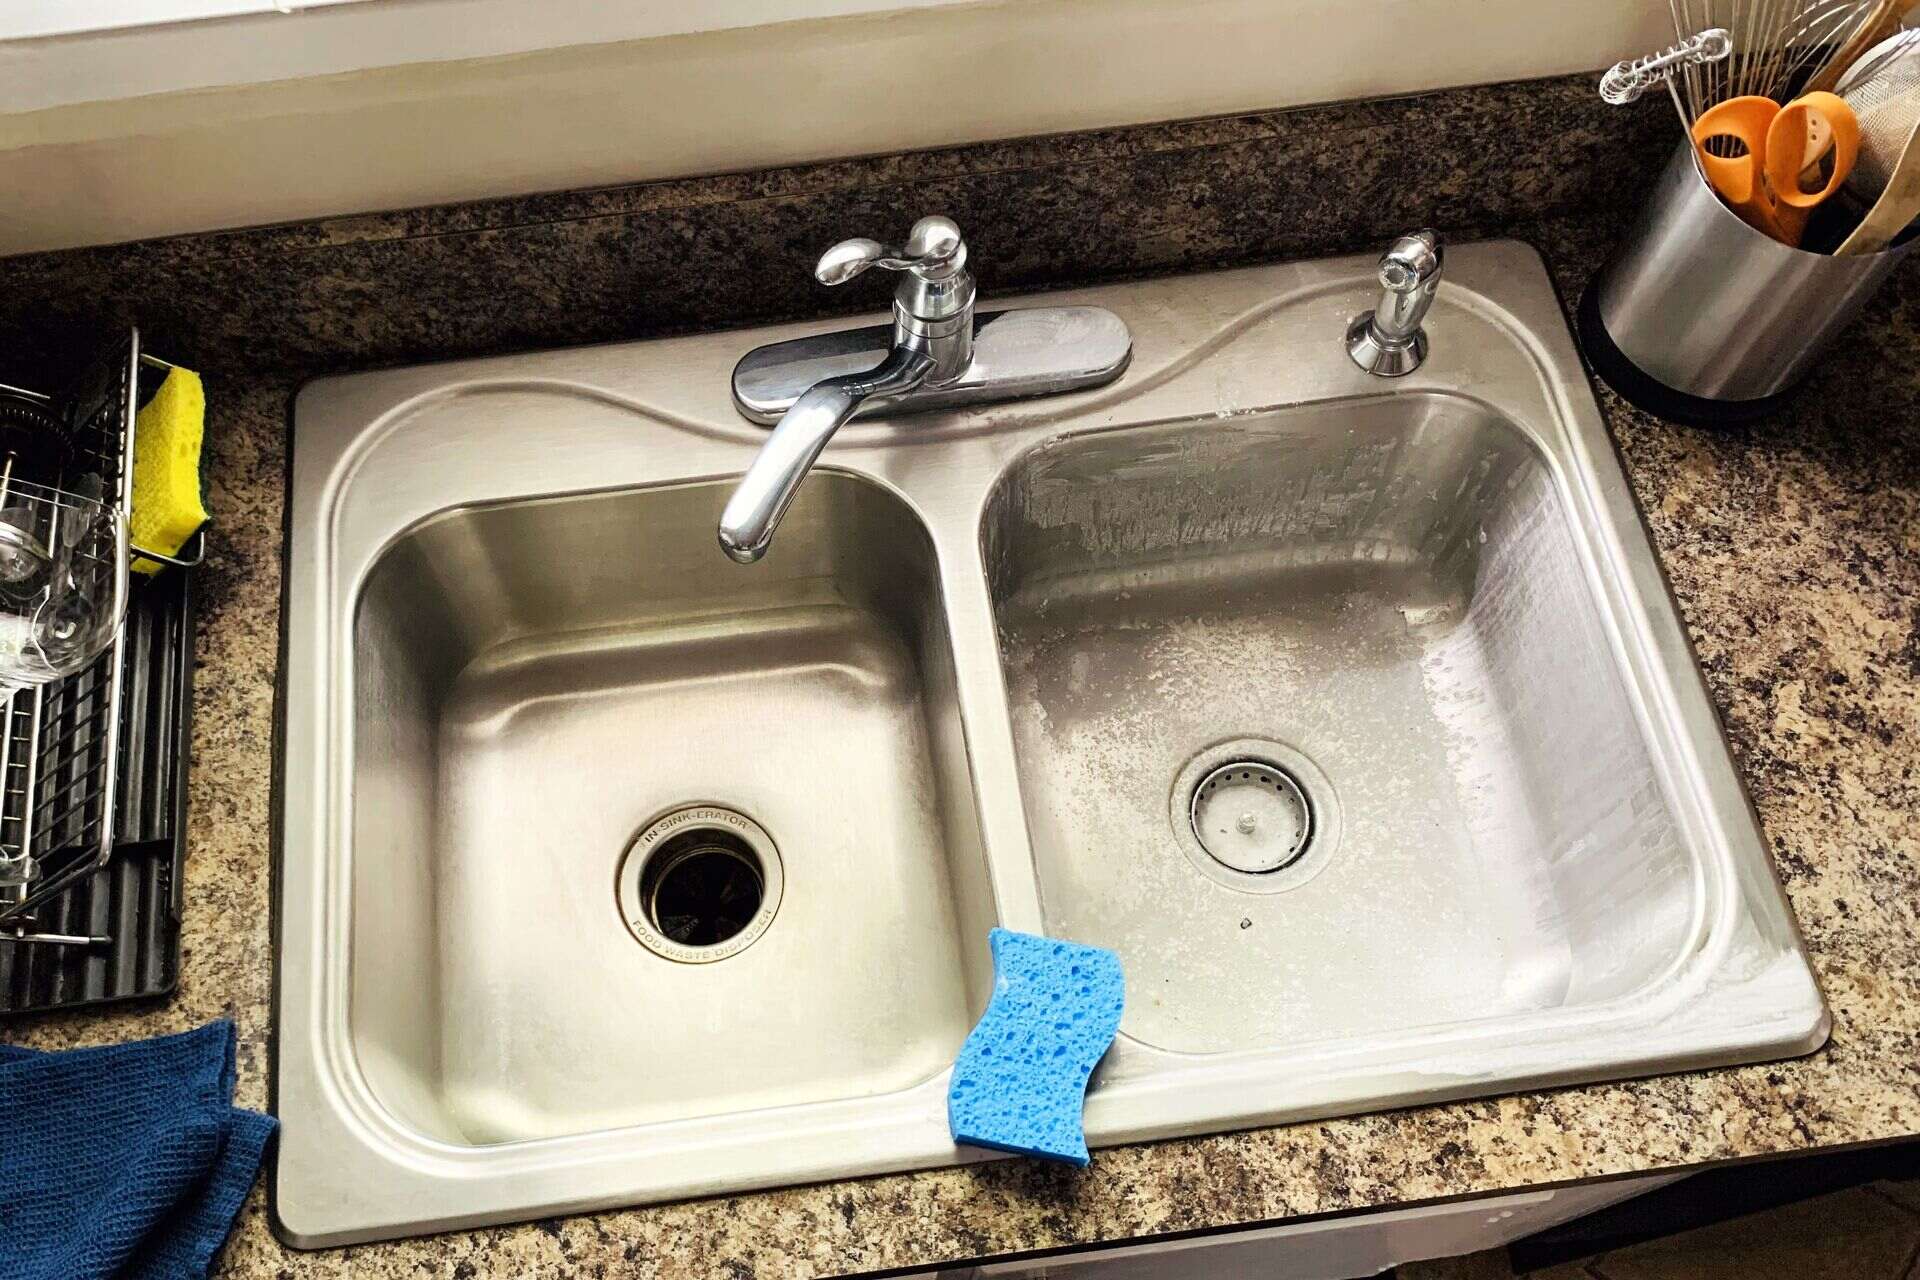
Removing Stains and Discoloration
Stains and discoloration can make your sink look dull and dirty. Fortunately, there are effective methods for removing these unsightly marks and restoring the original shine of your sink. Here’s how:
- Start with a clean slate: Clear your sink of any dishes, utensils, or debris. Give the sink a quick rinse to remove any loose dirt or grime.
- Apply an all-purpose cleaner: Spray an all-purpose cleaner over the surface of the sink. Allow the cleaner to sit for a few minutes to loosen the stains.
- Gently scrub with a sponge: Take a soft sponge or cloth and scrub the sink in circular motions, paying extra attention to areas with stains and discoloration. Avoid using abrasive scrub brushes, as they can damage the sink’s surface.
- Use vinegar or lemon juice: If there are stubborn stains or hard water deposits, dampen a cloth with vinegar or lemon juice and rub the affected areas. These natural acids help to dissolve mineral deposits and lighten stains.
- Apply baking soda paste: For tough stains, create a paste by mixing baking soda with water. Apply the paste to the stains and gently scrub with a sponge or toothbrush. Baking soda is a gentle abrasive that can help remove stubborn stains without damaging the sink.
- Rinse and dry: Once you’ve scrubbed the sink thoroughly, rinse it with clean water to remove any residue. Use a microfiber cloth to dry the sink, ensuring a streak-free finish.
By following these steps, you can effectively remove stains and discoloration from your sink, rejuvenating its appearance and restoring its original shine. However, if your sink is severely stained or damaged, it may require professional restoration or replacement.
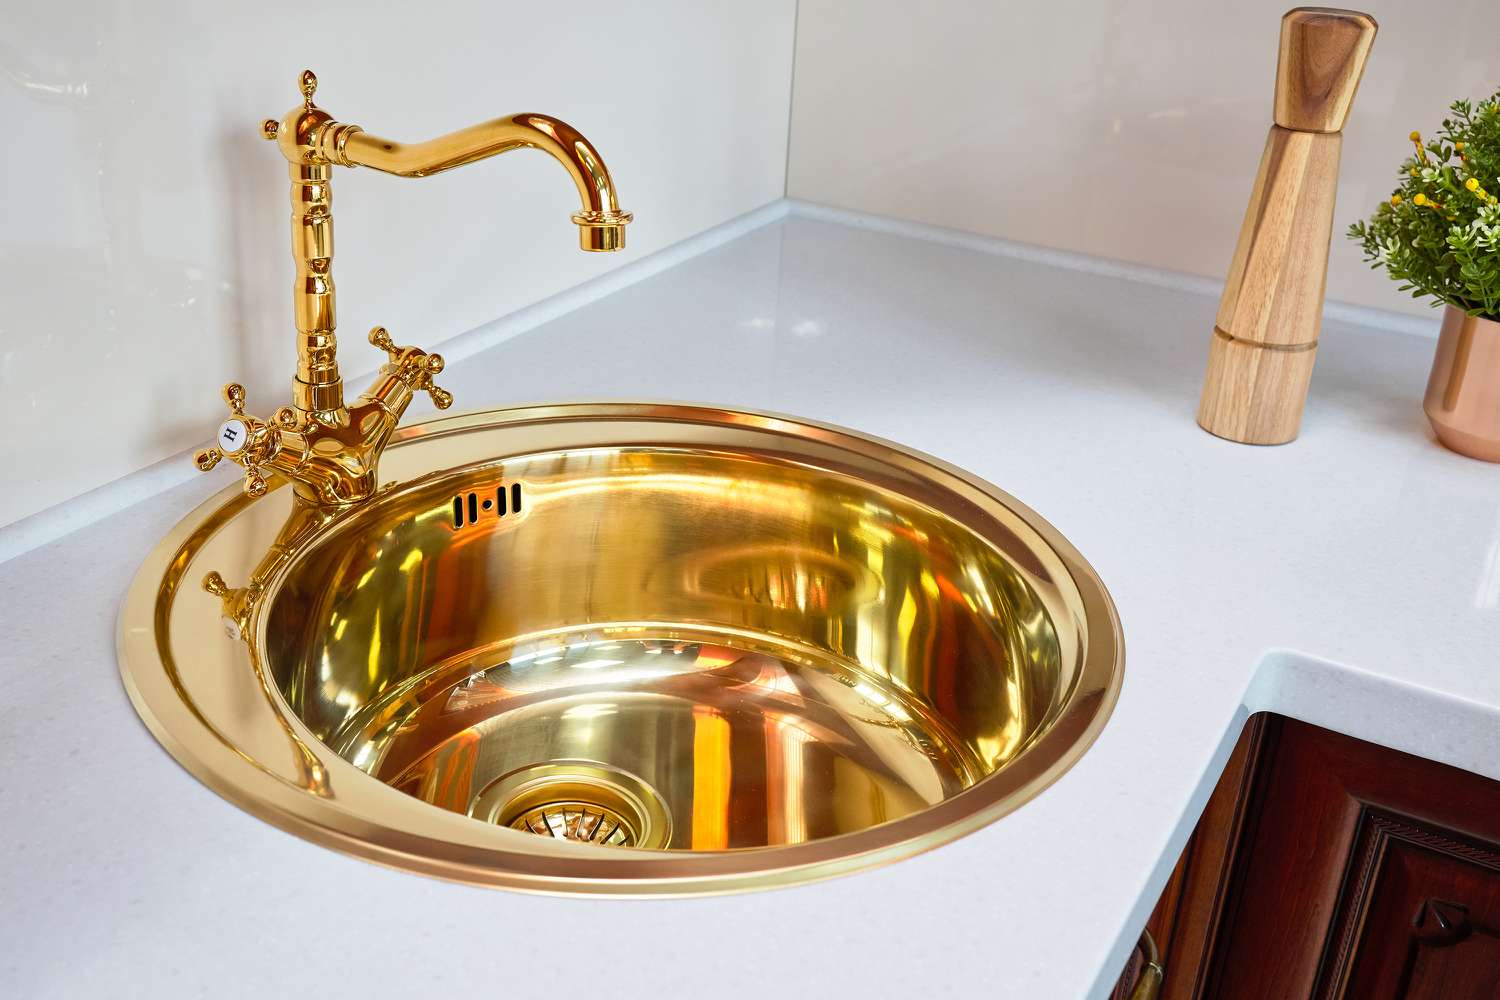
Removing Mineral Deposits
Mineral deposits, such as lime scale and hard water stains, can build up over time and give your sink a cloudy or discolored appearance. Removing these deposits is essential for maintaining the cleanliness and aesthetic appeal of your sink. Here’s how you can tackle mineral deposits:
- Prepare a vinegar solution: Mix equal parts of water and white vinegar in a bowl or spray bottle. White vinegar is an effective and natural cleaning agent that helps dissolve mineral deposits.
- Apply the vinegar solution: Spray or pour the vinegar solution onto the areas with mineral deposits. Be sure to cover the affected areas thoroughly.
- Let the solution sit: Allow the vinegar solution to sit for about 15 to 30 minutes. This will give it time to break down the mineral deposits and make them easier to remove.
- Scrub the deposits: After the solution has had time to work, use a soft sponge or toothbrush to gently scrub the areas with mineral deposits. Apply light pressure and circular motions to loosen the deposits.
- Rinse and repeat if necessary: Once you’ve scrubbed away the deposits, rinse the sink thoroughly with clean water to remove any remaining residue. If there are still visible deposits, repeat the process until they are completely removed.
- Dry the sink: After rinsing, use a microfiber cloth to dry the sink. This will prevent water spots and leave your sink looking clean and shiny.
Regularly removing mineral deposits will not only improve the appearance of your sink but also help maintain its functionality. If you live in an area with particularly hard water, you may need to repeat this process more often to prevent the buildup of mineral deposits.
Remember, prevention is key to avoiding excessive mineral buildup. Consider using a water softener or installing a water filtration system to reduce the mineral content in your water. Additionally, wiping down your sink after each use can help prevent mineral deposits from forming.
By following these steps and incorporating prevention methods, you can effectively remove mineral deposits and keep your sink looking clean and pristine.
To deep clean a sink, mix baking soda and water to form a paste. Use a soft cloth to scrub the sink, then rinse with vinegar to remove stains and odors. Finally, rinse with hot water.
Read more: How To Deep Clean A Berber Carpet
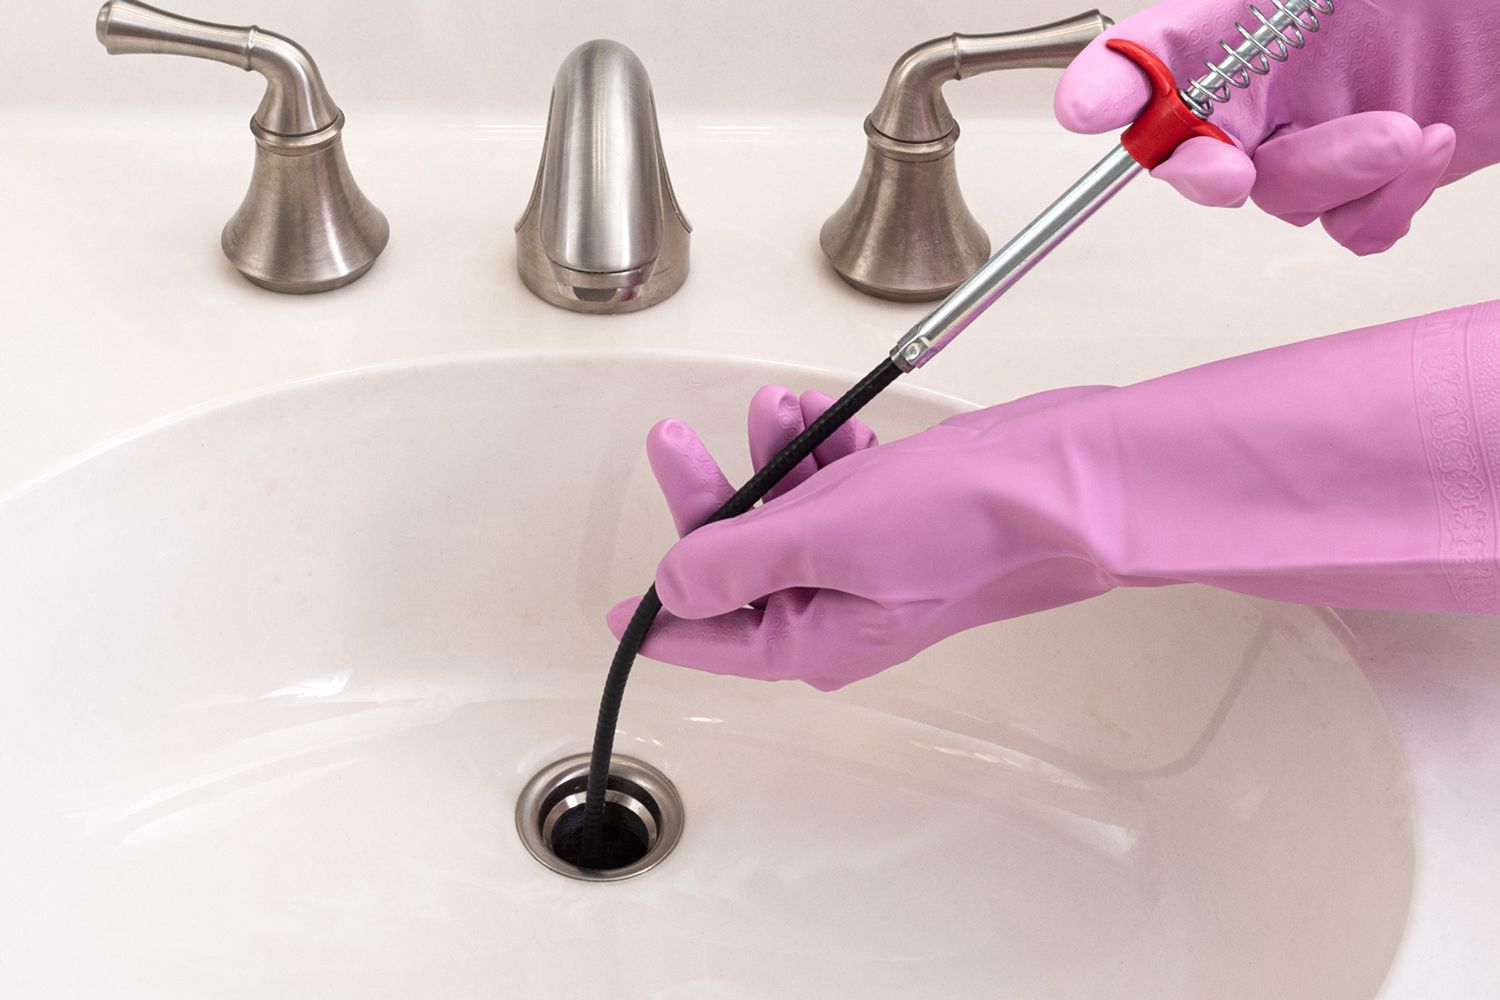
Unclogging the Drain
A clogged sink drain is not only frustrating but can also lead to stagnant water and unpleasant odors. Fortunately, unclogging the drain is a task that can be tackled with a few simple techniques. Here’s how you can clear a clogged sink drain:
- Remove any visible debris: Start by removing any visible debris, such as food particles or hair, from the sink drain. Use a gloved hand or tweezers to pull out any obstructions that are within easy reach.
- Try a plunger: If the visible debris doesn’t clear the clog, use a plunger. Ensure that the sink has enough water to cover the rubber part of the plunger. Position the plunger over the drain and push down firmly, then pull up sharply to create suction. Repeat this motion several times to dislodge the clog.
- Use a drain snake: If the plunger doesn’t work, try using a drain snake. Insert one end of the snake into the drain and rotate it clockwise while applying gentle pressure. Keep feeding the snake into the drain until you feel resistance, then twist and push the snake to break up the clog.
- Use a mixture of baking soda and vinegar: If the clog persists, you can try using a mixture of baking soda and vinegar. Pour a cup of baking soda down the drain, followed by a cup of vinegar. Let the mixture sit for about 15 minutes, then flush the drain with hot water to help dissolve the clog.
- Call a plumber if necessary: If none of the above methods work, it may be time to call a professional plumber. They have the experience and tools necessary to handle more complex clogs and ensure your drain is clear.
Remember, prevention is key to avoiding future clogs. Avoid pouring grease, coffee grounds, and large food particles down the sink drain. Use a drain cover or strainer to catch any debris and regularly clean it out.
By following these steps, you can effectively clear a clogged sink drain and restore proper water flow. However, if you’re uncomfortable tackling the task or the clog seems severe, it is always best to seek professional help to avoid causing further damage to your plumbing system.
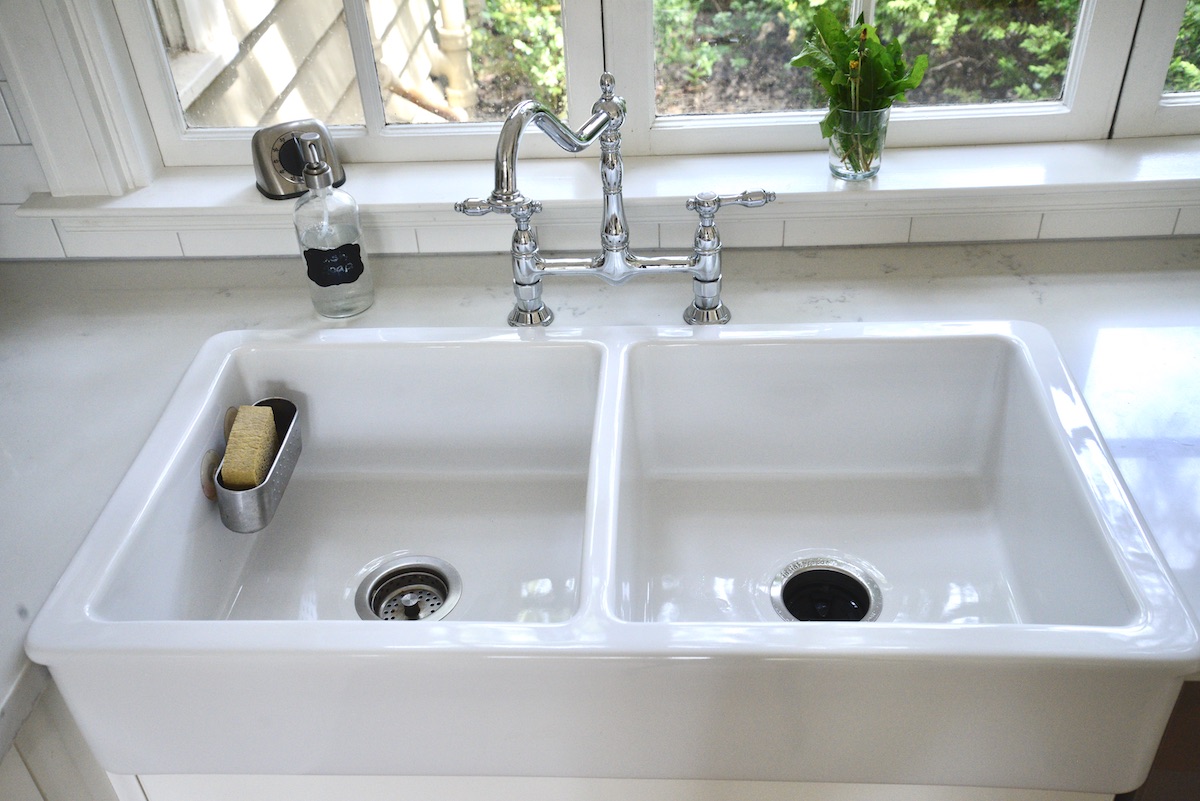
Cleaning Faucet Fixtures
Faucet fixtures, including handles, spouts, and aerators, can accumulate dirt, grime, and mineral deposits over time. To ensure your sink looks clean and well-maintained, it’s important to include faucet fixture cleaning in your deep cleaning routine. Here’s how to clean your faucet fixtures:
- Start by turning off the water: Before cleaning the faucet fixtures, turn off the water supply to prevent any accidental spraying or splashing.
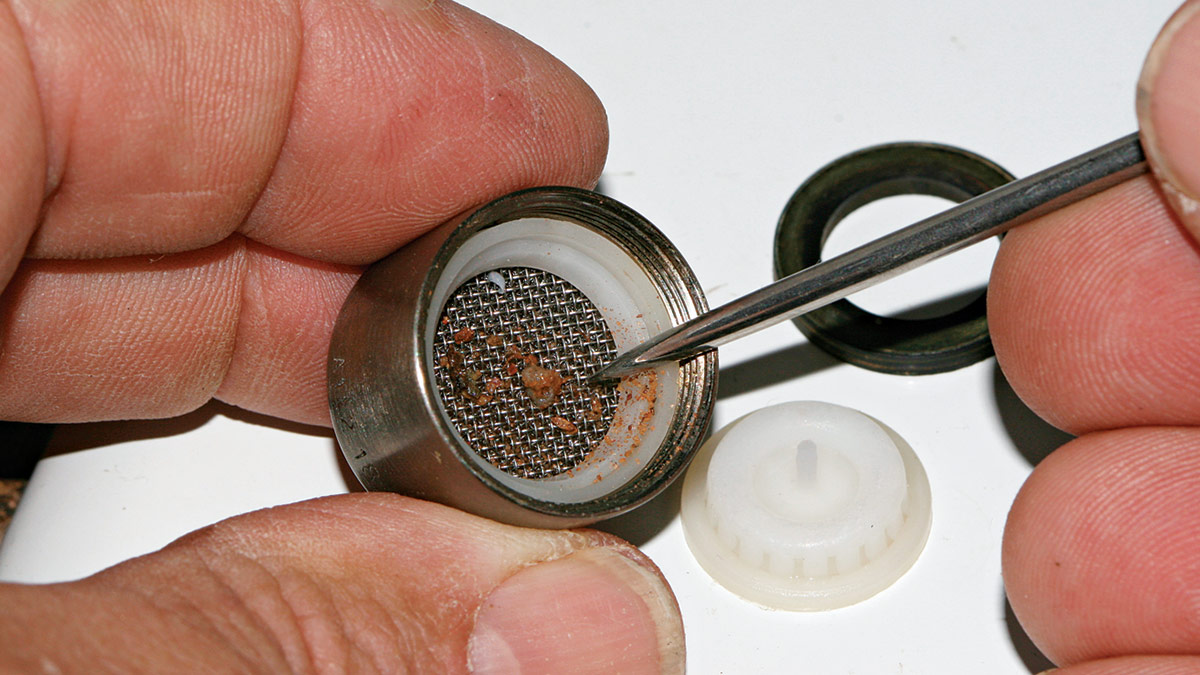
- Remove the aerator: In many faucets, the aerator is the small mesh screen located at the tip of the spout. Unscrew the aerator counterclockwise using pliers or your hands. Be careful not to damage the aerator during removal.
- Soak the aerator in vinegar: Place the aerator in a bowl of vinegar and let it soak for about 30 minutes. The vinegar will break down any mineral deposits and unclog the aerator, allowing for proper water flow.
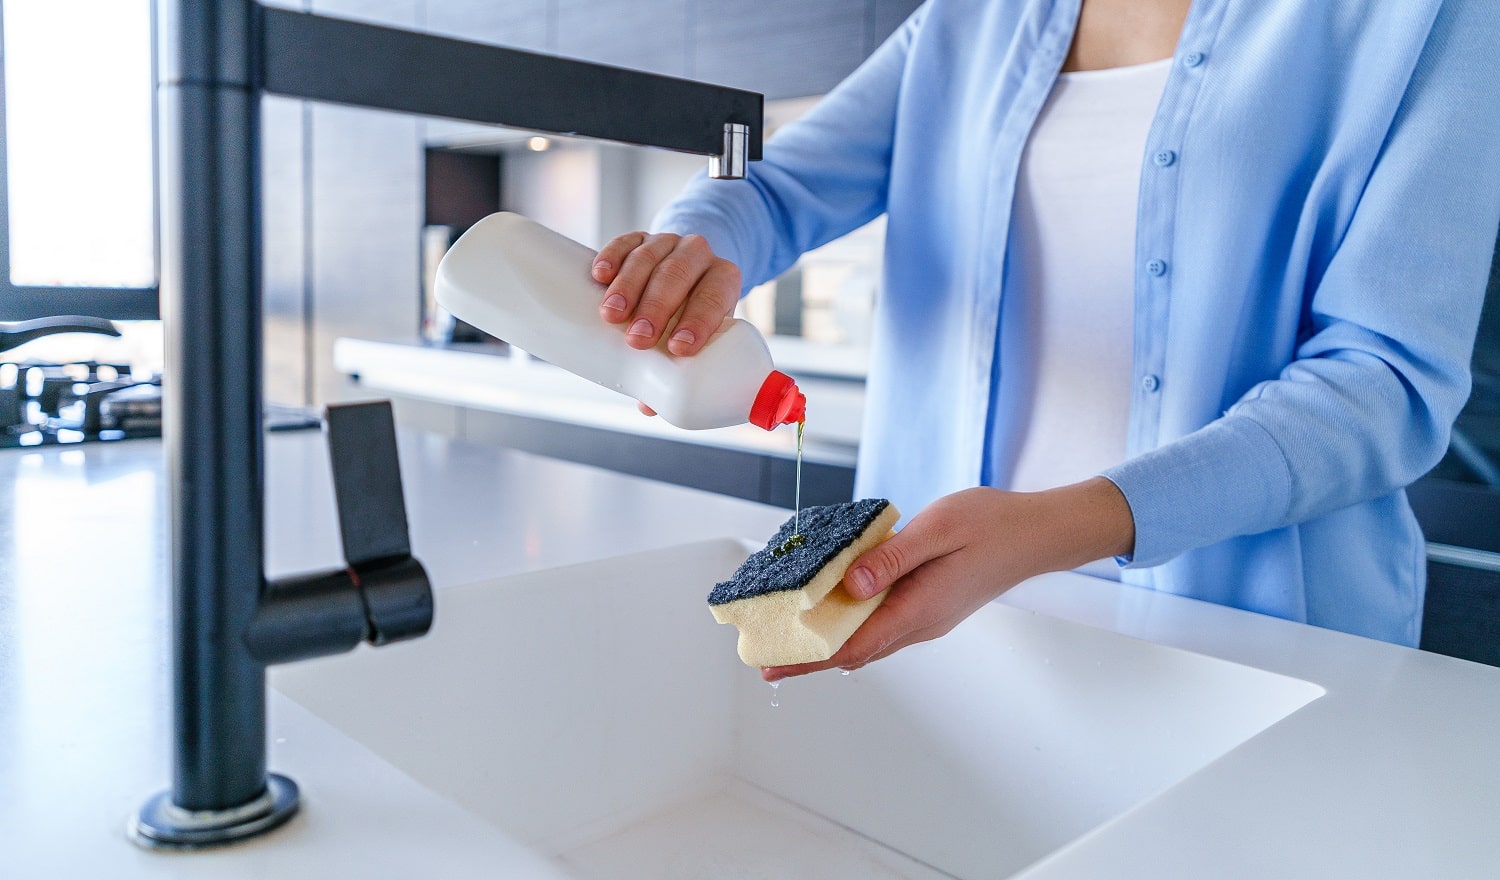
- Clean the faucet handles and spout: Dampen a soft cloth or sponge with warm water and gentle dish soap. Gently wipe down the faucet handles and spout, paying attention to any areas with visible dirt or grime. Avoid using abrasive cleaners or scrub brushes that could scratch the surface of your fixtures.
- Scrub the aerator (if necessary): After soaking in vinegar, use a toothbrush to scrub the mesh of the aerator, removing any remaining debris or mineral deposits. Rinse the aerator thoroughly to remove any vinegar residue.
- Reassemble the aerator: Once the aerator is clean and dry, reattach it to the faucet by screwing it back on in a clockwise direction. Make sure it is snug but not overly tight to avoid damaging the aerator or the faucet.
- Buff and dry the fixtures: Use a soft cloth or microfiber cloth to buff the faucet fixtures and remove any water spots. Pay attention to the shine of the fixtures, as this will enhance the overall appearance of your sink.
By regularly cleaning your faucet fixtures, you can maintain their functionality and keep them looking sleek and polished. Remember to include faucet fixture cleaning as part of your deep cleaning routine to ensure a thorough and sparkling sink.
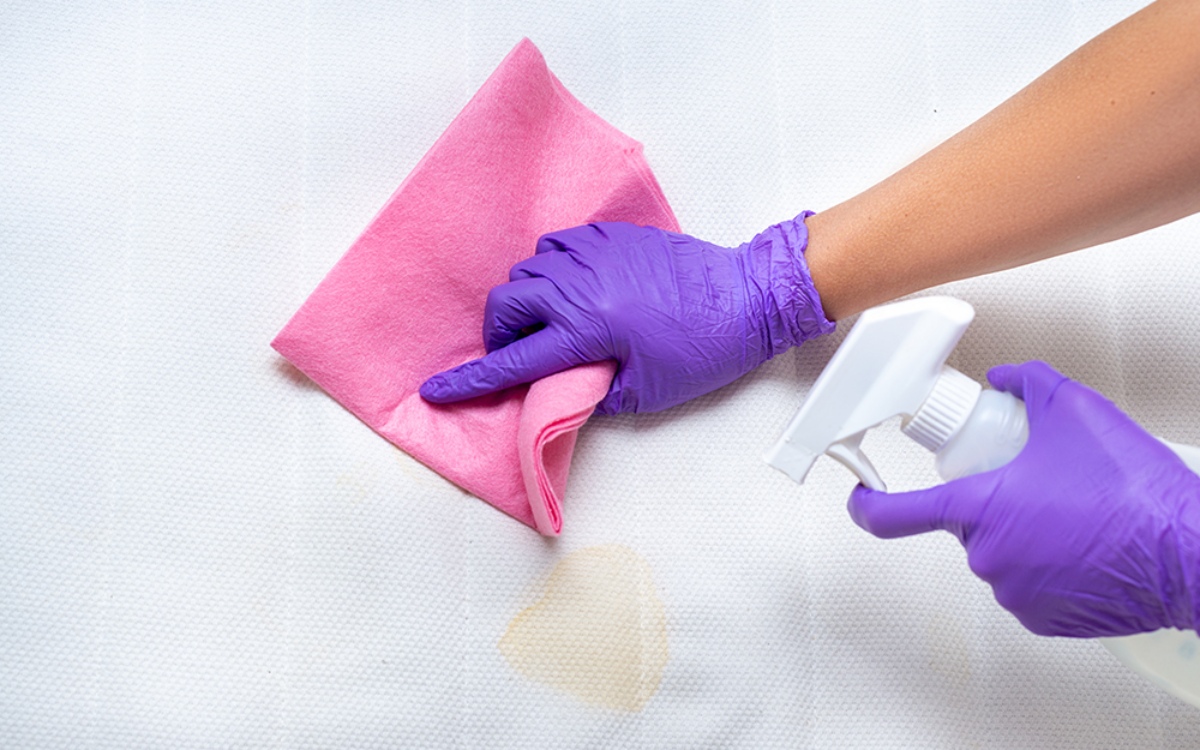
Maintaining a Clean Sink
Once you’ve deep cleaned your sink, it’s essential to maintain its cleanliness to ensure it stays sparkling and hygienic. Here are some tips for maintaining a clean sink:
- Wipe down daily: After each use, take a moment to wipe down your sink with a damp cloth or sponge. This will help prevent the buildup of dirt, food particles, and soap residue.
- Avoid leaving dishes and utensils: Try to avoid leaving dirty dishes, utensils, or food scraps in the sink. Rinse them off and place them in the dishwasher or wash them immediately to prevent debris from accumulating in the sink.
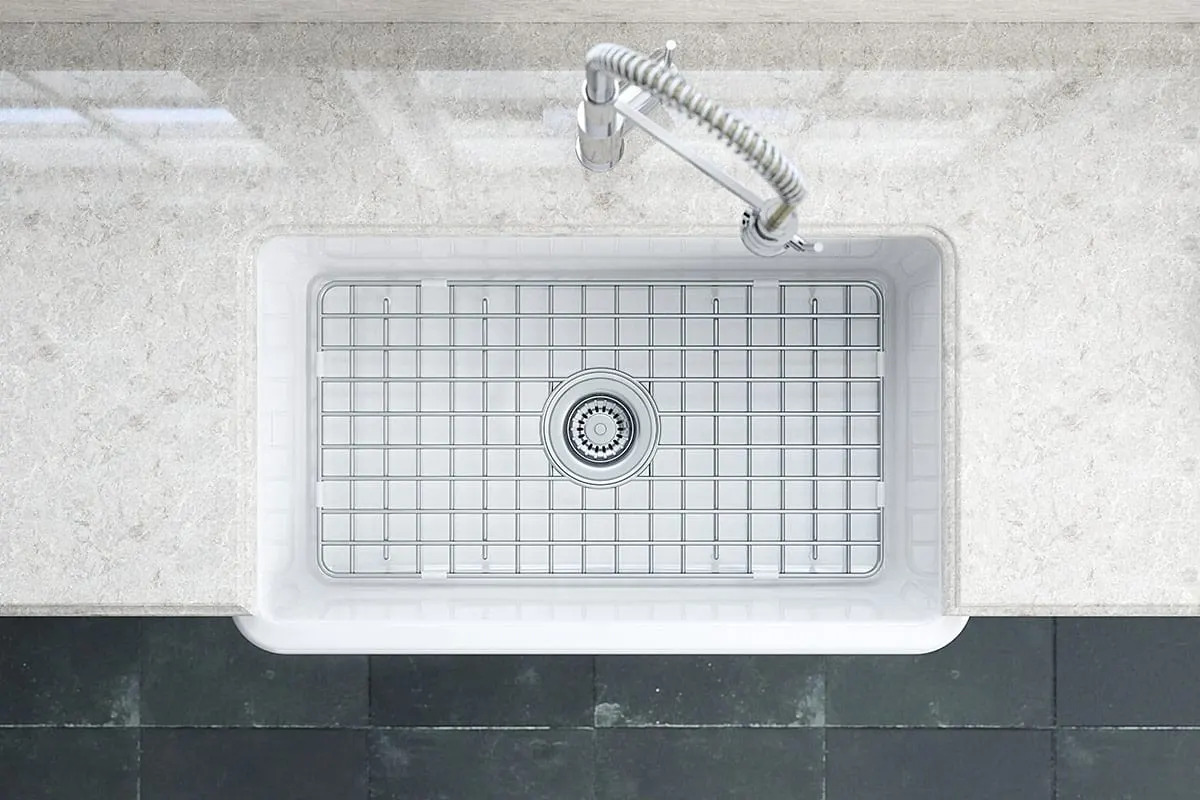
- Use a sink mat: A sink mat or liner can protect the surface of your sink from scratches and scuffs. It also provides a barrier between your dishes and the sink, preventing them from directly contacting the sink’s surface.
- Regularly clean the drain: Keep your sink drain clear by rinsing it with hot water regularly. You can also use a mix of baking soda and vinegar to help prevent odors and dissolve any buildup.
- Address stains promptly: If you notice any stains or discoloration on the sink surface, address them promptly to prevent them from becoming more stubborn and difficult to remove. Use appropriate cleaning techniques and products for the material of your sink.
- Keep cleaning materials organized: Keep your cleaning materials, such as sponges and brushes, in a designated area near your sink. This will make it easier for you to clean the sink regularly and maintain its cleanliness.
- Consider a water softening system: If you live in an area with hard water, consider installing a water softening system. This can help prevent mineral buildup and make it easier to keep your sink clean and free of stains.
- Regularly inspect for any leaks or damage: Check your sink and faucet for any signs of leaks or damage. Fixing these issues promptly will help maintain the integrity of your sink and prevent further damage or water-related problems.
- Follow manufacturer’s instructions: Finally, always follow the manufacturer’s instructions for cleaning and maintaining your specific sink material. This will ensure that you’re using the appropriate cleaning products and techniques to protect your sink from damage.
By incorporating these tips into your daily routine, you can maintain a clean and well-maintained sink that adds beauty and functionality to your kitchen or bathroom. Remember, consistency is key when it comes to maintaining a clean sink, so make it a habit to follow these guidelines regularly.
Conclusion
Deep cleaning your sink is a vital task for maintaining a clean, hygienic, and visually appealing kitchen or bathroom. By following the steps outlined in this article, you can effectively remove stains, discoloration, mineral deposits, and unclog the drain, ensuring your sink is in top condition.
Regular deep cleaning not only improves the appearance of your sink but also prevents bacterial growth, eliminates unpleasant odors, and prolongs the lifespan of your fixtures. Additionally, maintaining a clean sink is crucial for creating a healthy environment for food preparation and maintaining the overall cleanliness of your space.
Remember to use the appropriate cleaning materials and methods for your specific sink material, whether it’s stainless steel, porcelain, or another material. Additionally, taking preventive measures such as regular wiping and avoiding leaving dishes and food scraps in the sink can help maintain its cleanliness on a day-to-day basis.
By incorporating the tips and techniques discussed in this article, you will be equipped with the knowledge and tools needed to deep clean your sink and maintain its cleanliness in the long term.
So, take the time to prioritize deep cleaning your sink on a regular basis and enjoy the benefits of a sparkling, sanitary, and visually appealing sink in your home.
Frequently Asked Questions about How To Deep Clean A Sink
Was this page helpful?
At Storables.com, we guarantee accurate and reliable information. Our content, validated by Expert Board Contributors, is crafted following stringent Editorial Policies. We're committed to providing you with well-researched, expert-backed insights for all your informational needs.

0 thoughts on “How To Deep Clean A Sink”