Articles
How To Get Tile Glue Off Floor
Modified: December 7, 2023
Looking to remove tile glue from your floor? Check out our informative articles for step-by-step guides and effective solutions. Say goodbye to stubborn adhesives today!
(Many of the links in this article redirect to a specific reviewed product. Your purchase of these products through affiliate links helps to generate commission for Storables.com, at no extra cost. Learn more)
Introduction
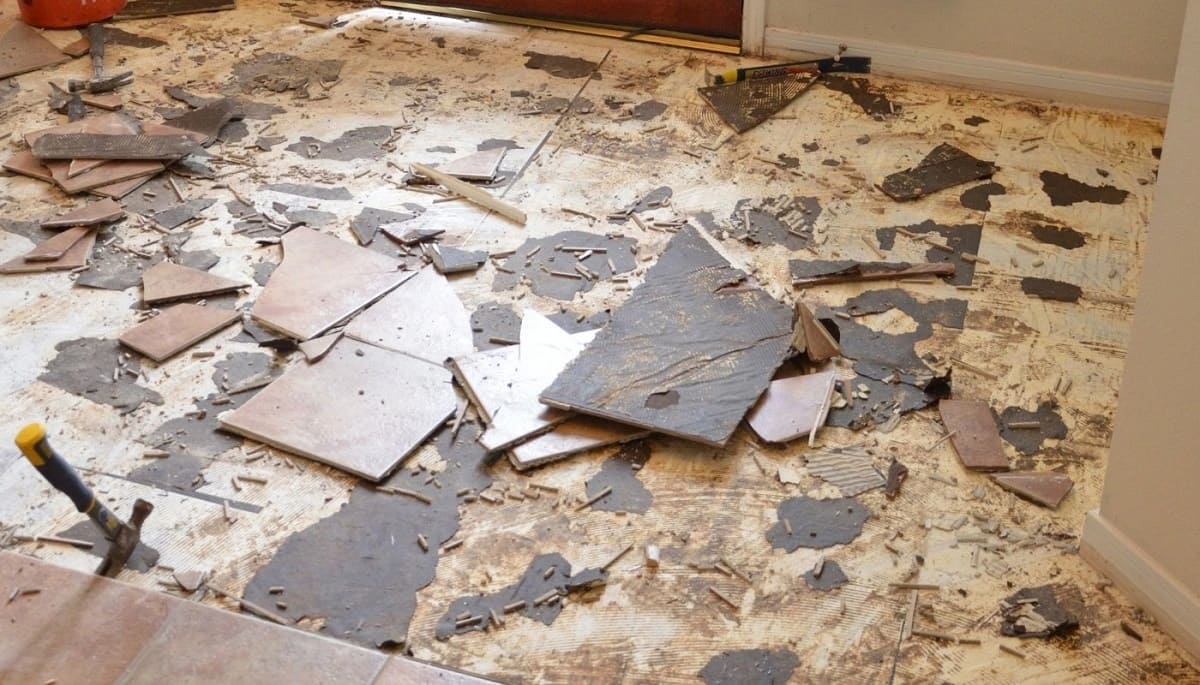
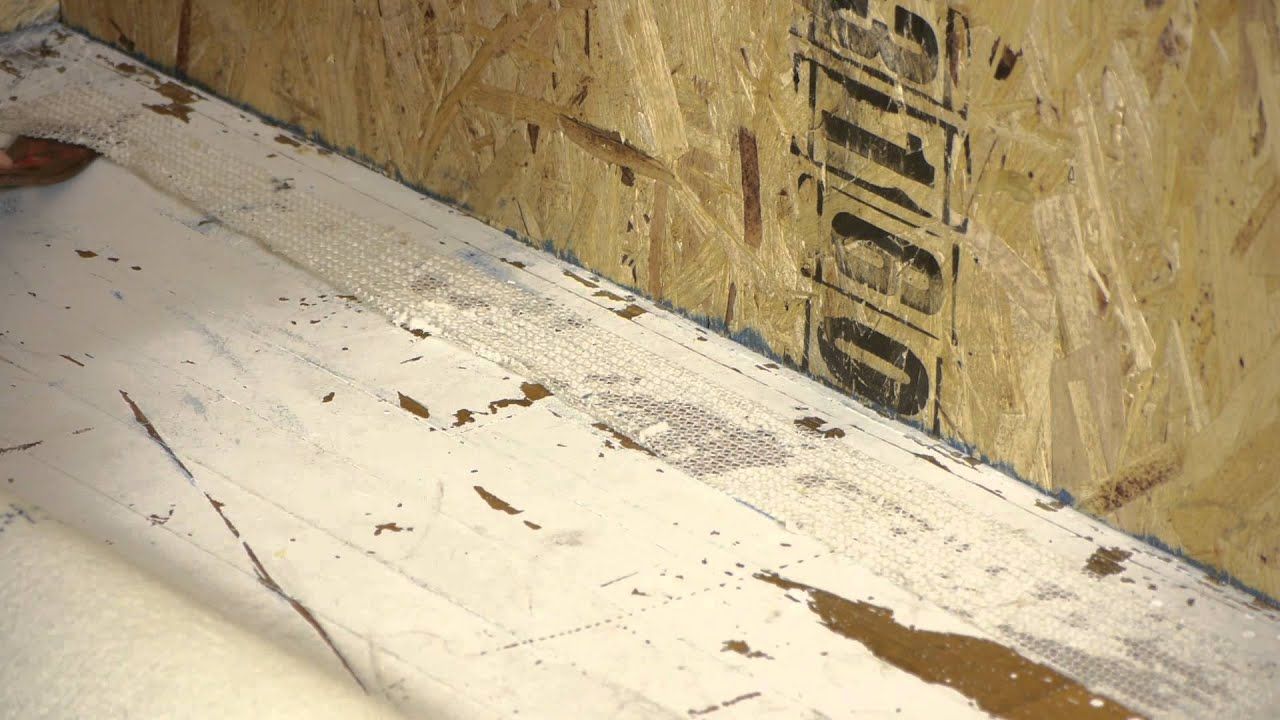
When it comes to remodeling or renovating your home, removing old tiles can be a challenging task. Not only do you have to deal with the laborious process of taking out the tiles, but you also have to contend with the adhesive used to secure them to the floor. Tile glue, also known as mastic or thinset, can be stubborn and difficult to remove.
Fortunately, with the right tools and techniques, you can successfully get tile glue off your floor and prepare it for a fresh update. In this article, we will walk you through a step-by-step process to effectively remove tile glue without damaging the underlying surface.
Before we dive into the details, it’s important to point out that different types of tile glue require different methods of removal. The method you choose will depend on the type of adhesive used and the condition of your floor. It is always a good idea to consult the manufacturer’s guidelines or seek professional advice if you’re unsure about the best approach for your specific situation.
Now, let’s get started on removing that stubborn tile glue!
Key Takeaways:
- Removing tile glue requires the right tools, patience, and safety precautions. From scraping off excess glue to using heat and chemical removers, following a step-by-step process ensures a clean and adhesive-free floor for your renovation project.
- Properly preparing the work area, gathering necessary materials, and thorough cleaning are essential for successful tile glue removal. Prioritize safety, take your time, and seek professional advice if needed to ensure a smooth and effective process.
Read more: How To Get Glue Off Floor
Step 1: Gather the necessary materials
Before you begin the process of removing tile glue, it’s important to gather all the necessary materials. Having the right tools and supplies on hand will make the task much easier and more efficient. Here’s a list of items you’ll need:
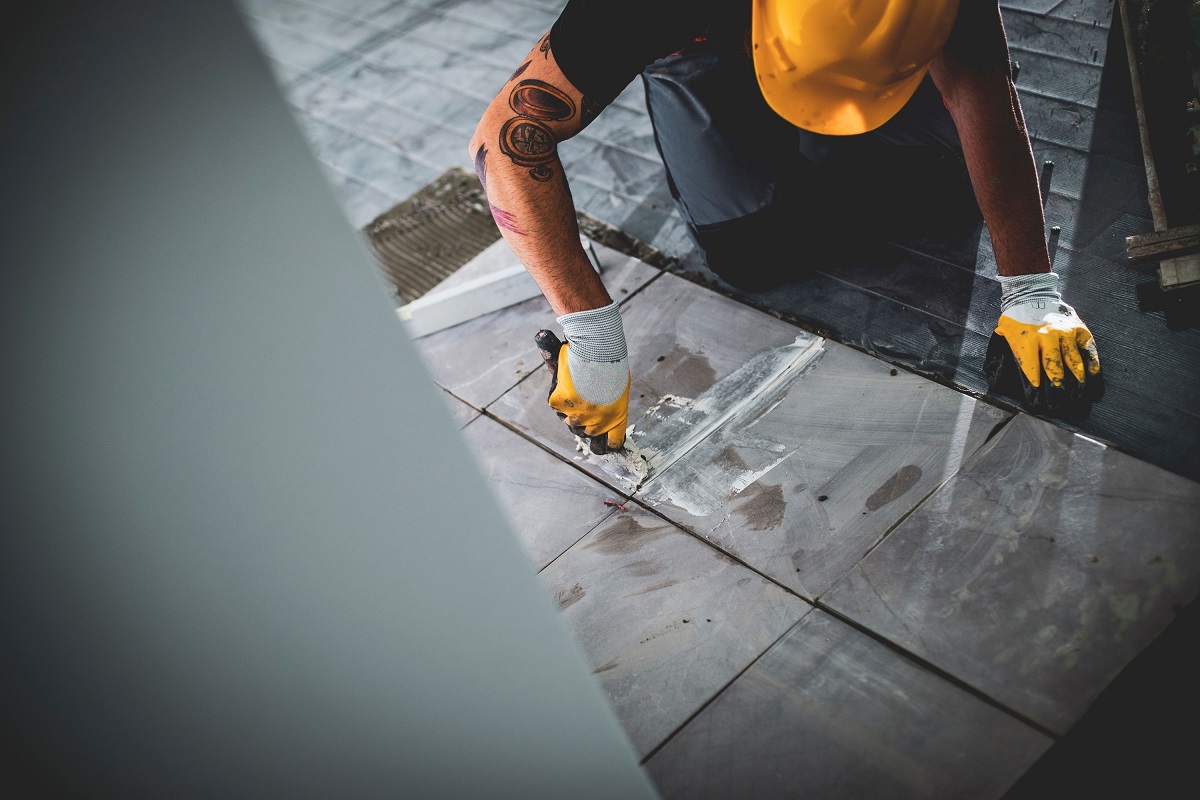
- Protective gear: It’s essential to prioritize your safety when working with chemicals and sharp tools. Wear gloves, protective eyewear, and a mask to avoid any potential hazards.
- Putty knife or scraper: This tool will help you scrape off any excess tile glue from the floor. Look for a putty knife or scraper with a wide, sturdy blade that can effectively remove the adhesive.
- Heat gun or blow dryer: Heat can soften the tile glue, making it easier to scrape off. A heat gun or blow dryer can generate enough heat to loosen the adhesive without causing damage to the floor.
- Chemical adhesive remover: There are various adhesive removers available on the market. Look for a product specifically designed to remove tile glue. Make sure to follow the manufacturer’s instructions for safe and effective use.
- Scrub brush or sponge: A scrub brush or sponge with abrasive bristles will help you scrub off any remaining glue after using the adhesive remover.
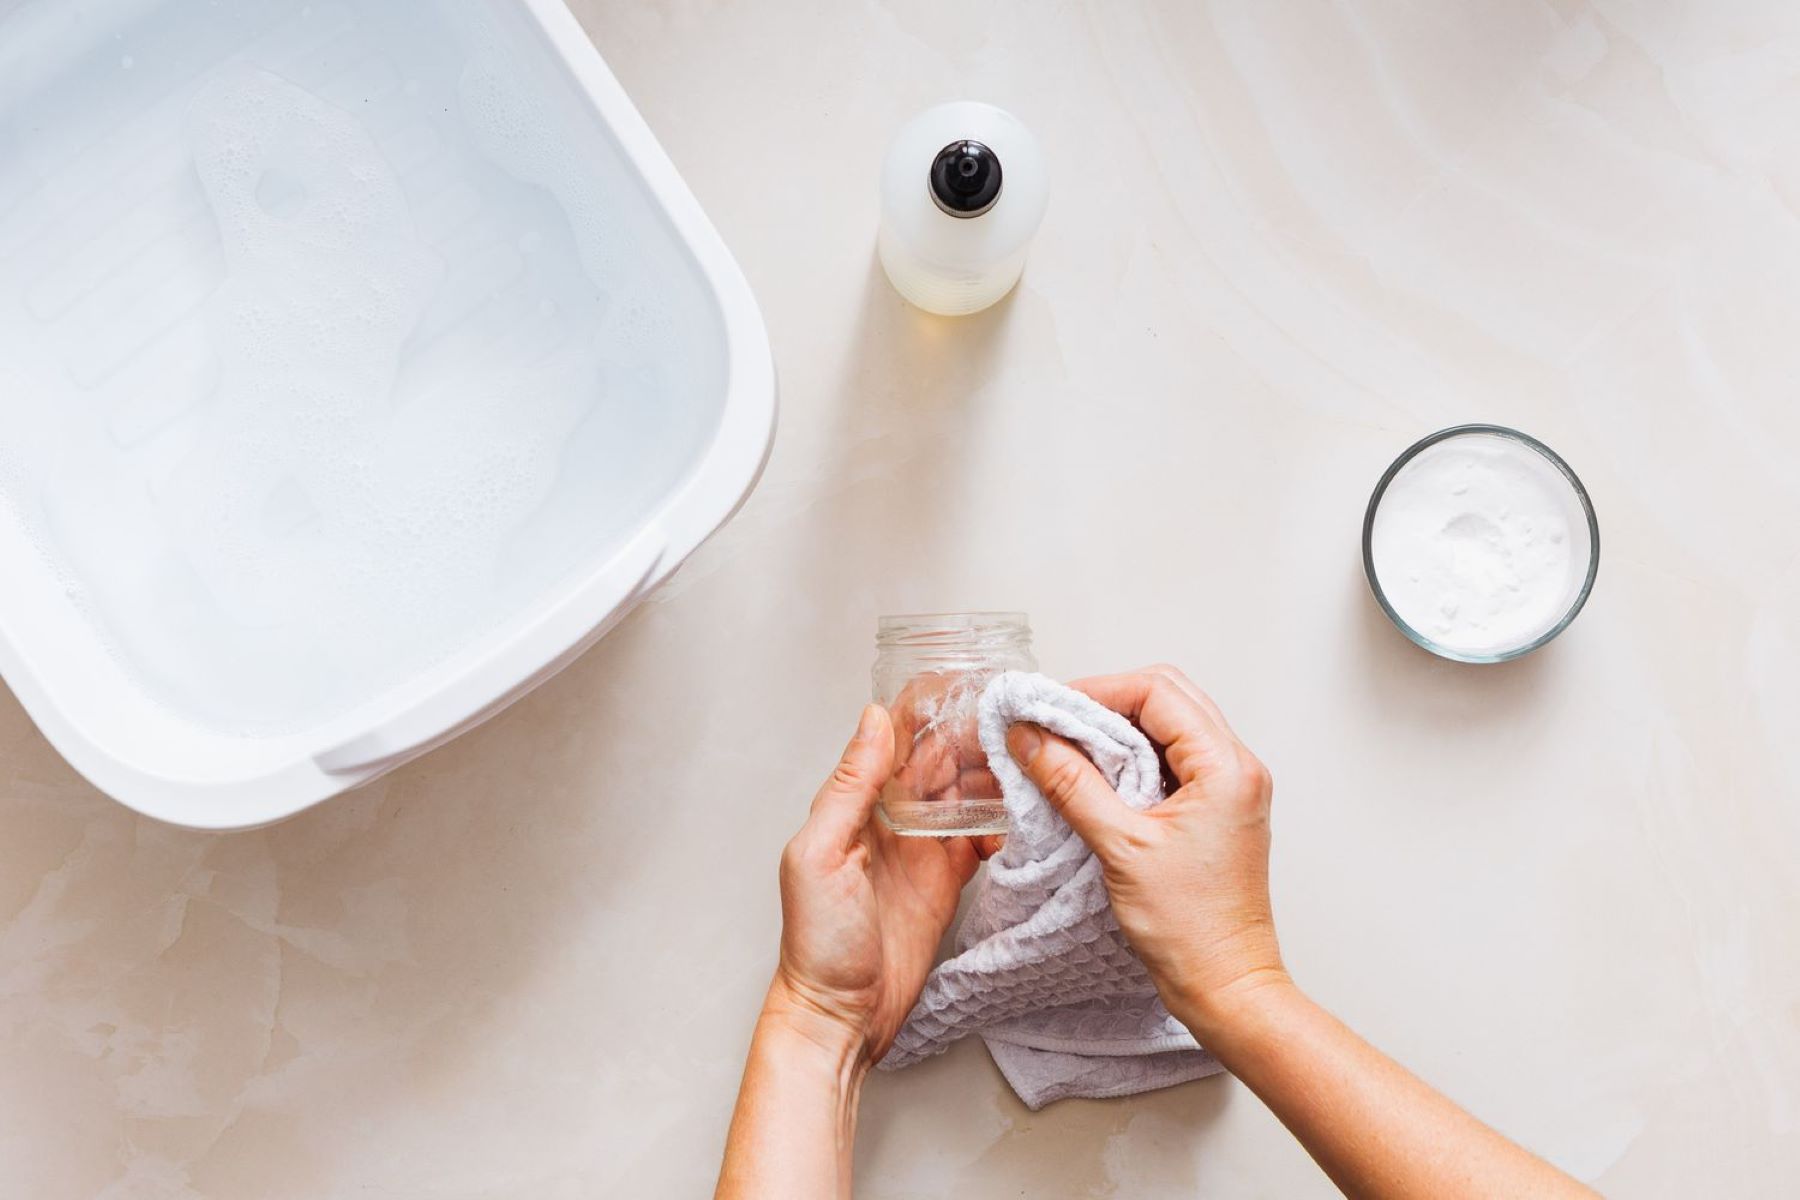
- Bucket of warm water: You’ll need a bucket filled with warm water for rinsing the floor and cleaning off any residue.
- Clean, dry towels: These will come in handy for wiping the floor dry after the cleaning process is complete.
Being well-prepared with these materials before you start the removal process will save you time and frustration as you work to get the tile glue off your floor. Now that you have everything you need, it’s time to move on to the next step.
Step 2: Prepare the work area
Before you begin removing tile glue, it’s important to properly prepare the work area. This will help prevent any damage to surrounding surfaces and make the process smoother. Here are some steps to follow for preparing the work area:
- Clear the floor: Remove any furniture, rugs, or other objects from the area where you will be working. This will give you a clear and unobstructed space to focus on removing the tile glue.
- Protect nearby surfaces: Cover any nearby surfaces, such as walls or cabinets, with plastic sheets or drop cloths. This will protect them from any accidental spills or damage during the tile glue removal process.
- Ventilate the area: Open windows and doors to provide proper ventilation while working with chemicals and adhesive removers. This will help to minimize any fumes or odors that may be produced during the process.
By taking these steps, you ensure that the work area is clear and protected, and that the air is properly ventilated. This will create a safe and conducive environment for removing the tile glue. With the work area prepared, you’re ready to move on to the next step: scraping off the excess glue.
Step 3: Scrape off the excess glue
Once you have prepared the work area, it’s time to start removing the excess tile glue from the floor. This step involves physically scraping off as much of the adhesive as possible. Here’s how to do it:
- Put on your protective gloves and eyewear to ensure your safety during the process.
- Take a putty knife or scraper with a wide, sturdy blade and hold it at a shallow angle to the floor.
- Press the blade against the tile glue and apply gentle pressure as you push the scraper forward.
- Continue scraping the adhesive off the floor, making sure to remove as much as possible.
- Be careful not to apply too much force that could damage the floor. If the adhesive seems resistant, move on to the next step to soften it.
Scraping off the excess glue can be a labor-intensive process, especially if the adhesive is thick or stubborn. Take your time and work in small sections, ensuring that you remove as much of the adhesive as possible at this stage. Although you may not be able to remove all the glue in this step, it will make the subsequent steps easier.
Once you have scraped off most of the excess glue, you are ready to move on to the next step: applying heat to soften the remaining adhesive.
Step 4: Apply heat to soften the glue
After removing the excess tile glue, the next step is to apply heat to soften the remaining adhesive. Heat can help loosen the glue, making it easier to remove. Here’s how you can do it:
- Prepare your heat gun or blow dryer by setting it to a medium heat setting. If using a heat gun, maintain a safe distance from the floor to prevent damage.
- Hold the heat gun or blow dryer a few inches above the remaining tile glue.
- Move the heat source back and forth, evenly distributing the heat across the adhesive.
- Continue heating the glue until it becomes soft and pliable.
- Use a putty knife or scraper to gently scrape off the softened glue from the floor. Be careful not to press too hard or damage the floor underneath.
The heat application process may need to be repeated multiple times, depending on the thickness and stubbornness of the adhesive. It’s important to take your time and be patient as you work through this step.
Remember, if you prefer not to use heat or don’t have access to a heat gun or blow dryer, you can skip this step and move on to the next one. However, using heat can considerably speed up the glue removal process.
Once you have removed as much softened glue as possible, it’s time to proceed to the next step: using a chemical adhesive remover.
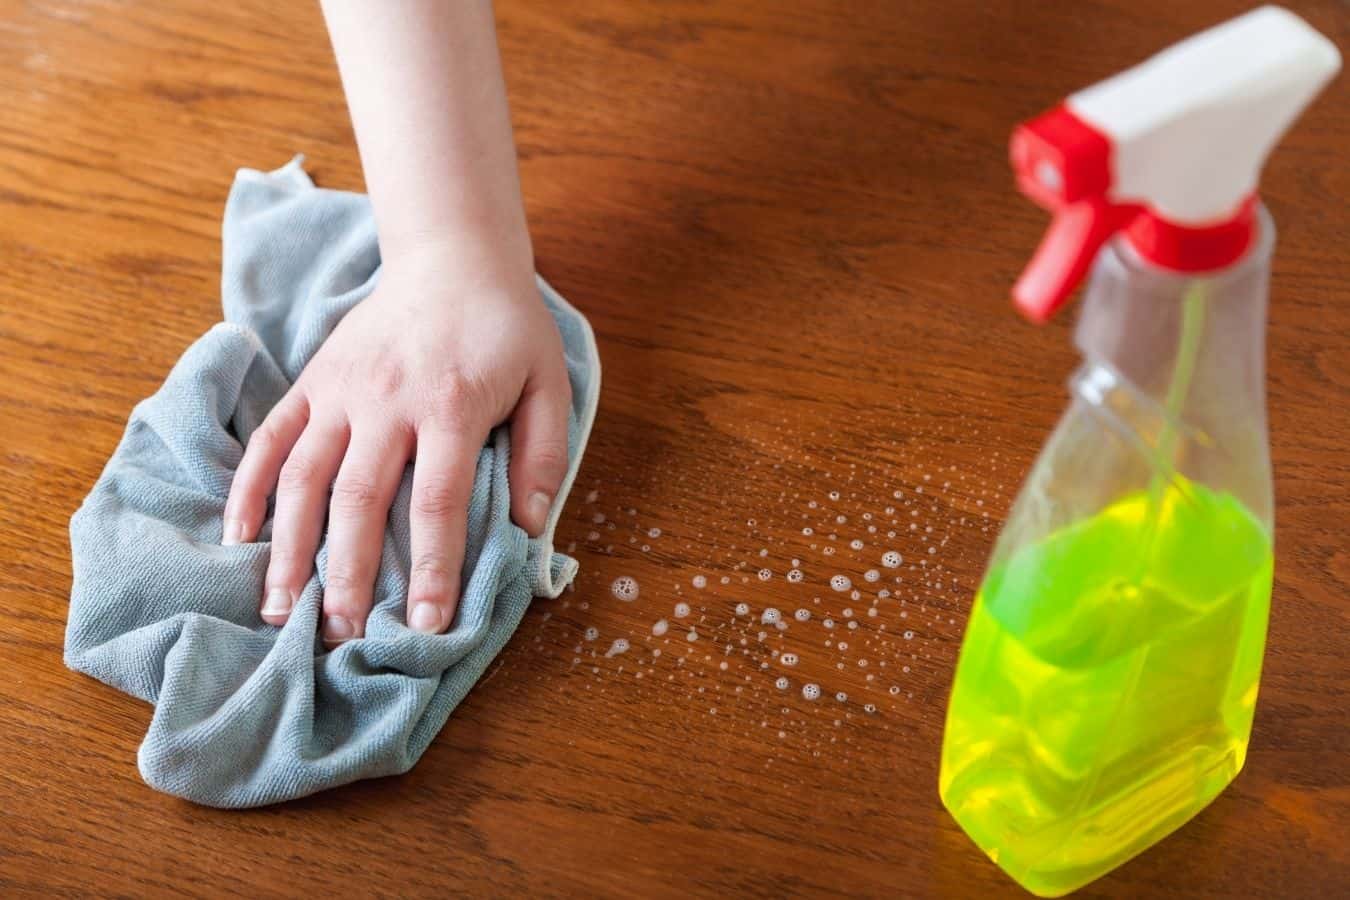
Use a putty knife to scrape off as much tile glue as possible. Then, apply a commercial adhesive remover or a mixture of warm water and vinegar to soften the remaining glue before scraping it off. Always follow the manufacturer’s instructions when using chemical products.
Read more: How To Get Floor Glue Off Concrete
Step 5: Use a chemical adhesive remover
If scraping and applying heat weren’t enough to completely remove the tile glue, a chemical adhesive remover can be an effective solution. These products are specifically designed to break down and dissolve the adhesive, making it easier to clean off. Follow these steps to use a chemical adhesive remover:
- Choose a chemical adhesive remover that is suitable for your specific type of tile glue. Read the instructions carefully to ensure proper usage.
- Put on your protective gloves and eyewear to avoid any contact with the chemical remover.
- Apply the adhesive remover to the remaining glue on the floor, following the instructions provided by the manufacturer.
- Allow the adhesive remover to sit on the glue for the recommended amount of time, ensuring it has enough time to break down the adhesive.
- Use a putty knife or scraper to gently scrape off the softened glue from the floor.
It’s important to note that different adhesive removers may have different application processes and contact times. Always refer to the instructions provided by the manufacturer to ensure safe and effective use.
After using the adhesive remover, you should notice that the remaining glue has become significantly easier to remove. However, some residue may still remain on the floor. Don’t worry, as we’ll address that in the next step: scrubbing off the remaining glue.
Step 6: Scrub off the remaining glue
After using a chemical adhesive remover, it’s time to scrub off any remaining glue residue from the floor. This step will help ensure a clean and adhesive-free surface. Follow these steps to scrub off the remaining glue:
- Fill a bucket with warm water.
- Dip a scrub brush or sponge with abrasive bristles into the warm water.
- Scrub the floor vigorously, focusing on the areas where glue residue is still present.
- Apply gentle pressure while scrubbing to remove the remaining glue.
- Rinse the scrub brush or sponge with warm water as needed, to prevent spreading the glue residue.
- Continue scrubbing until all visible glue residue has been removed.
During the scrubbing process, it’s important to periodically check the cleaned area and evaluate if any glue residue is still present. If you notice any stubborn spots, you can apply a bit more pressure or reapply the adhesive remover to dissolve the glue further.
Once you have successfully scrubbed off all the visible glue residue, it’s time to move on to the final step: cleaning and wiping the floor.
Step 7: Clean and wipe the floor
After successfully removing the tile glue, it’s crucial to thoroughly clean and wipe the floor to ensure it’s free from any residue or cleaning agents. This final step will leave your floor looking clean and ready for the next step of your renovation project. Follow these steps to clean and wipe the floor:
- Fill a bucket with warm water.
- Add a small amount of mild detergent or floor cleaner to the bucket.
- Dip a clean mop or sponge into the soapy water.
- Wring out the excess water from the mop or sponge to avoid over-saturating the floor.
- Mop or sponge the floor, working in small sections at a time.
- Pay extra attention to any areas that may still have residue or cleaning agent on them.
- Once you have mopped the entire floor, rinse the mop or sponge with clean water and go over the floor again to remove any remaining soap or cleaning agent.
- Allow the floor to air dry or use clean, dry towels to wipe away any excess moisture.
By properly cleaning and wiping the floor, you ensure that no residue is left behind, which could potentially affect the adhesion of new flooring or coatings in the future.
Congratulations! You have successfully removed the tile glue and completed the process of getting your floor ready for the next phase of your renovation project.
Remember, each step in this process requires careful attention and consideration, as different factors such as the type of adhesive, floor material, and environmental conditions can influence the success of glue removal. If you encounter any difficulties or have concerns about your specific situation, don’t hesitate to seek professional advice.
Now, you can confidently move forward with your renovation plans, knowing that your floor is free from tile glue and prepared for a fresh, updated look.
Conclusion
Removing tile glue from a floor may seem like a daunting task, but with the right tools, techniques, and a bit of patience, it can be accomplished successfully. By following the step-by-step process outlined in this article, you can effectively get the tile glue off your floor and prepare it for a new look.
Throughout the removal process, it’s important to prioritize your safety by wearing protective gear such as gloves, eyewear, and a mask. Additionally, preparing the work area by clearing the floor and protecting surrounding surfaces will help prevent any accidental damage.
Gathering the necessary materials, including a putty knife, heat gun or blow dryer, chemical adhesive remover, scrub brush or sponge, and clean towels, will ensure you have the tools you need to tackle the job effectively.
The process begins with scraping off the excess glue, followed by applying heat to soften and loosen the remaining adhesive. If necessary, using a chemical adhesive remover can further aid in breaking down the glue. Scrubbing off any remaining residue and thoroughly cleaning the floor will leave it in a pristine condition.
Remember, it’s crucial to follow the manufacturer’s instructions and guidelines for any chemicals or adhesive removers used during the process. If you’re uncertain about the best approach or encounter any difficulties, it’s advisable to seek professional advice.
By successfully removing tile glue from your floor, you have laid a solid foundation for your renovation project. Whether you’re installing new tiles, refinishing the floor, or applying a different type of flooring, the hard work put into removing the glue will pay off in the end.
Now that you have the knowledge and confidence to tackle this task, take the necessary steps to remove the tile glue and transform your floor into a fresh and inviting space.
Frequently Asked Questions about How To Get Tile Glue Off Floor
Was this page helpful?
At Storables.com, we guarantee accurate and reliable information. Our content, validated by Expert Board Contributors, is crafted following stringent Editorial Policies. We're committed to providing you with well-researched, expert-backed insights for all your informational needs.


0 thoughts on “How To Get Tile Glue Off Floor”