
Articles
How To Grind Meat In A Blender
Modified: October 20, 2024
Learn how to grind meat in a blender with this step-by-step guide. Discover the best techniques and tips for achieving the perfect texture.
(Many of the links in this article redirect to a specific reviewed product. Your purchase of these products through affiliate links helps to generate commission for Storables.com, at no extra cost. Learn more)
Introduction
Grinding meat at home offers a level of control and freshness that store-bought ground meat simply can’t match. While many people may opt to use a meat grinder for this task, it is possible to achieve similar results using a blender. Whether you don’t own a meat grinder or just prefer to utilize a kitchen appliance you already have, grinding meat in a blender is a convenient and efficient alternative.
In this article, we will guide you through the steps of grinding meat in a blender, from choosing the right cuts of meat to cleaning and maintaining your blender. By following these steps and tips, you’ll be able to achieve perfectly ground meat in no time.
Before we dive into the details, it’s important to note that not all blenders are suitable for grinding meat. High-powered blenders with sharp, stainless steel blades will yield the best results. Additionally, always ensure that your blender is in good working condition and well-maintained to prevent any accidents or damage during the grinding process.
Now that we’ve laid the groundwork, let’s discuss how to choose the right cuts of meat for grinding in a blender.
Key Takeaways:
- Grinding meat in a blender offers a convenient and efficient alternative to using a meat grinder. By choosing the right cuts, preparing the meat properly, and following blending tips, you can achieve the desired texture and consistency for homemade ground meat.
- Properly assembling, cleaning, and maintaining your blender is essential for safe and effective meat grinding. By following these steps and tips, you can enjoy the benefits of freshly ground meat in the comfort of your own home while ensuring the longevity of your blender.
Read more: How To Grind Flaxseed With Blender
Choosing the right cuts of meat
When it comes to grinding meat in a blender, selecting the right cuts of meat is crucial. Not all cuts are equally suited for grinding, as some may contain excessive fat or sinew that can affect the texture and taste of the ground meat.
For optimal results, choose cuts of meat that have a good balance of fat and lean meat. This will help to create a flavorful and juicy ground meat mixture. Here are some popular cuts of meat that work well for grinding:
- Chuck: This cut comes from the shoulder and contains a desirable amount of fat, giving your ground meat a rich flavor.
- Sirloin: Sirloin is leaner than chuck but still offers a good flavor. It is a great option for those looking for a leaner ground meat.
- Round: Round cuts, such as eye of round or bottom round, are lean cuts that can be used for grinding. However, due to their lower fat content, it’s important to mix them with a fattier cut for better flavor and juiciness.
- Pork shoulder: If you’re looking to mix some pork into your ground meat, pork shoulder is an excellent choice. It contains a good amount of fat, resulting in moist and flavorful ground pork.
When purchasing your meat, it’s recommended to choose fresh cuts from a reputable source. Look for meat that is bright in color, firm to the touch, and has minimal visible fat or sinew. If you have the option, ask your butcher to grind the meat for you, as they will have professional-grade equipment that can produce a consistent grind.
Now that you know which cuts of meat to choose, let’s move on to the next step: preparing the meat for grinding.
Preparing the meat for grinding
Before you start grinding the meat in a blender, it’s important to properly prepare it. This step ensures that the meat is clean, trimmed, and ready for the grinding process.
Follow these simple steps to prepare the meat:
- Start by placing the cuts of meat on a clean, sturdy cutting board.
- Use a sharp knife to trim off any excess fat or sinew from the meat. Excessive fat can cause the ground meat to become overly greasy, while sinew can result in an unpleasant texture.
- Once you’ve trimmed the meat, cut it into smaller chunks. This makes it easier for the blender to process the meat efficiently.
- If desired, season the meat with salt, pepper, or any other seasoning you prefer. This step allows you to add flavor to the ground meat right from the start.
- Transfer the prepared meat onto a clean plate or bowl, ready to be added to the blender.
By following these preparation steps, you ensure that the meat is clean, devoid of unwanted bits, and properly portioned for blending. Now that the meat is ready, let’s move on to assembling the blender for the grinding process.
Cutting the meat into smaller chunks
Once you have prepared the meat by trimming off any excess fat or sinew, the next step is to cut the meat into smaller chunks. This step is essential for achieving a consistent and uniform grind. When the meat is cut into smaller pieces, it becomes easier for the blender to process and grind it efficiently.
Follow these steps to cut the meat into smaller chunks:
- Take the prepared meat and place it on a clean cutting board.
- Using a sharp knife, cut the meat into evenly sized chunks. The size of the chunks will depend on the capacity and power of your blender. Generally, aim for pieces that are around 1-inch in size.
- Make sure to maintain a consistent size throughout the meat to ensure even grinding.
- Once you have cut all the meat into smaller pieces, transfer them to a clean plate or bowl.
By cutting the meat into smaller chunks, you ensure that the blender can process it effectively and efficiently. This step plays a crucial role in achieving the desired texture and consistency of the ground meat.
Now that the meat is cut into smaller chunks, let’s move on to the next step of assembling the blender for the grinding process.
Assembling the blender
Before you begin the grinding process, it’s important to assemble the blender properly to ensure a safe and effective grinding experience. Follow these steps to assemble your blender:
- Start by placing the base of the blender on a stable and clean surface. Make sure it is plugged into a power source.
- If your blender comes with a blade assembly, attach it to the pitcher or blending container. Ensure that it is securely fitted and locked into place.
- If your blender has multiple speed settings, set it to a medium-high speed suitable for grinding.
- For added stability while blending, place a damp cloth or rubber mat underneath the blender to prevent it from sliding.
- Double-check that all the components are properly assembled and tightened to avoid any accidents during the grinding process.
Once you have assembled the blender, it’s time to add the prepared meat and begin the grinding process. But before we proceed, it’s worth mentioning a few pointers to ensure optimal grinding results.
Firstly, ensure that the blender is capable of grinding meat. High-powered blenders with sharp, stainless steel blades are ideal for this task. If you’re unsure about your blender’s capabilities, refer to the manufacturer’s instructions or consult the user manual.
Secondly, it’s essential to use the pulse function on your blender instead of continuously running it. Pulse blending helps to achieve an even grind without overheating the motor or overprocessing the meat.
Now that your blender is assembled and you’re familiar with some essential tips, let’s move on to adding the meat to the blender for grinding.
When grinding meat in a blender, it’s important to cut the meat into small chunks and work in batches to ensure even grinding. Additionally, chilling the meat and the blender can help maintain the texture and prevent the meat from becoming too mushy.
Read more: How To Grind Coffee Beans With A Blender
Adding the meat to the blender
With the blender properly assembled, it’s time to add the prepared meat and start the grinding process. Follow these steps to add the meat to the blender:
- Take the prepared meat chunks and carefully place them into the blender pitcher or blending container.
- Since blending too much meat at once can overcrowd the blender and affect the grinding process, it’s recommended to work in smaller batches.
- Fill the blender pitcher or container with just enough meat to cover the blades, but leave room for movement.
- If you’re blending different types of meat or meat with other ingredients, such as spices or vegetables, ensure that they are evenly distributed within the blender container.
- Always refer to your blender’s capacity guidelines to prevent overloading.
Once you have added the meat to the blender, it’s time to start the grinding process. However, it’s important to take a few precautions and follow some tips to achieve the desired texture and consistency of the ground meat.
Keep in mind that grinding meat in a blender may result in a slightly different texture compared to a meat grinder. Blenders tend to produce a finer texture, which is ideal for recipes like burgers, meatballs, or meatloaf. However, if you prefer a coarser grind, you can pulse the meat for a shorter time or use the “chop” setting on your blender. Experiment with different blending times to find the texture that suits your preference.
Remember to pulse the blender instead of continuously running it. This prevents overheating and overprocessing the meat. Start by pulsing the blender a few times for a few seconds each, then check the consistency. Repeat the pulsing process until you achieve the desired texture.
Now that the meat is in the blender and you’re aware of some important tips, let’s move on to the next step: grinding the meat.
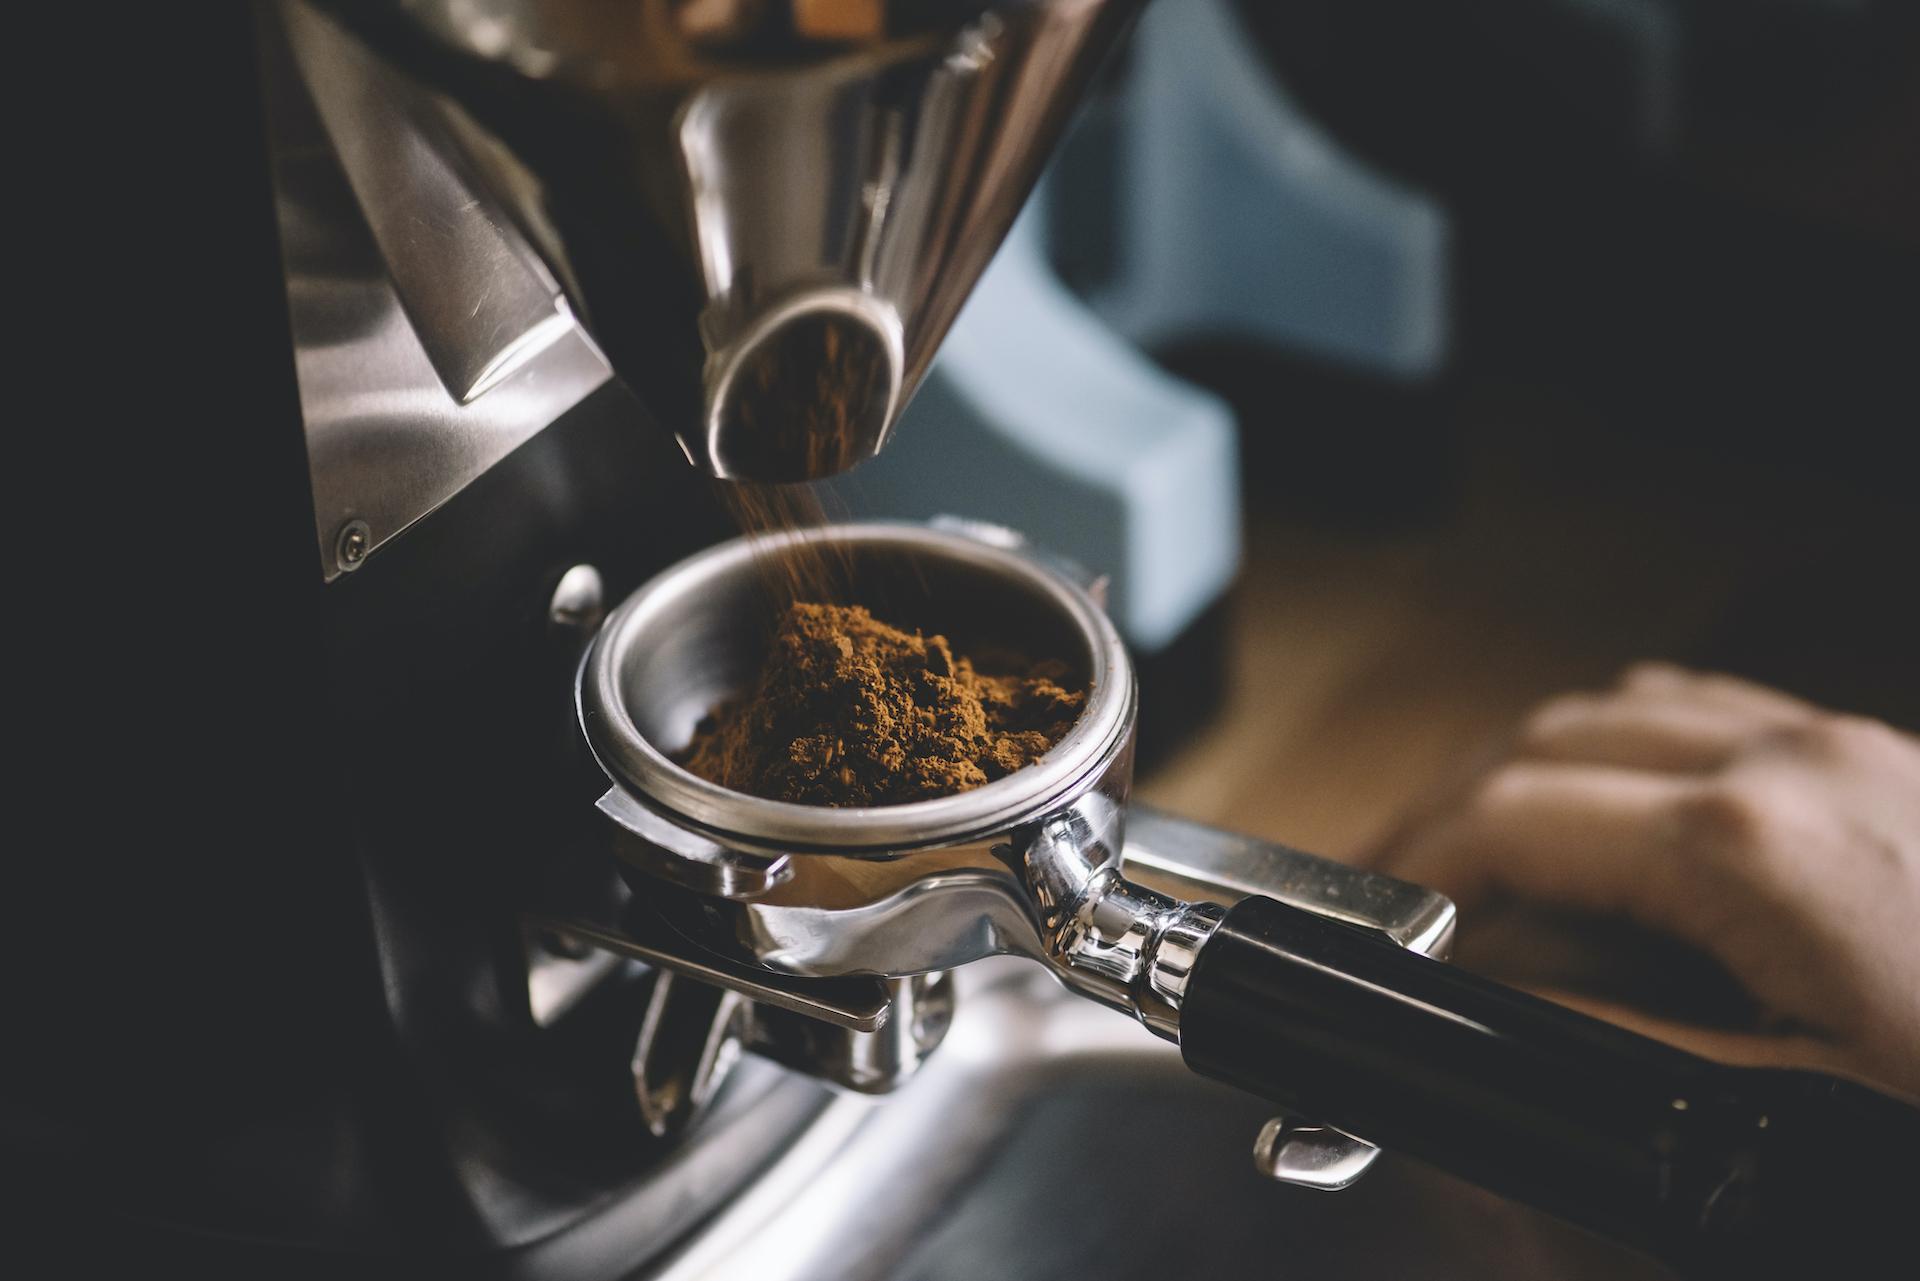
Grinding the meat
Now that you have added the meat to the blender, it’s time to start the grinding process. Follow these steps to grind the meat:
- Place the lid securely on the blender container.
- Double-check that all components are tightly in place to prevent any mishaps during the grinding process.
- Hold the blender container firmly to ensure stability while blending.
- Start by pulsing the blender a few times for a few seconds each. This helps to break down the meat and start the grinding process.
- After pulsing, blend the meat on a medium-high speed setting. Take breaks in between to check the consistency and scrape down the sides of the container if necessary.
- Continue blending and pulsing until you achieve the desired texture. This will depend on your personal preference and the recipe you plan to use the ground meat for.
- Remember, if you prefer a finer texture, blend for longer periods. If you prefer a coarser grind, pulse the blender for shorter intervals.
Throughout the grinding process, pay attention to the consistency and texture of the ground meat. If you notice any large chunks or uneven grinding, stop the blender and manually break down the larger pieces before continuing.
It’s important to note that grinding meat in a blender may take a bit longer compared to using a dedicated meat grinder. This is because blenders are not specifically designed for grinding meat, but with patience, you can still achieve excellent results.
Once the meat is ground to your desired texture, you can proceed to the next steps of your recipe or transfer the ground meat to a separate container for storage. Remember to handle the ground meat with care to prevent any cross-contamination or spreading of harmful bacteria.
Now that you have ground the meat to perfection, let’s move on to some helpful tips for achieving the desired texture.
Tips for achieving the desired texture
When grinding meat in a blender, achieving the desired texture is crucial to the success of your recipe. Here are some helpful tips to ensure you achieve the perfect texture:
- Control the blending time: The length of time you blend the meat will affect its texture. For a finer texture, blend the meat for longer periods. For a coarser grind, pulse the blender for shorter intervals. Experiment with different blending times to find the texture that suits your preference.
- Work in batches: Depending on the capacity of your blender, it’s best to work in smaller batches rather than overloading the blender. This allows the meat to be evenly ground and prevents overcrowding, resulting in a more consistent texture.
- Scrape down the sides: During the blending process, stop the blender periodically to scrape down the sides of the container. This helps to ensure that all the meat is evenly processed and prevents any large chunks from being left behind.
- Keep the meat cold: To maintain a better texture, it’s recommended to keep the meat cold before grinding. Place the meat in the refrigerator for about 30 minutes prior to grinding. The cold meat will grind more easily and reduce the risk of heating up, which can result in a less desirable texture.
- Use the right amount of fat: The ratio of lean meat to fat can greatly impact the texture and flavor of the ground meat. Ensure that you have a good balance of lean meat and fat to achieve a juicy and flavorful result. Different recipes may call for specific fat ratios, so adjust accordingly.
- Avoid overprocessing: Be cautious not to overprocess the meat, as this can result in a mushy texture. Use the pulse function on your blender to maintain control and avoid blending the meat into oblivion.
By following these tips, you’ll be well on your way to achieving the desired texture for your ground meat. Remember, practice makes perfect, so don’t be afraid to experiment with different techniques and adjustments to find what works best for you.
Now that you have the desired texture, it’s important to clean and maintain your blender for future use.
Cleaning and maintaining the blender
After grinding the meat in the blender, it’s essential to clean and maintain the blender properly. This ensures its longevity and prevents any lingering odors or cross-contamination. Follow these steps to clean and maintain your blender:
- Unplug the blender from the power source before cleaning.
- Disassemble the blender by removing the blade assembly and any removable parts, such as the lid or gasket.
- Rinse the blade assembly and other removable parts under warm water to remove any meat particles or residue.
- If necessary, use a small brush or toothbrush to scrub away any stubborn residue. Be careful not to damage the blades or other components.
- Fill the blender pitcher or container with warm water and a few drops of dish soap.
- Place the pitcher back onto the blender base and secure it tightly.
- Turn on the blender and let it run for a few seconds. This will help to agitate the soapy water and clean the blades and container.
- Empty the soapy water and rinse the pitcher and blade assembly thoroughly under running water to remove any remaining soap.
- Allow the blender parts to air dry completely before reassembling them. Alternatively, you can towel dry them to speed up the process.
- Once the blender parts are dry, reassemble them and store them in a clean, dry place until your next use.
In addition to regular cleaning, it’s important to maintain the overall performance of your blender. Here are some tips for maintaining your blender:
- Regularly check the blender’s motor base for any signs of damage or wear. If you notice any issues, have it serviced or repaired by a professional.
- Keep the blender base clean and free from any spilled food or liquids. Wipe it with a damp cloth as needed.
- Sharpen the blades regularly or replace them if necessary. Dull blades can affect the grinding process and result in a less desirable texture.
- Read the manufacturer’s instructions for any specific maintenance guidelines or recommendations.
- Use the blender for its intended purposes and avoid exceeding its recommended capacity.
By following these cleaning and maintenance steps, you’ll ensure that your blender remains in good working condition and ready for future use. With a well-maintained blender, you can continue grinding meat and enjoying freshly ground goodness whenever you desire.
Now that you’re familiar with cleaning and maintaining the blender, let’s wrap up this article.
Read more: How To Grind Glass
Conclusion
Grinding meat in a blender is a convenient and efficient way to achieve freshly ground meat in the comfort of your own home. Although blenders are not specifically designed for grinding meat, they can still produce excellent results when used properly.
In this article, we have discussed the step-by-step process of grinding meat in a blender. We started with choosing the right cuts of meat, emphasizing the importance of selecting cuts with the right balance of fat and lean meat. Then, we covered the preparation of the meat, ensuring it is clean, trimmed, and cut into smaller chunks for effective blending.
We then moved on to assembling the blender properly, ensuring all components are securely in place for a safe grinding experience. Adding the meat to the blender followed, where we discussed working in batches, controlling blending times, and achieving the desired texture.
We also provided tips for achieving the desired texture, such as controlling blending time, scraping down the sides, and maintaining the right ratio of lean meat to fat. Additionally, we emphasized the importance of cleaning and maintaining the blender after each use to ensure its longevity and prevent any lingering odors or cross-contamination.
By following these steps and tips, you can successfully grind meat in a blender and enjoy the freshness and control that homemade ground meat provides. Whether you’re making burgers, meatballs, or any other recipe that calls for ground meat, using a blender can be a convenient and effective option.
Remember to choose the right cuts of meat, prepare them properly, assemble the blender correctly, and take necessary precautions while grinding. With practice, you’ll be able to achieve the desired texture and consistency of ground meat that suits your preference.
Now, armed with the knowledge and guidance provided in this article, it’s time to unleash your culinary creativity and enjoy the benefits of grinding meat in a blender.
Frequently Asked Questions about How To Grind Meat In A Blender
Was this page helpful?
At Storables.com, we guarantee accurate and reliable information. Our content, validated by Expert Board Contributors, is crafted following stringent Editorial Policies. We're committed to providing you with well-researched, expert-backed insights for all your informational needs.


0 thoughts on “How To Grind Meat In A Blender”