Articles
How To Whip Shea Butter Without A Mixer
Modified: February 28, 2024
Learn the simple and effective technique of whipping shea butter without a mixer. Follow our step-by-step articles and enjoy the benefits of homemade skincare products.
(Many of the links in this article redirect to a specific reviewed product. Your purchase of these products through affiliate links helps to generate commission for Storables.com, at no extra cost. Learn more)
Introduction
Shea butter is a versatile and popular skincare ingredient known for its moisturizing and nourishing properties. Many people prefer to whip their shea butter to create a lighter and fluffier texture, making it easier to apply and absorb into the skin. While most recipes call for using a mixer or blender, not everyone has access to these tools or wants to deal with the hassle of cleaning them afterwards.
In this article, we will explore how to whip shea butter without a mixer. We’ll discuss why you might want to whip your shea butter, gather the necessary materials, go over the steps to whip it by hand, provide tips for achieving a light and fluffy texture, and discuss proper storage.
So, if you’re ready to embark on a DIY shea butter whipping adventure, let’s get started!
Key Takeaways:
- Whipping shea butter by hand creates a light, fluffy texture for easier application and absorption into the skin. Customize, extend shelf life, and enjoy the DIY process without the need for a mixer.
- Soften, mix, and whip shea butter by hand for a personalized skincare experience. Store in an airtight container, use within a reasonable timeframe, and enjoy the benefits of this natural ingredient.
Read more: How To Store Shea Butter
Why Whip Shea Butter?
Shea butter is a fantastic natural skincare product on its own, but whipping it can offer some additional benefits. Here are a few reasons why you might want to whip your shea butter:
- Improved Texture: Whipping shea butter helps to soften and lighten the texture, making it easier to spread and apply onto the skin. This whipped consistency allows the butter to melt more quickly and absorb more readily, resulting in a smoother application.
- Air Incorporation: When you whip shea butter, tiny air bubbles get incorporated into the mixture. This increases the overall volume and gives it a lighter and fluffier texture. The whipped shea butter feels less dense and greasy on the skin, making it more comfortable to use.
- Customization: Whipping shea butter allows you to easily customize its properties by adding other beneficial oils or essential oils. You can create a personalized blend that suits your specific skincare needs, such as adding oils with anti-inflammatory properties or scents that you enjoy.
- Easy Application: Whipped shea butter is more convenient to use than straight shea butter, especially for large areas of the body. The light and fluffy texture make it glide over the skin, requiring less effort and causing less tugging or pulling.
- Longer Shelf Life: Whipping shea butter can help extend its shelf life. By incorporating air into the mixture, the exposure of shea butter to oxygen is reduced, which slows down the oxidation process. This can help your whipped shea butter stay fresh and usable for a longer period.
With these advantages in mind, it’s easy to see why whipping shea butter is a popular choice among skincare enthusiasts. Not only does it enhance the texture and application experience, but it also allows for customization and preservation of the product.
Gathering Materials
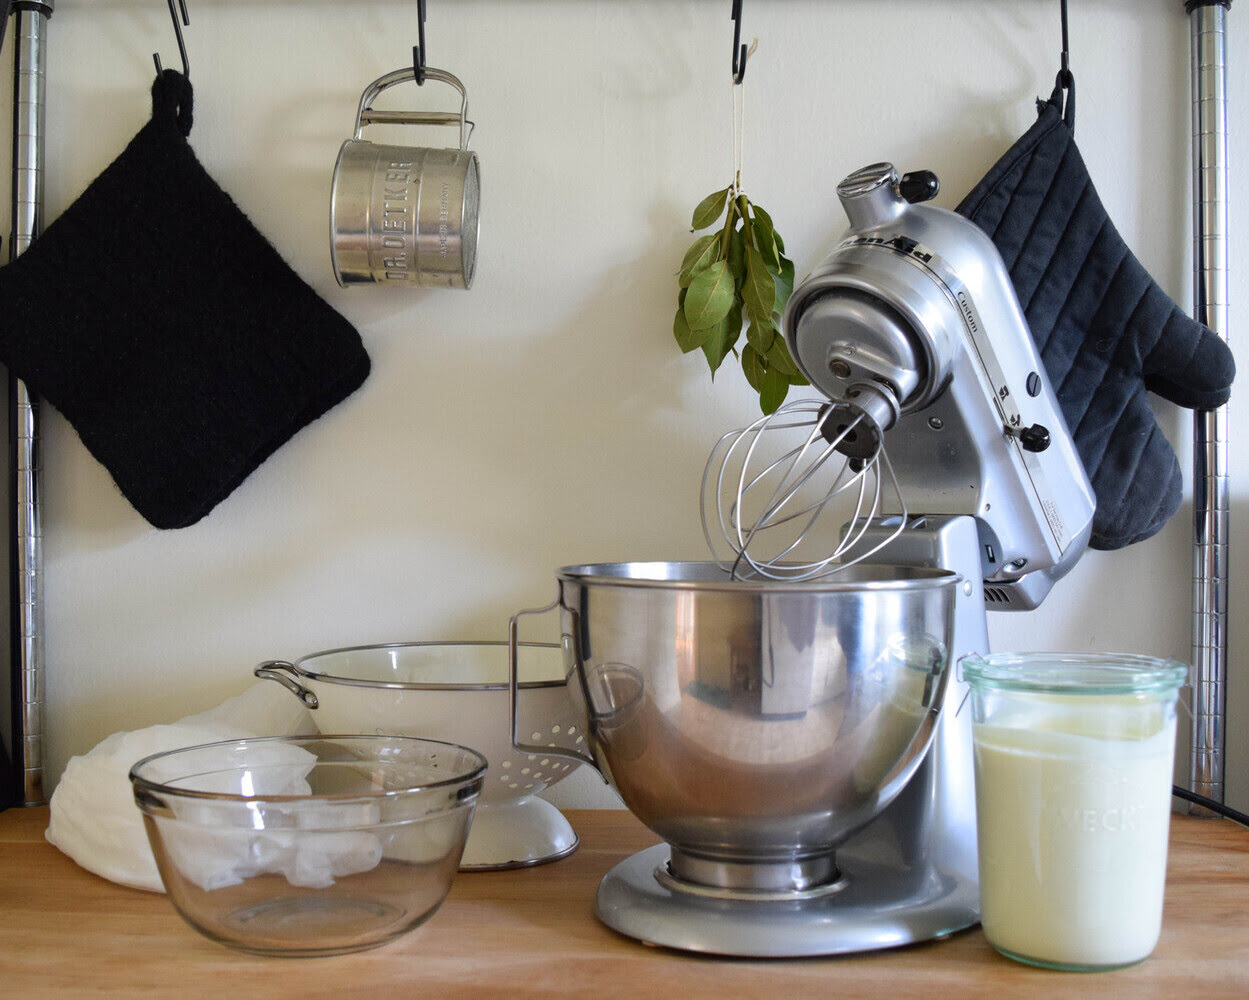
Before you start whipping shea butter by hand, it’s important to gather all the necessary materials. While you don’t need any fancy equipment, there are a few key items that will make the process easier and more efficient. Here’s a list of materials you’ll need:
- Shea Butter: Start with high-quality, unrefined shea butter. Look for shea butter that is organic and free from additives. Unrefined shea butter is known to retain more of its natural properties and nutrients.
- Mixing Bowl: Choose a mixing bowl that is spacious enough to comfortably whip the shea butter without it overflowing. Opt for a bowl made of glass or stainless steel, as these materials are easier to clean and won’t absorb odors.
- Spatula or Whisk: A spatula or whisk will help you mix the shea butter effectively. Look for a sturdy and easy-to-grip utensil that will allow you to incorporate air into the butter easily.
- Essential Oils (optional): If you want to add a scent or additional benefits to your whipped shea butter, consider using essential oils. Choose oils that are safe for topical use and have properties that align with your skincare needs. Popular choices include lavender, tea tree, and frankincense.
- Storage Container: After whipping the shea butter, you’ll need a container to store it. Select a container with an airtight seal to protect the butter from air and keep it fresh. Glass or plastic containers are both suitable options.
Once you’ve gathered these materials, you’re ready to move on to the next steps and start whipping your shea butter by hand. Make sure you have a clean and organized workspace to ensure a smooth and hassle-free experience.
Preparing the Shea Butter
Before you can start whipping shea butter by hand, it’s important to prepare the shea butter for the process. Here’s a step-by-step guide:
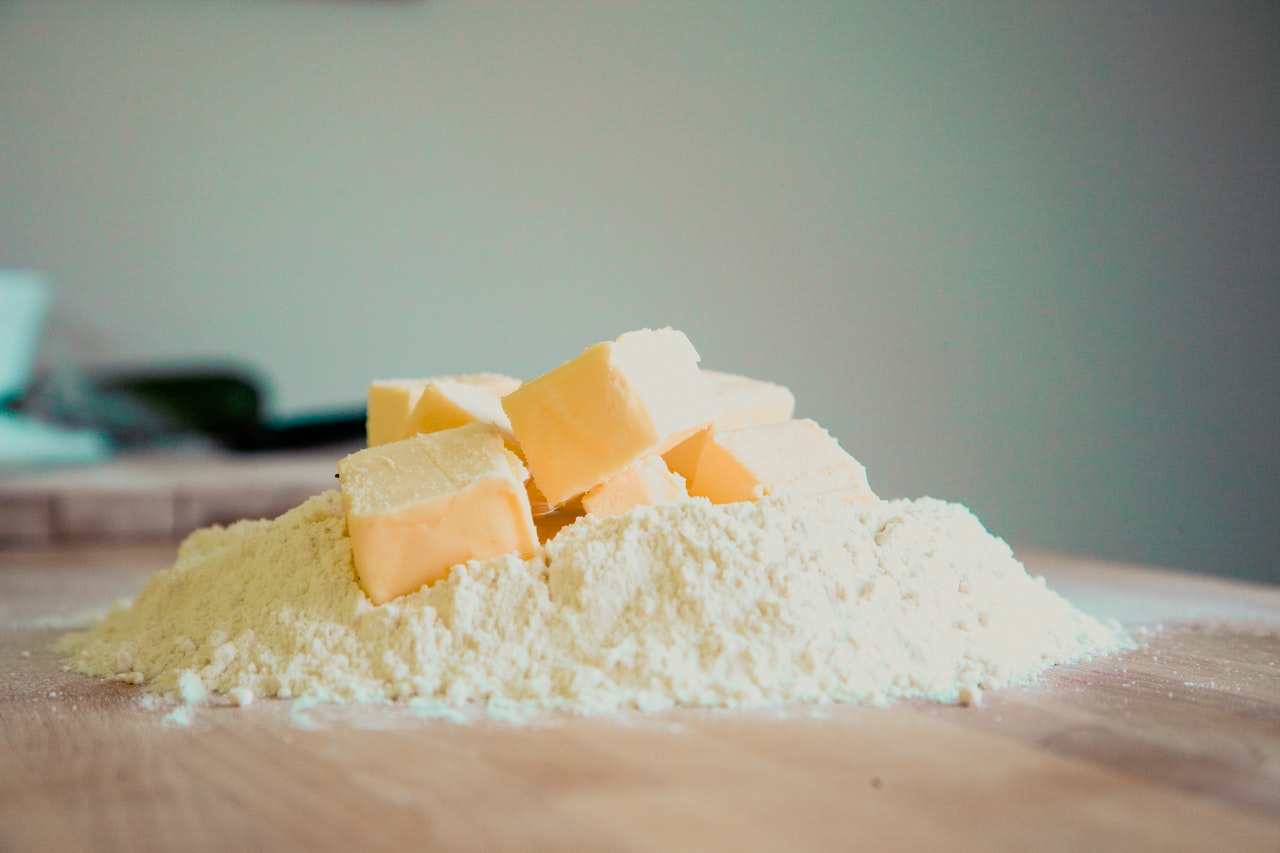
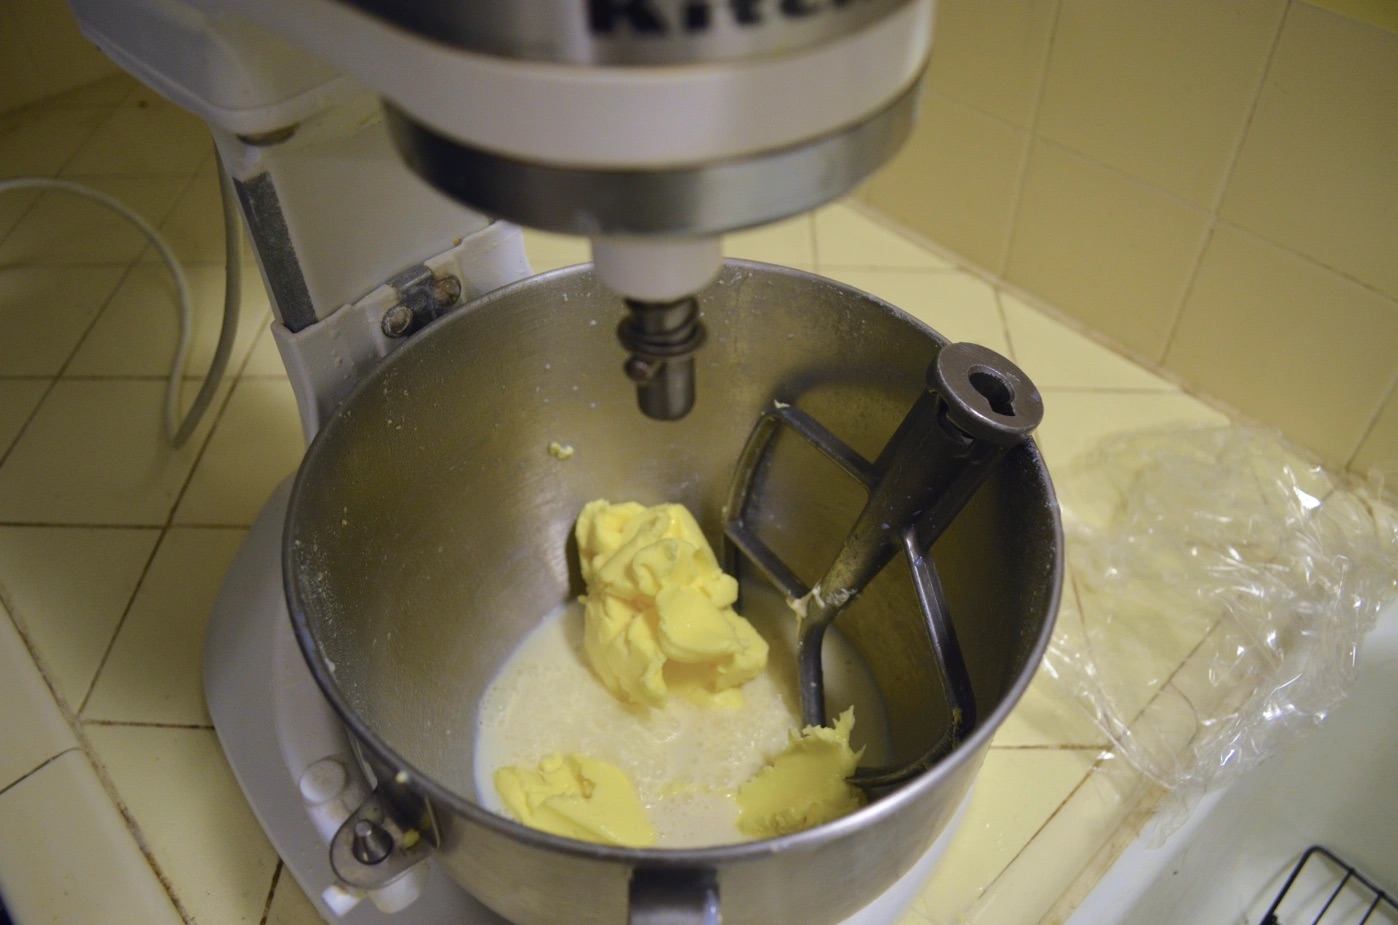
- Soften the Shea Butter: If your shea butter is firm or solid, you’ll need to soften it first. To do this, take a small amount of shea butter and rub it between your palms until it becomes soft and malleable. You can also cut the shea butter into smaller pieces to help it soften more quickly.
- Transfer the Shea Butter: Once the shea butter is soft, transfer it into a clean mixing bowl. Use a spatula to scrape the softened shea butter from your hands or the cutting board.
- Optional: Add Essential Oils: If you want to add fragrance or additional benefits to your whipped shea butter, this is the time to do it. Add a few drops of your chosen essential oil to the softened shea butter in the mixing bowl. Remember that essential oils are highly concentrated, so a little goes a long way. Start with a small amount and adjust according to your preference.
Once you’ve prepared the shea butter and, if desired, added essential oils, you’re ready to start the manual whipping process. Remember to work in a cool environment to prevent the shea butter from melting too quickly, as this can hinder the whipping process.
To whip shea butter without a mixer, soften it slightly and then use a fork to vigorously stir and mash it until it becomes light and fluffy. This may take some time and effort, but the result will be worth it.
Whipping Shea Butter by Hand
Now that you have your softened shea butter and any optional essential oils in the mixing bowl, it’s time to start whipping it by hand. Follow these steps to achieve a light and fluffy texture:
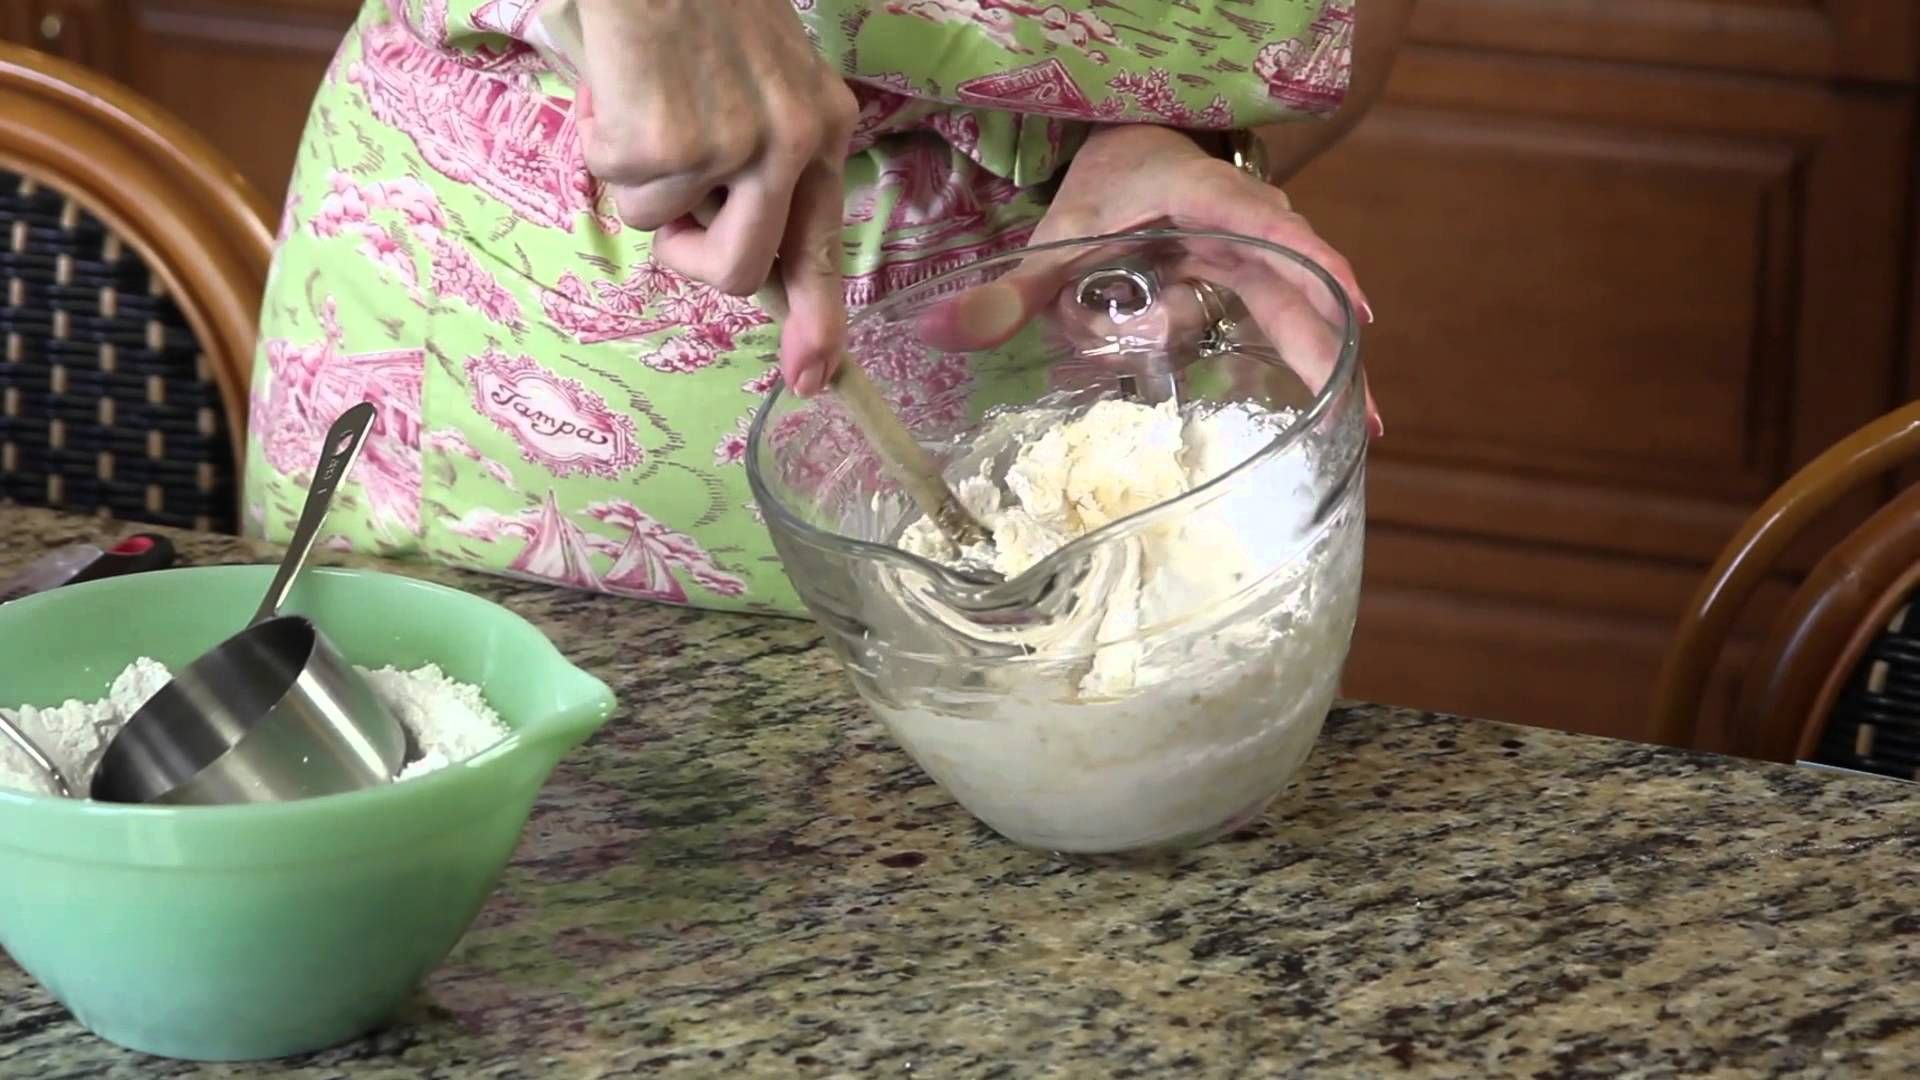
- Start Slowly: Begin by gently mixing the shea butter with a spatula or whisk. Use slow and deliberate motions to ensure all the ingredients are incorporated.
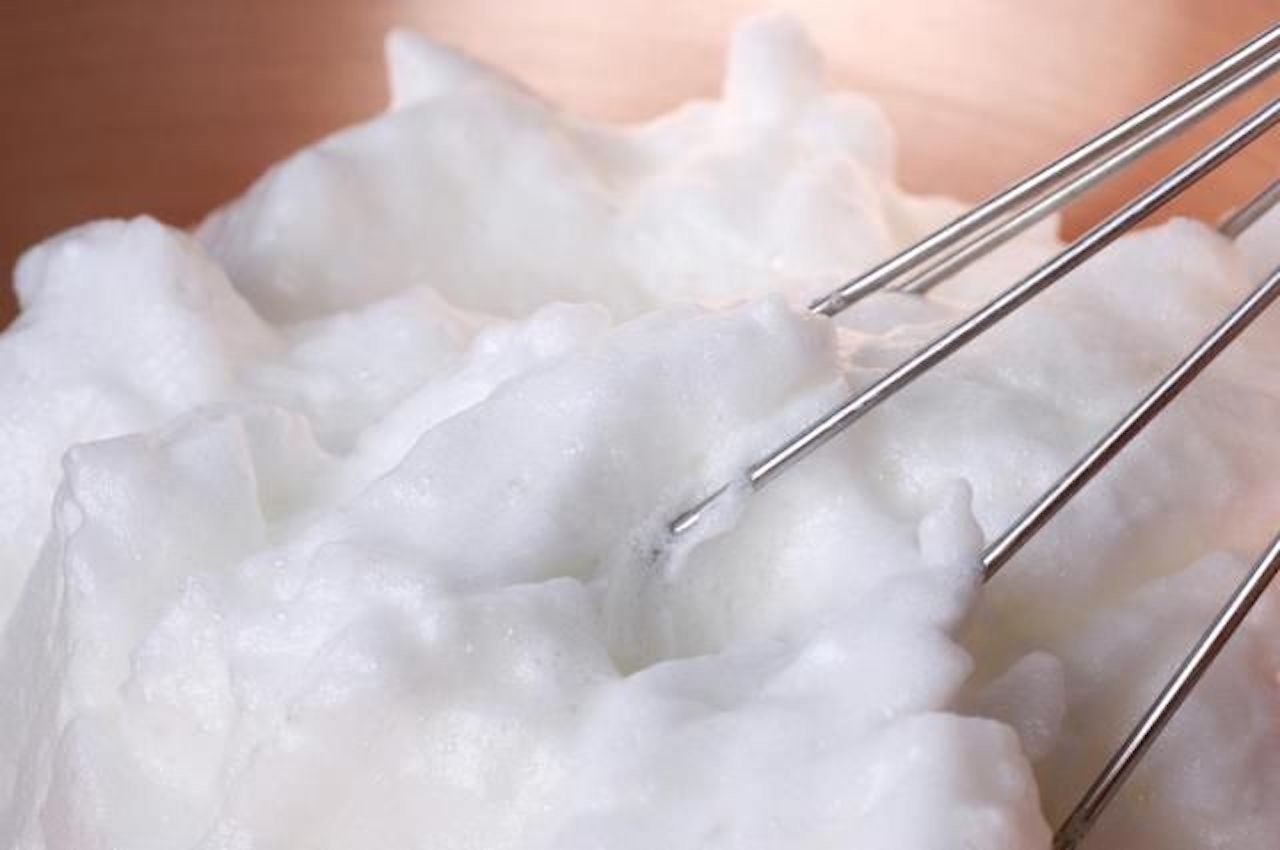
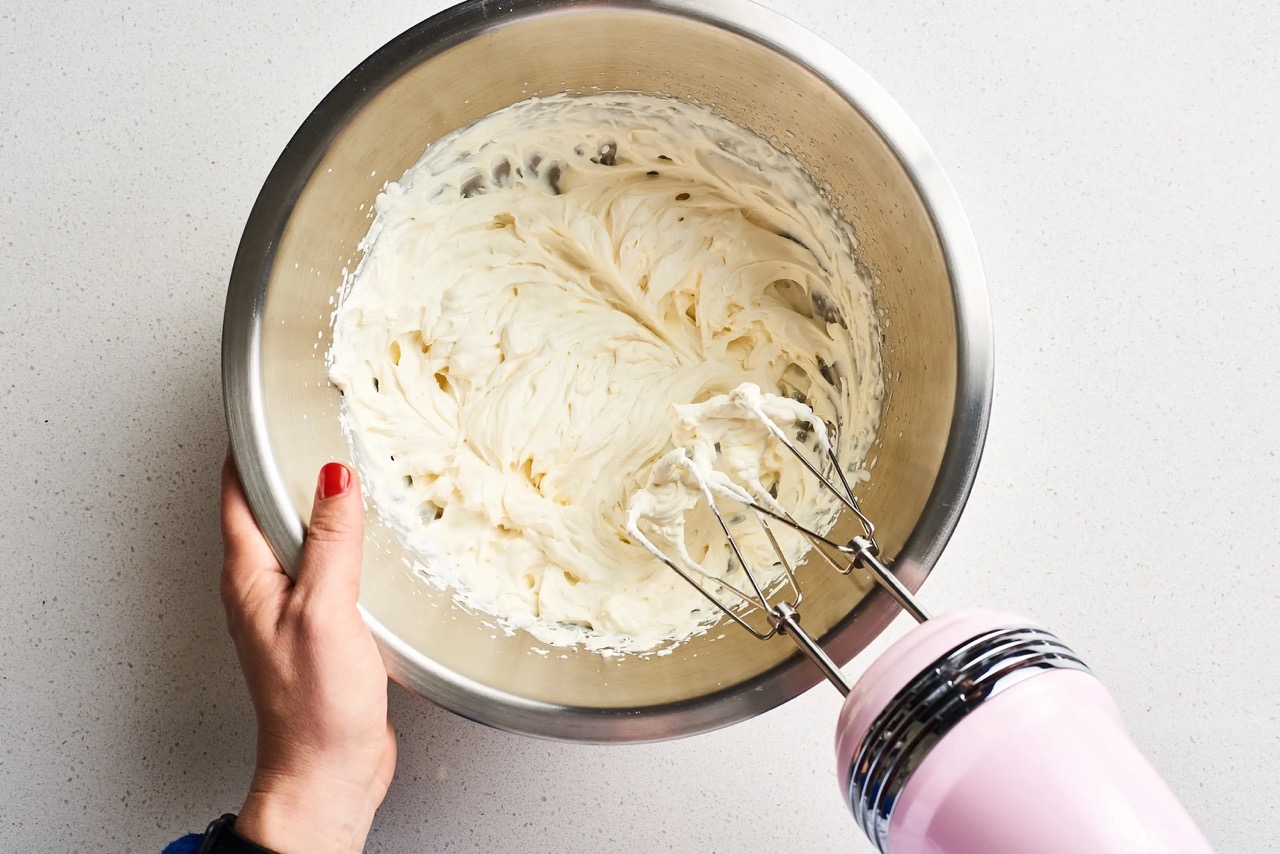
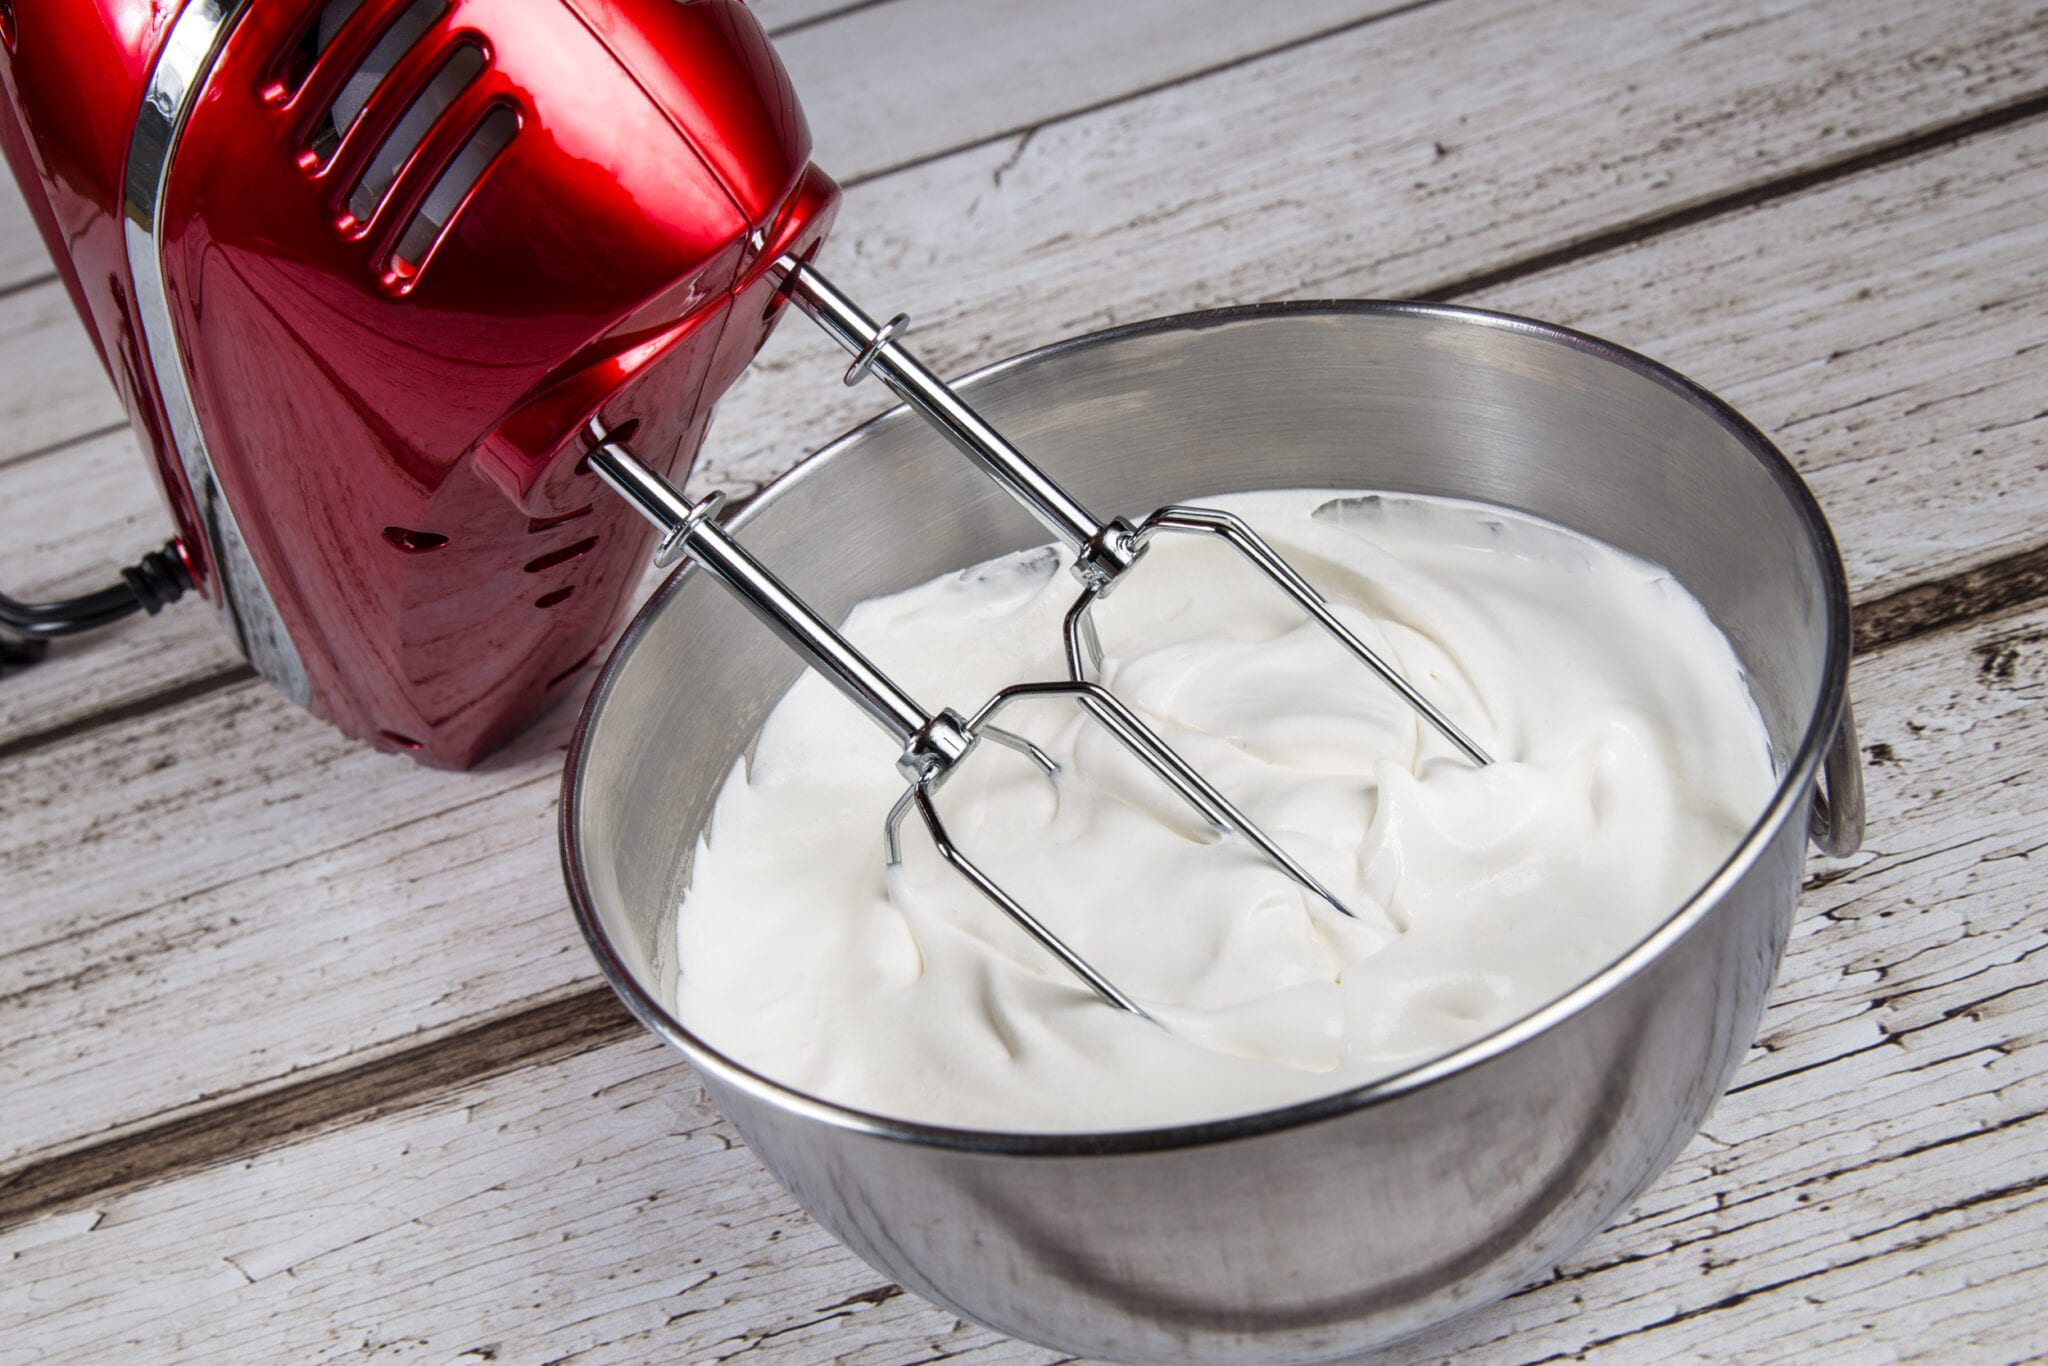
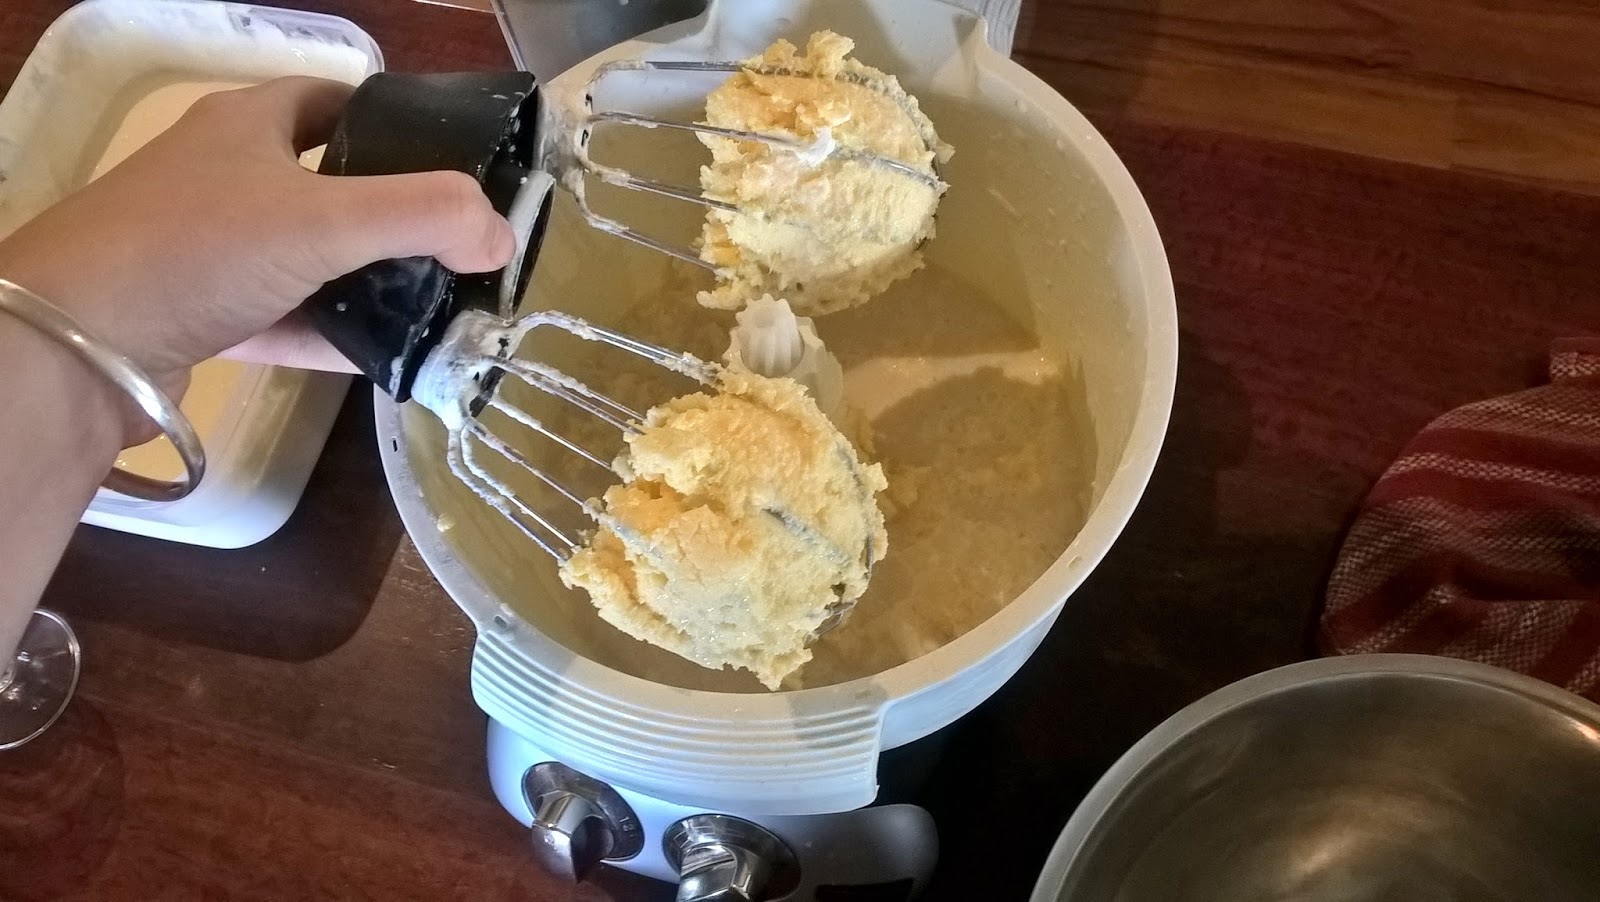
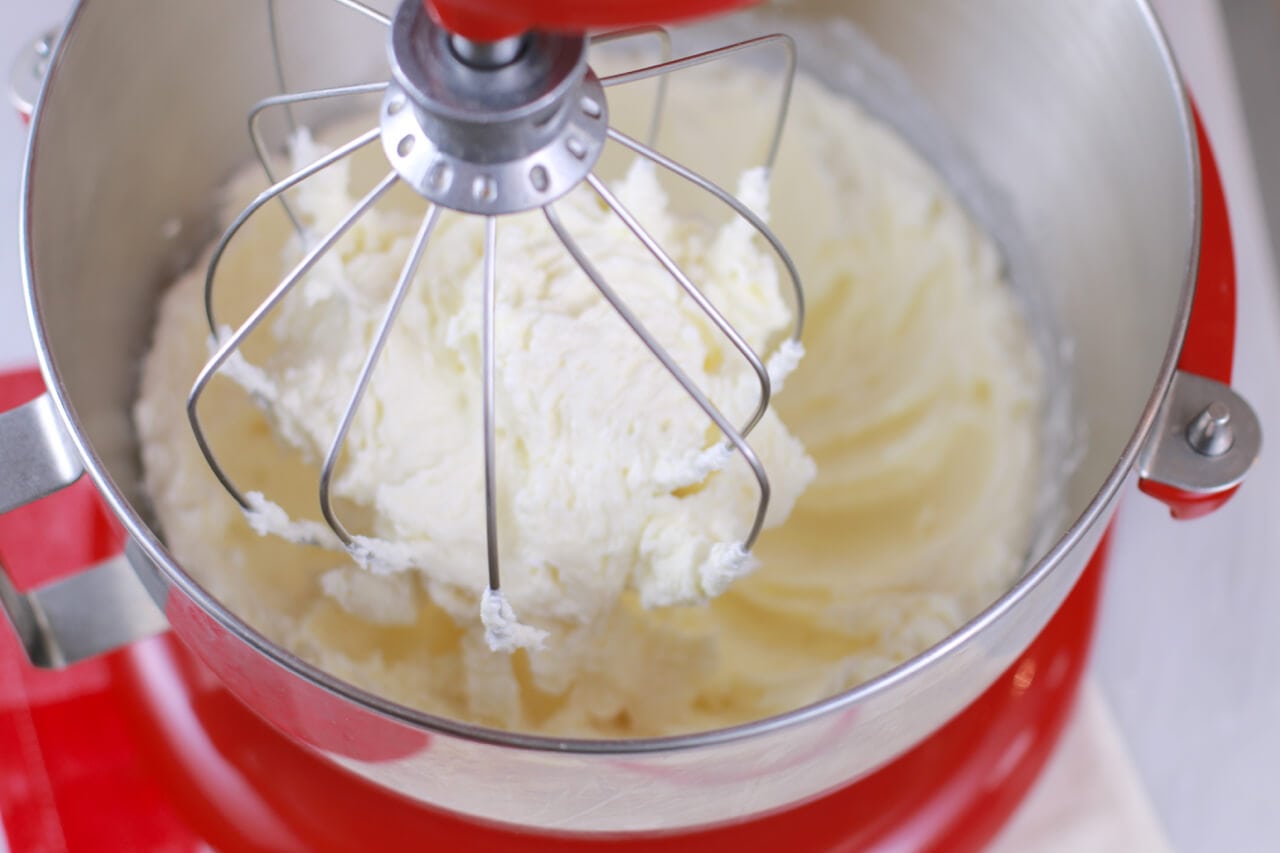
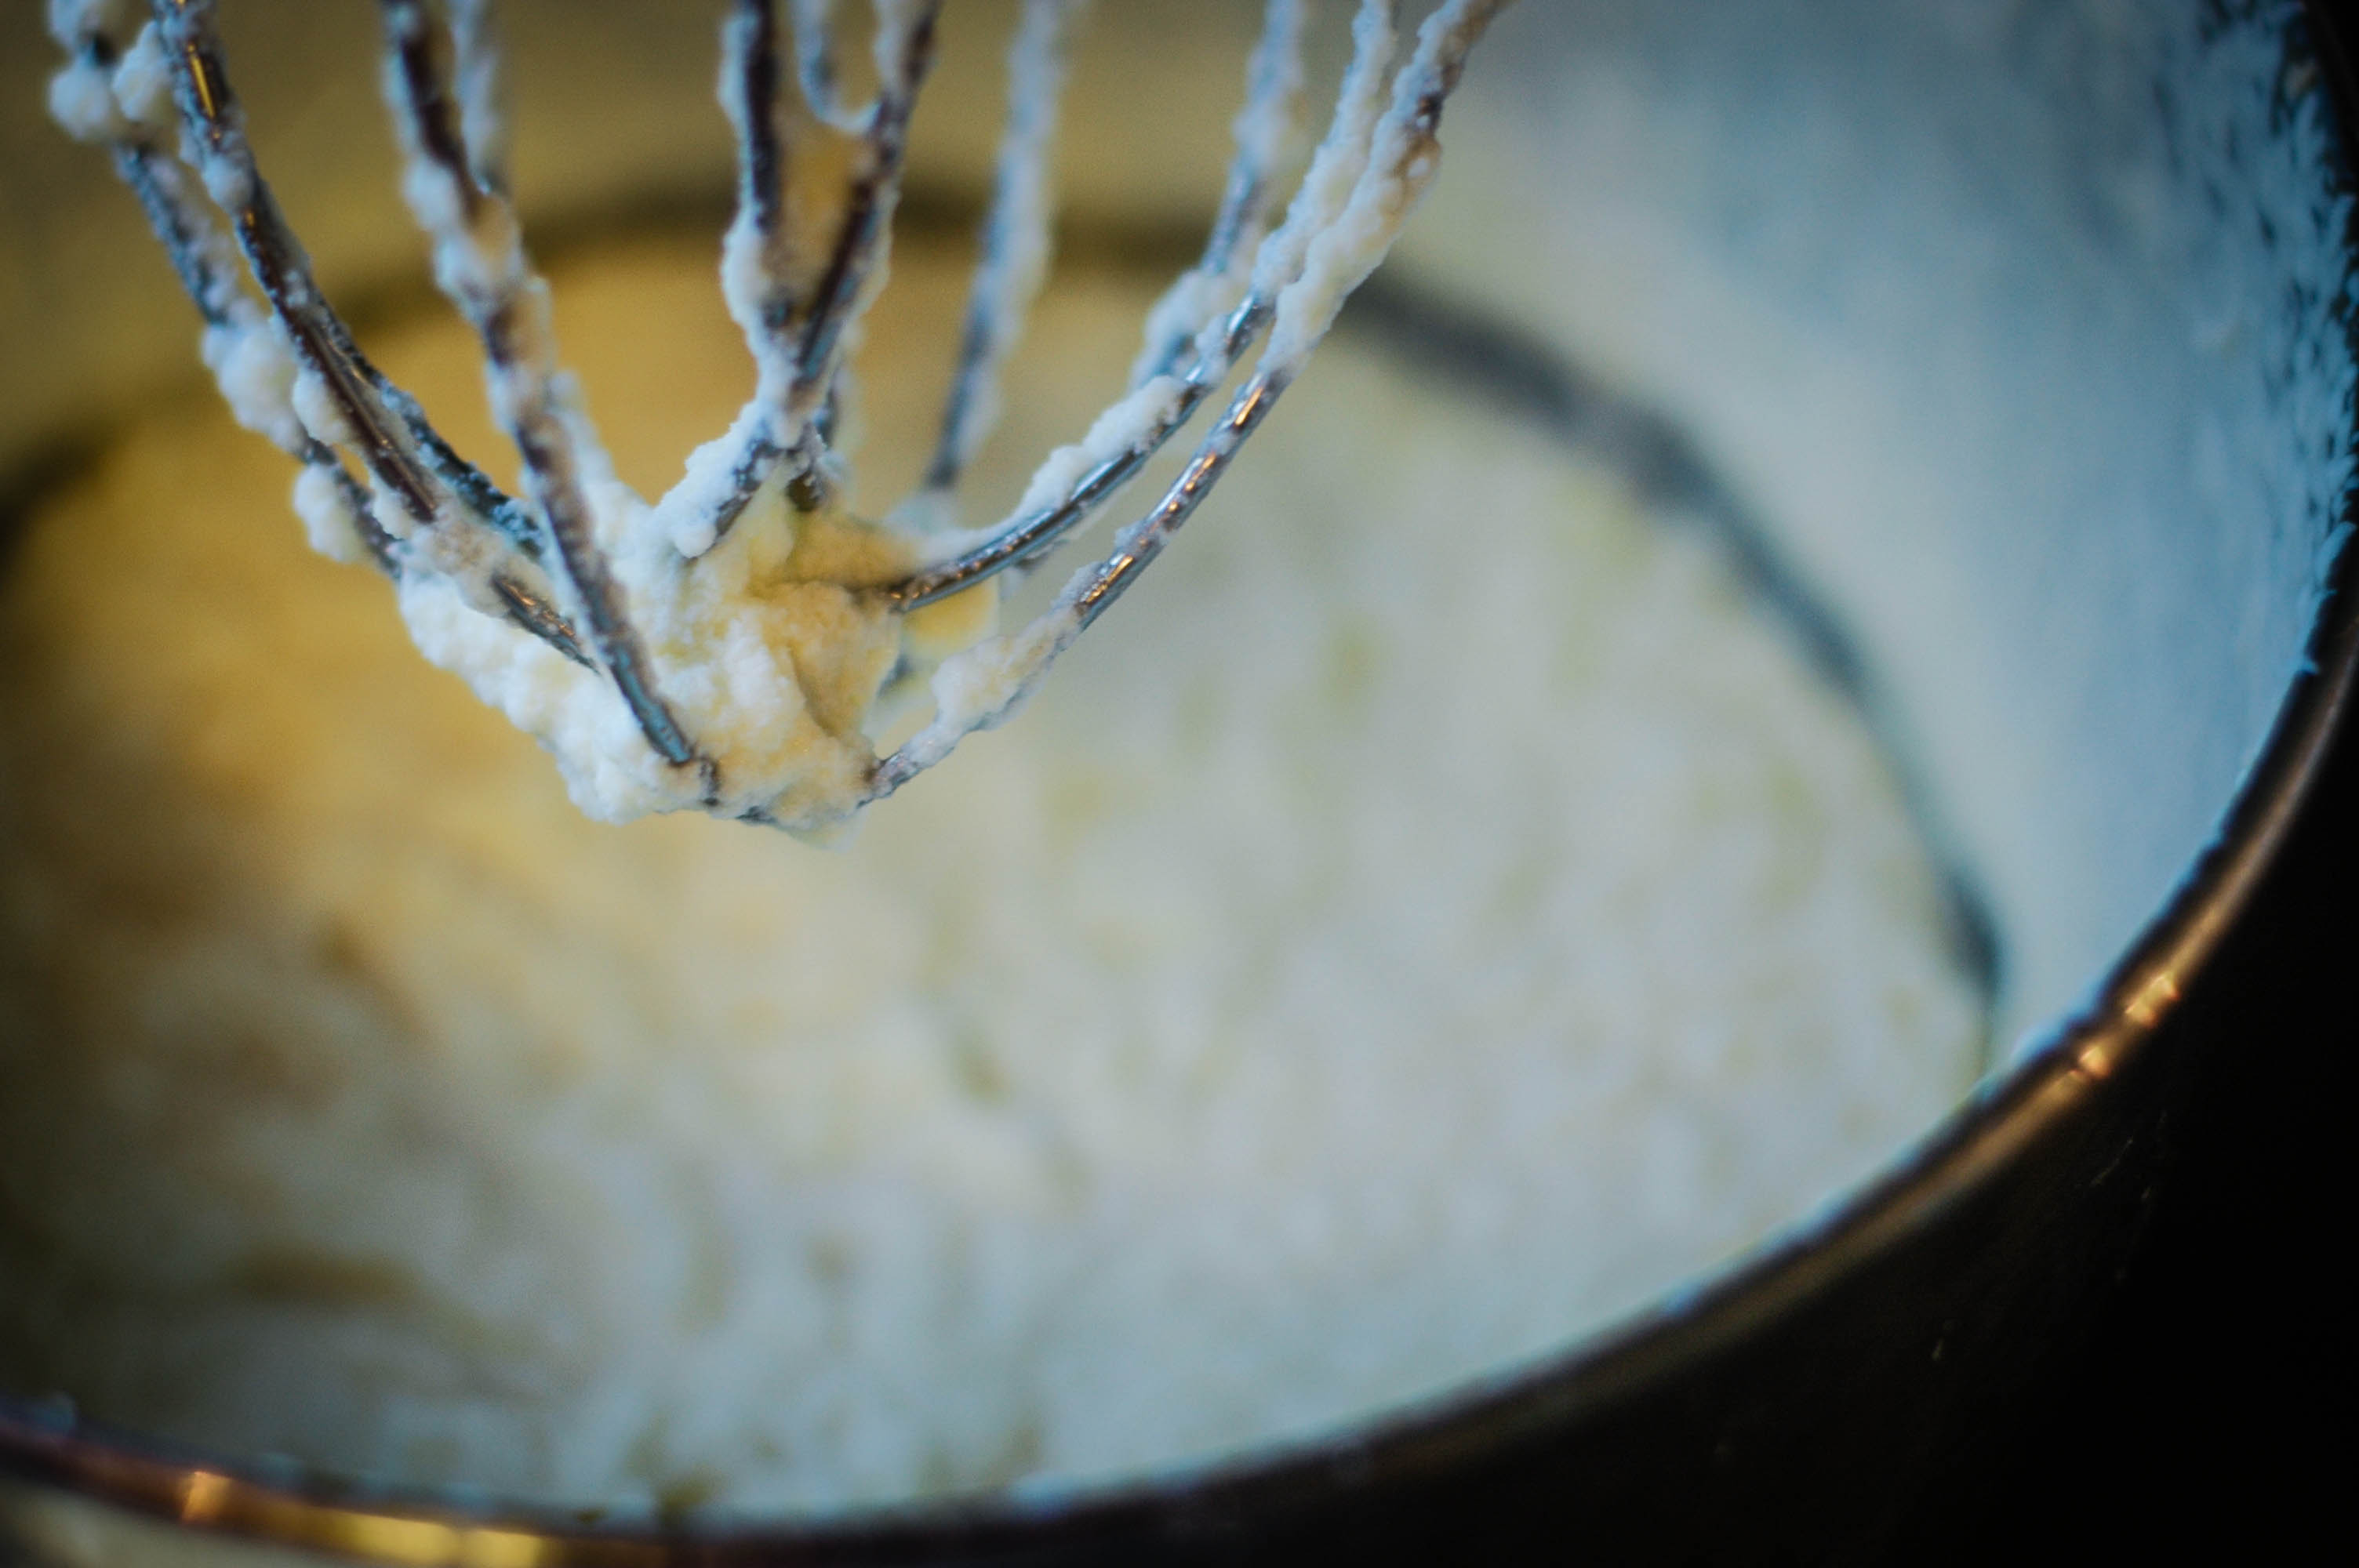
- Incorporate Air: To create a light and fluffy texture, it’s important to incorporate air into the shea butter. Use a whisk or spatula to beat the shea butter rapidly, incorporating as much air as possible. Continue whisking until the mixture becomes lighter in color and begins to resemble whipped cream.
- Alternate Directions: As you whisk the shea butter, try alternating the direction of your strokes. This helps to evenly distribute the air and create a more consistent texture throughout.
- Check Texture: Periodically check the texture of the whipped shea butter by taking a small amount between your fingers and rubbing it in. It should feel light, airy, and easily spreadable. If it still feels dense or greasy, continue whisking until you achieve the desired consistency.
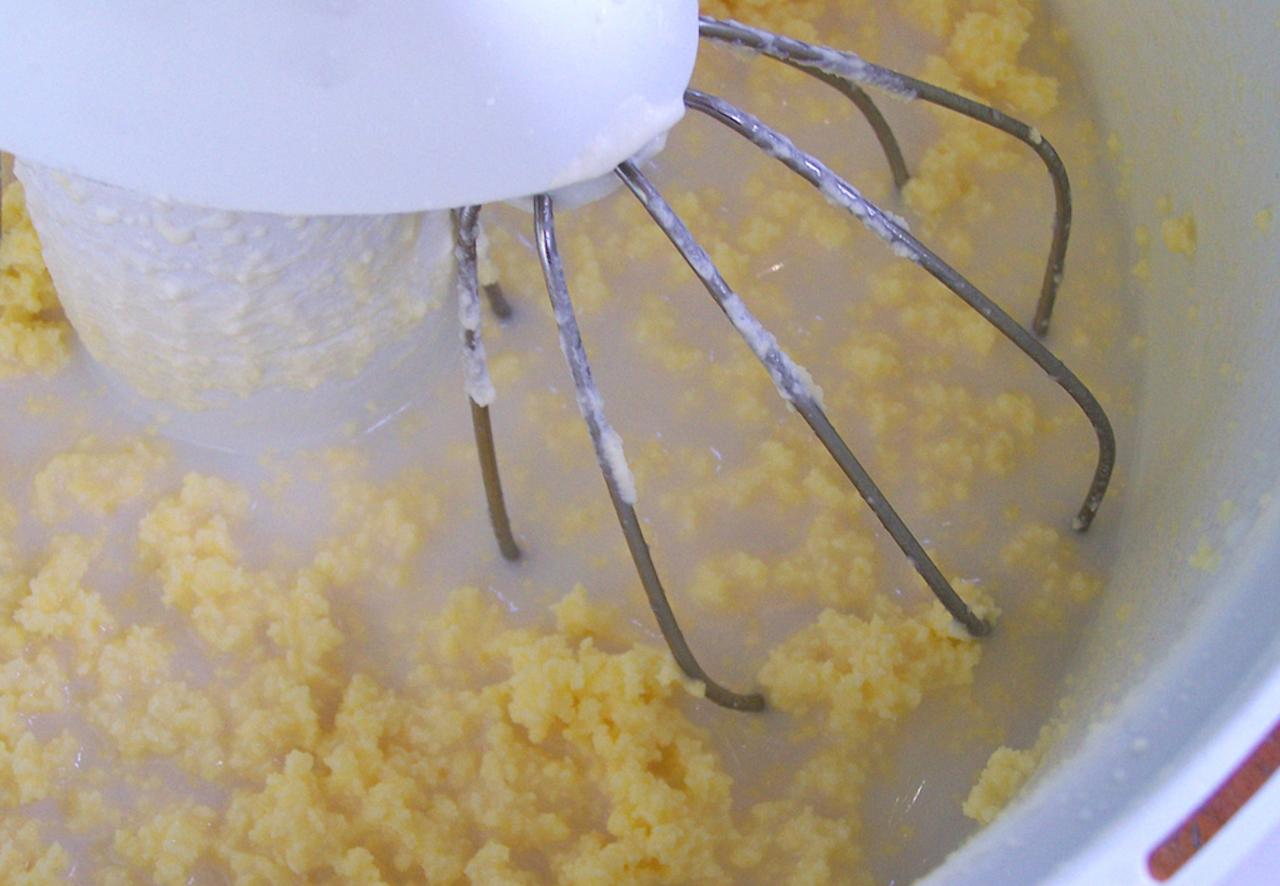
Be patient during the whipping process, as it may take some time to achieve the desired texture. It’s normal for the shea butter to go through different stages, such as becoming crumbly before becoming smooth and creamy.
Keep in mind that whipping shea butter by hand requires some physical effort and can be a bit time-consuming. If at any point you feel tired or need a break, you can pause and resume the whipping process later without any issues.
Read more: How To Whip Heavy Cream Without A Mixer
Tips for Achieving a Light and Fluffy Texture
Whipping shea butter by hand can be a rewarding process, but it does require some finesse to achieve a light and fluffy texture. Here are some tips to help you along the way:
- Use Softened Shea Butter: Softening the shea butter before whipping makes it easier to incorporate air and achieve a lighter texture. If your shea butter is too firm, you can gently heat it in a double boiler or microwave for a few seconds to soften it further.
- Keep it Cool: Working in a cool environment helps to maintain the shea butter’s solid state and prevent it from melting too quickly. This allows for better control during the whipping process and helps to achieve a lighter texture.
- Whip in Small Batches: Whipping smaller batches of shea butter at a time is easier and more effective than trying to whip a large amount all at once. This allows for better control and ensures thorough incorporation of air.
- Be Patient: Achieving a light and fluffy texture takes time, so be patient and continue whisking until the desired consistency is reached. Remember to take breaks if needed to avoid overexertion.
- Experiment with Speed and Direction: Adjust the speed and direction of your whisking to find what works best for you. Some people find that using a faster whisking motion or alternating the direction of their strokes helps to create a lighter texture.
- Avoid Over-Whipping: While it’s important to whisk the shea butter enough to incorporate air, be careful not to over-whip it. Over-whipping can cause the shea butter to become grainy or separate, which will affect the texture and application.
Remember that practice makes perfect, so don’t be discouraged if your first few attempts don’t yield the desired results. With time and experience, you’ll develop a feel for the process and be able to whip shea butter to perfection.
Storing Your Whipped Shea Butter
Once you’ve successfully whipped your shea butter by hand and achieved the light and fluffy texture you desire, it’s important to store it properly to maintain its freshness and effectiveness. Here are some tips for storing your whipped shea butter:
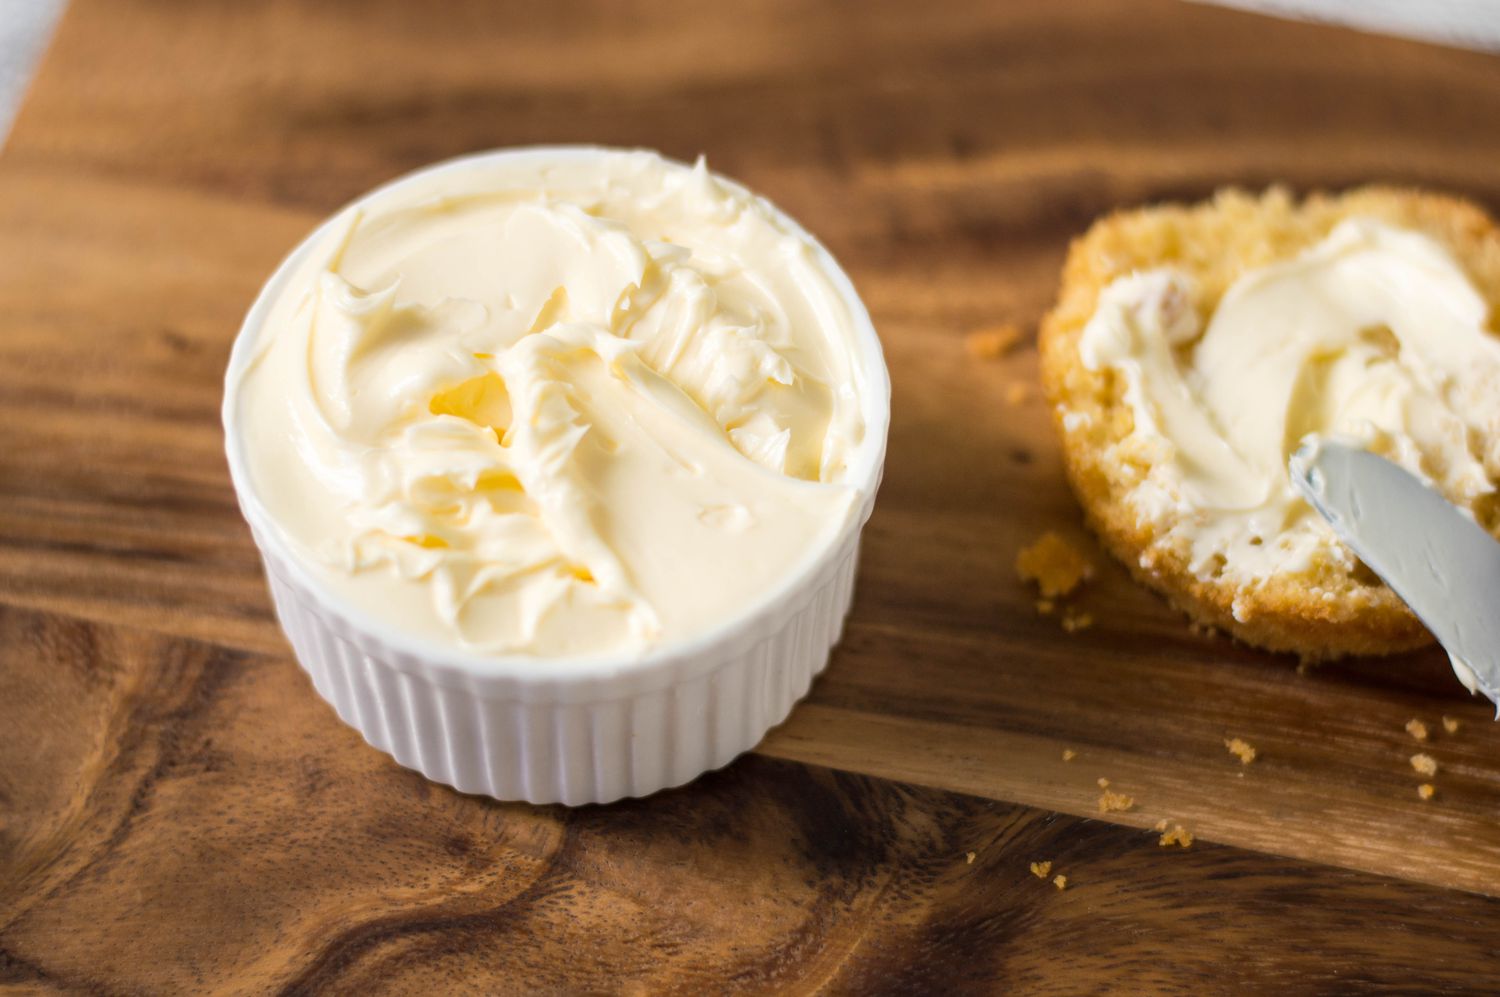
- Use an Airtight Container: Transfer your whipped shea butter into a clean and dry container with an airtight seal. This will help prevent air and moisture from reaching the butter, which can cause it to spoil or lose its texture.
- Store in a Cool Place: Shea butter has a low melting point, so it’s important to store your whipped shea butter in a cool place away from direct sunlight and heat sources. Excessive heat can cause the butter to melt and lose its whipped texture.
- Avoid Contamination: To prevent contamination and prolong the shelf life of your whipped shea butter, avoid dipping your fingers directly into the container. Instead, use a clean spoon or spatula to scoop out the desired amount for use.
- Label and Date: It’s a good practice to label the container with the date you whipped the shea butter. This will help you keep track of its freshness and ensure you use it within a reasonable period.
- Check for Spoilage: Regularly inspect your whipped shea butter for any signs of spoilage, such as an unpleasant odor, mold, or change in texture. If you notice any of these signs, it’s best to discard the butter and whip a fresh batch.
- Use within a Reasonable Period: Whipped shea butter, like any natural skincare product, has a limited shelf life. While it may vary depending on the quality and storage conditions, it’s generally recommended to use your whipped shea butter within six months to a year.
By following these storage guidelines, you can ensure that your whipped shea butter remains fresh, effective, and enjoyable to use throughout its lifespan.
Conclusion
Whipping shea butter by hand is a great way to create a light and fluffy texture that is easier to apply and absorb into the skin. This DIY method allows you to customize your shea butter, incorporate air for a lighter feel, and extend its shelf life. With a few simple steps and the right materials, you can achieve fantastic results without the need for a mixer or blender.
Remember to start by gathering all the necessary materials, including high-quality shea butter, a mixing bowl, a spatula or whisk, and optional essential oils. Soften the shea butter, transfer it to a bowl, and add any desired essential oils for fragrance or added benefits. Then, begin the whipping process by gently mixing and gradually increasing the speed to incorporate air into the shea butter. Take breaks when needed, experiment with speed and direction, and be patient as you work towards achieving a light and fluffy texture.
Once whipped, store your shea butter in an airtight container in a cool place to maintain its texture and freshness. Take precautions to avoid contamination and regularly inspect the butter for any signs of spoilage. Finally, use your whipped shea butter within a reasonable time frame to ensure its effectiveness.
Whipping shea butter by hand is a wonderful way to enhance your skincare routine and enjoy the benefits of this natural ingredient. So, why not give it a try and experience the joy of using your homemade, whipped shea butter?
Frequently Asked Questions about How To Whip Shea Butter Without A Mixer
Was this page helpful?
At Storables.com, we guarantee accurate and reliable information. Our content, validated by Expert Board Contributors, is crafted following stringent Editorial Policies. We're committed to providing you with well-researched, expert-backed insights for all your informational needs.

0 thoughts on “How To Whip Shea Butter Without A Mixer”