Home>Articles>How To Know When Oster Toaster Oven Is Preheated

Articles
How To Know When Oster Toaster Oven Is Preheated
Modified: August 16, 2024
Learn how to determine when your Oster toaster oven is fully preheated with these helpful articles.
(Many of the links in this article redirect to a specific reviewed product. Your purchase of these products through affiliate links helps to generate commission for Storables.com, at no extra cost. Learn more)
Introduction
Welcome to the world of Oster toaster ovens! These versatile kitchen appliances are a must-have for any home cook. Whether you’re baking, broiling, toasting, or reheating, an Oster toaster oven can help you achieve delicious and perfectly cooked meals with ease. But in order to get the best results, it’s important to know when the oven is properly preheated.
Preheating an Oster toaster oven is a crucial step in the cooking process. It allows the oven to reach the desired temperature before you start cooking, ensuring that your food cooks evenly and thoroughly. But how do you know when the oven is preheated and ready to use? In this article, we will explore the importance of preheating, the steps to preheat an Oster toaster oven, and the indicators that will help you determine when it’s ready to go.
So, let’s dive in and discover the secrets of knowing when your Oster toaster oven is preheated!
Key Takeaways:
- Preheating your Oster toaster oven is essential for even cooking, improved texture, faster cooking times, and consistent results. It’s a small step that makes a big difference in achieving delicious meals.
- Utilize the indicators like light, beep, digital display, audible timer, and temperature stability to know when your Oster toaster oven is preheated. This ensures optimal cooking and enhances food safety.
Read more: How To Preheat Black And Decker Toaster Oven
Importance of Preheating
Preheating your Oster toaster oven before cooking is a crucial step that should not be overlooked. This simple task plays a significant role in ensuring that your food cooks evenly and thoroughly, resulting in delicious and perfectly cooked meals. Here are some reasons why preheating is important:
- Even Cooking: Preheating allows the oven to reach the desired temperature before you start cooking. This ensures that the heat is distributed evenly throughout the oven, creating a consistent cooking environment. Without preheating, your food may cook unevenly, resulting in some parts being overcooked while others remain undercooked.
- Reduced Cooking Time: When the oven is already at the desired temperature, your food will cook more efficiently and in less time. This can be particularly beneficial for recipes with specific cooking times and can help you save time in the kitchen.
- Improved Texture and Flavor: Preheating allows the oven to create the ideal cooking environment, which can affect the texture and flavor of your food. For example, preheating helps to create a crisp and golden crust on baked goods or a perfectly seared exterior on meats. Skipping preheating may result in a less desirable texture or flavor.
By taking the time to preheat your Oster toaster oven, you can ensure that your food cooks evenly, reduces cooking time, and enhances the overall taste and texture. It’s a small step that can make a big difference in the final outcome of your culinary creations.
Steps to Preheat an Oster Toaster Oven
Preheating an Oster toaster oven is a simple process that can be done in a few easy steps. Here’s a guide on how to preheat your Oster toaster oven:
- Clean the Oven: Before preheating, make sure that the oven is clean and free from any debris or residue. This will ensure that your food cooks properly and is not affected by any leftover food particles.
- Select the Desired Temperature: Determine the appropriate temperature for your recipe and set it on the oven’s temperature control dial or keypad. It’s essential to preheat the oven to the specific temperature required by your recipe for optimal results.
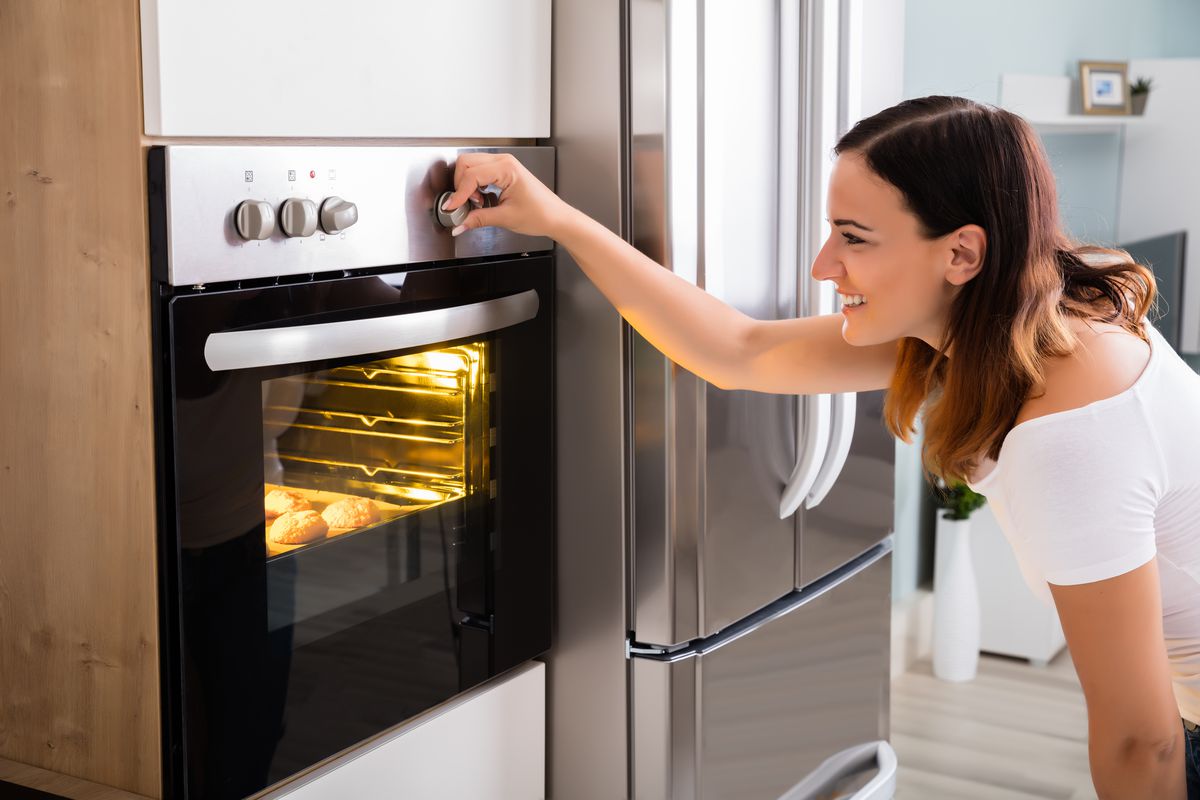
- Turn on the Oven: Once you’ve set the desired temperature, turn on the Oster toaster oven by pressing the power button or flipping the switch. The oven will start heating up to reach the set temperature.
- Wait for the Preheating Process: The oven will now begin to heat up, and you need to wait for it to reach the desired temperature. This can take anywhere from a few minutes to around 10 minutes, depending on the specific model and temperature setting.
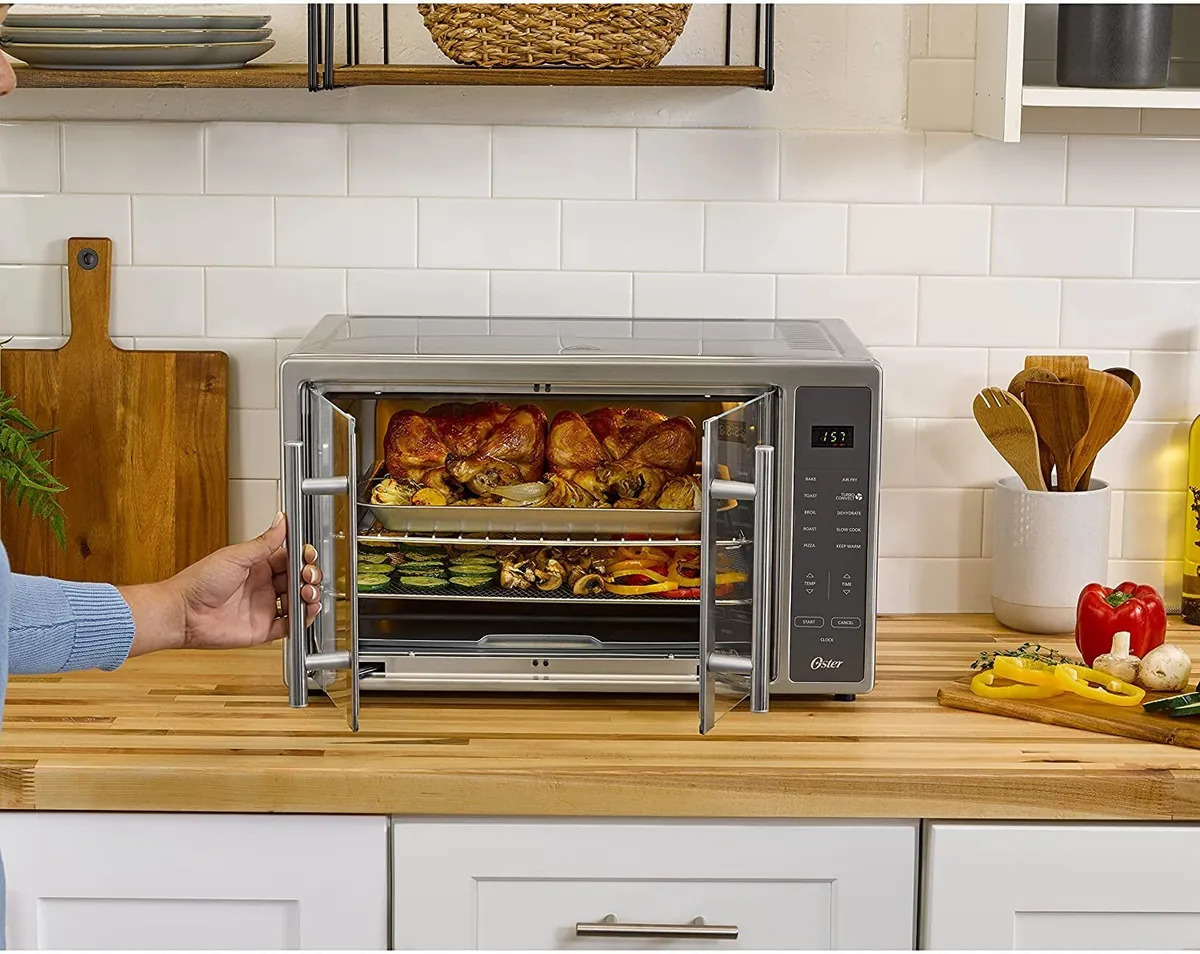
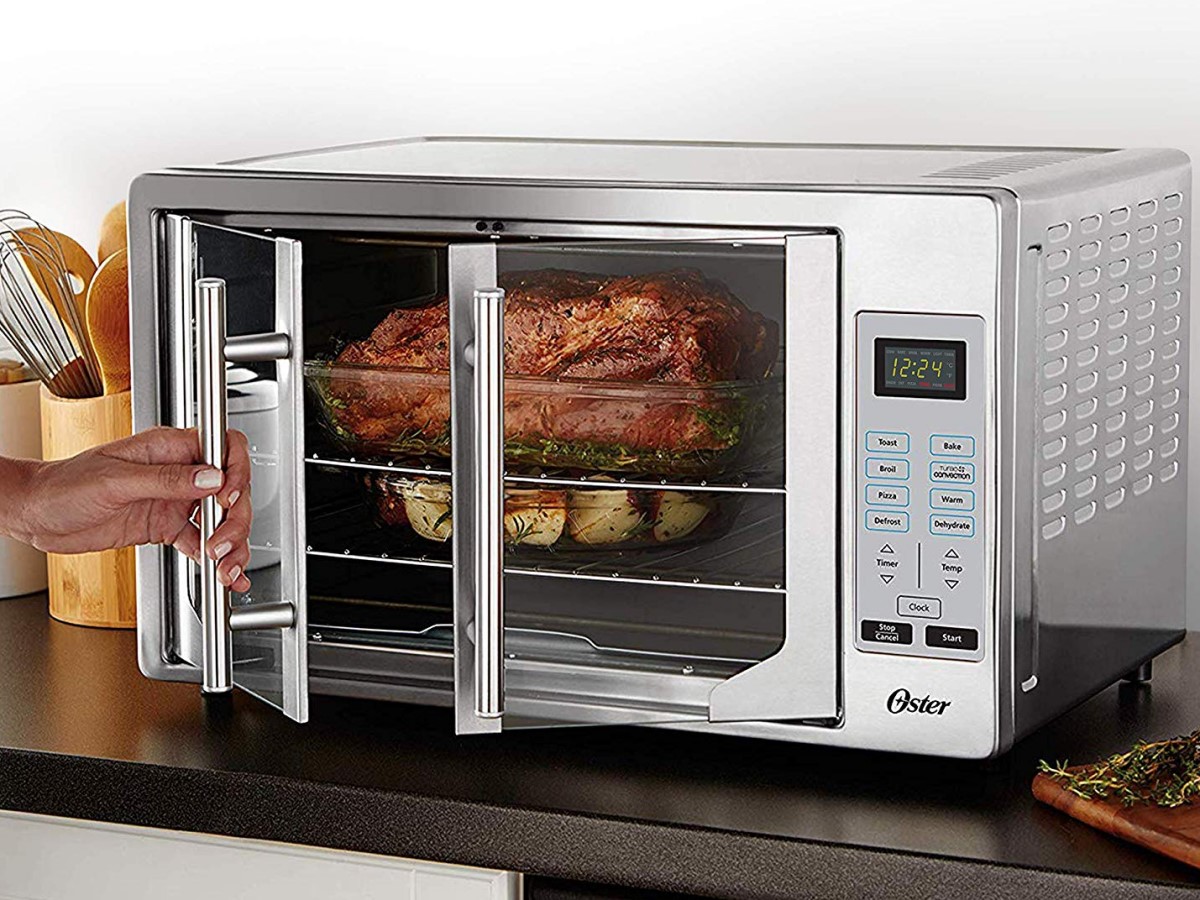
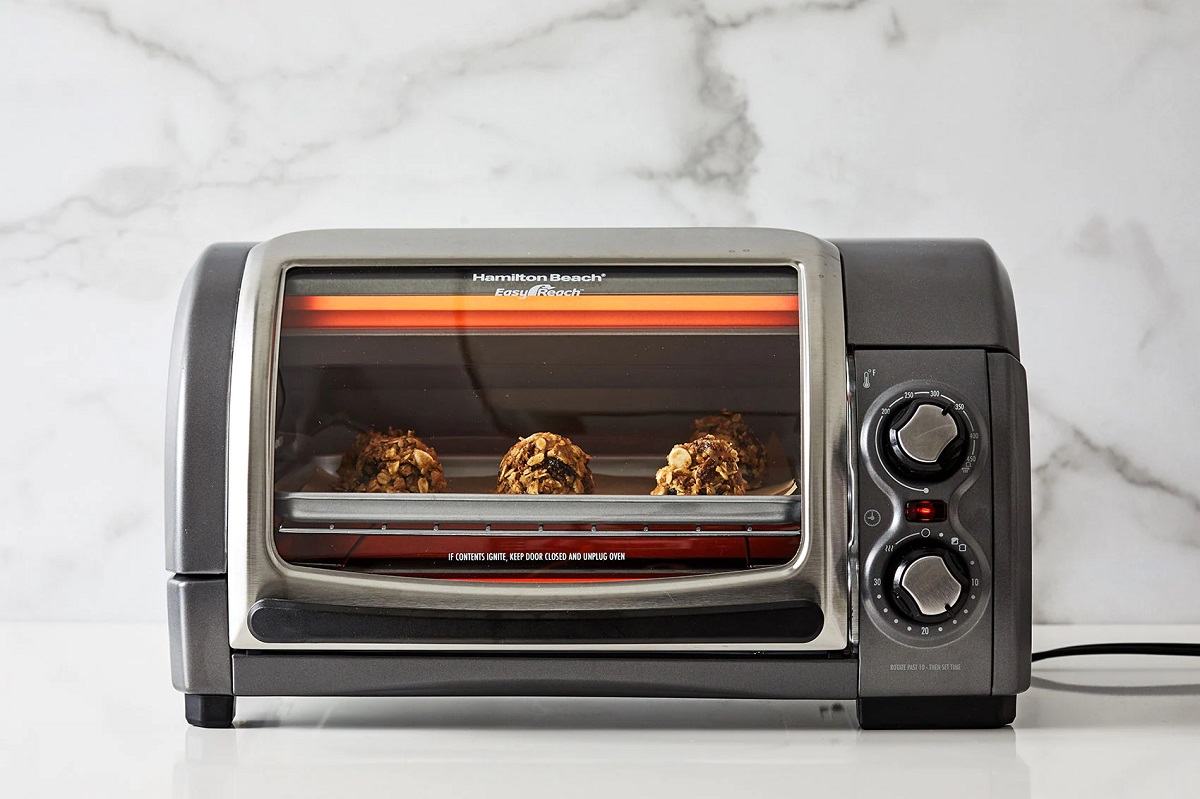
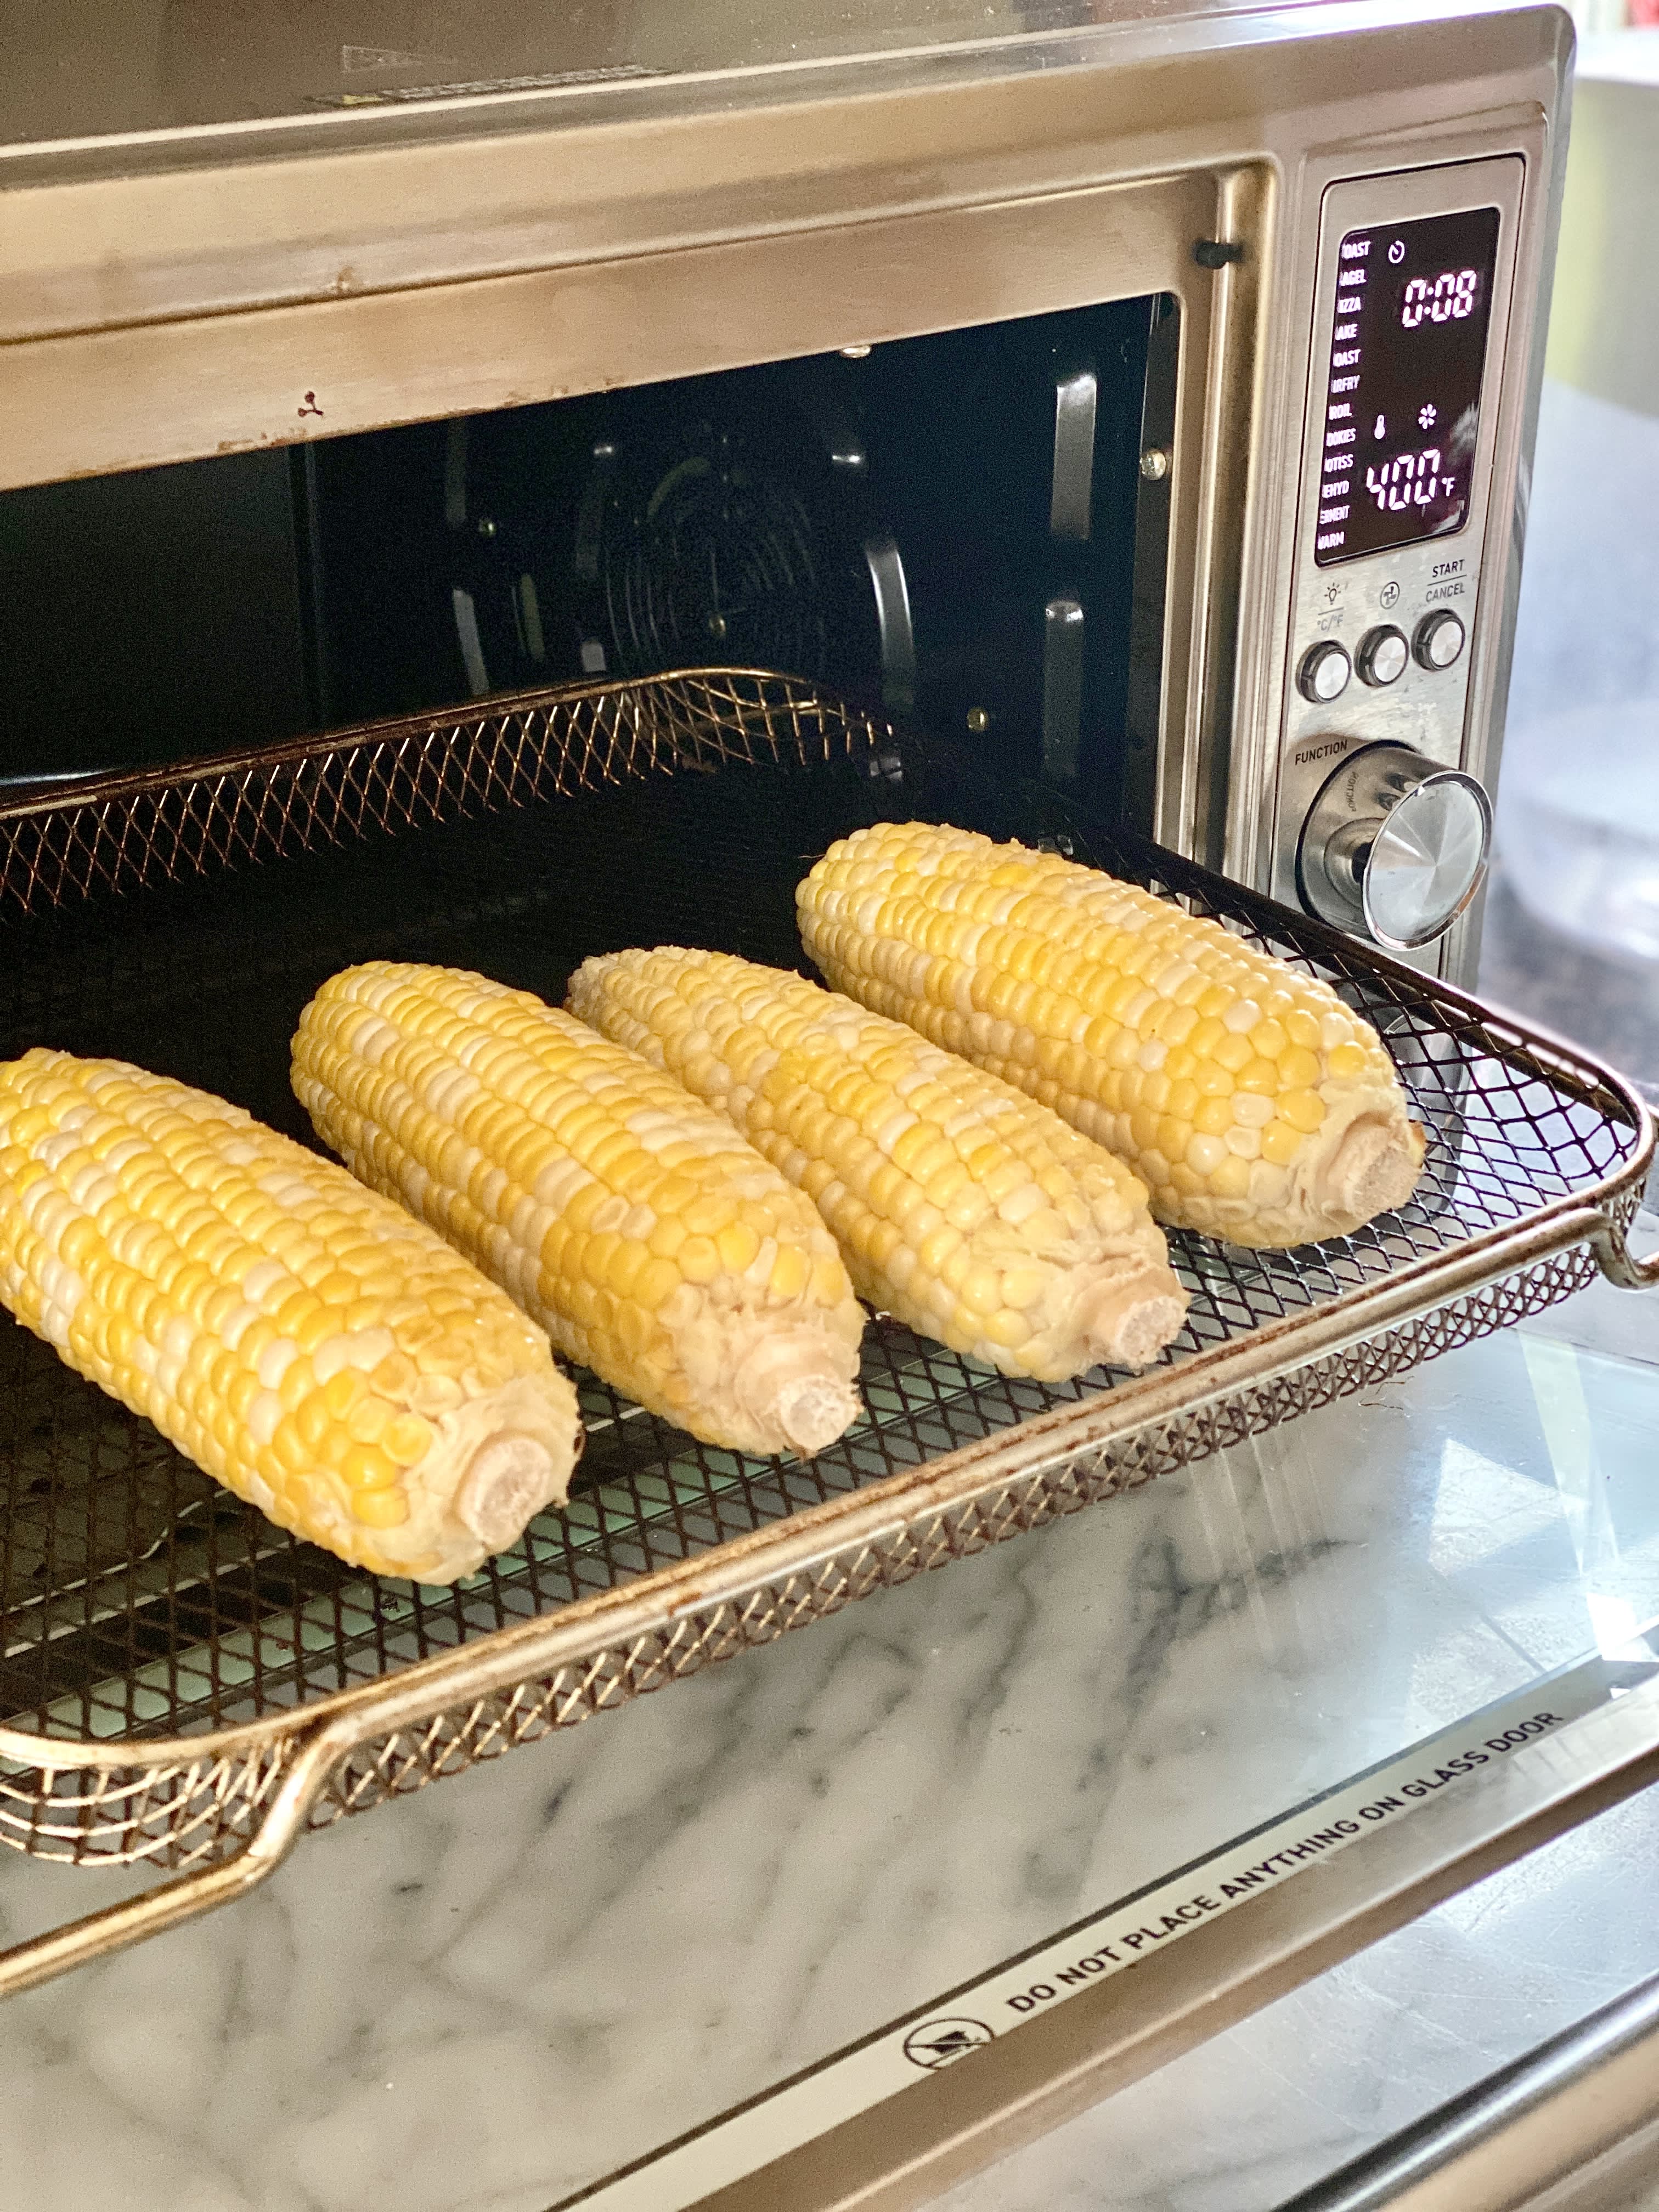
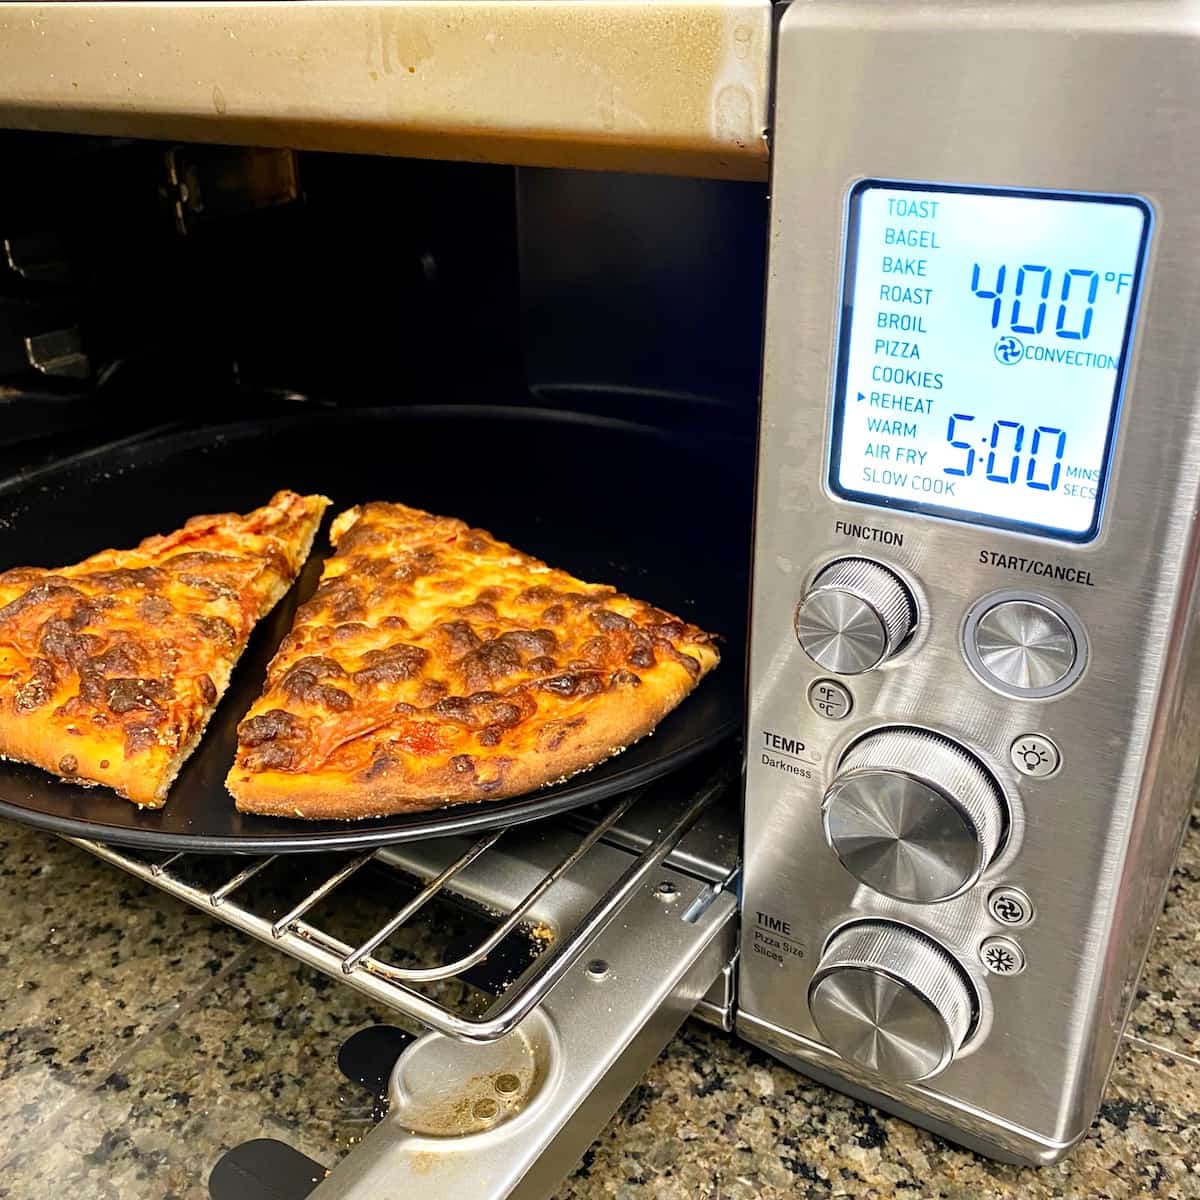
- Monitor the Preheating Progress: As the oven heats up, you can monitor the progress by checking the temperature indicator on the oven’s control panel. Some models have a digital display that shows the current temperature, while others have a dial with temperature markings.
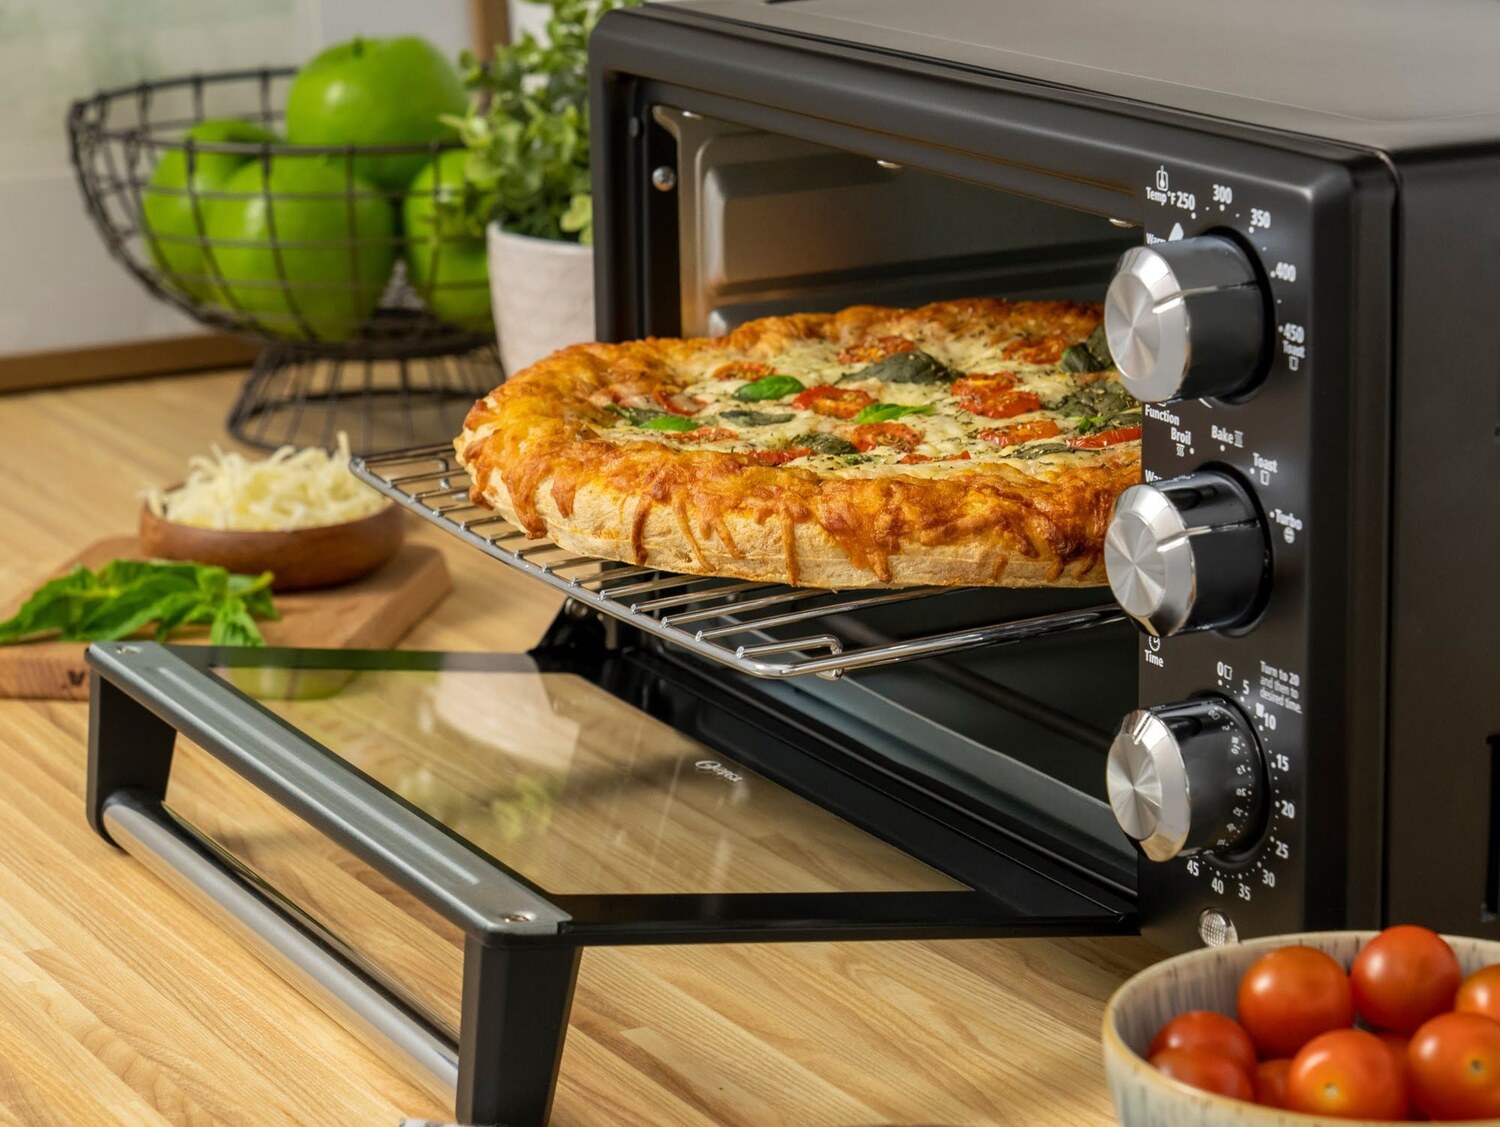
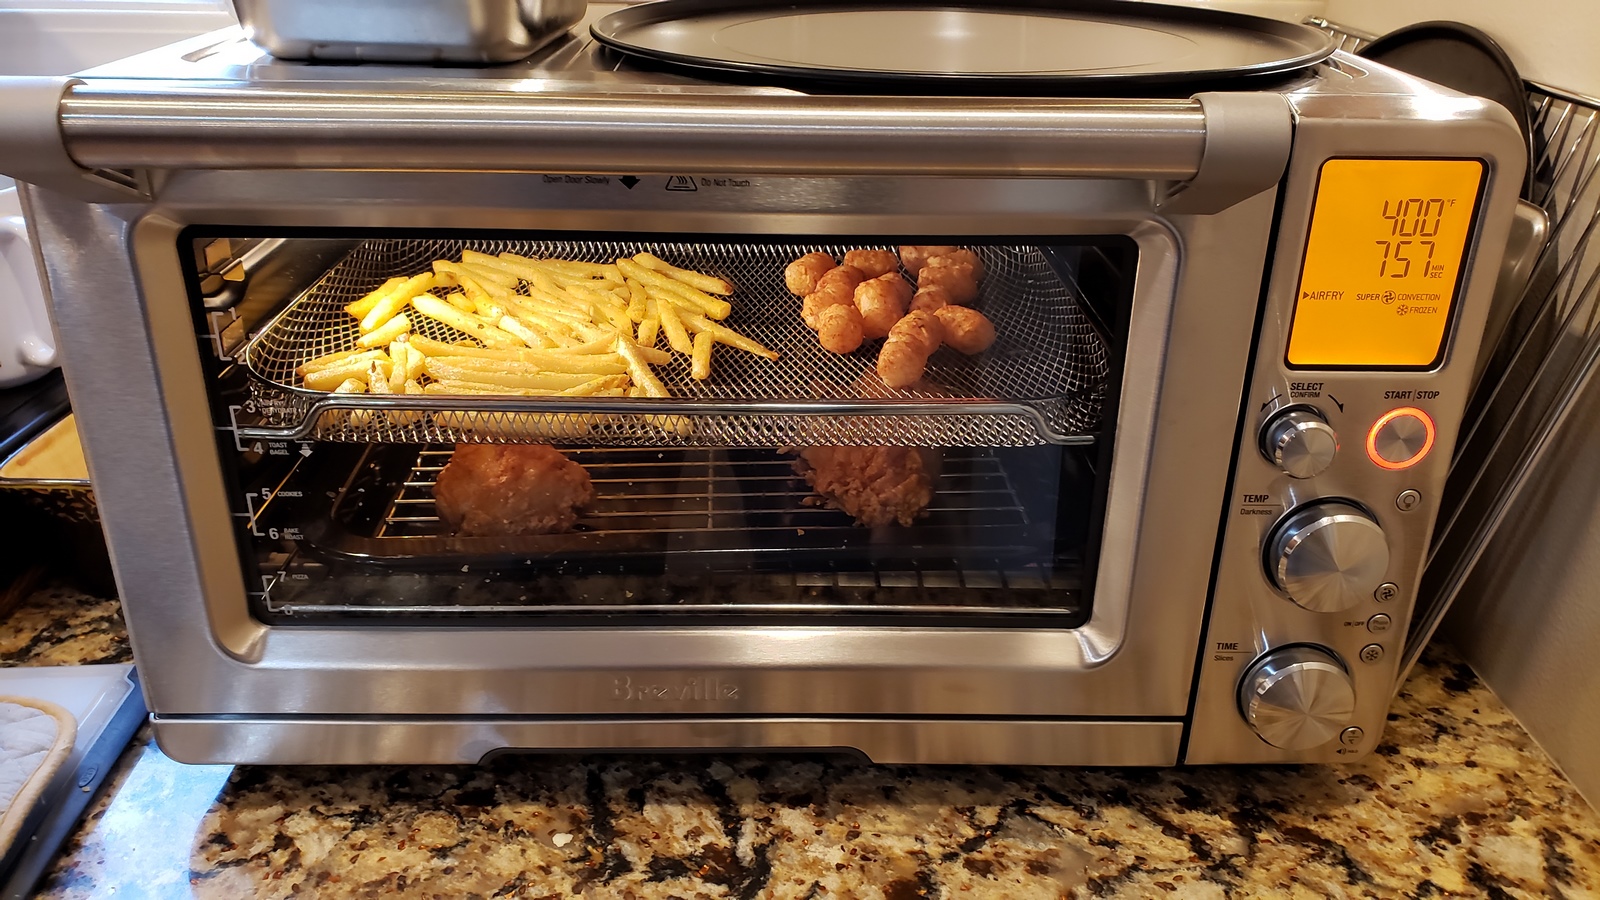
- Wait for the Indicator: Once the oven has reached the desired temperature, an indicator will notify you that it’s preheated and ready to use. This indicator may be a beep, a light turning on, or a digital display showing the reached temperature. Be sure to consult your Oster toaster oven’s manual for specific details about the preheating indicator.
By following these simple steps, you can ensure that your Oster toaster oven is properly preheated and ready to cook your favorite meals. It’s a crucial step in achieving consistent and delicious results every time you use your toaster oven.
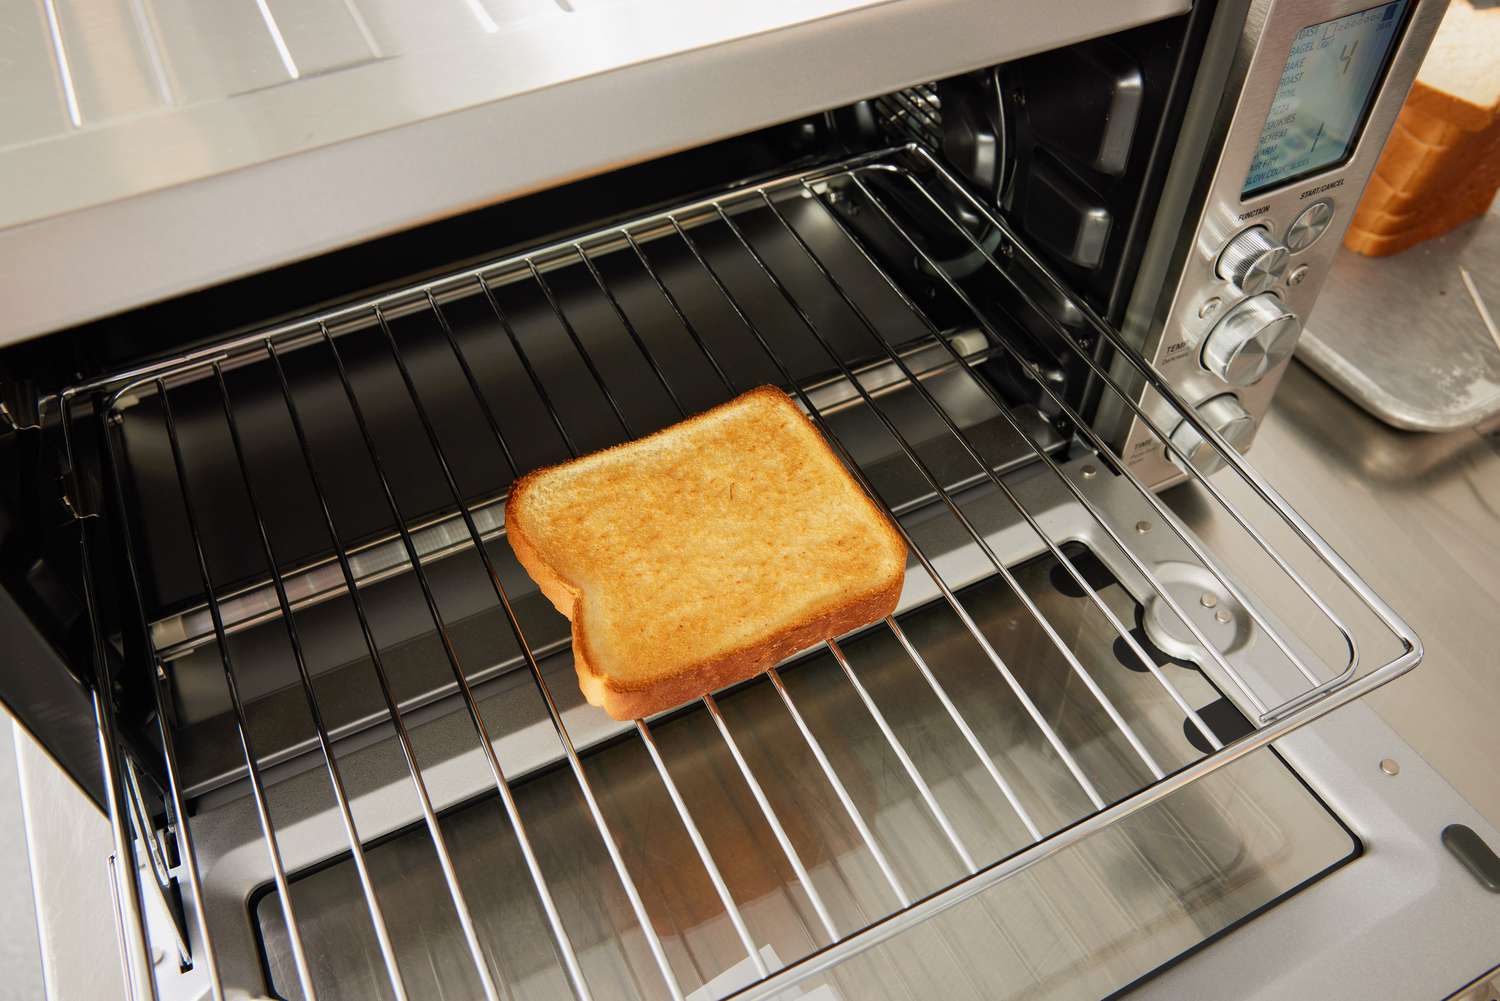
When the preheat light on the Oster toaster oven turns off, it indicates that the oven has reached the set temperature and is preheated, ready for use.
Indicator to Know When the Oster Toaster Oven is Preheated
Knowing when your Oster toaster oven is preheated is important to ensure that your food cooks evenly and achieves the desired results. Thankfully, most Oster toaster ovens are equipped with indicators that let you know when the oven has reached the desired temperature. Here are some common indicators to look out for:
- Light Indicator: Many Oster toaster ovens have a preheat light indicator that illuminates when the oven has reached the set temperature. This light may be located on the control panel or near the temperature dial. Once the light turns on, it indicates that the oven is preheated and ready to use.
- Beep Notification: Some Oster toaster ovens emit a beep or a series of beeps to indicate that the oven has reached the desired temperature. This audible alert is a helpful reminder that your oven is preheated and that you can begin cooking your food.
- Digital Display: Certain Oster models come with a digital display that shows the current temperature of the oven. As the oven heats up, the temperature displayed will gradually increase. Once it reaches the set temperature, you will see it on the digital display, indicating that the oven is preheated and ready for use.
- Audible Timer: Some Oster toaster ovens have an audible timer that can be set to count down during the preheating process. Once the timer reaches zero, it signals that the oven is preheated and ready for cooking. This feature allows you to engage in other tasks while waiting for the oven to heat up.
- Temperature Stability: Another indicator of preheating is the stability of the oven’s temperature. As the oven heats up, it may fluctuate slightly to reach the desired temperature. Once the temperature remains constant for a certain period, usually a few minutes, it indicates that the oven is preheated and ready to use.
It’s important to consult your Oster toaster oven’s manual for specific information on the preheating indicators as they can vary depending on the model. Understanding and utilizing these indicators will help you achieve consistent and delicious results with your Oster toaster oven.
Benefits of Preheating
Preheating your Oster toaster oven before cooking offers a range of benefits that contribute to the overall success of your culinary endeavors. Here are some key advantages of preheating:
- Even Cooking: Preheating ensures that the oven reaches the desired temperature before you place your food inside. This helps create a consistent and even distribution of heat, resulting in food that cooks uniformly. Whether you’re baking cookies, roasting vegetables, or broiling a steak, preheating allows for more reliable and predictable cooking results.
- Improved Texture and Appearance: Preheating plays a crucial role in developing the desired texture and appearance of your dishes. For example, when baking bread or pastries, preheating helps create a crisp and golden crust. It also aids in achieving a nicely browned and caramelized exterior when roasting meats or vegetables, enhancing their visual appeal and taste.
- Faster Cooking Time: Preheating your Oster toaster oven can significantly reduce the cooking time for your meals. By starting the cooking process with a hot oven, your food can begin cooking immediately and more efficiently. This is especially beneficial when you’re short on time or preparing multiple dishes concurrently.
- Food Safety: Preheating your oven is essential for maintaining food safety. When cooking poultry, meat, or fish, preheating helps ensure that the internal temperature of the food reaches a safe level to kill any harmful bacteria. It minimizes the risk of undercooked or unsafe food consumption.
- Consistent Results: Preheating enables you to achieve consistent cooking results each time you use your Oster toaster oven. By starting at a known and consistent temperature, you can follow recipes accurately and predictably. This helps you replicate successful dishes and allows for greater experimentation and culinary creativity.
By taking the time to preheat your Oster toaster oven, you can enjoy the benefits of even cooking, improved texture and appearance, faster cooking times, enhanced food safety, and consistent results. Preheating is a simple yet effective technique that elevates your baking, roasting, and toasting endeavors to the next level.
Read also: 12 Unbelievable Oster Toaster Oven For 2025
Conclusion
Preheating your Oster toaster oven is an essential step in achieving delicious and perfectly cooked meals. By taking the time to preheat, you ensure that the oven reaches the desired temperature and creates an optimal cooking environment. This leads to even cooking, improved texture, faster cooking times, and consistent results.
In this article, we have explored the importance of preheating and the steps to preheat your Oster toaster oven. We have also discussed the indicators that let you know when the oven is preheated, such as light indicators, beep notifications, digital displays, audible timers, and temperature stability.
By understanding these indicators and utilizing them, you can confidently start your cooking process at the right temperature, leading to better culinary outcomes. Additionally, preheating your Oster toaster oven ensures food safety by reaching the necessary internal temperature to kill bacteria.
Whether you’re baking, broiling, toasting, or reheating, preheating is a small yet crucial step that should not be overlooked. It contributes to the overall success of your dishes, enhancing their taste, texture, appearance, and cooking efficiency.
So, the next time you fire up your Oster toaster oven, remember to preheat it to ensure exceptional cooking results. Happy cooking!
Frequently Asked Questions about How To Know When Oster Toaster Oven Is Preheated
Was this page helpful?
At Storables.com, we guarantee accurate and reliable information. Our content, validated by Expert Board Contributors, is crafted following stringent Editorial Policies. We're committed to providing you with well-researched, expert-backed insights for all your informational needs.

0 thoughts on “How To Know When Oster Toaster Oven Is Preheated”