Articles
How To Preheat Black And Decker Toaster Oven
Modified: September 1, 2024
Learn how to preheat your Black and Decker toaster oven with these helpful articles. Discover the best techniques for achieving perfect results every time.
(Many of the links in this article redirect to a specific reviewed product. Your purchase of these products through affiliate links helps to generate commission for Storables.com, at no extra cost. Learn more)
Introduction
Welcome to this comprehensive guide on how to preheat your Black and Decker toaster oven. Preheating is an essential step in ensuring the optimal cooking results for your favorite meals. Whether you’re preparing a delicious pizza, baking scrumptious cookies, or roasting a mouth-watering chicken, preheating your toaster oven is key to achieving the perfect outcome.
A Black and Decker toaster oven is a versatile and convenient kitchen appliance that can handle various cooking tasks. It combines the functionalities of a toaster and an oven, allowing you to toast, bake, broil, and more. However, to ensure that your food gets cooked evenly and thoroughly, it’s crucial to preheat the toaster oven before loading it with your ingredients.
By following the step-by-step instructions in this guide, you’ll learn how to effectively preheat your Black and Decker toaster oven and make the most out of its cooking capabilities. We’ll discuss adjusting the temperature, setting the timer, recommended preheating times and temperatures, troubleshooting common issues, and more. Let’s get started!
Note: It’s important to read your Black and Decker toaster oven’s manual for specific instructions and refer to the manufacturer’s guidelines for preheating temperature and time recommendations.
Key Takeaways:
- Proper preheating of your Black and Decker toaster oven is crucial for achieving delicious and evenly cooked meals. Follow the step-by-step instructions, temperature and time recommendations, and helpful tips to ensure optimal cooking results.
- Troubleshoot common preheating issues, such as inaccurate temperature readings or inconsistent heat distribution, to maximize the efficiency of your toaster oven. Contact the manufacturer for specific guidance and enjoy the culinary delights your toaster oven can offer.
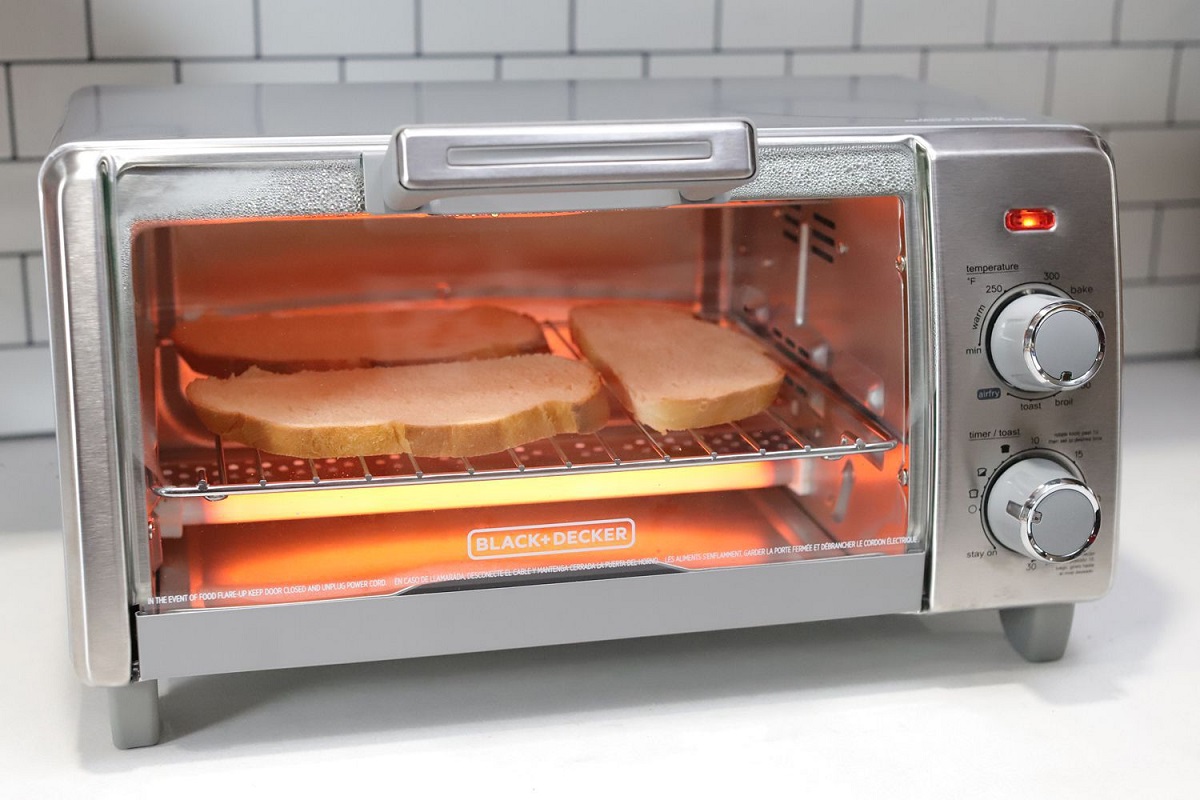
Step 1: Plug in the Toaster Oven
The first step in preheating your Black and Decker toaster oven is to plug it into a power source. Make sure you have a power outlet available that is compatible with the toaster oven’s voltage requirements.
Locate the power cord of your toaster oven and insert the plug into the outlet. Ensure that the cord is properly connected and secured to the outlet to prevent any electrical issues during the preheating process.
It’s important to check that the power cord is in good condition and free from any damage. If you notice any frayed or exposed wires, do not plug in the toaster oven and contact the manufacturer for assistance.
Once the toaster oven is plugged in, you will have access to its various functions and settings. The preheating process will begin by adjusting the temperature and setting the timer, which we’ll cover in the following steps.
Remember to always follow basic safety precautions when using electrical appliances. Keep the toaster oven away from water or any flammable materials, and never leave it unattended while in use.
Now that your toaster oven is plugged in and ready to go, let’s move on to step 2: setting the temperature.
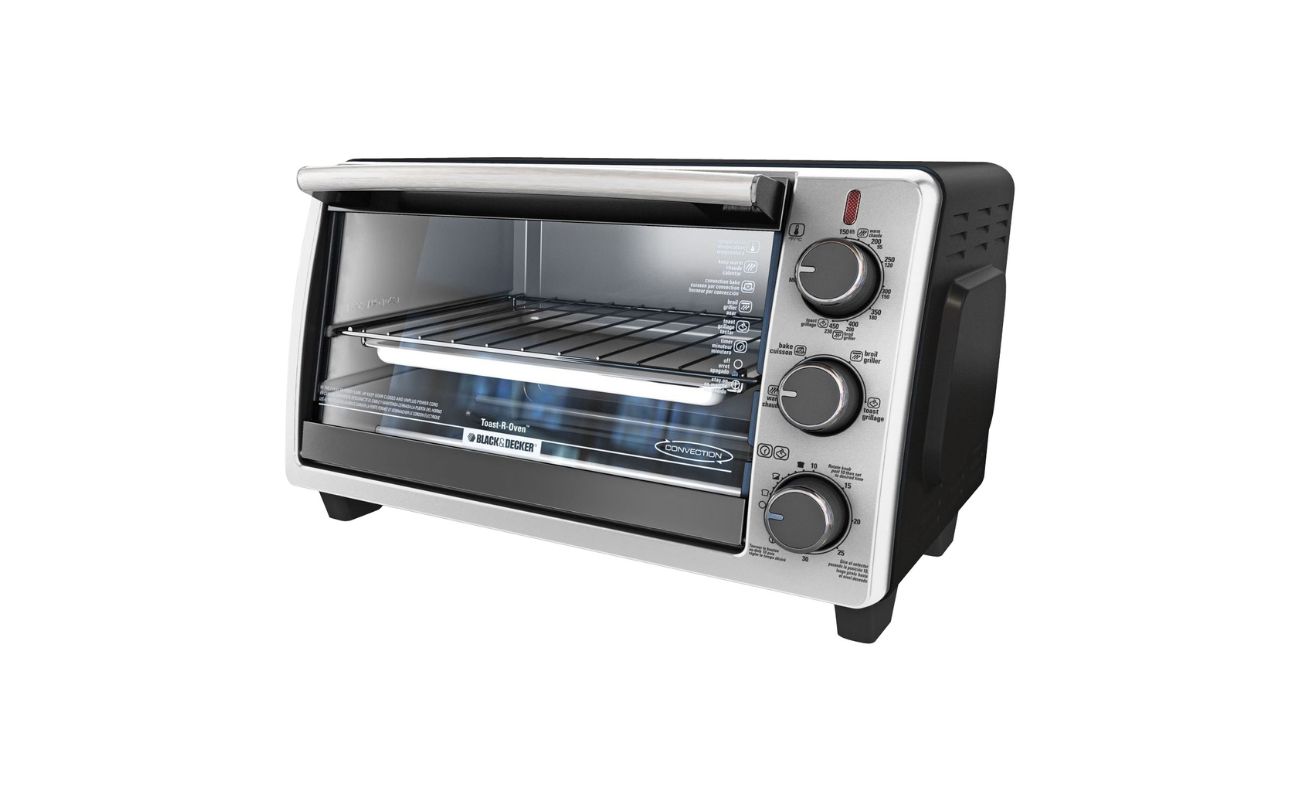
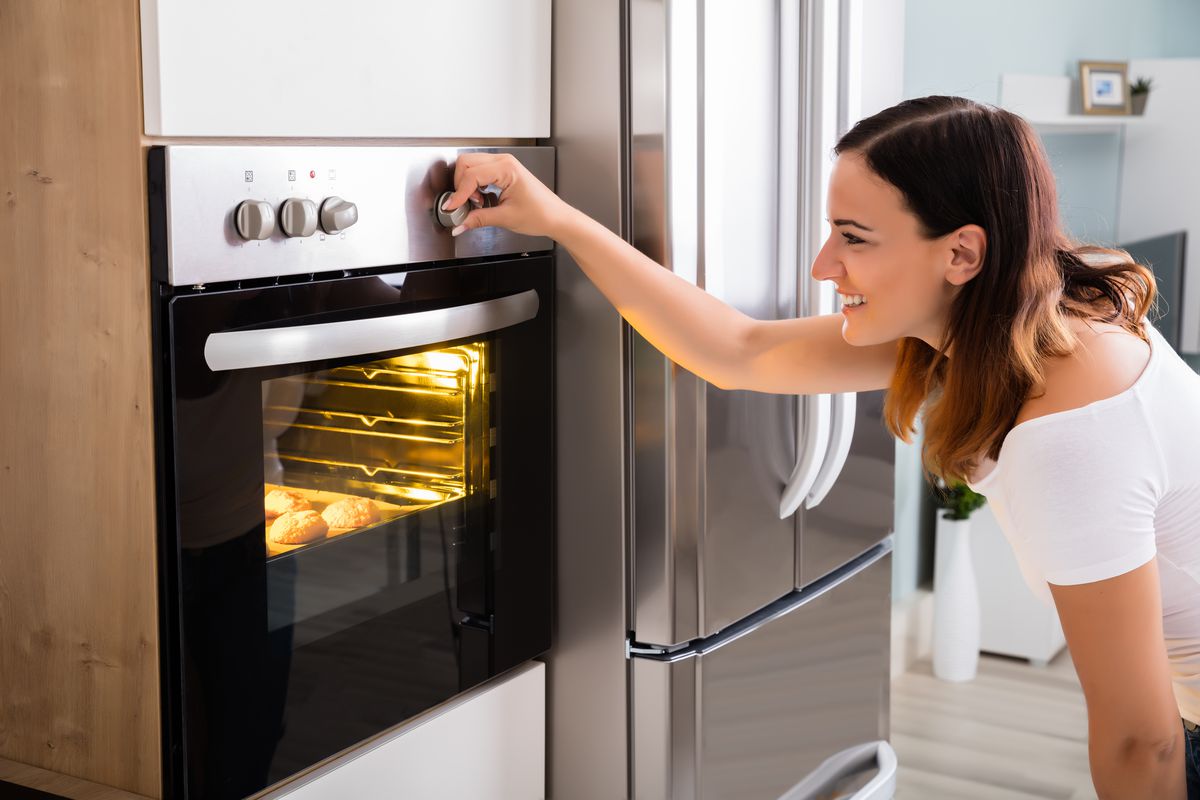
Step 2: Set the Temperature
Setting the temperature on your Black and Decker toaster oven is crucial for achieving the desired cooking results. The temperature you choose will depend on the type of food you’re preparing and the recipe’s recommendations.
Locate the temperature control knob or buttons on your toaster oven. Depending on the model, you may have options to adjust the temperature in increments or set it to specific values.
To set the temperature, turn the temperature control knob clockwise or press the temperature buttons until you reach the desired temperature. Most Black and Decker toaster ovens offer temperature settings ranging from 150°F to 450°F (65°C to 232°C), providing flexibility for various cooking needs.
If you’re unsure about the appropriate temperature for your specific recipe, consult the recipe instructions or refer to general cooking temperature guidelines for the type of food you’re preparing.
Keep in mind that some toaster ovens have preprogrammed cooking functions that automatically set the temperature for specific foods, such as pizza, toast, or cookies. If your toaster oven has these presets, you can simply select the corresponding function.
Once you’ve set the temperature, the preheating process will begin, bringing the toaster oven up to the desired temperature before you place your food inside. In the next step, we’ll cover how to adjust the timer for the preheating process.
Note: It’s recommended to preheat the toaster oven for a few minutes, even if the preheating signal goes off, to ensure that it reaches and stabilizes at the set temperature. This will help avoid any temperature fluctuations during the cooking process.
Step 3: Adjust the Timer
After setting the temperature for your Black and Decker toaster oven, the next step is to adjust the timer. The timer ensures that the toaster oven operates for a specific duration, allowing it to reach the desired preheating temperature and then alerting you when the preheating process is complete.
Located near the temperature controls, you will find the timer adjustment knob or a digital timer display. Depending on your toaster oven model, you may have the option to set the timer in minutes or use preset time settings.
To adjust the timer, turn the timer adjustment knob clockwise or press the corresponding buttons until you reach the desired preheating time. The recommended preheating time will vary depending on the type of food you’re preparing and the toaster oven’s instructions.
If your toaster oven offers preset cooking functions, you may have the option to select a specific preheating time that is predetermined for certain foods, such as pizza, toast, or bake.
Once you’ve adjusted the timer, the toaster oven will begin the preheating process. During this time, it will gradually increase in temperature until it reaches the set temperature. You can monitor the progress by observing the temperature display or by listening for any preheating indicators that the toaster oven may have.
It’s important to note that preheating times may vary between toaster oven models and personal preferences. As a general guideline, preheating for approximately 5-10 minutes is often sufficient for most cooking tasks.
Now that you’ve adjusted the timer, it’s time to move on to step 4: the preheating process itself.
Step 4: Preheating Process
Now that you’ve set the temperature and adjusted the timer, it’s time to kick off the preheating process in your Black and Decker toaster oven. The preheating process allows the oven to reach the desired temperature before you begin cooking or baking your food.
Once you’ve set the temperature and timer, the toaster oven will start heating up. The heating elements inside the oven will generate the necessary heat to raise the temperature to the desired level.
During the preheating process, it’s important to keep the toaster oven closed to maintain consistent heat circulation. Opening the oven door prematurely can cause heat loss and interfere with the preheating process.
While the toaster oven is preheating, you may notice indicators such as a preheating light that illuminates or changes color, or a beeping sound that signals the progress. These indicators vary depending on the model of your Black and Decker toaster oven.
It’s important to note that the preheating time may vary depending on the desired temperature, the toaster oven’s power, and the surrounding room temperature. It’s recommended to follow the recommended preheating time provided by the toaster oven’s manufacturer or recipe instructions.
Once the preheating process is complete, the toaster oven will alert you. This can be done through various means, such as a sound indicator, a change in the display, or the preheating light turning off. It’s important to pay attention to these indicators to ensure that the toaster oven is fully preheated before proceeding with your cooking or baking.
Now that you understand the preheating process, let’s move on to step 5: preheating time and temperature recommendations to help you in your cooking adventures.
To preheat a Black and Decker toaster oven, simply turn the temperature dial to the desired setting and allow the oven to heat up for 5-10 minutes before use. This will ensure even cooking and better results.
Step 5: Preheating Time and Temperature Recommendations
When it comes to preheating your Black and Decker toaster oven, it’s important to follow recommended preheating time and temperature guidelines. These recommendations will help ensure that your food cooks evenly and thoroughly, resulting in delicious meals.
The specific preheating time and temperature will vary depending on the type of food you’re preparing and the recipe’s instructions. However, here are some general recommendations to keep in mind:
- For baking tasks, such as cookies or cakes, it’s typically recommended to preheat the toaster oven at a temperature of 325°F to 350°F (163°C to 177°C). Preheating for approximately 10 minutes should be sufficient in most cases.
- For toasting bread or bagels, preheating at a high temperature of around 400°F to 450°F (204°C to 232°C) for about 5 minutes should provide a crispy and golden result.
- For roasting meats or poultry, preheating at a higher temperature, usually between 375°F and 425°F (190°C to 218°C), is recommended. Preheating for about 15 minutes is often sufficient for this cooking method.
- For reheating leftovers or smaller food items, preheating at a moderate temperature, such as 350°F (177°C), for a shorter time of around 5-7 minutes is usually enough.
It’s important to note that these are general recommendations, and you should always refer to specific recipes or the manufacturer’s guidelines for more precise preheating instructions. Different recipes and cooking methods may require slight adjustments in temperature and preheating time.
Additionally, factors such as the size and thickness of your food, the desired level of doneness, and personal preferences can also influence the preheating time and temperature you choose. It may require some experimentation to find the perfect balance for your specific cooking needs.
Now that you have a better understanding of preheating time and temperature recommendations, let’s move on to step 6: preheating tips and tricks to help you achieve the best cooking results.
Step 6: Preheating Tips and Tricks
To make the most out of your preheating process and ensure optimal cooking results in your Black and Decker toaster oven, here are some helpful tips and tricks:
- Allow sufficient preheating time: It’s essential to give your toaster oven enough time to reach the desired preheating temperature. Follow the recommended preheating time provided by the manufacturer or recipe instructions to ensure that the oven is adequately heated.
- Preheat with an empty oven: For the best results, it’s recommended to preheat your toaster oven when it’s empty. This allows the oven to heat up evenly and ensures that the desired cooking temperature is reached throughout the oven cavity.
- Use an oven thermometer: To ensure accuracy, consider using an oven thermometer to verify the temperature inside your toaster oven. This can help you adjust the temperature settings if needed and ensure consistent cooking results.
- Avoid overcrowding: When preheating for baking or cooking tasks that require multiple pans or dishes, avoid overcrowding the toaster oven. Leave enough space for proper heat circulation, which will help food cook evenly and prevent uneven browning.
- Preheating with the door closed: During the preheating process, it’s important to keep the toaster oven door closed to maintain the desired temperature. Opening the door frequently can cause temperature fluctuations, which may affect the cooking results.
- Consider preheating a bit longer: While the toaster oven may signal that the preheating process is complete, it’s often beneficial to let it preheat a bit longer, especially for baking tasks. This ensures that the oven temperature has stabilized and will lead to more consistent results.
- Preheating for frozen foods: If you’re cooking frozen foods in your toaster oven, it’s recommended to add a few extra minutes to the preheating time. This compensates for the additional time required to thaw and cook the frozen food thoroughly.
- Clean the toaster oven regularly: A clean oven is essential for proper heat distribution. Regularly clean your Black and Decker toaster oven to remove any food particles or grease that may affect the preheating and cooking process.
By following these preheating tips and tricks, you can maximize the efficiency and effectiveness of your Black and Decker toaster oven. Experiment with different techniques and adjustments to find what works best for your cooking preferences and recipes.
Now that you’re equipped with preheating tips and tricks, let’s move on to step 7: checking for preheating completion.
Step 7: Checking for Preheating Completion
Once you’ve set the temperature, adjusted the timer, and allowed your Black and Decker toaster oven to preheat, it’s important to check for preheating completion before you begin cooking or baking your food. Checking for preheating completion ensures that the oven has reached the desired temperature for optimal cooking results.
Here are a few ways to check if your toaster oven has completed the preheating process:
- Use preheating indicators: Many toaster ovens have preheating indicators, such as a light that turns off or changes color, or a beeping sound that signals the end of the preheating process. Pay attention to these indicators as they can help you determine when the oven is ready.
- Check the temperature display: If your toaster oven has a digital temperature display, you can monitor it to see if it has reached the set preheating temperature. Once the display shows a consistent reading at or near the desired temperature, it’s a good indication that the preheating process is complete.
- Use an oven thermometer: For added accuracy, you can use an oven thermometer to verify the internal temperature of your toaster oven. Insert the thermometer inside the oven and check if it matches or is close to the desired preheating temperature.
- Allow additional preheating time: If you’re unsure whether the preheating process is complete, it’s always safer to err on the side of caution. Extend the preheating time by a few extra minutes to ensure that the oven has reached and stabilized at the desired temperature.
Remember, different models of toaster ovens may have varying preheating indicators or features, so refer to the manufacturer’s guidelines or the toaster oven’s manual for specific instructions on determining preheating completion.
Once you’re confident that the preheating process is complete, you can proceed with loading your ingredients into the toaster oven and begin cooking or baking your delicious meals.
Now that you know how to check for preheating completion, let’s move on to step 8: preheating troubleshooting in case you encounter any issues along the way.
Step 8: Preheating Troubleshooting
While preheating your Black and Decker toaster oven, you may encounter certain issues or challenges that can affect the preheating process. Here are some common preheating troubleshooting tips to help you overcome these obstacles and ensure a smooth cooking experience:
- Inaccurate temperature readings: If you suspect that your toaster oven is not reaching the desired temperature or the temperature readings seem inaccurate, consider using an oven thermometer to verify the internal temperature. If there is a significant discrepancy, it may require professional recalibration or servicing.
- Inconsistent heat distribution: If you notice uneven cooking or browning during the preheating process, it could indicate inconsistent heat distribution. Ensure that the oven is clean and free from any food debris or grease buildup, as this can obstruct heat and affect the preheating process. Also, avoid overcrowding the oven, which can hinder proper heat circulation.
- Preheating takes longer than expected: If you find that the preheating process is taking longer than usual, check if the toaster oven is plugged into a functioning power outlet. Additionally, make sure that the oven door is securely closed, as opening it frequently can cause heat loss and prolong the preheating time.
- Preheating signals not working: If the preheating indicators, such as lights or beeps, are not functioning properly, refer to the toaster oven’s manual or contact the manufacturer for assistance. It’s essential to be aware of the preheating signals to ensure that the oven reaches the desired temperature before cooking.
- Excessive heat or burning smell: If you notice an excessive buildup of heat or a burning smell during the preheating process, immediately turn off and unplug the toaster oven. This could indicate a malfunction or potential fire hazard. Contact the manufacturer or seek professional assistance to diagnose and resolve the issue.
If you encounter any persistent issues or concerns with the preheating process in your Black and Decker toaster oven, it’s recommended to contact the manufacturer’s customer support for further guidance. They can provide specific troubleshooting steps or arrange for repairs if necessary.
By troubleshooting preheating issues, you can ensure that your toaster oven is functioning optimally and achieve the desired cooking results.
Now that you’re equipped with preheating troubleshooting tips, you’re ready to make the most out of your Black and Decker toaster oven. Happy cooking!
Thank you for reading this comprehensive guide on how to preheat your Black and Decker toaster oven. We hope this information has been helpful in enhancing your cooking experience and achieving delicious meals.
Disclaimer: It’s important to refer to the manufacturer’s guidelines and instructions specific to your Black and Decker toaster oven for accurate and safe preheating practices.
Conclusion
Congratulations! You’ve reached the end of this comprehensive guide on how to preheat your Black and Decker toaster oven. By following the step-by-step instructions, preheating tips and tricks, and troubleshooting advice, you can now confidently and effectively preheat your toaster oven for optimal cooking results.
Remember, preheating your toaster oven is an essential step in achieving even and thorough cooking. It ensures that the oven reaches the desired temperature, allowing your food to cook or bake to perfection. Whether you’re making crispy toast, mouth-watering cookies, or succulent roasts, proper preheating sets the stage for culinary success.
Throughout this guide, we covered topics including plugging in the toaster oven, setting the temperature and timer, the preheating process itself, preheating time and temperature recommendations, helpful tips and tricks, checking for preheating completion, and troubleshooting common preheating issues.
Remember to consult your Black and Decker toaster oven’s manual for specific instructions and guidelines tailored to your model. Every toaster oven may have slight variations in features, settings, and preheating requirements, so understanding your specific model is essential for optimal results.
We hope that this guide has provided you with valuable insights and knowledge to make the most out of your Black and Decker toaster oven. Preheating your toaster oven correctly will take your cooking endeavors to a new level, allowing you to create delicious and mouth-watering dishes with ease.
Now, go ahead and put your newfound preheating skills into practice. Explore new recipes, experiment with different temperatures and cooking times, and enjoy the delights that your Black and Decker toaster oven can offer. Happy cooking!
Excited about perfecting your Black and Decker toaster oven skills? Next, why not elevate your baking and mixing prowess? Our latest review covers the top Black and Decker hand mixers set to make waves in 2024. Whether you're whipping up a storm or just mixing a simple batter, these hand mixers promise to make your kitchen tasks smoother and more efficient. Don't miss out on finding the ideal mixer that fits your culinary needs!
Frequently Asked Questions about How To Preheat Black And Decker Toaster Oven
Was this page helpful?
At Storables.com, we guarantee accurate and reliable information. Our content, validated by Expert Board Contributors, is crafted following stringent Editorial Policies. We're committed to providing you with well-researched, expert-backed insights for all your informational needs.


0 thoughts on “How To Preheat Black And Decker Toaster Oven”