Articles
How To Make A Toaster Strudel In The Oven
Modified: August 26, 2024
Learn how to make a delicious toaster strudel in the oven with this step-by-step guide. Find more helpful articles on cooking and baking techniques.
(Many of the links in this article redirect to a specific reviewed product. Your purchase of these products through affiliate links helps to generate commission for Storables.com, at no extra cost. Learn more)
Introduction
Have you ever craved a warm and flaky toaster strudel but found yourself without a toaster? Don’t worry! You can still enjoy this delicious breakfast treat by making it in the oven. While the traditional method involves toasting the strudel in a toaster, baking it in the oven offers a convenient and equally tasty alternative. In this article, we will guide you through the step-by-step process of making a toaster strudel in the oven.
Toaster strudels are known for their buttery and flaky pastry filled with sweet and fruity fillings, topped with a creamy icing. Whether you’re a fan of the classic strawberry or prefer the indulgent chocolate or apple cinnamon flavor, making your toaster strudels in the oven allows you to enjoy them without the need for a toaster.
By following this easy method, you’ll be able to achieve perfectly baked toaster strudels with a golden-brown crust and a warm and gooey filling. So let’s get started and satisfy those cravings for a delicious and comforting breakfast treat!
Key Takeaways:
- Enjoy warm and flaky toaster strudels without a toaster by following simple oven-baking steps. Elevate your breakfast experience with golden-brown pastries and gooey fillings, topped with creamy icing.
- Embrace creativity and experimentation with different fillings and toppings to personalize your homemade toaster strudels. Indulge in this delightful treat any time of day for a comforting and satisfying experience.
Step 1: Preparing the Toaster Strudel
Before you begin baking your toaster strudel in the oven, it’s important to prepare them properly to ensure even cooking and delicious results. Here’s what you need to do:
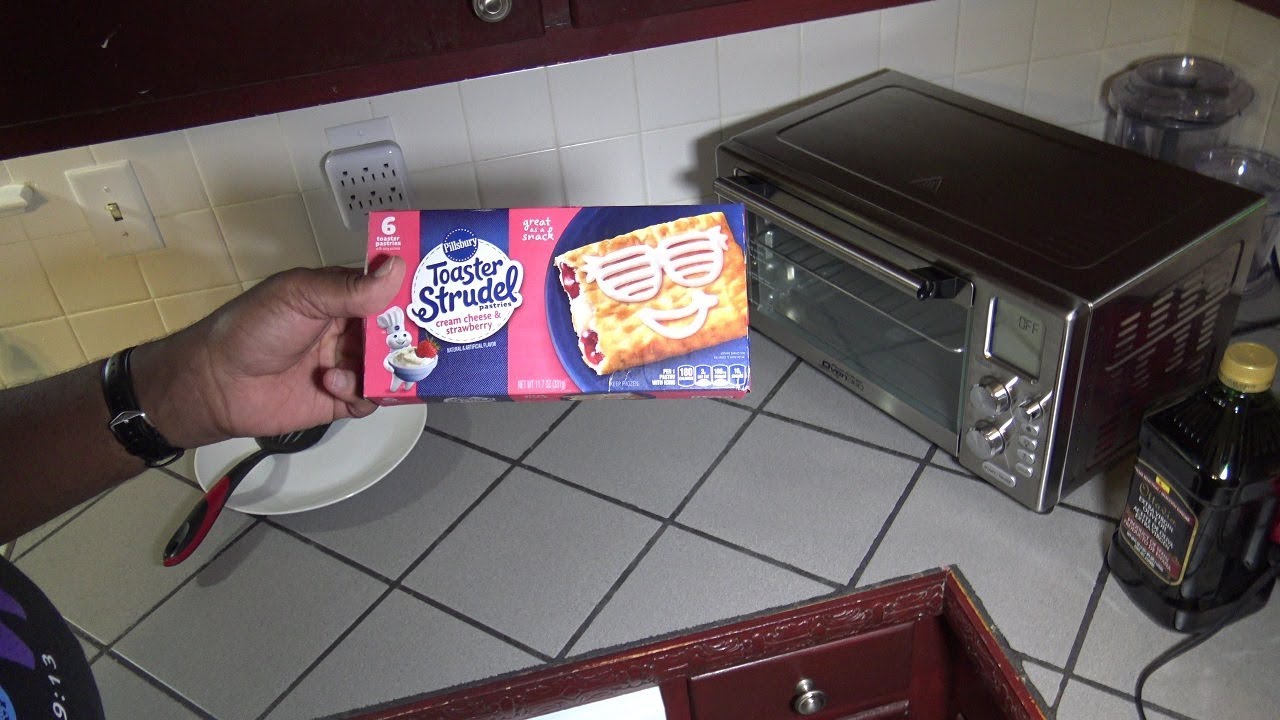
- Take the desired number of toaster strudels out of their packaging and set them aside. It’s best to work with one or two strudels at a time to ensure they cook evenly.
- If your toaster strudels come with individual icing packets, set them aside for later use.
- Gently remove any excess liquid or condensation from the strudels by patting them with a paper towel. This will help prevent sogginess during the baking process.
- Inspect the pastry to make sure there are no tears or holes. If you find any, carefully press the pastry together to seal it.
- You can also brush the pastry with melted butter or a beaten egg for an extra touch of richness and a golden-brown crust.
- Some toaster strudels may have a sugary crust topping. If yours does, make sure to keep it intact for added sweetness and texture.
Once you have prepared your toaster strudels, it’s time to move on to the next step: preheating the oven.
Step 2: Preheating the Oven
Now that your toaster strudels are prepared, it’s essential to preheat the oven to ensure proper cooking. Here’s how to do it:
- First, check the instructions on the packaging of your toaster strudels for the recommended oven temperature. This can vary depending on the brand and type of toaster strudels you’re using.
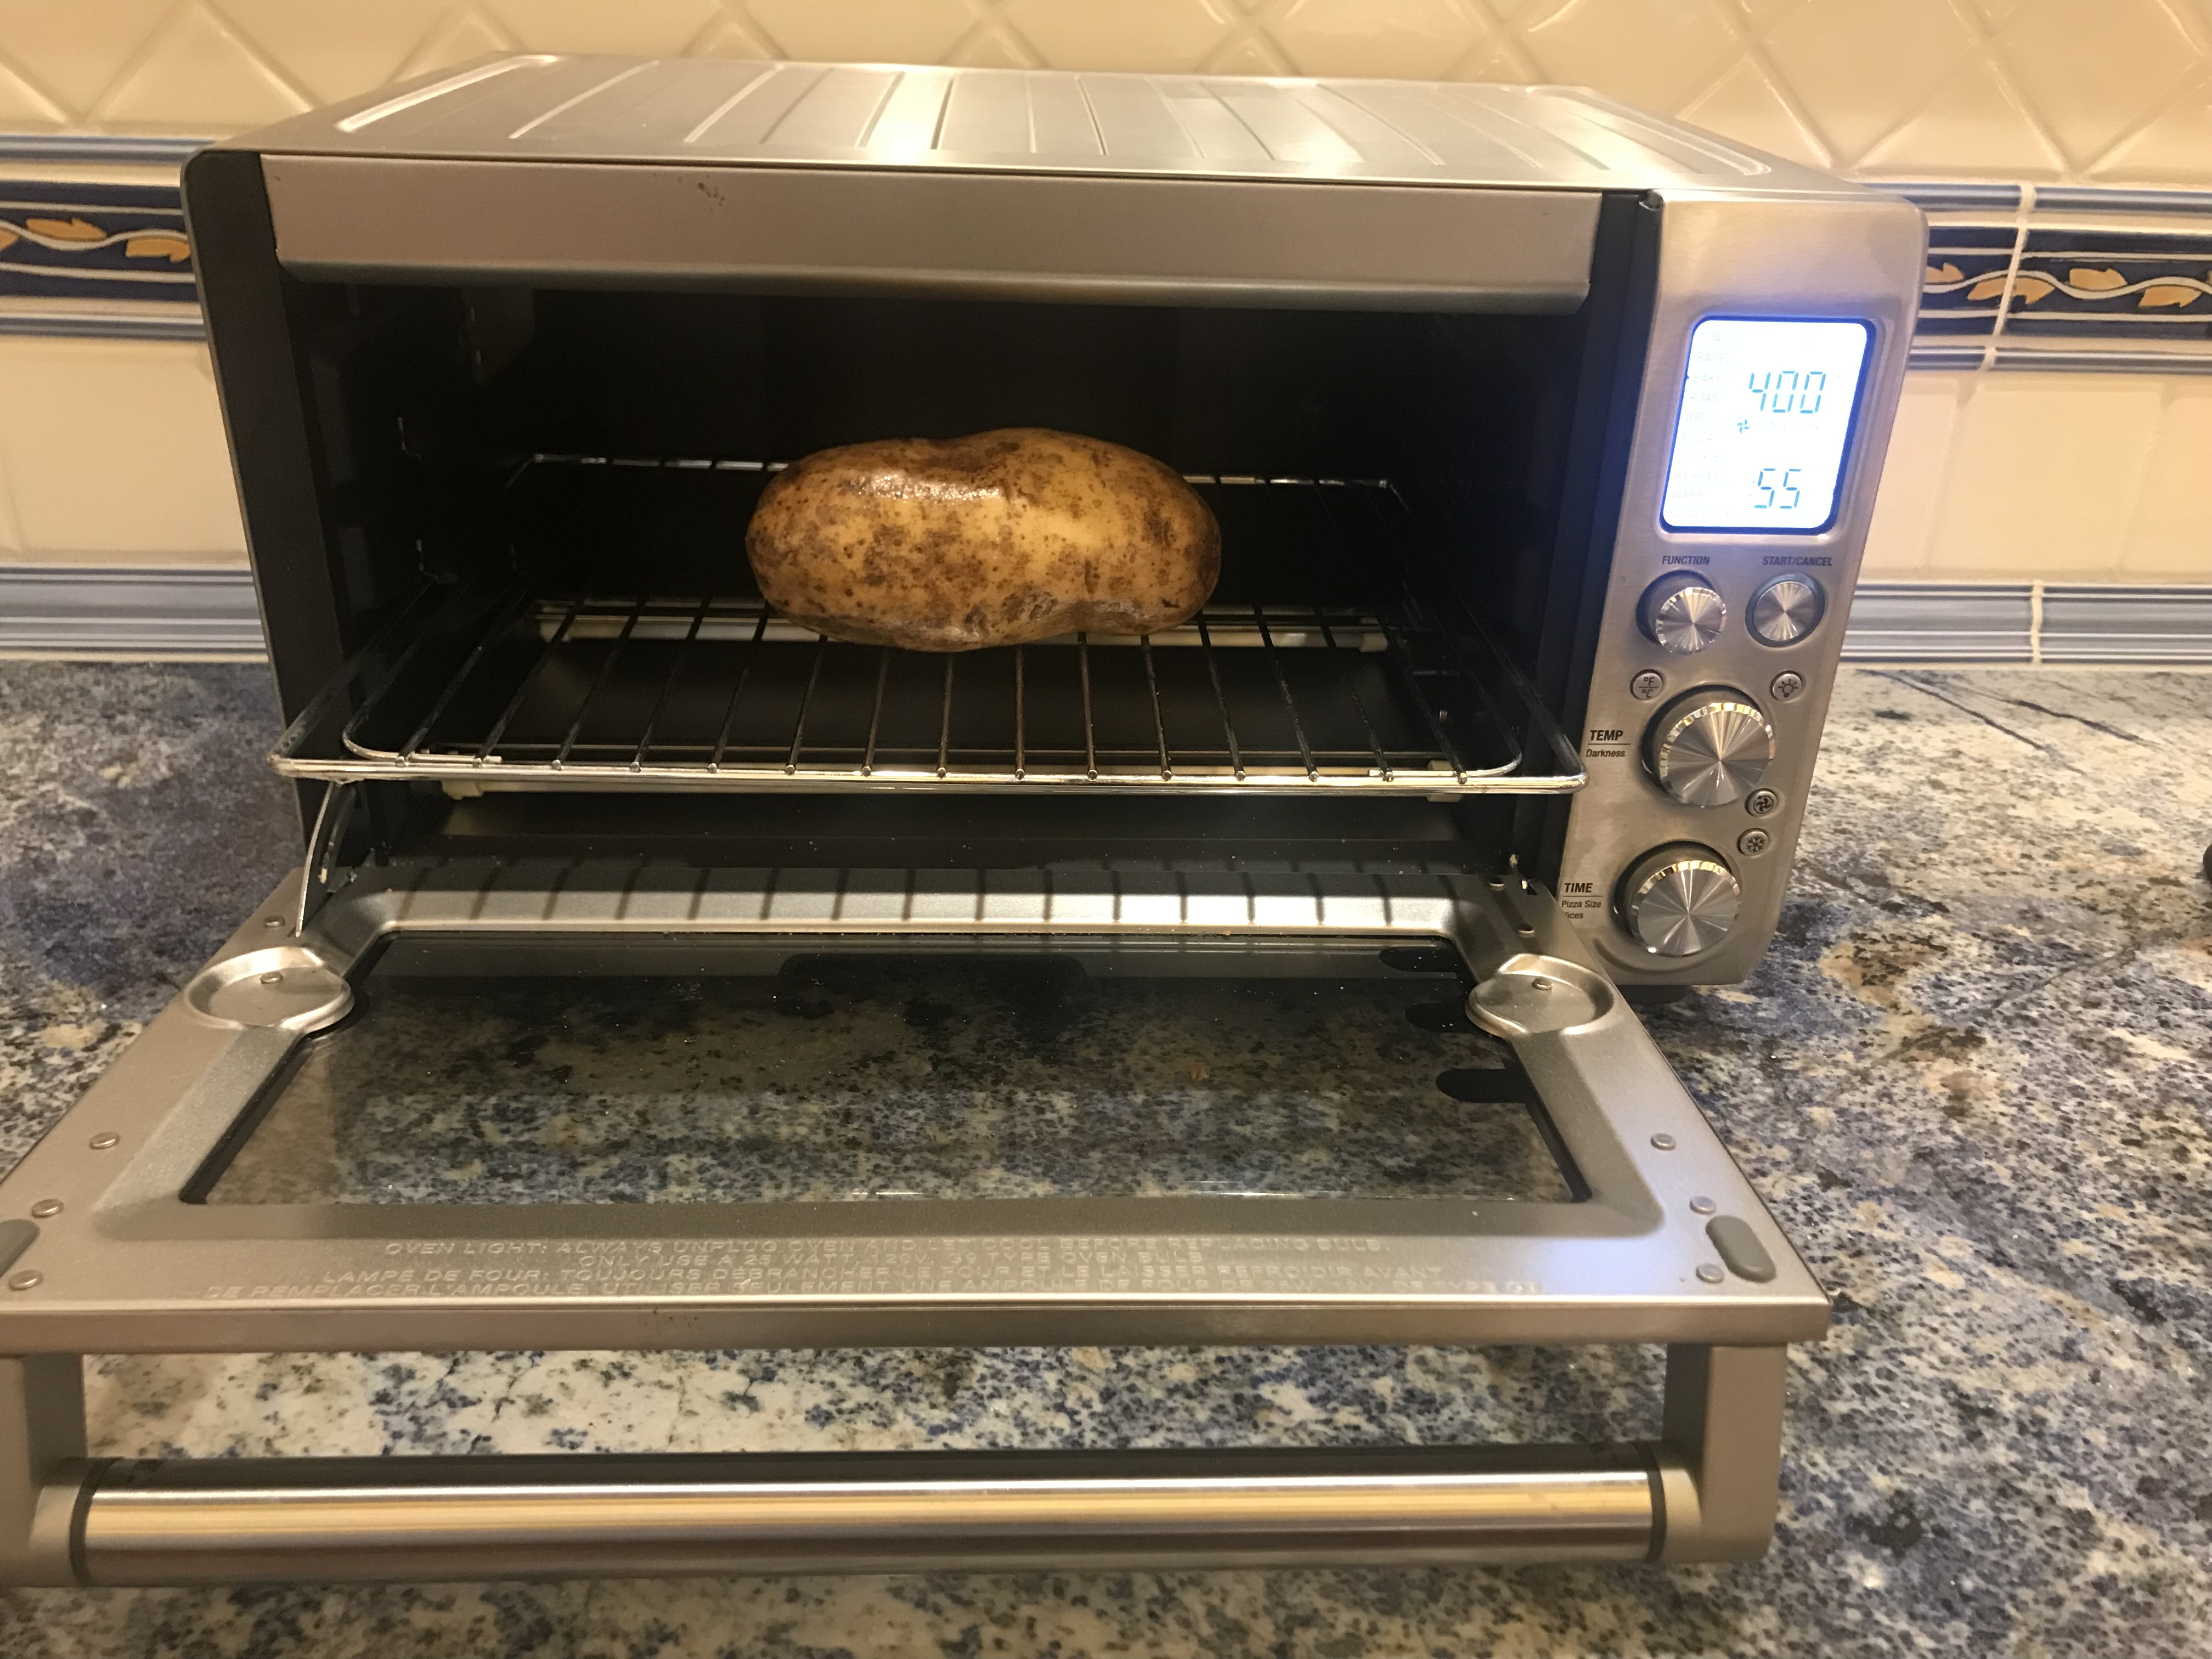
- Turn on your oven and set it to the specified temperature. Most toaster strudels require a preheating temperature of around 375°F (190°C).
- Allow the oven to preheat for about 10 to 15 minutes. This will ensure that it reaches the desired temperature and that your toaster strudels will bake evenly.
- While the oven is preheating, you can take this time to gather any additional ingredients or toppings you’d like to serve with your toaster strudels, such as fresh fruits or a dollop of whipped cream.
Once the oven has reached the recommended temperature, you’re ready to move on to the next step: placing the toaster strudel on a baking sheet.
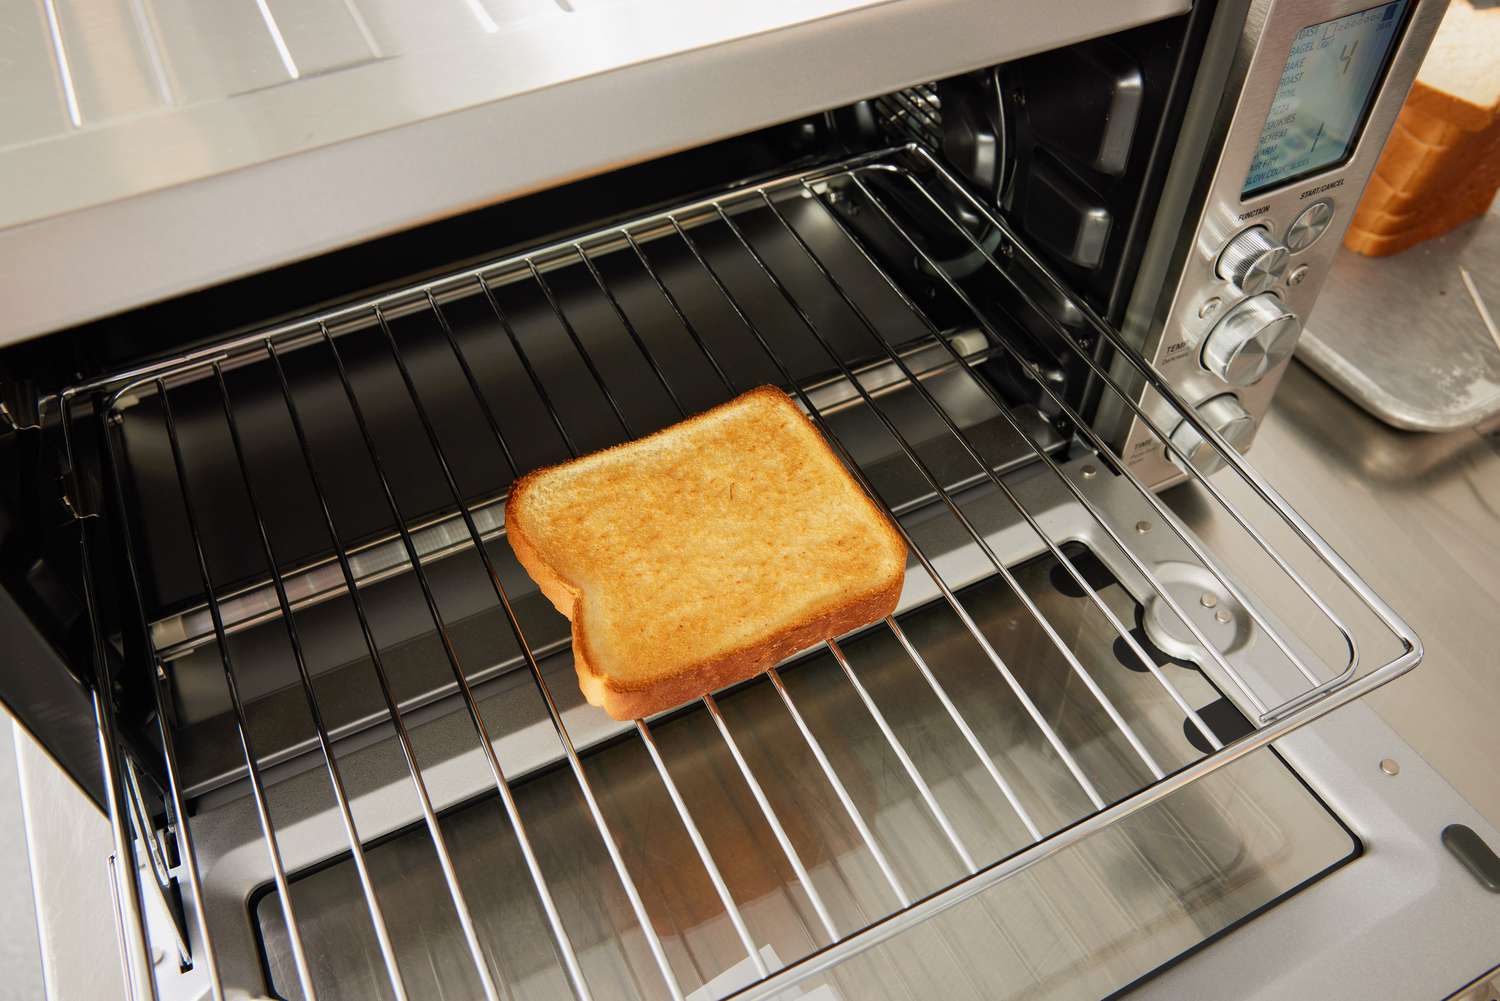
Step 3: Placing the Toaster Strudel on a Baking Sheet
Now that your oven is preheated, it’s time to place the prepared toaster strudels on a baking sheet for baking. Here’s what you need to do:
- Line a baking sheet with parchment paper or aluminum foil to prevent the strudels from sticking to the pan and to make clean-up easier.
- If desired, you can lightly grease the parchment paper or foil with cooking spray to ensure the toaster strudels slide off easily after baking.
- Arrange the prepared toaster strudels on the baking sheet, making sure to leave some space between each strudel. This will allow them to cook evenly and promote proper airflow.
- If you have multiple strudels, you can stack them on top of each other, but make sure to leave some space around the edges to avoid overcrowding.
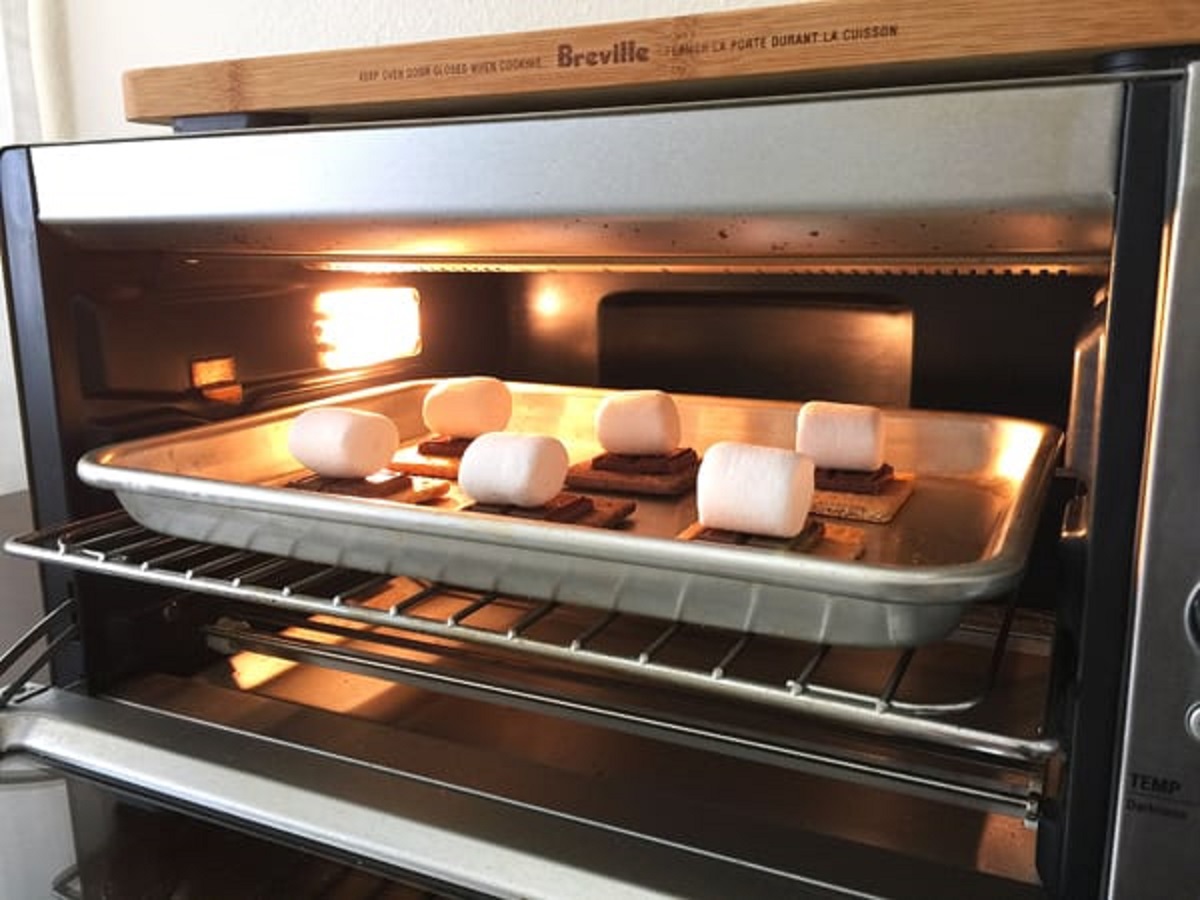
- Position the baking sheet in the center rack of the preheated oven. This will ensure even heat distribution and optimal baking.
With the toaster strudels now positioned on the baking sheet, you’re ready to proceed to the next step: baking the toaster strudels in the oven.
Step 4: Baking the Toaster Strudel
With the toaster strudels placed on the baking sheet, it’s time to bake them in the oven. Follow these steps to achieve perfectly baked and golden-brown strudels:
- Close the oven door and set a timer for the recommended baking time, typically around 15-20 minutes. Refer to the instructions on the toaster strudel packaging for precise baking times.
- During the baking process, it’s important to avoid opening the oven door frequently, as this can cause the temperature to fluctuate and affect the baking process.
- Allow the toaster strudels to bake until they are golden brown and crispy on the outside. The fillings should be warm and bubbly.
- You can check if the strudels are done by inserting a toothpick into the center or by gently pressing the pastry with your fingertip. If it springs back slightly, they are ready to be removed from the oven.
Keep in mind that baking times may vary depending on your oven and the desired level of crispness. Adjust the baking time accordingly, if needed, to achieve your desired results.
Once the toaster strudels are beautifully baked, it’s time to move on to the next step: checking for doneness.
Preheat your oven to 375°F and place the toaster strudel on a baking sheet. Bake for 18-20 minutes or until golden brown. Let it cool for a few minutes before enjoying!
Read more: How To Cook Toaster Strudel In Air Fryer
Step 5: Checking for Doneness
After baking the toaster strudels in the oven, it’s important to check for doneness to ensure they are cooked to perfection. Here’s how you can do it:
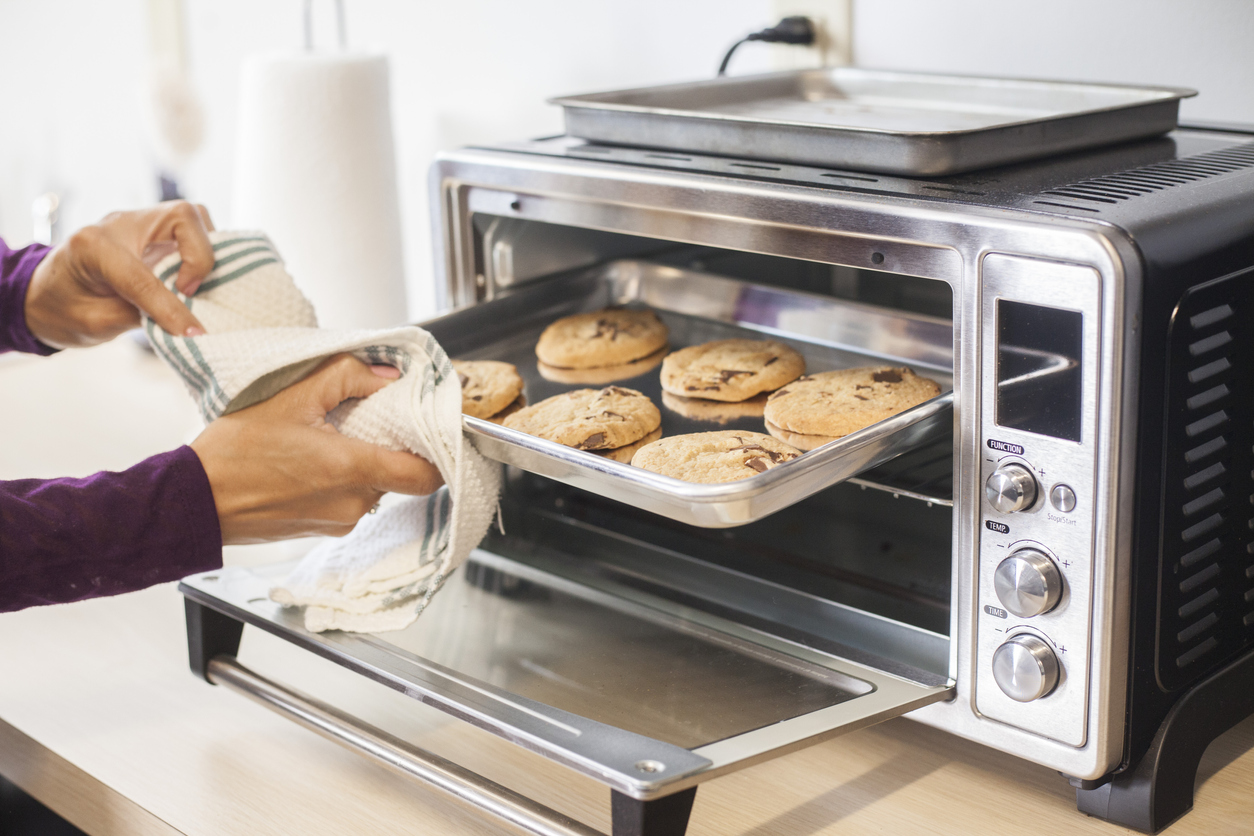
- Using oven mitts or heat-resistant gloves, carefully remove the baking sheet from the oven and place it on a heat-safe surface.
- With a fork or a toothpick, gently poke the center of one of the toaster strudels. If the filling is hot and flows freely, it’s a sign that the strudels are done.
- Additionally, you can visually inspect the pastry. The crust should be golden brown and crispy, while the filling should be warm and bubbly.
- If the filling is still cold or the pastry appears undercooked, return the baking sheet to the oven and continue baking for an additional 2-3 minutes or until the toaster strudels are fully cooked.
Remember, it’s better to slightly overbake the toaster strudels than to have them undercooked. This will ensure a flaky and fully cooked pastry.
Once you’re satisfied with the doneness of the toaster strudels, it’s time to proceed to the next step: removing and cooling the toaster strudels.
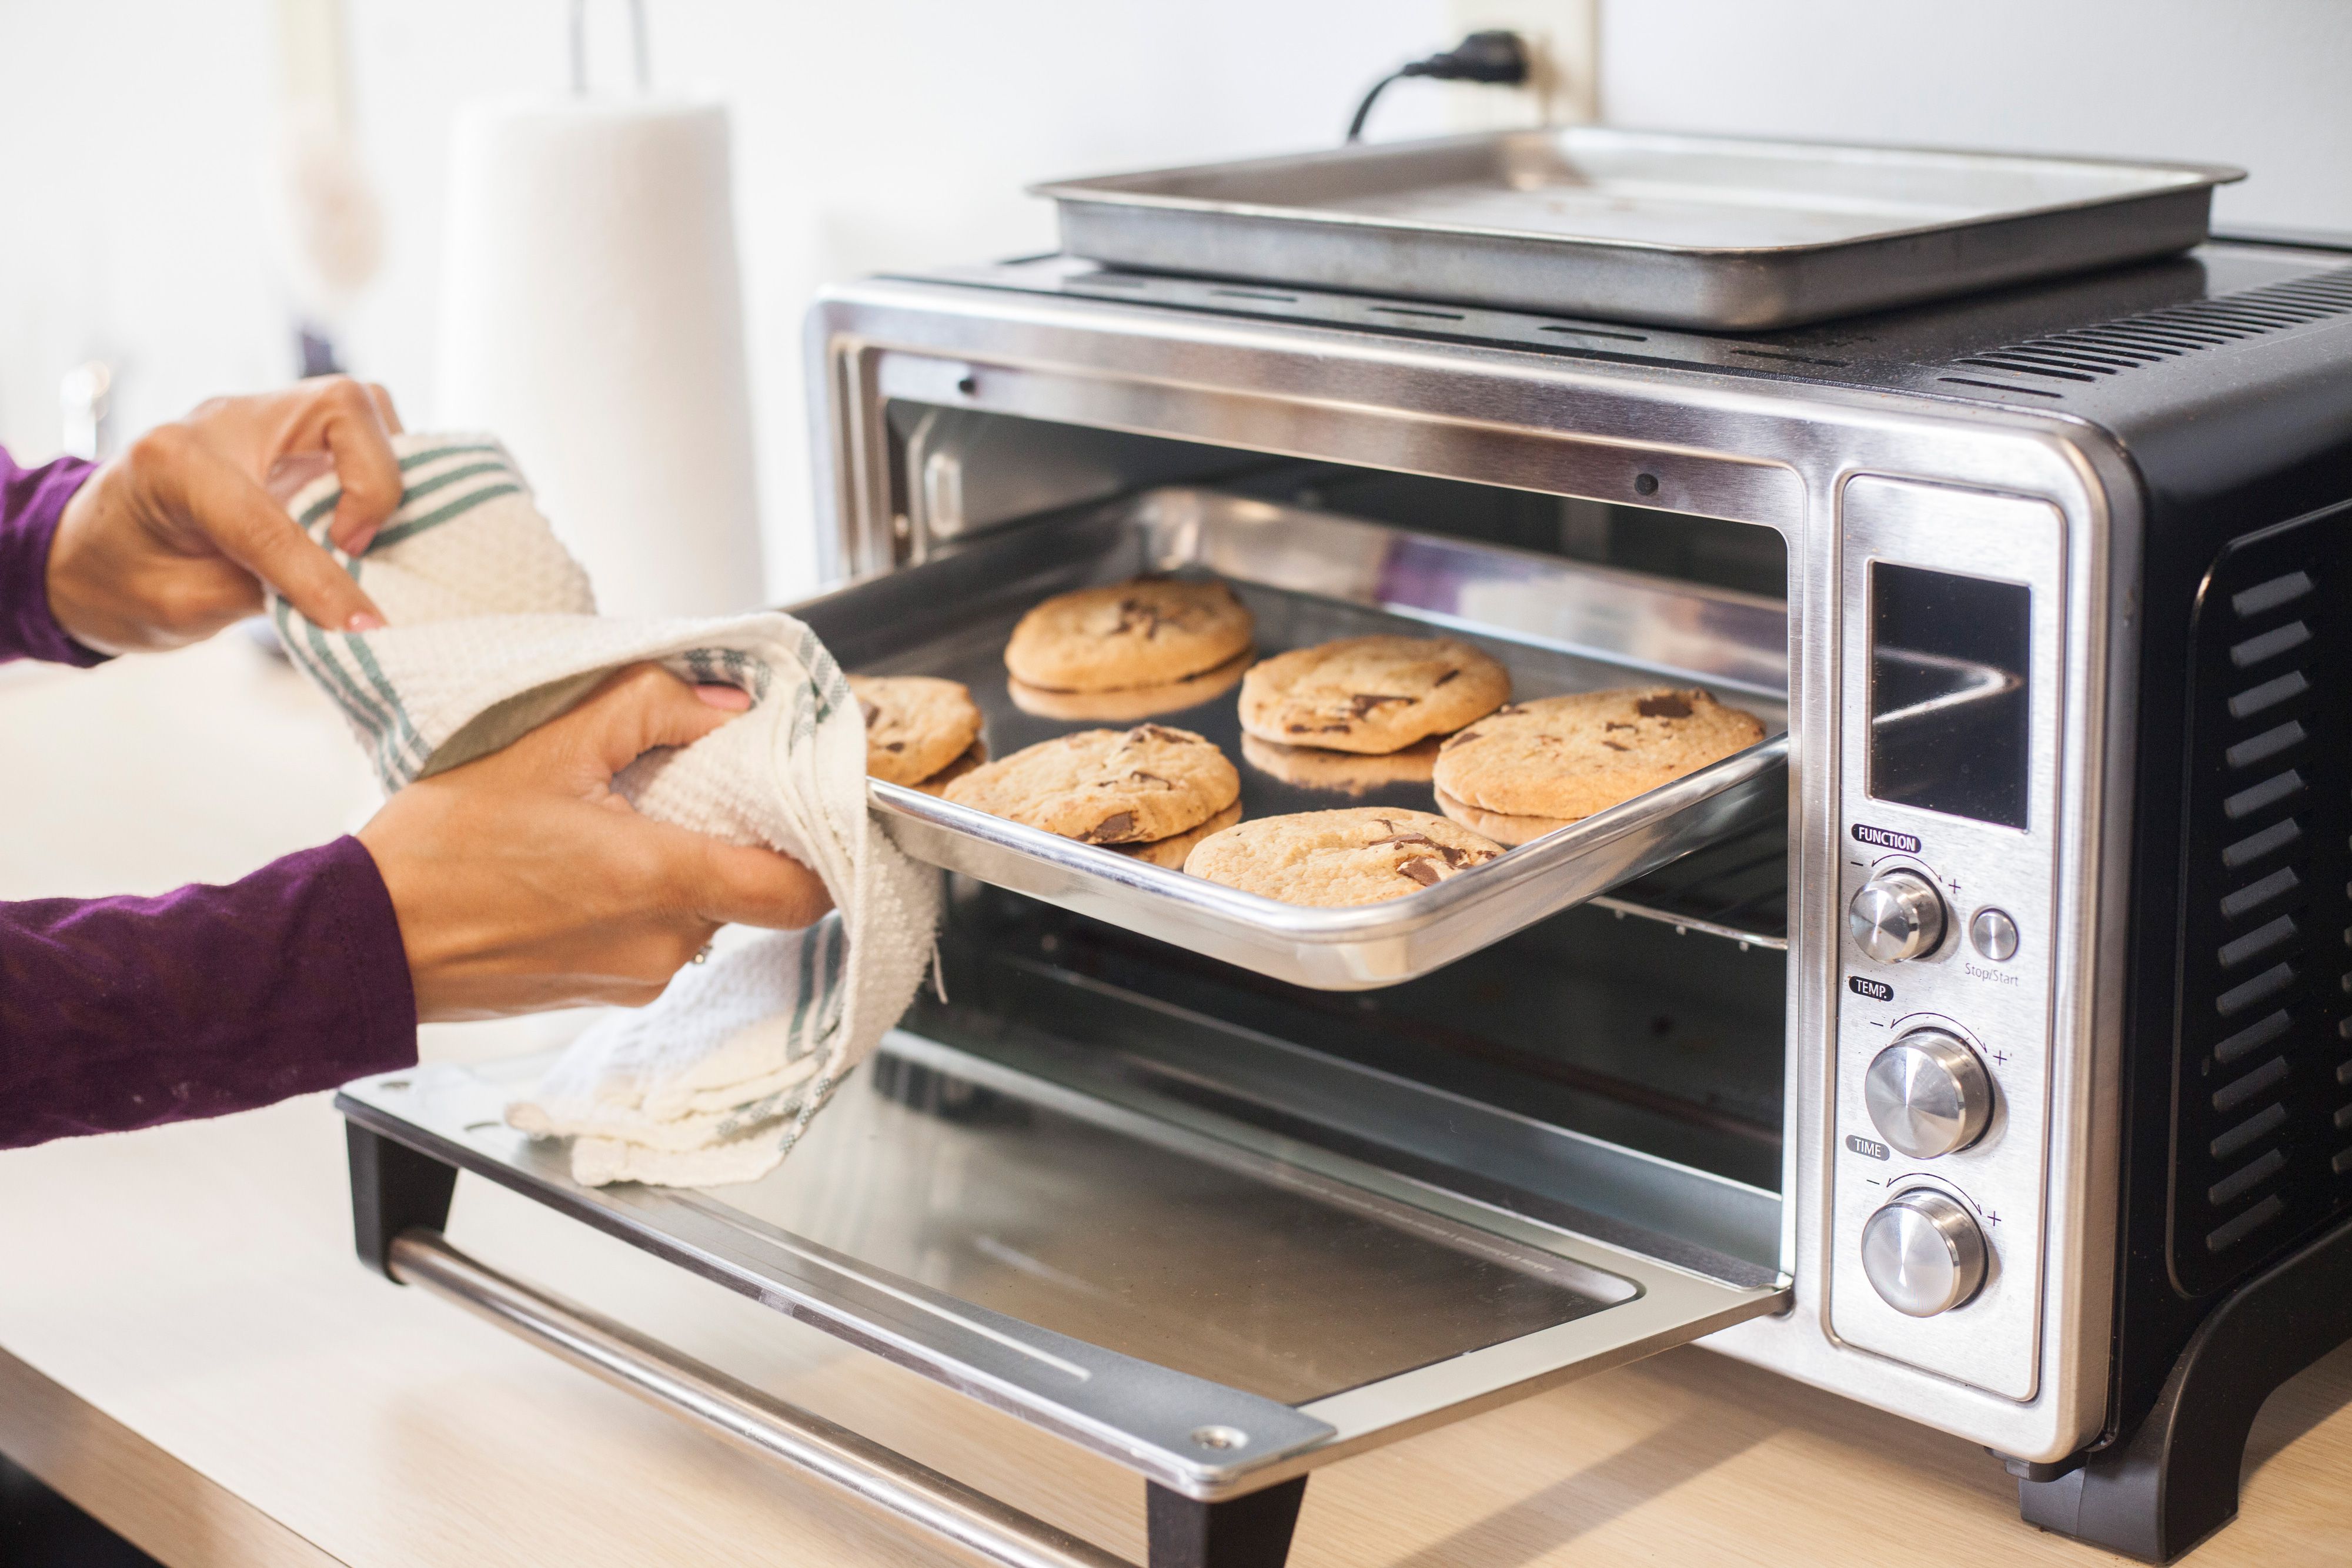
Step 6: Removing and Cooling the Toaster Strudel
After checking for doneness and ensuring that your toaster strudels are perfectly baked, it’s time to remove them from the oven and allow them to cool. Follow these steps to ensure a safe and enjoyable eating experience:
- Using oven mitts or heat-resistant gloves, carefully remove the baking sheet from the oven and place it on a heat-safe surface.
- Allow the toaster strudels to cool on the baking sheet for a few minutes. This allows them to firm up slightly and makes them easier to handle.
- Be cautious when handling the toaster strudels, as the filling may still be hot. Use a spatula or a pair of tongs to transfer them to a cooling rack or a plate if desired.
- Let the toaster strudels cool for another 5-10 minutes before serving. This will prevent any burns from the hot filling and allow the flavors to settle.
- During the cooling process, the toaster strudels will continue to firm up, and the filling will thicken slightly, enhancing the overall texture and taste.
While it may be tempting to dig in immediately, it’s important to exercise patience and let the toaster strudels cool down to a comfortable eating temperature.
Once the toaster strudels have cooled down, it’s time to move on to the next step: icing the toaster strudels.
Step 7: Icing the Toaster Strudel
The icing is what takes toaster strudels to the next level, adding a delicious sweet and creamy touch to the already delightful treat. Here’s how you can ice your toaster strudels:
- If your toaster strudels come with individual icing packets, locate them in the packaging. Cut off the top of the packet and squeeze the icing out onto the strudels.
- If your toaster strudels did not come with icing packets, you can make a simple icing yourself. In a small bowl, mix powdered sugar with a few teaspoons of milk or water until you achieve a smooth, pourable consistency.
- Drizzle the icing over the cooled toaster strudels, using a spoon or a small spatula. You can be as generous or as light-handed as you prefer, depending on your sweetness preference.
- For an extra touch of flavor and visual appeal, you can sprinkle some cinnamon, powdered sugar, or colorful sprinkles on top of the icing.
- Allow the icing to set for a few minutes. This will give it time to firm up slightly, enhancing the overall presentation and making it easier to eat without smudging.
The icing adds a delightful sweetness and a creamy texture that pairs perfectly with the warm toaster strudels. It’s like the icing on the cake, or in this case, the icing on the strudel!
With the toaster strudels now beautifully iced, it’s time to move on to the final step: serving and enjoying.
Step 8: Serving and Enjoying
Now that your toaster strudels are prepared, baked, cooled, and iced, it’s time to indulge in this delicious breakfast treat. Follow these steps to serve and enjoy your toaster strudels:
- Transfer the iced toaster strudels onto serving plates or a platter. You can arrange them neatly or stack them up, depending on your preference.
- If desired, you can add some finishing touches to make your toaster strudels even more delectable. Dust them with a sprinkle of powdered sugar, drizzle them with some chocolate or caramel sauce, or add a dollop of whipped cream or vanilla ice cream on the side.
- Gather any additional toppings or accompaniments you’d like to enjoy with your toaster strudels, such as fresh berries, sliced bananas, or a sprinkle of cinnamon.
- Serve the toaster strudels while they are still slightly warm, allowing the icing to melt slightly and the fillings to become gooey. This adds a delightful contrast to the flaky pastry.
- Enjoy your toaster strudels slowly, savoring each delicious bite. The combination of the warm pastry, sweet filling, and creamy icing creates a truly delightful breakfast experience.
Whether you’re enjoying your toaster strudels with a cup of coffee, a glass of milk, or a refreshing fruit juice, this homemade version will surely satisfy your cravings and start your day off on a delicious note.
Remember, toaster strudels are not limited to breakfast – they can also be enjoyed as a sweet treat any time of the day, whether as a snack or dessert.
So go ahead, serve up your freshly baked toaster strudels, sit back, and indulge in the warm, flaky goodness that is sure to bring a smile to your face.
Thank you for following this step-by-step guide on how to make toaster strudels in the oven. We hope you enjoy every delightful bite!
Read more: How To Make Steak In Toaster Oven
Conclusion
Congratulations! You have successfully learned how to make toaster strudels in the oven. By following these simple steps, you can now enjoy the warm, flaky, and delicious goodness of toaster strudels even without a toaster.
Making toaster strudels in the oven allows for a convenient and equally tasty alternative to the traditional method of toasting. The process of preparing, preheating, baking, checking for doneness, removing, cooling, icing, and finally serving the toaster strudels ensures a delightful breakfast treat that is sure to satisfy your cravings.
From the moment you prepare the strudels to the moment you enjoy the warm pastry filled with sweet and fruity goodness, each step is crucial in creating a wonderful and enjoyable experience.
Remember to take your time and be mindful of the baking times to ensure that your strudels come out perfectly golden brown and crispy, with a warm and gooey filling. Don’t forget to add a generous drizzle of the creamy icing to elevate the flavors and sweetness of your toaster strudels.
Whether you’re enjoying them as a quick breakfast, a delicious snack, or even a comforting dessert, the homemade toaster strudels will surely leave you wanting more.
So gather your ingredients, preheat your oven, and get ready to embark on a culinary journey filled with flaky pastries, flavorful fillings, and indulgent icing. Now, you can savor the taste of toaster strudels any time of the day, right in the comfort of your own home.
We hope this guide has inspired you to get creative with your toaster strudels, trying different fillings, and experimenting with various toppings to make them truly your own. Enjoy the process, have fun, and most importantly, savor every bite.
Thank you for joining us on this toaster strudel adventure. We wish you many delightful mornings filled with the aroma and flavors of freshly baked toaster strudels. Happy baking!
Now that you've mastered oven-baking your favorite pastry treat, why not perfect the classic method too? Whether you're in a rush or just prefer the original toasty goodness, knowing how long to cook your toaster strudel to golden perfection makes all the difference. Ready to become a pastry pro? Dive into our guide on the optimal toasting time to ensure every bite is just as delightful as you imagine.
Frequently Asked Questions about How To Make A Toaster Strudel In The Oven
Was this page helpful?
At Storables.com, we guarantee accurate and reliable information. Our content, validated by Expert Board Contributors, is crafted following stringent Editorial Policies. We're committed to providing you with well-researched, expert-backed insights for all your informational needs.

0 thoughts on “How To Make A Toaster Strudel In The Oven”