Articles
How To Make An AC
Modified: October 19, 2024
Learn the step-by-step process of making an AC with our informative articles. Discover tips and tricks to keep your home cool and comfortable all summer long.
(Many of the links in this article redirect to a specific reviewed product. Your purchase of these products through affiliate links helps to generate commission for Storables.com, at no extra cost. Learn more)
Introduction
Welcome to our guide on how to make your own AC unit! With the rising temperatures during the summer months, having a reliable air conditioning system is essential for staying comfortable and cool. However, if you don’t have access to a traditional AC unit or want a more budget-friendly option, building your own AC can be a great alternative. In this article, we will walk you through the step-by-step process of creating your own homemade AC using easily accessible materials.
Creating your own AC unit not only provides a cost-effective solution but also gives you the opportunity to customize it to suit your needs and preferences. Whether you need to cool a small room, a camping tent, or simply want some relief from the heat, this DIY project is perfect for anyone looking for a fun and practical summer project.
Before we dive into the details, it’s important to note that this DIY AC unit is meant to be a temporary solution and may not offer the same cooling efficiency as a professional AC system. However, it can still provide a significant reduction in temperature and help make hot summer days more bearable.
Now, let’s get started and see what materials you’ll need to gather for this project.
Key Takeaways:
- Beat the heat with a DIY AC! Create your own cooling unit using a styrofoam cooler, fan, PVC pipes, and ice. Enjoy a cost-effective and customizable solution for staying cool in hot weather.
- Stay cool in style! Build a homemade AC unit for personal comfort or outdoor adventures. Test, adjust, and enjoy the refreshing breeze while beating the summer heat with your DIY creation.
Read more: Car Making Noise When AC Is On
Materials Needed
Before you begin building your homemade AC unit, you’ll need to gather a few materials. Most of these items can be found at your local hardware store or online. Here’s a list of what you’ll need:
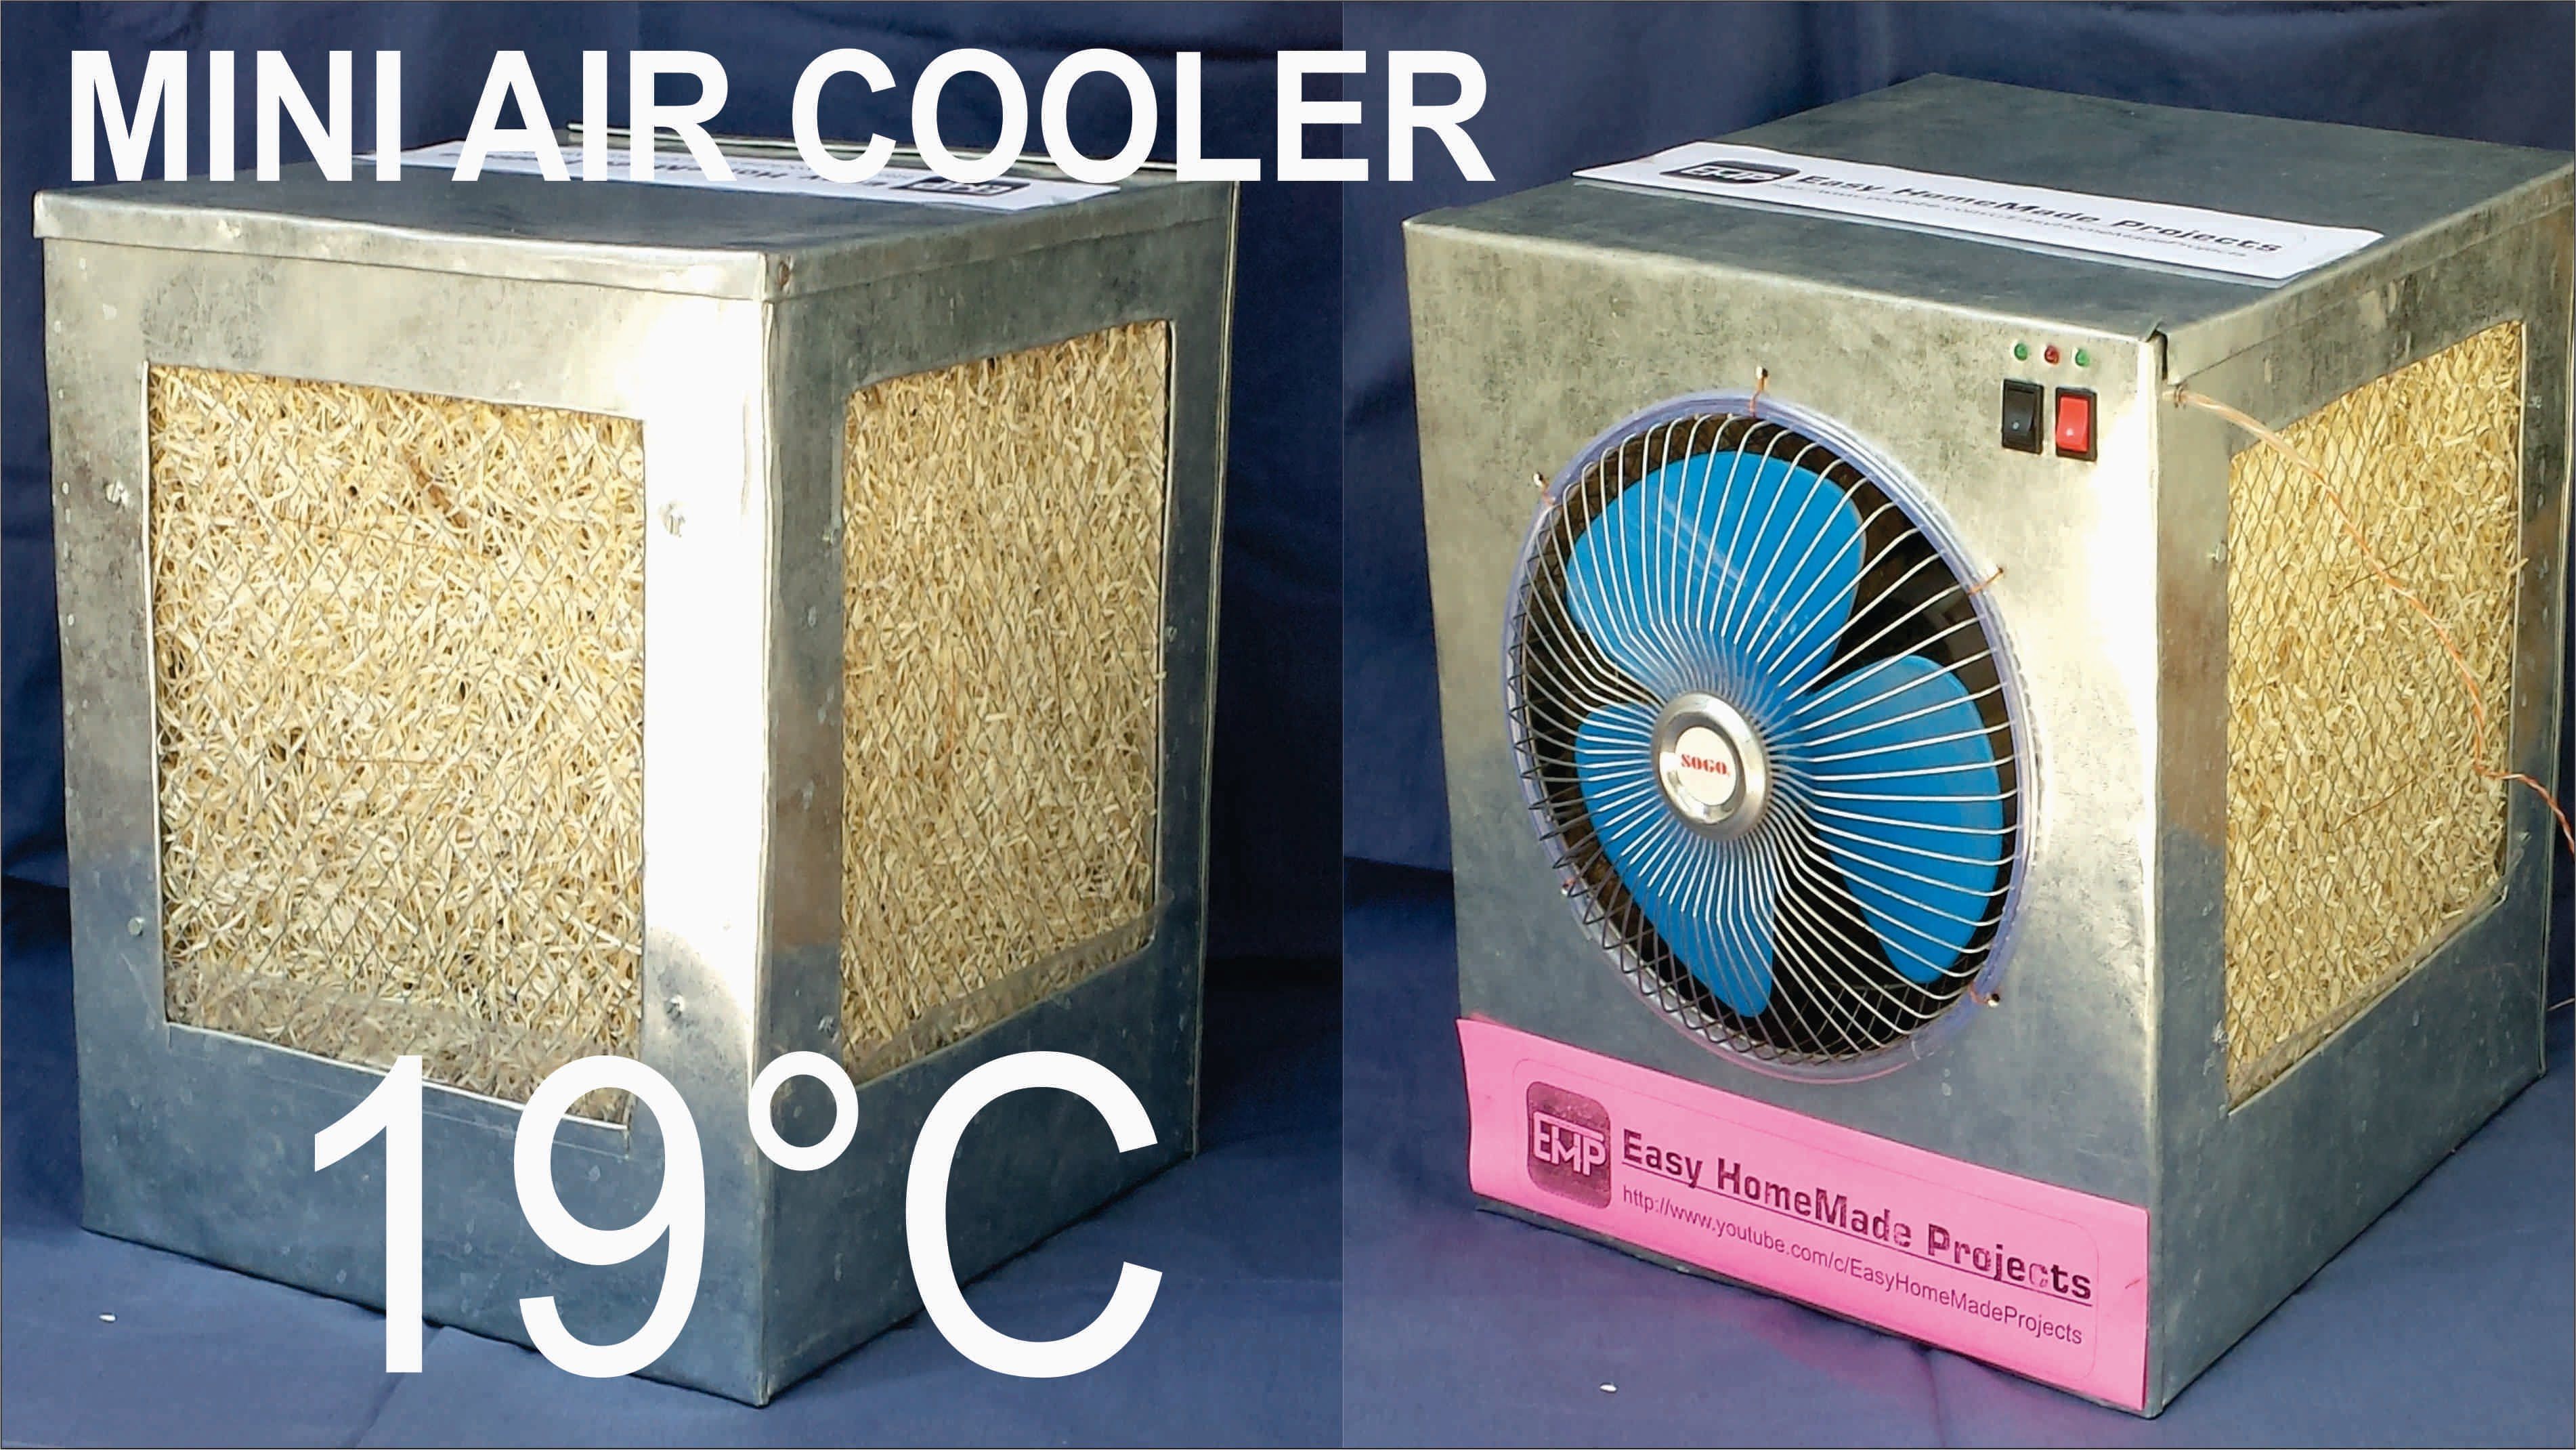
1. Styrofoam Cooler:
You’ll need a small to medium-sized styrofoam cooler that will act as the base for your AC unit. Make sure it is large enough to accommodate the other components.
2. Fan:
Select a small electric fan that fits inside the styrofoam cooler. You can opt for a desk fan or a battery-powered fan, depending on your preference and convenience.
3. PVC Pipes:
You’ll need two PVC pipes of different sizes – one larger and one smaller. The larger pipe will serve as the air intake, while the smaller one will function as the air outlet.
4. Drill and Hole Saw:
You’ll need a drill and a hole saw attachment to create holes in the cooler for the PVC pipes and the fan.
5. Ice or Cold Water:
To enhance the cooling effect of your homemade AC, you’ll need a constant supply of ice or cold water. Make sure you have enough ice or a container to hold cold water nearby.
6. Duct Tape or Sealant:
You’ll need duct tape or sealant to secure the PVC pipes in place and create a tight seal around the holes in the cooler.
7. Power Source:
You’ll need a power source to plug in your electric fan. Ensure you have access to an outlet or have batteries for your battery-powered fan.
Once you have gathered all the necessary materials, you’re ready to move on to the next step – building the cooling unit. Let’s get started!
Step 1: Gathering the Necessary Components
To start building your homemade AC unit, begin by gathering all the necessary components. Here’s a detailed breakdown of what you’ll need:
1. Styrofoam Cooler:
Choose a styrofoam cooler that is the appropriate size for your needs. Make sure it is large enough to fit the fan and accommodate the other components comfortably.
2. Fan:
Select a small electric fan that will fit inside the styrofoam cooler. You can choose between a desk fan or a battery-powered fan based on your preference and availability.
3. PVC Pipes:
Purchase PVC pipes of different sizes – one larger and one smaller. The larger pipe will serve as the air intake, while the smaller one will be the air outlet.
4. Drill and Hole Saw:
You’ll need a drill and a hole saw attachment to create holes in the styrofoam cooler for the PVC pipes and the fan. The size of the holes should correspond to the diameter of the pipes and the fan.
5. Ice or Cold Water:
Having a constant supply of ice or cold water is vital to enhance the cooling effect of your homemade AC. Make sure you have enough ice or a container to hold cold water nearby.
6. Duct Tape or Sealant:
Use duct tape or sealant to secure the PVC pipes in place and create a tight seal around the holes in the styrofoam cooler. This will prevent any air leakage and maximize the cooling efficiency.
7. Power Source:
Ensure you have access to a power source for your electric fan, whether it’s an electrical outlet or batteries for a battery-powered fan.
By gathering all these necessary components, you’re now ready to move on to the next step – building the cooling unit. Let’s proceed with the construction process!
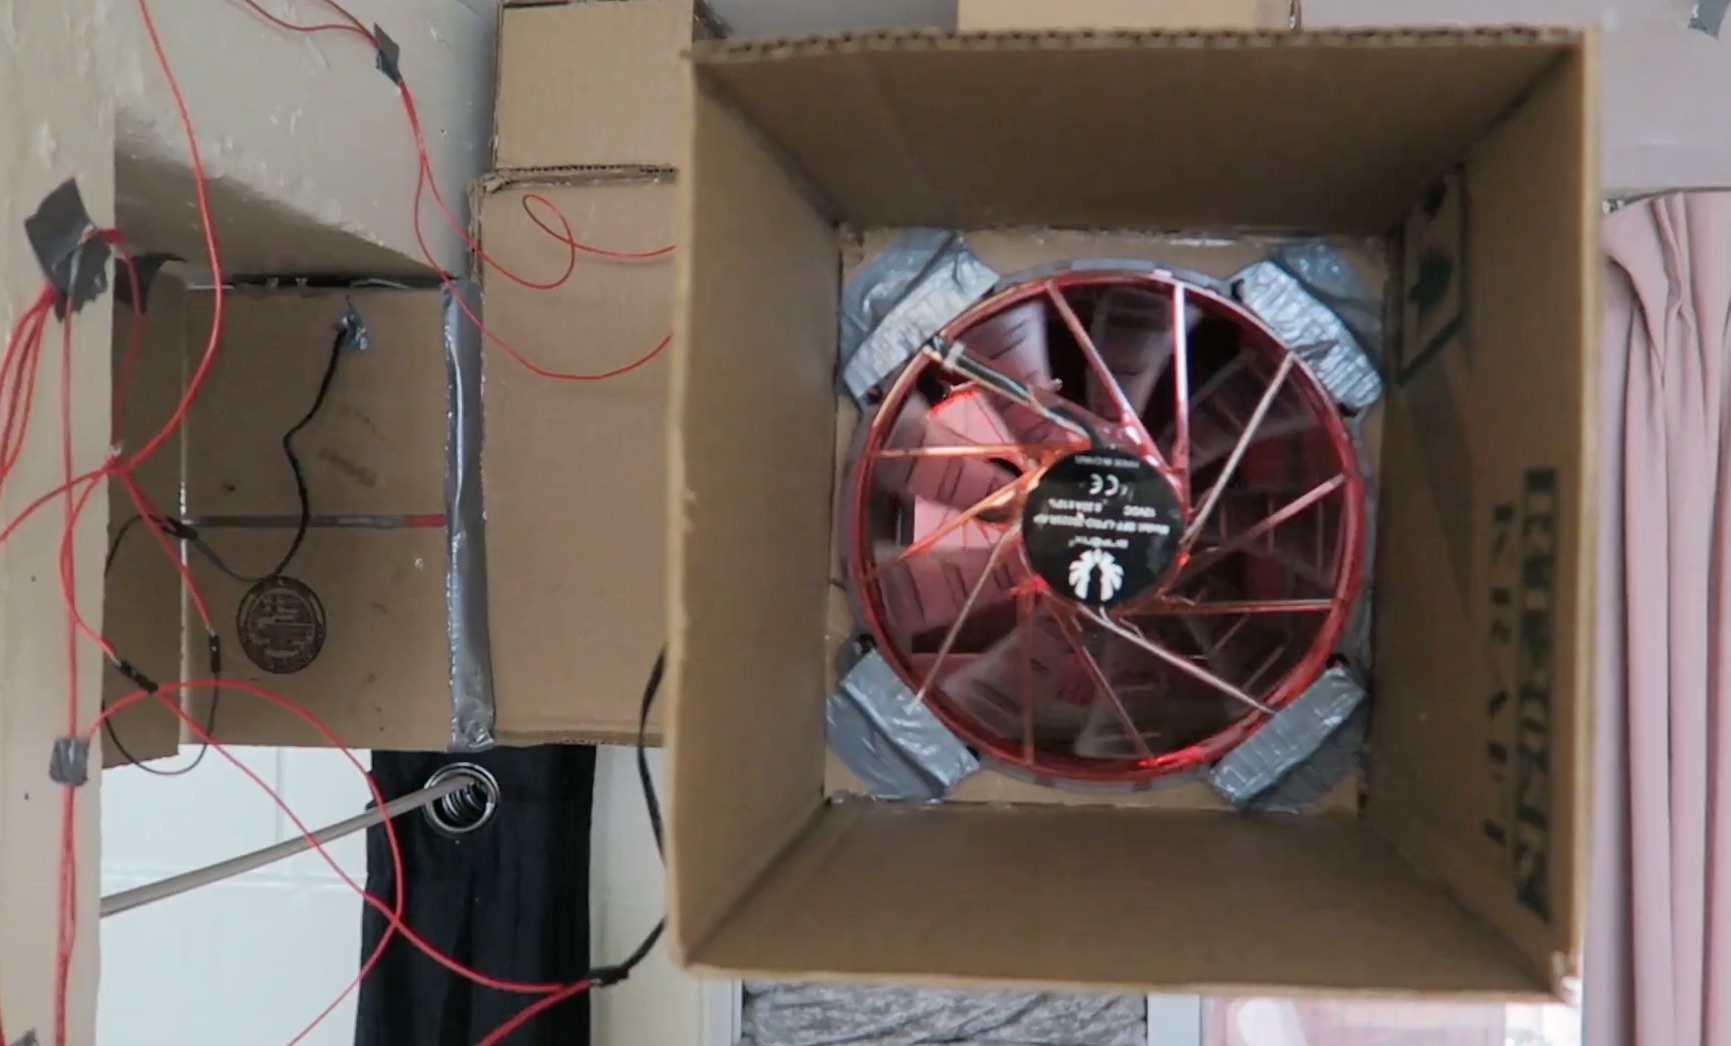
Step 2: Building the Cooling Unit
Now that you have all the components ready, it’s time to start building the cooling unit for your homemade AC. Follow these steps to assemble the unit:
1. Mark the Placement:
Place the styrofoam cooler on a flat surface and mark the spots where you will drill holes for the PVC pipes and the fan. Make sure to leave enough space between the holes for proper airflow.
2. Drill the Holes:
Using a drill with a hole saw attachment, carefully drill the holes in the marked positions. One hole should be large enough for the air intake PVC pipe, and the other should be suitable for the air outlet PVC pipe. Additionally, create a hole for the fan to be positioned inside the cooler.
3. Insert the PVC Pipes:
Insert the larger PVC pipe into the hole designated for the air intake. Ensure it fits snugly and is secure in place. Repeat the process with the smaller PVC pipe for the air outlet.
4. Secure the PVC Pipes:
Using duct tape or sealant, tightly secure the PVC pipes in place. This will prevent any air leakage and ensure that the airflow is directed according to your needs.
5. Position the Fan:
Place the fan inside the cooler, aligning it with the hole designated for it. Make sure it is securely positioned and facing the correct direction to blow air out of the cooler.
6. Seal the Fan:
Use duct tape or sealant to seal any gaps between the fan and the hole in the styrofoam cooler. This will prevent any air leakage and maximize the cooling effect.
Once you have completed these steps, the cooling unit of your homemade AC is now assembled. The next step is to connect the fan and power source. Let’s move on!
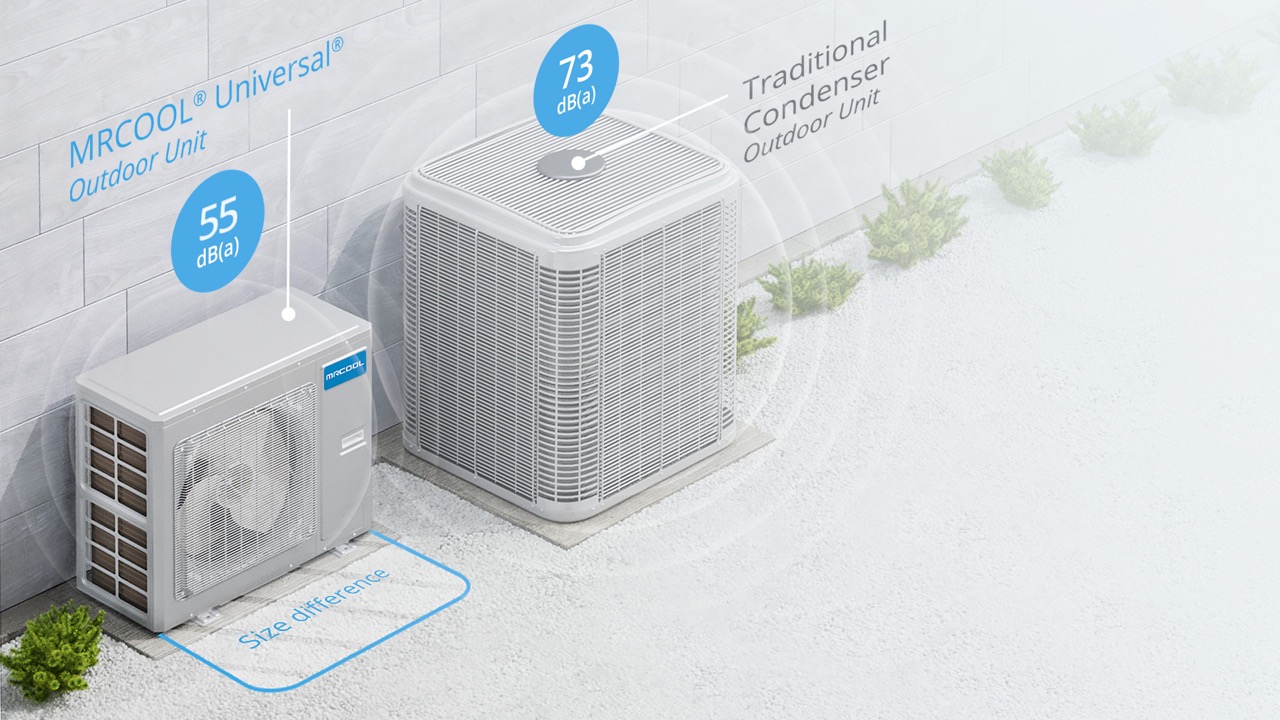
When making an AC, ensure that the evaporator and condenser coils are clean and free from debris to maximize efficiency and airflow. Regular maintenance will also prolong the lifespan of the unit.
Step 3: Connecting the Fan and Power Source
With the cooling unit of your homemade AC assembled, it’s time to connect the fan and power source. Follow these steps to ensure everything is properly connected:
1. Position the Power Source:
Ensure your power source, whether it’s an electrical outlet or batteries, is located within reach of the fan’s cord. This will allow for easy connection without any stretching or strain on the cord.
2. Plug in the Fan:
If your fan requires an electrical outlet, carefully connect the fan’s cord to the power source. Ensure the connection is secure and that the fan is receiving power. If you’re using a battery-powered fan, insert the batteries into the fan according to the manufacturer’s instructions.
3. Test the Fan:
Before proceeding further, turn on the fan and ensure that it is running smoothly. This will help confirm that the fan is functioning correctly and is ready to provide the airflow needed for the cooling process.
4. Adjust the Fan Angle:
With the fan on, adjust its angle inside the styrofoam cooler to optimize the direction of airflow. Experiment with different angles until you find a position that effectively circulates the cool air throughout the cooler.
5. Secure the Power Cord:
To prevent any accidental disconnection or tripping hazards, secure the power cord of the fan using zip ties or adhesive clips. This will help keep the cord out of the way and maintain a tidy setup.
Now that the fan is connected and ready to provide the airflow, it’s time to proceed to the next step – adding ice or cold water for enhanced cooling. Let’s continue!
Read more: How To Make My AC Colder In My Car
Step 4: Adding the Ice or Cold Water
Adding ice or cold water is an essential step in maximizing the cooling effect of your homemade AC unit. Follow these steps to ensure proper cooling:
1. Prepare the Ice or Cold Water:
If you’re using ice, make sure to have a sufficient amount on hand. If you’re using cold water, ensure you have a container filled with cold water nearby.
2. Open the Styrofoam Cooler:
Remove the lid of the styrofoam cooler to gain access to the inside. This will allow you to add the ice or cold water directly into the cooling unit.
3. Place the Ice or Cold Water:
Add the ice or pour the cold water into the styrofoam cooler, surrounding the fan and the PVC pipes. Ensure that the ice or water is evenly distributed to enhance the cooling effect throughout the unit.
4. Close the Styrofoam Cooler:
After adding the ice or cold water, securely place the lid back onto the styrofoam cooler. This will help contain the cool air and maintain the desired temperature inside the unit.
5. Check for Leaks:
Ensure that there are no leaks in the styrofoam cooler, especially around the PVC pipe connections and the lid. Any leaks can result in a loss of cooled air and reduced efficiency.
6. Monitor the Ice or Water Levels:
Keep an eye on the ice or water levels inside the cooler, especially on hot days when they may melt or evaporate more quickly. Add more ice or cold water as needed to maintain optimal cooling.
With the addition of ice or cold water, your homemade AC unit is now ready to provide a refreshing cool breeze. The final step is to test the AC unit and ensure it is working effectively. Let’s proceed to the next step!
Step 5: Testing the AC Unit
After completing the previous steps, it’s time to test your homemade AC unit and ensure that it’s functioning effectively. Follow these steps to test and optimize the performance of your AC unit:
1. Turn on the Fan:
Switch on the fan and make sure it’s running smoothly. Check that the airflow is directed towards you or the desired area that needs to be cooled.
2. Feel the Airflow:
Place your hand or a lightweight piece of paper near the air outlet PVC pipe to feel the air temperature and airflow strength. You should notice a cool breeze coming out of the AC unit.
3. Adjust the Temperature:
If you’re not getting the desired cooling effect, you can adjust the temperature by adding more ice or cold water. Experiment with different amounts to find the ideal balance for optimal cooling.
4. Monitor the Temperature:
Use a thermometer to measure the temperature of the air being emitted by the AC unit. Keep track of the temperature changes and adjust the ice or water levels as necessary.
5. Test in Different Locations:
Moving the AC unit to different locations can help determine the effectiveness in cooling different areas. Test the unit in various spaces, such as a small room, a camping tent, or a personal workspace, to gauge its performance.
6. Make Adjustments:
Based on your observations during testing, make any necessary adjustments. These can include adjusting the fan angle, adding more ice or water, or optimizing the placement of the AC unit for better airflow.
7. Enjoy the Cool Air:
Once you’re satisfied with the performance of your homemade AC unit, sit back, relax, and enjoy the cool air it provides. Whether it’s for personal comfort or providing relief during summer camping trips, your DIY AC unit is now ready for use!
Remember, while this homemade AC unit can provide a significant reduction in temperature, it may not match the cooling power of a professional AC system. Nonetheless, it offers a cost-effective solution for staying cool in hot weather. Enjoy the benefits of your homemade AC unit and beat the heat in style!
Conclusion
Congratulations! You have successfully learned how to make your own AC unit using easily accessible materials. Building a homemade AC can be a fun and practical project, offering a cost-effective way to stay cool during the hot summer months. Let’s recap what we have covered:
1. Introduction: We discussed the motivation behind building a homemade AC and how it can be a budget-friendly alternative to traditional air conditioning systems.
2. Materials Needed: We provided a comprehensive list of the materials required to build your own AC unit, including a styrofoam cooler, fan, PVC pipes, drill, ice or cold water, duct tape or sealant, and a power source.
3. Step 1: Gathering the Necessary Components: We outlined the process of gathering the essential components and preparing them for assembly.
4. Step 2: Building the Cooling Unit: We guided you through the steps of assembling the cooling unit, including drilling holes, inserting PVC pipes, and positioning the fan.
5. Step 3: Connecting the Fan and Power Source: We explained how to connect the fan to a power source and ensure proper functionality.
6. Step 4: Adding the Ice or Cold Water: We discussed the importance of adding ice or cold water to enhance the cooling effect of your homemade AC unit.
7. Step 5: Testing the AC Unit: We provided steps for testing and optimizing the performance of your AC unit, including adjusting temperature, monitoring airflow, and making necessary adjustments.
By following these steps, you have successfully created a practical and efficient homemade AC unit. While it may not provide the same cooling power as professional AC systems, it offers a cost-effective solution for personal comfort, small spaces, or outdoor adventures.
Remember to be mindful of safety precautions when using your homemade AC unit and to monitor ice or water levels to ensure optimal cooling. Don’t forget to enjoy the refreshing breeze it provides during the warmer months!
We hope this guide has been helpful in showing you how to make your own AC unit. Stay cool and beat the heat with your homemade creation!
Frequently Asked Questions about How To Make An AC
Was this page helpful?
At Storables.com, we guarantee accurate and reliable information. Our content, validated by Expert Board Contributors, is crafted following stringent Editorial Policies. We're committed to providing you with well-researched, expert-backed insights for all your informational needs.


0 thoughts on “How To Make An AC”