Home>Articles>How To Make Gravy From Leftover Meat Juice Using A Slow Cooker

Articles
How To Make Gravy From Leftover Meat Juice Using A Slow Cooker
Modified: February 23, 2024
Learn how to make delicious gravy using the flavorful juices from your slow cooker. Check out our helpful articles on mastering this tasty and versatile sauce.
(Many of the links in this article redirect to a specific reviewed product. Your purchase of these products through affiliate links helps to generate commission for Storables.com, at no extra cost. Learn more)
Introduction
Gravy is a delicious and versatile sauce that can elevate any meal, adding richness and flavor. While many people opt for store-bought gravy, there is something truly special about making it from scratch. In this article, we will explore how to make gravy from the juices of a slow cooker.
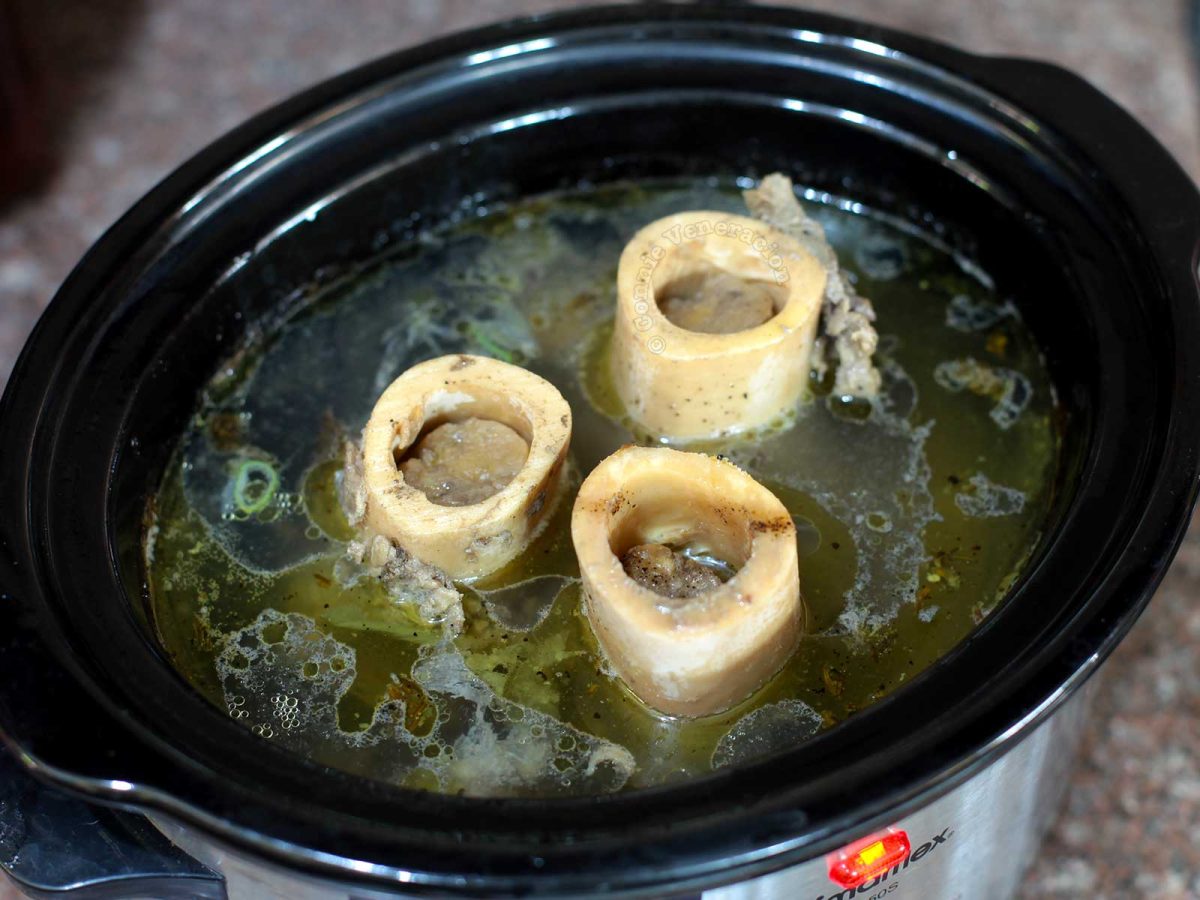
Using the juices produced while cooking meat in a slow cooker creates a depth of flavor that is hard to replicate. As the meat slowly cooks, its natural juices are released and infused with aromatic herbs and spices, resulting in a tantalizing mixture perfect for making gravy.
Whether you’re preparing a Sunday roast or a weeknight dinner, making gravy from your slow cooker juices adds that extra touch of homemade goodness. So, let’s dive into the steps of creating a delectable slow cooker gravy.
Key Takeaways:
- Elevate your meals by making rich, flavorful gravy from slow cooker juices, using aromatic herbs and spices for a homemade touch that complements any dish.
- Master the art of creating unique, tailored gravy by adjusting flavors and safely storing leftovers, ensuring delightful homemade goodness for future meals.
Read more: How To Store Leftover Brisket
Step 1: Preparing the Slow Cooker Juices
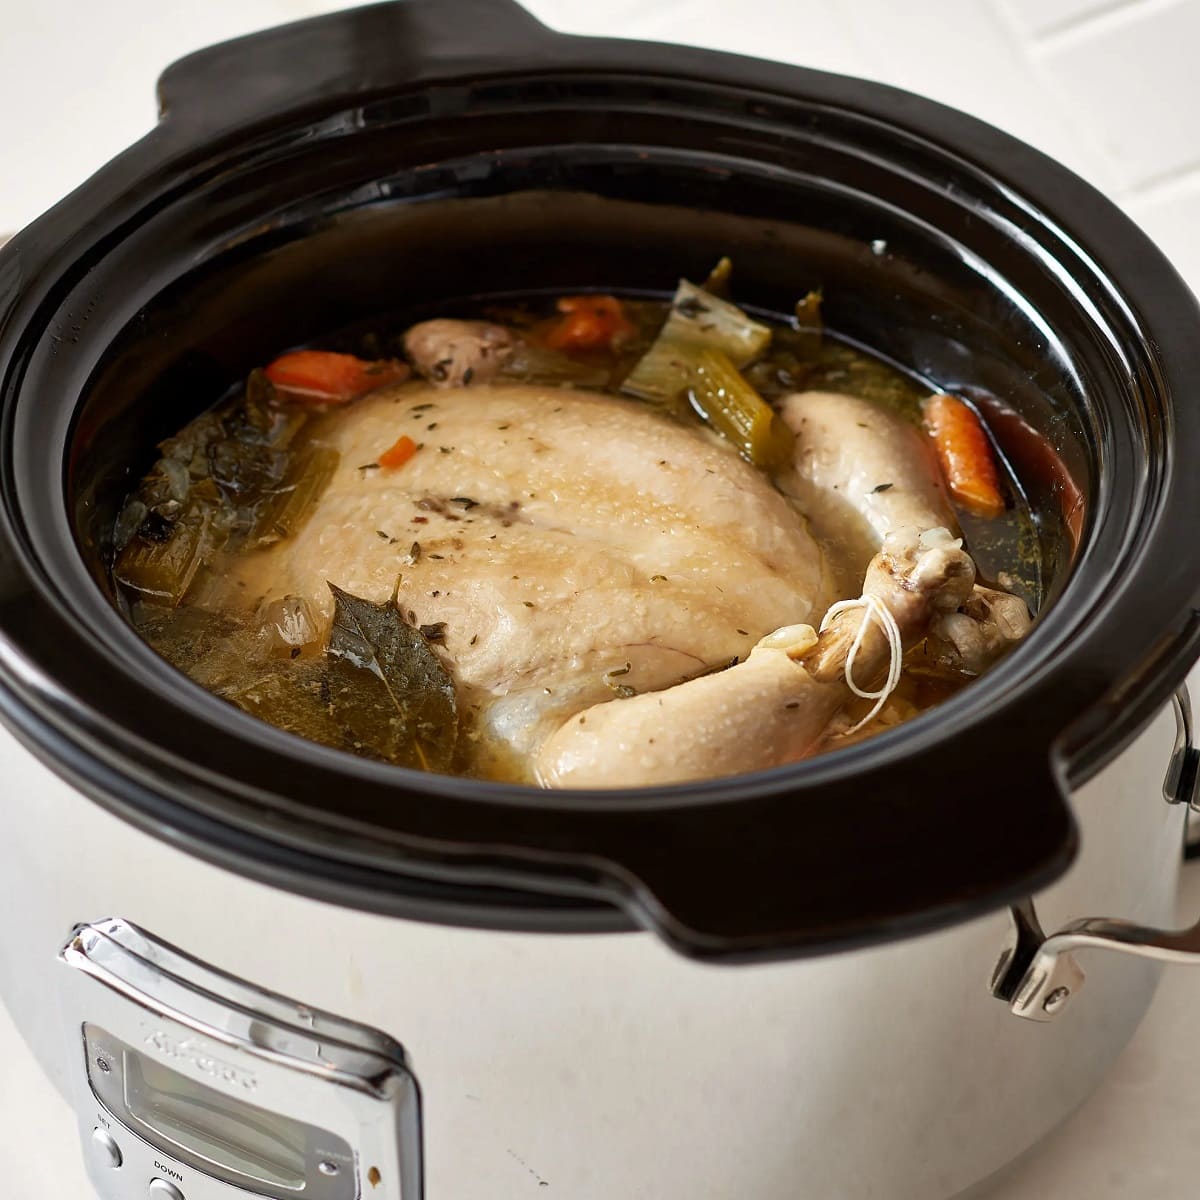
The first step in making gravy from slow cooker juices is to prepare the juices themselves. This involves cooking meat in a slow cooker with the addition of herbs, spices, and other flavorings.
Start by selecting your desired meat. Common choices include beef, chicken, pork, or even lamb. Season the meat with salt, pepper, and any other herbs and spices that complement your chosen meat. You can use a pre-made rub or create your own blend of spices, depending on your tastes.
Next, place the seasoned meat in the slow cooker and add any additional flavorings you desire. This can include ingredients such as onions, garlic, carrots, celery, or herbs like thyme, rosemary, or bay leaves. These aromatic elements will infuse the juices and provide a savory and fragrant base for your gravy.
Once the meat and flavorings are in the slow cooker, add enough liquid to cover the meat partially. This can be water, broth, or even wine, depending on your preference. The liquid will help create flavorful juices while the meat cooks.
Set the slow cooker to the appropriate temperature and cooking time for your meat. Low and slow is generally the best approach for tender and flavorful results. Allow the meat to cook for the specified time, ensuring it reaches a safe internal temperature.
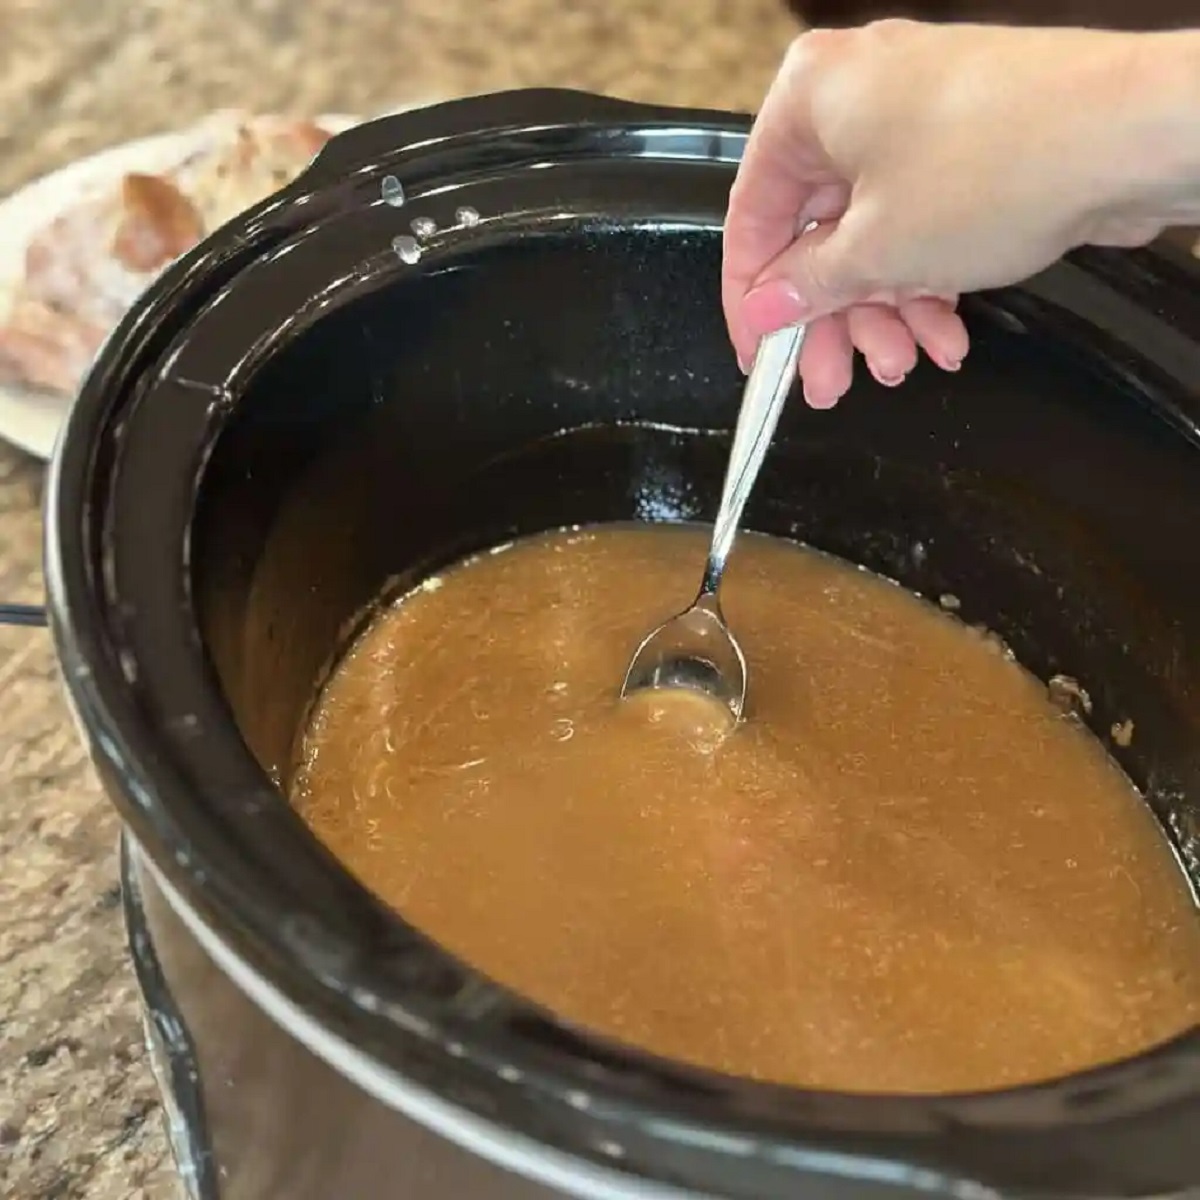
After the meat has finished cooking, carefully remove it from the slow cooker and set it aside to rest. This will allow the juices to settle and make it easier to separate the fat from the liquid.
Now that the slow cooker juices are prepared, it’s time to move on to the next step: removing the fat.
Step 2: Removing Fat from the Juices
Once your slow cooker juices are prepared, the next step is to separate the fat from the flavorful liquid. Removing the excess fat will make your gravy healthier and ensure that its texture is smooth and velvety.
There are a few methods you can use to remove the fat from the juices. One common approach is skimming the fat from the surface. To do this, you can use a spoon or a fat separator. Let the juices sit undisturbed for a few minutes to allow the fat to rise to the top. Then, carefully skim off the fat from the surface using a spoon or pour the juices into a fat separator, which will separate the fat from the liquid.
Another method to remove fat from the juices is by using a fat separator jug. Pour the juices into the jug and let it sit for a few minutes to allow the fat to rise to the top. The spout at the bottom of the jug is positioned above the layer of fat, allowing you to pour out only the fat-free liquid.
If you don’t have a fat separator, you can also cool the juices and then carefully spoon off the hardened fat that solidifies on the surface. This method may take a bit longer, but it is effective in removing the fat from the juices.
Once you have successfully removed the fat, you can transfer the defatted slow cooker juices to a separate container or return them to the slow cooker, depending on your preference and convenience.
Now that the fat has been removed, you can move on to the next step, which is thickening the gravy to achieve the desired consistency.
Step 3: Thickening the Gravy
After removing the fat from the slow cooker juices, the next step is to thicken the gravy to give it a rich and velvety texture. There are several methods you can use to achieve the desired thickness.
One common way to thicken gravy is by creating a roux. Start by melting butter in a saucepan over medium heat. Once the butter has melted, gradually whisk in an equal amount of all-purpose flour until it forms a smooth paste. Cook the roux for a couple of minutes, stirring constantly, to remove the raw flour taste. Gradually add the defatted slow cooker juices to the saucepan, whisking continuously to avoid lumps. Allow the mixture to simmer and thicken to your desired consistency. The roux will give the gravy a creamy and smooth texture.
Another method to thicken the gravy is by using a cornstarch slurry. In a separate bowl, whisk together cornstarch and a small amount of cold water until it forms a smooth paste. Pour the defatted juices into a saucepan and bring them to a simmer. Gradually whisk in the cornstarch slurry, stirring constantly. Continue to simmer until the gravy thickens to your liking. Cornstarch is an excellent thickening agent that creates a glossy and silky texture.
If you prefer a gluten-free option, you can use arrowroot powder or tapioca starch instead of cornstarch. The process is similar: create a slurry with the starch and water, then gradually whisk it into the simmering juices until the desired thickness is achieved.
Keep in mind that the gravy will continue to thicken slightly as it cools, so it’s important to adjust the thickness accordingly. If the gravy becomes too thick, you can always thin it out by adding a small amount of broth or water.
Once you have achieved the desired thickness, it’s time to move on to the next step: adjusting the flavors of the gravy.
After removing the meat from the slow cooker, use a fat separator to remove excess fat from the juices before making the gravy. This will result in a richer and more flavorful gravy.
Step 4: Adjusting the Flavors
Now that you have a thick and luscious gravy, it’s time to fine-tune the flavors to create a delicious and well-balanced sauce. Adjusting the flavors will ensure that your gravy complements the dish you’re serving it with and satisfies your taste buds.
Start by tasting the gravy and assessing its overall flavor profile. Does it have enough salt? Is it too bland? Are there any flavors that need to be enhanced or balanced?
If the gravy seems to lack seasoning, gradually add salt and pepper, tasting as you go. Remember to season in small increments to avoid oversalting the gravy. You can also enhance the flavors by adding a touch of Worcestershire sauce, soy sauce, or even a splash of red wine. These ingredients can add depth and complexity to the gravy.
If you desire a hint of sweetness, you can incorporate a small amount of honey, maple syrup, or brown sugar. This will help balance out the savory flavors and add a subtle complexity.
For an extra layer of flavor, consider adding herbs or spices that complement the dish you’re serving the gravy with. Common additions include rosemary, thyme, sage, or even a pinch of nutmeg. Experiment with different herbs and spices to find the perfect combination that elevates your gravy to a whole new level.
Remember to make adjustments gradually and taste along the way, as the flavors of the gravy will continue to develop as it simmers and melds together.
Once you are satisfied with the flavors, it’s time to move on to the final step: serving and storing your homemade slow cooker gravy.
Read more: How To Use Slow Cooker Liners
Step 5: Serving and Storing the Gravy
Congratulations, you have successfully made a delicious and flavorful slow cooker gravy! Now it’s time to enjoy and share it with your favorite dishes. Here’s how to serve and store your homemade gravy:
To serve the gravy, transfer it to a gravy boat or a serving bowl. This will make it easier to pour over your main course, whether it’s roast beef, chicken, pork, or any other dish that pairs well with gravy. Consider garnishing the gravy with a sprinkle of fresh herbs or a crack of black pepper for an added touch of presentation.
When it comes to storing your leftover gravy, it’s important to handle it safely to maintain its quality and prevent any contamination. Allow the gravy to cool to room temperature before transferring it to an airtight container. Label the container with the date and store it in the refrigerator. Properly stored, homemade gravy can last for up to 3-4 days in the refrigerator.
If you have a large batch of gravy and don’t think you’ll be able to consume it within a few days, you can also freeze it for future use. Pour the cooled gravy into freezer-safe containers or freezer bags, leaving some room for expansion. Seal tightly and label with the date before placing in the freezer. Frozen gravy can retain its quality for up to 3 months. To thaw, simply transfer the gravy from the freezer to the refrigerator and allow it to defrost overnight.
When reheating the stored or frozen gravy, it’s essential to do so gently to avoid scorching or altering the texture. You can reheat the gravy in the microwave on low heat, stirring occasionally, or on the stovetop over low heat, stirring continuously. If the gravy appears too thick after reheating, you can add a little bit of broth or water to thin it out to the desired consistency.
Remember, homemade gravy is a delicious and versatile condiment that can enhance a variety of dishes. So don’t hesitate to use it generously and savor the delightful flavors it adds to your meals.
With these steps, you now have the skills to create a delectable gravy from your slow cooker juices. So go ahead, unleash your culinary creativity, and enjoy the satisfaction of making a homemade gravy that will elevate your meals to new heights.
Conclusion
Making gravy from the juices of a slow cooker is a rewarding and flavorful process that can elevate your meals to a whole new level. By following the steps outlined in this article, you can create a homemade gravy that is rich, flavorful, and tailored to your taste preferences.
From preparing the slow cooker juices with aromatic herbs and spices to removing the fat and thickening the gravy, each step is crucial in achieving a delicious end result. Adjusting the flavors along the way ensures that the gravy complements your main dish perfectly.
By taking the time to make your own gravy, you have complete control over the ingredients and flavors, allowing you to create a sauce that is truly unique and tailored to your preferences. Whether you prefer a classic beef gravy, a creamy chicken gravy, or a tangy pork gravy, the slow cooker method provides a solid foundation to build upon.
Remember to serve your homemade gravy with pride, as it lends a touch of homemade goodness to any meal. Whether it’s drizzling it over a roast dinner, mashed potatoes, or pouring it over sandwiches, the possibilities are endless.
Lastly, don’t forget about storing any leftovers properly. By utilizing airtight containers or freezer-safe bags, you can enjoy the flavors of your homemade gravy even after the meal is over.
So why settle for store-bought gravy when you can create your own from the juicy goodness of a slow cooker? With a little time, practice, and experimentation, you can master the art of making gravy that will have your family and friends asking for seconds.
So go ahead, embrace your inner chef, and let the slow cooker juices transform into a delectable gravy that will leave everyone at the table craving for more. Happy cooking!
Frequently Asked Questions about How To Make Gravy From Leftover Meat Juice Using A Slow Cooker
Was this page helpful?
At Storables.com, we guarantee accurate and reliable information. Our content, validated by Expert Board Contributors, is crafted following stringent Editorial Policies. We're committed to providing you with well-researched, expert-backed insights for all your informational needs.


0 thoughts on “How To Make Gravy From Leftover Meat Juice Using A Slow Cooker”