
Articles
How To Make Carnitas In A Slow Cooker
Modified: January 7, 2024
Learn the step-by-step process of making succulent carnitas in a slow cooker with our informative articles. Perfect for any occasion!
(Many of the links in this article redirect to a specific reviewed product. Your purchase of these products through affiliate links helps to generate commission for Storables.com, at no extra cost. Learn more)
Introduction
Welcome to the world of mouthwatering carnitas made right in the comfort of your own home with the help of a slow cooker. If you have ever enjoyed the tender and flavorful carnitas at your favorite Mexican restaurant, you will be thrilled to know that you can easily recreate this delicious dish in your kitchen. With just a few simple steps and the right ingredients, you can enjoy the heavenly aroma and taste of perfectly seasoned, slow-cooked pork that will melt in your mouth.
Carnitas, which translates to “little meats” in Spanish, is a traditional Mexican dish that consists of tender chunks of pork, typically from the shoulder or butt, that are cooked until tender and then crisped up to perfection. The slow cooker is an ideal tool for making carnitas as it allows the meat to cook low and slow, resulting in incredibly juicy and flavorful pork.
In this article, we will guide you through the process of making carnitas in a slow cooker step by step. We will cover everything from preparing the pork to adding the perfect blend of spices and flavors, slow cooking the meat to perfection, and finishing it off with a crispy exterior. Get ready to tantalize your taste buds and impress your family and friends with homemade carnitas that rival even the best Mexican restaurants.
Key Takeaways:
- Master the art of creating tender, flavorful carnitas in a slow cooker. From seasoning the pork to crisping up the meat, this guide will help you achieve mouthwatering results that rival your favorite Mexican restaurant.
- Embrace the joy of homemade carnitas and savor the explosion of flavors and textures. Share the satisfaction of creating this classic Mexican dish with loved ones and continue to experiment with customizing the flavors to your liking.
Read more: How To Make Dal In Slow Cooker
Ingredients
Before diving into the process of making carnitas, let’s gather all the ingredients you will need:
- 3 pounds of pork shoulder or pork butt
- 1 onion, chopped
- 4 cloves of garlic, minced
- 1 teaspoon of salt
- 1 teaspoon of black pepper
- 1 teaspoon of cumin
- 1 teaspoon of paprika
- 1 teaspoon of oregano
- 1 bay leaf
- 1 cup of chicken or vegetable broth
- 2 tablespoons of vegetable oil
- 1 tablespoon of lime juice
- Tortillas, for serving
- Sliced avocado, shredded cheese, chopped cilantro, and lime wedges, for garnish
These ingredients will provide the base flavors for the carnitas and ensure that the meat is seasoned to perfection. You can adjust the seasoning according to your preferences and add additional ingredients to customize the flavor profile. Feel free to experiment and make it your own!
Equipment needed
Before you start cooking your carnitas, make sure you have the following equipment on hand:
- Slow cooker: A slow cooker is essential for achieving tender, juicy carnitas. If you don’t have one, you can also use a Dutch oven on low heat.
- Cutting board and knife: You’ll need these for chopping the onion and mincing the garlic.
- Measuring spoons: Accurate measurements of the spices are crucial for achieving the perfect flavor balance.
- Tongs: You’ll use tongs to transfer the cooked meat from the slow cooker to a cutting board for shredding.
- Skillet: A skillet will be used for crisping up the carnitas after they are cooked.
- Slotted spoon: You’ll need a slotted spoon to remove the carnitas from the slow cooker and transfer them to the skillet.
- Fork or meat shredders: These will come in handy for easily shredding the cooked pork.
- Serving plates or tortillas: You can serve the carnitas on plates or in tortillas, depending on your preference.
Having these equipment readily available will make the cooking process more efficient and enjoyable. Now that you have everything prepared, it’s time to move on to the next step: preparing the pork.
Step 1: Prepare the pork
The first step in making delicious carnitas is to prepare the pork. Start by trimming any excess fat from the pork shoulder or pork butt. While a little bit of fat will add flavor, too much can make the dish greasy. Cut the pork into cubes or large chunks, about 2-3 inches in size.
Once the pork is cut, pat it dry with paper towels. Removing excess moisture will help the meat brown properly and develop a nice crust. Transfer the pork to a clean plate or cutting board.
Now it’s time to season the meat. In a small bowl, combine salt, black pepper, cumin, paprika, and oregano. Mix the spices together to create a flavorful seasoning blend. Sprinkle the seasoning mixture over the pork, making sure to coat all sides of the meat.
At this stage, you can also add chopped onion and minced garlic for an extra boost of flavor. These aromatics will infuse the meat with their delicious flavors as it cooks. Distribute the onion and garlic evenly over the seasoned pork.
Once the pork is seasoned and ready, it’s time to move on to the next step: adding additional flavors to enhance the carnitas. Keep reading to find out how!
Step 2: Season the meat
Seasoning the meat is a crucial step in creating flavorful carnitas. In this step, we’ll focus on adding the perfect blend of spices and flavors to enhance the taste of the pork.
After preparing the pork by trimming excess fat and cutting it into cubes or chunks, it’s important to pat it dry with paper towels. This helps remove any excess moisture, allowing the spices to adhere to the meat more effectively.
In a small bowl, combine salt, black pepper, cumin, paprika, and oregano. These spices add depth and richness to the carnitas. Feel free to adjust the quantities according to your taste preferences.
Once you have mixed the spices together, sprinkle the seasoning evenly over the pork, ensuring that all sides of the meat are coated. Gently massage the spices into the meat, making sure they penetrate every nook and cranny.
Adding chopped onion and minced garlic at this stage is optional but highly recommended. These aromatics will infuse the meat with their fragrant flavors as they cook, enhancing the overall taste of the carnitas.
By properly seasoning the meat, you lay the foundation for a delicious and well-balanced flavor profile. The spices and aromatics will blend together harmoniously during the slow cooking process, resulting in tender, mouthwatering carnitas that will have your taste buds dancing with delight.
Once the meat is seasoned to perfection, it’s time to move on to the next step: adding additional flavors to elevate the carnitas even further. Keep reading to find out more!
Read more: How To Make Barbacoa In A Slow Cooker
Step 3: Add additional flavors
Now that you have seasoned the pork with a delicious blend of spices, it’s time to take the flavor of your carnitas to the next level by adding additional ingredients.
One key ingredient to include is a bay leaf. This herb lends a subtle yet distinct flavor to the carnitas. Place the bay leaf on top of the seasoned pork, ensuring that it is nestled among the meat chunks.
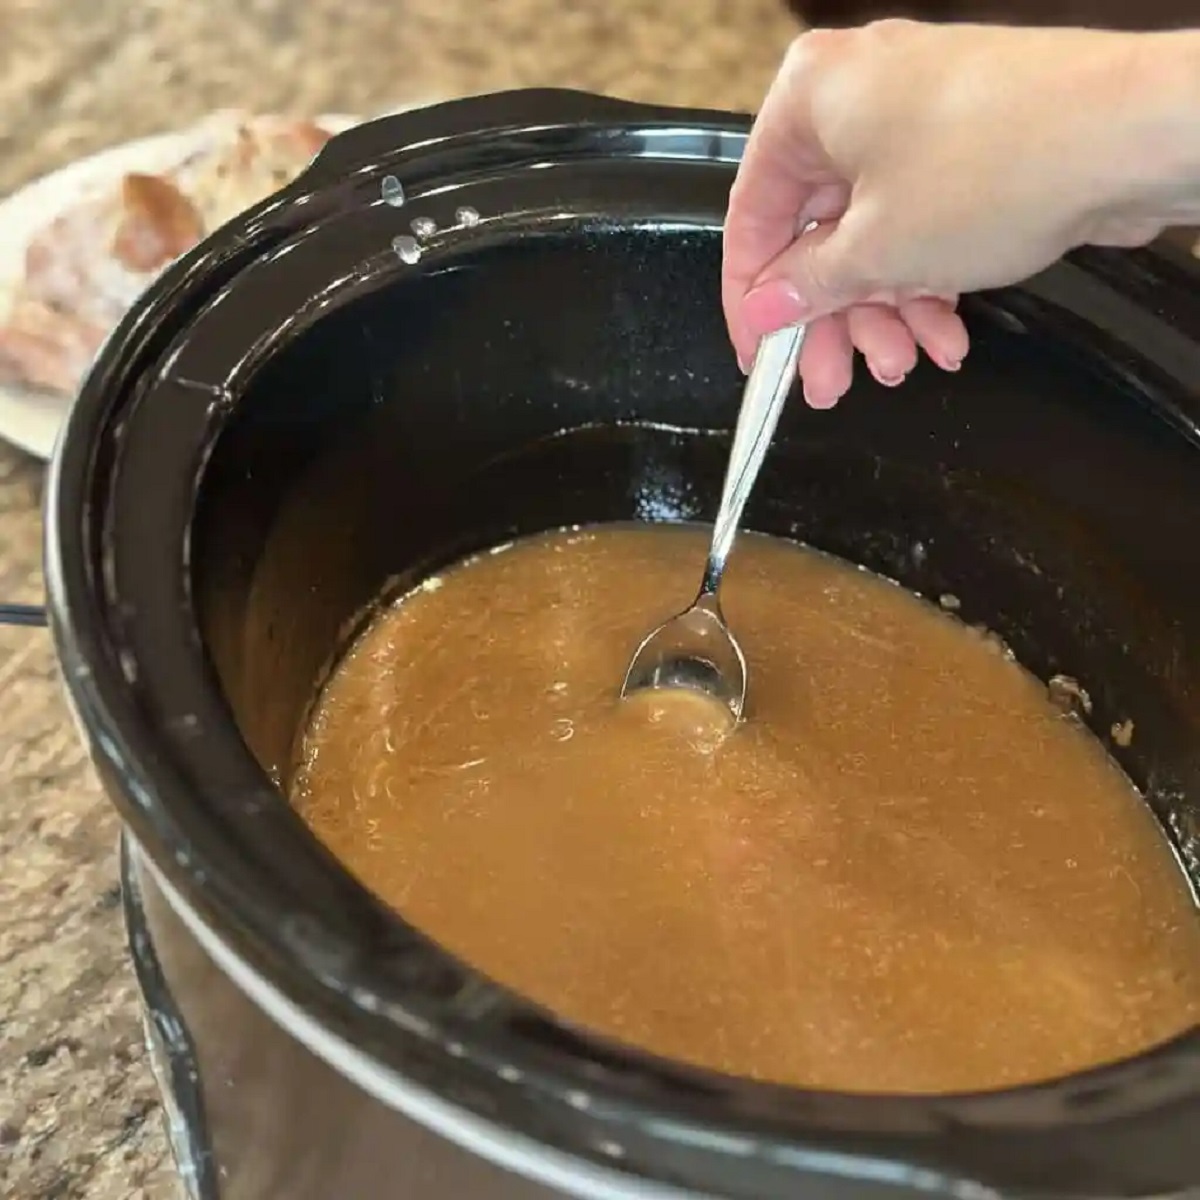
In addition to the bay leaf, you can add a cup of chicken or vegetable broth to the slow cooker. This liquid will keep the pork moist and infuse it with extra flavor as it slowly cooks. If you prefer a deeper flavor, you can also add a splash of beer or orange juice to the broth.
For a touch of acidity and brightness, squeeze the juice of a fresh lime over the pork. This will add a refreshing zing to the carnitas and balance the richness of the meat.
At this stage, you have the freedom to experiment with other seasonings, such as chili powder, smoked paprika, or even a touch of cinnamon. These additional flavors can complement the existing spices and give your carnitas a unique twist.
Once you have added these extra flavors, it’s time to let the slow cooker work its magic. Set the cooker to a low heat setting and allow the pork to slowly cook and become fork-tender. The flavors will meld together beautifully, creating an irresistible aroma that will fill your kitchen.
Now that your carnitas are slowly cooking away, it’s time to move on to the next step: letting the meat simmer to perfection. Keep reading to find out how to achieve tender and succulent carnitas every time!
For extra flavor, sear the pork shoulder in a hot skillet before adding it to the slow cooker. This will help caramelize the meat and enhance the overall taste of the carnitas.
Step 4: Slow cook the carnitas
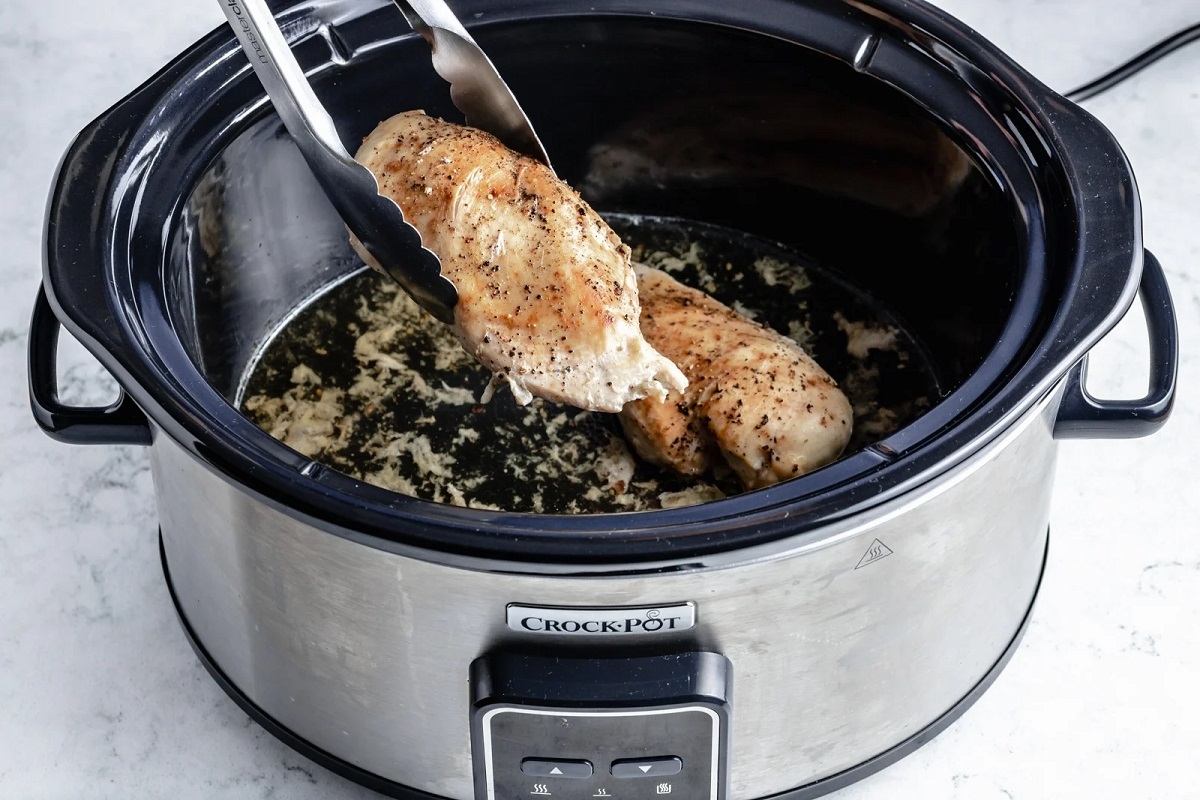
Now that you have prepared the pork and added the additional flavors, it’s time to let the slow cooker work its magic and transform the meat into tender, succulent carnitas.
Place the seasoned and flavored pork into the slow cooker, making sure to distribute it evenly across the bottom of the cooking pot. Cover the slow cooker with its lid and set the heat to low. Slow cooking the carnitas is essential to achieve the perfect texture and allow the flavors to meld together.
Let the pork simmer in the slow cooker for 6 to 8 hours. Cooking time can vary depending on the size of the meat chunks and the efficiency of your slow cooker. The low and slow cooking method ensures that the meat becomes fork-tender and easily shreds apart.
While the carnitas are cooking, resist the temptation to lift the lid and check on the progress too frequently. Each time you lift the lid, heat escapes and extends the cooking time. Trust the slow cooker to do its job and allow the pork to slowly become tender.
As the hours pass, the kitchen will start to fill with the mouthwatering aroma of the slowly cooking carnitas. The anticipation will build, and you’ll be rewarded with tender, flavorful meat that falls apart effortlessly when touched with a fork.
Once the carnitas have simmered to perfection, it’s time to move on to the next step: shredding the meat to unleash its full potential. Keep reading to find out how to achieve the perfect texture for your carnitas.
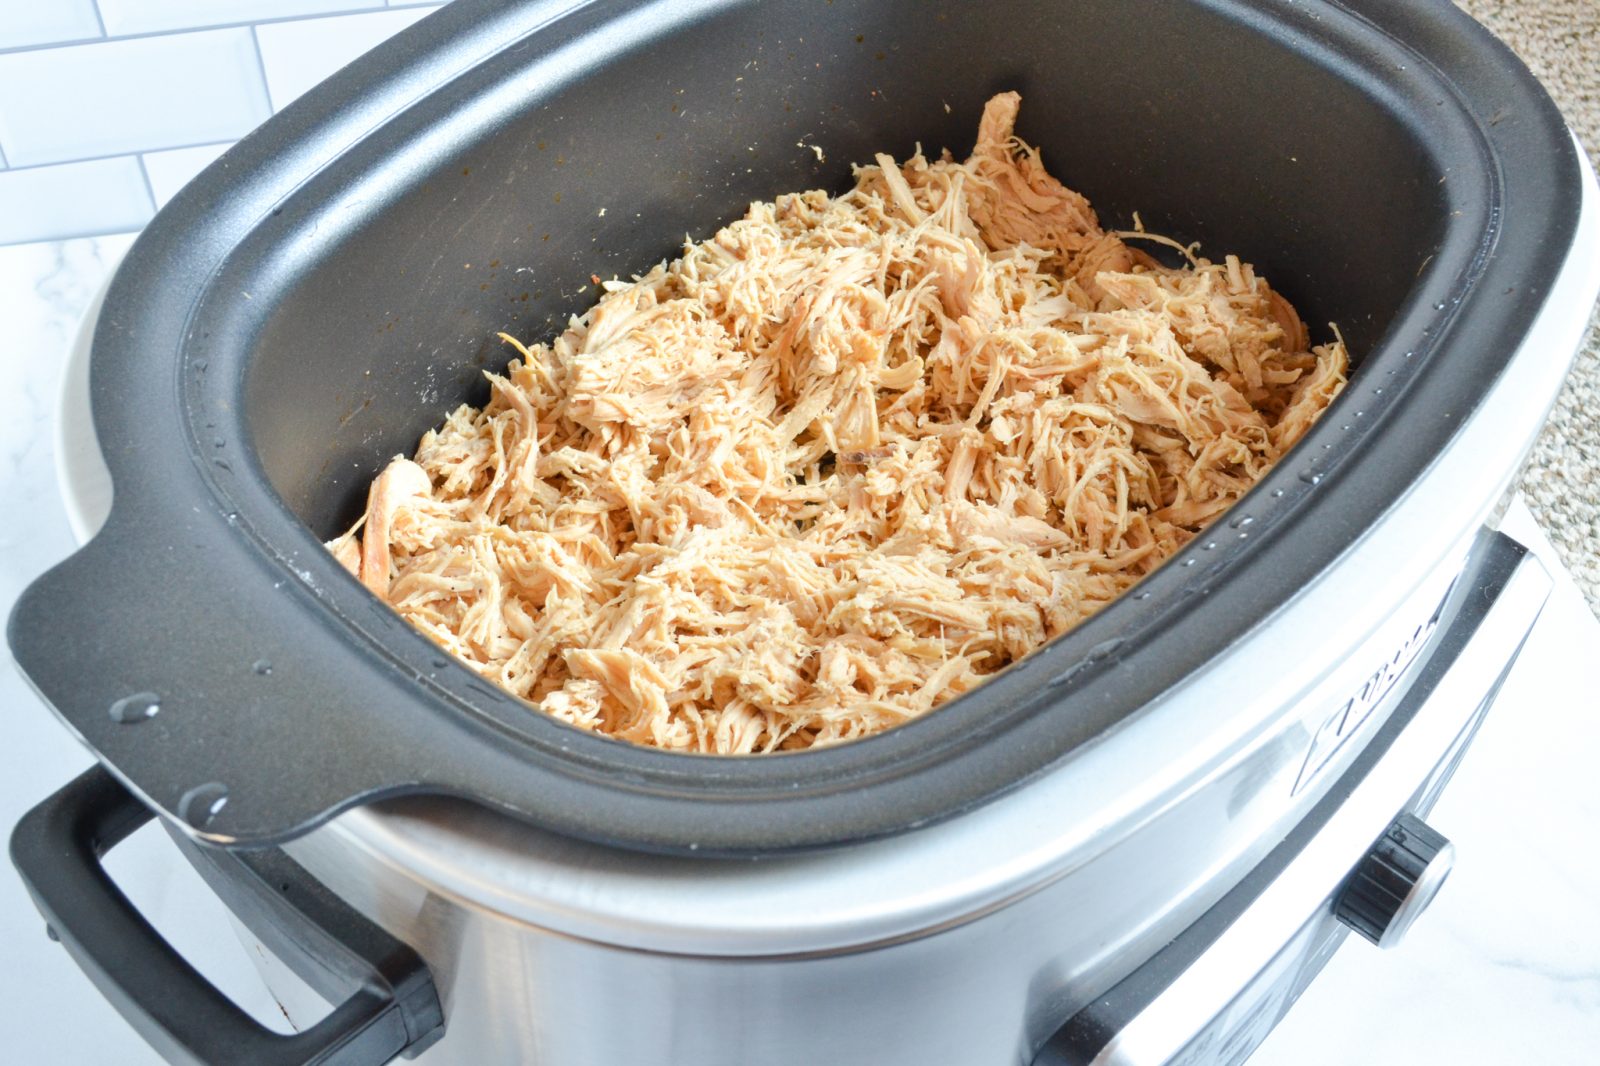
Step 5: Shred the meat
After hours of slow cooking, the pork should be incredibly tender and ready to be transformed into perfectly shredded carnitas. Follow these steps to achieve the desired texture:
1. Carefully remove the cooked pork from the slow cooker using tongs or a slotted spoon. Transfer it to a cutting board or a large plate.
2. Use a fork or meat shredders to shred the meat. Gently pull apart the pork chunks, separating the meat fibers. The slow cooking process should have made the meat incredibly tender, making it easy to shred with minimal effort.
3. As you shred the meat, keep an eye out for any remaining pieces of fat or undesirable bits. Remove them as you go to ensure that your carnitas are lean and flavorful.
4. Continue shredding until all the pork is pulled apart into bite-sized pieces. The shredded meat will have absorbed all the flavors from the seasoning and the slow cooking process, resulting in a moist and flavorful carnitas filling.
5. Once the meat is shredded, it’s now time to crisp up the carnitas and enhance its texture and taste. Read on to find out the final step in making your carnitas truly irresistible.
By following these steps, you’ll ensure that your carnitas are perfectly shredded and ready to be transformed into a mouthwatering, crispy delight. The shredded meat is now prepared, and it’s time to move on to the final step: crisping up the carnitas to add that irresistible golden crust.
Step 6: Crisp up the carnitas
Now that your carnitas are perfectly shredded, it’s time to take them to the next level by crisping them up. This step will add a delicious golden crust to the meat, providing a contrast in texture and intensifying the flavors.
To achieve the desired crispiness, follow these simple steps:
1. Heat a skillet or frying pan over medium-high heat. Add a couple of tablespoons of vegetable oil and allow it to heat up.
2. Carefully add the shredded carnitas to the hot skillet, spreading them out evenly. The goal is to maximize the amount of surface area that comes into contact with the heat, promoting browning and creating that delightful crisp texture.
3. Let the carnitas cook undisturbed for a few minutes to allow the bottom layer to develop a golden crust. Then, using tongs or a spatula, flip the meat and continue cooking on the other side. Repeat this process until most of the carnitas have achieved a crispy exterior.
4. Adjust the heat as needed to prevent the meat from burning. You want a nice caramelized crust without overcooking the meat.
5. As the carnitas crisp up, you’ll notice the irresistible aroma filling your kitchen. It’s a sign that you’re on the right track and that the magic is happening.
6. Once the carnitas are nicely browned and crisped to your liking, remove them from the skillet and transfer them to a serving dish lined with paper towels. The paper towels will help absorb any excess oil and keep the carnitas crispy.
Now that your carnitas are crispy and golden, it’s time to serve them and enjoy the fruits of your labor. But before you do, let’s dive into the final step: serving and savoring the delicious carnitas.
Read more: How To Make Meatloaf In A Slow Cooker
Step 7: Serve and enjoy
Congratulations! You have made it to the final step: serving and savoring the mouthwatering carnitas you have worked so hard to prepare.
Here’s how to serve and enjoy your delicious carnitas:
1. Transfer the crispy carnitas to a serving plate or a platter. Be sure to remove any excess oil that may have accumulated during the crisping process.
2. Warm your favorite tortillas, either on the stovetop or in the microwave. Soft, warmed tortillas provide the perfect vessel for holding the scrumptious carnitas.
3. Assemble your tacos by placing a generous amount of the carnitas onto each tortilla. This is where you can get creative and add your favorite toppings and garnishes. Consider sliced avocado, shredded cheese, chopped cilantro, and a squeeze of fresh lime juice.
4. Serve the tacos alongside some traditional Mexican sides such as Mexican rice, refried beans, or a fresh and vibrant salsa. These accompaniments will complete the meal and add even more flavor to your experience.
5. Gather your family or friends, and dig in! Savor the explosion of flavors, the tenderness of the meat, and the crispiness of the carnitas. Enjoy the delectable combination of textures and the balance of seasonings that make this dish so beloved.
Now, sit back, relax, and enjoy the fruits of your labor. Share the joy of homemade carnitas with your loved ones, and celebrate your culinary achievement. Don’t forget to savor each and every bite as you indulge in the delightful flavors of this classic Mexican dish.
Remember, making carnitas in a slow cooker takes time and patience, but the end result is well worth it. So, take pride in your culinary creation and relish every moment as you enjoy your homemade carnitas!
Thank you for joining us on this journey to make succulent carnitas in a slow cooker. We hope you have found this article helpful and that you enjoy making and savoring this flavorful dish. Happy cooking!
Conclusion
Congratulations! You have successfully learned how to make delicious carnitas in a slow cooker. From the initial preparation of the pork to the final step of enjoying the crispy, flavorful meat, you have experienced the joy of creating a beloved Mexican dish right in your own kitchen.
The slow cooker has proven to be an invaluable tool in achieving tender, succulent carnitas. The low and slow cooking method allows the flavors to meld together, resulting in meat that practically melts in your mouth. And by taking the extra step of crisping up the carnitas, you have added a delightful crunch and intensified the flavors, creating a perfect balance of textures.
Throughout this journey, you have immersed yourself in the process of seasoning the meat, adding additional flavors, and patiently slow cooking until the pork reaches its tender glory. You have mastered the art of shredding the meat and achieving that coveted golden crust, creating a truly irresistible dish.
But the journey doesn’t end here. Now that you have the skills to make homemade carnitas, you can continue to experiment and customize the flavors to your liking. Whether it’s adjusting the spice levels, adding different seasonings, or incorporating your favorite toppings, the possibilities are endless.
So, gather your family and friends, serve up a platter of your homemade carnitas, and enjoy the satisfaction of creating a delicious and memorable meal. Share the joy and flavors with your loved ones as you indulge in the tender, flavorful meat wrapped in warm tortillas.
We hope that this article has not only provided you with a comprehensive guide to making carnitas in a slow cooker but has also ignited your passion for exploring new flavors and culinary adventures. May you continue to experiment and create delightful dishes that bring happiness to your kitchen and dining table.
Thank you for joining us on this culinary journey, and we wish you many more successful and flavorful cooking experiences. Happy cooking and enjoy your homemade carnitas!
Frequently Asked Questions about How To Make Carnitas In A Slow Cooker
Was this page helpful?
At Storables.com, we guarantee accurate and reliable information. Our content, validated by Expert Board Contributors, is crafted following stringent Editorial Policies. We're committed to providing you with well-researched, expert-backed insights for all your informational needs.


0 thoughts on “How To Make Carnitas In A Slow Cooker”