Articles
How To Make Bone Broth In Slow Cooker
Modified: October 20, 2024
Learn how to make nutritious bone broth in your slow cooker with this step-by-step guide. Discover the benefits of bone broth and enjoy homemade goodness in just a few simple steps.
(Many of the links in this article redirect to a specific reviewed product. Your purchase of these products through affiliate links helps to generate commission for Storables.com, at no extra cost. Learn more)
Introduction
Making bone broth is a practice that has been around for centuries and is gaining popularity in modern times for its numerous health benefits. Bone broth is rich in nutrients, minerals, and collagen, making it a nourishing and healing elixir. While the traditional method of simmering bones for hours on the stovetop is effective, using a slow cooker can make the process even easier and more convenient.
In this article, we will explore the benefits of making bone broth in a slow cooker, guide you on choosing the right bones, and provide a step-by-step process to create a delicious and nutritious bone broth. Whether you are a seasoned cook or a kitchen novice, get ready to embark on a culinary journey that will fill your home with comforting aromas and boost your health!
Key Takeaways:
- Slow cookers offer convenience, retain nutrients, and enhance flavor, making bone broth preparation easy and beneficial for busy individuals seeking a nourishing elixir.
- Choosing the right bones, preparing ingredients, and setting the slow cooker are essential steps in creating a flavorful and nutrient-dense bone broth for versatile culinary use.
Benefits of Making Bone Broth in a Slow Cooker
Making bone broth in a slow cooker offers several advantages over other cooking methods. Here are some key benefits:
- Convenience: Using a slow cooker allows you to set it and forget it. You can easily prep the ingredients, add them to the pot, set the cooking time, and let it simmer away without constant monitoring. This is particularly beneficial for those with busy schedules or who prefer a hands-off cooking approach.
- Retains Nutrients: Slow cooking at a low temperature helps to preserve the integrity of the nutrients present in the bones and other ingredients. The long, gentle simmer allows for the breakdown of collagen and the release of minerals, resulting in a broth that is rich in vitamins, minerals, and amino acids.
- Enhanced Flavor: The extended cooking time in a slow cooker allows the flavors to meld together and intensify. This results in a more robust and delicious broth compared to shorter cooking methods. The slow simmering also helps to extract the maximum amount of flavor from the bones and aromatic ingredients.
- Easy Straining: Straining the broth is a crucial step to remove any impurities or bits of bone. Slow cookers typically come with removable inserts, making it easier to strain the broth directly from the pot. The slower cooking process also tends to break down the bones more thoroughly, resulting in a smoother and clearer broth.
- Economical: Using a slow cooker to make bone broth is a cost-effective approach. You can easily utilize leftover bones from roast meats or purchase inexpensive cuts of bones from your local butcher. Slow cooking extracts maximum flavor and nutrients from the bones, ensuring that nothing goes to waste.
- Time-Saving: While bone broth does require a long cooking time, using a slow cooker saves you active preparation and cooking time. You can set up the slow cooker in the morning, go about your day, and return to a fragrant and nutritious broth in the evening. This allows you to enjoy the benefits of bone broth without spending hours in the kitchen.
Now that you are aware of the benefits, let’s dive into the process of choosing the right bones for your bone broth.
Choosing the Right Bones for Your Broth
The quality and type of bones you use to make bone broth directly impact the flavor and nutrient content of the final product. Here are some factors to consider when choosing bones:
- Grass-Fed and Organic: Whenever possible, choose bones from animals that are grass-fed and raised without the use of antibiotics or hormones. Grass-fed bones tend to have a higher nutrient content and better flavor. Organic bones ensure that you are not exposing yourself to any harmful chemicals or additives.
- Joint Bones and Knuckles: Joint bones and knuckles contain a higher amount of collagen, which is responsible for the gelatinous texture and numerous health benefits of bone broth. These bones also tend to add a richer and more flavorful broth.
- Marrow Bones: Marrow bones are the soft, spongy bones found in the center of larger bones. They are rich in healthy fats, essential fatty acids, and minerals such as calcium and phosphorus. Including some marrow bones in your broth adds depth of flavor and additional nutrients.
- Meaty Bones: Adding meaty bones, such as those with leftover meat or cartilage attached, can enhance the flavor and richness of your broth. They contribute additional protein and give the broth a heartier taste.
- Mix of Bones: For a well-rounded broth, consider using a variety of bones, including joint bones, knuckles, marrow bones, and meaty bones. The combination of different types of bones will ensure a more balanced nutrient profile and a flavorful broth.
- Source and Quality: It is essential to know the source and quality of the bones you are using. If possible, source bones from a reputable farmer or butcher who can provide you with detailed information about the animal’s diet and how it was raised. This ensures that you are using high-quality bones for your broth.
Now that you know how to choose the right bones, let’s move on to the next step: preparing the bones for cooking.
Preparing the Bones for Cooking
Before you start cooking your bone broth, it is crucial to properly prepare the bones to enhance the flavor and nutrient extraction. Here’s how to prepare the bones for cooking:
- Thoroughly Clean the Bones: Rinse the bones under cold water to remove any dirt or debris. If you prefer, you can soak them in cold water with a splash of vinegar for about 30 minutes to help remove any impurities. After rinsing or soaking, pat the bones dry with a paper towel.
- Roast the Bones (Optional): While this step is optional, roasting the bones can significantly enhance the flavor of your broth. Preheat your oven to 400°F (200°C). Arrange the bones in a single layer on a baking sheet and roast them for about 30 minutes or until they turn golden brown. The roasting process helps to develop a rich, caramelized flavor.
- Remove Excess Fat and Meat: If you prefer a leaner broth, trim any excess fat or meat from the bones. This step is optional, as some people enjoy the added richness that fat and meat provide to the broth. Trim according to your personal preference.
- Crack or Cut the Bones: To allow for better nutrient extraction and flavor release, you may choose to crack or cut the larger bones. This will expose the marrow and bone marrow, which contain valuable nutrients and add depth to your broth.
- Set Aside: Once the bones are prepared, set them aside until you are ready to add them to the slow cooker. It’s best to start cooking the bone broth as soon as possible after preparing the bones to prevent any spoilage or loss of freshness.
Now that the bones are prepped, we can move on to discussing the ingredients and equipment needed for making bone broth in a slow cooker.
Ingredients and Equipment Needed
To make bone broth in a slow cooker, you will need the following ingredients and equipment:
Ingredients:
- Bones (about 2-3 pounds) – Choose a mix of joint bones, knuckles, marrow bones, and meaty bones for a flavorful broth.
- Aromatics – This can include onion, garlic, carrots, celery, and herbs like bay leaves, thyme, and parsley. These ingredients add depth and fragrance to the broth.
- Apple Cider Vinegar (optional) – Adding a splash of apple cider vinegar helps to extract minerals from the bones.
- Water – Use filtered water to ensure a clean and pure broth.
- Salt and pepper – Season the broth to taste.
Equipment:
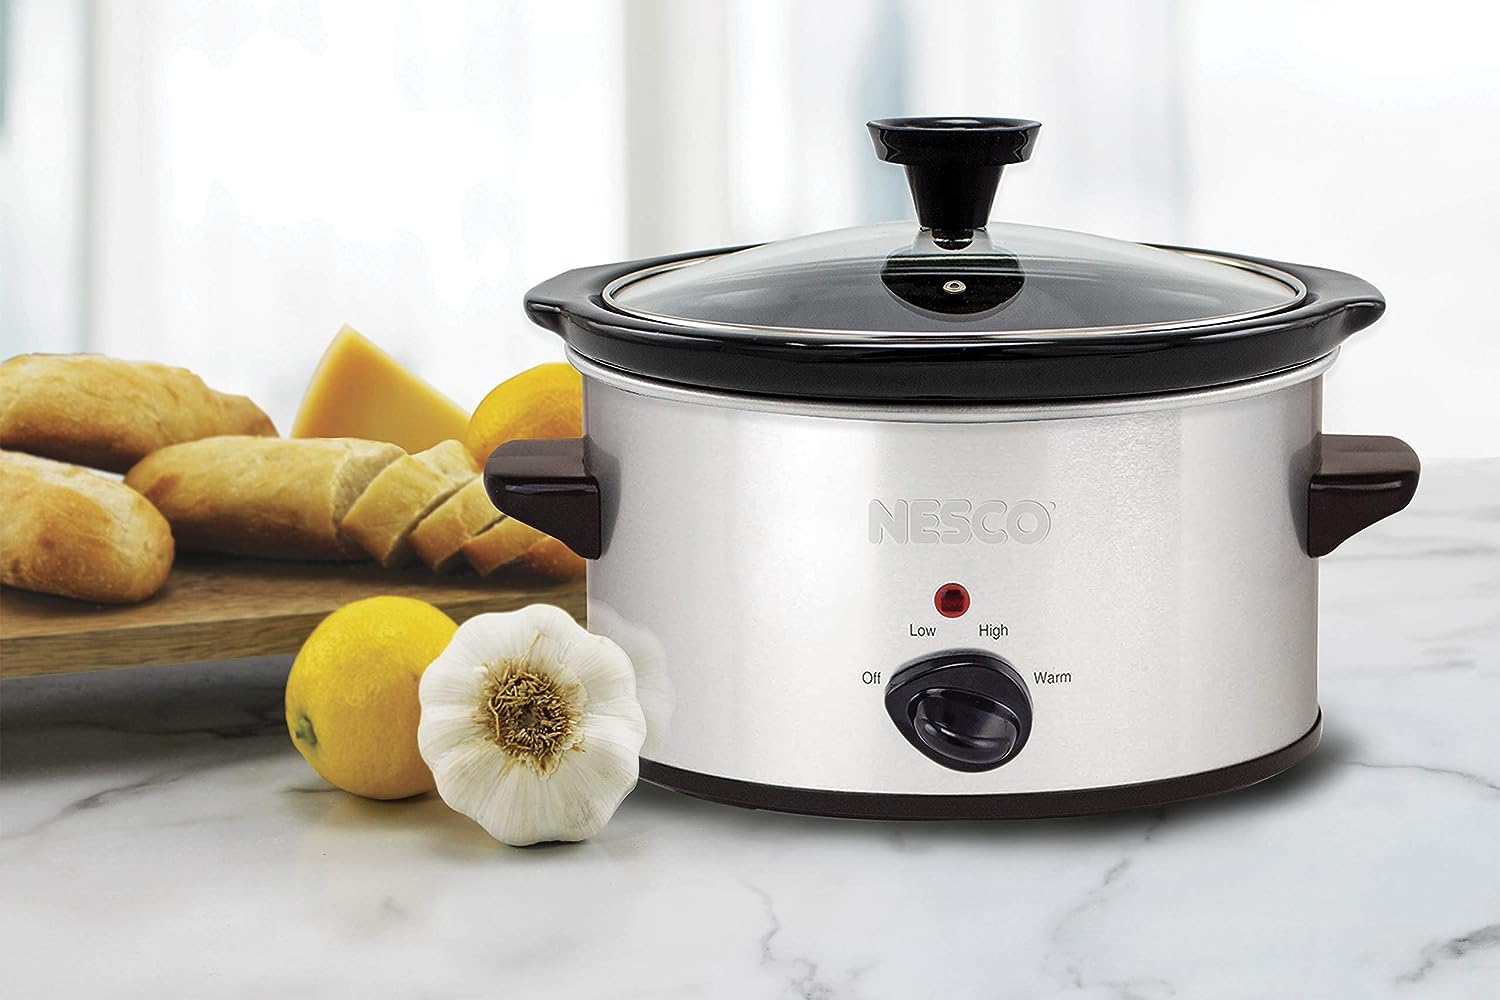
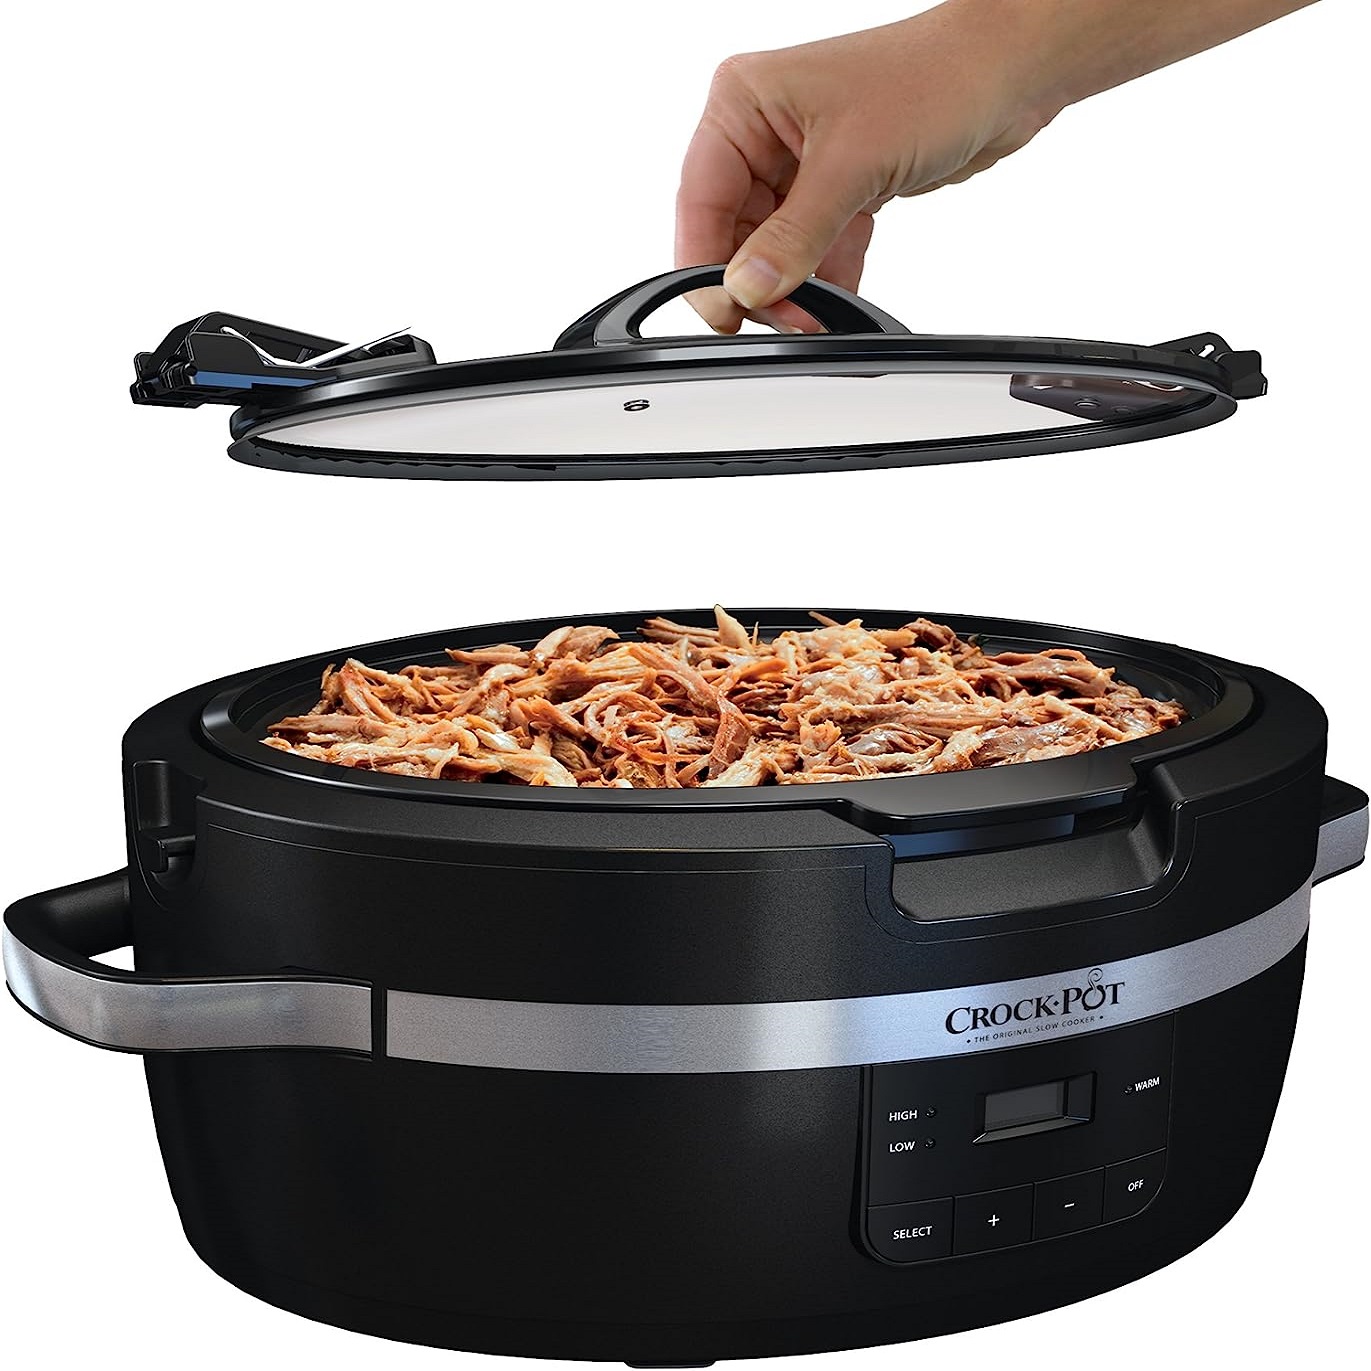
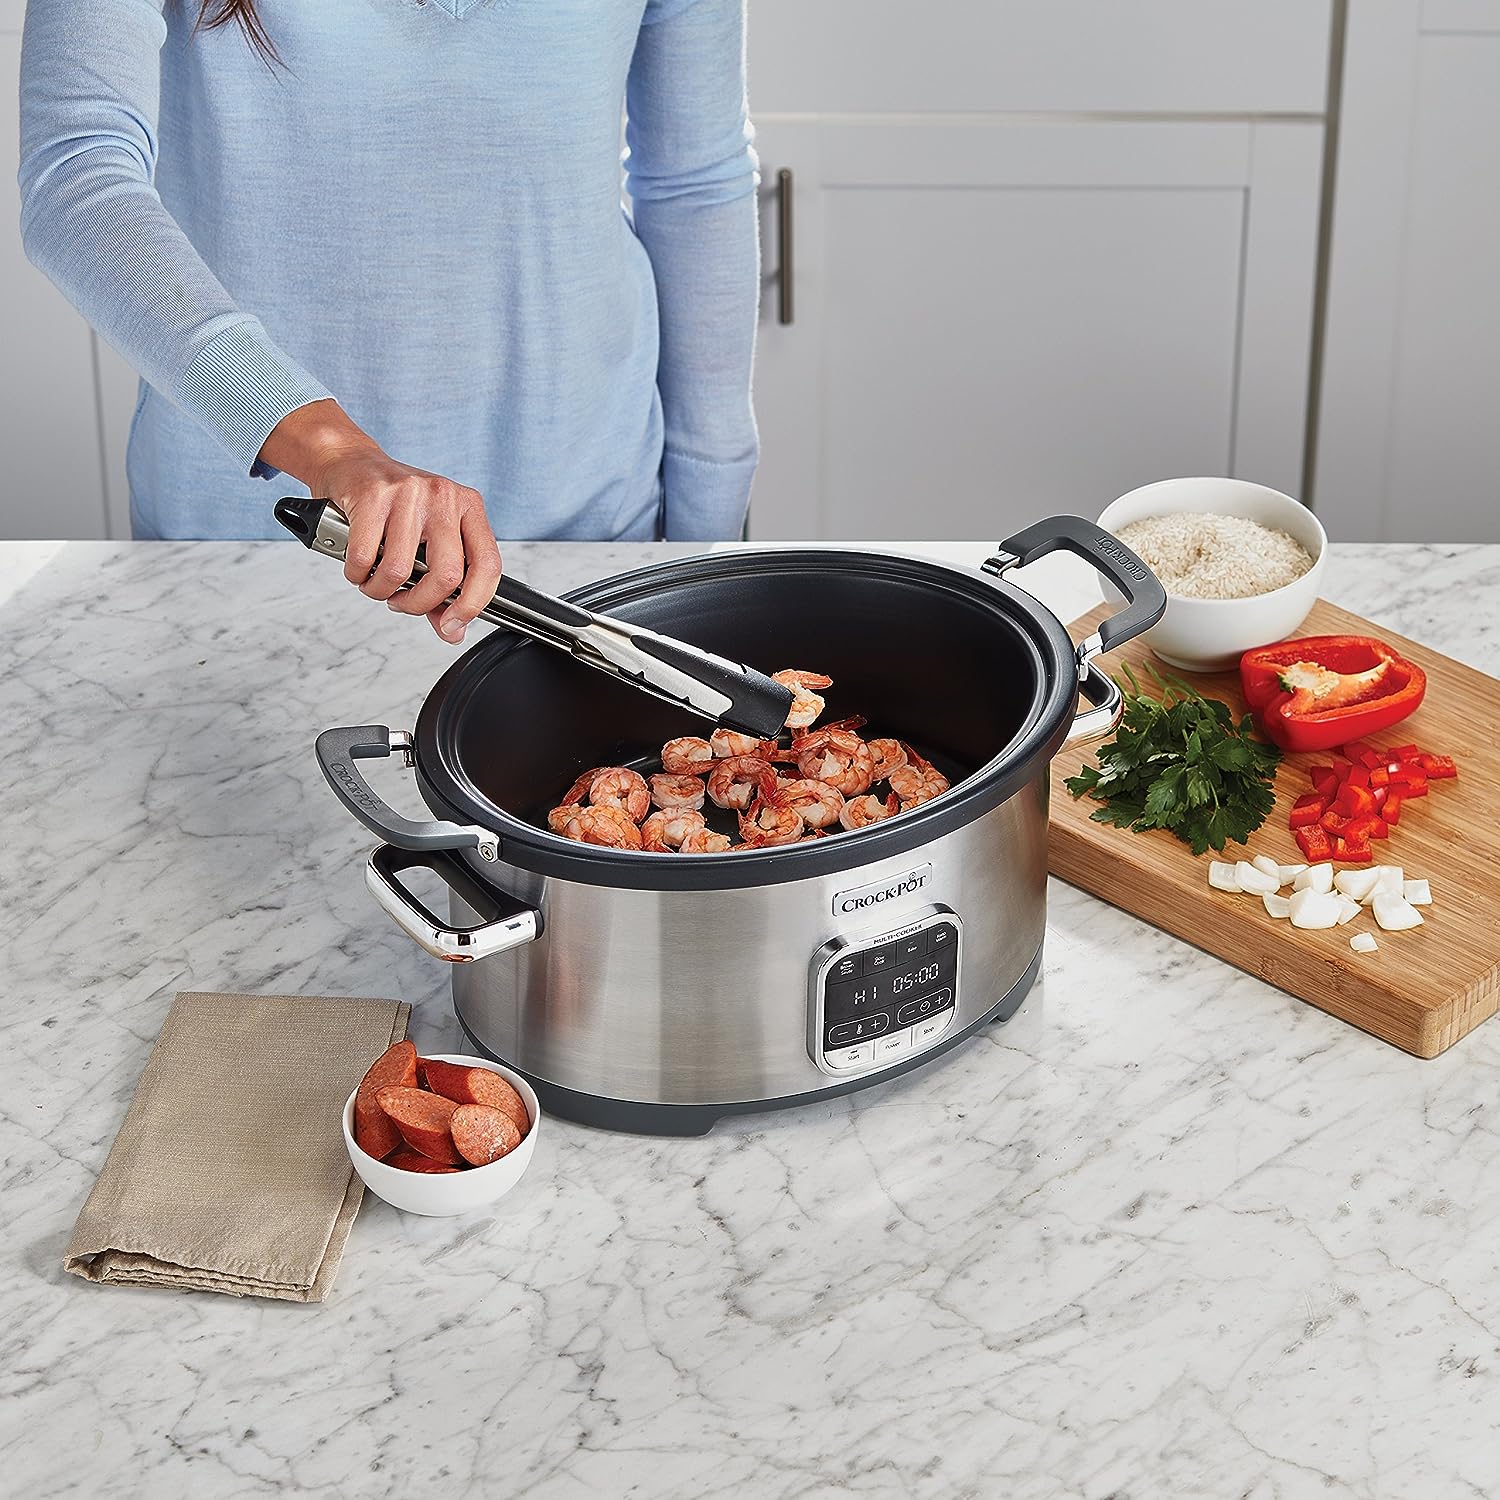
- Slow Cooker – Choose a slow cooker with a capacity of at least 6 quarts to accommodate the bones and liquid comfortably.
- Sharp Knife – For cutting and preparing the bones.
- Cutting Board – To provide a clean and sturdy surface for prepping ingredients.
- Baking Sheet (optional) – If you decide to roast the bones, you will need a baking sheet to roast them in the oven.
- Strainer – A fine-mesh strainer or cheesecloth is necessary for straining the broth.
- Bowls or Containers – You will need bowls or containers to store the strained broth.
Having these ingredients and equipment on hand will ensure a smooth and efficient bone broth-making process. Now that you are fully equipped, let’s move on to the step-by-step instructions for making bone broth in a slow cooker.
Read more: How To Store Homemade Bone Broth
Step 1: Roasting the Bones
Roasting the bones before simmering them in the slow cooker is an optional but highly recommended step. It adds depth of flavor to the broth by caramelizing the bones and enhancing their natural flavors. Here’s how to roast the bones:
- Preheat the Oven: Preheat your oven to 400°F (200°C) while you prepare the bones.
- Prepare the Bones: Rinse the bones under cold water to remove any dirt or debris. Pat them dry with a paper towel. If desired, you can trim excess fat or meat from the bones.
- Arrange the Bones: Place the bones in a single layer on a baking sheet. Make sure they are evenly spaced, allowing for proper roasting.
- Roast the Bones: Transfer the baking sheet to the preheated oven and let the bones roast for about 30 minutes. Keep an eye on them to ensure they don’t burn. The bones should turn golden brown and develop a rich, savory aroma.
- Remove from Oven: Once the bones are nicely roasted, remove them from the oven and let them cool slightly. Avoid burning yourself with hot bones.
After roasting the bones, they are ready to be added to the slow cooker along with other ingredients. Roasting helps intensify the flavor of the bone broth and adds a depth that cannot be achieved through other cooking methods. Now, let’s move on to preparing the aromatics in the next step.
For a richer flavor, roast the bones in the oven before adding them to the slow cooker. This will enhance the depth of flavor in your bone broth.
Step 2: Preparing the Aromatics
Adding aromatics to your bone broth will infuse it with delicious flavors and aromas. Aromatics can include vegetables like onions, garlic, carrots, celery, and herbs like bay leaves, thyme, and parsley. Here’s how to prepare the aromatics:
- Chop the Vegetables: Start by peeling and chopping the onions, carrots, and celery. You can chop them into large chunks or smaller pieces, depending on your preference.
- Mince the Garlic: Peel the garlic cloves and mince them finely. Alternatively, you can use a garlic press to crush the cloves into small pieces.
- Gather the Herbs: If you are using bay leaves, thyme, or parsley, gather them together and tie with kitchen twine. This will make it easier to remove them from the broth later.
Preparing the aromatics is a simple but essential step in building the flavors of your bone broth. Once the aromatics are ready, it’s time to move on to the next step and combine all the ingredients in the slow cooker.
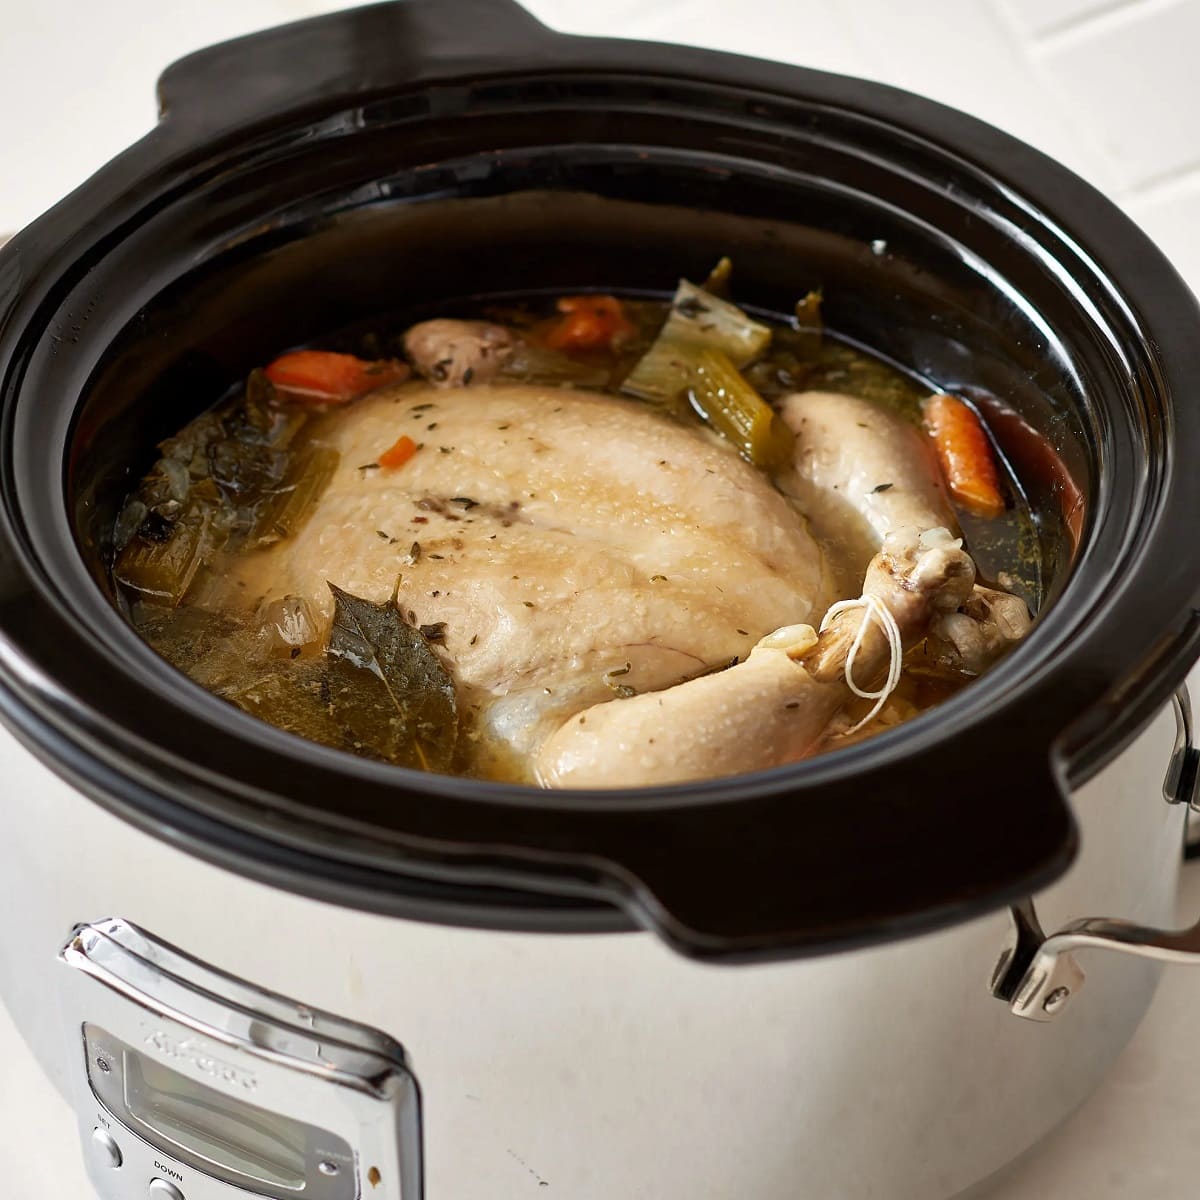
Step 3: Combining the Ingredients in the Slow Cooker
Now that you have roasted the bones and prepared the aromatics, it’s time to combine all the ingredients in the slow cooker. Follow these steps to create a flavorful base for your bone broth:
- Place the Roasted Bones: Start by placing the roasted bones into the slow cooker. Make sure they are evenly distributed at the bottom of the pot.
- Add the Aromatics: Next, add the chopped onions, carrots, celery, minced garlic, and tied herbs (if using) to the slow cooker. These aromatics will impart their flavors to the broth as it simmers.
- Sprinkle with Salt and Pepper: Season the ingredients with a pinch of salt and pepper. This will enhance the flavors of the broth as it cooks.
- Add a Splash of Apple Cider Vinegar: If desired, add a splash of apple cider vinegar to the slow cooker. This will help extract the minerals from the bones during the cooking process.
- Pour in Filtered Water: Fill the slow cooker with enough filtered water to cover the bones and vegetables. The water should be about 1-2 inches above the ingredients. Be careful not to overfill the slow cooker.
Once all the ingredients are combined in the slow cooker, the next step is to set the cooking time and temperature. This will allow the flavors to meld together and create a rich, nourishing bone broth. In the next step, we will guide you through setting the slow cooker and determining the cooking time.
Step 4: Setting the Slow Cooker and Cooking Time
Setting the slow cooker and determining the cooking time are crucial to achieving a delicious and flavorful bone broth. Follow these steps to ensure the broth simmers to perfection:
- Secure the Lid: Place the lid securely on the slow cooker to trap the heat and ensure an even cooking temperature.
- Select the Cooking Temperature: Most slow cookers have low, high, and sometimes medium temperature settings. For bone broth, it is recommended to cook on the low setting. This allows for a longer, slower simmer, extracting more nutrients and flavor from the bones and ingredients.
- Determine the Cooking Time: The cooking time for bone broth can vary depending on the thickness and size of the bones. A general guideline is to cook the broth on the low setting for at least 12-24 hours. This long cooking time allows for the collagen and other nutrients to fully break down and release into the broth. You can cook it for even longer, up to 48 hours, for an even richer and more concentrated broth.
- Set and Forget: Once you have selected the cooking temperature and time, there’s no need to constantly check or stir the broth. The beauty of using a slow cooker is its ability to simmer the ingredients gently without constant attention. You can go about your day or even sleep while the slow cooker works its magic.
Remember, the longer you simmer the bone broth, the more flavorful and nutritious it will be. However, if you are short on time, you can still achieve a flavorful broth by simmering it for a minimum of 8-10 hours. Once the cooking time is up, it’s time to move on to the next step and strain the bone broth.
Read more: How To Store Bone Broth In Fridge
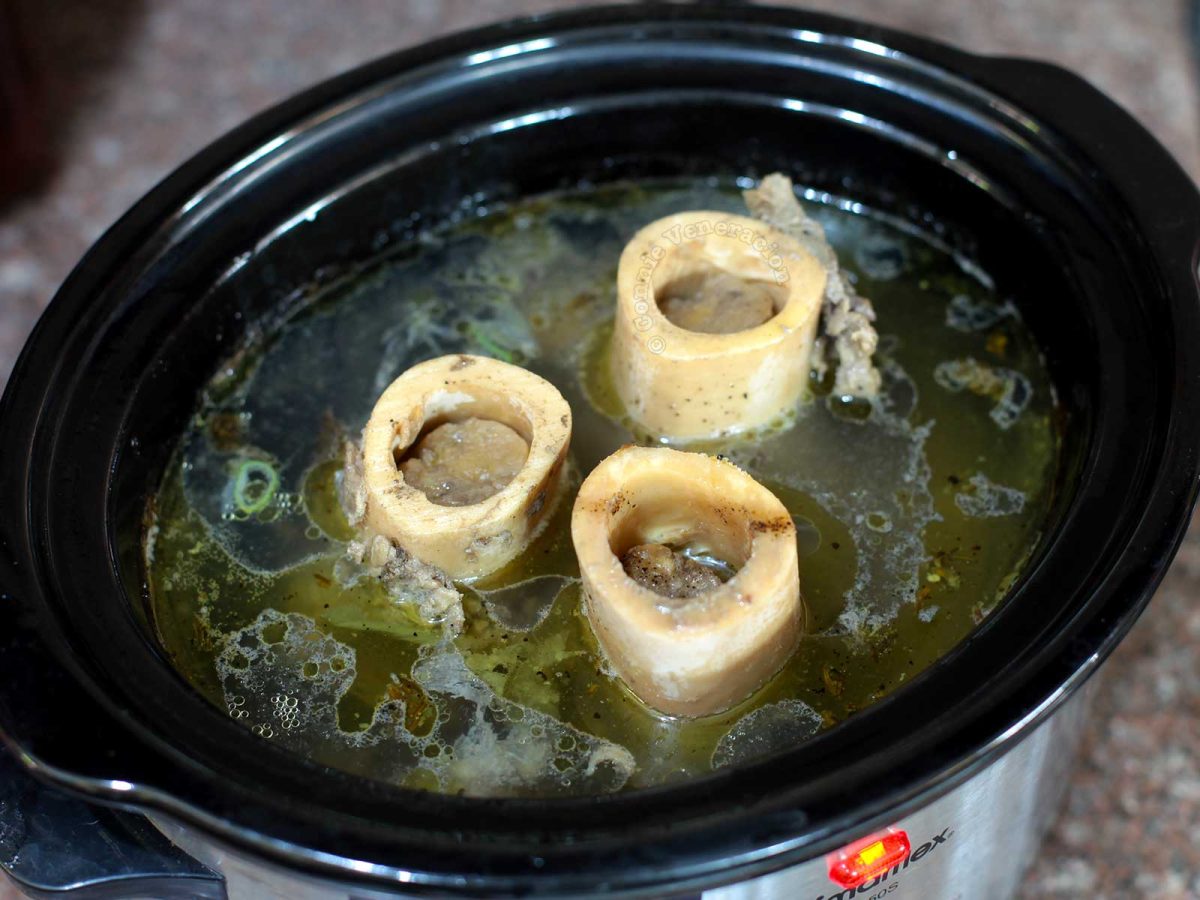
Step 5: Straining and Storing the Bone Broth
After simmering your bone broth for the desired cooking time, it’s time to strain and store the flavorful liquid. Follow these steps to ensure a smooth and efficient straining process:
- Turn Off the Slow Cooker: Turn off the slow cooker and carefully remove the lid. Allow the broth to cool slightly before handling.
- Strain the Broth: Place a fine-mesh strainer or cheesecloth over a large bowl or pot. Slowly and carefully pour the contents of the slow cooker through the strainer. The strainer will catch any bones, pieces of vegetables, or other solids, leaving you with a clear and smooth broth.
- Press and Squeeze: Use a spatula or the back of a spoon to press down on the solids remaining in the strainer. This will help extract any additional liquid and flavor from the strained ingredients. You can also use a cheesecloth to squeeze out any excess liquid.
- Discard the Solids: Once you have strained the broth, discard the bones and vegetables that were captured in the strainer. Be cautious as the bones may still be hot.
- Cool and Store: Allow the strained bone broth to cool to room temperature. Once cooled, transfer the broth into airtight containers, such as Mason jars or plastic containers, leaving some space at the top for expansion during freezing.
- Refrigerate or Freeze: Depending on when you plan to use the bone broth, you can store it in the refrigerator for up to 4-5 days or freeze it for longer storage. If freezing, remember to label the containers with the date to keep track of freshness.
Now, you have freshly strained bone broth ready to be used in soups, stews, or as a nourishing hot beverage. Make sure to store any leftover broth properly to maintain its quality and flavor. In the next section, we will share some tips and additional variations to help you customize your bone broth even further.
Tips and Additional Variations
Now that you have successfully made bone broth in a slow cooker, here are some tips and additional variations to further enhance your bone broth-making experience:
- Skim the Fat: Once the bone broth has cooled in the refrigerator, a layer of fat may solidify on the surface. You can skim off this fat before using the broth to reduce its fat content.
- Customize with Herbs and Spices: Experiment with different herbs and spices to customize the flavor of your bone broth. Consider adding rosemary, sage, turmeric, or ginger for added health benefits and a unique taste.
- Use Flavorful Vegetable Scraps: Don’t throw away vegetable scraps! Save onion skins, carrot tops, and celery trimmings to add to your bone broth. These scraps will enhance the flavor of the broth and reduce waste.
- Add Vegetables for a Heartier Broth: For a heartier and more substantial broth, add chopped vegetables such as potatoes, sweet potatoes, or mushrooms during the last few hours of cooking.
- Experiment with Broth Ratios: Adjust the ratio of bones to water to suit your preference. A higher bone-to-water ratio will result in a richer, more concentrated broth, while a lower ratio will yield a lighter broth.
- Enjoy as a Sipper: Bone broth doesn’t have to be used only as a base for soups and stews. Enjoy it as a warm and nourishing beverage by sipping it from a mug, especially during cold weather or when you need a comforting boost.
- Include Additional Protein: If you want to boost the protein content of your bone broth, you can add a few tablespoons of collagen powder or incorporate bone-in chicken or beef in addition to the bones.
- Experiment with Cooking Times: While a longer cooking time results in a more flavorful broth, you can also experiment with shorter cooking times. It’s all about finding the balance between time constraints and the desired taste and texture of your bone broth.
- Label and Date Your Broth: When storing bone broth in the freezer, make sure to label the containers with the date to keep track of freshness. Bone broth can generally be stored in the freezer for up to 3-6 months.
With these tips and variations, you can continue to refine and customize your bone broth according to your tastes and dietary needs. Whether you enjoy it as a standalone beverage or use it as a base for your favorite recipes, bone broth is a versatile and nourishing addition to your culinary repertoire.
Now that you have mastered the art of making bone broth in a slow cooker, it’s time to savor the delicious flavors and reap the numerous health benefits in each comforting sip. Cheers to your homemade bone broth success!
**Note: The information provided in this article is for educational purposes only and should not be construed as medical advice. If you have any specific dietary concerns or health conditions, please consult with a healthcare professional before incorporating bone broth into your diet.
Conclusion
Making bone broth in a slow cooker is a convenient and rewarding way to enjoy a nourishing and flavorful elixir. With its numerous health benefits and rich taste, bone broth has become a staple in many kitchens around the world.
In this article, we explored the benefits of using a slow cooker for bone broth, including the convenience, retained nutrients, enhanced flavor, and ease of straining. We discussed the importance of choosing the right bones, such as grass-fed and organic options, joint bones, marrow bones, and meaty bones, to ensure a nutrient-dense and delicious broth.
We guided you through the necessary steps, from preparing the bones and aromatics to combining the ingredients in the slow cooker. We also highlighted the significance of setting the cooking time and temperature to achieve the desired flavors and nutrient extraction.
After a long, slow simmer in the slow cooker, we explained how to strain the bone broth, remove any solids, and properly store it for future use. We also provided tips and variations to help you customize your bone broth, from using different herbs and spices to incorporating vegetables and adjusting the broth ratios to your liking.
Now that you have the knowledge and tools to make bone broth in a slow cooker, it’s time to embark on your culinary journey. Whether you enjoy it as a standalone beverage, incorporate it into your favorite recipes, or use it as a comforting sipper during cold weather, bone broth is a versatile and nutrient-packed addition to your kitchen.
Remember, making bone broth is not only a process of nourishing your body but also a way to connect with ancestral traditions and take pleasure in creating wholesome, homemade dishes. So grab your slow cooker, gather your ingredients, and get ready to create a nourishing elixir that will warm your soul and support your overall well-being.
Frequently Asked Questions about How To Make Bone Broth In Slow Cooker
Was this page helpful?
At Storables.com, we guarantee accurate and reliable information. Our content, validated by Expert Board Contributors, is crafted following stringent Editorial Policies. We're committed to providing you with well-researched, expert-backed insights for all your informational needs.

0 thoughts on “How To Make Bone Broth In Slow Cooker”