Articles
How To Make Rice In Dash Rice Cooker
Modified: October 20, 2024
Learn how to make delicious rice in your Dash Rice Cooker with our step-by-step articles. Perfectly cooked rice every time!
(Many of the links in this article redirect to a specific reviewed product. Your purchase of these products through affiliate links helps to generate commission for Storables.com, at no extra cost. Learn more)
Introduction
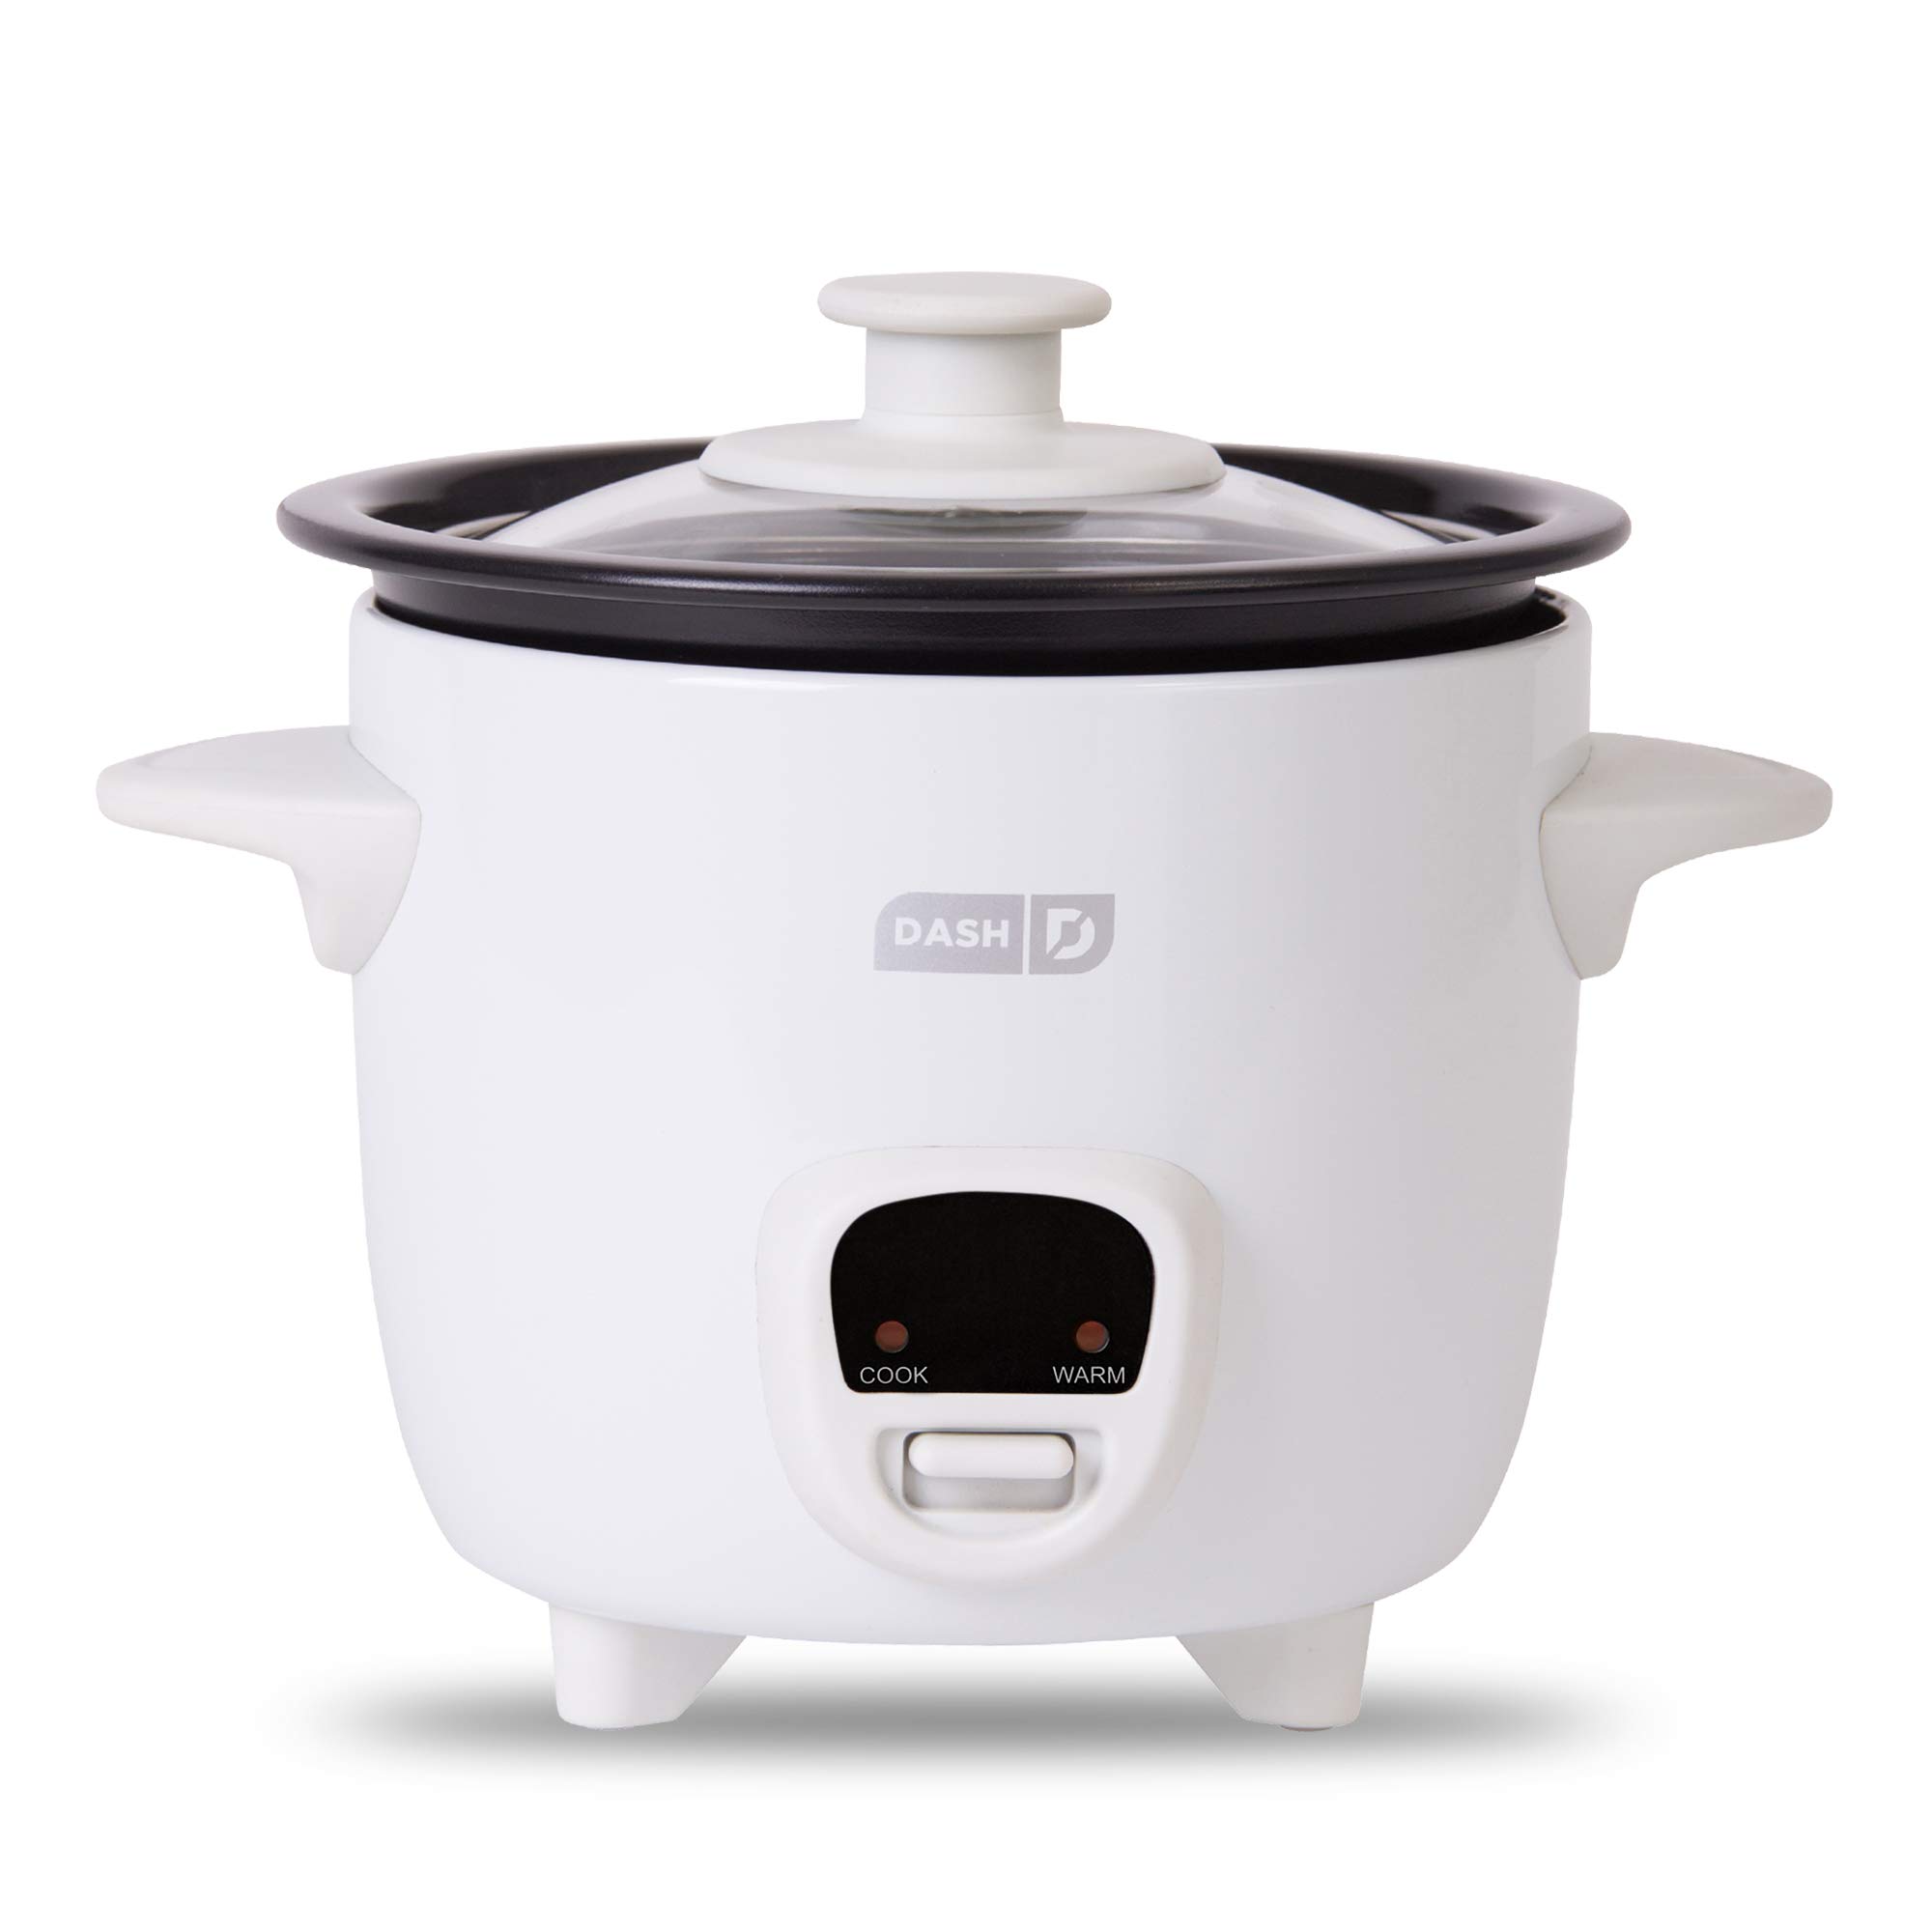
Welcome to the wonderful world of cooking rice with the Dash Rice Cooker! Whether you’re a novice in the kitchen or an experienced home chef, this handy appliance is designed to make the process of cooking rice fast, easy, and foolproof.
Rice is a staple food in many cultures and is enjoyed as a side dish or the foundation of a variety of meals. While there are various methods to cook rice, using a rice cooker takes away the guesswork and ensures perfectly cooked rice every time.
In this article, I will guide you through the step-by-step process of making rice in the Dash Rice Cooker. You’ll learn how to gather the ingredients, prepare the rice cooker, measure the rice and water, add flavors if desired, cook the rice, and finally, fluff and serve the rice.
So let’s dive in and discover just how easy it is to make delicious rice with your Dash Rice Cooker!
Key Takeaways:
- Master the art of cooking perfect rice every time with the Dash Rice Cooker. Follow the simple steps to gather ingredients, prepare the cooker, and add flavors for delicious, foolproof results.
- Elevate your culinary skills with the Dash Rice Cooker. Experiment with different rice varieties and flavors to create fluffy, flavorful rice as a side dish or base for various meals.
Read more: How To Make Risotto In A Rice Cooker
Step 1: Gathering the Ingredients
Before you begin cooking rice in the Dash Rice Cooker, it’s important to gather all the necessary ingredients. Here’s what you’ll need:
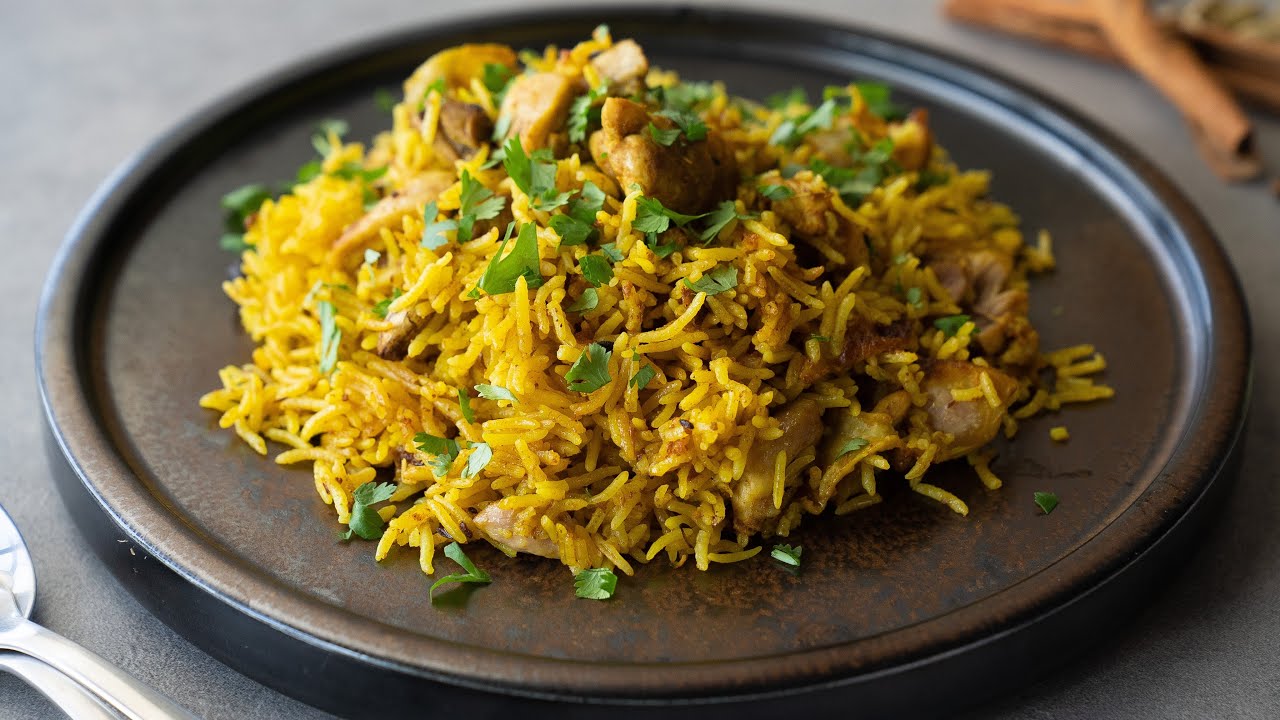
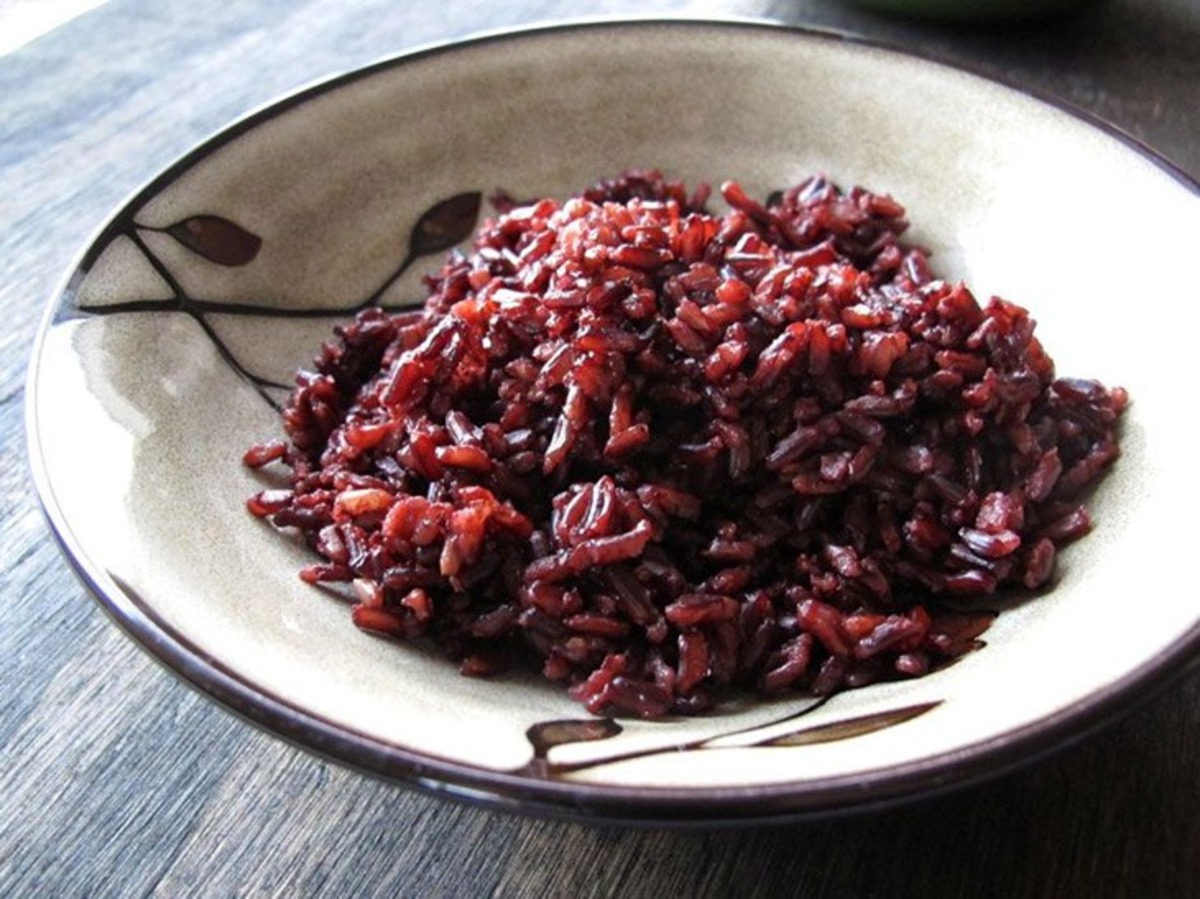
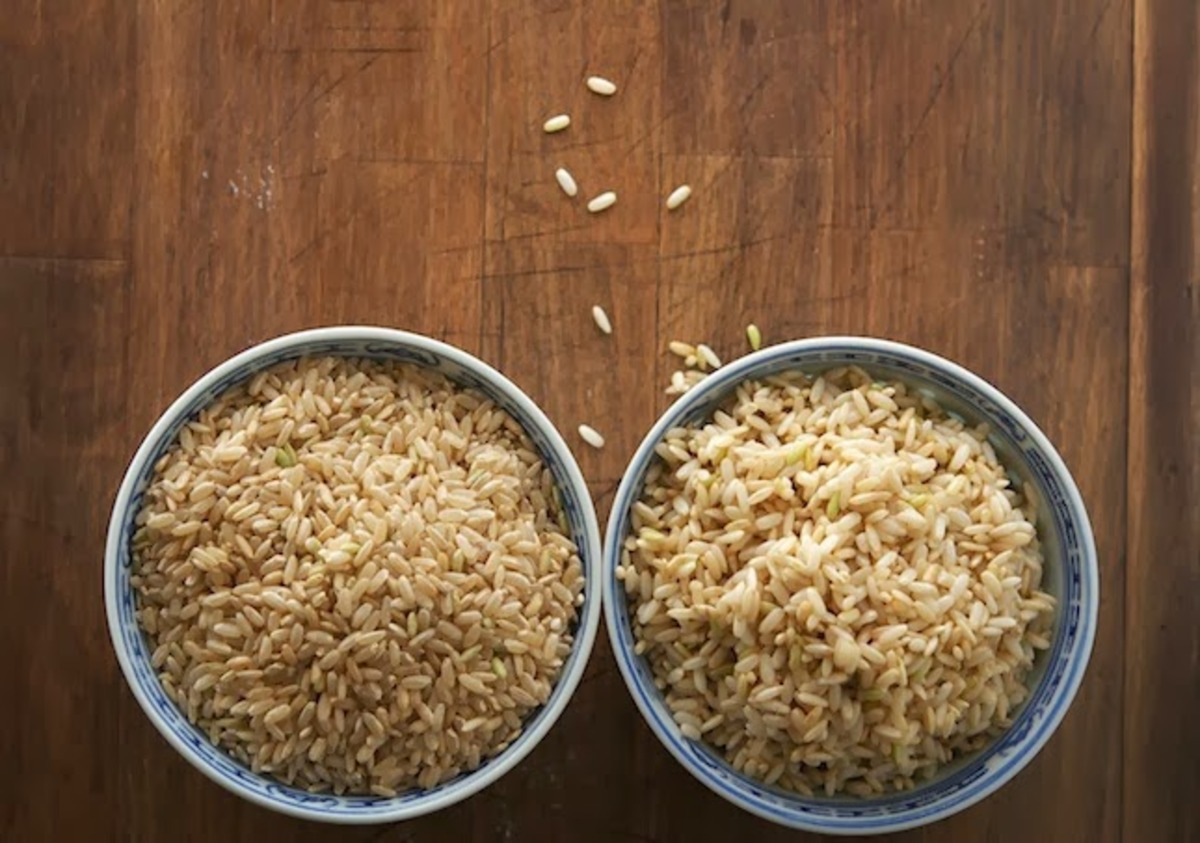
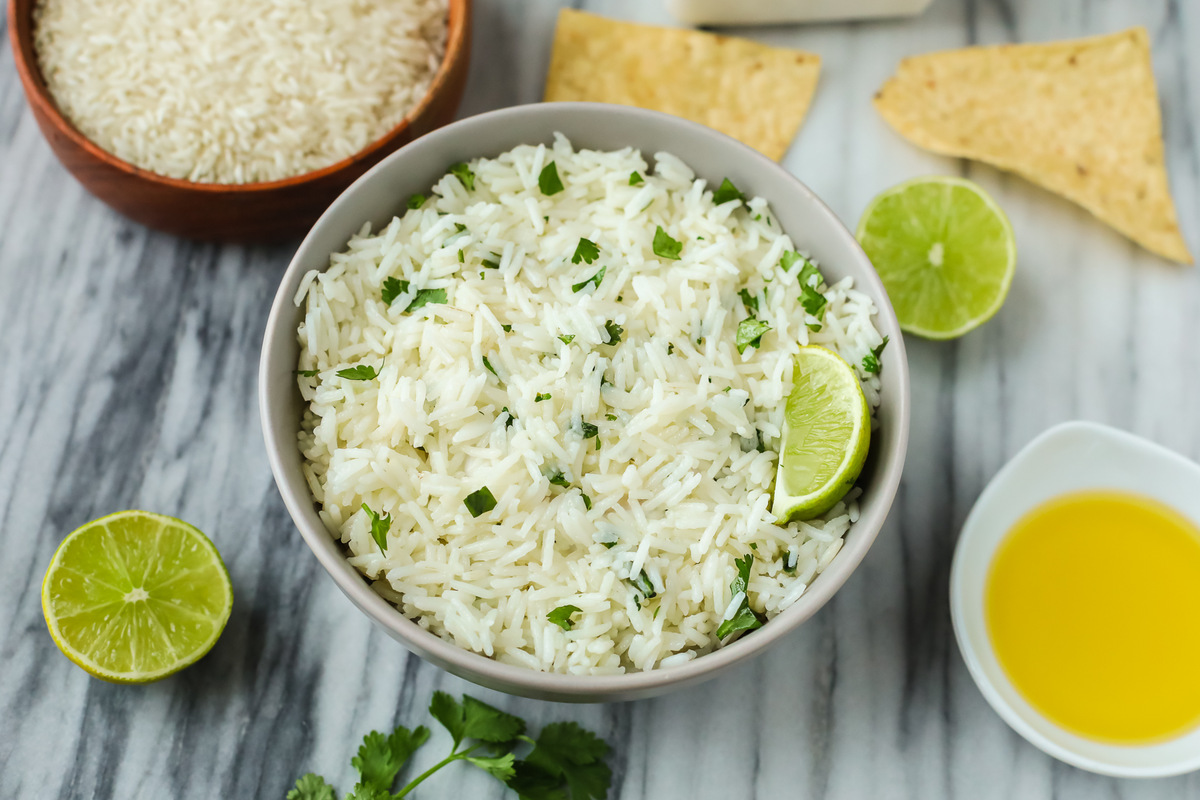
- 1 cup of rice (any variety: white, brown, jasmine, basmati, etc.)
- Water (the amount will vary depending on the type of rice you’re using)
- Salt (optional, for seasoning)
- Any additional flavors or ingredients you’d like to include (such as herbs, spices, or vegetables)
Make sure you have all the ingredients readily available before you start the cooking process. This will ensure a smooth and uninterrupted cooking experience.
Once you have gathered all the ingredients, move on to the next step: preparing the rice cooker.
Step 2: Preparing the Rice Cooker
Now that you have all your ingredients ready, it’s time to prepare the Dash Rice Cooker. Follow these simple steps:
- Start by ensuring that the inner pot of the rice cooker is clean and dry. This will help prevent any sticking or burning of the rice during the cooking process.
- Next, place the inner pot into the rice cooker base. Make sure it sits securely and is properly aligned.
- Check the rice cooker’s power cord and plug it into a functioning electrical outlet. This will provide the necessary power to cook the rice.
- Ensure that the rice cooker is placed on a stable and heat-resistant surface, as it will generate heat during the cooking process.
Once you have followed these steps, your Dash Rice Cooker is now ready to be used. It’s important to properly prepare the rice cooker before adding the rice and water to ensure optimal cooking results.
Now that the rice cooker is prepared, let’s move on to the next step: measuring the rice and water.
Step 3: Measuring the Rice and Water
Accurately measuring the rice and water is essential for perfectly cooked rice. Follow these steps to measure the rice and water for your Dash Rice Cooker:
- Using a measuring cup, scoop 1 cup of rice. You can use any type of rice, such as white, brown, jasmine, or basmati, depending on your preference.
- Place the measured rice into the inner pot of the rice cooker. Use a spoon or your fingers to spread the rice evenly across the bottom of the pot.
- Next, fill a measuring cup with the appropriate amount of water. The water-to-rice ratio will vary depending on the type of rice you are using. As a general rule, use a 1:2 ratio for white rice (1 cup of rice to 2 cups of water) and a 1:2.5 ratio for brown rice (1 cup of rice to 2.5 cups of water).
- Pour the measured water into the inner pot, ensuring that it covers the rice completely. The water should be level with the marking inside the inner pot that indicates the number of cups of rice you are cooking.
Remember, the accuracy of the measurements is crucial for achieving perfectly cooked rice. Adding too much or too little water can result in undercooked or mushy rice.
With the rice and water accurately measured, it’s time to add some flavors if desired. This step is optional but can elevate the taste of your cooked rice. Move on to the next step to learn more!
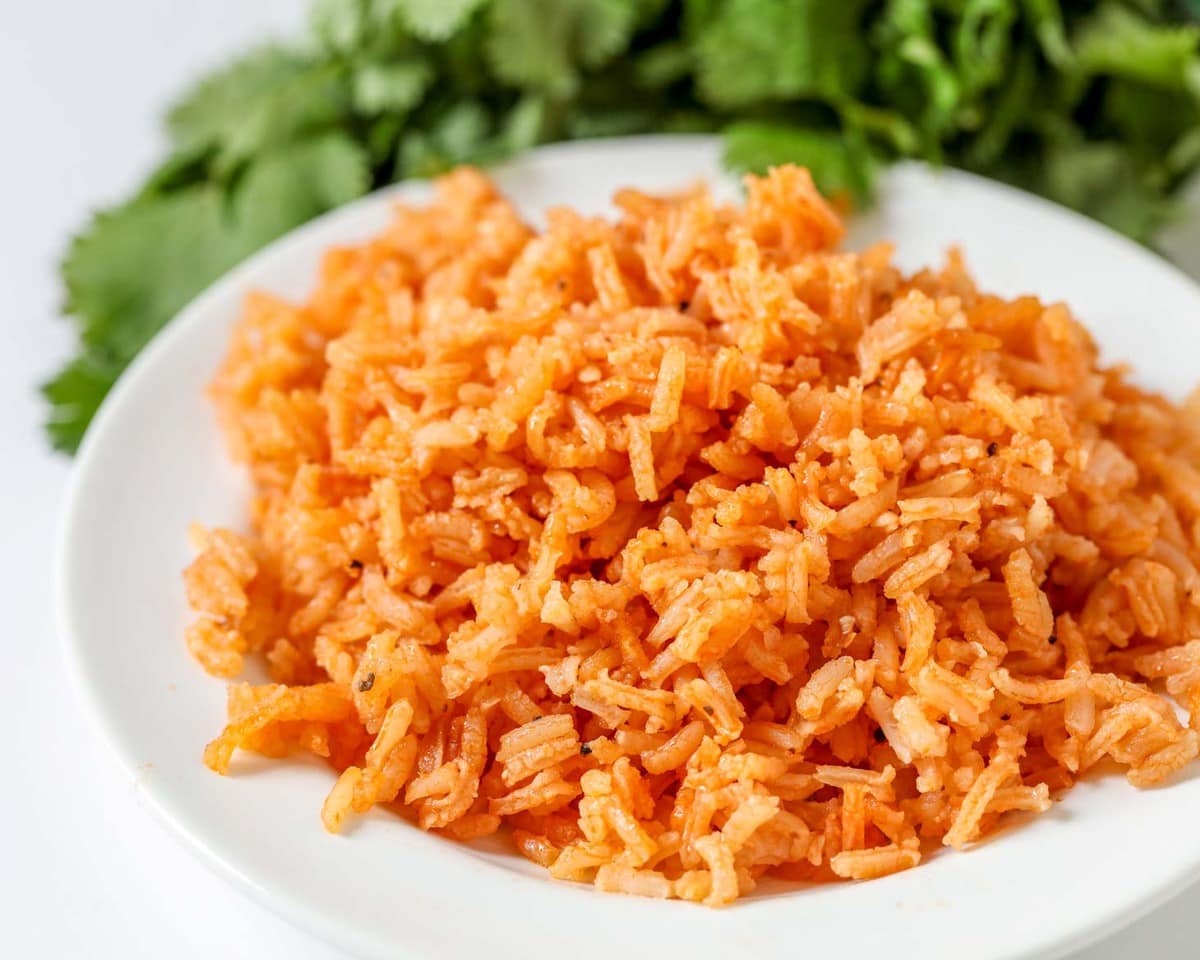
Step 4: Adding Flavors (Optional)
While plain rice is delicious on its own, you have the option to add some extra flavors to enhance the taste of your cooked rice. Here are some optional flavoring ingredients you can consider:
- Herbs and spices: Add a pinch of herbs like thyme, rosemary, or cilantro, or spices like cumin, turmeric, or paprika to infuse the rice with aromatic flavors.
- Vegetables: Chop up some onions, garlic, bell peppers, or carrots, and sauté them in a separate pan before adding them to the rice cooker. This will add a tasty and nutritious element to your rice.
- Bouillon cubes or stock: Dissolve a bouillon cube or add a splash of vegetable or chicken stock to the rice cooker for a savory boost. This is especially beneficial if you are using plain water instead of flavored stock for cooking the rice.
Remember to keep the flavors complementary to the type of rice you’re using and the dish you plan to serve the rice with. Experiment with different combinations to find your favorite flavor profiles.
Once you’ve decided on the flavors you’d like to add, it’s time to move on to the next step: cooking the rice in the Dash Rice Cooker.
Add a little bit of oil or butter to the rice before cooking in the Dash rice cooker to prevent it from sticking to the bottom.
Read more: How To Make Dal In Rice Cooker
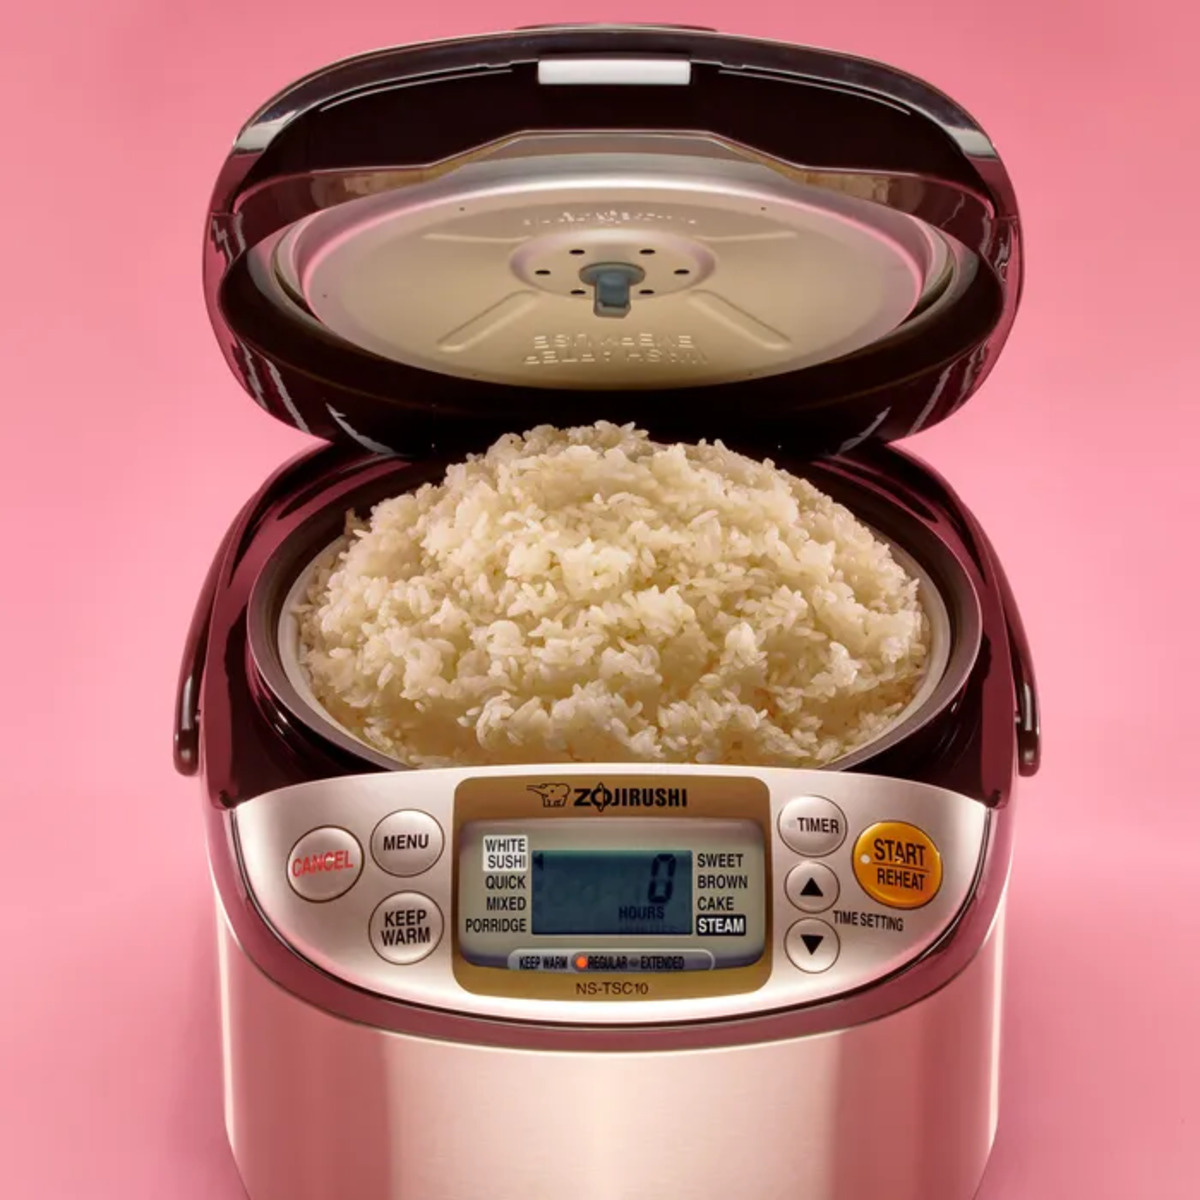
Step 5: Cooking the Rice
Now that everything is prepared, it’s time to start cooking the rice in your Dash Rice Cooker. Follow these simple steps:
- Close the lid of the rice cooker securely. Make sure it is tightly sealed to trap the steam and heat inside.
- Locate the control panel on your Dash Rice Cooker and turn it on. Select the appropriate cooking setting based on the type of rice you’re using. Most rice cookers have different settings for white rice, brown rice, and other types of rice.
- Once you’ve selected the cooking setting, the rice cooker will start the cooking process. It will automatically adjust the temperature and cooking time based on the setting you’ve chosen.
- Allow the rice to cook undisturbed. Avoid opening the lid during the cooking process, as this can disrupt the cooking time and result in unevenly cooked rice.
- Wait for the rice cooker to finish cooking. You will typically know it’s done when the indicator light on the rice cooker turns off or changes color, signaling that the rice is cooked to perfection.
The cooking time may vary depending on the type and quantity of rice you’re cooking, so it’s important to follow the instructions specific to your Dash Rice Cooker model. Refer to the user manual for more detailed guidelines.
With the rice cooked, it’s essential to let it rest for a few minutes before moving on to the next step. This allows the rice to fully absorb any remaining moisture and results in fluffy grains. Let’s explore this step further.
Step 6: Letting the Rice Rest
After the rice has finished cooking in the Dash Rice Cooker, it’s important to let it rest for a few minutes. This resting period allows the rice to continue steaming and absorb any excess moisture, resulting in fluffy and evenly cooked grains.
Follow these steps to let the rice rest:
- Once the rice cooker has completed the cooking cycle, remove the lid but resist the temptation to immediately fluff the rice.
- Let the rice sit undisturbed in the rice cooker for about 5 minutes. This allows the steam to redistribute within the pot and ensures that the rice is uniformly cooked.
- During this resting period, do not stir or mix the rice. This can cause the rice to become sticky or clumpy.
By allowing the rice to rest, you are allowing it to achieve its ultimate texture and fluffiness. This step is essential for achieving perfectly cooked rice with the Dash Rice Cooker.
Once the resting time is up, it’s time to move on to the final step: fluffing and serving the rice. Let’s explore this step in detail.
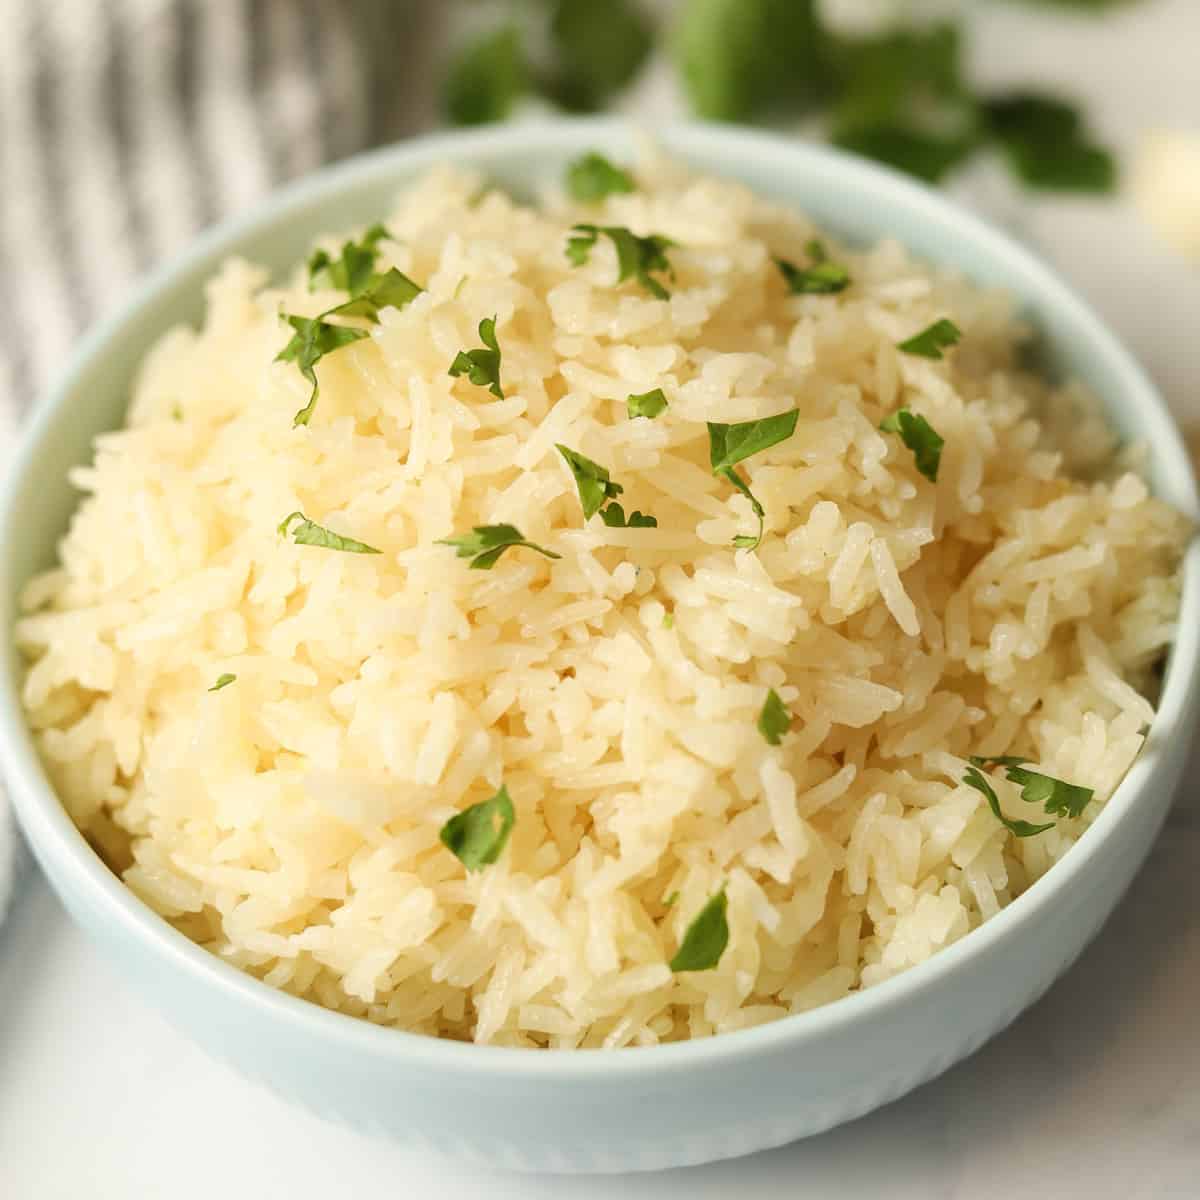
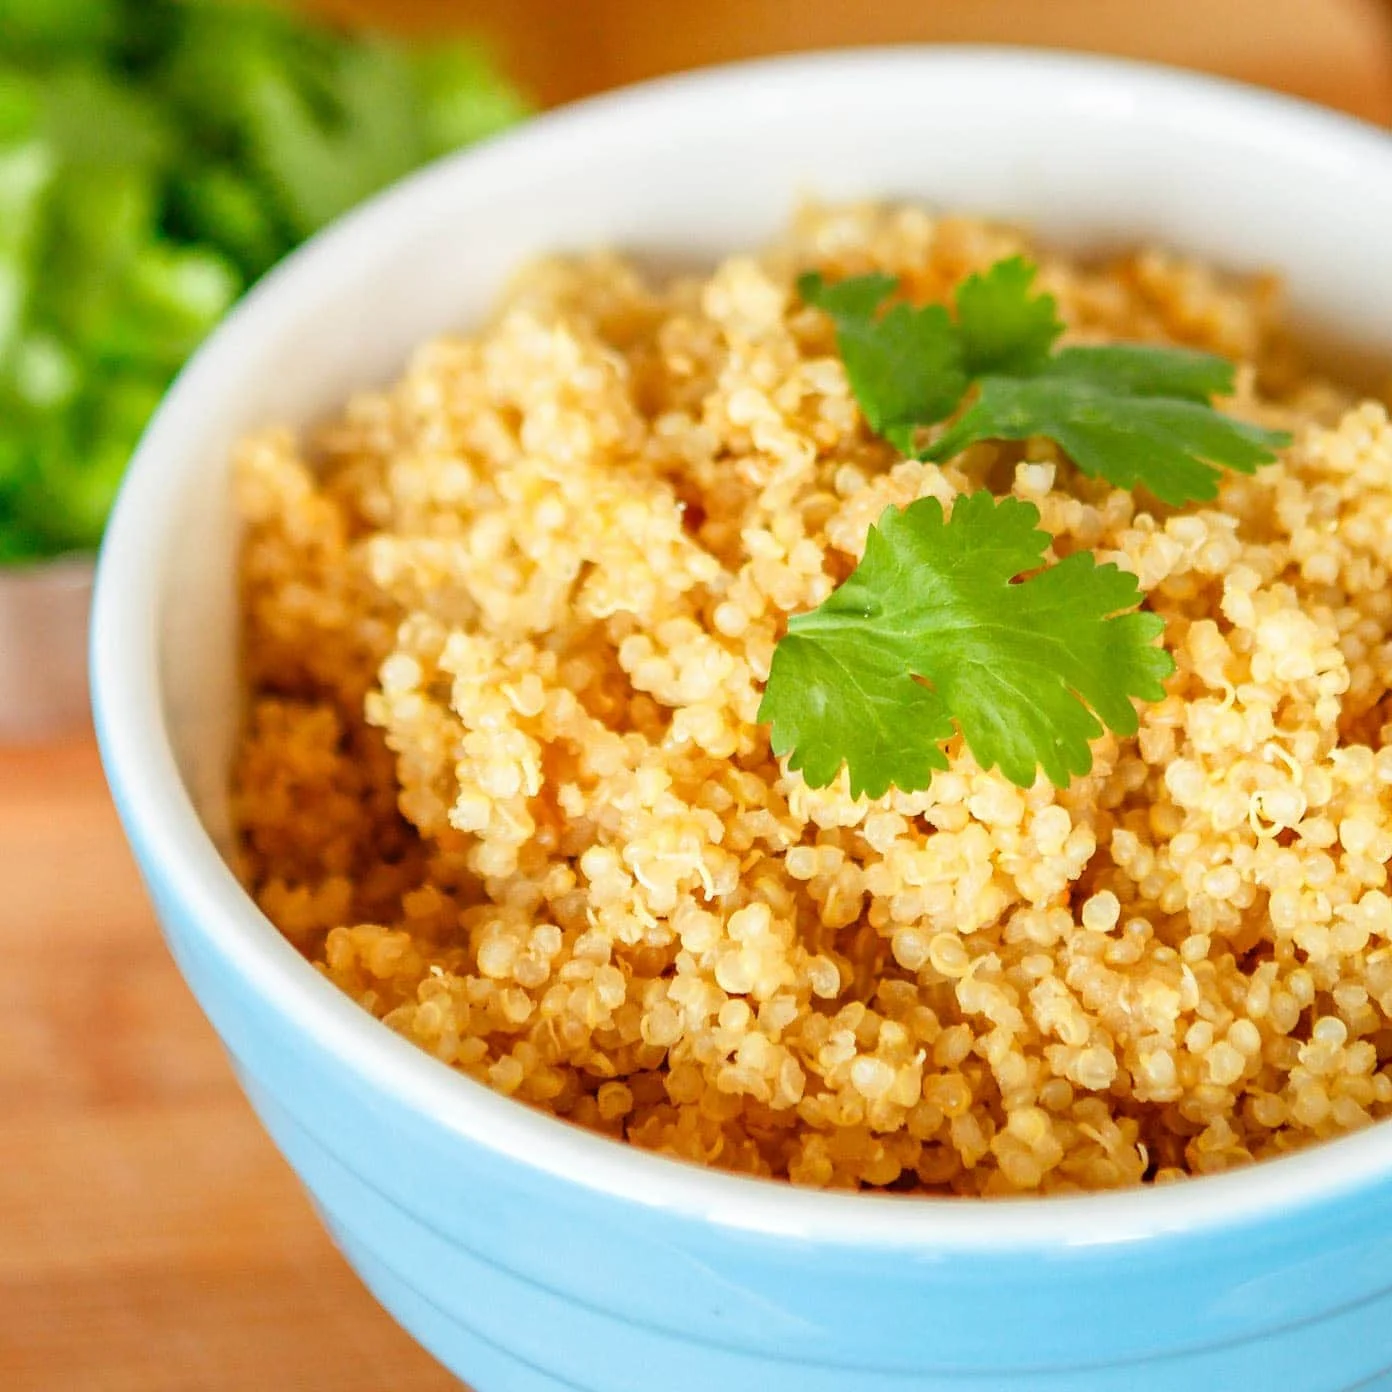
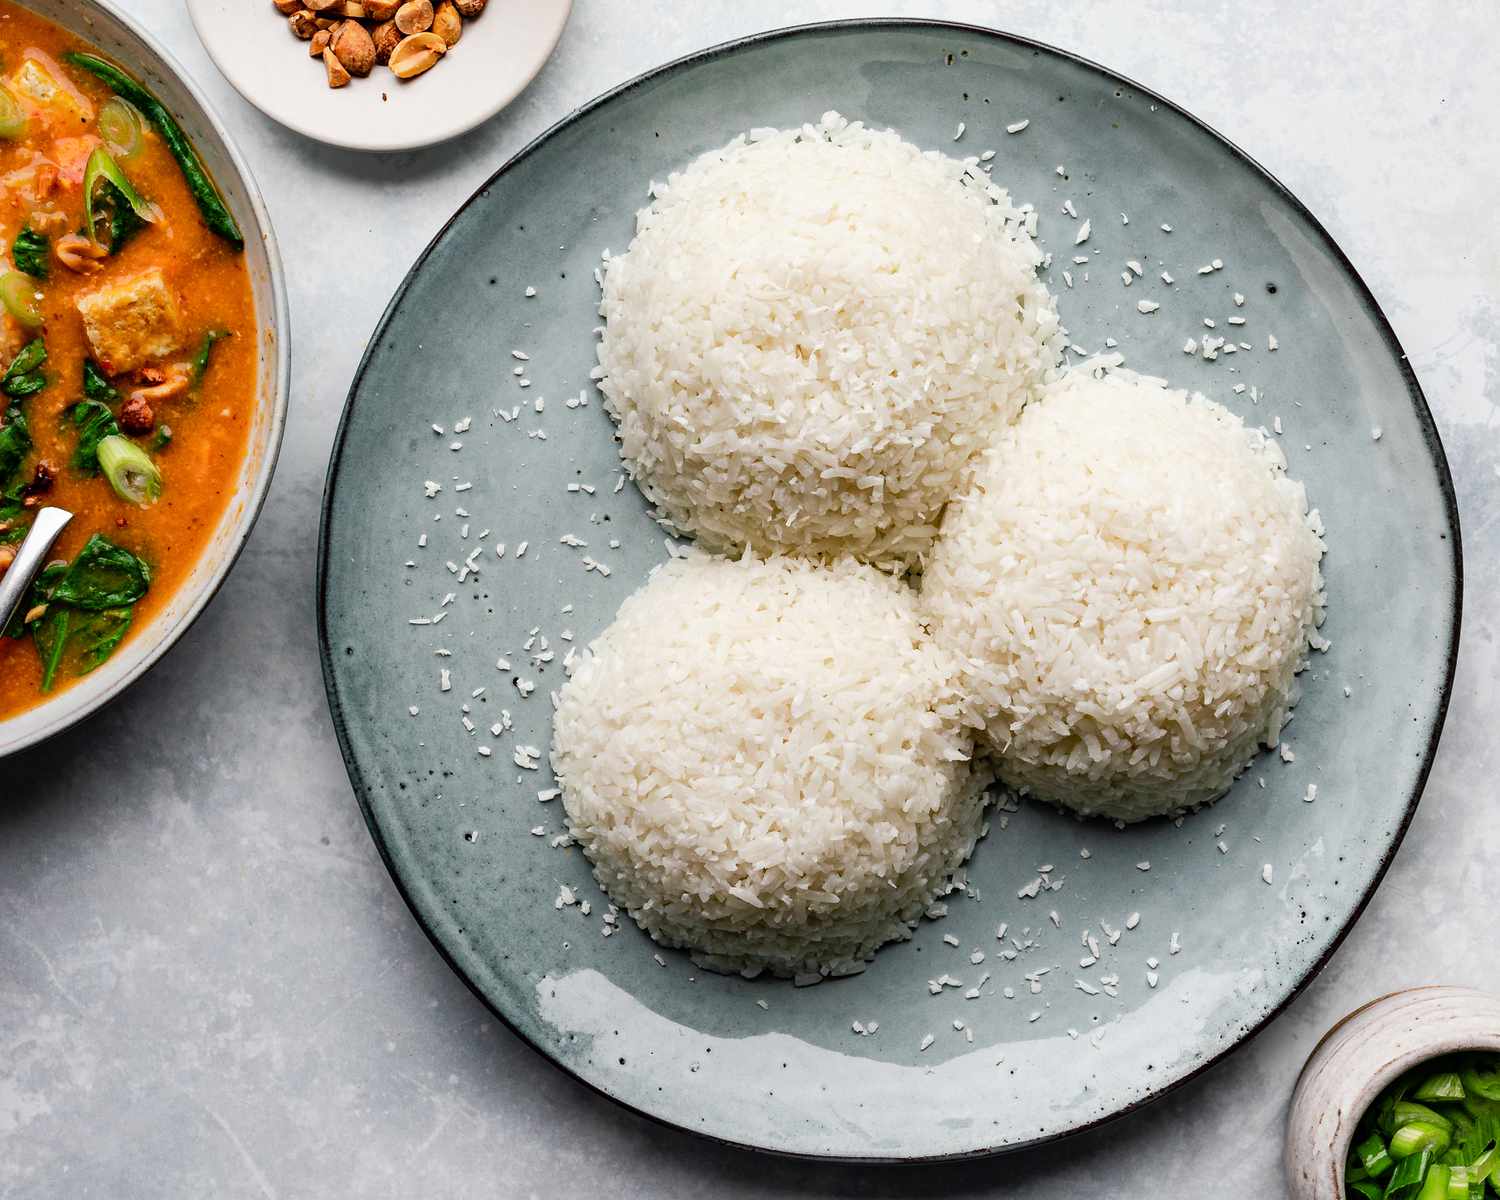
Step 7: Fluffing and Serving the Rice
Congratulations, you’re almost ready to enjoy your perfectly cooked rice from the Dash Rice Cooker! Follow these steps to fluff and serve the rice:
- Take a fork or a rice paddle and gently fluff the rice in the inner pot of the rice cooker. Gently separate the grains to loosen them up and create a light and fluffy texture.
- Once the rice is evenly fluffed, it’s time to serve it. Use a serving spoon or spatula to scoop the desired amount of rice into individual bowls or plates.
- Taste the rice and season it with salt or additional seasonings, if desired. Adjust the seasoning to your taste preferences.
- You can serve the rice as a side dish to accompany main courses, or use it as the base for a variety of delicious meals.
- Leftover rice can be stored in an airtight container in the refrigerator for a few days. Reheat it in the microwave or on the stovetop when ready to enjoy again.
Now that you’ve successfully fluffed and served the rice, you can sit back, relax, and savor the delicious results of your efforts!
To conclude, the Dash Rice Cooker is an incredible kitchen appliance that simplifies the process of cooking rice. By following these step-by-step instructions, you can consistently achieve perfectly cooked rice with minimal effort. Experiment with different rice varieties, flavors, and dishes to enhance your culinary repertoire. Enjoy your rice and happy cooking!
Conclusion
Mastering the art of cooking rice is made easy with the Dash Rice Cooker. This versatile kitchen appliance takes the guesswork out of cooking rice and ensures consistently fluffy and delicious results. By following the step-by-step guide provided in this article, you can confidently prepare rice that will impress your family and guests.
The Dash Rice Cooker simplifies the cooking process, allowing you to focus on other aspects of your meal preparation. With its user-friendly controls and automated features, you can set it and forget it, knowing that your rice will be cooked to perfection.
Remember to gather the necessary ingredients, prepare the rice cooker, measure the rice and water accurately, and consider adding flavors to elevate the taste of your rice. Allow the rice to cook undisturbed, and then let it rest before fluffing and serving. These steps are crucial in achieving the desired texture and flavor.
Once you’ve mastered cooking rice with the Dash Rice Cooker, you can explore a wide range of possibilities. Serve the rice as a side dish or use it as a base for various meals like stir-fries, curries, and sushi rolls. Let your creativity shine and experiment with different rice types and flavor combinations.
In conclusion, the Dash Rice Cooker is a versatile and reliable kitchen appliance that simplifies the process of cooking rice. It provides consistent results and allows you to enjoy perfectly cooked rice with minimal effort. So go ahead, unleash your culinary skills, and enjoy the delicious and fluffy rice made with the Dash Rice Cooker!
Frequently Asked Questions about How To Make Rice In Dash Rice Cooker
Was this page helpful?
At Storables.com, we guarantee accurate and reliable information. Our content, validated by Expert Board Contributors, is crafted following stringent Editorial Policies. We're committed to providing you with well-researched, expert-backed insights for all your informational needs.

0 thoughts on “How To Make Rice In Dash Rice Cooker”