Articles
How To Make Yogurt In Rice Cooker
Modified: October 20, 2024
Discover simple techniques and step-by-step instructions to make delicious yogurt in your rice cooker. Read our informative articles now!
(Many of the links in this article redirect to a specific reviewed product. Your purchase of these products through affiliate links helps to generate commission for Storables.com, at no extra cost. Learn more)
Introduction
Yogurt is a nutritious and delicious food that is enjoyed by people all over the world. It is packed with beneficial bacteria, protein, calcium, and other essential nutrients. While it is readily available in stores, making your own yogurt at home can be a rewarding and cost-effective option. And did you know that you can make yogurt right in your rice cooker? In this article, we will guide you through the simple steps of making yogurt in a rice cooker.
Using a rice cooker to make yogurt is a convenient method that requires minimal effort. It eliminates the need for specialized equipment, like a yogurt maker or an instant pot, making it accessible to anyone with a rice cooker in their kitchen. Plus, it allows for easy control of the yogurt-making process, ensuring desired consistency and flavor.
Before we dive into the process, let’s take a quick look at the equipment and ingredients you’ll need to make yogurt in a rice cooker.
Key Takeaways:
- Making yogurt in a rice cooker is a simple, cost-effective, and rewarding alternative to store-bought options. With minimal equipment and basic steps, you can enjoy the wholesome goodness of homemade yogurt packed with essential nutrients.
- Experimentation is key when making yogurt in a rice cooker. From monitoring temperatures to adding flavorings, the process allows for customization, giving you the freedom to create a variety of delicious yogurt flavors to suit your taste preferences.
Read more: How To Make Yogurt Slow Cooker
Equipment Needed
To make yogurt in a rice cooker, you’ll need the following equipment:
- Rice Cooker: A standard rice cooker with a cooking setting is all you need for this method. Make sure your rice cooker has a removable cooking pot that can fit at least a quart of milk.
- Thermometer: A kitchen thermometer will be essential for monitoring the temperature of the milk. Opt for a digital thermometer for accurate readings.
- Whisk: A whisk will come in handy to stir the milk and starter culture during the preparation process.
- Glass Jars or Containers: You’ll need clean glass jars or containers with lids to pour and store your yogurt. Make sure they are suitable for being placed inside the rice cooker.
- Insulating Wrap: An insulating wrap, like a towel or a blanket, will help maintain a consistent temperature during the incubation process.
Now that you have all the necessary equipment, let’s move on to the ingredients required to make yogurt in a rice cooker.
Ingredients
To make yogurt in a rice cooker, you’ll need the following ingredients:
- Milk: Start with fresh, pasteurized milk of your choice. You can use whole milk for a creamy and rich yogurt, or opt for low-fat or skim milk for a lighter version. Avoid using ultra-pasteurized or UHT milk, as they may affect the yogurt-making process.
- Yogurt Starter Culture: The starter culture is what helps ferment the milk and turn it into yogurt. You can use a plain store-bought yogurt with live active cultures as your starter, or purchase specific yogurt starter cultures available in stores or online.
- Sweetener (Optional): If you prefer your yogurt to be sweeter, you can add a sweetener such as honey, maple syrup, or sugar to taste. Keep in mind that the sweetener will be added after the yogurt-making process.
- Flavorings (Optional): To add variety to your yogurt, you can experiment with different flavorings such as vanilla extract, fruit puree, or spices like cinnamon or nutmeg. These can be added after the yogurt-making process as well.
With your equipment and ingredients ready, let’s move on to the step-by-step process of making yogurt in a rice cooker.
Step 1: Preparing the Rice Cooker
The first step in making yogurt in a rice cooker is to prepare the rice cooker itself. Follow these simple steps:
- Clean the Rice Cooker: Ensure that the rice cooker and the cooking pot are clean and free from any residue or lingering odors. Wash them with warm soapy water and rinse thoroughly before use.
- Remove the Inner Pot: Take out the inner pot of the rice cooker and set it aside. You will be heating the milk directly in this pot, so it needs to be clean and dry.
- Prepare the Rice Cooker Base: Wipe the base of the rice cooker with a clean cloth to remove any dust or debris. Make sure the base is dry and free from any moisture.
- Inspect the Lid: Check the lid of the rice cooker and ensure that it seals properly. This will help maintain a stable temperature during the yogurt-making process.
Once you have prepared the rice cooker, you are ready to move on to the next step: Preparing the milk for yogurt making.
Step 2: Preparing the Milk
Now that your rice cooker is ready, it’s time to prepare the milk. Follow these steps to ensure a successful yogurt-making process:
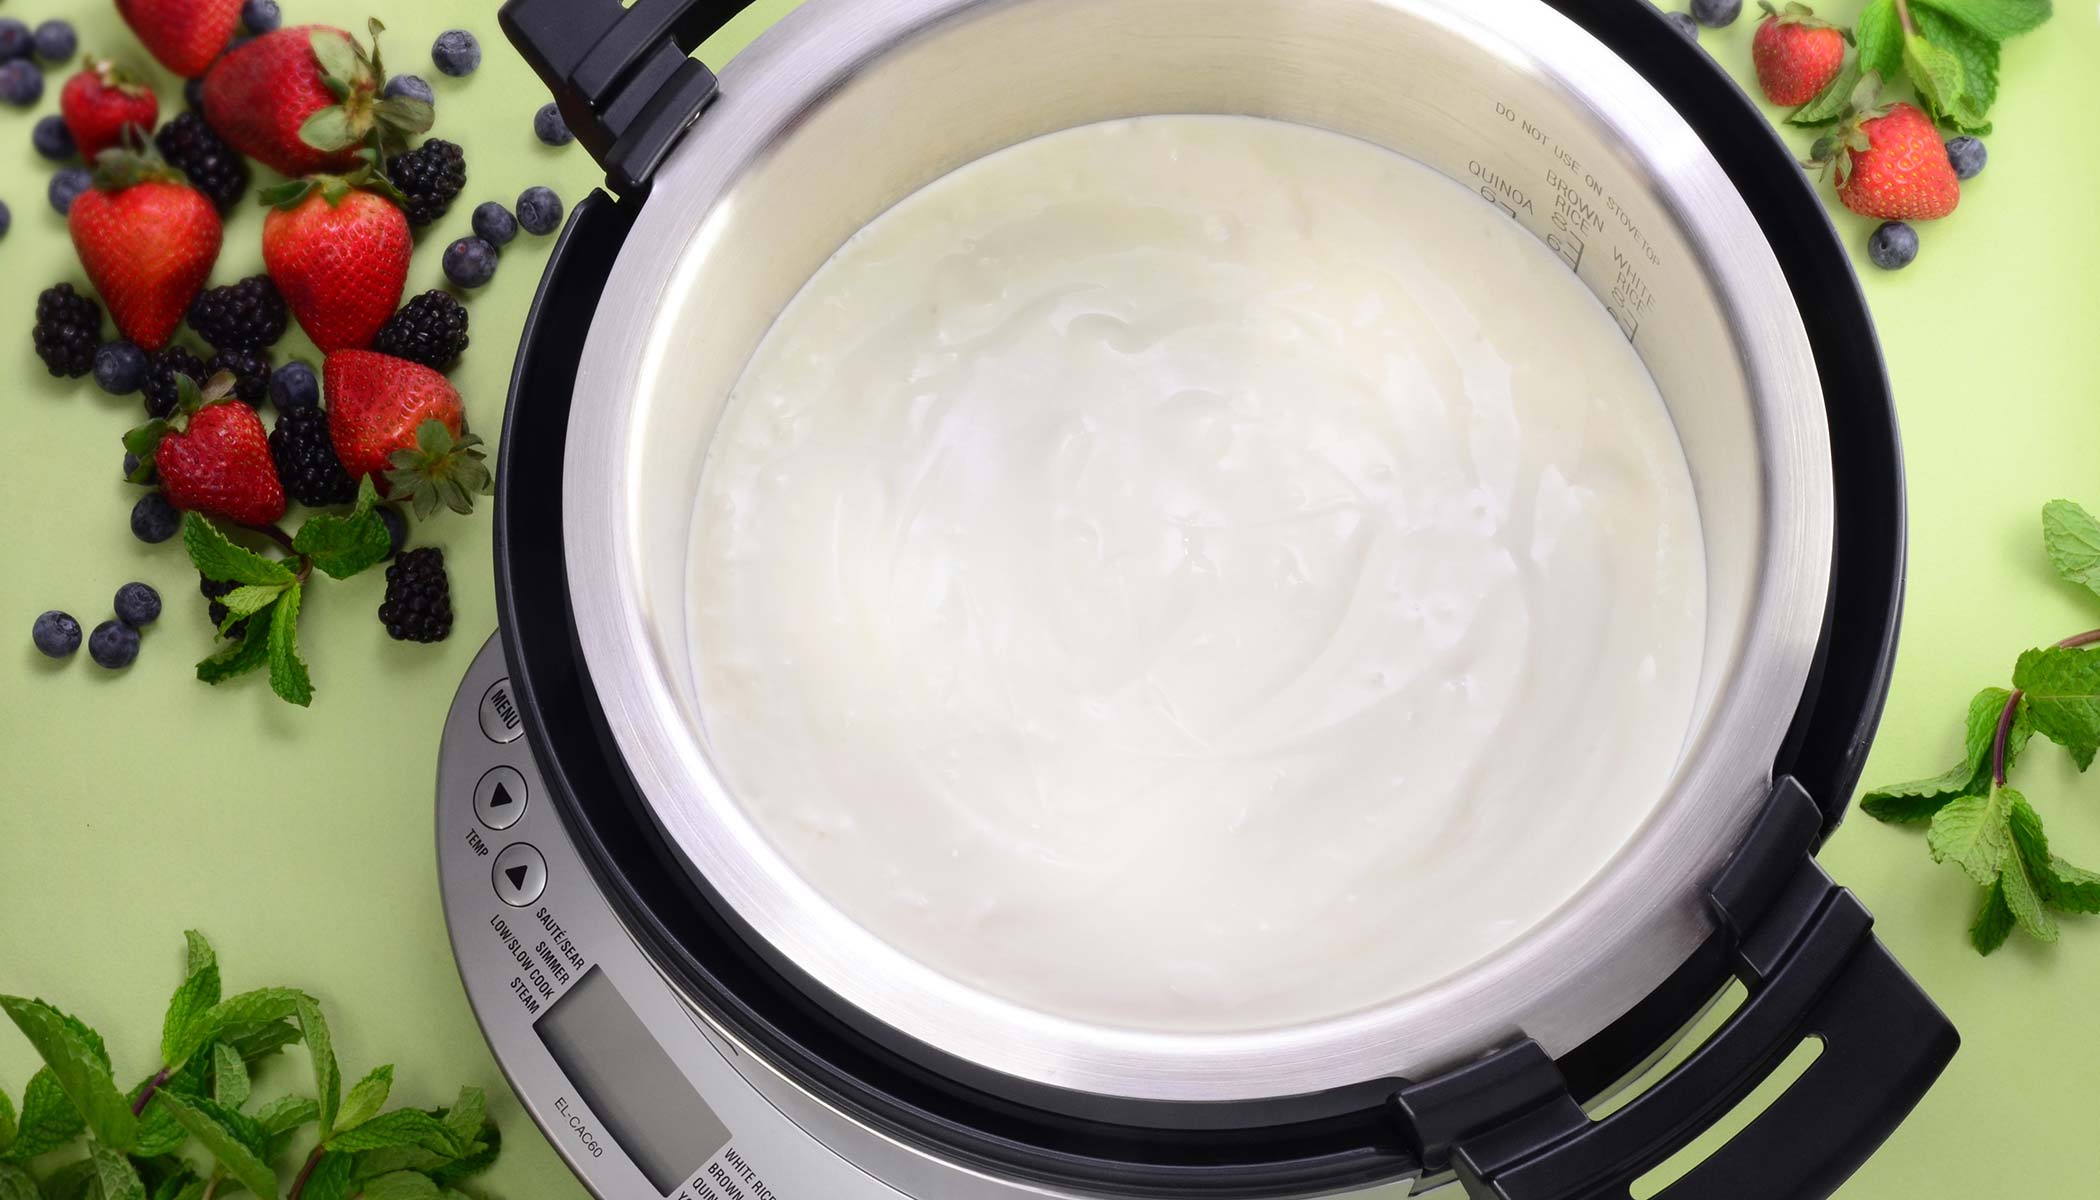
- Pour Milk into the Cooking Pot: Pour the desired amount of milk into the cooking pot of the rice cooker. Depending on the size of your rice cooker and the amount of yogurt you want to make, you can pour anywhere from 1 to 4 quarts of milk.
- Heat the Milk: Place the cooking pot with the milk inside the rice cooker. Close the lid of the rice cooker and select the “Cook” or “Keep Warm” setting. Heat the milk until it reaches a temperature between 180°F (82°C) and 200°F (93°C). Use a thermometer to monitor the temperature and prevent the milk from boiling over.
- Stir the Milk: Once the milk reaches the desired temperature, open the lid of the rice cooker and give it a good stir. This will help distribute the heat evenly and prevent a skin from forming on top of the milk.
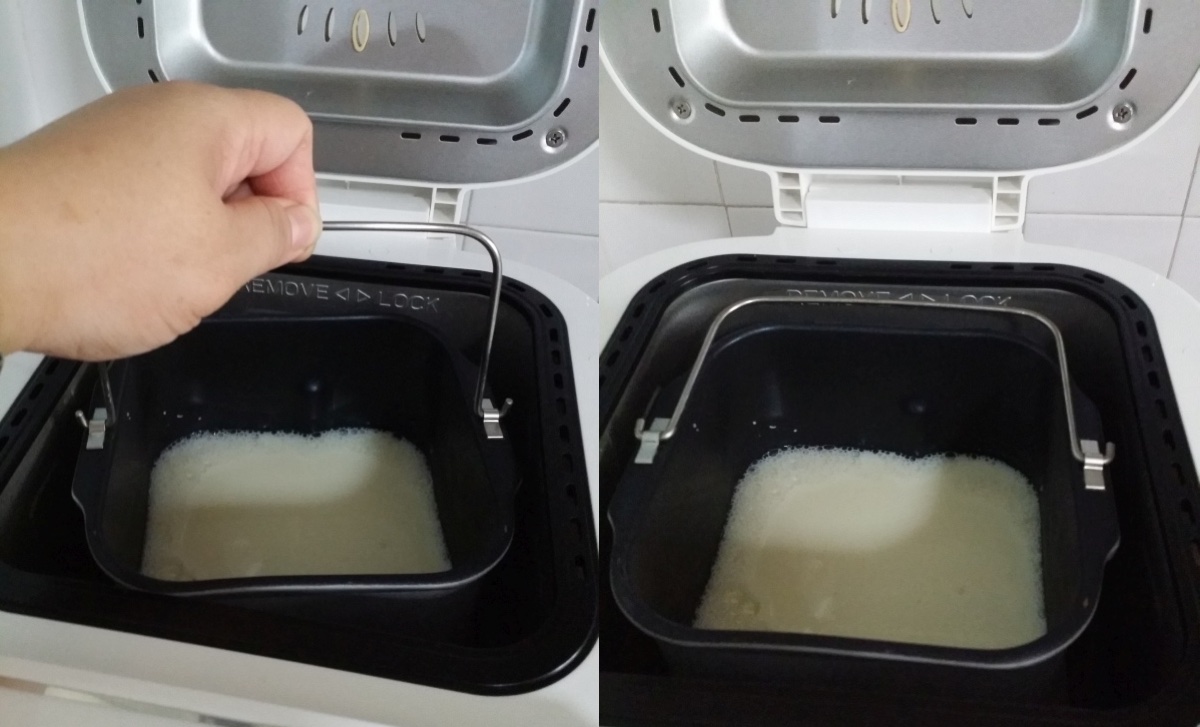
- Allow the Milk to Cool: Leave the rice cooker lid open and allow the milk to cool down to a temperature between 110°F (43°C) and 115°F (46°C). This is the ideal temperature range for adding the yogurt starter culture.
Now that the milk is prepared and cooled, it’s time to move on to the next step: Adding the starter culture.
Read more: How To Make Yogurt In A Dehydrator
Step 3: Adding the Starter Culture
With the cooled milk in the rice cooker, it’s time to add the starter culture. Follow these steps:
- Add the Starter Culture: Measure out the recommended amount of yogurt starter culture. This can vary depending on the specific product you are using, so refer to the instructions provided by the manufacturer. Generally, for each quart of milk, you will need about 2 tablespoons of yogurt starter.
- Mix the Starter Culture: In a separate bowl, mix the starter culture with a small amount of the cooled milk to create a smooth and lump-free mixture.
- Combine the Mixture: Pour the starter culture mixture into the rice cooker with the remaining cooled milk. Stir gently to evenly distribute the starter throughout the milk.
The addition of the starter culture introduces the beneficial bacteria that will ferment the milk and turn it into yogurt. Now that the starter culture is added, it’s time to move on to the next step: Starting the yogurt-making process in the rice cooker.
Add a few tablespoons of plain yogurt with live active cultures to the milk in the rice cooker to kickstart the fermentation process. Keep the rice cooker on the “warm” setting for 8-12 hours.
Step 4: Starting the Yogurt Making Process
With the starter culture added to the milk in the rice cooker, it’s time to start the yogurt-making process. Follow these steps:
- Close the Lid: Ensure that the lid of the rice cooker is securely closed.
- Select the Yogurt Setting: Look for the yogurt setting or a similar function on your rice cooker. Choose the appropriate yogurt setting to start the fermentation process. If your rice cooker does not have a specific yogurt setting, select the “Keep Warm” or “Low” setting to maintain a consistent temperature.
- Set the Timer: Set the timer on your rice cooker to 8 to 12 hours, depending on your preference for the level of tartness and thickness of the yogurt. The longer the incubation time, the tangier and thicker the yogurt will become.
- Do Not Disturb: During the incubation period, avoid opening the lid of the rice cooker frequently, as this can disrupt the temperature and fermentation process. Leave it undisturbed to allow the yogurt to ferment properly.
Once the timer completes the set incubation time, it’s time to move on to the next step: Incubating the yogurt.
Step 5: Incubating the Yogurt
After the designated incubation time in the rice cooker, it’s time to move on to the next step: incubating the yogurt. Follow these steps:
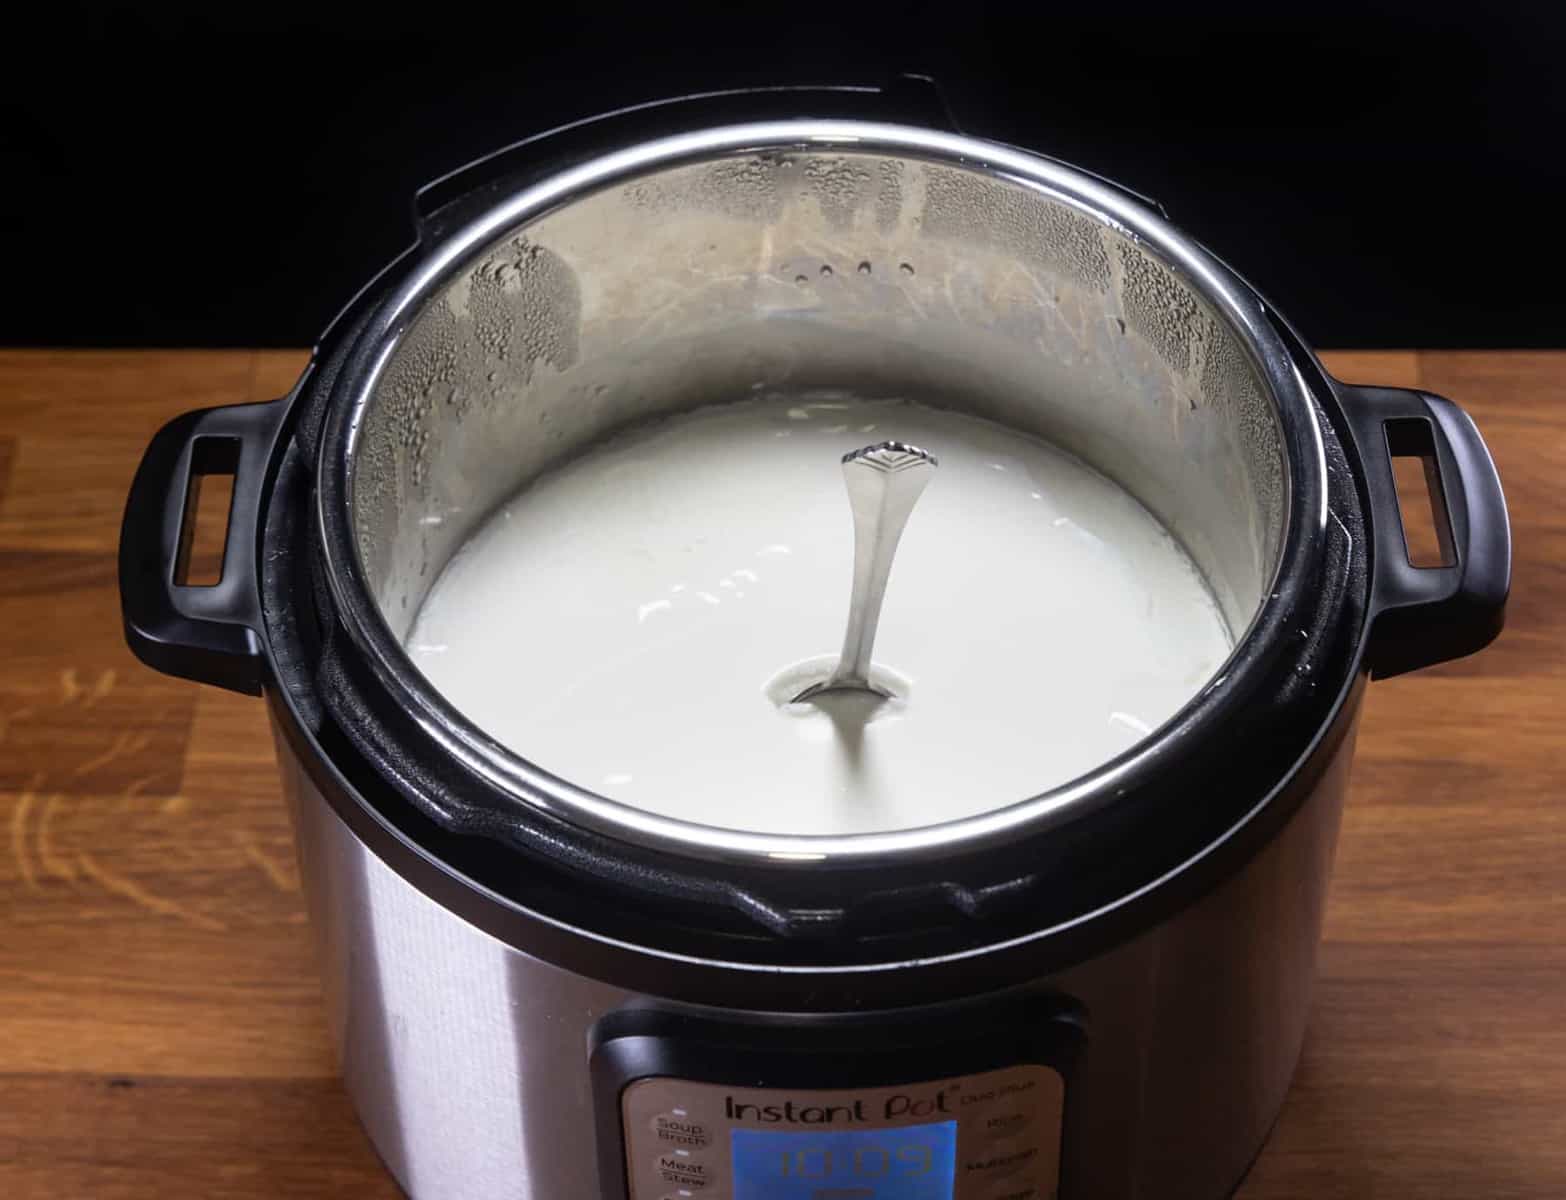
- Check the Consistency: After the incubation time is complete, open the lid of the rice cooker and check the consistency of the yogurt. It should have thickened and set to a custard-like texture. If it appears too runny, you can continue the incubation process for a longer period of time.
- Cover and Insulate: Once you are satisfied with the consistency of the yogurt, cover the cooking pot with a clean lid or plastic wrap. Then, wrap the entire rice cooker with a towel or blanket to insulate it and maintain the desired temperature.
- Keep it Undisturbed: Leave the yogurt covered and insulated in the rice cooker for an additional 2 to 4 hours. This extended incubation period helps to further enhance the texture and flavor of the yogurt.
Once the incubation period is complete, it’s time to cool and refrigerate the yogurt. Move on to the next step below.
Step 6: Cooling and Refrigerating the Yogurt
After the additional incubation period, it’s time to cool and refrigerate the yogurt. Follow these steps:
- Remove the Insulation: Carefully remove the towel or blanket from the rice cooker.
- Cool the Yogurt: Allow the yogurt to cool at room temperature for about 15 to 20 minutes. This helps to prevent condensation from forming on the surface of the yogurt.
- Refrigerate the Yogurt: Once the yogurt has cooled, cover the cooking pot with a lid or plastic wrap and place it in the refrigerator. Allow it to chill for at least 4 hours or overnight to further set and develop flavor.
- Serve and Enjoy: Once chilled, your homemade yogurt is ready to be enjoyed! You can spoon it into bowls, add your favorite toppings, or use it in recipes that call for yogurt.
Remember to save some of your homemade yogurt as a starter culture for your next batch, ensuring that you can continue making homemade yogurt in your rice cooker whenever you desire.
Congratulations! You have successfully made yogurt in your rice cooker. Now, let’s explore some tips to enhance your yogurt-making experience and troubleshoot any common issues that may arise.
Tips for Making Yogurt in a Rice Cooker
Here are some helpful tips to make the yogurt-making process in your rice cooker even more successful:
- Use Fresh, Quality Ingredients: Start with fresh milk and a high-quality yogurt starter to ensure the best results.
- Be Sanitary: Maintain cleanliness by washing your equipment and working in a clean environment. This helps prevent the growth of unwanted bacteria.
- Monitor Temperatures: Use a thermometer to ensure that the milk reaches the appropriate temperatures during heating and cooling. This is crucial for proper fermentation.
- Consistency is Key: Stir the milk gently to distribute heat evenly and prevent the formation of a skin on the surface.
- Choose the Right Incubation Time: Experiment with different incubation times to find your preferred level of tartness and thickness in the final yogurt.
- Insulate for Better Results: Keep the rice cooker covered and insulated during the incubation process to maintain a stable temperature and encourage proper fermentation.
- Be Patient: Avoid opening the rice cooker unnecessarily during the incubation period, as this can disrupt the fermentation process and affect the final result.
- Experiment with Flavorings: Add flavorings such as vanilla extract, fruit purees, or spices after the yogurt is finished incubating to customize the taste to your liking.
- Save Some Yogurt as a Starter: Set aside a small portion of your homemade yogurt to use as a starter culture for your next batch. This allows you to continue making yogurt without having to purchase a new starter each time.
By following these tips, you can achieve delicious and creamy homemade yogurt with your rice cooker.
Now, let’s take a look at some common issues that you may encounter during the yogurt-making process and how to troubleshoot them.
Troubleshooting Common Issues
While making yogurt in a rice cooker is a relatively simple process, certain issues may arise. Here are some common problems and their possible solutions:
- Thin or Runny Yogurt: If your yogurt turns out too thin or runny, it may be due to insufficient incubation time. Extend the incubation period by a few hours to allow the yogurt to thicken further.
- Gritty Texture: A gritty texture in yogurt can be caused by undissolved starter culture or milk solids. Make sure to mix the starter culture well and strain the milk before adding it to the rice cooker.
- Watery Whey Separation: If you notice watery whey separating from the yogurt, it may be due to excessive incubation time or high incubation temperatures. Try reducing the incubation time or lowering the heat setting to prevent this separation.
- Sour or Tart Flavor: If your yogurt tastes too sour or tart, it may be due to over-incubation. Reduce the incubation time in future batches to achieve a milder flavor.
- No Set or Solidified Yogurt: If your yogurt fails to set or solidify, it may be because the starter culture was not added or was not active. Double-check the freshness and potency of your starter culture, and ensure it is added at the correct temperature.
Remember that some trial and error may be necessary to achieve the perfect batch of yogurt. Fine-tuning the incubation time, temperature, and ingredients can help you personalize your yogurt-making process.
Now that you have learned how to troubleshoot common issues, you are ready to embark on your journey of making delicious homemade yogurt in your rice cooker. Enjoy the process and savor the rewards of your own delectable creation!
Happy yogurt making!
Conclusion
Making yogurt in a rice cooker is a simple and convenient way to enjoy homemade, healthy yogurt. With just a few basic steps and minimal equipment, you can create creamy, delicious yogurt right in your own kitchen.
By following the step-by-step process outlined in this article, you can prepare the rice cooker, heat and cool the milk, add the starter culture, and let the magic happen during the incubation process. The result is a batch of homemade yogurt that is packed with beneficial bacteria, protein, and essential nutrients.
Throughout the yogurt-making process, it is important to maintain cleanliness, monitor temperatures, and be patient during incubation. By paying attention to these details, you can troubleshoot common issues and achieve the desired consistency and flavor in your yogurt.
Experimentation is key when making yogurt in a rice cooker. You can customize your yogurt by adding flavorings and sweeteners after the incubation process, giving you the freedom to create a variety of delicious yogurt flavors to suit your taste preferences.
Making yogurt in a rice cooker not only allows for a cost-effective alternative to store-bought options but also gives you the satisfaction of knowing exactly what goes into your yogurt. You can control the ingredients and avoid any unwanted additives or preservatives.
So, why not give it a try? Invest in a high-quality rice cooker, gather your ingredients, and embark on the journey of making your own creamy yogurt at home. With a little time and effort, you can enjoy the incredible benefits and flavors of homemade yogurt whenever you desire.
Remember, practice makes perfect. As you continue to make yogurt in your rice cooker, you’ll develop your own unique techniques and preferences, making each batch better than the last.
Start your yogurt-making adventure today and enjoy the wholesome goodness and taste of homemade yogurt!
Frequently Asked Questions about How To Make Yogurt In Rice Cooker
Was this page helpful?
At Storables.com, we guarantee accurate and reliable information. Our content, validated by Expert Board Contributors, is crafted following stringent Editorial Policies. We're committed to providing you with well-researched, expert-backed insights for all your informational needs.


0 thoughts on “How To Make Yogurt In Rice Cooker”