Articles
How To Make Roti In Microwave Oven Video
Modified: August 20, 2024
Learn how to make roti in a microwave oven with step-by-step instructions in this helpful video. Discover useful articles and tips for perfecting your roti-making skills.
(Many of the links in this article redirect to a specific reviewed product. Your purchase of these products through affiliate links helps to generate commission for Storables.com, at no extra cost. Learn more)
Introduction:
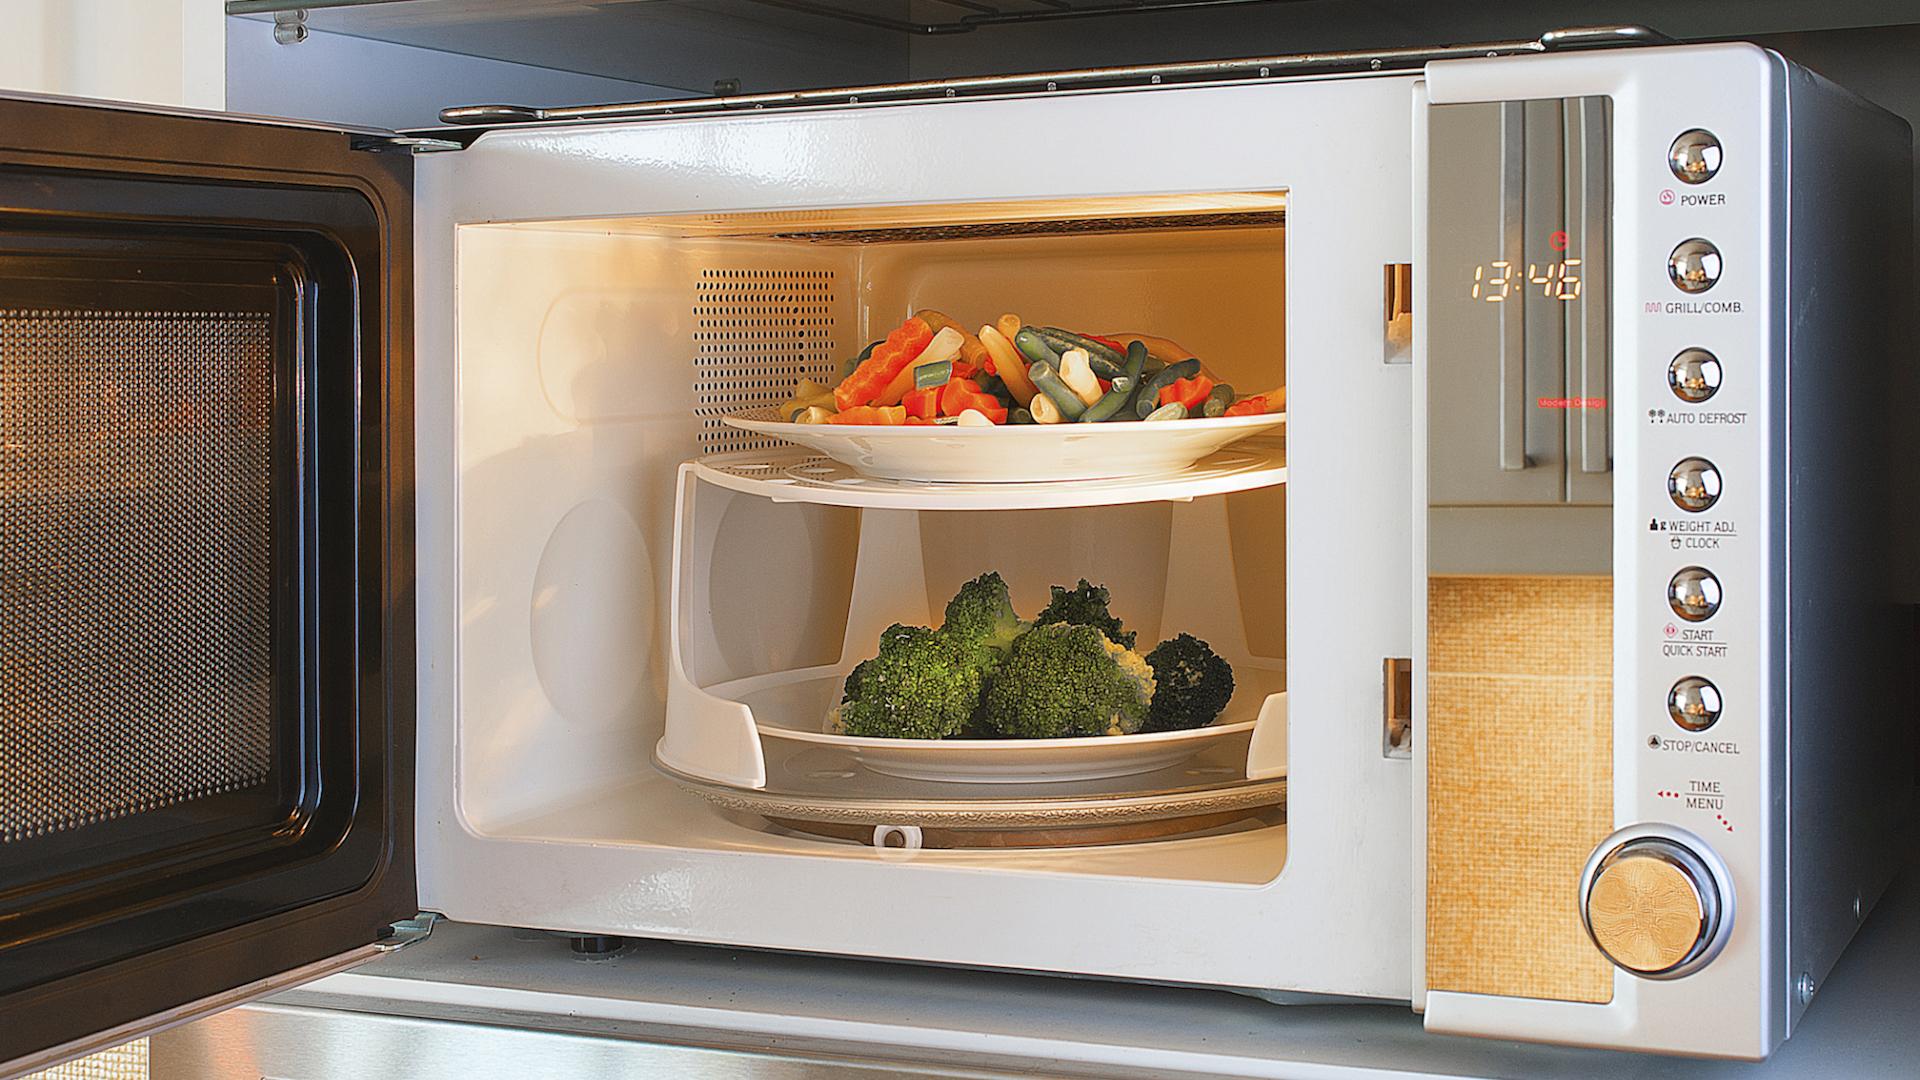
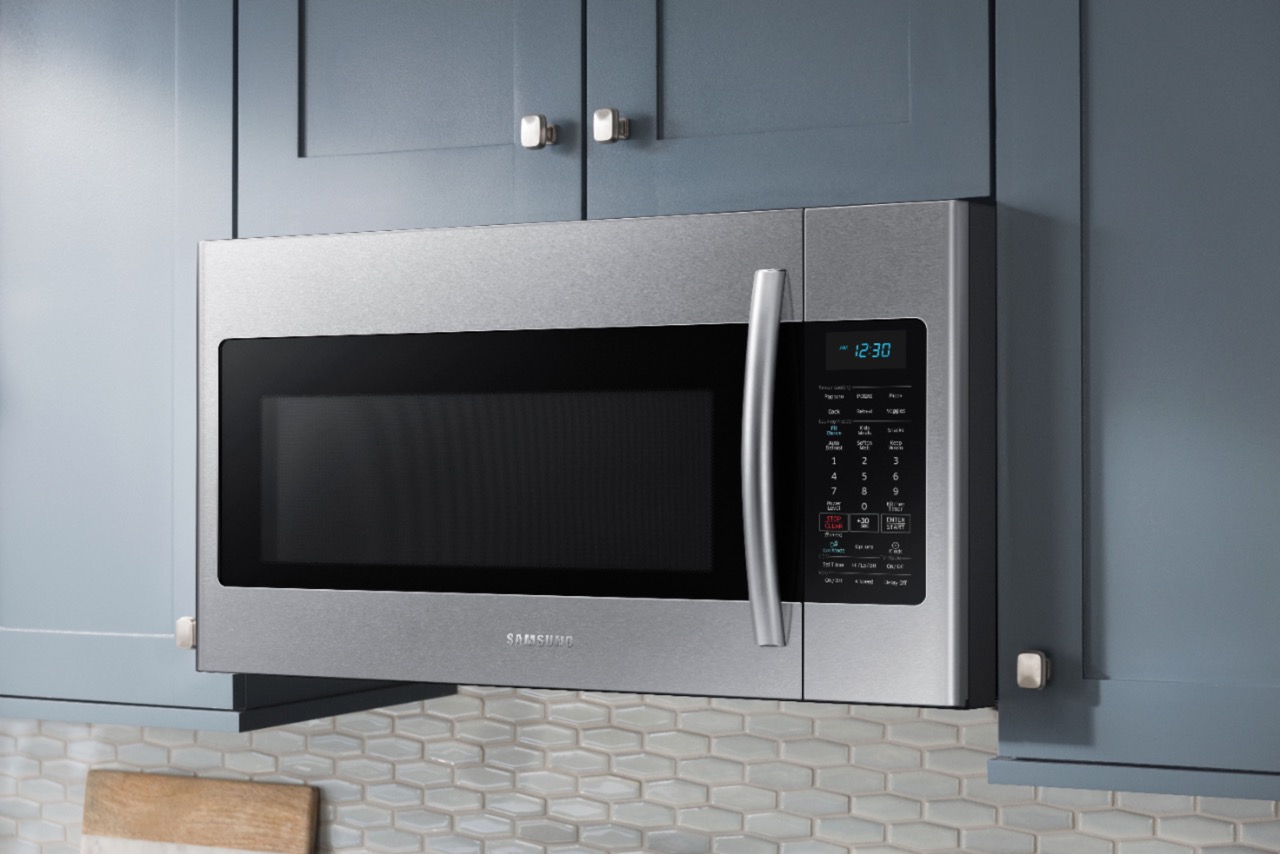
Microwave ovens have revolutionized the way we cook, allowing us to prepare quick and easy meals in a matter of minutes. While they are commonly used for reheating leftovers and making instant meals, microwave ovens can also be used to cook a variety of dishes, including rotis, a popular Indian bread.
Roti, also known as chapati, is a staple food in many Indian households. Traditionally, rotis are made on a stovetop using a tawa (flat griddle). However, with the advancement in kitchen technology, it is now possible to make rotis in a microwave oven, saving time and effort.
In this article, we will guide you through the process of making rotis in a microwave oven. We will provide step-by-step instructions, along with helpful tips and tricks to ensure that your rotis turn out soft, fluffy, and delicious.
Before we begin, it is important to note that the method described here is specifically for making rotis in a microwave oven. If you are using a conventional oven, the process may differ. Now, let’s dive in and explore the wonderful world of microwave oven rotis!
Key Takeaways:
- Enjoy the convenience of making soft and fluffy rotis in a microwave oven, perfect for quick and delicious meals without the need for a stovetop.
- Embrace the art of microwave oven roti-making, adding a modern twist to traditional Indian cooking and impressing your loved ones with freshly made rotis.
Read more: How To Make Dishes In Microwave Oven
Step 1: Preparing the dough:
The first step in making rotis in a microwave oven is to prepare the dough. The dough for rotis is usually made with wheat flour, water, and a pinch of salt. Here’s how you can do it:
- In a mixing bowl, take 2 cups of wheat flour. You can also use a combination of wheat flour and all-purpose flour for softer rotis.
- Add a pinch of salt to the flour.
- Gradually add water to the flour and knead it into a soft and smooth dough. The amount of water needed may vary depending on the quality of the flour, so add it gradually to achieve the right consistency.
- Knead the dough for 5-7 minutes to ensure that it is well-mixed and pliable. You can also add a teaspoon of oil to the dough to make it softer and easier to roll out.
- Cover the dough with a damp cloth and let it rest for at least 30 minutes. This resting period allows the gluten to relax, making it easier to roll out the rotis.
Once the dough is prepared, you are ready to move on to the next step of shaping the dough into small balls.
Step 2: Shaping the dough into small balls:
After the dough has rested, it’s time to shape it into small balls that will be rolled out into individual rotis. Follow these steps to shape the dough:
- Take a small portion of the dough and roll it into a smooth ball between your palms. The size of the dough ball can vary depending on how big you want your rotis to be.
- Repeat the process with the remaining dough, shaping each portion into a ball.
- Once all the dough balls are prepared, cover them with a damp cloth to prevent them from drying out.
Shaping the dough into small balls helps in the even distribution of heat while cooking and ensures that the rotis puff up nicely. Now that the dough balls are ready, let’s move on to the next step of rolling out the dough.
Step 3: Rolling out the dough balls:
Now that you have shaped the dough into small balls, it’s time to roll them out into thin, round rotis. Follow these steps to roll out the dough:
- Take one dough ball and flatten it slightly with your hands.
- Dust the rolling surface with a little flour to prevent the dough from sticking.
- Place the dough ball on the rolling surface and press it down with your palm.
- Using a rolling pin, start rolling the dough in a circular motion, applying gentle pressure evenly. Rotate the dough as you roll to ensure that it maintains a round shape and does not stick.
- Continue rolling the dough until it reaches your desired thickness. For softer rotis, roll them slightly thicker, while for crispier rotis, roll them thinner.
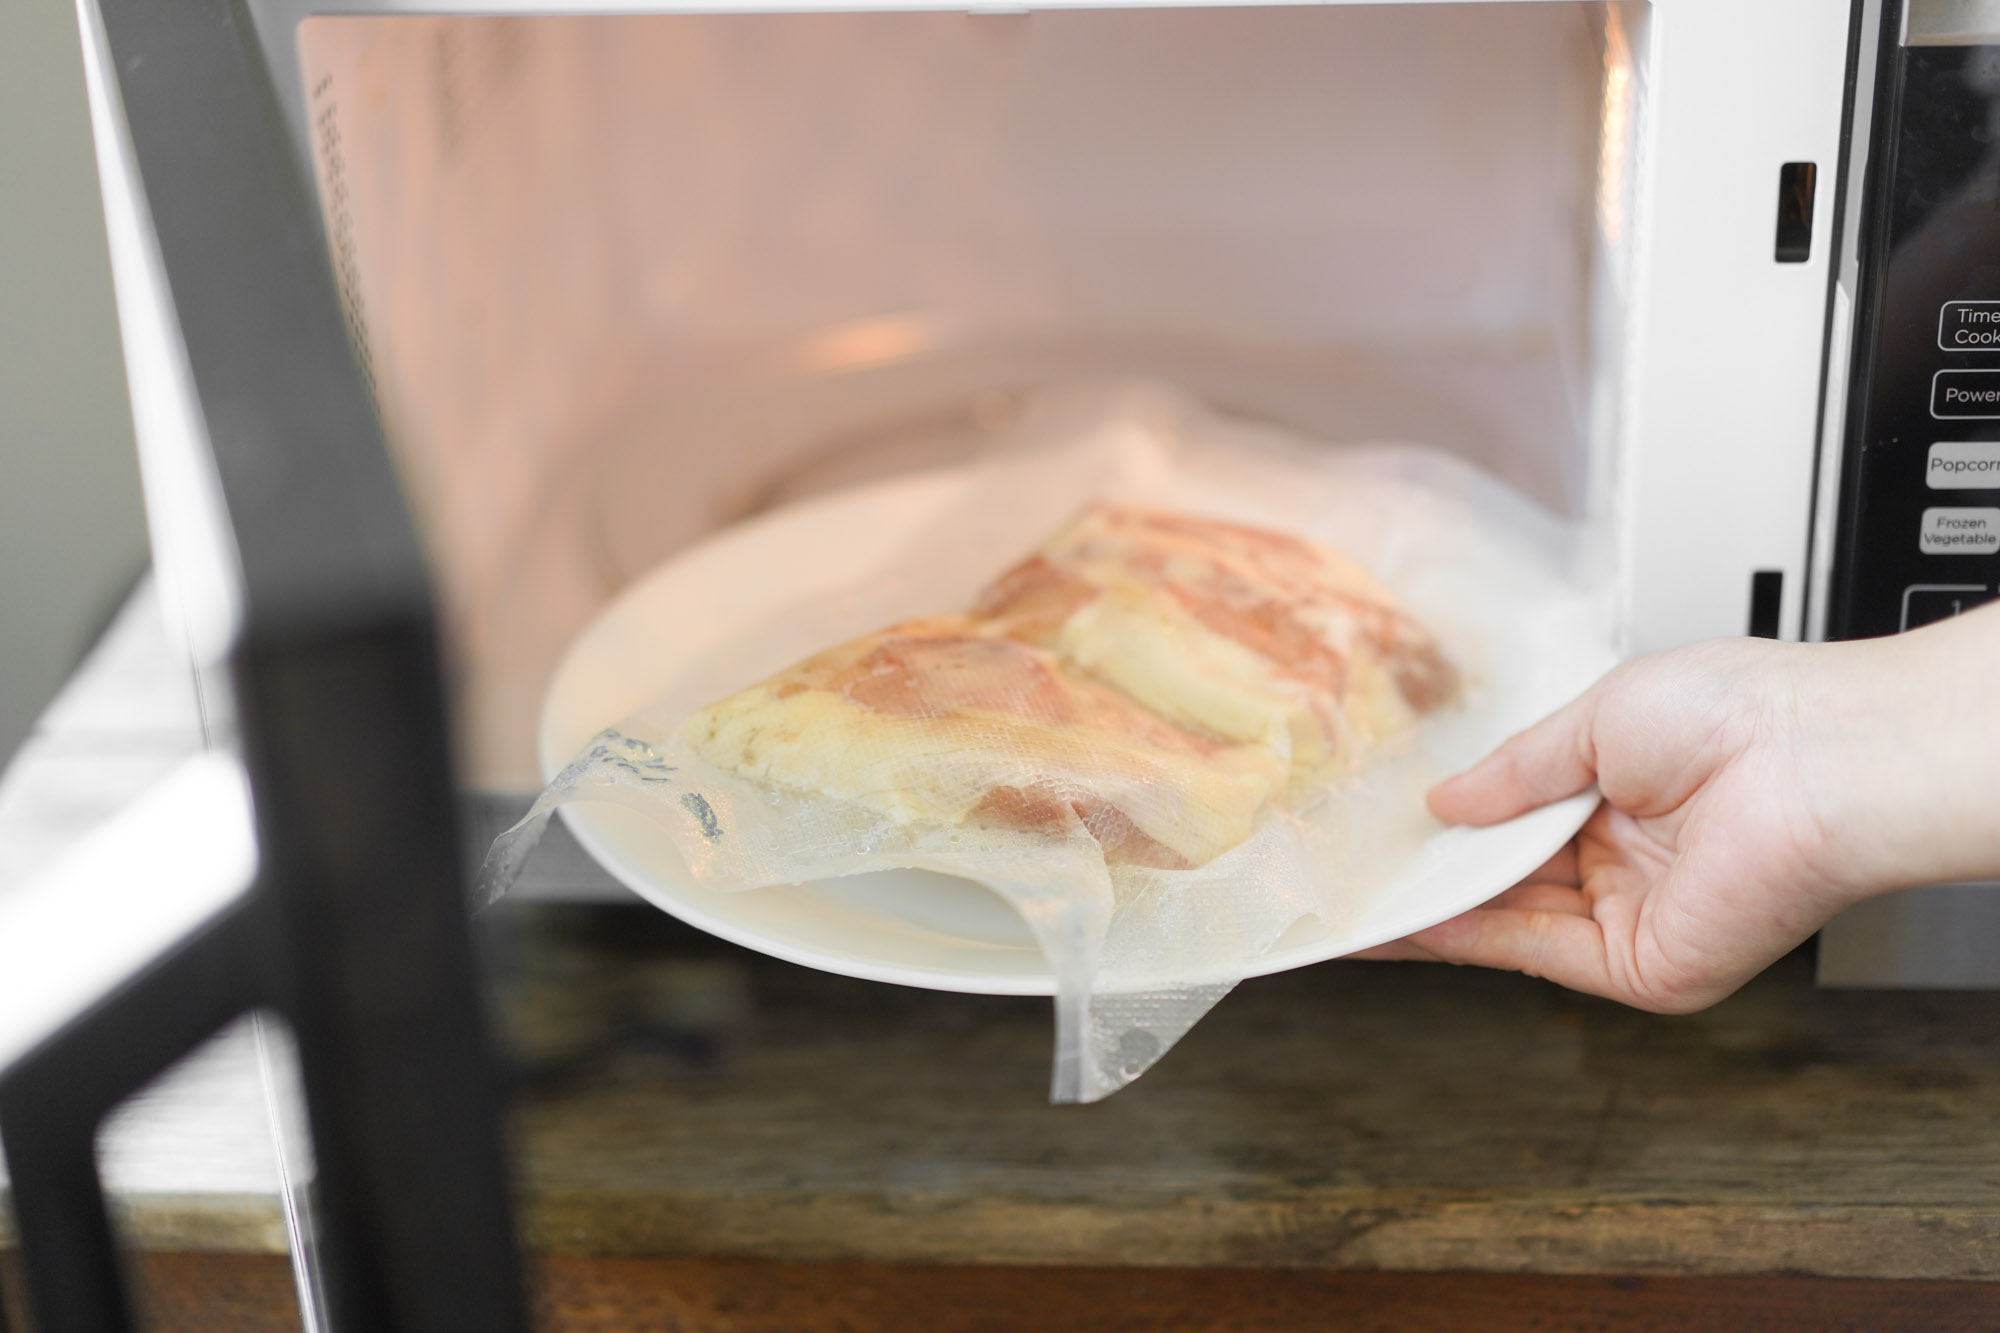
- Once the dough is rolled out, transfer it gently onto a microwave-safe plate.
- Repeat the process with the remaining dough balls, rolling each one into a thin, round roti.
Ensure that the roti is evenly rolled out and does not have any tears or holes. Now you’re ready to move on to the next step of cooking the roti in the microwave oven.
When making roti in a microwave oven, always cover the roti with a damp paper towel to keep it moist and prevent it from drying out during the heating process. This will help ensure that the roti stays soft and pliable.
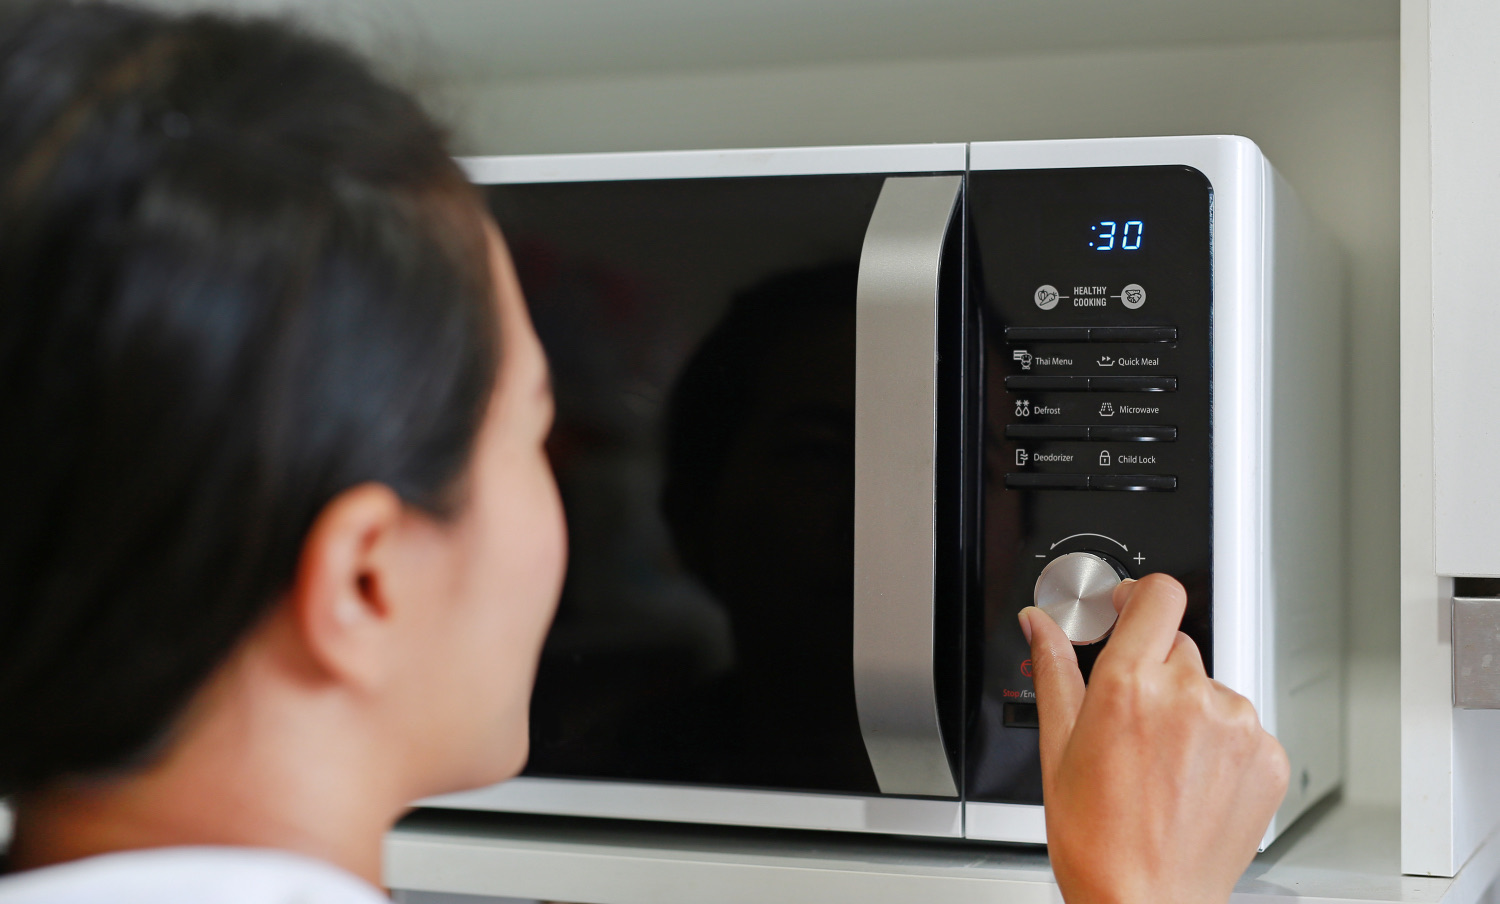
Step 4: Cooking the roti in the microwave oven:
Now comes the exciting part – cooking the rolled out rotis in the microwave oven. Follow these steps to cook the roti:
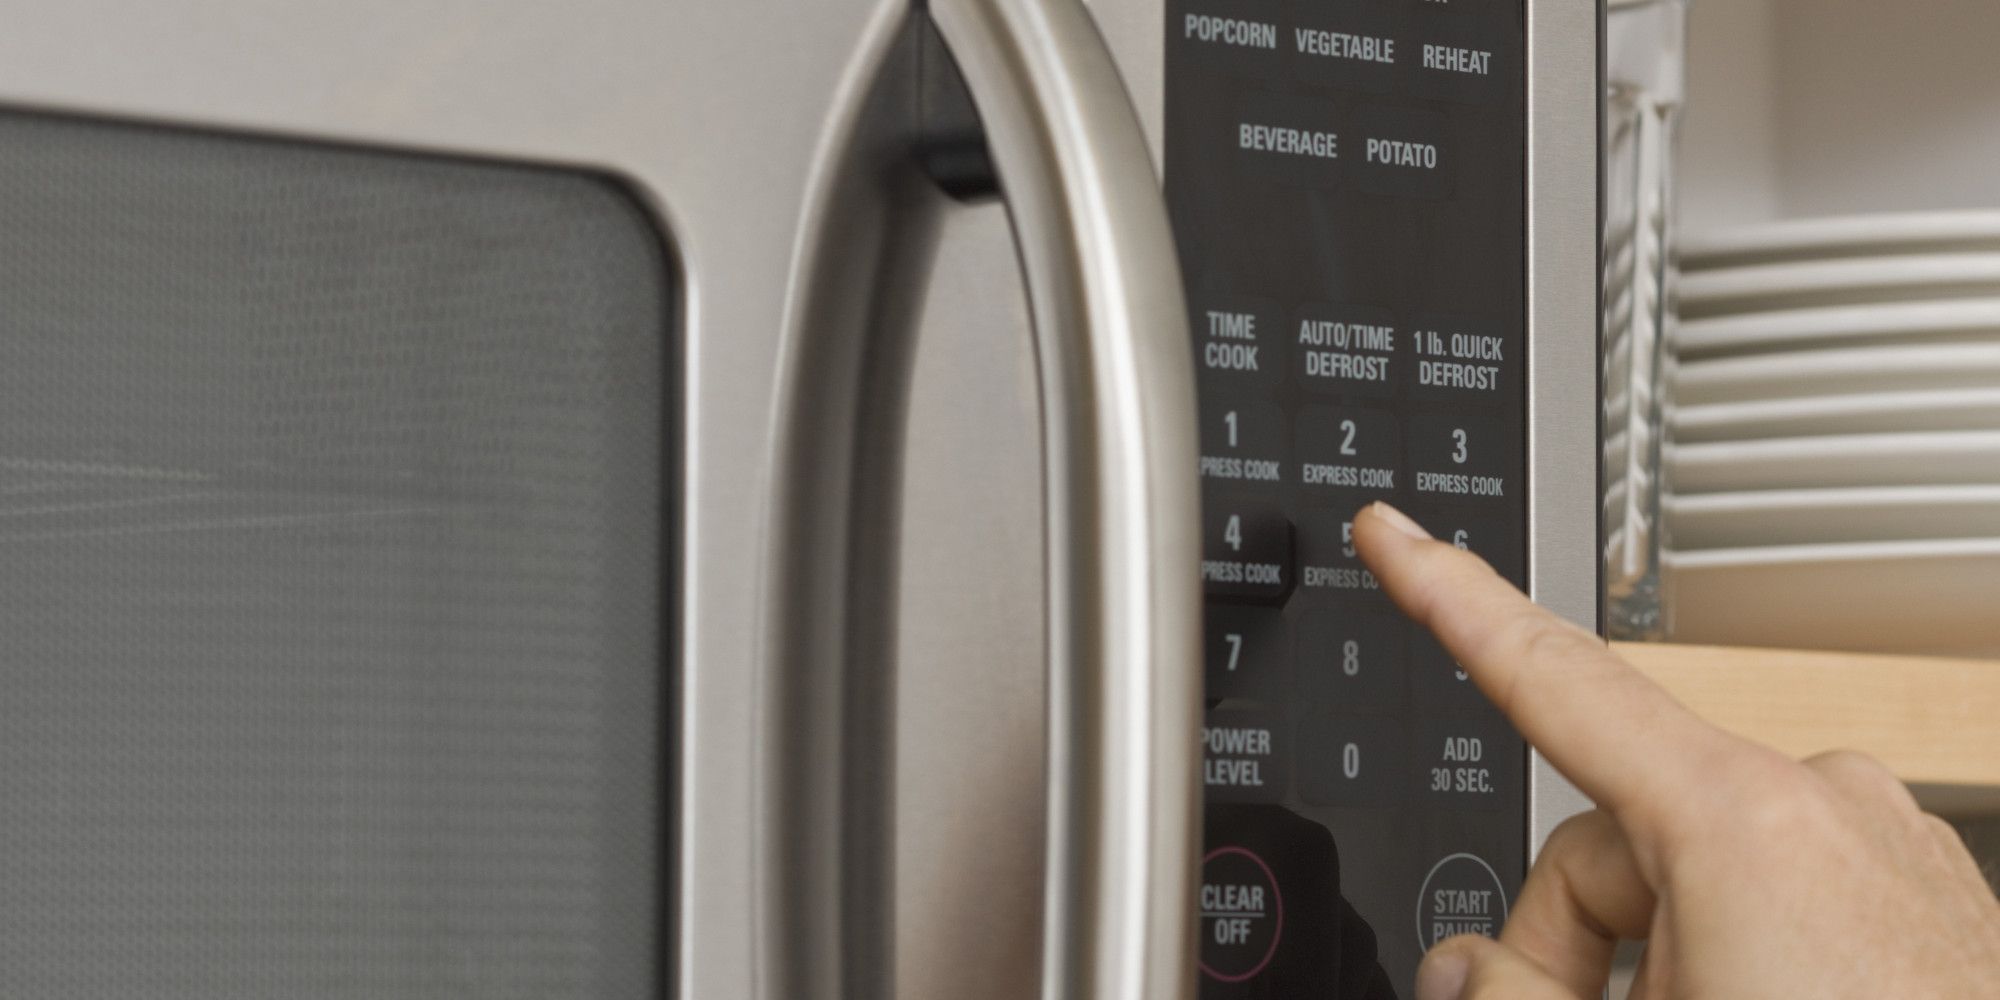
- Preheat the microwave oven on high power for 2 minutes.
- Take one rolled out roti and place it on a microwave-safe plate. Make sure to prick the roti with a fork or a skewer to prevent it from puffing up too much.
- Cook the roti in the microwave oven on high power for 30 seconds to 1 minute. The cooking time may vary depending on the wattage of your microwave, so keep a close eye on the roti and adjust the time accordingly.
- Flip the roti and cook it for an additional 30 seconds to 1 minute on the other side.
- Remove the cooked roti from the microwave oven using oven mitts or a kitchen towel, as it will be hot.
- Repeat the process with the remaining rolled out rotis.
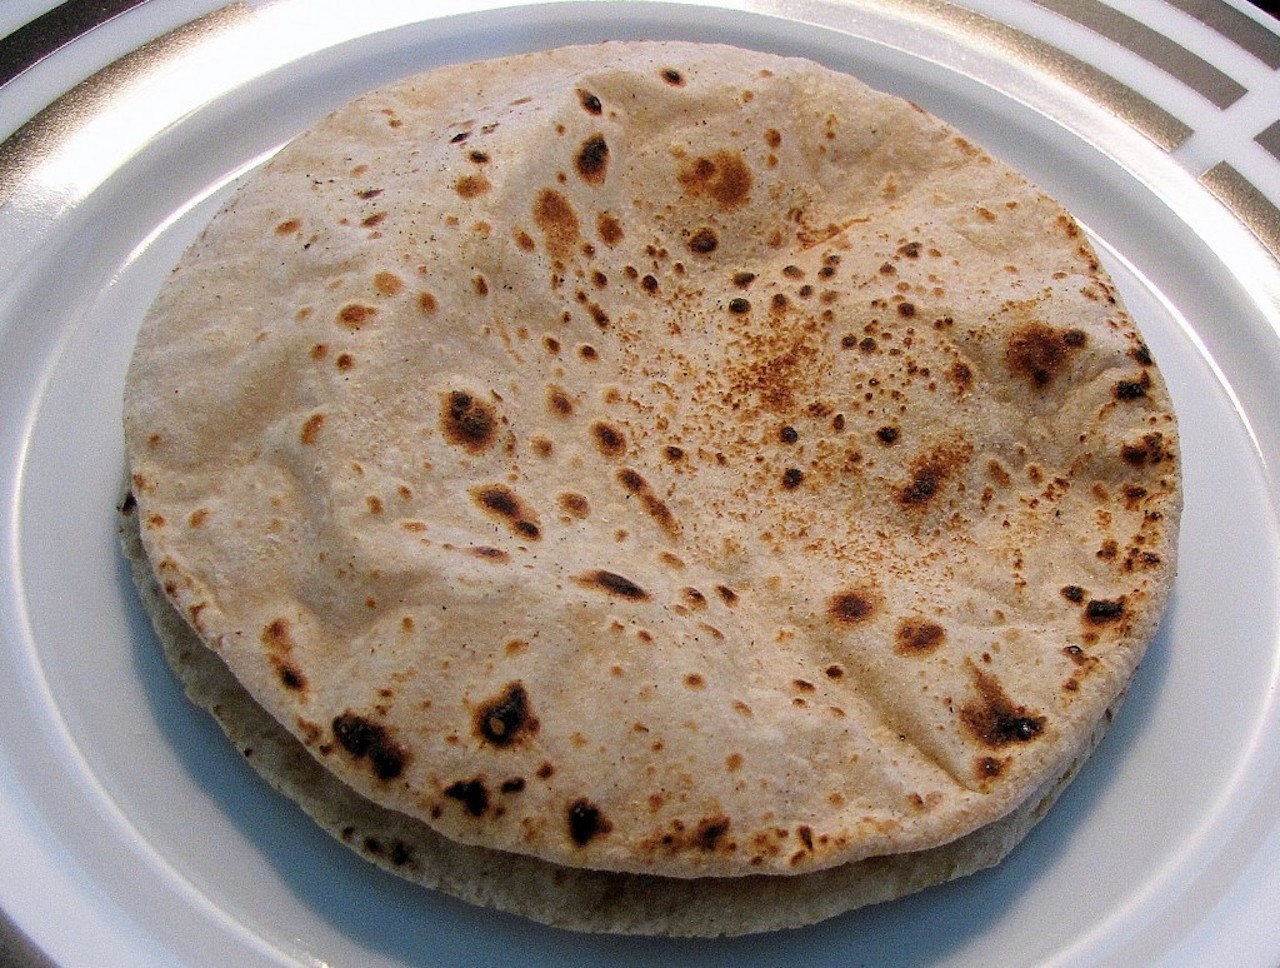
It’s important to note that cooking times may vary, so it’s best to keep a watchful eye on the rotis to avoid overcooking or undercooking them. The cooked rotis may not have the same level of browning as traditionally cooked ones, but they will be soft and delicious nonetheless.
Now that you have cooked the rotis, let’s move on to the final step of fluffing them up.
Read more: How To Make Bread Sandwich In Microwave Oven
Step 5: Fluffing the roti:
After the rotis are cooked in the microwave oven, it’s time to give them that signature fluffiness. Follow these steps to fluff the rotis:
- Take a cooked roti and place it on a clean surface, such as a plate or a clean kitchen towel.
- Gently press the roti with your hands or a kitchen towel to create air pockets and make it fluffy.
- Repeat this process with the remaining cooked rotis.
Fluffing the rotis helps to release steam trapped inside and gives them a light and airy texture. It’s a simple and quick step that adds an extra touch of perfection to your homemade rotis.
Once you have fluffed all the rotis, they are ready to be served. Enjoy them with your favorite curries, vegetables, or any other dishes of your choice.
Congratulations! You have successfully made rotis in a microwave oven. It’s a convenient and time-saving method that allows you to enjoy fresh and delicious rotis whenever you want.
Remember, practice makes perfect, so don’t be discouraged if your first few attempts are not as perfect as you’d like. With time and experience, you’ll be able to master the art of making rotis in a microwave oven.
Happy cooking!
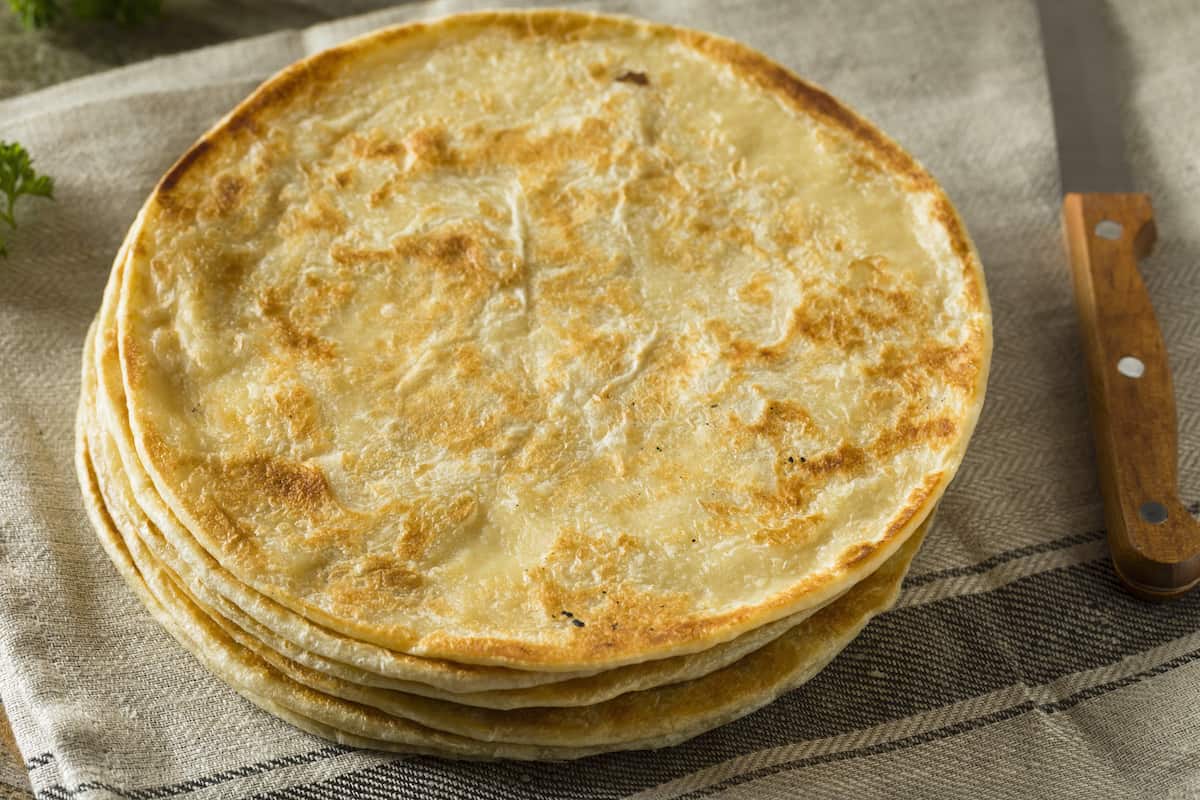
Conclusion:
In conclusion, making rotis in a microwave oven is a convenient and efficient way to enjoy this traditional Indian bread. With just a few simple steps, you can have soft and fluffy rotis ready to be savored with your favorite dishes.
The process starts with preparing the dough, kneading it to the right consistency, and allowing it to rest. Shaping the dough into small balls and rolling them out into thin, round rotis is the next step. These rotis are then cooked in the microwave oven, where they puff up beautifully and become cooked to perfection. Lastly, fluffing the rotis adds that final touch of lightness and texture.
While cooking rotis in a microwave oven may not yield the exact same results as the traditional stovetop method, it is a great alternative for those who are short on time or do not have access to a stovetop. The microwave oven method allows you to enjoy freshly made rotis without the need for specialized equipment.
As with any cooking technique, practice and experimentation will help you find the ideal cooking times and adjustments to achieve your desired results. It’s important to remember that the wattage of your microwave oven and the thickness of the rotis can affect the cooking times, so it’s best to keep a close eye on them to avoid overcooking or undercooking.
Now that you have learned how to make rotis in a microwave oven, it’s time to get started in your own kitchen. Gather the ingredients, follow the steps, and enjoy the delicious and comforting taste of freshly made rotis. It’s a skill that will impress your family and friends, and add a new dimension to your culinary repertoire.
So, go ahead, embrace the convenience of technology, and indulge in the delightful experience of making rotis in a microwave oven!
Frequently Asked Questions about How To Make Roti In Microwave Oven Video
Was this page helpful?
At Storables.com, we guarantee accurate and reliable information. Our content, validated by Expert Board Contributors, is crafted following stringent Editorial Policies. We're committed to providing you with well-researched, expert-backed insights for all your informational needs.


0 thoughts on “How To Make Roti In Microwave Oven Video”