Articles
How To Bake In A Microwave Oven
Modified: August 25, 2024
Learn how to bake delicious articles in a microwave oven with our simple and easy-to-follow guide. Save time and enjoy tasty treats today!
(Many of the links in this article redirect to a specific reviewed product. Your purchase of these products through affiliate links helps to generate commission for Storables.com, at no extra cost. Learn more)
Introduction
When it comes to baking, most people think of using a traditional oven. However, did you know that you can also bake delicious treats in a microwave oven? That’s right! With the right techniques and equipment, you can achieve moist, fluffy cakes, cookies, and even bread in a fraction of the time it takes to bake them in a conventional oven.
Baking in a microwave oven offers several advantages. Firstly, it requires less energy, making it a more environmentally-friendly option. It also saves you time, as microwave baking is significantly faster than traditional baking. Additionally, microwave ovens are more compact and portable, making them a convenient choice for those with smaller kitchens or for baking on-the-go.
However, baking in a microwave oven does come with some differences and challenges compared to traditional baking. The microwave uses electromagnetic waves to cook food, which means that the baking process is quite different from the dry, radiant heat of a regular oven. This means that you need to follow specific techniques and precautions to achieve the best results when baking in a microwave.
In this article, we will explore the essential steps and tips for baking in a microwave oven. We will cover everything from safety precautions to choosing the right cookware, adjusting power levels and cooking times, and finally, how to know when your baked goods are perfectly done.
So, if you’re ready to unlock the magic of microwave baking and indulge in homemade treats in no time, let’s dive into the wonderful world of baking in a microwave oven!
Key Takeaways:
- Microwave baking offers a convenient, efficient, and environmentally-friendly alternative to traditional oven baking, allowing for quick and delicious homemade treats with the right techniques and safety precautions.
- With the right microwave-safe cookware, preheating methods, and understanding of power levels and cooking times, anyone can master the art of microwave baking and enjoy a wide variety of homemade goodies in a fraction of the time it takes to bake in a conventional oven.
Read more: How To Bake Cake In Microwave Oven
Safety Precautions
Before diving into the art of microwave baking, it’s important to take note of some safety precautions to ensure a smooth and accident-free baking experience:
- Use microwave-safe cookware: Ensure that the cookware you use is labeled as microwave-safe. Materials such as glass, ceramic, and certain types of plastics are typically safe for microwave use. Avoid using metal containers or utensils, as they can cause sparks or damage the microwave. Always check the manufacturer’s instructions to ensure the safety of your cookware.
- Avoid food containers with metal accents: Some microwave-safe containers may have metal trimmings or accents. It’s essential to remove any lids, foil, or metallic embellishments before placing the container in the microwave. These items can cause sparking and potential hazards during the baking process.
- Never operate an empty microwave: Always ensure that there is something inside the microwave when you turn it on. Operating an empty microwave can cause damage to the oven and lead to fire hazards. Even if you’re preheating the microwave, make sure to include a cup of water or a microwave-safe dish inside.
- Use microwave-friendly utensils: When mixing and preparing ingredients, use utensils that are safe for microwave use. Avoid using metal utensils, as they can create hot spots and affect the cooking process. Opt for heat-resistant silicone spatulas or microwave-safe plastic utensils instead.
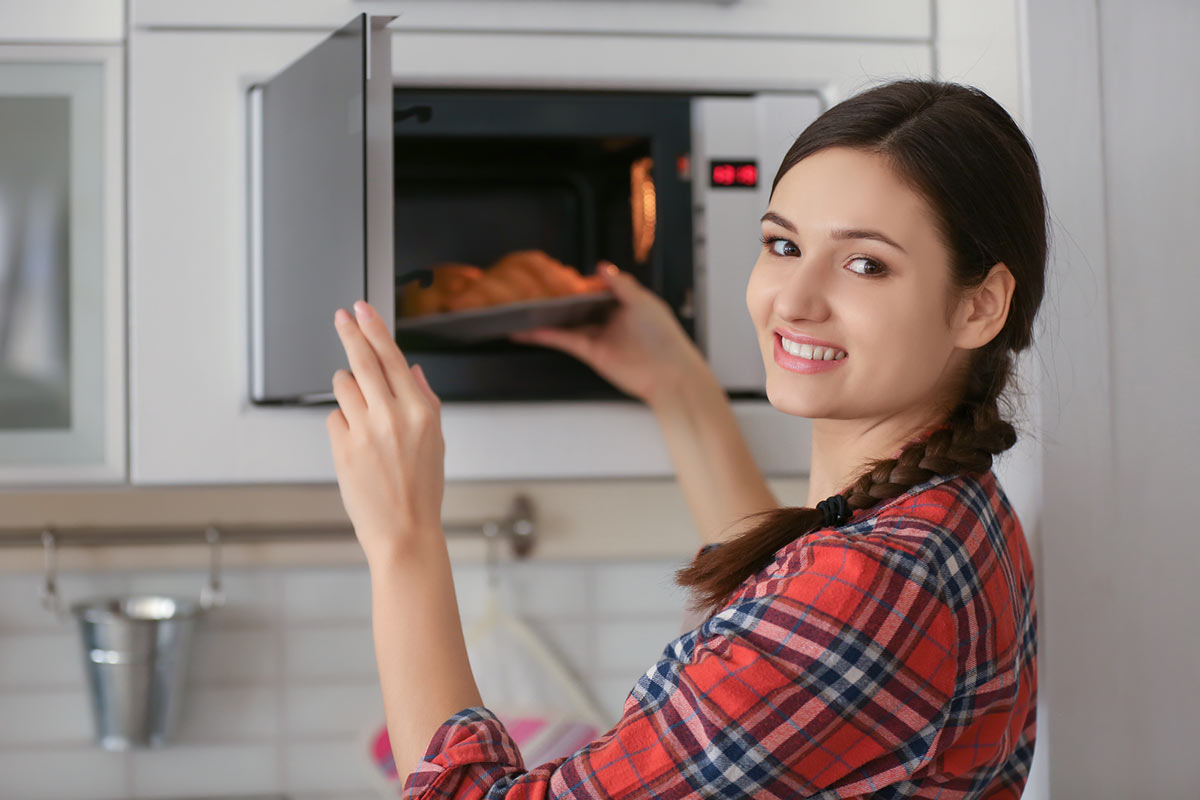
- Be cautious of steam: When removing cooked items from the microwave, use oven mitts or protective gloves. The steam released from the hot food can cause burns if it comes into contact with your skin. Handle hot dishes with care and open containers away from your face to avoid any potential burns.
- Monitor the cooking process: When baking in a microwave, it’s essential to keep a close eye on the food as it cooks. Monitor the cooking process regularly by checking the progress through the microwave door. This allows you to make adjustments to the cooking time or power level if necessary and helps prevent overcooking or burning.
- Allow for proper ventilation: Microwaves generate heat during the cooking process. Ensure that the microwave has proper ventilation and is situated in an area where there is sufficient airflow. Avoid placing objects on top of the microwave or blocking the vents, as this can cause overheating and affect the performance of the oven.
By following these safety precautions, you can ensure a safe and enjoyable baking experience in your microwave oven. Remember, always prioritize your well-being and safety when using any kitchen appliances.
Choosing the Right Microwave-Safe Cookware
When it comes to baking in a microwave oven, the choice of cookware plays a crucial role in the final outcome. Using the right microwave-safe cookware ensures even cooking, prevents overcooking or undercooking, and helps maintain the texture and moisture of your baked goods. Here are some tips for choosing the right cookware for microwave baking:
- Opt for microwave-safe materials: Look for cookware made of materials that are labeled as microwave-safe, such as glass, ceramic, or microwave-safe plastics. These materials are designed to withstand the heat generated by the microwave without releasing harmful chemicals or melting.
- Avoid metal or foil: When baking in a microwave, never use metal or foil cookware, as they can cause sparks and damage to the oven. Metal can reflect the microwaves and create hot spots, leading to uneven cooking or even fires. Stick to microwave-safe materials to ensure a safe baking process.
- Choose the right size and shape: Select a microwave-safe dish that is suitable for the size of your recipe. For cakes and bread, choose a round or rectangular baking dish that allows for proper heat distribution. For cookies, consider using a microwave-safe baking sheet or plate with enough space between the cookies for even cooking.
- Consider the depth of the dish: The depth of the dish can affect the cooking time and results. Shallow dishes are ideal for quick-cooking items like cookies, while deeper dishes are better for recipes that require longer cooking times, such as cakes or bread. Ensure that the dish has enough depth to accommodate the rising of your baked goods.
- Check for microwave-safe labels: Look for cookware that is specifically labeled as microwave-safe. This indicates that the manufacturer has tested the product for microwave use and confirms its safety. Microwave-safe labels give you peace of mind knowing that the cookware has been designed for use in the microwave.
- Consider using silicone baking molds: Silicone molds are a popular choice for microwave baking due to their flexibility, heat resistance, and ease of use. They come in various shapes and sizes and are particularly suitable for cupcakes, muffins, and smaller portions. Silicone molds can be easily popped out, allowing for effortless removal of the baked goods.
- Use microwave-safe covers or wraps: When baking items that require covering to retain moisture, ensure that you use microwave-safe covers or wraps. Certain microwave-safe plastic wraps or microwave-safe glass lids can be used to cover dishes during the baking process, preventing the food from drying out.
By choosing the right microwave-safe cookware, you can ensure optimal baking results and enjoy delicious homemade treats right from your microwave oven. Experiment with different shapes and sizes of dishes to find what works best for your favorite recipes and baking needs.
Preheating the Microwave
Preheating the microwave oven is an essential step in the microwave baking process. While preheating is not necessary for all recipes, it can help ensure more consistent and even cooking of certain baked goods. Here’s how to preheat your microwave effectively:
- Choose the appropriate power level: Most microwaves have multiple power level settings, typically ranging from 1 to 10 or low to high. For preheating, it’s best to use a medium power level, around 5 or 6, to avoid overheating or underheating the oven.
- Place a microwave-safe container with water: Fill a microwave-safe container, such as a glass measuring cup or bowl, with water. This water serves as a heat distributor and helps maintain the internal temperature of the microwave. The amount of water you use will depend on the size of your microwave and the desired preheating time.
- Choose the appropriate time: The preheating time can vary depending on the wattage of your microwave and the size of the cavity. As a general guideline, start with preheating for 2-3 minutes. Monitor the temperature as you preheat to ensure that it doesn’t get too hot. Adjust the time as needed for your specific microwave.
- Allow the microwave to sit: Once the preheating time is complete, it’s important to allow the microwave to sit for a minute or two before placing your baking dish inside. This allows the heat to distribute evenly throughout the oven, avoiding any potential hot spots.
- Check for hotspots: Before placing your batter or dough into the preheated microwave, check for any hotspots by placing your hand, near but not touching, in different areas of the oven. If you notice any significant temperature differences, you may need to adjust your preheating method or consider rotating the dish during the baking process.
It’s worth noting that not all recipes require preheating in the microwave. Baking times can be shorter compared to a conventional oven, and some recipes are designed to be cooked directly in a cold microwave. Always refer to the specific recipe instructions to determine whether preheating is necessary.
By following these preheating tips, you can ensure that your microwave is at the optimal temperature to bake your goods evenly and efficiently. Preheating helps mimic the traditional preheating process of a regular oven and enhances the overall baking experience in your microwave.
Adjusting Power Levels and Cooking Times
One of the key differences between baking in a microwave oven and a traditional oven is the use of power levels. Power levels determine the intensity at which the microwaves heat the food. Understanding how to adjust power levels and cooking times is crucial for achieving perfectly baked treats in the microwave. Here’s what you need to know:
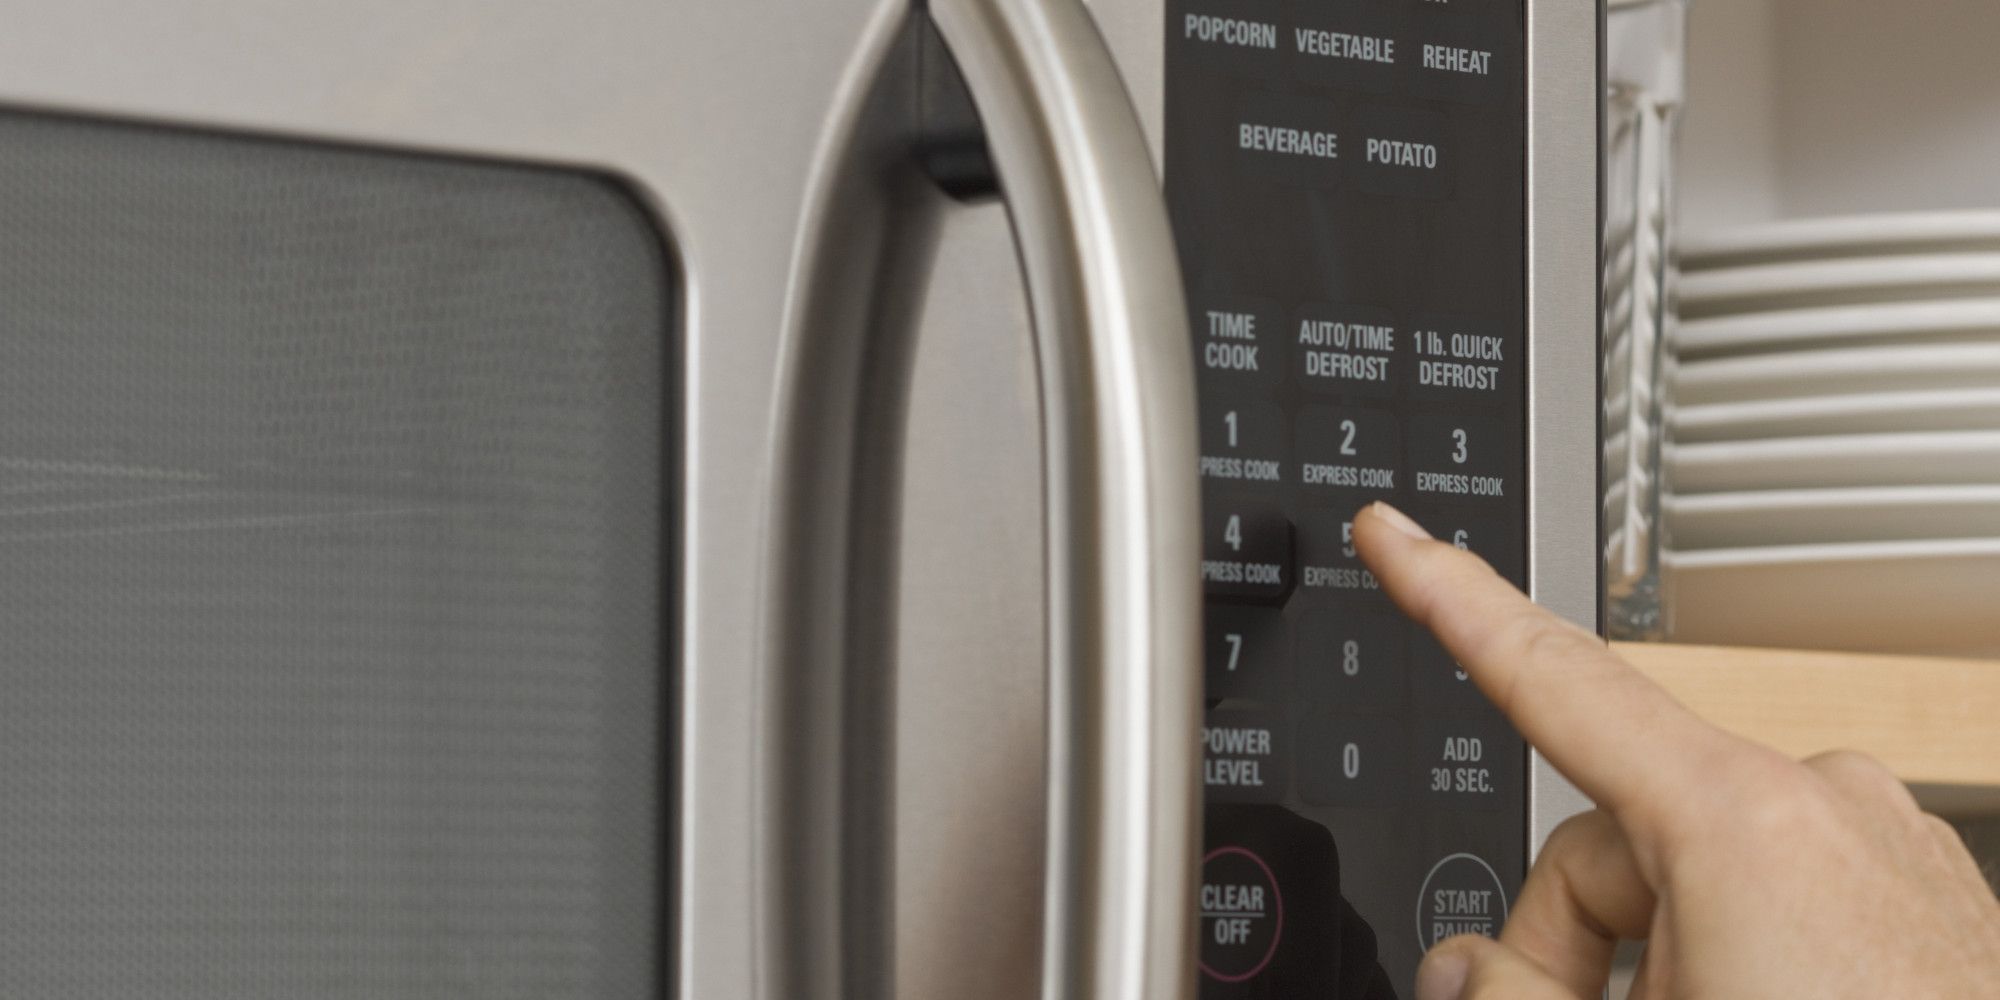
- Understand the power settings: Most microwaves offer a range of power level settings, typically ranging from 1 to 10. Each power level represents a percentage of full power, with level 10 being 100% power. Lower power levels, such as level 5 or 6, distribute the heat over a longer period, resulting in gentler and more even cooking.
- Adjust power according to the recipe: When adapting a traditional baking recipe for the microwave, it’s important to adjust the power level and cooking time. As a general guideline, start with 50-70% power for baking purposes. Lower power levels allow for more controlled cooking and reduce the risk of overcooking or browning the exterior before the interior is fully cooked.
- Consider the type of baked goods: Different types of baked goods may require different power levels and cooking times. For example, delicate items like cakes and bread may benefit from lower power levels to ensure even cooking throughout. Denser items like cookies or brownies may require higher power levels for a shorter cooking time to achieve a crispy texture.
- Reduce cooking times: Cooking times are typically shorter when baking in a microwave compared to a traditional oven. Microwave baking is known for its quick cooking capabilities. Keep a close eye on your baked goods to prevent overcooking. It’s better to slightly undercook them and let residual heat finish the job than to overcook and dry out the texture.
- Rotate the dish: To achieve even cooking, rotate the baking dish halfway through the cooking process. Microwaves have hotspots, and rotating the dish helps distribute the heat more evenly, ensuring consistent baking results.
- Perform a toothpick test: Just like with traditional baking, you can use a toothpick or skewer to check the doneness of your baked goods. Insert the toothpick into the center of the item and remove it. If it comes out clean or with a few crumbs attached, your baked goods are done. If not, continue cooking in short intervals, checking for doneness each time.
- Make adjustments based on experience: Baking in a microwave oven requires some trial and error to determine the perfect power level and cooking time for your specific microwave and recipes. Keep track of the adjustments you make and the results you achieve to fine-tune the process in the future.
Remember that every microwave is different, so it may take some experimentation to find the ideal power level and cooking time for your specific appliance. With practice, you’ll become more comfortable with adjusting these parameters to achieve delicious and perfectly baked treats in your microwave oven.
Read more: What Is A Microwave Oven
Mixing and Preparing the Ingredients
Properly mixing and preparing the ingredients is key to achieving a successful and delicious outcome when baking in a microwave oven. Here are some essential tips to ensure optimal results:
- Gather your ingredients: Before you begin, make sure you have all the necessary ingredients measured and ready to go. This includes dry ingredients like flour, sugar, and baking powder, as well as wet ingredients like eggs, milk, and oil. Having everything prepared in advance helps streamline the baking process and ensures accuracy.
- Follow the recipe instructions: Just like with traditional baking, it’s important to follow the recipe instructions carefully. Pay attention to the order in which the ingredients are added and the mixing techniques specified. Each recipe may have specific requirements for achieving the desired texture and consistency.
- Properly measure the ingredients: Accurate measurement of ingredients is crucial in baking. Use measuring cups and spoons for dry ingredients and a kitchen scale if necessary. Level off the ingredients with a straight edge for precise measurements. When measuring liquids, use a liquid measuring cup placed on a flat surface at eye level.
- Mix thoroughly: Whether using a stand mixer, hand mixer, or simply a whisk and a mixing bowl, ensure that all the ingredients are mixed thoroughly. Properly combining the ingredients ensures that the flavors are evenly distributed and that the batter is smooth and free of lumps.
- Avoid overmixing: While it’s important to mix the ingredients thoroughly, be cautious not to overmix the batter. Overmixing can lead to the development of gluten in the flour, resulting in a dense and tough texture. Mix until the ingredients are just combined and there are no pockets of dry ingredients remaining.
- Adjust consistency if needed: Depending on the recipe, you may need to adjust the consistency of the batter. If the batter seems too thick, you can add a small amount of liquid, such as milk or water, to achieve the desired consistency. If it’s too runny, you can add a bit more flour gradually until it thickens.
- Add mix-ins: If your recipe calls for mix-ins, such as chocolate chips, nuts, or dried fruit, incorporate them into the batter after the ingredients are properly mixed. Fold them in gently to distribute them evenly throughout the batter.
Remember to carefully follow the instructions provided in the recipe you’re using. Each recipe may have specific mixing techniques and requirements that are crucial for achieving the desired results when baking in a microwave oven.
By properly mixing and preparing your ingredients, you set the foundation for a successful baking experience and ensure that your treats turn out moist, flavorful, and irresistible.
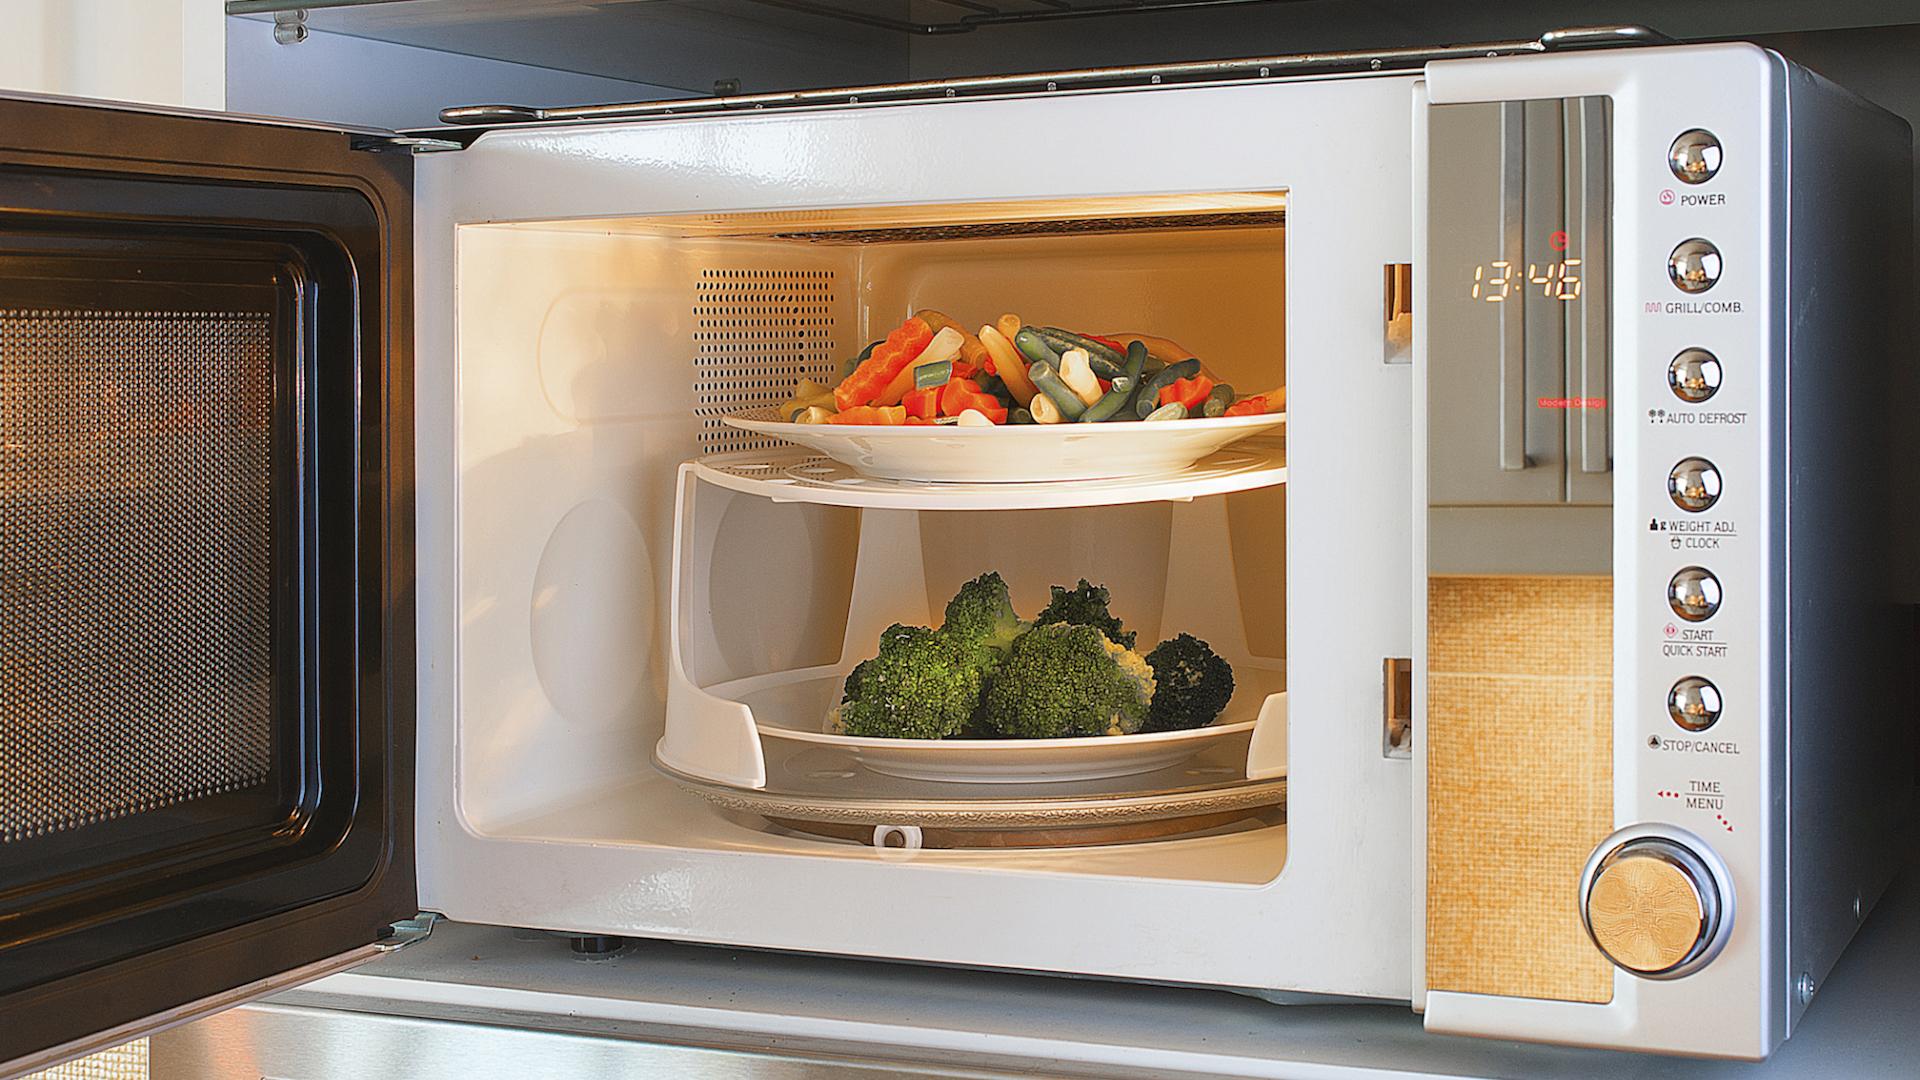
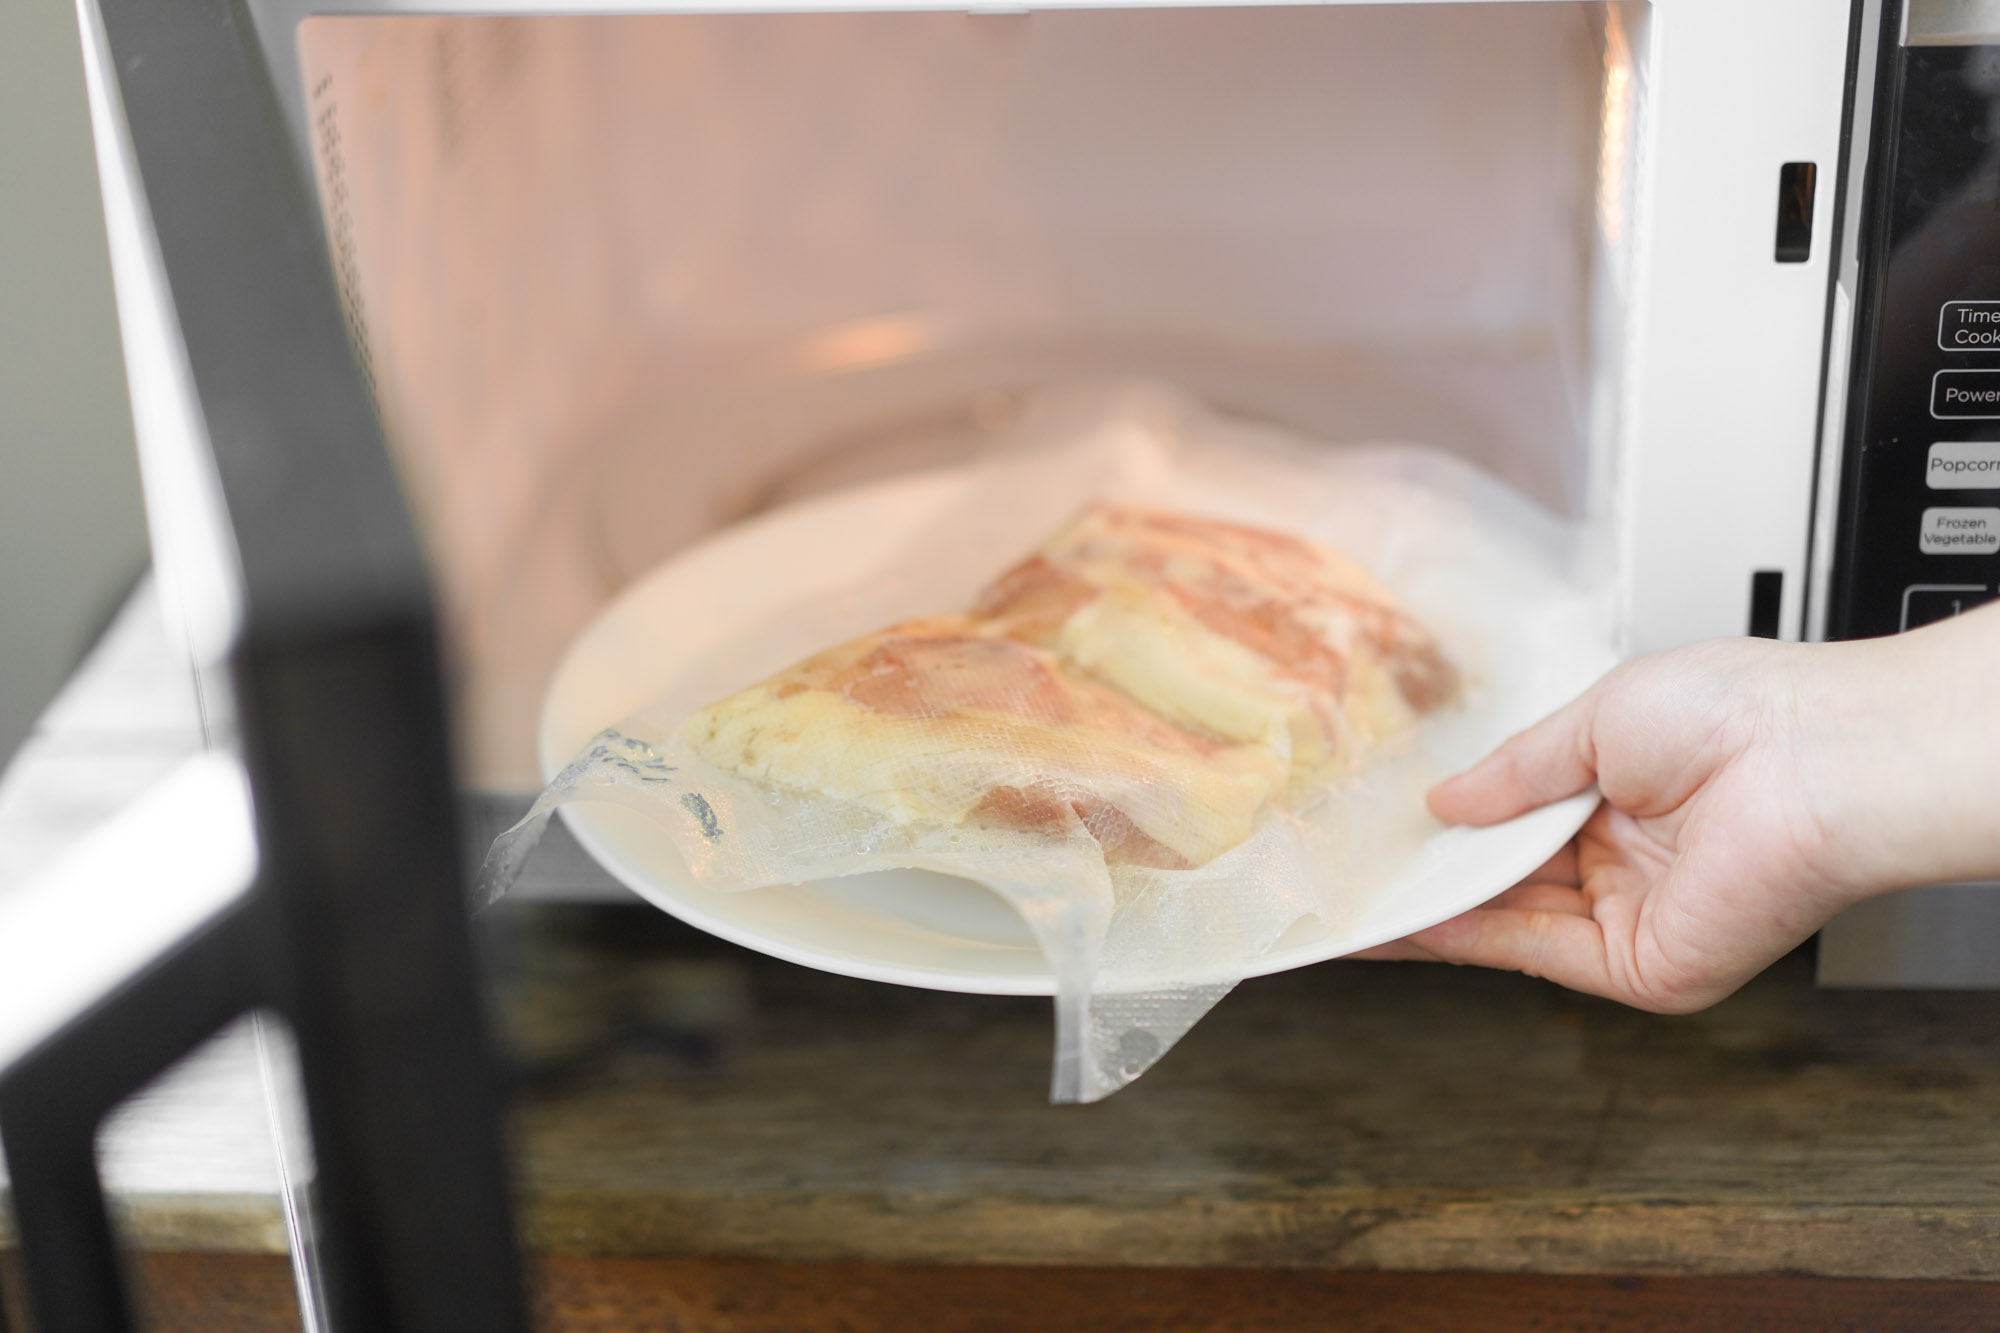
When baking in a microwave oven, use microwave-safe cookware and cover the dish with a microwave-safe lid or plastic wrap to trap steam and help the food cook evenly.
Pouring the Batter into the Microwave-Safe Dish
After you have mixed and prepared your batter, the next step is to transfer it into a microwave-safe dish. This step is crucial as it ensures even cooking and proper rise of your baked goods. Here are some tips for pouring the batter into the dish:
- Choose the right size dish: Select a microwave-safe dish that is appropriate in size for the amount of batter you have. The dish should have enough space to accommodate the rising and spreading of the batter as it cooks. Using a dish that is too small may cause overflow or uneven cooking.
- Prepare the dish: Prior to pouring the batter, it’s important to prepare the dish to prevent sticking. You can lightly grease the dish with cooking spray or butter, or you can line it with parchment paper for easy removal of the baked goods. Ensure that the greasing or lining extends to the sides of the dish as well.
- Pour the batter evenly: Slowly pour the batter into the prepared dish, starting from the center and working your way outwards. This helps distribute the batter evenly and prevents air pockets from forming. If necessary, use a spatula to scrape the sides of the bowl to ensure all the batter is transferred.
- Level the batter: Once the batter is in the dish, use a spatula or the back of a spoon to level the surface. This helps ensure even rising and uniform cooking throughout the batter. Smooth out any uneven areas or peaks that may cause the baked goods to cook unevenly.
- Avoid overfilling the dish: It’s important not to overfill the dish with batter, as it may expand and overflow during the cooking process. Leave some space at the top of the dish to allow for the rising of the batter. A good rule of thumb is to fill the dish about two-thirds full to prevent overflow.
- Tap the dish: Once the batter is in the dish and leveled, gently tap the dish on the counter a few times to release any air bubbles that may have formed. This helps ensure a smoother texture and prevents the baked goods from collapsing.
By pouring the batter into the microwave-safe dish with care and attention, you set the stage for successful baking. The even distribution of batter and proper preparation of the dish help ensure that your baked goods cook evenly, rise as desired, and have an appealing texture.
Now that your batter is ready in the microwave-safe dish, it’s time to move on to the exciting part – baking in the microwave!
Baking the Cake in the Microwave Oven
With your batter poured into a microwave-safe dish, it’s time to move on to the baking process. Baking a cake in a microwave oven requires careful control of time and power levels to achieve the desired texture and doneness. Here are the steps to bake a cake in the microwave oven:
- Place the dish in the center of the microwave: Ensure that the dish is placed in the center of the microwave oven for even cooking. Avoid placing it too close to the sides or back, as this can lead to uneven heating. Maintain some space between the dish and the walls of the microwave for proper circulation of heat.
- Select the appropriate power level: Adjust the power level to the recommended setting for baking, typically around 50-70% power. Lower power levels allow for gentler cooking, which helps prevent overcooking the edges and drying out the cake while ensuring the center cooks properly. Refer to your recipe for specific power level instructions.
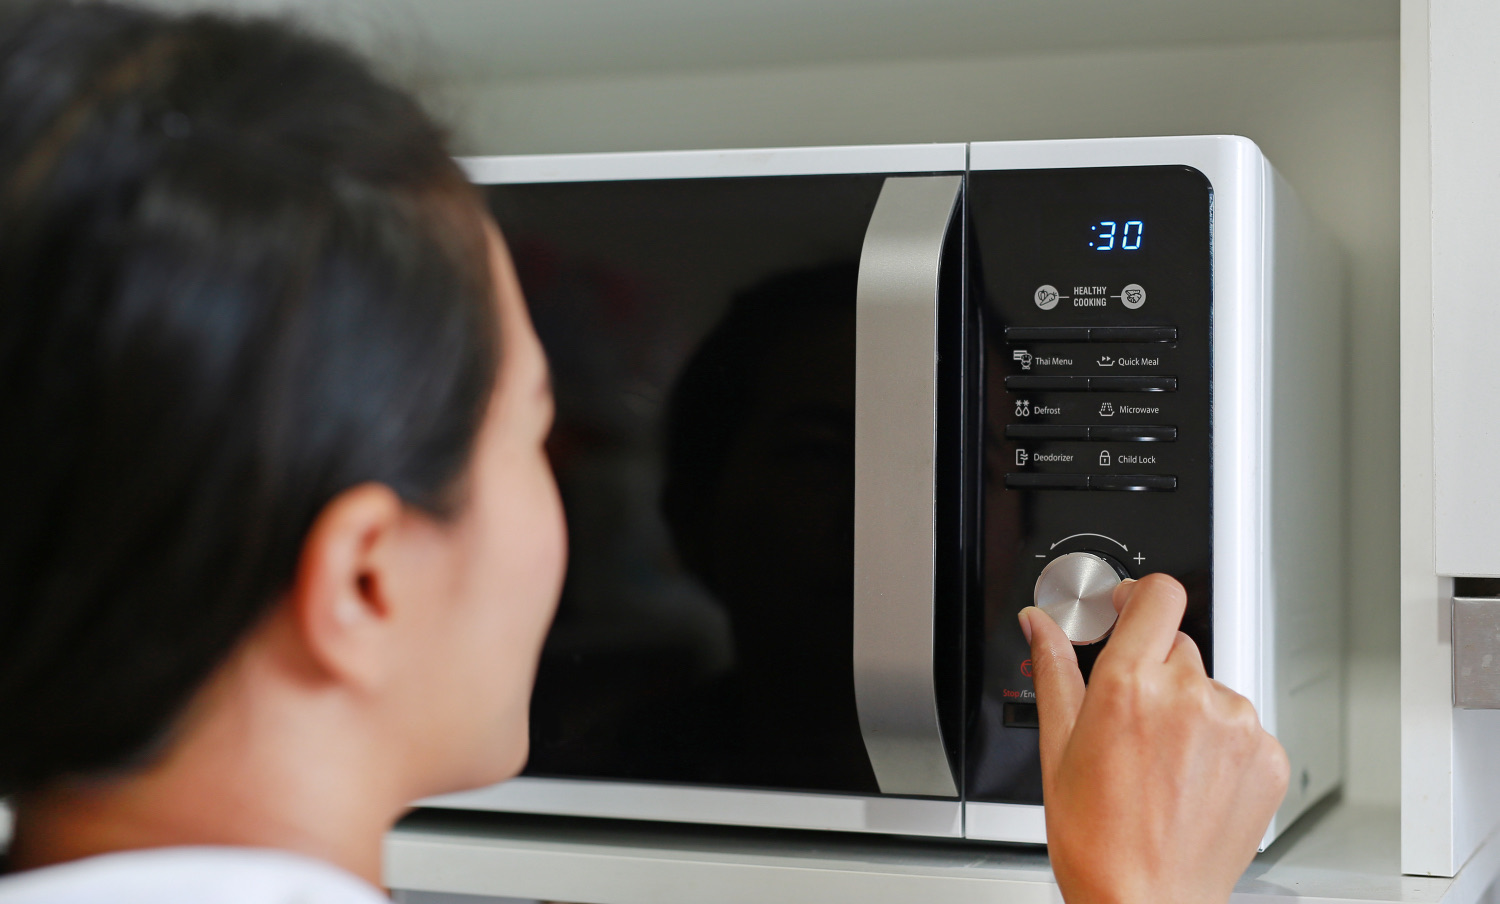
- Set the cooking time: Microwaves cook at a faster rate than traditional ovens, so baking times will generally be shorter. Refer to your recipe for guidelines on the appropriate cooking time or start with a shorter time and adjust as needed. It is better to slightly undercook the cake and check for doneness than to overcook it.
- Start the microwave: Start the microwave oven and begin the baking process according to the specified time. Pay close attention to the cake as it cooks and make any necessary adjustments if you observe uneven cooking or other issues.
- Halfway through, rotate the dish (if necessary): To ensure even cooking, consider rotating the dish halfway through the cooking process. This helps prevent hotspots and encourages uniform baking. If your microwave has uneven heat distribution, rotating the dish can help compensate for it.
- Check for doneness: Towards the end of the recommended cooking time, begin checking for doneness. Insert a toothpick or skewer into the center of the cake and remove it. If it comes out clean or with a few moist crumbs, the cake is done. If not, continue cooking in short increments of 10-15 seconds until fully cooked.
It’s important to note that the actual cooking time may vary depending on the wattage of your microwave and the size and thickness of the cake. Microwave baking is a combination of time and power level control, so some experimentation may be required to achieve the perfect results.
Be cautious not to overcook the cake, as it can lead to a dry texture. It’s better to slightly undercook it and let it rest in the dish for a few minutes, as residual heat completes the cooking process. The cake will continue to set as it cools.
Once your cake is baked to perfection, it’s time to move on to the next step – checking for doneness and preparing to serve your delicious creation.
Checking for Doneness
As the baking time for your cake in the microwave oven nears its end, it’s crucial to determine whether it is fully cooked and ready to be taken out. Checking for doneness ensures that your cake has reached the ideal texture and is safe to be enjoyed. Here’s how to check for doneness:
- Perform the toothpick test: The toothpick test is a simple yet effective method to determine if your cake is cooked through. Insert a toothpick or skewer into the center of the cake and gently pull it out. If it comes out clean or with a few moist crumbs clinging to it, the cake is done. However, if there are wet batter streaks on the toothpick, the cake needs more time to cook.
- Observe the cake’s appearance: Another visual clue to determine doneness is the appearance of the cake. The edges should be slightly pulled away from the sides of the dish, and the top of the cake should be set and spring back when lightly touched. If the center appears wet or sinks when touched, the cake may require additional cooking time.
- Check for even texture: Cut into the cake or gently press down on the surface to check for an even texture. The cake should be evenly cooked throughout, with no raw or dense areas. If you notice any uncooked or undercooked spots, return the cake to the microwave for additional cooking time, checking for doneness frequently.
- Consider residual cooking and resting time: Keep in mind that even after removing the cake from the microwave, residual heat will continue to cook the cake slightly. Allow the cake to rest in the dish for a few minutes before transferring it to a cooling rack or plate for further cooling. This resting time helps the cake set and stabilize its structure.
- Adjust for personal preferences: Doneness can be subjective to personal taste preferences. Some people enjoy a slightly gooey center, while others prefer a fully cooked and firm texture. Adjust the cooking time and doneness evaluation based on your desired level of moistness and texture.
It’s crucial to use caution when checking for doneness, as the dish and cake will be hot. Use oven mitts or a towel to handle the dish safely. Remember that microwave baking times can vary, so frequent checking and adjusting are necessary to achieve perfect doneness.
Once your cake is perfectly cooked and has passed the doneness test, it’s time to allow it to cool and move on to the final step – serving and enjoying your homemade treat!
Read more: How To Repair Microwave Oven
Cooling and Serving the Baked Goods
Once your baked goods are out of the microwave and have passed the doneness test, it’s important to give them some time to cool before serving. Proper cooling helps set the texture and allows the flavors to develop fully. Here’s how to cool and serve your baked goods:
- Allow for natural cooling: Place the dish with the baked goods on a cooling rack or heat-resistant surface and let them cool naturally. Avoid rushing the cooling process by placing them in the refrigerator or freezer, as this can change the texture and cause condensation.
- Give ample cooling time: The cooling time will vary depending on the size and thickness of your baked goods. Cakes and bread may require 15-30 minutes, while cookies and brownies may cool within 5-10 minutes. Avoid cutting or serving the baked goods too soon, as they may still be delicate and prone to breaking apart.
- Transfer to a serving plate: Once the baked goods have cooled, carefully transfer them from the microwave-safe dish to a serving plate or platter. If you used parchment paper to line the dish, gently lift the paper to remove the baked goods. Be cautious as they may still be fragile.
- Garnish and decorate: If desired, take this opportunity to garnish or decorate your baked goods. Dust them with powdered sugar, drizzle with glaze or frosting, or add toppings like fruits, nuts, or chocolate shavings. Let your creativity shine and enhance the presentation for an inviting and tempting display.
- Serve and enjoy: Your baked goods are now ready to be served and enjoyed! Whether it’s a slice of cake, a cookie, or a warm piece of bread, savor the flavors and delight in the accomplishment of baking in a microwave oven. Share your creation with family and friends or indulge in a well-deserved treat for yourself.
Remember that while microwave baked goods can be enjoyed immediately, some may benefit from further resting time for flavors to meld and textures to settle. For cakes, it’s often best to allow them to cool completely before slicing to achieve clean, neat slices.
Enjoy the fruits of your microwave baking labor, and don’t hesitate to experiment with different recipes, flavors, and techniques to expand your repertoire of microwave-baked goodies!
Ready for Microwave Baking?
Baking in a microwave oven offers a convenient and efficient way to indulge in homemade treats. By following the right techniques, safety precautions, and adjusting power levels and cooking times, you can achieve delicious results without the need for a traditional oven.
So go ahead, gather your ingredients, mix up a batch of batter, and let your microwave work its magic. Adapt your favorite recipes or explore new ones specifically designed for microwave baking. With a little practice and experimentation, you’ll be amazed at the delectable creations you can achieve right in your microwave oven.
No longer limited by traditional baking methods, this innovative approach opens up a world of possibilities for quick and hassle-free baking. So why wait? Unleash your creativity, embrace the convenience, and enjoy the delights of microwave baking today!
Happy microwave baking!
Conclusion
Baking in a microwave oven presents a unique and efficient way to enjoy homemade treats without the need for a traditional oven. With the right techniques, safety precautions, and understanding of power levels and cooking times, you can create delicious cakes, cookies, bread, and more in a fraction of the time.
Throughout this article, we have explored the essential steps for successful microwave baking. We covered safety precautions to ensure a safe and enjoyable baking experience. We also discussed how to choose the right microwave-safe cookware and the importance of preheating the microwave to achieve even cooking results.
We delved into the significance of adjusting power levels and cooking times, offering tips on achieving the desired texture and doneness. We also highlighted the importance of properly mixing and preparing the ingredients, ensuring that the batter is well-mixed and the consistency is just right.
Pouring the batter into a microwave-safe dish and taking care not to overfill the dish is crucial for even cooking and preventing overflow. We discussed the process of baking the cake in the microwave oven, including setting the power level, selecting the appropriate cooking time, and checking for doneness using the toothpick test and visual cues.
Once the baking is complete, we emphasized the importance of allowing the baked goods to cool naturally before transferring them to a serving plate. We encouraged garnishing and decorating the treats to elevate their presentation, and finally, we highlighted the joy of serving and enjoying your homemade creations.
Baking in a microwave may require some adjustments and experimentation, but with practice, you can master the art of microwave baking and enjoy a wide variety of homemade goodies at a fraction of the time it takes to bake in a conventional oven.
So, whether you have a busy schedule, limited kitchen space, or simply want to try something new, don’t hesitate to dive into the world of microwave baking. Unleash your creativity, follow the tips and techniques outlined in this article, and let your microwave oven surprise you with quick and delicious treats.
Now, it’s time to put your newfound knowledge into action. Gather your ingredients, turn on that microwave, and embark on a delightful baking adventure. Happy microwave baking!
Frequently Asked Questions about How To Bake In A Microwave Oven
Was this page helpful?
At Storables.com, we guarantee accurate and reliable information. Our content, validated by Expert Board Contributors, is crafted following stringent Editorial Policies. We're committed to providing you with well-researched, expert-backed insights for all your informational needs.


0 thoughts on “How To Bake In A Microwave Oven”