Home>Furniture>Living Room Furniture>How To Make Armchair Slipcovers
Living Room Furniture
How To Make Armchair Slipcovers
Modified: August 22, 2024
Learn how to easily make armchair slipcovers to update your living room furniture. Step-by-step instructions and tips to transform your space.
(Many of the links in this article redirect to a specific reviewed product. Your purchase of these products through affiliate links helps to generate commission for Storables.com, at no extra cost. Learn more)
Introduction
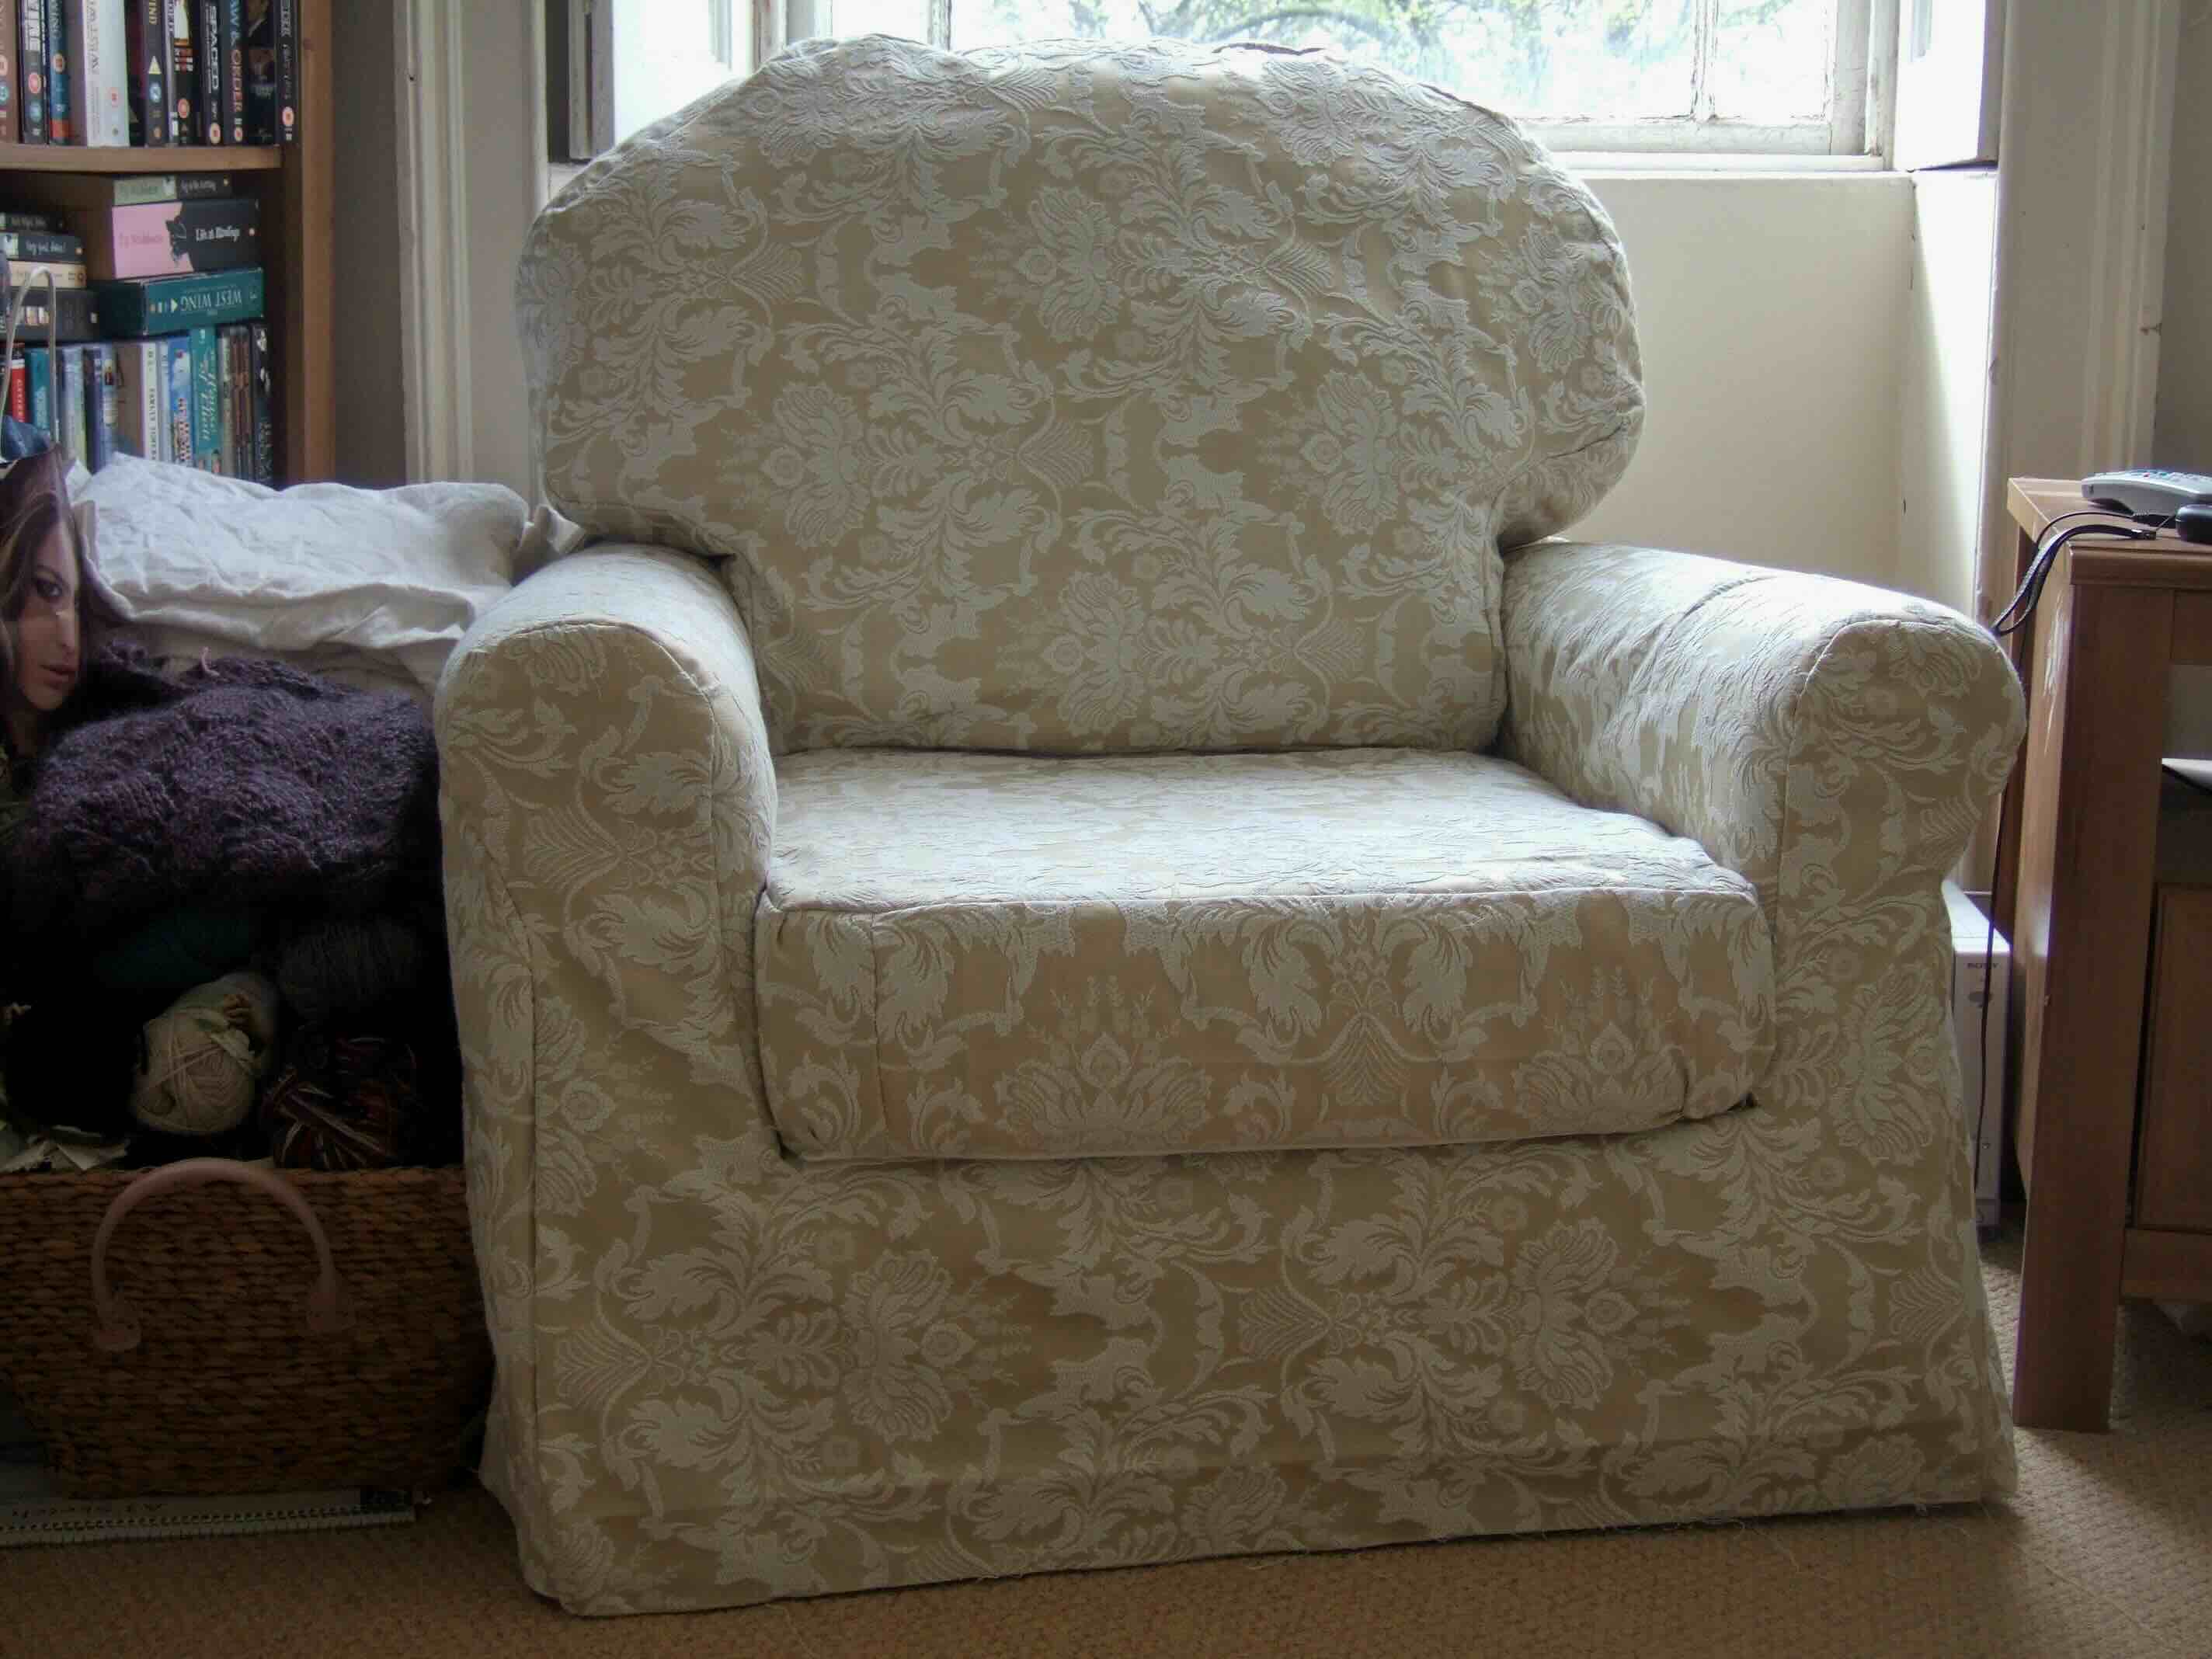
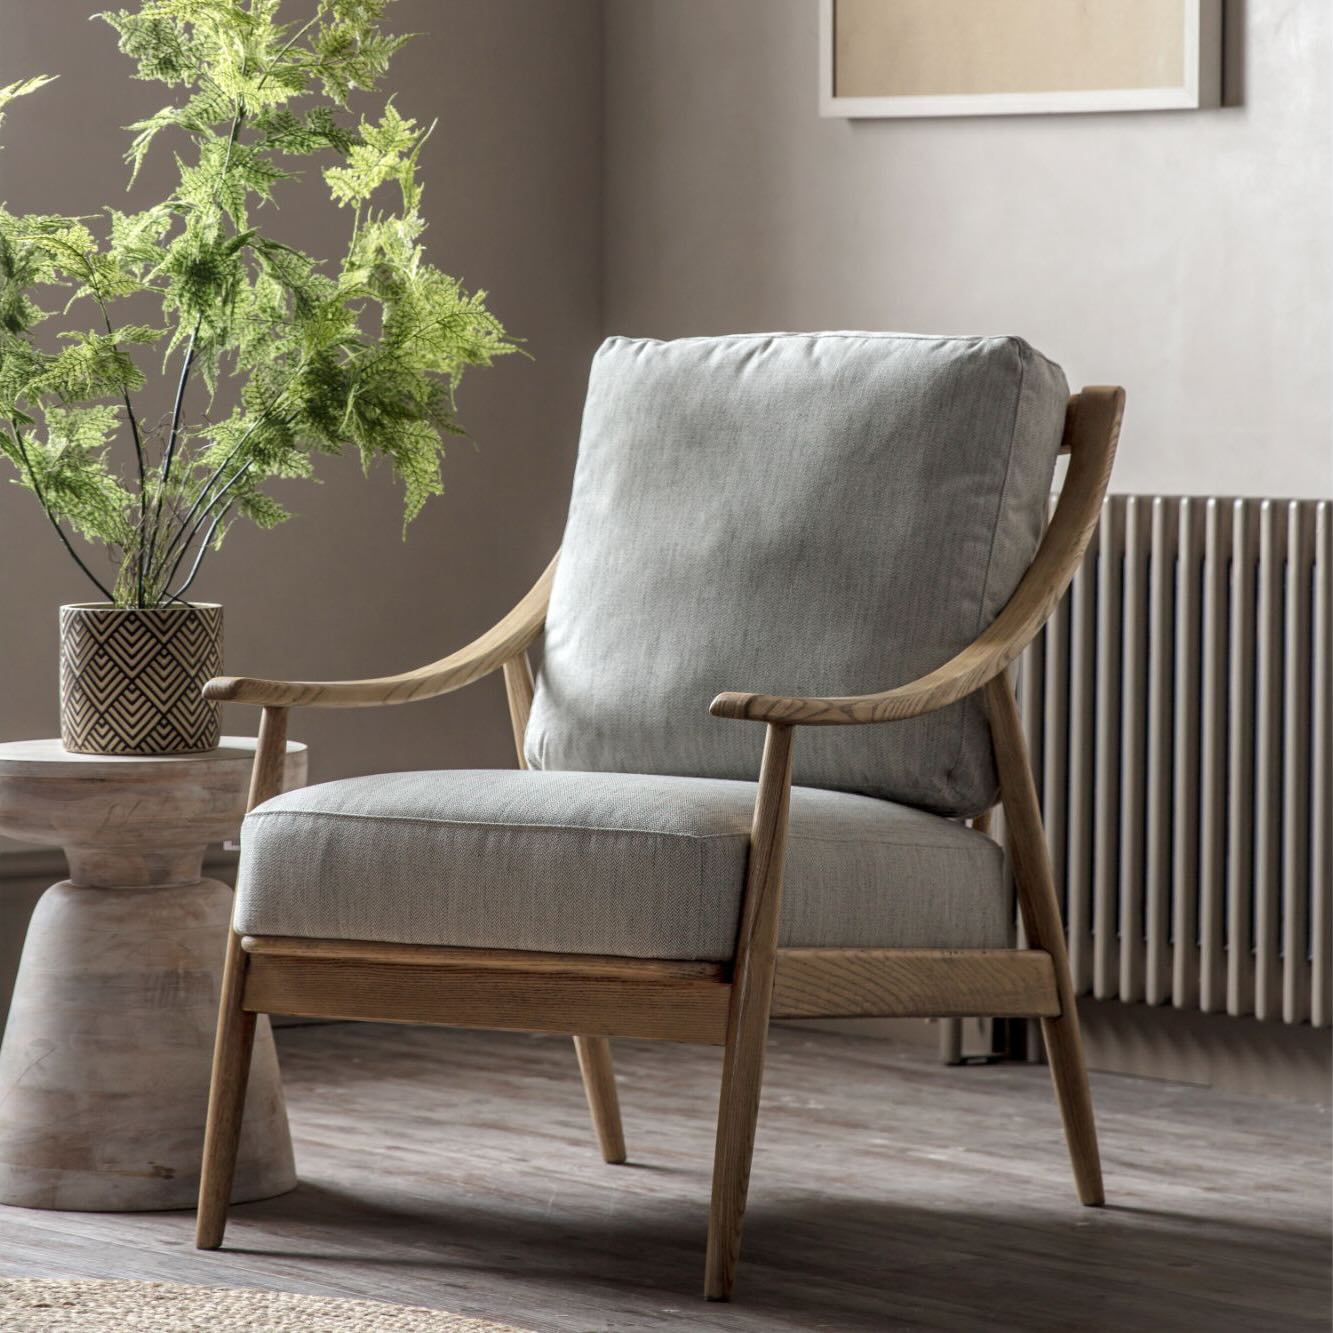
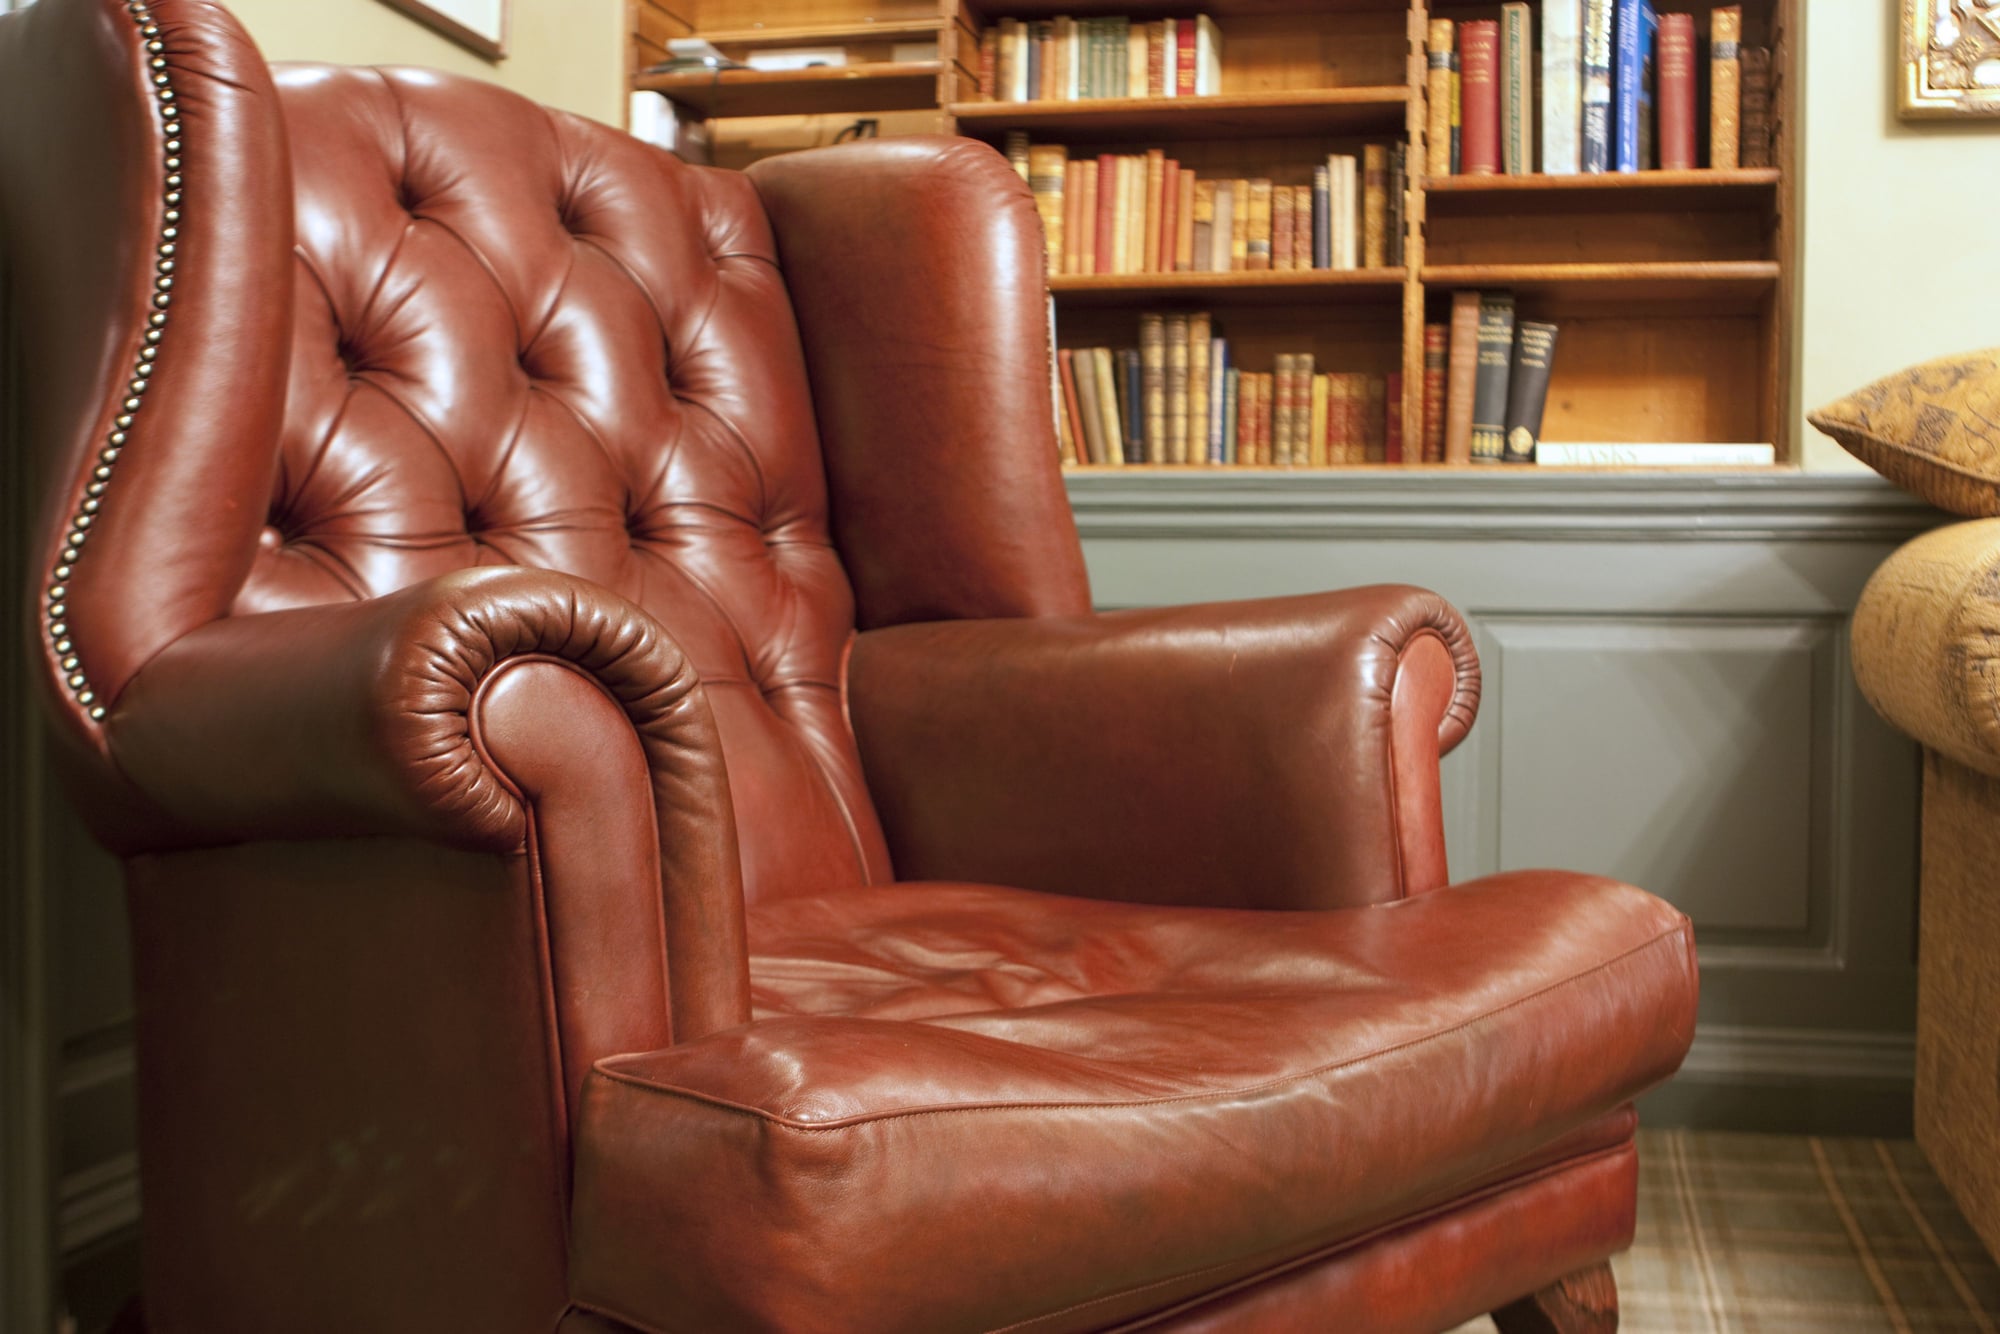
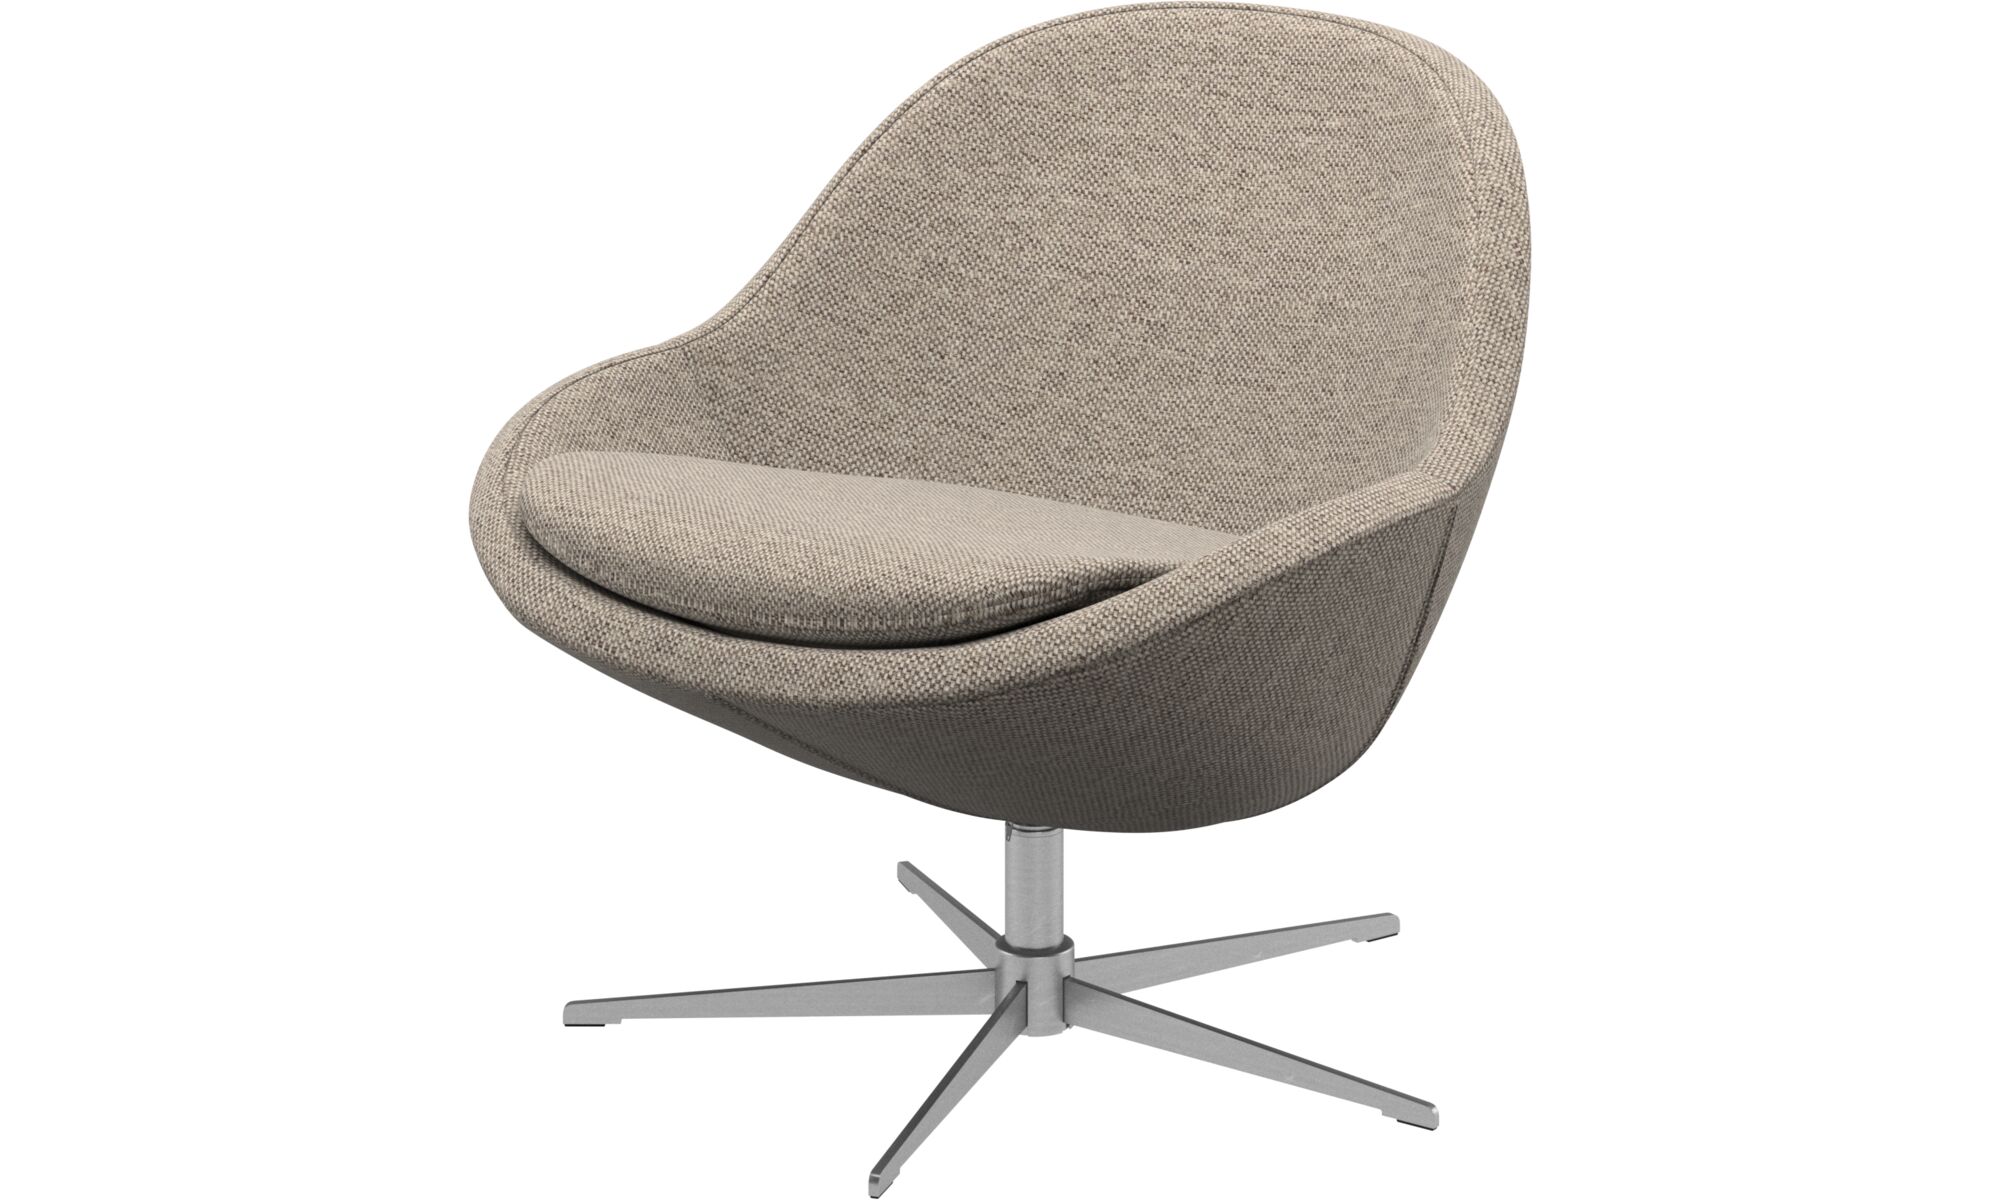
Welcome to our comprehensive guide on how to make armchair slipcovers. Is your armchair starting to show signs of wear and tear? Or maybe you just want to give it a fresh new look to match your updated living room decor. Whatever the reason may be, making slipcovers for your armchair is a great way to protect and rejuvenate your furniture. Plus, it’s a fun and creative project that allows you to showcase your DIY skills.
Slipcovers are removable fabric covers that fit snugly over your armchair, protecting it from stains, spills, and general wear and tear. They also give you the freedom to change the look of your chair whenever you want, without the need for expensive reupholstering.
In this guide, we will take you through the step-by-step process of making armchair slipcovers from scratch. From choosing the right fabric to fitting the slipcover perfectly, we will cover everything you need to know to create a beautiful and functional cover for your armchair.
But before we delve into the details, let’s discuss the importance of choosing the right fabric for your slipcover.
Key Takeaways:
- Protect and refresh your armchair with a custom slipcover using durable, easy-to-maintain fabric. Add final touches like pillows and trim for a personalized, stylish look.
- Enjoy the satisfaction of DIY by creating a snug-fitting slipcover that showcases your creativity. Maintain and care for your slipcover to keep your armchair looking fresh and stylish.
Read more: How To Make Slipcovers For Throw Pillows
Choosing the Right Fabric
When it comes to making armchair slipcovers, selecting the right fabric is crucial. You want a fabric that not only enhances the overall look of your chair but also provides durability and comfort. Here are a few factors to consider when choosing the fabric:
- Durability: Since slipcovers will be subjected to daily use, it’s important to choose a fabric that can withstand wear and tear. Look for materials like heavy-duty cotton, canvas, or twill, which are known for their durability.
- Ease of Maintenance: Slipcovers can get dirty easily, especially if you have kids or pets. Opt for fabrics that are easy to clean, such as machine-washable or stain-resistant materials. This will make your life much easier when it comes to maintaining and caring for your slipcover.
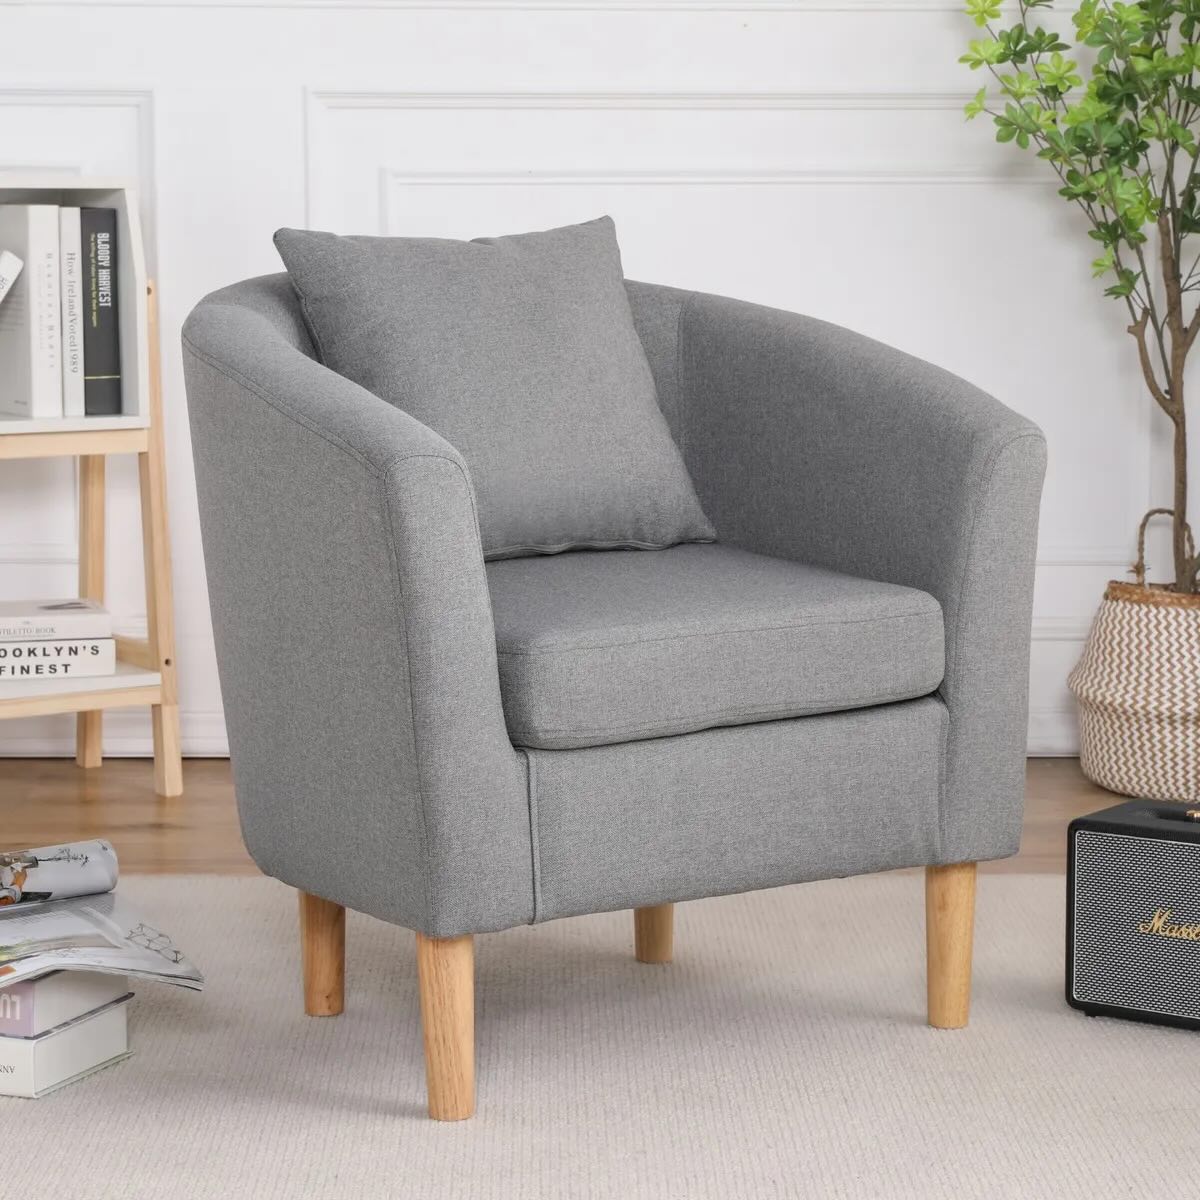
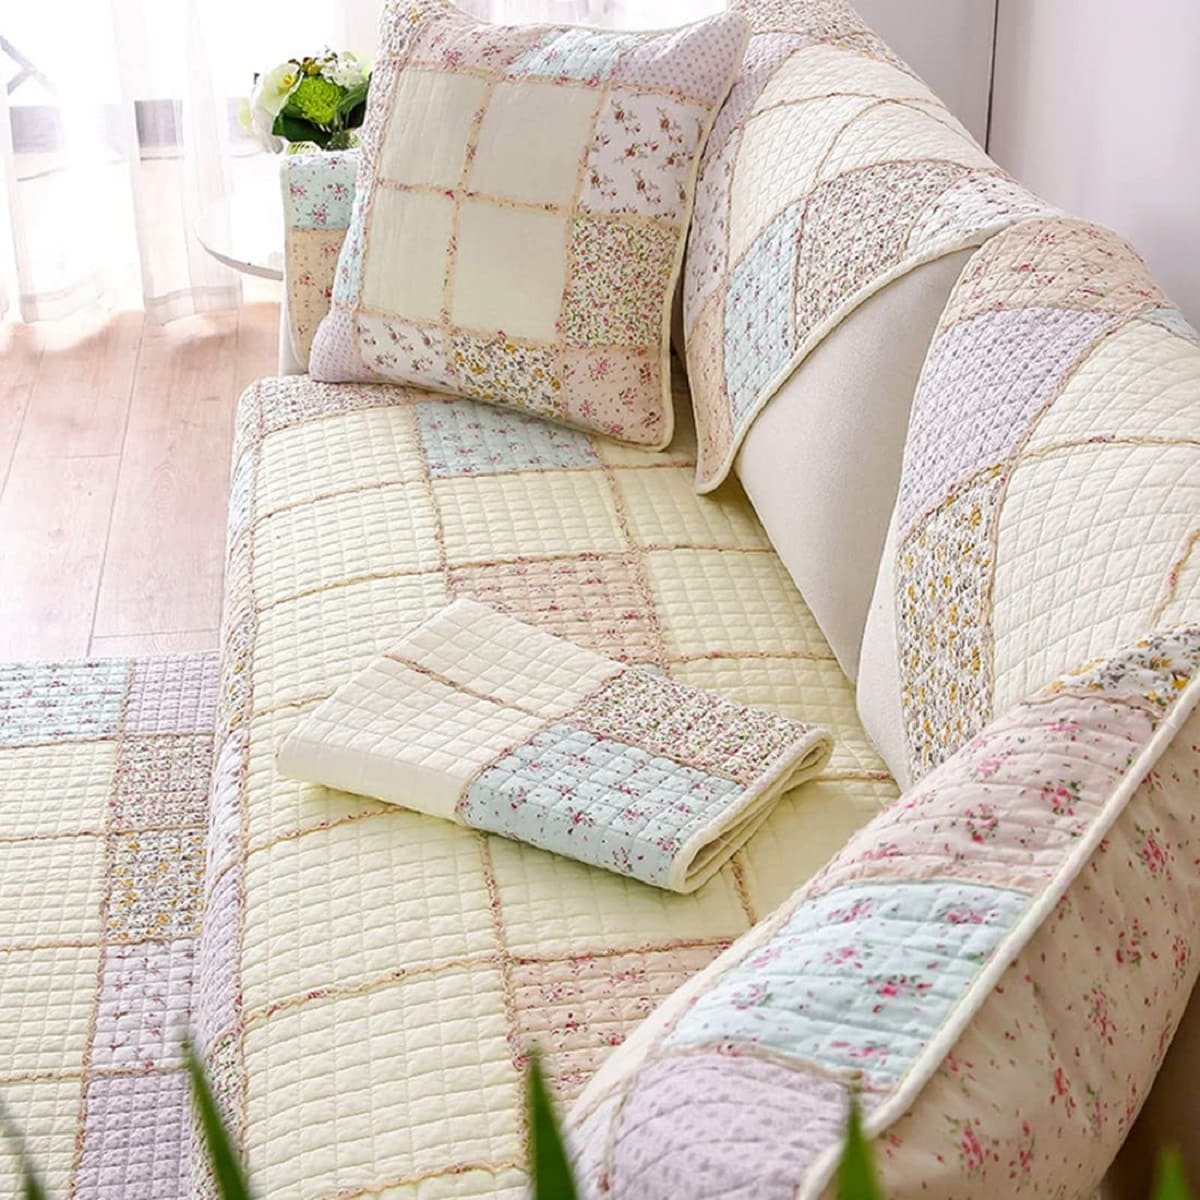
- Color and Pattern: Consider the color and pattern of the fabric to ensure it complements your existing home decor. If you want a timeless and versatile option, neutral colors like beige, gray, or white are excellent choices. However, don’t be afraid to experiment with bold patterns or vibrant colors if you want to make a statement.
- Texture: The texture of the fabric can add depth and visual interest to your armchair. Consider options like velvet, linen, or chenille for a touch of luxury and sophistication. Just make sure the texture is comfortable and doesn’t feel rough against your skin.
- Stretch: If you want a snug fit for your slipcover, choose a fabric with a certain level of stretch. Materials like spandex or elastane blends can provide some give and allow for a more tailored look.
- Budget: Finally, consider your budget when selecting the fabric. While high-quality materials may come with a higher price tag, they often offer better durability and longevity. However, there are also plenty of affordable fabric options available that can still provide satisfactory results.
Once you have considered these factors, head to your local fabric store or browse online to explore the wide variety of options available. Don’t forget to take samples and swatches home to visualize how they will look in your space. Ultimately, the right fabric choice will depend on your personal preferences and the overall aesthetic you want to achieve.
Now that you have chosen the perfect fabric for your slipcover, let’s move on to the next step: taking accurate measurements for a precise fit.
Taking Accurate Measurements
Before you can start sewing your armchair slipcover, you need to take precise measurements of your chair to ensure a proper and snug fit. Here is a step-by-step guide on how to take accurate measurements:
- Seat Measurements: Start by measuring the width of the seat cushion from one side to the other. Then measure the depth of the cushion from the front edge to the backrest. Note down these measurements as they will determine the dimensions of your slipcover.
- Armrest Measurements: Measure the length and width of each armrest separately. Start from the outermost point and measure all the way to the inside edge, ensuring to include any curves or angles of the armrest. Make sure to measure the height of the armrest as well if you want the slipcover to cover it entirely.
- Backrest Measurements: Measure the height and width of the backrest, starting from the seat cushion and going all the way to the top. Take note of any decorative elements or buttons on the backrest that you want to incorporate into your slipcover design.
- Additional Measurements: Depending on the style and design of your armchair, you may need to take additional measurements. This could include measuring the height and width of any skirts, the distance between any decorative buttons or tufting, or the length of any loose or detachable cushions.
When taking measurements, it’s important to use a flexible measuring tape and keep it taut but not too tight. Take each measurement at least twice to ensure accuracy and record the measurements in inches or centimeters for consistency.
Once you have taken all the necessary measurements, add a few inches or centimeters to each dimension to allow for seam allowances and ease of slipping the cover on and off. This extra allowance will ensure a smooth fit and prevent the slipcover from being too tight.
Remember to keep your measurements handy as you move on to the next step: creating the pattern for your slipcover.
Creating the Pattern
Now that you have accurate measurements of your armchair, it’s time to create a pattern for your slipcover. Creating a pattern will serve as a blueprint for cutting and sewing the fabric. Here’s how you can create a pattern:
- Draw the Outline: Start by drawing the outline of your armchair on a large piece of paper or pattern-making material. Use a pencil or marker to trace the shape of the seat, armrests, backrest, and any other features you want to include in your slipcover.
- Add Seam Allowances: Once you have the outline, add seam allowances to the pattern. Seam allowances are extra fabric that you will need for sewing the slipcover together. Typically, a ½ inch to 1 inch (1.27 cm to 2.54 cm) seam allowance is sufficient. Mark the seam allowance along the drawn lines of the pattern.
- Mark Darts and Pleats: If your armchair has darts or pleats, mark them on the pattern. These are folds in the fabric that give the slipcover a more tailored and fitted look. Measure the distances between the darts or pleats accurately and mark them on the pattern.
- Label and Cut Out the Pattern Pieces: Label each pattern piece to indicate which part it represents, such as the seat, armrests, or backrest. Once labeled, carefully cut out each pattern piece along the marked lines.
Remember to check the accuracy of your pattern by comparing it with the actual measurements of your armchair. Make any necessary adjustments to ensure a proper fit.
If you prefer not to create a pattern from scratch, you can also find ready-made slipcover patterns available online or at craft stores. These patterns provide templates and instructions, making the process even easier for beginners.
With your pattern ready, it’s time to move on to the exciting part: cutting and sewing the fabric for your slipcover.
Cutting and Sewing
Now that you have your fabric and pattern ready, it’s time to start cutting and sewing your armchair slipcover. Follow these steps to successfully create your slipcover:
- Layout the Fabric: Lay your chosen fabric on a flat surface, ensuring it is free from wrinkles and creases. Place the pattern pieces on the fabric according to the instructions provided in the pattern or based on your custom design. Make sure to align the pattern pieces with the grain of the fabric for a professional finish.
- Secure the Fabric: Once the pattern pieces are in place, use pins or fabric weights to secure the fabric. This will prevent shifting or movement during the cutting process.
- Cut the Fabric: Carefully cut around the pattern pieces, following the outline. Take your time and use sharp fabric scissors to ensure clean and precise cuts. Remember to leave the designated seam allowances intact.
- Sew the Pieces Together: Start sewing the slipcover pieces together according to the sewing instructions provided in your pattern or based on your custom design. Use a sewing machine or hand stitch, depending on your preference and skill level. Take care to sew along the designated seam allowances to ensure a secure and tidy finish.
- Finish the Seams: Trim any excess fabric and finish the raw edges of your slipcover. You can use techniques such as zigzag stitching, serging, or using a fabric sealant to prevent fraying and create a professional-looking finish.
- Install Zippers or Velcro: If your slipcover requires closures, such as zippers or Velcro, carefully install them according to the instructions provided. These closures will allow you to easily remove and put on the slipcover for washing or changing purposes.
- Test the Slipcover: Once the slipcover is sewn together, test it on your armchair to ensure a proper fit. Make any necessary adjustments, such as taking in or letting out seams, to achieve the desired fit and appearance.
- Press and Finish: Finally, press your slipcover with an iron to remove any wrinkles and give it a polished look. If desired, you can add additional decorative elements, such as piping or trim, to personalize your slipcover.
Remember, the sewing process may require some patience and practice, especially if you are new to sewing. Don’t be afraid to ask for help from more experienced sewers or refer to sewing tutorials for guidance.
With the cutting and sewing complete, the next step is to attach fasteners and finalize the fitting of your slipcover.
When making armchair slipcovers, be sure to measure your chair carefully and use a durable, machine-washable fabric. Consider adding Velcro or ties for a secure fit.
Read more: How To Measure A Recliner For A Slipcover
Attaching Fasteners
Attaching fasteners to your armchair slipcover is an important step to ensure a secure and snug fit. Fasteners not only help keep the slipcover in place but also make it easier to remove and put on. Here are some common types of fasteners you can use:
- Elastic: Sewing elastic bands into the edges of the slipcover can provide a stretchy and secure fit. Measure the length needed for each section and sew the elastic in place, ensuring it is tight enough to hold the slipcover in place but not so tight that it distorts the fabric.
- Ties or Ribbons: Sewing fabric ties or ribbons to the slipcover is another option for securing it to the armchair. Attach them at strategic points, such as the corners or along the back of the slipcover, allowing you to tie them securely around the chair legs or other fixtures.
- Hook and Loop Fasteners: Hook and loop fasteners, commonly known as Velcro, are a popular choice for slipcovers. Sew one side of the fastener to the slipcover and the other side to the armchair, ensuring they line up for a secure attachment.
- Buttons or Snaps: For slipcovers with a more tailored and decorative look, consider sewing buttons or snaps to the slipcover and corresponding buttonholes or snap attachments to the armchair. This option provides a more customized and refined finish.
Choose the fastener option that best suits your slipcover design and provides the functionality you desire.
Before attaching the fasteners, make sure to fit the slipcover onto your armchair and adjust any seams or edges as needed. Take the time to ensure a proper fit before proceeding with the fastener installation.
Once the fasteners are attached, test the slipcover by sitting on the chair and moving around. This will help you determine if any adjustments or additional reinforcements are necessary to keep the slipcover securely in place.
With the fasteners in place, it’s time to move on to the final step: fitting the slipcover onto your armchair.
Fitting the Slipcover
Now that your armchair slipcover is complete with all the necessary seams, fasteners, and finishing touches, it’s time to fit it onto your chair. Follow these steps to ensure a proper and seamless fit:
- Start with a Clean Chair: Before you put on the slipcover, make sure your armchair is clean and free from any dust, crumbs, or debris. Give it a quick wipe down if necessary to ensure a clean surface for the slipcover.
- Turn the Slipcover Inside-Out: To make it easier to fit the slipcover onto the chair, turn it inside-out. This allows you to access the inner side of the slipcover, which will be placed against the chair.
- Position the Slipcover: Carefully position the slipcover over the armchair, starting from the top and working your way down. Align the seams and corners of the slipcover with the corresponding parts of the chair.
- Tuck and Adjust: Begin tucking and adjusting the slipcover, making sure it fits snugly around all the curves and edges of the chair. Smooth out any wrinkles or creases as you go along. Take your time and ensure a precise fit.
- Secure the Fasteners: Once the slipcover is in place, secure the fasteners, whether it’s tying the ties, fastening the Velcro, or buttoning up the buttons. This will help keep the slipcover securely attached to the chair and prevent it from shifting or slipping.
- Smooth Out and Adjust Again: After securing the fasteners, smooth out the slipcover once more, checking for any areas that require further adjustment. Ensure that the slipcover fits smoothly and evenly across the entire chair.
- Step Back and Inspect: Step back and take a good look at your slipcover-fitted armchair. Check for any visible wrinkles, sagging, or areas that need further smoothing. Make adjustments as necessary to achieve a polished and tailored appearance.
Remember, fitting a slipcover may require some trial and error. Don’t be afraid to make adjustments, tuck in extra fabric, or add additional fasteners if needed. The goal is to achieve a seamless and snug fit that enhances the overall look of your armchair.
Now that your slipcover is perfectly fitted, it’s time to add the final touches to complete the transformation.
Final Touches
With your armchair slipcover fitted flawlessly, it’s time to add those final touches that will elevate the overall look and ensure a polished finish. Consider the following final touches:
- Pillows and Cushions: To add extra comfort and style, consider adding coordinating pillows or cushions to your armchair. These accessories not only provide extra support but also serve as decorative elements that tie the whole look together.
- Trim and Piping: If you want to add a touch of sophistication and detail to your slipcover, consider incorporating trim or piping. This can be sewn along the edges or seams of the slipcover, highlighting the contours of the chair and giving it a tailored look.
- Decorative Accents: Personalize your slipcover further by adding decorative accents such as buttons, embroidery, or appliques. These small details can enhance the visual appeal of your chair and make it truly unique.
- Steaming or Ironing: Give your slipcover a smooth and wrinkle-free look by steaming or ironing it. This final touch will ensure a crisp appearance and show off the craftsmanship of your slipcover.
- Arrange the Room: Once your slipcover is in place, take the time to rearrange the room if desired. Move other furniture or decor pieces to complement the new look of your armchair. This will help create a cohesive and harmonious space.
- Enjoy and Maintain: Finally, sit back, relax, and enjoy your refreshed armchair! Remember to follow the care instructions for your slipcover to keep it clean and in excellent condition. Remove and wash the slipcover as needed, and make any repairs if necessary to prolong its lifespan.
By adding these final touches, you can truly transform your armchair and make it a focal point in your living room. Take pride in your DIY slipcover project and enjoy the satisfaction of creating something unique and functional.
Congratulations! You have now completed the process of making and fitting your very own armchair slipcover. Whether you’re protecting your armchair from daily wear and tear or updating its look, this project allows you to showcase your creativity and add a personal touch to your living space.
We hope this comprehensive guide has provided you with the knowledge and confidence to embark on your slipcover-making journey. Happy sewing and enjoy your revamped armchair!
Conclusion
Creating a slipcover for your armchair is a rewarding and practical DIY project that allows you to protect and refresh your furniture with style. Throughout this comprehensive guide, we have covered everything you need to know about making armchair slipcovers, from choosing the right fabric to fitting the cover flawlessly onto your chair. By following the step-by-step instructions and incorporating your own creativity, you can transform your armchair into a stunning focal point in your living room.
Choosing the right fabric is essential for durability and aesthetics. Consider factors such as fabric type, color, texture, and stretch to ensure the perfect fit for your armchair. Taking accurate measurements and creating a pattern will ensure a precise and well-fitted slipcover that enhances the overall appearance of your chair.
With the pattern in hand, cutting and sewing the fabric is the next step. Pay attention to sewing techniques, finish the seams properly, and attach fasteners such as elastic, ties, or hook and loop fasteners to secure the slipcover onto the armchair. Fitting the slipcover onto the chair requires patience and adjustments to achieve a seamless look.
Adding final touches such as pillows, trim, and decorative accents will elevate the aesthetic appeal of your slipcover. Take pride in your work and enjoy the comfort and beauty of your revamped armchair. Proper maintenance and care will ensure that your slipcover stays in excellent condition for years to come.
We hope this guide has empowered you to embark on your own slipcover-making project. Remember, making a slipcover is not only a practical solution but also a creative opportunity to personalize your living space. So, go ahead and bring new life to your armchair with a stylish and functional slipcover!
Frequently Asked Questions about How To Make Armchair Slipcovers
Was this page helpful?
At Storables.com, we guarantee accurate and reliable information. Our content, validated by Expert Board Contributors, is crafted following stringent Editorial Policies. We're committed to providing you with well-researched, expert-backed insights for all your informational needs.


0 thoughts on “How To Make Armchair Slipcovers”