Articles
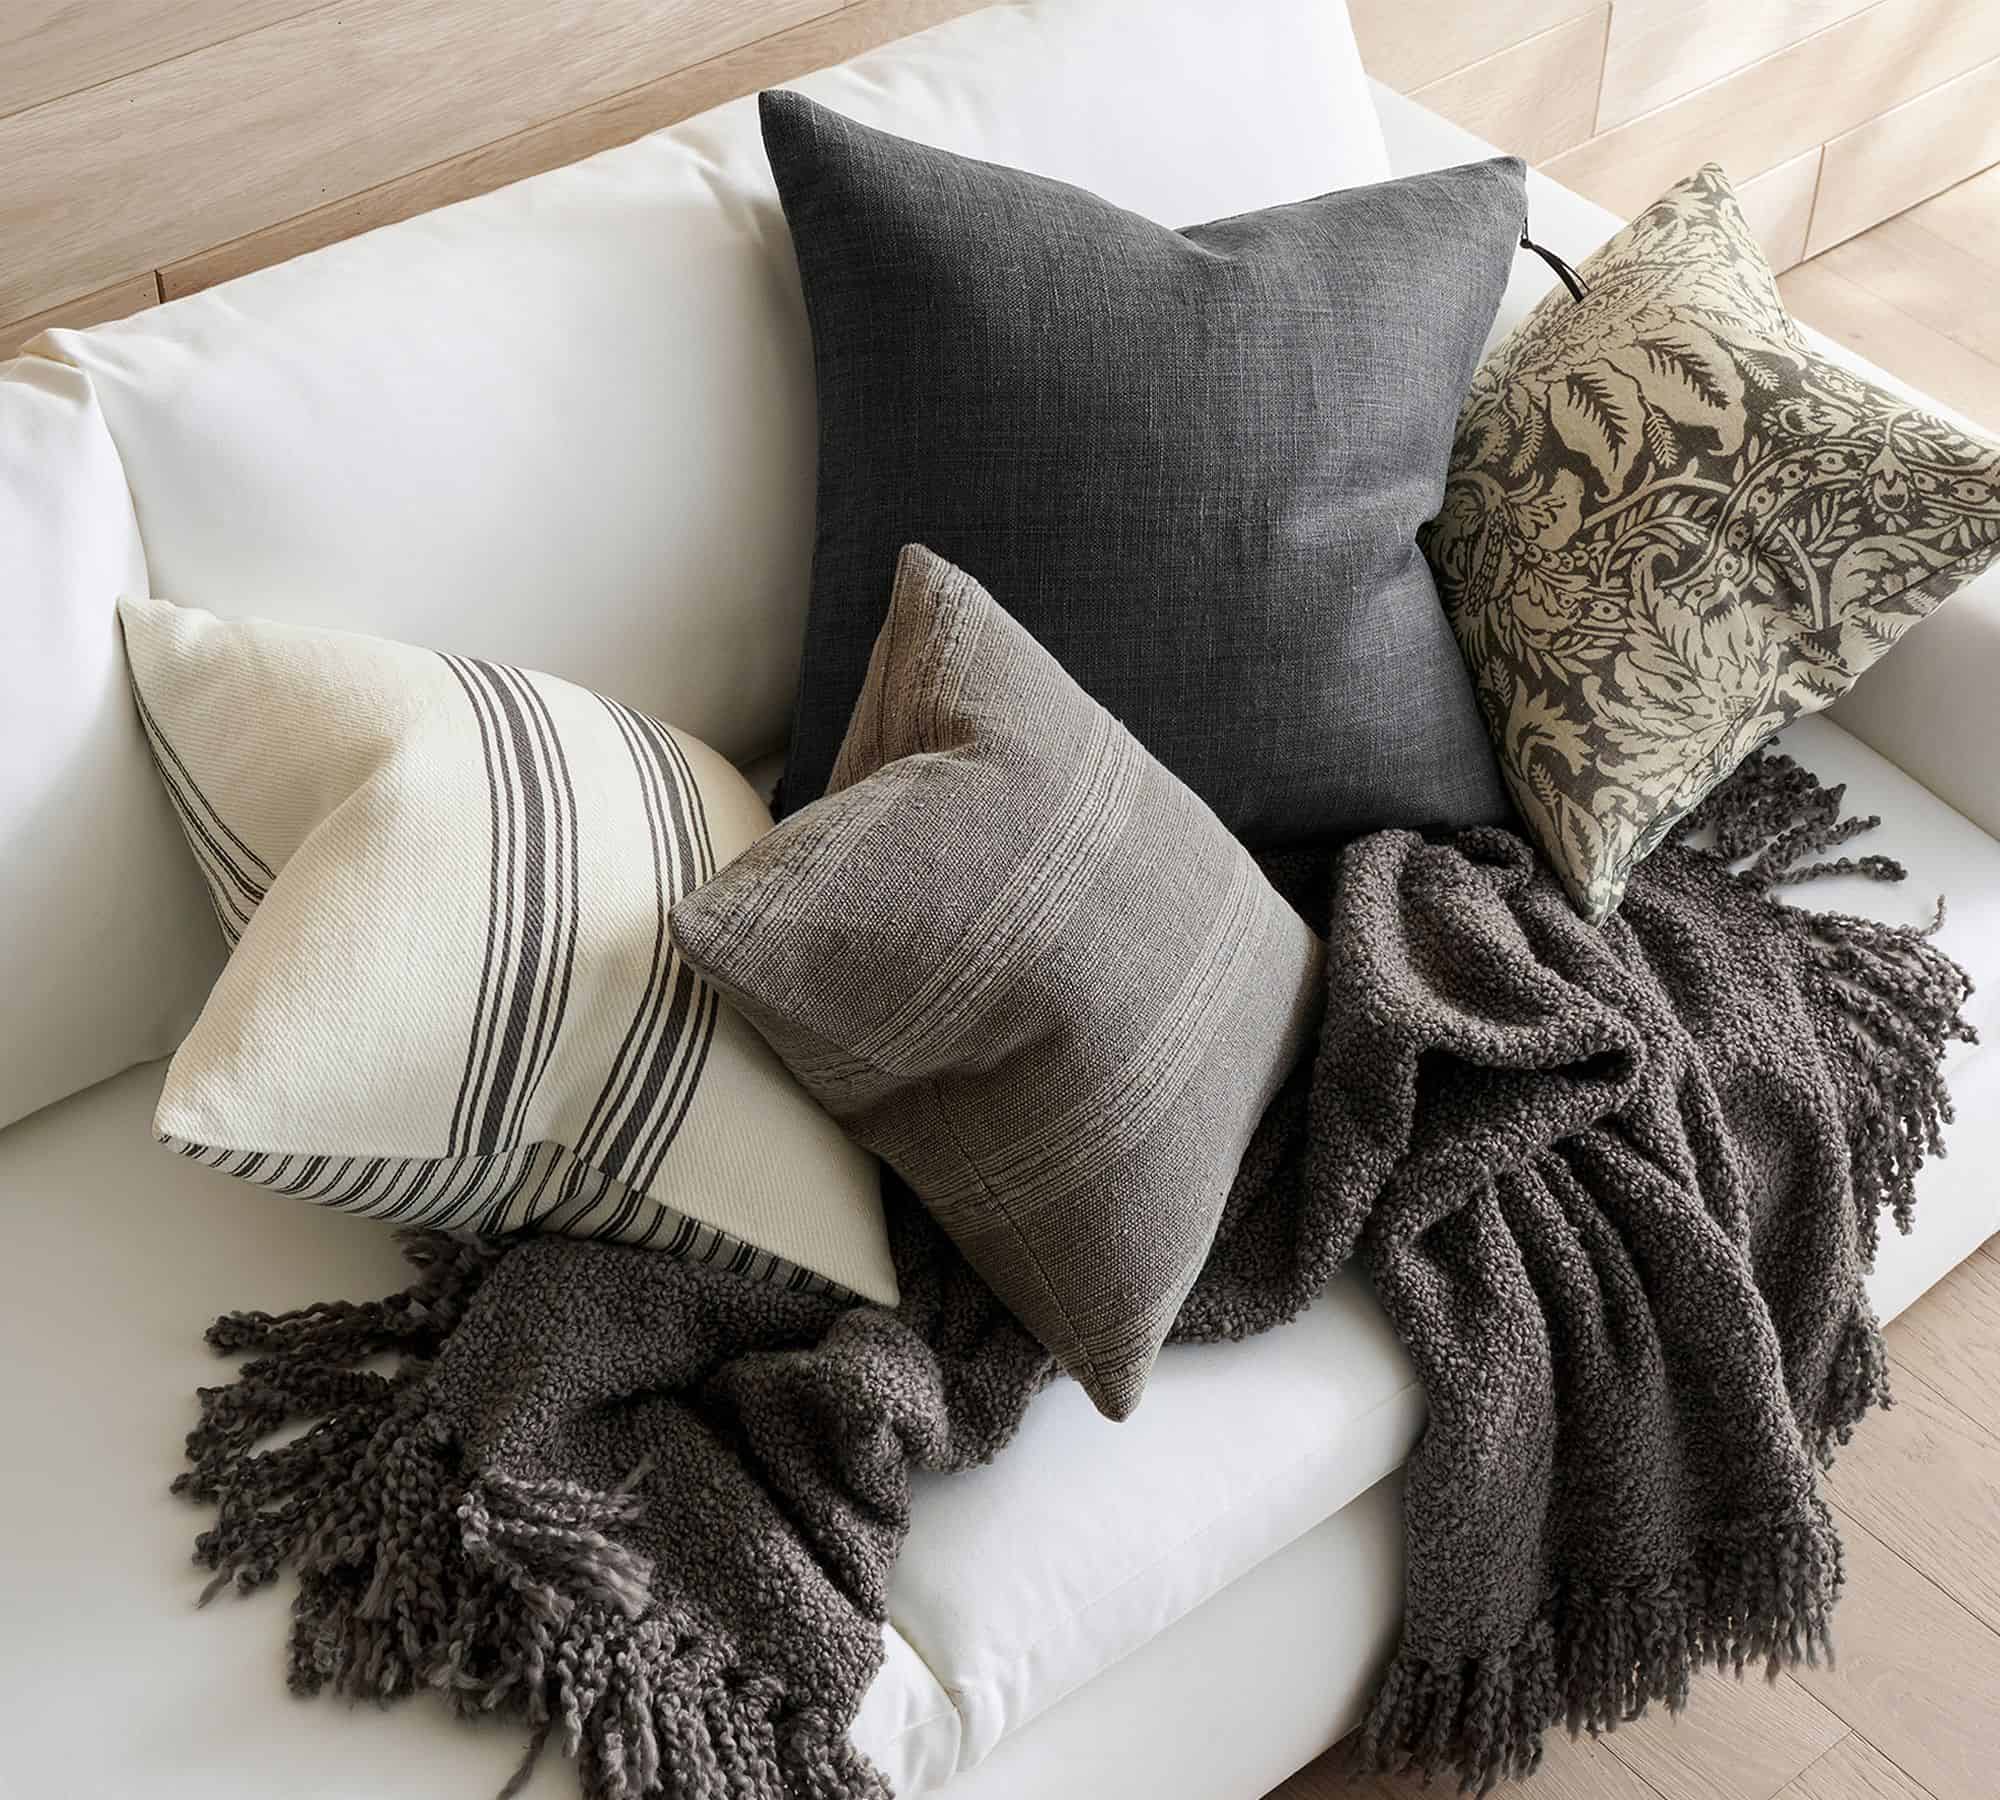
How To Make Piping For Throw Pillows
Modified: January 9, 2024
Learn how to make professional-looking piping for throw pillows with our step-by-step articles. Enhance your home decor with this easy DIY project.
(Many of the links in this article redirect to a specific reviewed product. Your purchase of these products through affiliate links helps to generate commission for Storables.com, at no extra cost. Learn more)
Introduction
Welcome to the world of DIY home decor! If you’re looking to add a touch of elegance and sophistication to your throw pillows, then making your own piping is the perfect solution. Piping is a decorative trim that adds structure and style to the edges of pillows, cushions, and other fabric projects. The great news is that making your own piping is surprisingly easy, even for beginners.
In this article, we’ll guide you through the step-by-step process of making piping for throw pillows. We’ll start by gathering the materials you’ll need, then walk you through each stage of the piping-making process, including measuring and cutting fabric strips, creating bias binding, inserting the piping cord, and attaching it to your pillow fabric. By the end, you’ll have beautiful custom piping that will take your throw pillows to the next level.
So, roll up your sleeves, get your sewing machine ready, and let’s dive into the wonderful world of DIY piping!
Key Takeaways:
- Elevate your throw pillows with custom piping! Follow these easy steps to create professional-looking piping that adds elegance and structure to your home decor.
- Don’t just stop at throw pillows! Master the art of piping and bring a touch of sophistication to cushions, upholstery, and even clothing. Let your creativity flourish!
Read more: How To Make Slipcovers For Throw Pillows
Materials Needed
Before we begin, let’s make sure you have all the necessary materials to make piping for your throw pillows. Here’s a list of everything you’ll need:
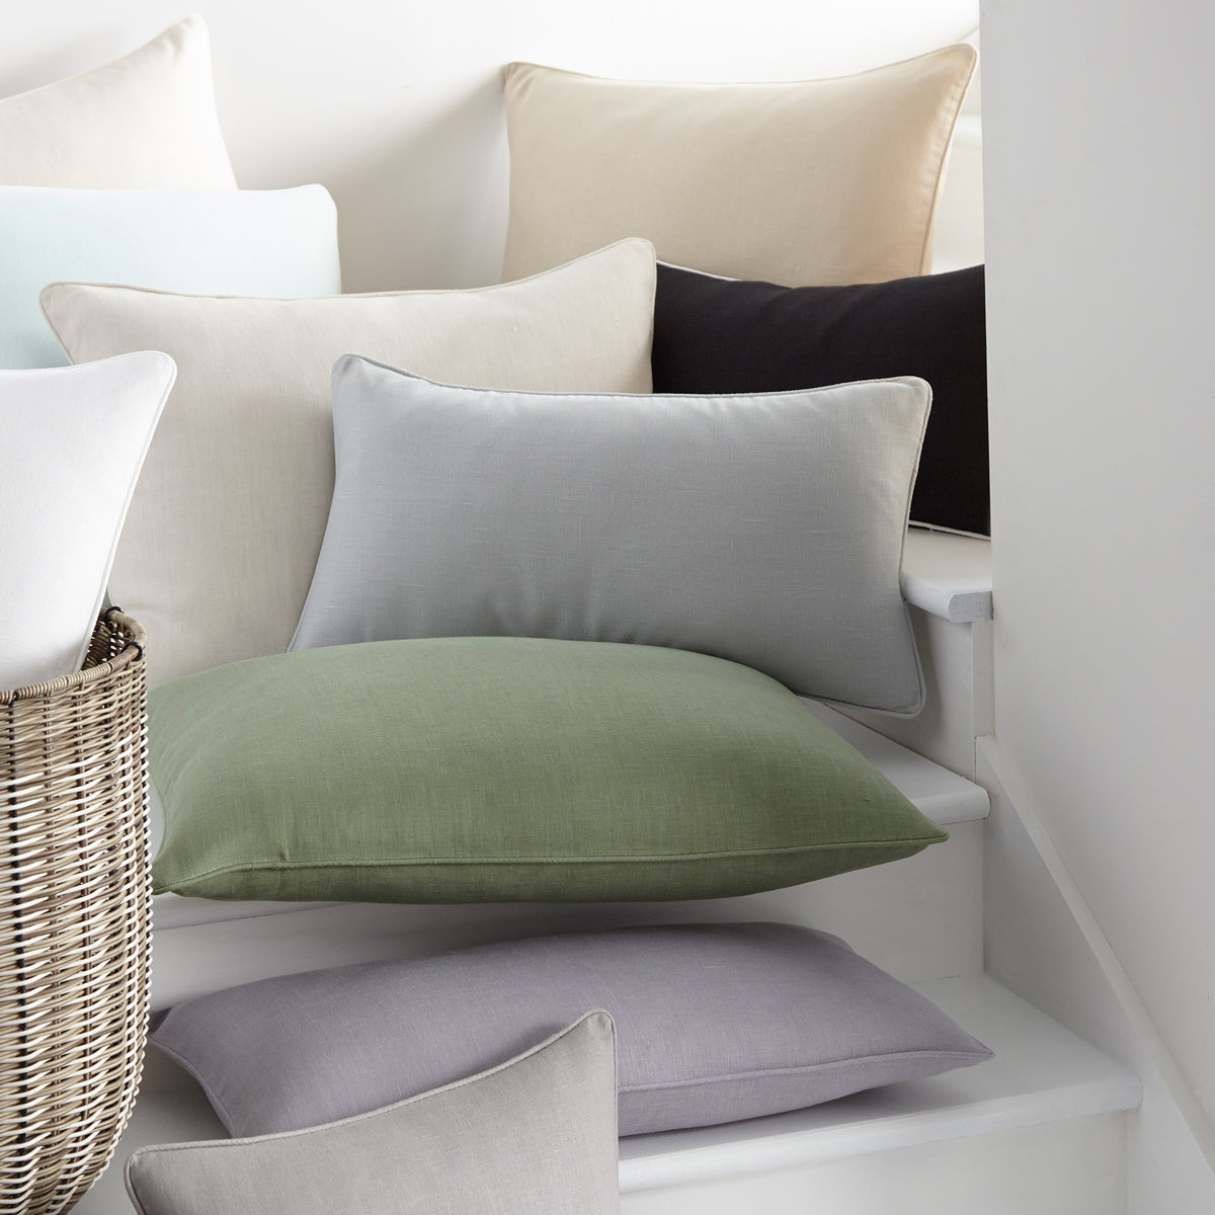
- Fabric: Choose a fabric that coordinates with your throw pillow covers. You’ll need enough fabric to create strips that are at least 2 inches wide and long enough to go around the perimeter of your pillow.
- Piping Cord: This is the core of the piping that gives it structure. Choose a size that matches the thickness you desire for your piping. You can find piping cords in various materials and thicknesses at your local fabric store.
- Scissors: A good pair of fabric scissors is essential for cutting your fabric strips and bias binding.
- Sewing Machine: You’ll need a sewing machine to stitch your fabric together and attach the piping to your pillow cover.
- Sewing Pins or Clips: These will help secure your fabric and piping in place while sewing.
- Thread: Choose a thread color that matches your fabric or the piping cord for a seamless finish.
- Iron: An iron will come in handy for pressing your fabric and creating crisp, clean edges.
- Measuring Tape or Ruler: Accurate measurements are important for creating evenly sized fabric strips and bias binding.
- Piping Foot: While not mandatory, a piping foot attachment for your sewing machine can make the process of sewing the piping to your fabric easier and more precise.
Once you’ve gathered all the necessary materials, you’re ready to start making your own piping for throw pillows. Let’s move on to the next step: measuring and cutting fabric strips!
Step 1: Measuring and Cutting Fabric Strips
Before you can create your piping, you’ll need to measure and cut fabric strips that will be used to encase the piping cord. Follow these steps:
- Measure the perimeter of your pillow: Use a measuring tape or ruler to determine the length around the edge of your pillow where you want to attach the piping.
- Add additional length for seam allowance: Add about 1 inch to the measured length to account for the seam allowance. This will ensure that the piping fits properly around your pillow.
- Calculate the width of the fabric strips: Determine the desired width of your piping. Typically, a width of 2 inches works well. Multiply this width by 2, as you’ll be folding the fabric strip in half lengthwise.
- Cut the fabric strips: Using your measurements, cut fabric strips that are the desired length and width. Make sure to cut them on the bias (at a 45-degree angle to the fabric’s grain) to allow the strip to stretch around corners smoothly.
Once you’ve cut your fabric strips, you’re one step closer to creating your own custom piping. In the next step, we’ll join the fabric strips to create a continuous length. Stay tuned!
Step 2: Joining the Strips to Create Continuous Length
Now that you have your fabric strips cut, it’s time to join them together to create a continuous length. Follow these steps:
- Take two fabric strips and align them right sides together at a 90-degree angle, overlapping them by about 1/2 inch.
- Pin or clip the strips together to secure them in place.
- Using a sewing machine, stitch along the diagonal line where the two fabric strips overlap. Make sure to backstitch at the beginning and end to reinforce the seam.
- Trim the excess fabric and press the seam open with an iron for a neat finish.
- Repeat this process to join all the fabric strips together until you have a continuous length of fabric strip that matches the total perimeter of your pillow.
By joining the fabric strips together, you create a seamless and continuous length of fabric that will wrap around your piping cord. This ensures a clean and professional look when attaching the piping to your pillow fabric. Now that your fabric strips are connected, it’s time to move on to creating bias binding in the next step.
Step 3: Creating Bias Binding
With your continuous length of fabric strips ready, it’s time to create bias binding. Bias binding is a technique that allows the fabric to flex and curve smoothly around the corners of your pillow. Follow these steps to create bias binding:
- Take one end of your continuous fabric strip and fold it diagonally, matching the long edges together to form a triangle.
- Press the folded edge with an iron to create a crease.
- Trim the excess fabric, leaving a 1/2 inch seam allowance.
- Unfold the fabric strip and fold in one long edge towards the creased line in the center.
- Press the folded edge with an iron, creating another crease.
- Repeat the previous step and fold in the other long edge towards the creased line in the center.
- Press the folded edge with an iron one final time, creating a neat and crisp bias binding strip.
You now have bias binding ready to use for enclosing your piping cord. The bias cut of the fabric strip allows it to stretch and curve around the corners seamlessly. In the next step, we’ll move on to inserting the piping cord into the bias binding. Keep up the great work!
When making piping for throw pillows, use a piping foot on your sewing machine to ensure a professional and even finish. This will help guide the piping through the machine and keep it in place as you sew.
Read more: How To Pick Throw Pillows
Step 4: Inserting Piping Cord
Now that you have created your bias binding, it’s time to insert the piping cord. This will give your piping structure and create a beautiful finished look. Follow these steps to insert the piping cord:
- Lay your bias binding strip flat with the wrong side facing up.
- Place the piping cord along the center of the bias binding strip.
- Fold the bias binding strip over the piping cord, enclosing it completely.
- Pin or clip the bias binding in place to keep it secure.
- Using a zipper foot on your sewing machine, stitch close to the piping cord, ensuring that you capture it within the bias binding.
- Continue sewing along the entire length of the bias binding until the piping cord is fully enclosed.
By this point, you will have successfully inserted the piping cord into the bias binding, creating the final piping for your throw pillows. In the next step, we’ll learn how to attach the piping to your pillow fabric, giving it that professional finish. Keep going!
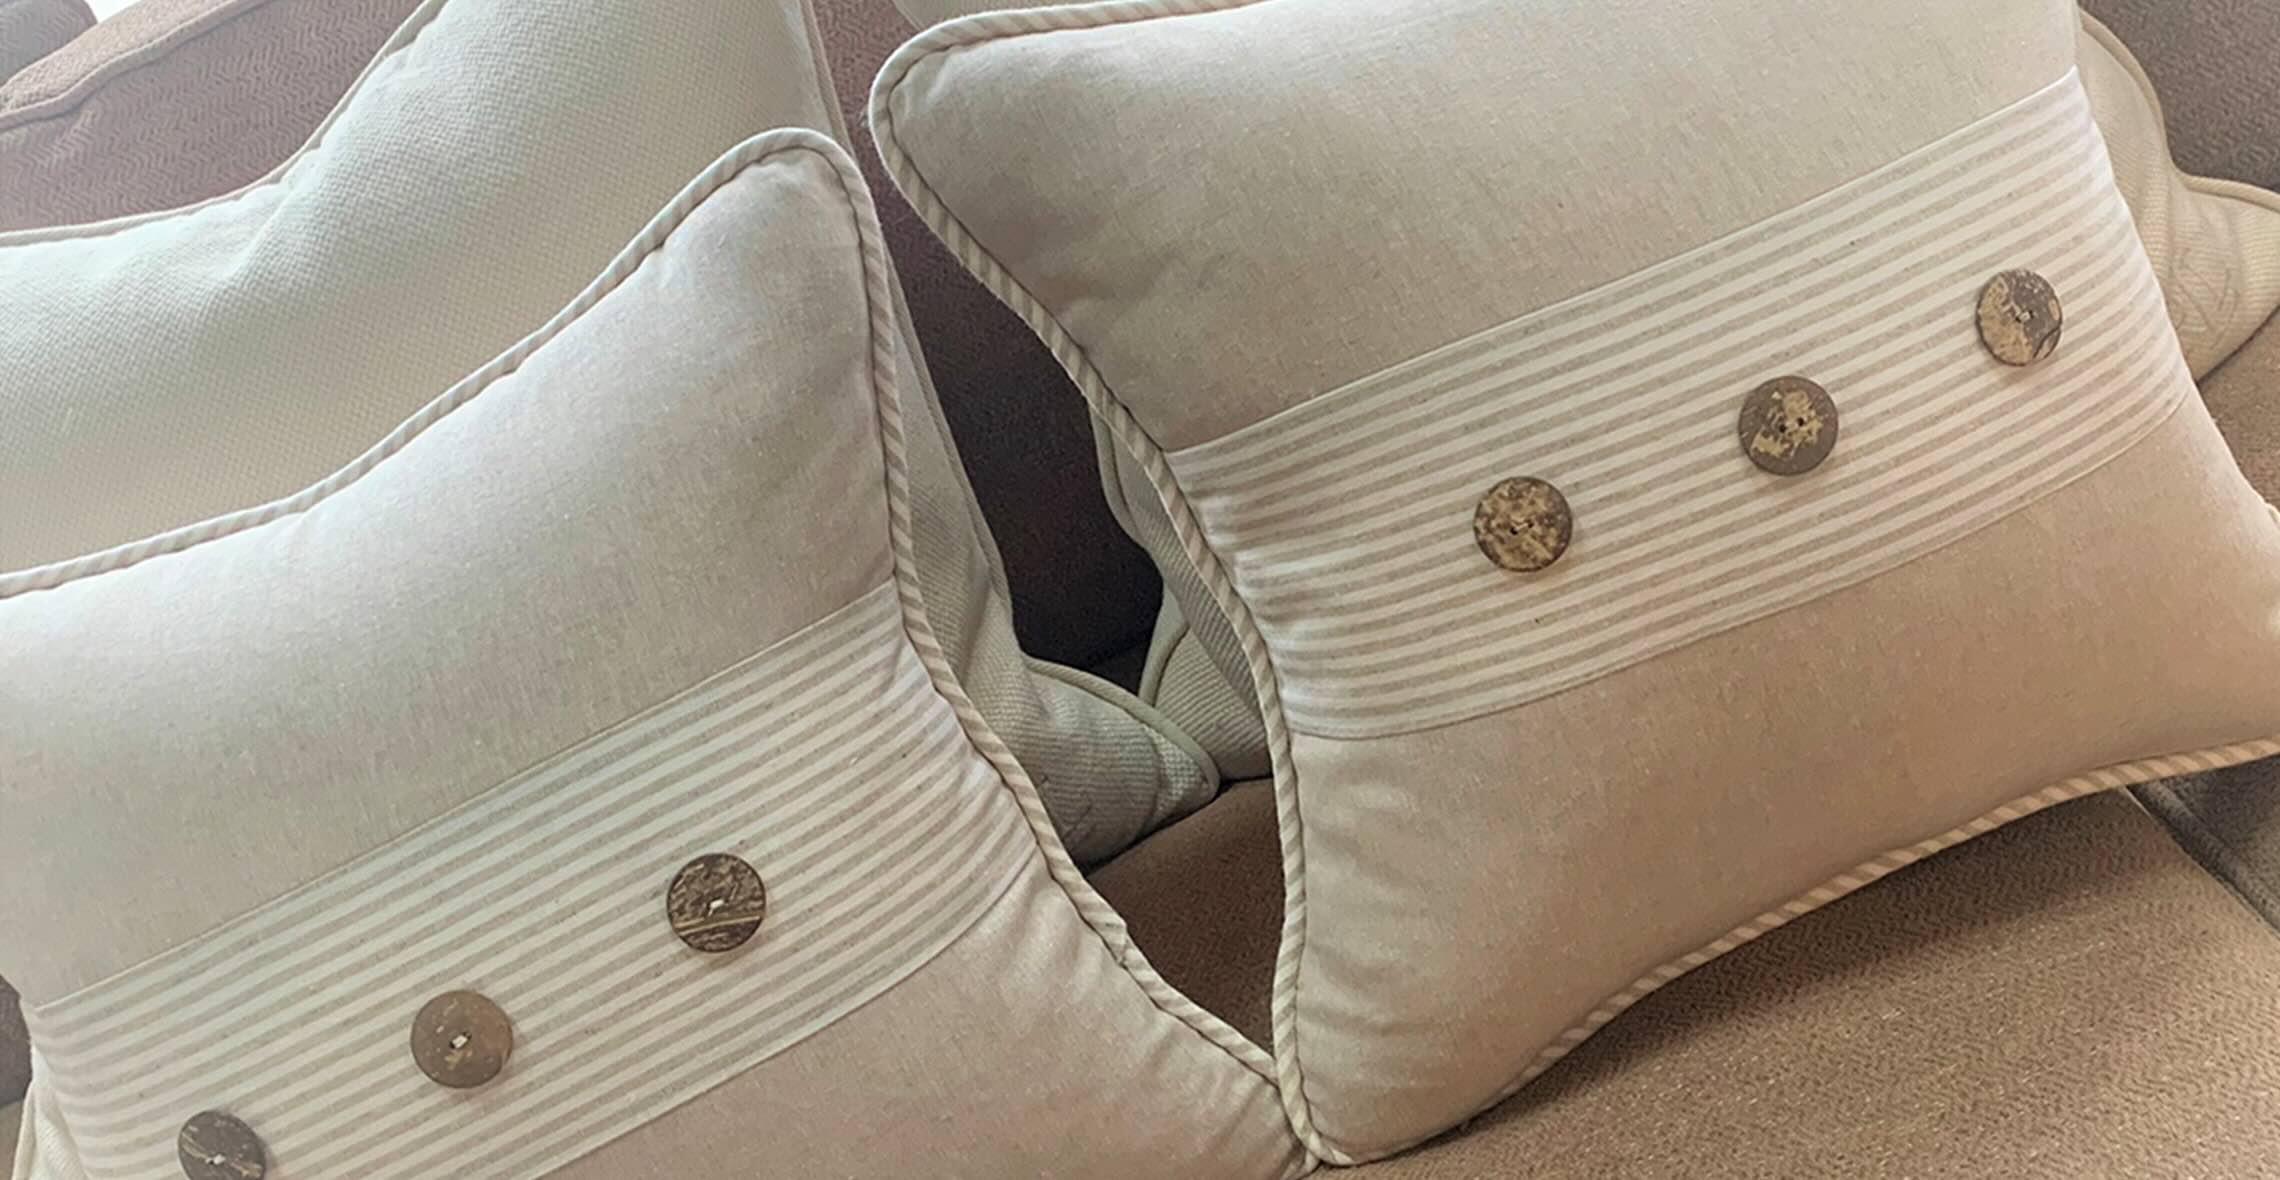
Step 5: Attaching Piping to Pillow Fabric
Now that you have your piping ready, it’s time to attach it to your pillow fabric. This step will give your throw pillows a polished and professional look. Follow these steps to attach the piping:
- Take your pillow fabric and lay it out with the right side facing up.
- Place the piping along the edge of your fabric, aligning the raw edges together.
- Pin or clip the piping in place, ensuring that it is evenly distributed and securely attached to the fabric.
- Using a zipper foot on your sewing machine, stitch close to the piping, following the stitching line created when inserting the piping cord.
- Go slowly and carefully around corners, easing the fabric and piping to ensure a smooth and even finish.
- Overlap the ends of the piping where they meet.
- Trim any excess piping if needed.
By attaching the piping to your pillow fabric, you add a decorative and professional touch. The piping will enhance the structure and visual appeal of your throw pillows. In the next step, we’ll sew the piping and pillow fabric together for a secure and durable finish. You’re almost there!
Step 6: Sewing Piping and Pillow Fabric Together
With the piping attached to your pillow fabric, it’s time to sew them together to create a finished pillow cover. Follow these steps to sew the piping and fabric together:
- Place your pillow fabric with the right side facing up.
- Fold the fabric over the piping, aligning the raw edges together.
- Pin or clip the fabric and piping in place, ensuring that they are evenly aligned and securely held.
- Using a regular sewing foot on your sewing machine, stitch close to the edge of the fabric, securing the piping and fabric together.
- Go slowly and carefully, easing the fabric and piping around corners to maintain an even seam.
- Stop stitching about 1 inch away from where you started to leave an opening for inserting your pillow form.
- Backstitch at the beginning and end of your seam to reinforce it.
- Trim any excess fabric and thread.
By sewing the piping and pillow fabric together, you create a clean and professional finish for your throw pillow cover. The piping adds a decorative element while also providing structure and durability. In the final step, we’ll add the finishing touches to our throw pillow. You’re almost done!
Step 7: Finishing Touches
You’ve made it to the final step! Now it’s time to add the finishing touches to your throw pillow. Follow these steps to complete your pillow:
- Turn your pillow cover right side out through the opening you left.
- Use a blunt tool, such as a chopstick or the handle of a wooden spoon, to gently push out the corners for a crisp and defined shape.
- Insert your pillow form or stuffing through the opening, ensuring it fills the corners completely.
- Fold the raw edges of the opening inward and pin or clip them closed.
- Using a hand-sewing needle and thread, stitch the opening closed with a slip stitch or ladder stitch. Take small, discreet stitches to create an invisible closure.
- Remove any remaining pins or clips.
- Give your pillow a final press with an iron to smooth out any wrinkles and creases.
And there you have it! Your beautiful throw pillow with custom-made piping is complete. Admire your handiwork and enjoy the elegance and sophistication it adds to your home decor.
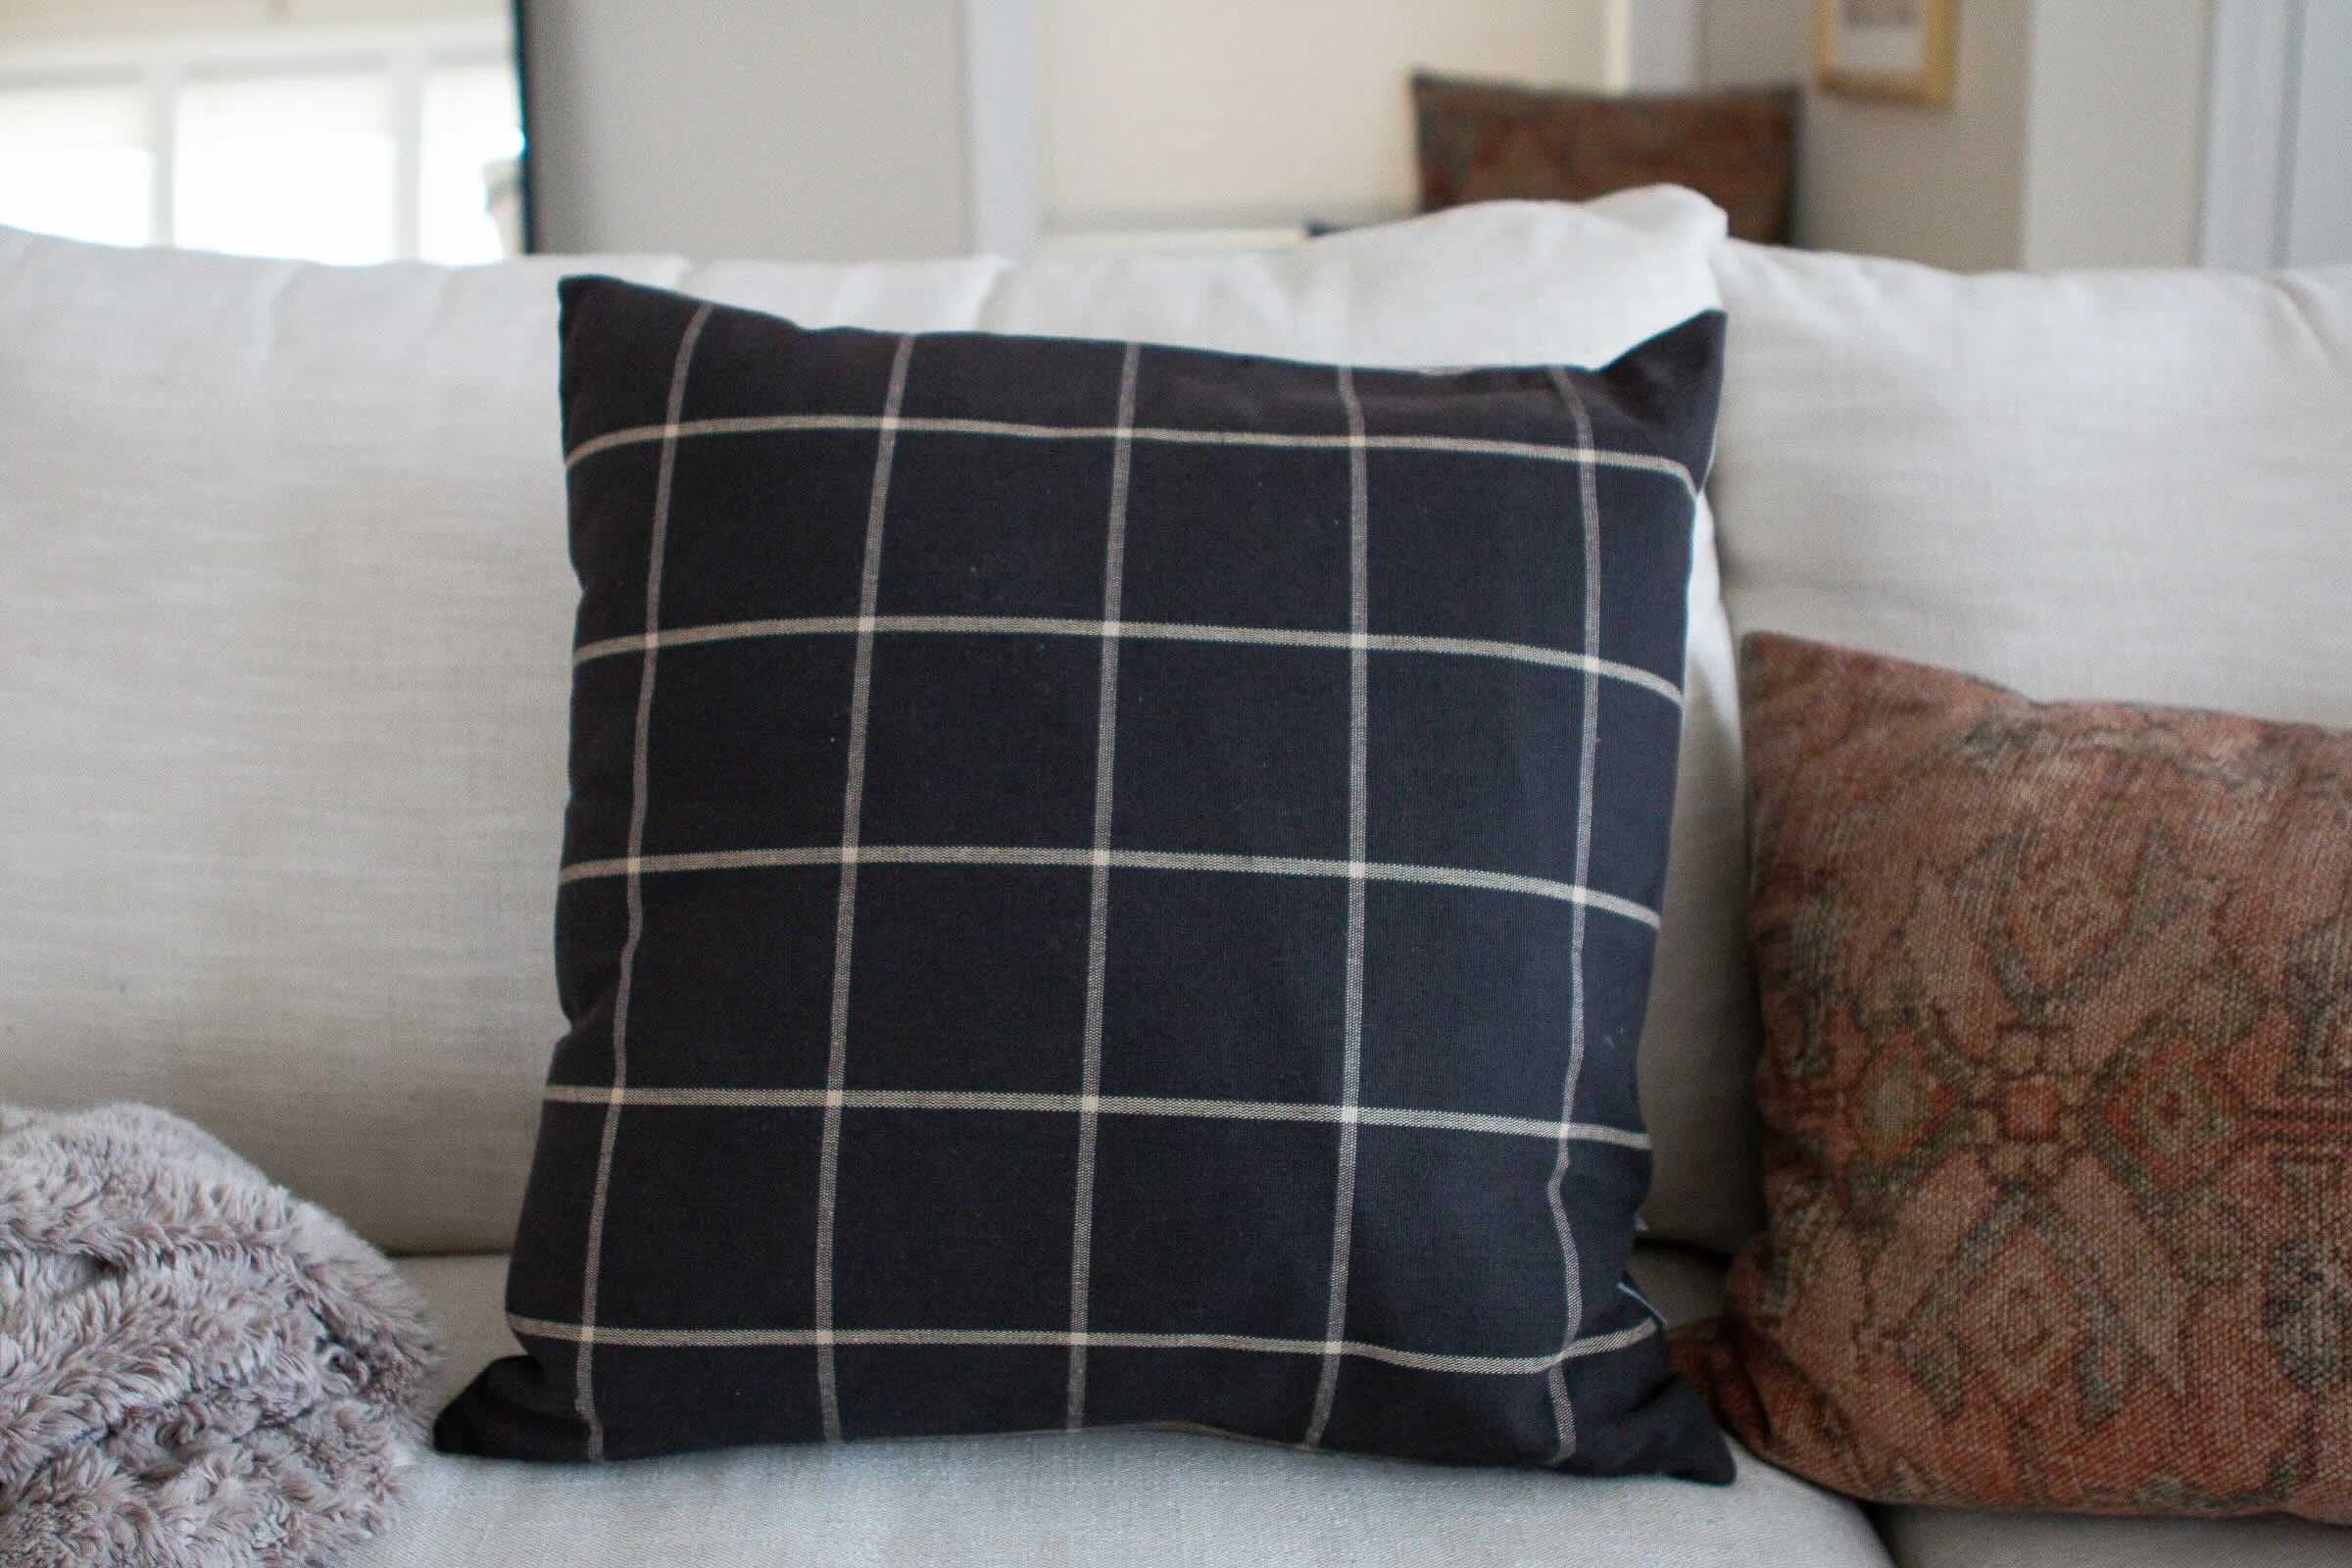
Remember, feel free to get creative with your piping fabric and pillow cover choice. Mix and match patterns and colors to suit your style and make your throw pillows truly unique.
Now that you’ve mastered the art of making piping for throw pillows, you can apply this technique to other fabric projects as well. Consider using piping to add a decorative edge to cushions, upholstery, or even clothing.
Get inspired and let your creativity flourish as you continue to explore the world of DIY home decor. Happy sewing!
Read more: How To Store Throw Pillows
Conclusion
Making your own piping for throw pillows is a rewarding and enjoyable DIY project that allows you to add a custom touch to your home decor. By following the steps outlined in this article, you’ve learned how to measure and cut fabric strips, join them together to create a continuous length, create bias binding, insert the piping cord, attach the piping to the pillow fabric, sew them together, and add the finishing touches. The result is a beautifully crafted throw pillow with professional-looking piping.
Not only does piping add structure and support to the edges of your pillows, but it also enhances their visual appeal, giving them a luxurious and polished finish. With the knowledge and skills you’ve gained, you can now create stunning throw pillows to spruce up your living space or to give as thoughtful handmade gifts.
Don’t be afraid to experiment with different fabrics, colors, and textures to create unique and personalized designs. The possibilities are endless when it comes to mixing and matching fabrics and piping styles to complement your existing decor or to make a bold statement.
Remember to take your time with each step, paying attention to detail and ensuring precision in your measurements and stitching. Practice makes perfect, so don’t be discouraged if your first attempt isn’t flawless. As you gain experience and confidence, your piping skills will improve, resulting in even more professional-looking finished products.
Now that you have the know-how to make piping for throw pillows, why stop there? Let your creativity flourish and explore other sewing projects that can benefit from the elegance of custom-made piping. Whether it’s cushions, curtains, or even clothing, piping can elevate any fabric project to the next level.
So, grab your sewing machine, gather your materials, and let your imagination run wild. With the skills you’ve acquired, you’ll be able to create beautiful, personalized home decor that reflects your unique style and adds a touch of sophistication to any space.
Frequently Asked Questions about How To Make Piping For Throw Pillows
Was this page helpful?
At Storables.com, we guarantee accurate and reliable information. Our content, validated by Expert Board Contributors, is crafted following stringent Editorial Policies. We're committed to providing you with well-researched, expert-backed insights for all your informational needs.


0 thoughts on “How To Make Piping For Throw Pillows”