Home>Renovation & DIY>Home Renovation Guides>How To Mount Cameras Under Eaves
Home Renovation Guides
How To Mount Cameras Under Eaves
Published: February 2, 2024
Learn how to mount cameras under eaves with our comprehensive home renovation guide. Find step-by-step instructions and expert tips for a seamless installation.
(Many of the links in this article redirect to a specific reviewed product. Your purchase of these products through affiliate links helps to generate commission for Storables.com, at no extra cost. Learn more)
Introduction
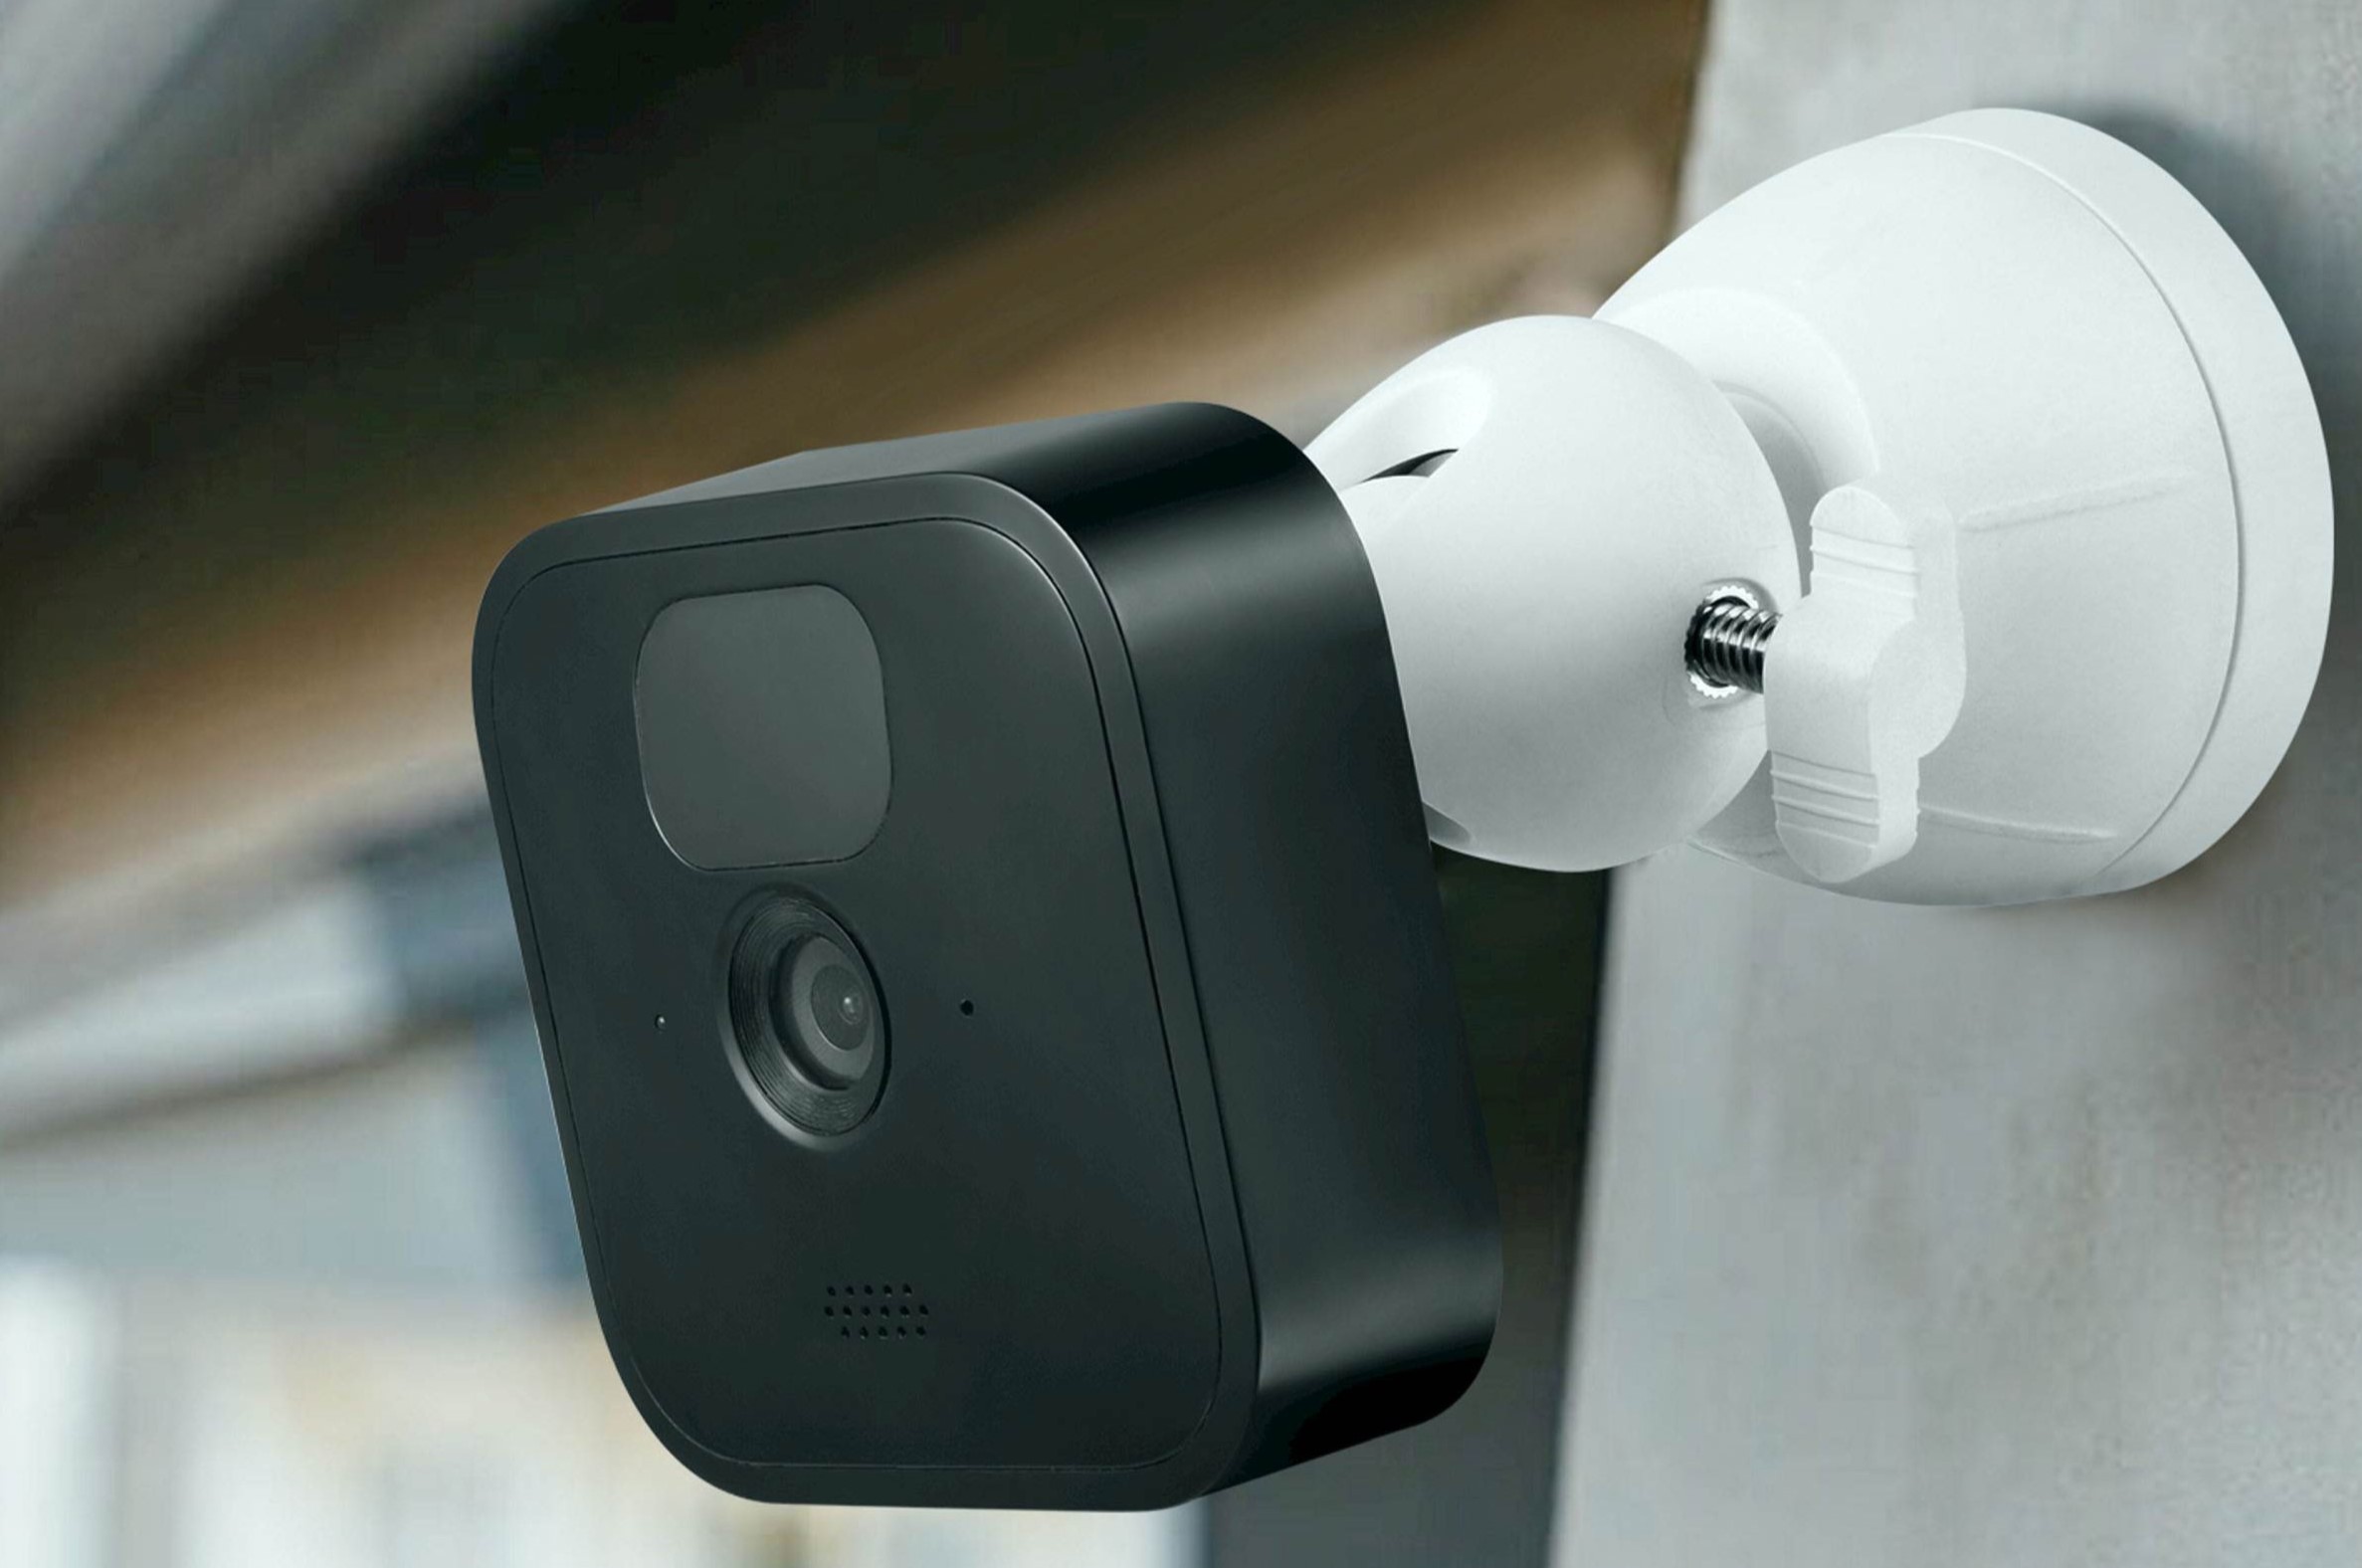
Mounting cameras under eaves is a popular and effective way to enhance home security and surveillance. By strategically positioning cameras in this manner, homeowners can achieve comprehensive coverage of their property while also benefiting from the protection offered by the eaves. Whether you're aiming to monitor the front entrance, driveway, or backyard, installing cameras under eaves provides a discreet and unobtrusive solution that minimizes the visual impact on the exterior of your home.
In this comprehensive guide, we will walk you through the step-by-step process of mounting cameras under eaves, ensuring that you have all the necessary information and guidance to complete the task successfully. From gathering the essential tools and materials to adjusting the camera angle for optimal coverage, each step is designed to help you achieve a professional and secure camera installation.
By following this guide, you will not only enhance the security of your home but also gain valuable insights into the world of home surveillance. Understanding the intricacies of camera mounting and positioning will empower you to make informed decisions about your home security setup, ultimately providing you with peace of mind and a heightened sense of safety.
So, let's embark on this journey together, as we delve into the art of mounting cameras under eaves and discover the transformative impact it can have on your home security. With the right tools, knowledge, and a touch of creativity, you'll soon be on your way to achieving a robust and reliable surveillance system that offers unparalleled protection for you and your loved ones.
Key Takeaways:
- Enhance Home Security with Eave-Mounted Cameras
Mounting cameras under eaves offers discreet and effective home surveillance. With the right tools and careful positioning, homeowners can achieve comprehensive coverage and peace of mind. - Choose the Right Camera Mount for Reliable Surveillance
Select a weatherproof and adjustable camera mount for eave installation. Consider compatibility, flexibility, and aesthetics to ensure optimal positioning and functionality for your home security system.
Step 1: Gather Necessary Tools and Materials
Before embarking on the process of mounting cameras under eaves, it's essential to gather all the necessary tools and materials to ensure a smooth and efficient installation. By having everything at your disposal, you can minimize interruptions and complete the task with precision and confidence.
Tools and Materials Checklist:
-
Ladder: A sturdy and reliable ladder is crucial for reaching the eaves and ensuring safe access to the installation area.
-
Power Drill and Bits: A power drill equipped with appropriate drill bits will be essential for creating holes for mounting brackets and securing the camera in place.
-
Screwdriver Set: A set of screwdrivers, including both flathead and Phillips head varieties, will be needed for attaching the mounting bracket and adjusting the camera angle.
-
Measuring Tape: Accurate measurements are vital for positioning the camera and ensuring optimal coverage, making a measuring tape an indispensable tool.
-
Level: To ensure that the camera mount and camera itself are perfectly aligned, a level will help maintain straight and balanced positioning.
-
Weatherproof Camera: Select a high-quality, weatherproof camera designed for outdoor use to withstand the elements and provide reliable surveillance.
-
Mounting Bracket: Choose a sturdy and adjustable mounting bracket that is compatible with your camera model and suitable for eave installation.
-
Cable Clips and Screws: These will be necessary for securing the camera's cables along the eaves, keeping them tidy and protected from damage.
-
Weatherproof Cable Connectors: To safeguard the camera's connections from moisture and environmental factors, weatherproof cable connectors are essential.
-
Power Extension Cable: Depending on the distance from the camera to the power source, a power extension cable may be required to ensure seamless connectivity.
By ensuring that you have all the tools and materials listed above, you will be well-prepared to proceed with the subsequent steps of mounting your camera under the eaves. With these essentials in hand, you can approach the installation process with confidence and precision, setting the stage for a successful and professional outcome.
Step 2: Choose the Right Camera Mount
Selecting the right camera mount is a critical decision that directly impacts the effectiveness and stability of your surveillance system. When mounting cameras under eaves, it's essential to choose a mount that not only complements the aesthetics of your home but also provides the necessary flexibility and durability to ensure optimal camera positioning and functionality.
Considerations for Choosing the Right Camera Mount
1. Compatibility with Eaves:
The camera mount should be specifically designed for eave installation, ensuring a secure and stable attachment to the underside of the eaves. Look for mounts that offer adjustable angles and versatile positioning options to accommodate various eave configurations.
2. Weather Resistance:
Given the exposure to outdoor elements, it's imperative to select a camera mount that is weatherproof and capable of withstanding environmental factors such as rain, wind, and UV exposure. Opting for a rust-resistant and durable material, such as aluminum or stainless steel, can significantly prolong the lifespan of the mount.
3. Flexibility and Adjustability:
A versatile camera mount allows for precise adjustments, enabling you to achieve the desired camera angle and coverage. Look for mounts with swivel and tilt capabilities, as well as extension arms, to cater to specific surveillance needs and optimize the viewing range.
4. Cable Management:
An ideal camera mount incorporates provisions for efficient cable management, allowing for discreet routing and securing of cables along the eaves. Integrated cable channels or clips can help maintain a tidy and organized appearance while safeguarding the cables from potential damage.
5. Aesthetics and Discreetness:
The camera mount should blend seamlessly with the eaves and exterior of the home, minimizing visual obtrusion while maintaining a sleek and unobtrusive appearance. Opt for mounts that offer a low-profile design and color options to harmonize with the eave's finish.
Read more: How To Install Soffit Under Eaves
Types of Camera Mounts for Eave Installation
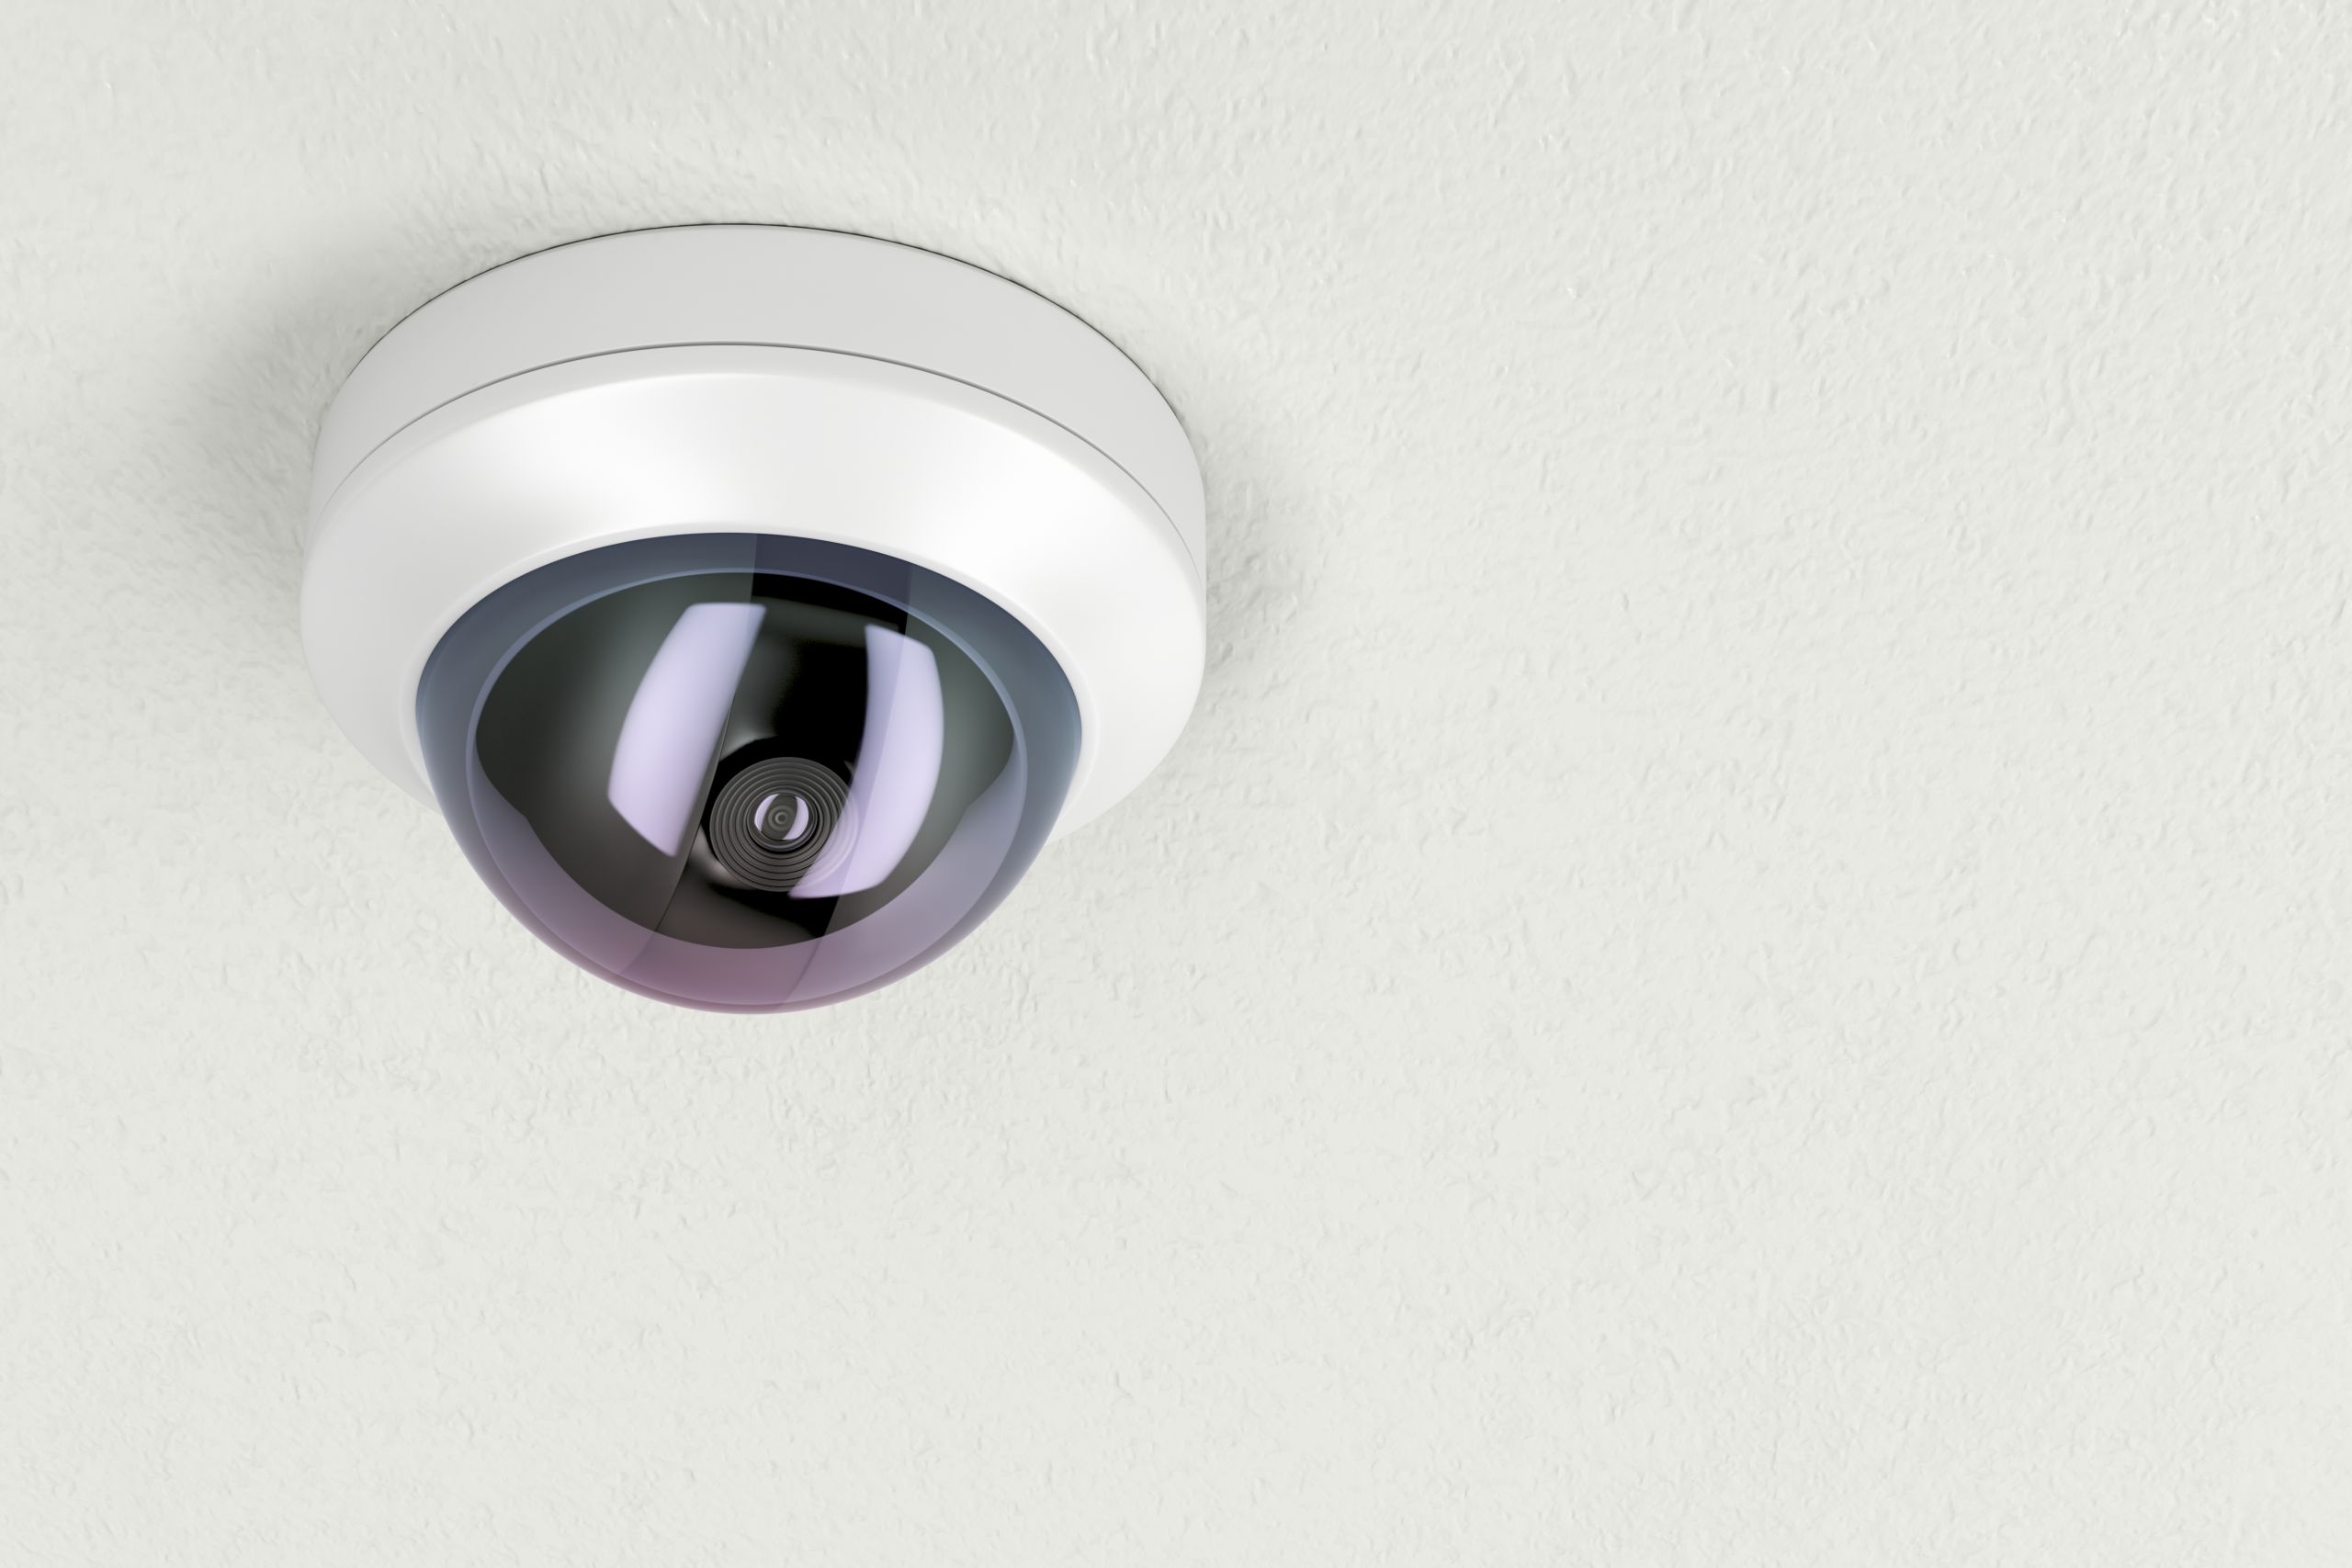
– Fixed Mounts:
These mounts provide a stable and stationary platform for the camera, ideal for capturing specific areas or maintaining a consistent viewpoint. Fixed mounts are straightforward to install and offer reliability in maintaining the desired camera angle.
– Articulating Mounts:
Articulating mounts offer enhanced flexibility, allowing for dynamic adjustments in camera positioning. With swivel and tilt capabilities, these mounts enable versatile surveillance coverage and adaptability to changing monitoring requirements.
– Pendant Mounts:
Pendant mounts are designed to suspend the camera from the eaves, providing a hanging configuration that facilitates precise adjustments and versatile camera angles. This type of mount is suitable for achieving optimal coverage in expansive outdoor areas.
By carefully evaluating these considerations and exploring the diverse options available, you can confidently select the right camera mount that aligns with your specific surveillance objectives and seamlessly integrates with the eaves of your home. The chosen mount will serve as the foundation for a robust and reliable camera installation, setting the stage for enhanced security and peace of mind.
Step 3: Determine the Mounting Location
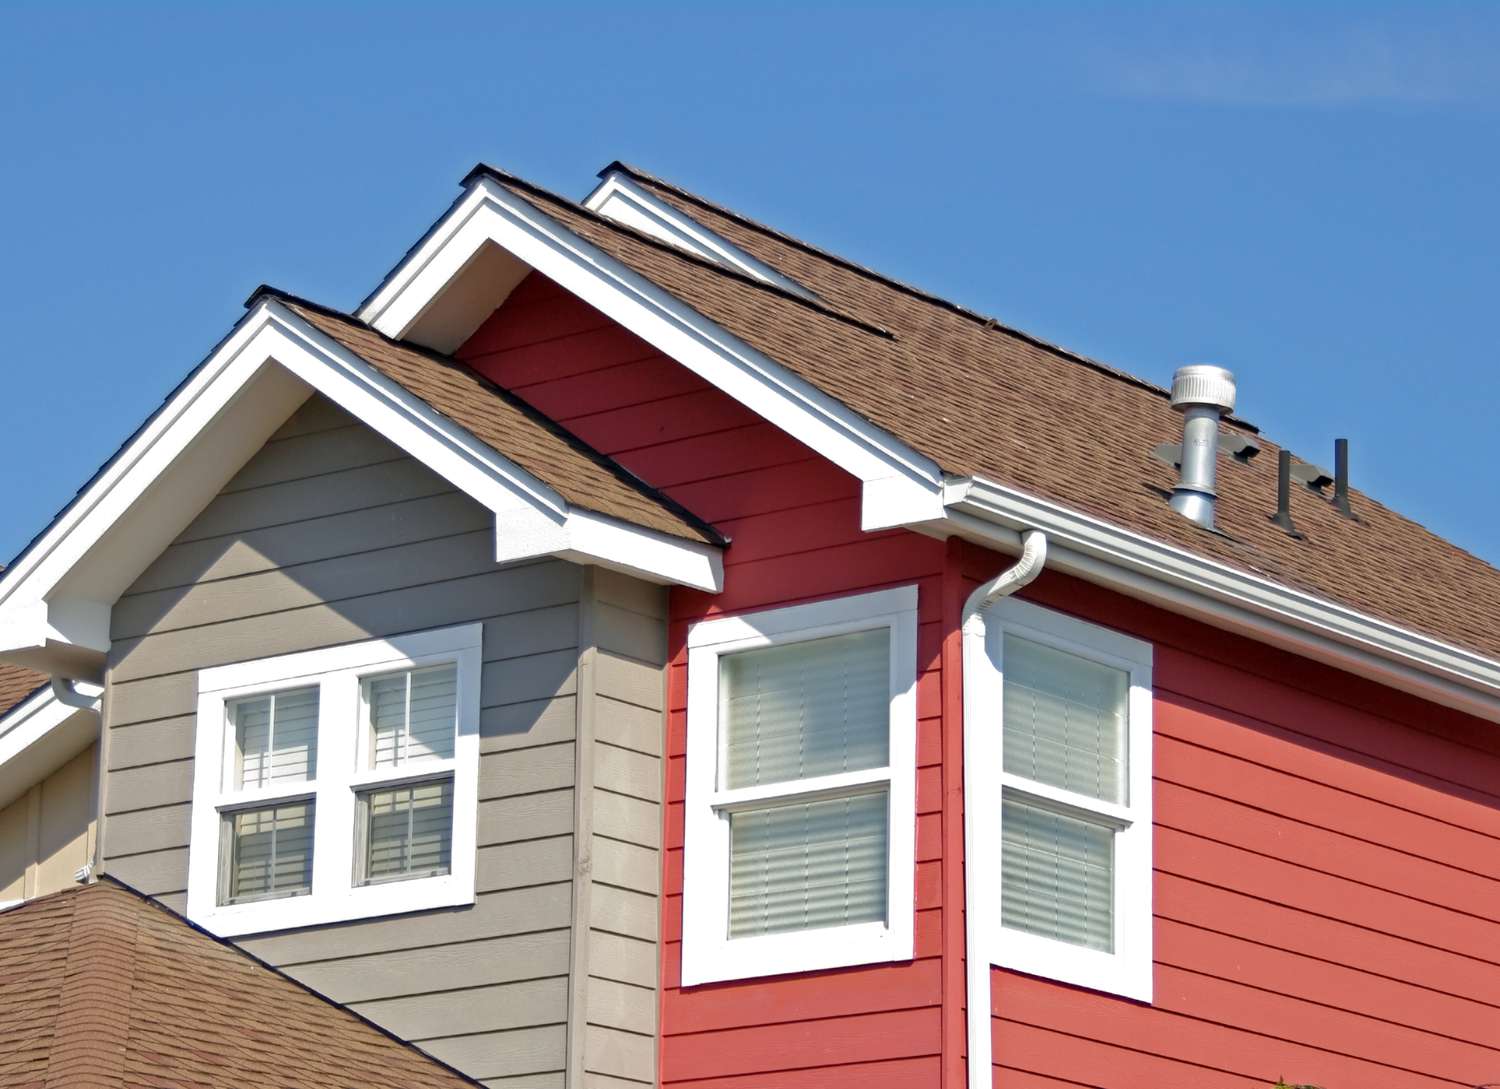
Selecting the optimal mounting location for your camera under the eaves is a pivotal decision that directly influences the effectiveness of your surveillance system. Careful consideration of various factors will ensure that the chosen location provides comprehensive coverage while seamlessly integrating with the architectural aesthetics of your home.
Factors to Consider:
-
Coverage Area: Begin by assessing the areas you intend to monitor, such as the front entrance, driveway, or backyard. Identify the specific zones that require surveillance coverage and determine the most strategic vantage points for capturing relevant activity.
-
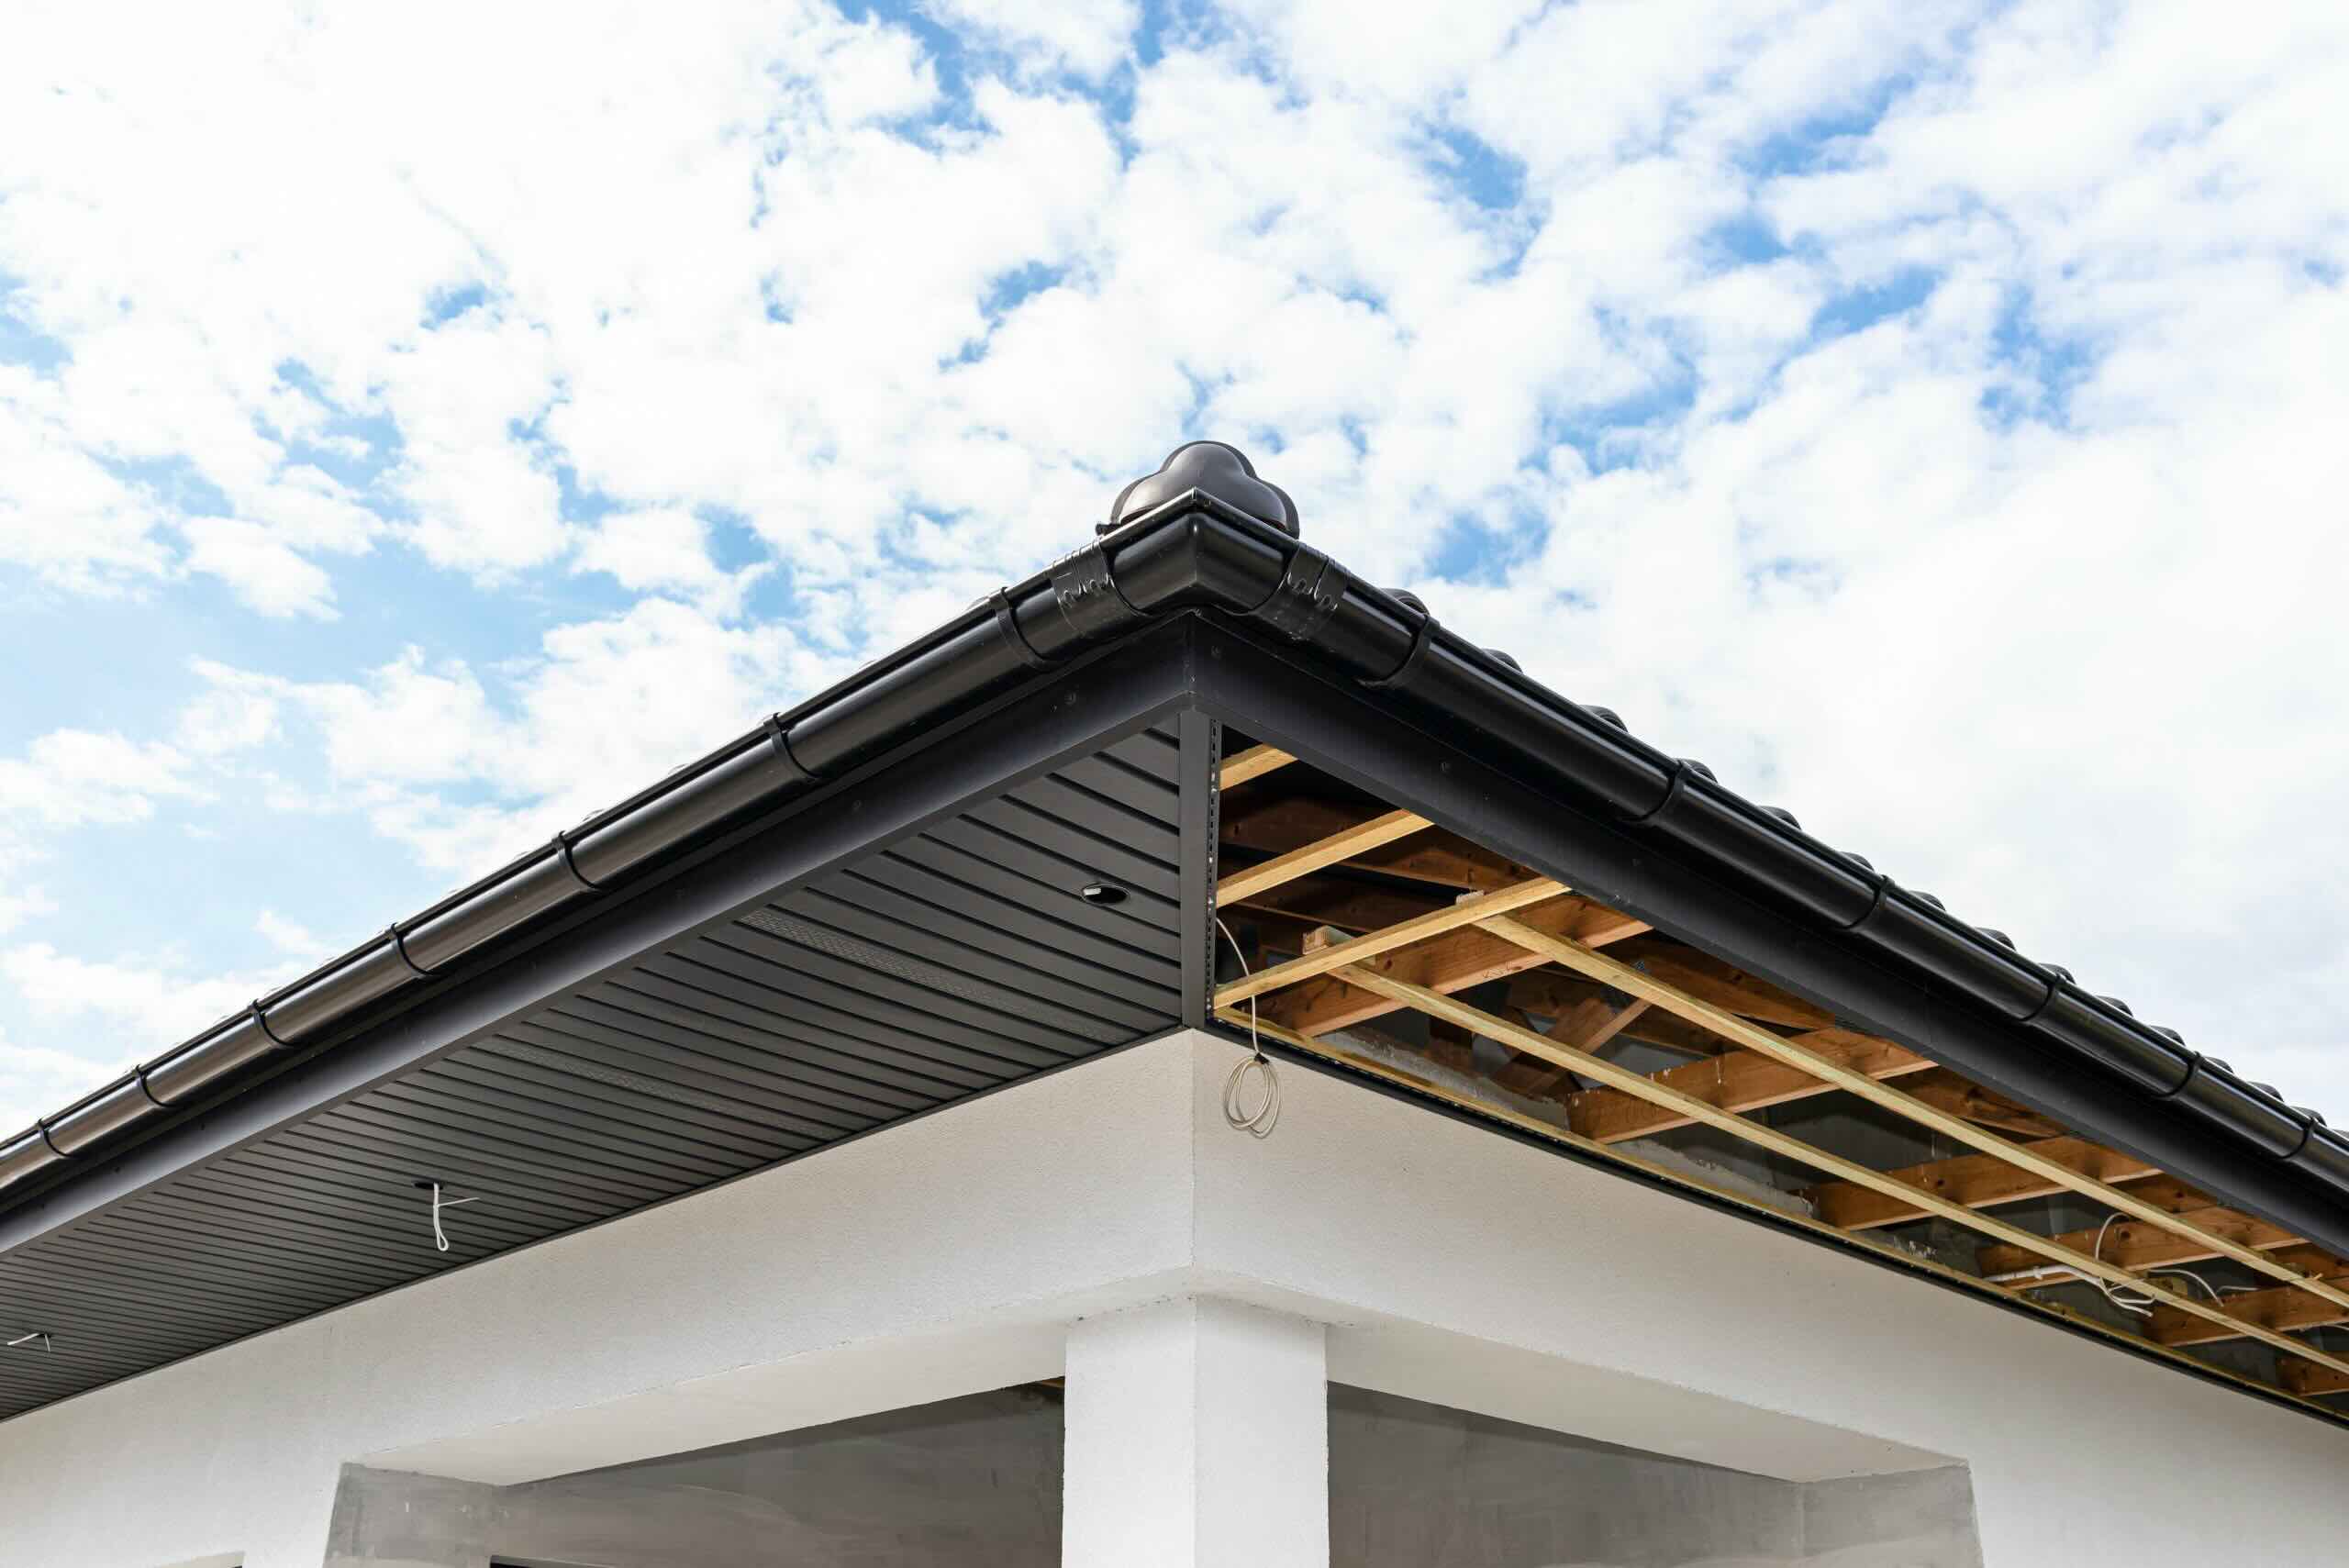
Eave Structure: Evaluate the structural composition of the eaves to identify suitable mounting areas. Look for sections that offer sufficient clearance and stability for securely attaching the camera mount. Additionally, consider the proximity to power sources for seamless connectivity.
-
Obstructions and Lighting: Take note of any potential obstructions, such as overhanging branches or architectural features, that may obstruct the camera's field of view. Furthermore, consider the impact of natural and artificial lighting on the chosen location to ensure optimal visibility and image quality.
-
Privacy and Regulations: Respect the privacy of neighboring properties and adhere to local regulations regarding surveillance camera placement. Avoid positioning the camera in areas that infringe upon the privacy of others, and familiarize yourself with any legal considerations related to outdoor surveillance.
Ideal Mounting Locations:
-
Front Entrance: Placing a camera under the eaves near the front entrance provides a clear view of visitors, deliveries, and potential security threats. This location serves as a primary point of entry surveillance, offering valuable insights into daily activities and visitor interactions.
-
Driveway and Garage: Mounting a camera under the eaves overlooking the driveway and garage area enhances vehicle and pedestrian monitoring. It enables you to monitor arrivals, departures, and any suspicious activity in these high-traffic zones.
-
Backyard and Patio: For comprehensive outdoor surveillance, consider mounting a camera under the eaves to cover the backyard and patio areas. This positioning facilitates monitoring of recreational spaces, outdoor valuables, and potential intrusions from rear entry points.
Read more: How To Prevent Wasp Nests Under Eaves
Finalizing the Location:
Once you've evaluated these factors and identified potential mounting locations, prioritize the areas that align with your surveillance priorities and provide the most comprehensive coverage. Consider the camera's field of view, ensuring that the chosen location captures the desired areas with clarity and precision.
By meticulously determining the mounting location under the eaves, you can establish a strategic vantage point for your surveillance camera, maximizing its effectiveness in safeguarding your home and property. This thoughtful approach sets the stage for a well-planned and purposeful camera installation, reinforcing your home security with reliable and comprehensive surveillance coverage.
Step 4: Install the Mounting Bracket
Installing the mounting bracket is a pivotal step in the process of mounting cameras under eaves, as it forms the foundation for securely attaching the camera and ensuring stable positioning. By following a systematic approach and paying attention to detail, you can effectively install the mounting bracket with precision and confidence.
Preparing for Installation
Before commencing the installation, ensure that you have selected the optimal mounting location under the eaves, taking into account the surveillance priorities and structural suitability. Once the location is confirmed, gather the necessary tools and materials, including the mounting bracket, power drill, screws, and a level, to facilitate a seamless installation process.
Step-by-Step Installation Guide
-
Marking the Drill Points: Using a pencil or marker, carefully mark the drill points on the underside of the eaves based on the predetermined position for the mounting bracket. Ensure that the markings align with the pre-drilled holes on the bracket, maintaining precise alignment for secure attachment.
-
Drilling Pilot Holes: With the aid of a power drill and the appropriate drill bit, create pilot holes at the marked points on the eaves. Exercise caution to avoid damaging the eave structure and maintain a perpendicular drilling angle for accurate hole creation.
-
Attaching the Mounting Bracket: Align the pre-drilled holes on the mounting bracket with the pilot holes on the eaves, ensuring a flush and level positioning. Secure the bracket in place by driving the provided screws through the bracket and into the eaves, using a screwdriver to achieve a firm and stable attachment.
-
Verifying Stability and Alignment: Once the mounting bracket is installed, verify its stability and alignment using a level. Ensure that the bracket is securely affixed to the eaves and maintains a level orientation to facilitate the subsequent attachment of the camera.
-
Cable Management Considerations: As part of the installation process, consider the routing of the camera's cables along the eaves to ensure a tidy and discreet appearance. Utilize cable clips and secure fastening to neatly organize and protect the cables, preventing potential damage and maintaining a professional aesthetic.
By meticulously following these steps and exercising precision throughout the installation process, you can effectively install the mounting bracket under the eaves, laying the groundwork for the seamless attachment and positioning of the surveillance camera. This methodical approach ensures a secure and stable foundation for the camera, setting the stage for a professional and reliable surveillance system that enhances the security of your home.
Read more: How To Mount An Outdoor Camera
Step 5: Attach the Camera to the Mounting Bracket
With the mounting bracket securely installed under the eaves, the next crucial step is to attach the camera to the bracket, ensuring a stable and optimal positioning for effective surveillance. This process requires attention to detail and precision to achieve a seamless integration of the camera with the mounting infrastructure.
Securing the Camera
-
Aligning the Camera: Position the camera in alignment with the mounting bracket, ensuring that the mounting slots or attachment points on the camera correspond to the bracket's configuration. Carefully maneuver the camera into place, maintaining a steady grip to prevent any accidental slippage.
-
Securing the Fasteners: Utilize the provided screws or fastening mechanisms to securely attach the camera to the mounting bracket. Align the attachment points on the camera with the corresponding slots or connectors on the bracket, ensuring a snug fit that minimizes any potential movement or instability.
-
Verifying Stability: Once the camera is attached to the mounting bracket, conduct a brief assessment of its stability and positioning. Gently adjust the camera to confirm that it is securely affixed to the bracket and does not exhibit any wobbling or misalignment.
Cable Connection and Management
-
Connecting Power and Data Cables: With the camera in place, proceed to connect the power and data cables to the designated ports on the camera. Ensure that the connections are secure and firmly seated to facilitate uninterrupted power supply and data transmission.
-
Cable Routing: Carefully route the cables along the eaves, utilizing cable clips or fasteners to maintain a tidy and organized appearance. Avoid any sharp bends or tension on the cables, as this can compromise their integrity and functionality over time.
-
Weatherproofing Connections: To safeguard the cable connections from environmental factors, consider using weatherproof cable connectors or protective enclosures. This additional measure helps prevent moisture ingress and prolongs the longevity of the camera's electrical connections.
Final Adjustments
-
Camera Orientation: Verify the camera's orientation and angle, ensuring that it aligns with the intended surveillance area. Make any necessary adjustments to the camera's tilt and pan angles to optimize the coverage and visibility of the monitored zones.
-
Testing Functionality: Power on the camera and conduct a brief functionality test to ensure that it is capturing clear and coherent footage. Verify the image quality and coverage range, making adjustments as needed to achieve the desired surveillance outcomes.
By meticulously executing the process of attaching the camera to the mounting bracket and addressing cable connection and management considerations, you establish a robust and reliable surveillance infrastructure under the eaves. This meticulous approach ensures that the camera is seamlessly integrated with the mounting bracket, setting the stage for comprehensive and effective home security surveillance.
Read more: How To Mount A Power Strip Under A Desk
Step 6: Adjust the Camera Angle
Once the camera is securely attached to the mounting bracket, the final crucial step is to adjust the camera angle to optimize the surveillance coverage and ensure that the monitored areas are captured with precision and clarity. This meticulous process involves fine-tuning the camera's orientation and field of view to align with specific surveillance objectives and enhance the overall effectiveness of the surveillance system.
Fine-Tuning the Camera Position
Begin by assessing the current camera angle and evaluating the captured footage on the monitoring device or screen. This visual feedback provides valuable insights into the camera's field of view and enables you to identify any areas that require adjustment. Pay close attention to potential blind spots, obstructions, or areas of inadequate coverage, ensuring that the camera's positioning addresses these concerns effectively.
Tilt and Pan Adjustments
Utilize the adjustable features of the mounting bracket or camera mount to make precise tilt and pan adjustments. By carefully manipulating these parameters, you can alter the camera's vertical and horizontal orientation, allowing you to fine-tune the coverage range and capture specific areas of interest. Ensure that the camera's angle facilitates comprehensive monitoring of entry points, pathways, and critical zones, maximizing the surveillance system's effectiveness.
Optimizing the Field of View
Strive to achieve an optimal field of view that encompasses the desired surveillance areas while minimizing unnecessary visual clutter or irrelevant spaces. Fine-tune the camera angle to prioritize essential monitoring zones, such as entryways, driveways, and high-traffic areas, ensuring that the camera's perspective aligns with the overarching security objectives. This deliberate optimization enhances the camera's ability to capture pertinent activities and potential security threats with precision and clarity.
Read more: How To Mount A Wyze Outdoor Camera
Testing and Validation
Following the adjustments, conduct thorough testing of the camera's new angle and orientation. Verify that the revised positioning effectively addresses any previous coverage limitations and ensures seamless monitoring of the designated areas. Assess the image quality, visibility of monitored zones, and overall coherence of the captured footage, making iterative adjustments as necessary to achieve the desired surveillance outcomes.
Finalizing the Camera Angle
Once the camera angle has been meticulously adjusted and validated, secure the mounting bracket or camera mount to maintain the optimized positioning. Confirm that the camera's orientation remains stable and aligned with the surveillance priorities, ensuring that the adjusted angle enhances the overall security coverage without compromising stability or functionality.
By methodically adjusting the camera angle to optimize the surveillance coverage, you elevate the effectiveness of your home security system, ensuring that the monitored areas are comprehensively and precisely captured. This meticulous approach reinforces the reliability and precision of the surveillance infrastructure, providing you with invaluable insights and peace of mind regarding the security of your home and property.
Conclusion
In conclusion, the process of mounting cameras under eaves represents a transformative endeavor that significantly enhances home security and surveillance capabilities. By following the comprehensive steps outlined in this guide, homeowners can achieve a professional and reliable camera installation that offers unparalleled protection and peace of mind.
The journey begins with the meticulous gathering of necessary tools and materials, setting the stage for a seamless and efficient installation process. Selecting the right camera mount emerges as a critical decision, with considerations such as compatibility, weather resistance, flexibility, and discreetness guiding the selection process. Determining the optimal mounting location under the eaves involves a thoughtful assessment of coverage areas, eave structure, potential obstructions, and privacy considerations, ensuring that the chosen location aligns with surveillance priorities and architectural aesthetics.
The subsequent installation of the mounting bracket and attachment of the camera to the bracket demand precision and attention to detail, establishing a stable and reliable foundation for the surveillance infrastructure. The adjustment of the camera angle represents the final crucial step, enabling homeowners to optimize the surveillance coverage and ensure that the monitored areas are captured with precision and clarity.
By embracing the art of mounting cameras under eaves, homeowners gain valuable insights into the world of home surveillance, empowering them to make informed decisions about their security setup. The seamless integration of cameras with the eaves not only enhances the visual appeal of the property but also provides discreet and unobtrusive surveillance coverage, minimizing the visual impact on the exterior of the home.
Ultimately, the successful mounting of cameras under eaves offers a sense of empowerment and security, allowing homeowners to proactively safeguard their homes and loved ones. The comprehensive coverage facilitated by strategically positioned cameras under eaves provides invaluable insights into daily activities, visitor interactions, and potential security threats, fostering a heightened sense of safety and vigilance.
As homeowners embark on this journey of enhancing their home security through the art of mounting cameras under eaves, they are poised to experience the transformative impact of comprehensive surveillance coverage. With the right tools, knowledge, and a touch of creativity, homeowners can elevate their security infrastructure, creating a robust and reliable surveillance system that offers unmatched protection and peace of mind.
Frequently Asked Questions about How To Mount Cameras Under Eaves
Was this page helpful?
At Storables.com, we guarantee accurate and reliable information. Our content, validated by Expert Board Contributors, is crafted following stringent Editorial Policies. We're committed to providing you with well-researched, expert-backed insights for all your informational needs.


0 thoughts on “How To Mount Cameras Under Eaves”