Home>Articles>How To Paint An Open Concept Kitchen And Living Room
Articles
How To Paint An Open Concept Kitchen And Living Room
Modified: January 7, 2024
Learn the step-by-step process of painting an open concept kitchen and living room in this insightful articles. Transform your space with expert tips and techniques.
(Many of the links in this article redirect to a specific reviewed product. Your purchase of these products through affiliate links helps to generate commission for Storables.com, at no extra cost. Learn more)
Introduction
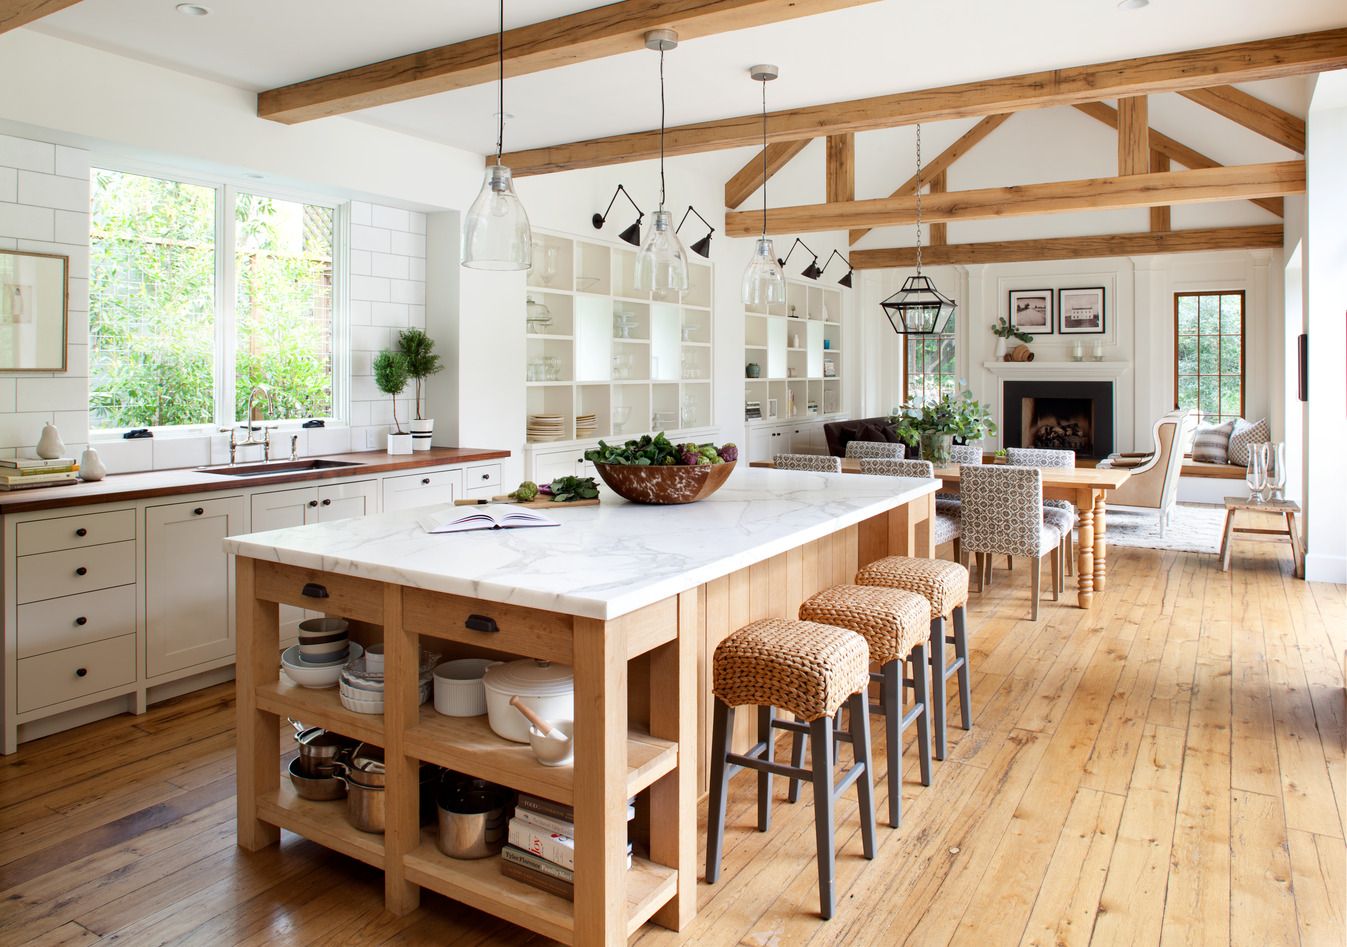
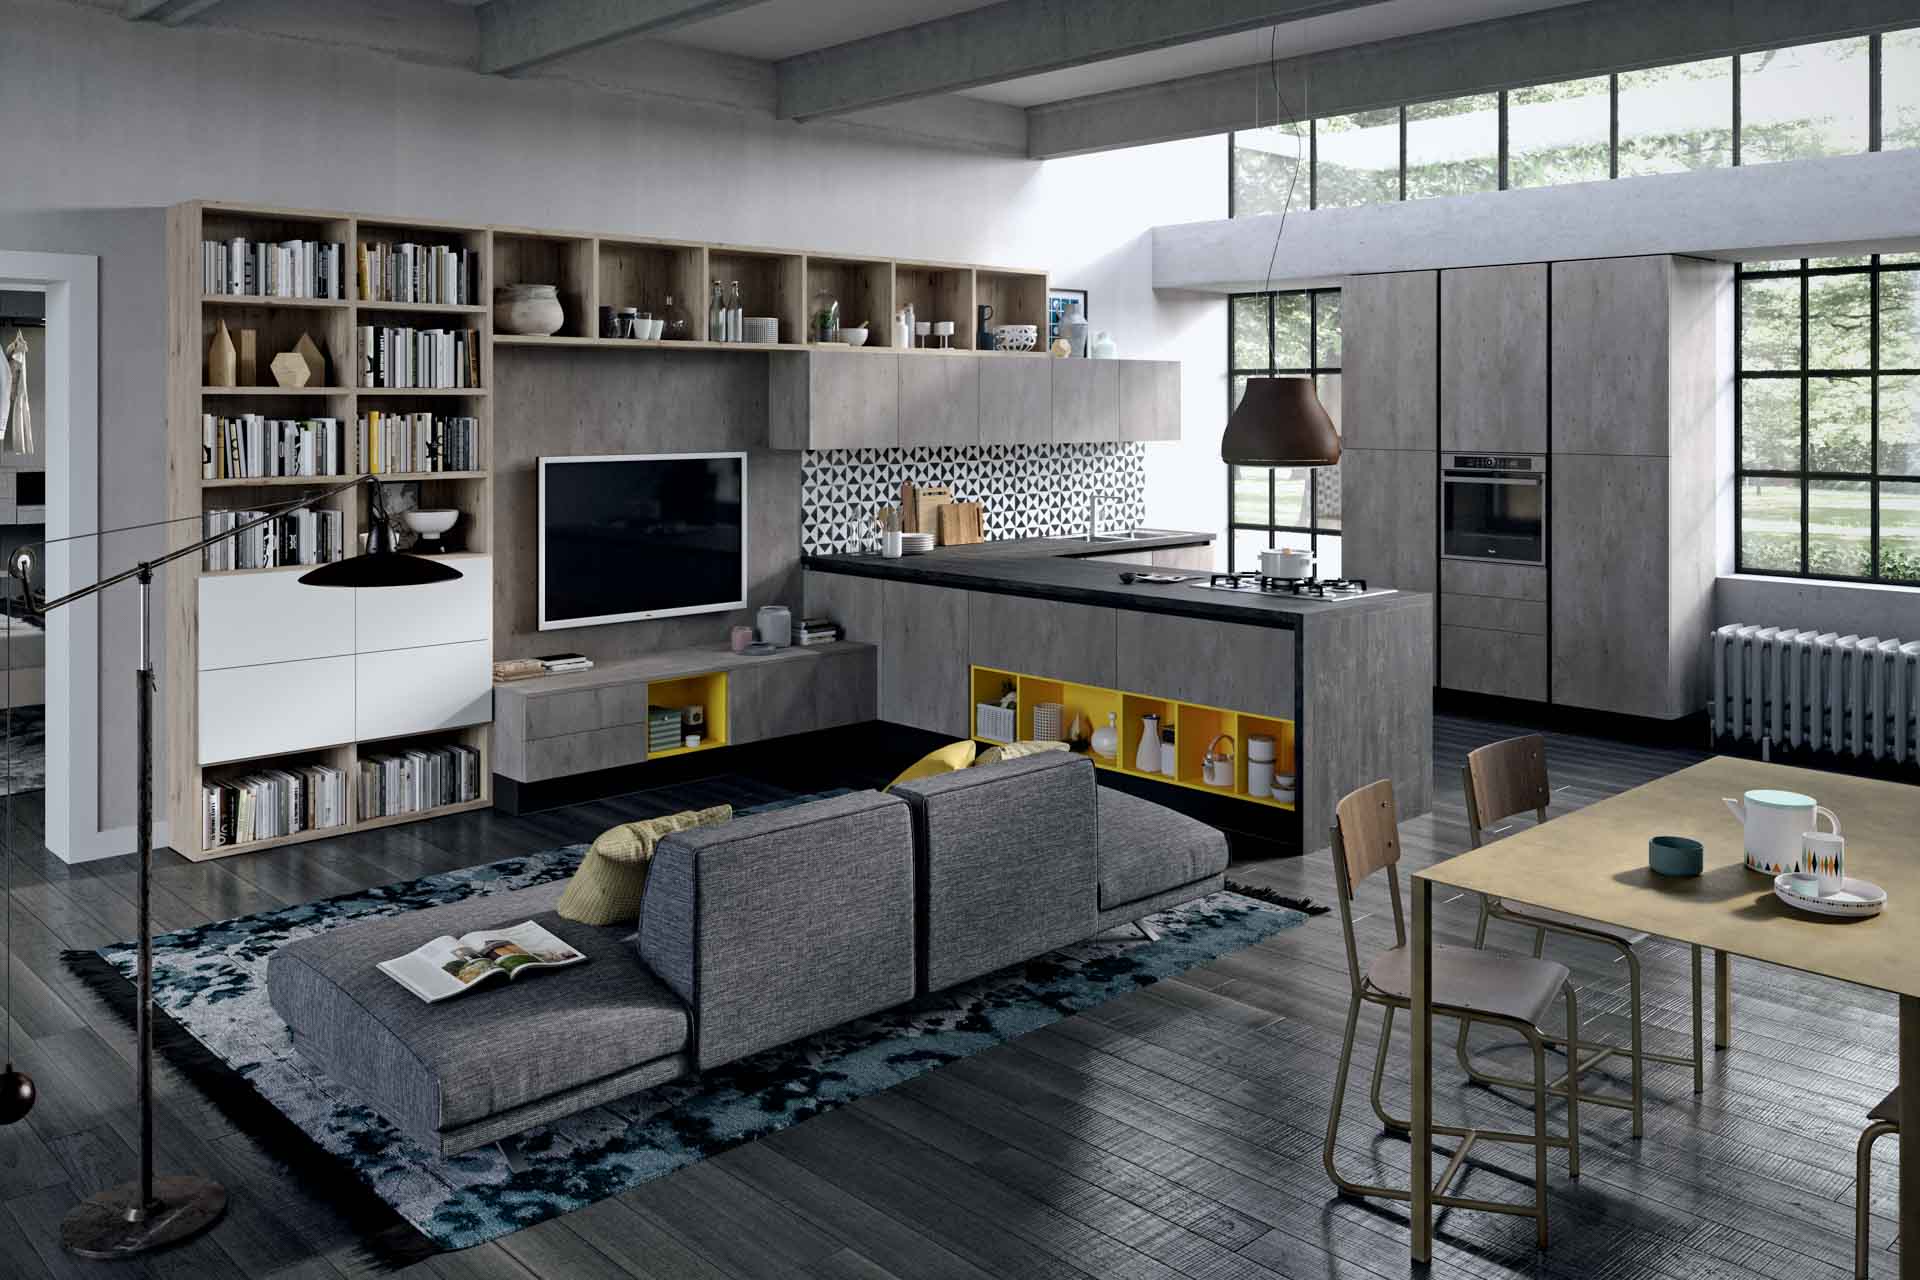
Painting an open concept kitchen and living room can significantly transform the look and feel of your home. By choosing the right paint colors and following a few key steps, you can create a cohesive and visually appealing space that seamlessly blends these two areas. Whether you’re looking to refresh the existing color scheme or completely revamp the room, this article will guide you through the process of painting an open concept kitchen and living room.
Open concept living spaces have become increasingly popular in modern homes, as they promote a sense of connectedness and allow for more fluid interaction between family members and guests. However, painting an open concept area can be a daunting task due to its size and the challenge of harmonizing different functional zones. With careful planning and attention to detail, you can achieve stunning results that enhance the overall aesthetics of your home.
In this article, we will take you through a step-by-step process, from selecting the right paint colors to adding the finishing touches, to help you achieve a cohesive and stylish look in your open concept kitchen and living room. So, let’s dive in and discover how you can transform your space with a fresh coat of paint!
Key Takeaways:
- Transform your open concept kitchen and living room with the right paint colors, careful preparation, and stylish finishing touches. Achieve a cohesive and visually stunning space that reflects your personal style.
- Create a harmonious and inviting environment by choosing a cohesive color scheme, protecting floors and furniture, and allowing sufficient drying time. Infuse your unique personality into the space with thoughtful finishing touches.
Read more: How To Decorate An Open Concept Living Room
Step 1: Choose the Right Paint Colors
Choosing the right paint colors for your open concept kitchen and living room is essential as it sets the tone and creates the desired atmosphere in the space. Here are some tips to help you make the right color choices:
- Consider the overall style: Take into account the existing decor and theme of your home. Are you aiming for a modern and sleek look, a rustic and cozy feel, or a vibrant and eclectic vibe? The paint colors should complement the style you want to achieve.
- Opt for a cohesive color palette: Since the kitchen and living room are connected, it’s important to select colors that work well together. Consider using a neutral base color and then adding pops of color or accent walls to create visual interest.
- Take lighting into account: Natural and artificial lighting can significantly impact how paint colors appear. Consider the amount of light the space receives throughout the day and choose colors that will look flattering under different lighting conditions.
- Sample the colors: Before committing to a specific shade, it’s crucial to sample the paint colors. Purchase small paint samples and apply them to a small area of the walls. This will give you a better idea of how the colors will look in your space and how they interact with the existing elements.
- Consider the size of the room: If your open concept area is small, consider lighter paint colors to create the illusion of a larger space. Darker colors can work well in larger areas, adding depth and coziness.
- Think about the flow of color: Since the kitchen and living room flow into each other, it’s essential to choose colors that transition smoothly. Consider using shades of the same color family or complementary colors to create a harmonious flow.
Selecting the right paint colors is the foundation of creating a cohesive and visually appealing open concept kitchen and living room. By considering the overall style, lighting, size of the room, and flow of color, you can make informed decisions that will bring your vision to life. Once you have chosen the perfect paint colors, it’s time to move on to the next step: preparing the space.
Step 2: Prepare the Space
Before you begin painting your open concept kitchen and living room, it’s essential to properly prepare the space to ensure the best results. Here are some important steps to take:
- Clean and declutter: Start by removing any furniture, decorations, or appliances that may obstruct your painting process. Clearing the area allows for easier movement and protects your belongings from accidental paint splatters.
- Repair any imperfections: Inspect the walls for any cracks, holes, or dents. Use putty or spackle to fill in these imperfections and smooth them out with sandpaper once dried.
- Cover fixtures and outlets: Use painter’s tape to cover light fixtures, outlets, switches, and other areas that you want to protect from paint. This will ensure clean lines and prevent accidental paint drips.
- Protect surfaces: Lay down drop cloths or plastic sheets to protect the floors, countertops, and any other surfaces that could be damaged by paint splatters. Secure them with painter’s tape to keep them in place.
- Remove outlet covers and switch plates: Unscrew and remove outlet covers and switch plates to make painting around these areas easier. Put the screws in a safe place so they can be easily reattached later.
Properly preparing the space is crucial in achieving a smooth and flawless paint job. Taking the time to clean, repair, cover, and protect helps ensure that your open concept kitchen and living room will be ready for the transformation that lies ahead. Once the space is prepared, it’s time to move on to the next step: protecting the floors and furniture.
Step 3: Protect the Floors and Furniture
As you embark on painting your open concept kitchen and living room, it’s important to protect your floors and furniture from accidental paint spills or splatters. Taking the necessary precautions will ensure that your valuable belongings remain safe and free from damage. Here’s how to protect your floors and furniture during the painting process:
- Cover the floors: Use drop cloths or plastic sheets to cover the entire floor area. Secure the coverings with painter’s tape, ensuring they are completely flat and not bunched up to prevent tripping hazards. If you have hardwood or laminate flooring, consider using plastic film specifically designed for floor protection.
- Move the furniture: If possible, move the furniture out of the room entirely. This will provide you with more space to work and greatly minimize the risk of accidentally damaging or staining your furniture. If moving the furniture is not an option, move it to the center of the room and cover it with a thick plastic sheet or old bedsheets.
- Wrap furniture legs: If you cannot move or cover the furniture, protect the legs and feet with plastic wrap or aluminum foil. This will prevent paint drips from adhering to the furniture and can easily be removed once the painting job is complete.
- Use furniture pads: If you decide to keep the furniture in the room, place furniture pads or sliders under the legs to protect both the furniture and the floor from scratches and scuffs.
- Cover large furniture pieces: For larger furniture pieces that cannot be moved, such as sofas or tables, use large plastic sheets or drop cloths to cover them completely. Secure the coverings with painter’s tape or plastic wrap, ensuring they are tightly wrapped to prevent any paint from seeping through.
By taking the time to protect your floors and furniture, you can focus on your painting project without worrying about accidental damage. Properly covering the floors and moving or wrapping furniture will give you peace of mind and allow you to fully immerse yourself in the joy of transforming your open concept kitchen and living room. With the necessary precautions in place, you are now ready to proceed to the next step: starting with the ceilings and walls.
Step 4: Start with the Ceilings and Walls
Now that you’ve prepared the space and protected the floors and furniture, it’s time to start painting the ceilings and walls of your open concept kitchen and living room. Here’s how to tackle this step:
- Start with the ceilings: Begin by painting the ceilings first. Use a high-quality roller brush with an extension pole to reach the ceiling. Start at one corner of the room and work your way across in small, overlapping sections. Apply the paint evenly, making sure to maintain a smooth and consistent finish. Allow the paint to dry completely before proceeding to the next step.
- Paint the walls: Once the ceilings are dry, it’s time to paint the walls. Start by cutting in along the edges using a brush, painting around the corners, windows, and door frames. Then, use a roller brush for the larger areas of the walls. Roll the paint in even, vertical strokes, working from top to bottom. This technique will help to prevent streaks and ensure a professional-looking finish. Allow the paint to dry completely before moving on.
- Apply a second coat: Depending on the color and the coverage of the paint, you may need to apply a second coat for a more vibrant and flawless finish. Follow the same steps as before, allowing the paint to dry between each coat.
- Check for any touch-ups: Once the paint has completely dried, inspect the ceilings and walls for any missed spots or imperfections. Use a brush or small roller to touch up these areas with the paint color of your choice.
Starting with the ceilings and then moving on to the walls allows for a systematic and efficient painting process. Taking your time to apply the paint evenly and thoroughly will ensure a beautiful and long-lasting result. With the ceilings and walls painted to perfection, it’s time to move on to the next step: painting the trim and doors.
When painting an open concept kitchen and living room, choose a cohesive color scheme to create a seamless flow between the two spaces. This will help to visually connect the areas and make the space feel larger and more cohesive.
Read more: Open Concept Living Done Right In Lofts
Step 5: Paint the Trim and Doors
After completing the ceilings and walls, it’s time to give attention to the trim and doors in your open concept kitchen and living room. Painting the trim and doors can provide a polished and finished look to your space. Follow these steps to achieve a professional finish:
- Prepare the surfaces: Clean the trim and doors to remove any dust or dirt. Use a mild detergent and water solution to wipe them down, and then dry them thoroughly. Sand any rough areas or imperfections, and wipe away any sanding residue.
- Apply primer if necessary: If the trim or doors have an existing finish or are made of a different material, applying a primer may be necessary. Primer helps create a smooth and even surface for the paint to adhere to. Follow the manufacturer’s instructions for application and drying time.
- Paint the trim: Start by cutting in along the edges of the trim using a small brush. Then, use a brush or a small roller to apply the paint to the larger areas of the trim. Work in smooth and even strokes, following the direction of the wood grain. Allow the paint to dry before applying a second coat if needed.
- Paint the doors: Paint the doors in the same manner as the trim, paying attention to the edges and any decorative details. It is often best to remove the doors from their hinges for easier painting. Place them on a flat surface or sawhorses, and follow the same steps as painting the trim. Allow the paint to fully dry before reattaching the doors.
- Touch up any areas: Once the trim and doors are completely dry, inspect them for any missed spots or uneven coverage. Use a brush or small roller to touch up these areas with the paint color of your choice.
Painting the trim and doors adds the final touches to your open concept kitchen and living room. By following these steps and taking your time to achieve a smooth and consistent finish, you can enhance the overall look of the space. With the trim and doors painted to perfection, it’s time to move on to the next step: creating a cohesive color scheme.
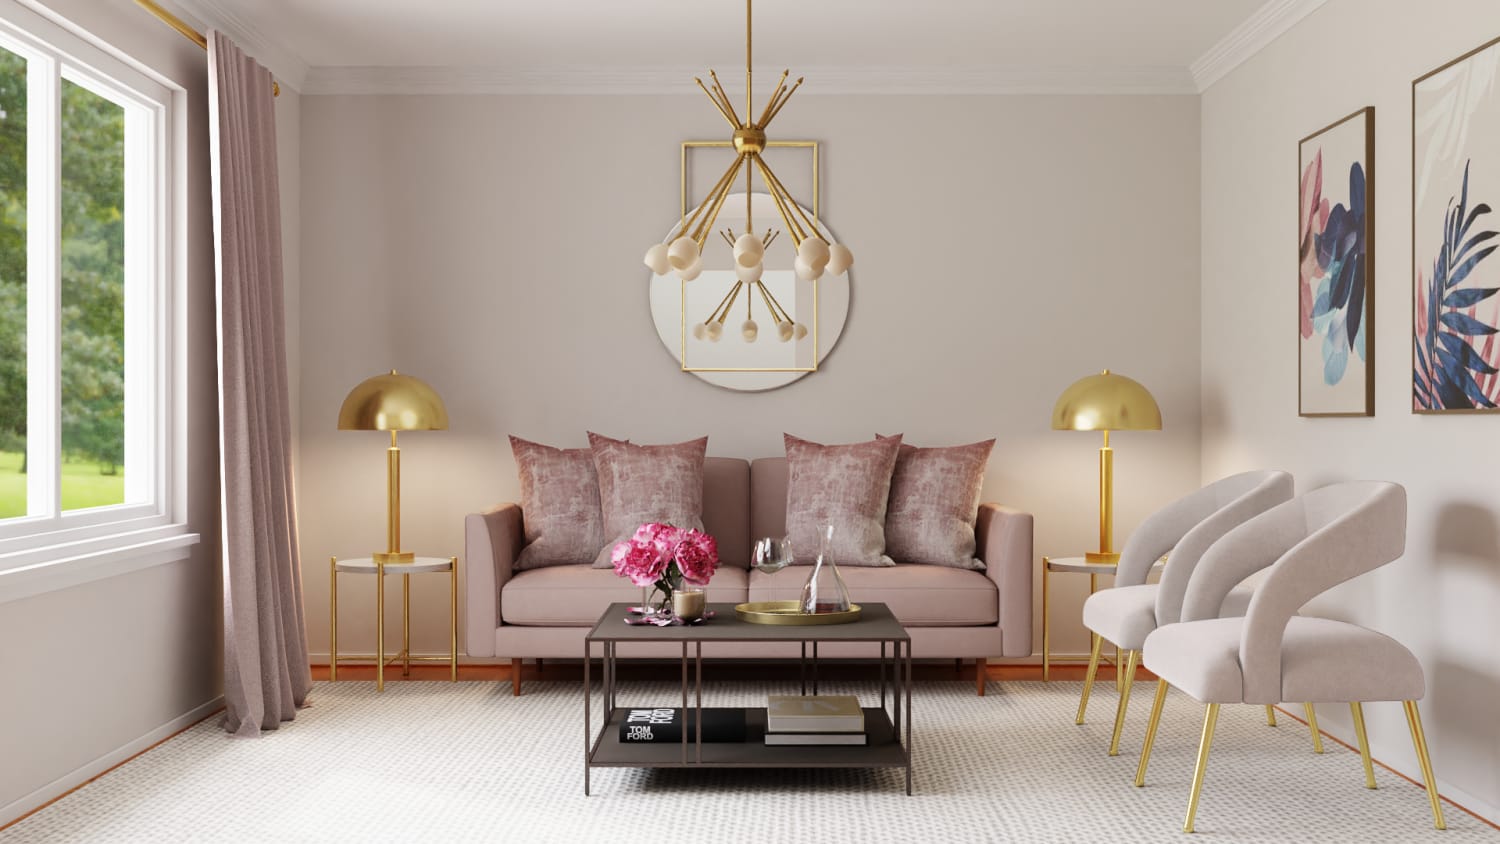
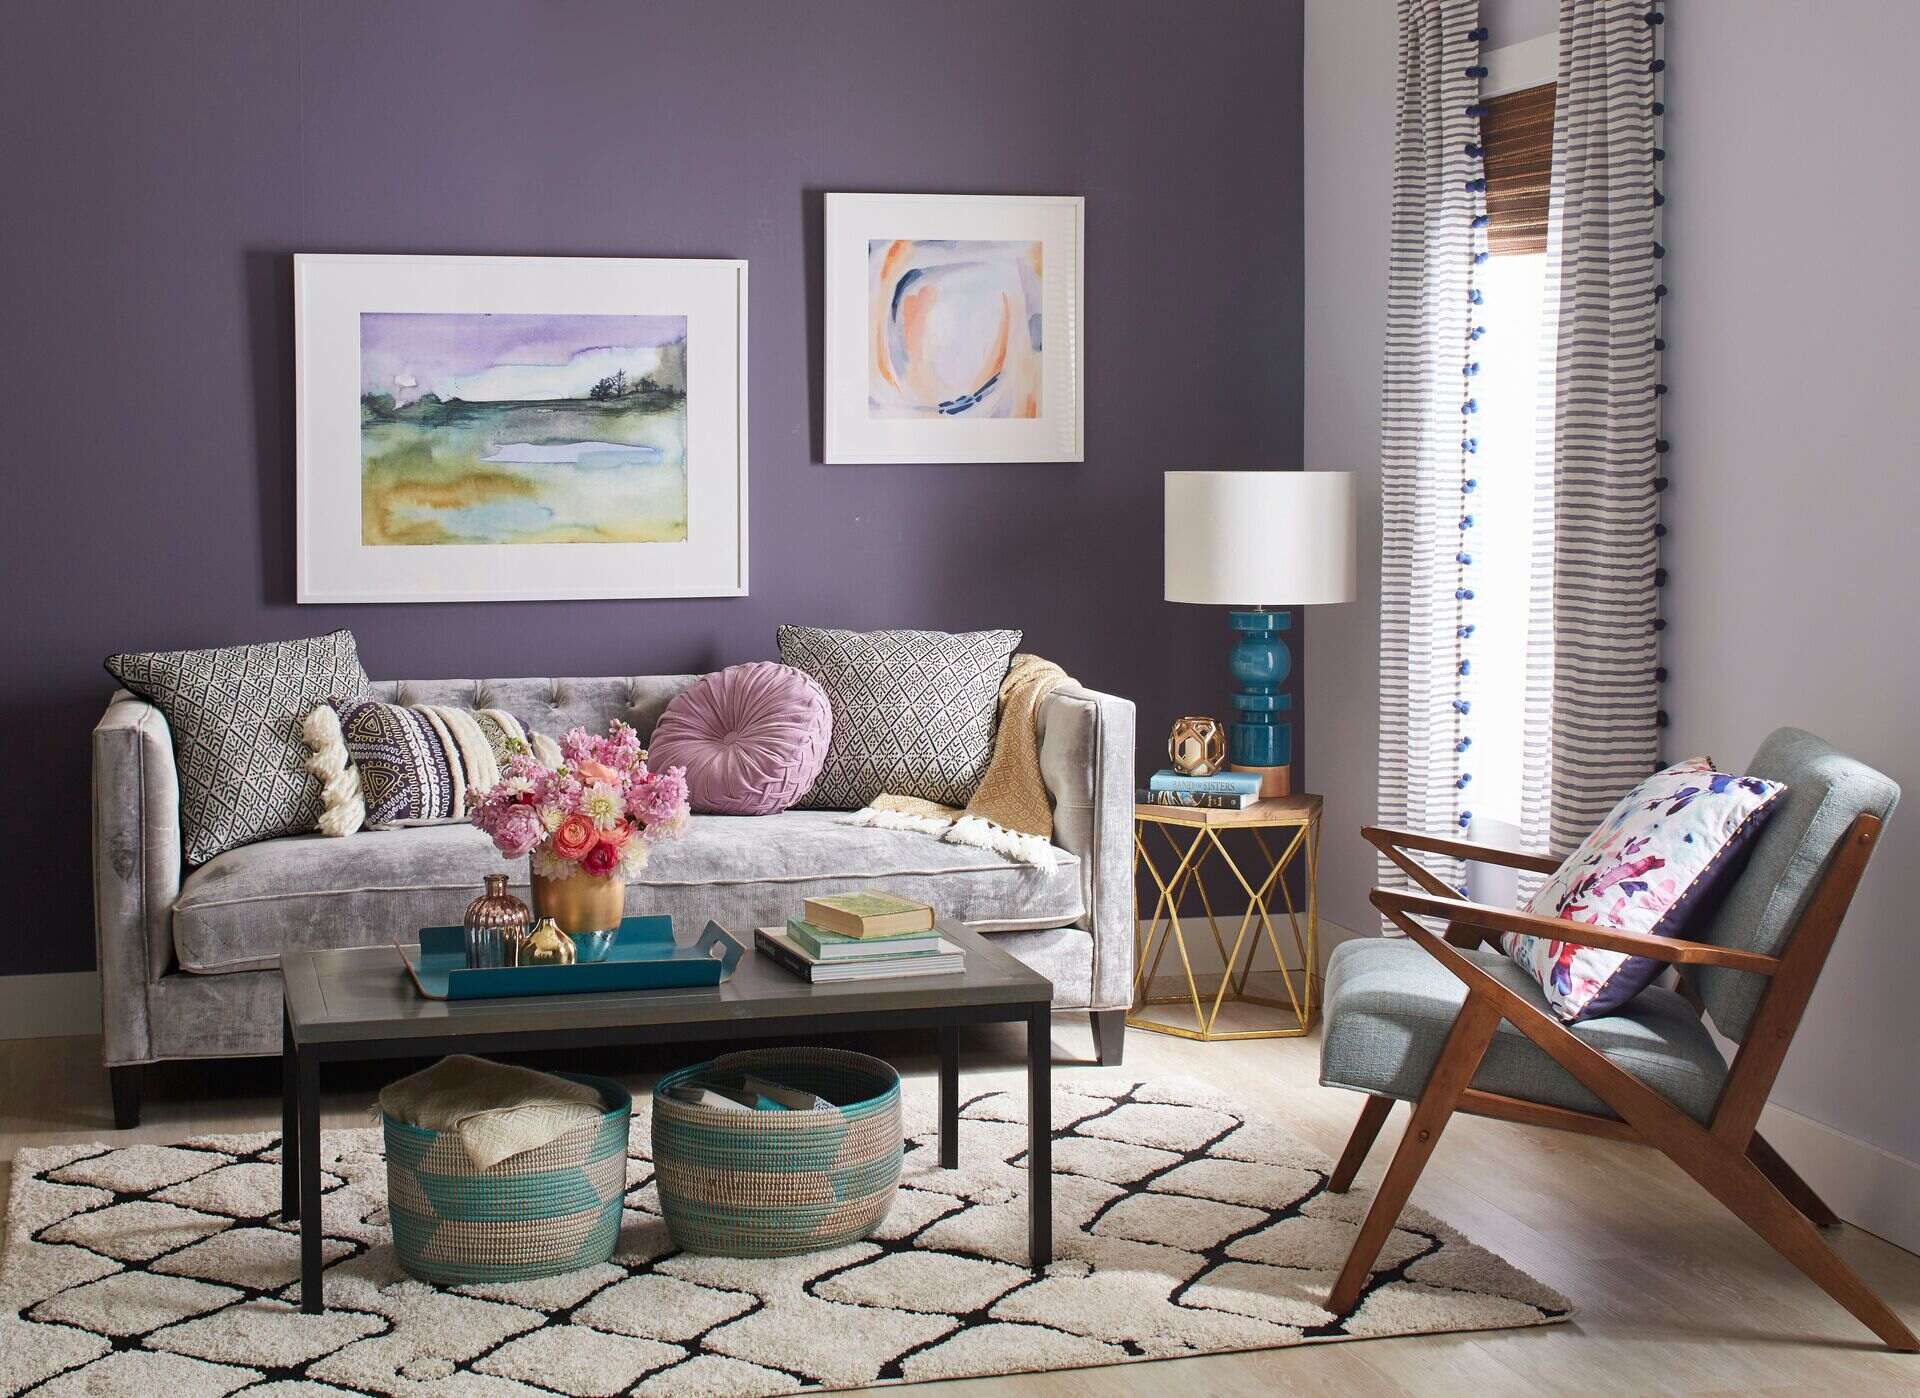
Step 6: Create a Cohesive Color Scheme
Creating a cohesive color scheme is essential to bring harmony and balance to your open concept kitchen and living room. By selecting complementary colors and coordinating different elements, you can achieve a visually stunning and unified look. Follow these steps to create a cohesive color scheme:
- Refer to your chosen paint colors: Begin by referencing the paint colors you selected for your walls, ceilings, trim, and doors. Make sure the colors work well together and create a harmonious palette.
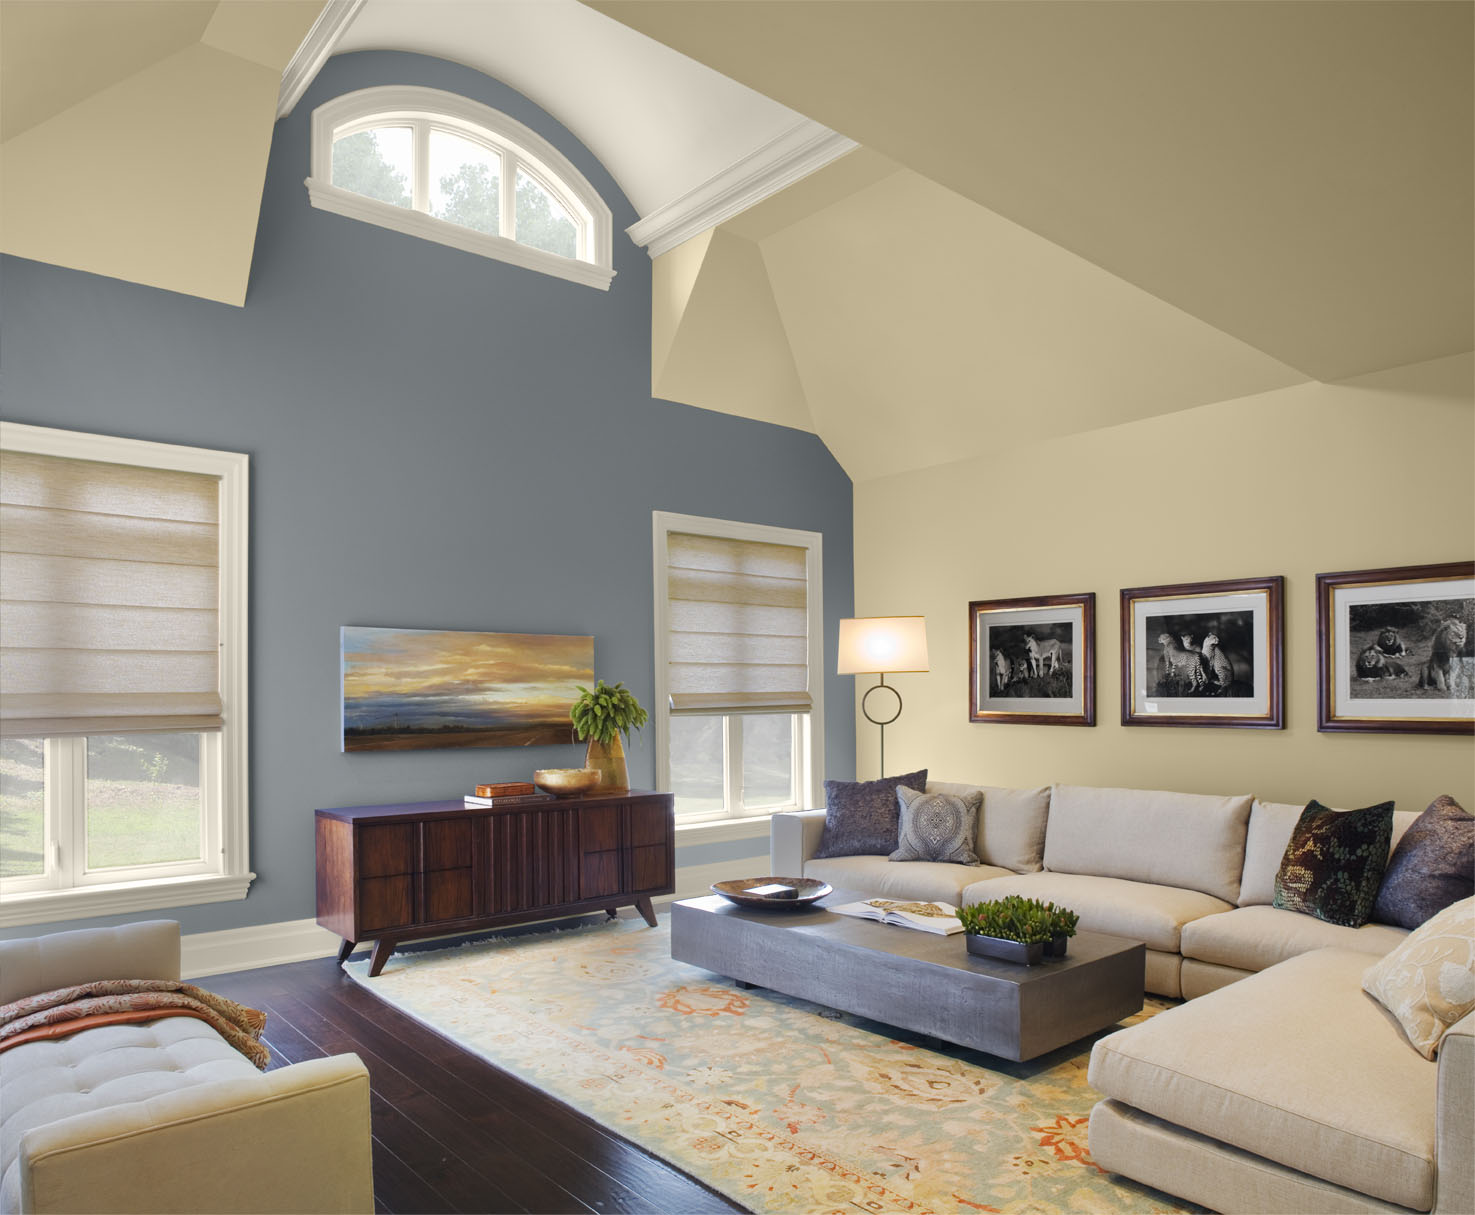
- Consider the overall style: Take into account the style and ambiance you want to create in your space. Do you prefer a monochromatic color scheme, where different shades of a single color are used? Or do you prefer contrasting colors that create a bold and vibrant look?
- Coordinate with existing elements: Look at the existing elements in your open concept kitchen and living room, such as furniture, fixtures, and accessories. Consider how the paint colors will harmonize with these elements. If necessary, make adjustments to your color scheme to ensure a cohesive look.
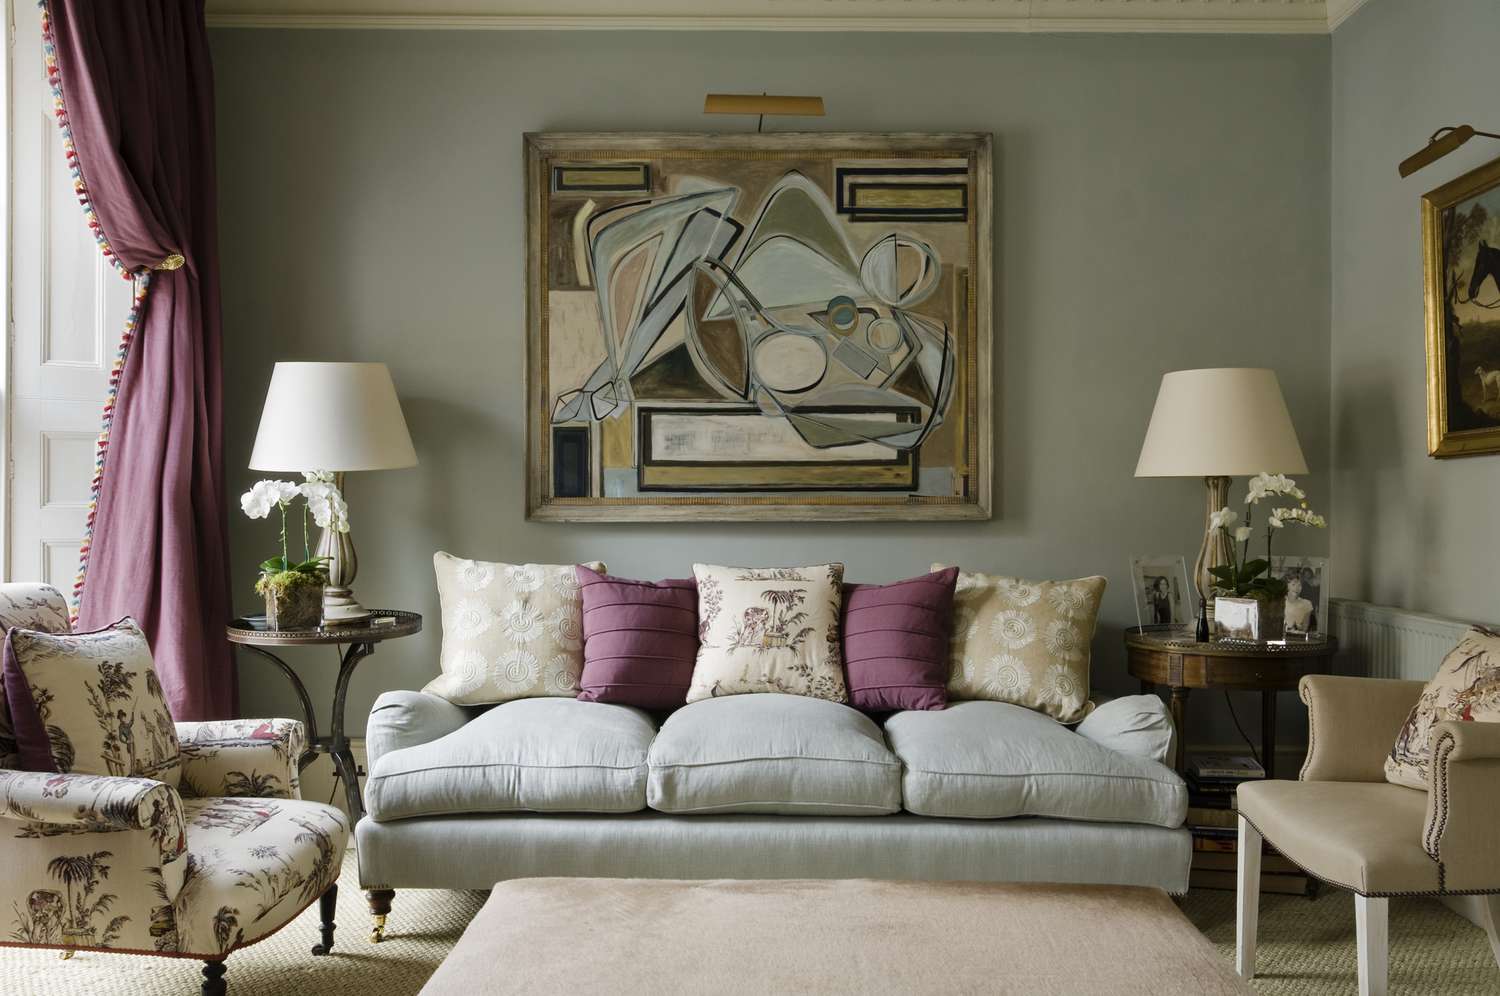
- Balance warm and cool tones: Strive for balance between warm and cool tones in your color scheme. Warm tones, such as reds and yellows, create a cozy and inviting atmosphere, while cool tones, such as blues and greens, promote a calming and serene environment.
- Add accent colors: Incorporate accent colors to add visual interest and depth to your space. These can be introduced through throw pillows, rugs, curtains, or artwork. Choose colors that complement the main color scheme and create focal points in the room.
- Experiment and visualize: Use color swatches or online visual tools to experiment with different color combinations and see how they work together. This will help you visualize the final result and make any adjustments before committing to the color scheme.
Creating a cohesive color scheme is the key to tying together the different elements in your open concept kitchen and living room. By considering the paint colors, style, existing elements, warm and cool tones, and accent colors, you can achieve a harmonious and visually appealing space. With the color scheme established, you’re one step closer to completing your project.
Step 7: Allow Sufficient Drying Time
Once you’ve completed the painting process for your open concept kitchen and living room, it’s crucial to allow sufficient drying time for the paint to fully cure. Rushing this step can lead to smudges, damage, and a less durable finish. Follow these guidelines to ensure your paint job dries properly:
- Refer to the paint can labels: Different paint brands and types may have varying drying times. Always refer to the instructions on the paint can for specific guidelines.
- Allow for ventilation: Proper airflow can help expedite the drying process. Open windows and doors or use fans to encourage air circulation. This will promote the release of moisture and prevent a stale environment.
- Avoid touching or moving furniture: Minimize contact with freshly painted surfaces to avoid smudging or leaving imprints. It’s best to wait until the paint has completely dried before moving furniture back into place.
- Be patient: Depending on factors such as temperature and humidity, paint can take anywhere from a few hours to several days to dry completely. It’s essential to be patient and not rush the process.
- Test the dryness: To check if the paint is dry, lightly touch a small, inconspicuous area. If it feels tacky or leaves a mark, it’s not fully dry. Wait until the surface feels dry to the touch before proceeding with any additional steps or touching the painted surfaces.
- Consider a curing period: While the paint may be dry to the touch, it may take several weeks for it to fully cure and harden. During this time, be cautious with sharp objects or heavy items that may cause damage.
Allowing sufficient drying time is crucial for achieving a professional and long-lasting paint job. By following these guidelines and being patient, you ensure that the paint in your open concept kitchen and living room dries properly and maintains its integrity. With the paint fully dried, you’re ready for the final step: adding finishing touches to complete the transformation of your space.
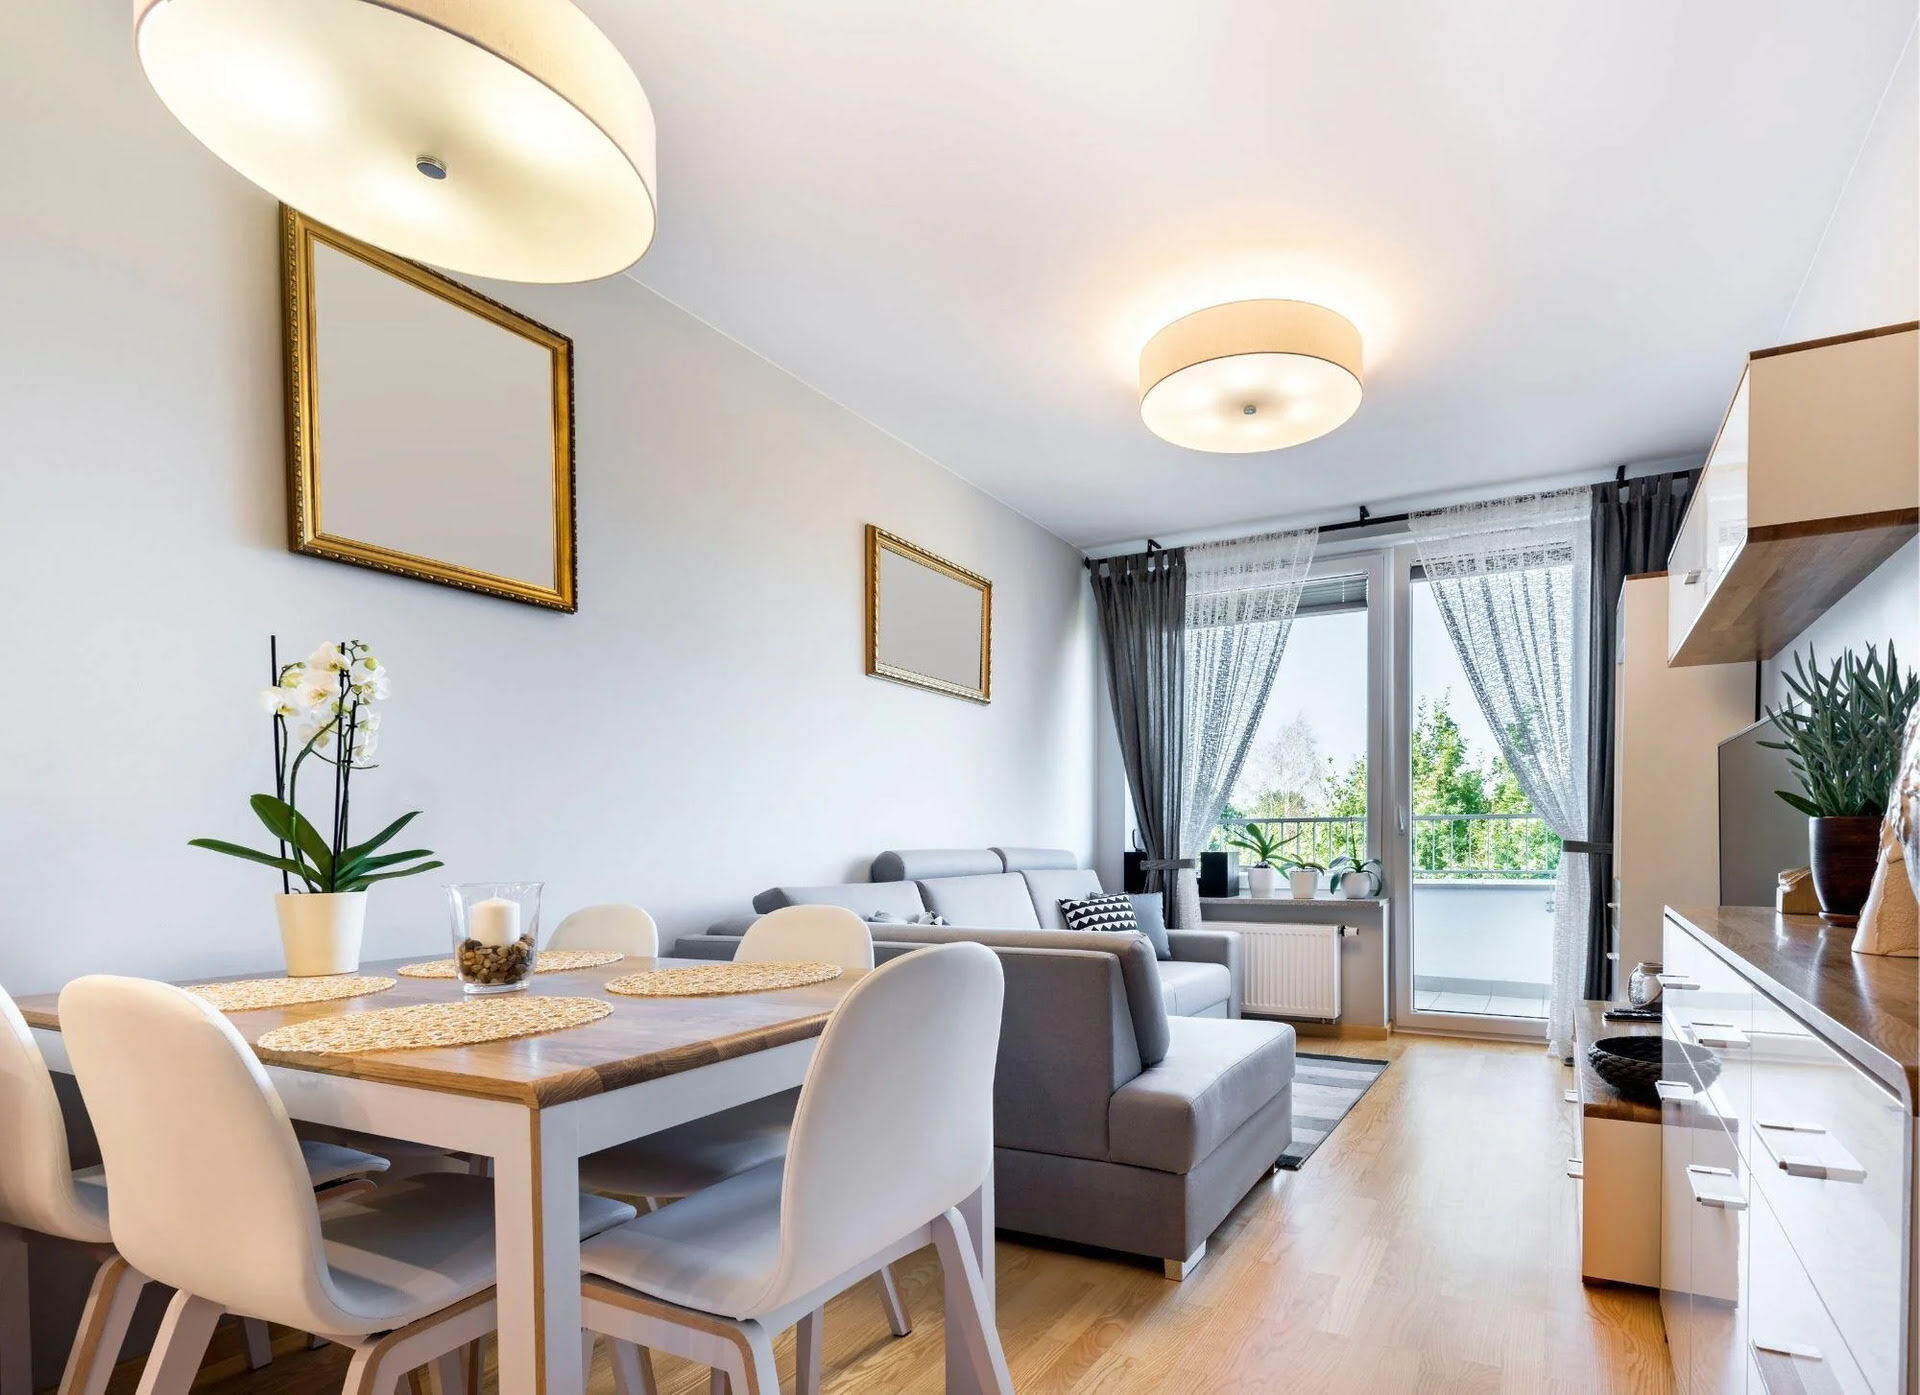
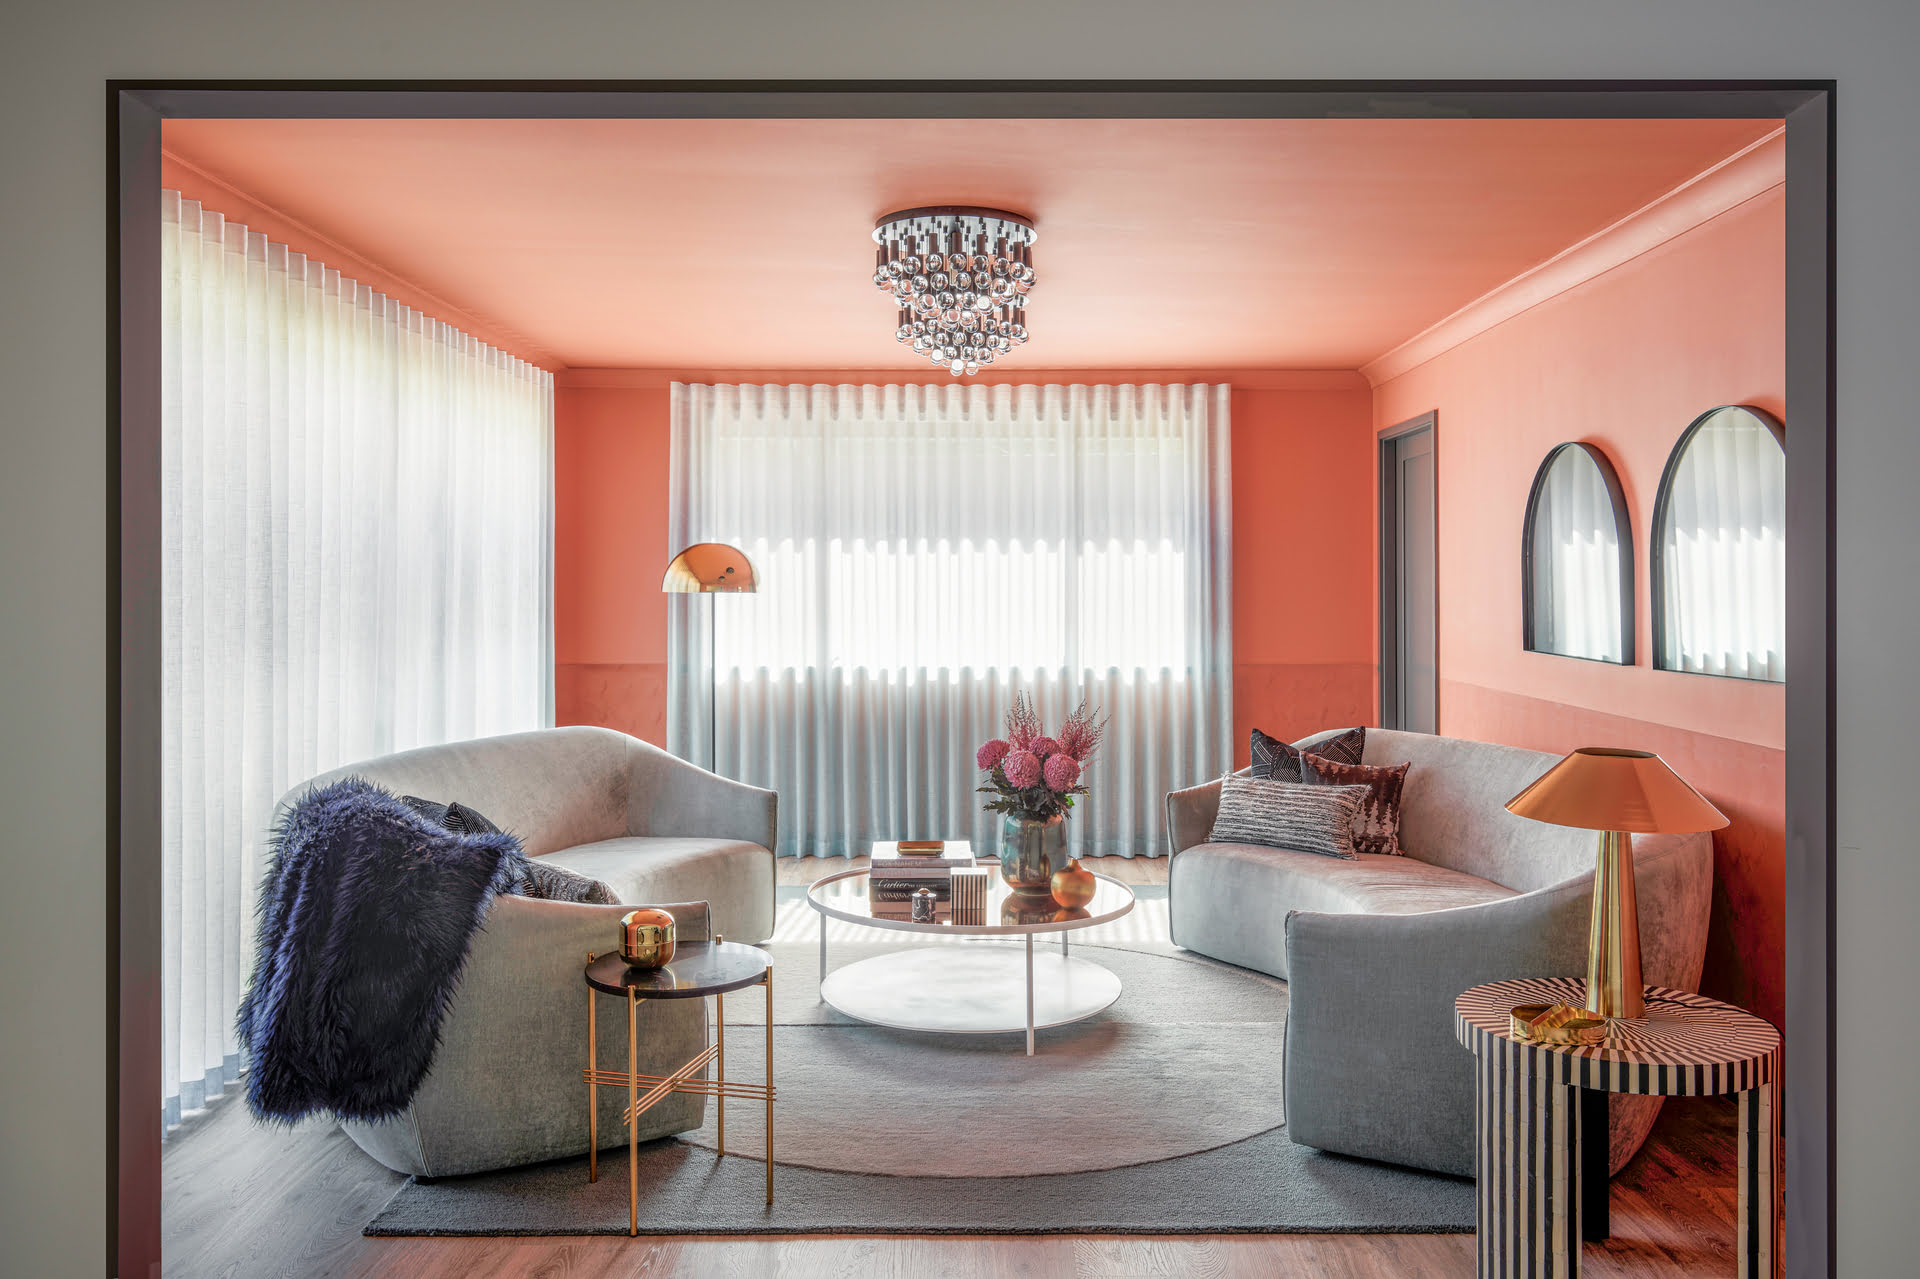
Step 8: Add Finishing Touches
With your open concept kitchen and living room freshly painted, it’s time to add the finishing touches that will truly bring your space to life. These final details can enhance the overall aesthetics and make the room feel complete. Consider the following ideas to add those perfect finishing touches:
- Accessorize with décor: Choose decorative elements that complement your color scheme and personal style. This can include throw pillows, curtains, rugs, and artwork that tie the room together and add personality.
- Upgrade lighting fixtures: Replace outdated or generic light fixtures with modern and stylish ones that match the overall look of your space. Lighting can dramatically enhance the ambiance and functionality of an open concept kitchen and living room.
- Add plants or flowers: Bring a lively and refreshing vibe to your room by incorporating indoor plants or fresh flowers. Not only do they add a touch of nature, but they also improve air quality and create a welcoming atmosphere.
- Showcase unique features: If your open concept space has unique architectural features, such as exposed beams, brick walls, or a fireplace, make sure to highlight them. Apply contrasting paint colors, illuminate them with accent lighting, or arrange furniture to draw attention to these focal points.
- Consider window treatments: Choose window treatments, such as curtains or blinds, that coordinate with your color scheme while also providing privacy and light control. This can add texture and a finished look to your windows.
- Arrange furniture strategically: Position your furniture in a way that encourages conversation and flow between the kitchen and living room areas. Create distinct zones while maintaining a sense of openness and cohesion.
- Add personal touches: Incorporate items that reflect your personal taste and style, such as family photos, artwork, or sentimental objects. These personal touches will make the space feel warm and inviting.
Adding the finishing touches allows you to inject your own personality into the open concept kitchen and living room. These final details can transform the freshly painted space into a unique and inviting environment that reflects your individual style. Take the time to carefully curate your accessories and arrange your furniture to create a cohesive and welcoming atmosphere that you can enjoy for years to come.
With the finishing touches in place, step back and marvel at your beautifully painted and transformed open concept kitchen and living room. The effort and dedication that you’ve put into this project will undoubtedly pay off, creating a space that is visually stunning and a joy to spend time in.
Read more: Loft Living: Open Concept Done Right
Conclusion
Congratulations! You have successfully painted your open concept kitchen and living room, resulting in a space that is visually stunning and reflects your personal style. By following the step-by-step process outlined in this article, you have transformed your space into a cohesive and welcoming environment.
Choosing the right paint colors, preparing the space, protecting floors and furniture, and painting the ceilings, walls, trim, and doors were all essential steps in the process. By taking your time and paying attention to detail, you have achieved a professional finish that will be enjoyed for years to come.
Creating a cohesive color scheme tied the room together, allowing different elements to harmonize and create a balanced look. Adding finishing touches, such as décor, lighting fixtures, and personal touches, completed the transformation, infusing your unique style into the space.
Remember, allowing sufficient drying time was crucial to ensuring a flawless finish. Taking the time to properly let the paint cure will result in a durable and long-lasting paint job.
Now, it’s time to sit back, relax, and enjoy your beautifully painted open concept kitchen and living room. Whether you’re entertaining guests, spending quality time with family, or simply relaxing on your own, this space will undoubtedly be a source of pride and joy.
Thank you for following along with this guide, and we hope that it has been informative and helpful in your quest to paint your open concept kitchen and living room. Happy decorating!
Frequently Asked Questions about How To Paint An Open Concept Kitchen And Living Room
Was this page helpful?
At Storables.com, we guarantee accurate and reliable information. Our content, validated by Expert Board Contributors, is crafted following stringent Editorial Policies. We're committed to providing you with well-researched, expert-backed insights for all your informational needs.


0 thoughts on “How To Paint An Open Concept Kitchen And Living Room”