Home>Renovation & DIY>Tools & Equipment>How To Organize Tools In Tool Box

Tools & Equipment
How To Organize Tools In Tool Box
Published: March 3, 2024
Learn how to efficiently organize your tools in a tool box with our expert tips and ideas. Keep your tools and equipment easily accessible and neatly arranged.
(Many of the links in this article redirect to a specific reviewed product. Your purchase of these products through affiliate links helps to generate commission for Storables.com, at no extra cost. Learn more)
Sorting Tools by Type
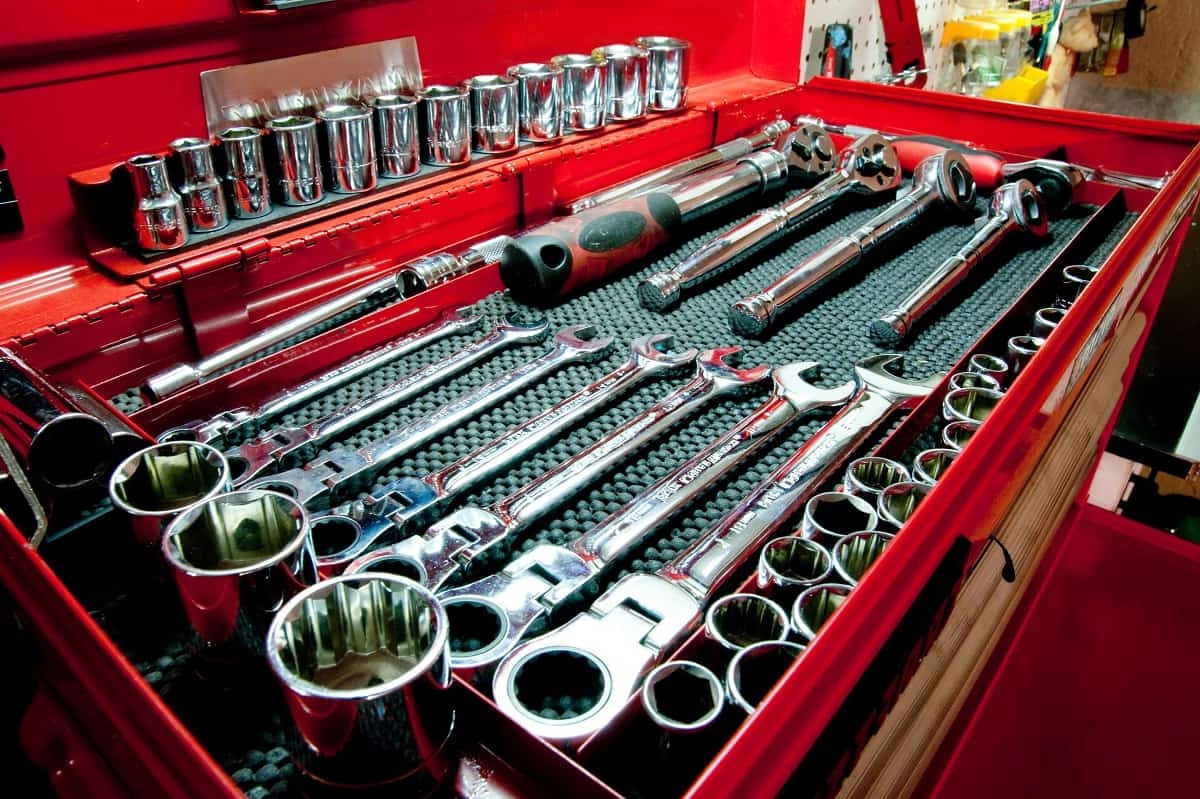
When it comes to organizing your tools in a tool box, one of the most effective methods is to sort them by type. This means grouping similar tools together, such as screwdrivers, wrenches, pliers, and hammers. By doing this, you can easily locate the specific tool you need without having to rummage through a jumble of items. Not only does sorting by type save time, but it also helps to keep your tool box neat and tidy. Here are some tips for sorting your tools by type:
-
Separate Hand Tools from Power Tools: Start by separating your hand tools from your power tools. Hand tools like screwdrivers, pliers, and wrenches can be grouped together, while power tools such as drills and sanders can be placed in a separate section of the tool box.
-
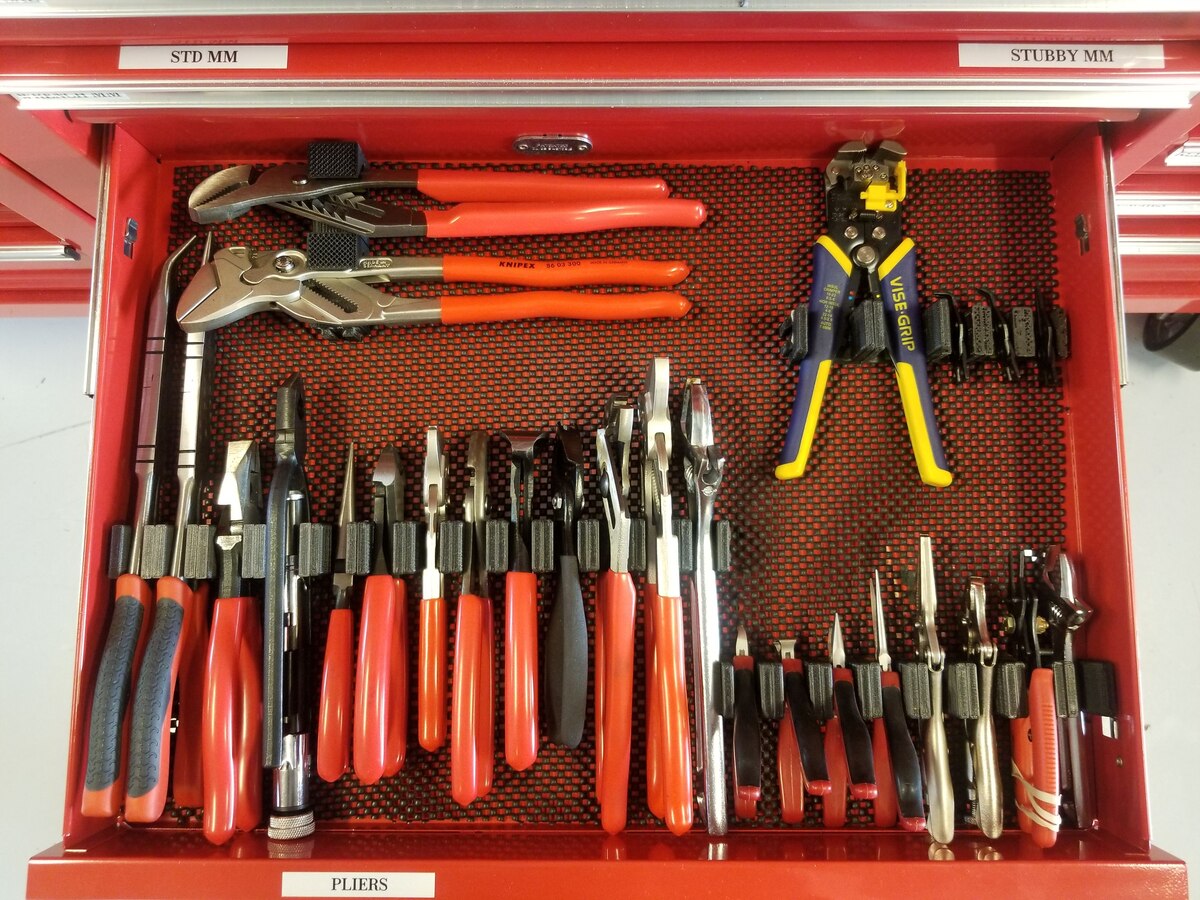
Group Similar Tools Together: Within each category, further group similar tools together. For example, within the hand tools section, you can group all the screwdrivers together, all the pliers together, and so on. This makes it easier to find the specific tool you need when working on a project.
-
Consider Frequency of Use: Another factor to consider when sorting tools by type is the frequency of use. Place the tools you use most often in easily accessible areas of the tool box, while those used less frequently can be placed towards the back or bottom.
By sorting your tools by type, you can streamline your workflow and make your tool box a more efficient and organized space.
Key Takeaways:
- Keep your tool box organized by sorting tools by type, utilizing drawer organizers, labeling and categorizing tools, maximizing vertical space, and securing loose items. This makes finding and storing tools easier and more efficient.
- Use foam inserts, toolbox liners, bungee cords, drawer latches, and Velcro to secure loose items in your tool box. This prevents clutter and damage, whether at home or on the go.
Read more: What Tool Box To Buy
Utilizing Drawer Organizers
Drawer organizers are a game-changer when it comes to keeping your tools in order. These nifty compartments help to prevent your tools from becoming a jumbled mess, making it easier to find what you need when you need it. Here's how you can make the most of drawer organizers in your tool box:
-
Select the Right Size: Before purchasing drawer organizers, measure the dimensions of your tool box drawers to ensure that the organizers fit snugly. You want them to maximize the use of space without being too cramped.
-
Customize Compartments: Many drawer organizers come with adjustable dividers, allowing you to customize the size of each compartment to fit your specific tools. This is especially useful for accommodating tools of various shapes and sizes.
-
Separate Small Items: Drawer organizers are perfect for keeping small items such as screws, nails, and bolts neatly separated. This prevents them from getting mixed up and makes it easier to locate the right fastener for your project.
-
Utilize Stackable Organizers: If your tool box has deep drawers, consider using stackable drawer organizers to make the most of the vertical space. This allows you to create multiple layers of compartments, maximizing storage capacity.
By utilizing drawer organizers in your tool box, you can maintain a tidy and systematic arrangement of your tools, ensuring that everything has its place and is easily accessible when needed.
Labeling and Categorizing Tools
Labeling and categorizing your tools is a crucial step in maintaining an organized tool box. Not only does it help you quickly identify the tools you need, but it also ensures that everything is returned to its proper place after use. Here's how you can effectively label and categorize your tools:
-
Use Clear Labels: Invest in a label maker or pre-printed labels to clearly mark the designated spots for each tool. Clear labels make it easy to read and understand, even at a glance.
-
Categorize by Function: Group your tools based on their function. For instance, you can have separate sections for cutting tools, measuring tools, fastening tools, and so on. This categorization makes it intuitive to locate the right tool for the task at hand.
-
Color Coding: Consider using color-coded labels or tags to further differentiate between tool categories. For example, all electrical tools could have red labels, while plumbing tools could have blue. This visual cue can significantly speed up the tool-finding process.
-
Create a Master Inventory: Keep a master inventory list of all the tools in your tool box and their designated locations. This serves as a reference in case a tool is misplaced, and also helps in keeping track of missing tools.
-
Utilize Drawer Fronts: If your tool box has drawers, utilize the front of each drawer to list the contents inside. This quick reference guide saves time and effort, especially when you're in a hurry.
By labeling and categorizing your tools, you not only maintain an organized tool box, but you also contribute to a safer work environment by ensuring that tools are returned to their proper places after use.
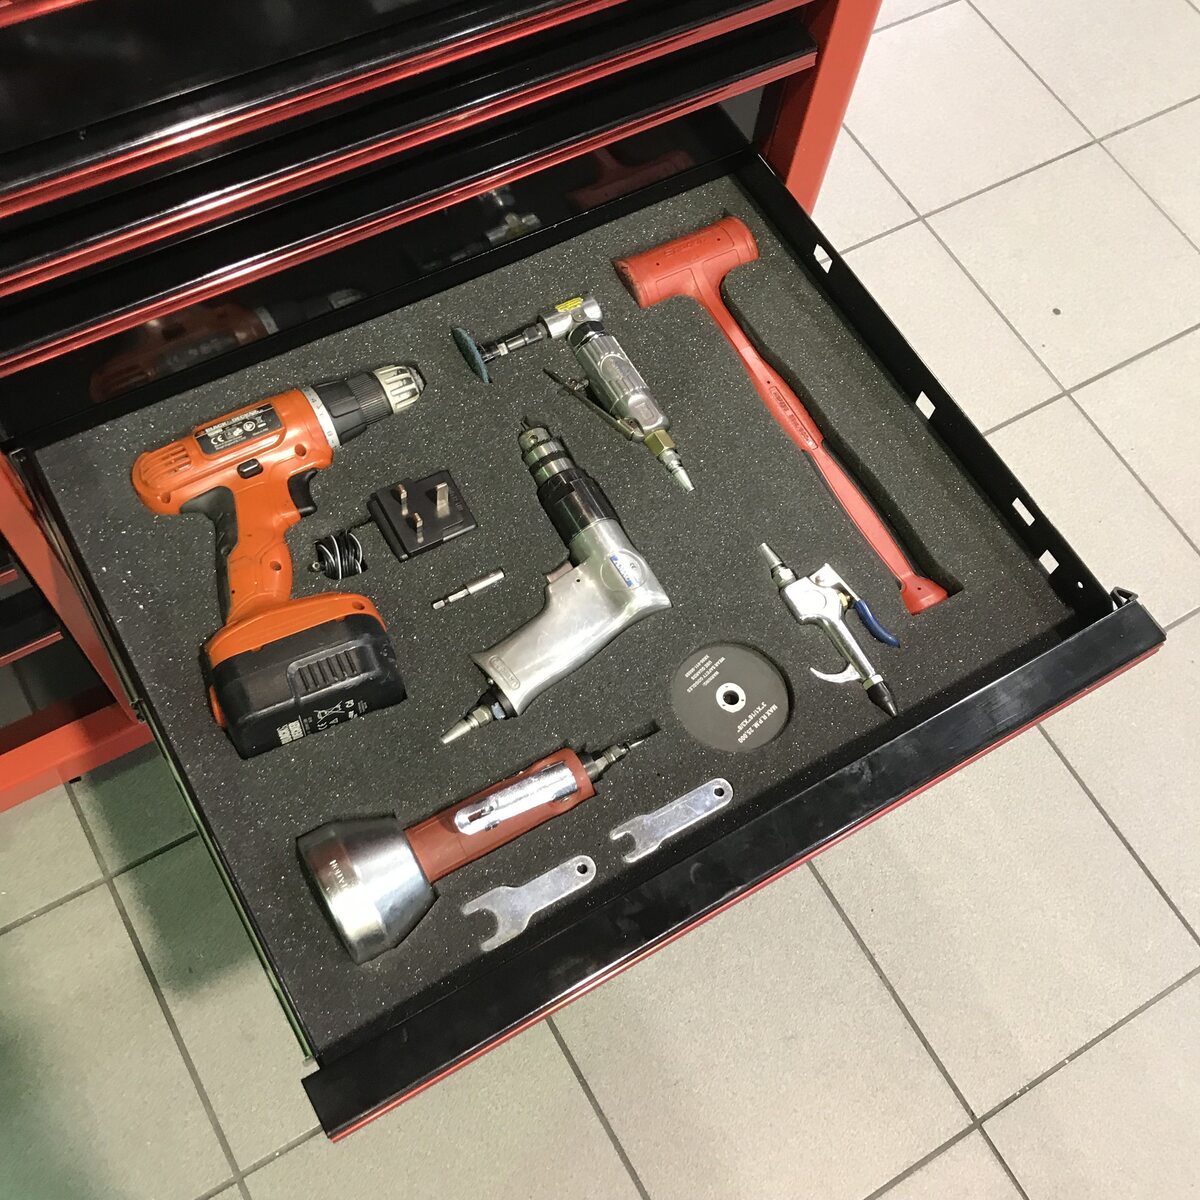
Use foam inserts or shadow boards to create designated spots for each tool in your toolbox. This will help keep everything organized and make it easy to see if any tools are missing.
Maximizing Vertical Space
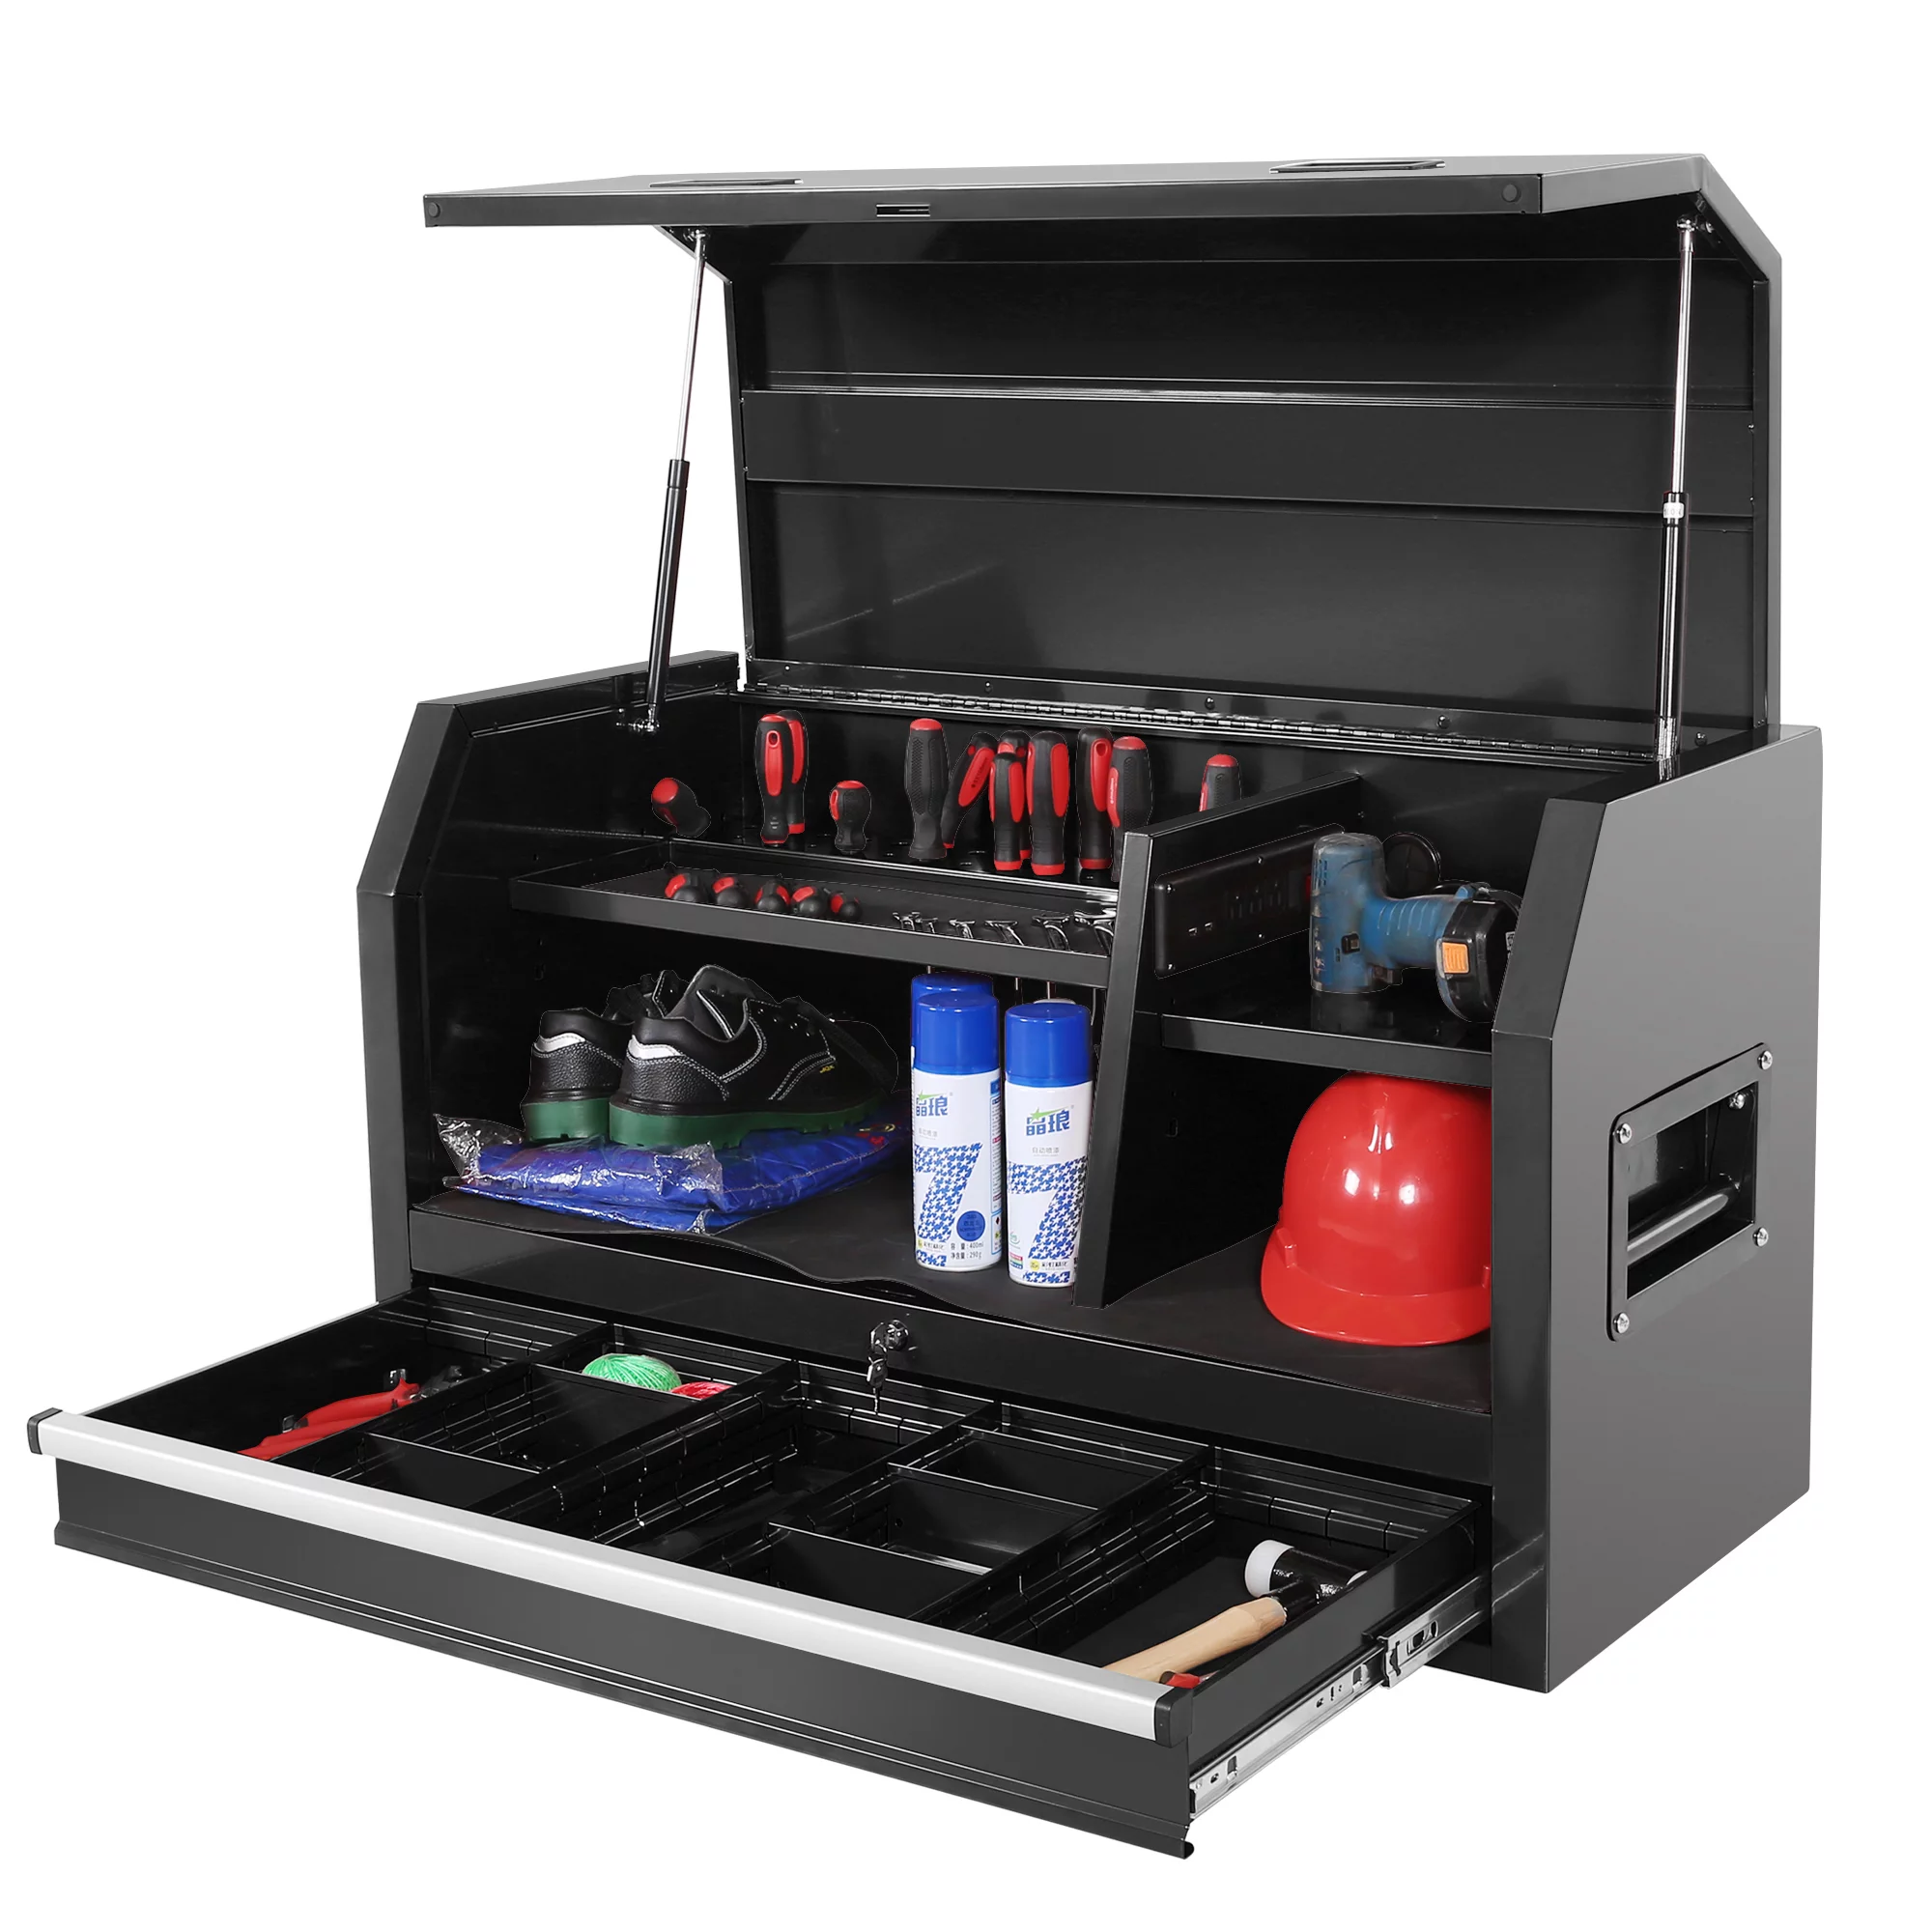
When it comes to organizing a tool box, making the most of vertical space is essential for efficient storage. Here are some strategies to maximize the vertical space in your tool box:
-
Utilize Pegboards: Installing a pegboard on the inner side of the tool box lid or on the back wall of the box provides a vertical storage solution. Pegboards allow you to hang frequently used tools such as wrenches, pliers, and screwdrivers, keeping them within easy reach.
-
Add Magnetic Strips: Magnetic strips are a versatile way to store metal tools vertically. Simply attach the magnetic strips to the inner walls of the tool box, and you can easily mount metal tools such as knives, scissors, and other small items, freeing up drawer and floor space.
-
Invest in Tool Hooks: Tool hooks are a practical solution for hanging larger tools such as hammers, saws, and power drills. By hanging these tools vertically, you can save valuable drawer space and keep them organized and easily accessible.
-
Consider Modular Shelving: If your tool box has a spacious interior, consider adding modular shelving units. These shelves can be adjusted to different heights, allowing you to create multiple levels of storage for various tools and equipment.
-
Stackable Storage Bins: Stackable storage bins are an excellent way to maximize vertical space while keeping smaller items organized. These bins can be stacked on top of one another, providing a space-saving solution for storing screws, nails, bolts, and other small hardware.
By implementing these strategies, you can make the most of the vertical space in your tool box, ensuring that every inch is utilized efficiently and that your tools are easily accessible when you need them.
Securing Loose Items
Securing loose items in your tool box is essential to prevent clutter and ensure that everything stays in place, especially when you're on the move. Here are some effective methods for securing loose items in your tool box:
-
Use Foam Inserts: Foam inserts are a great way to secure and protect delicate or fragile tools. By cutting out custom shapes in the foam, you can create snug compartments for items such as precision screwdrivers, electronic components, or measuring instruments. This not only prevents them from shifting during transportation but also adds an extra layer of protection.
-
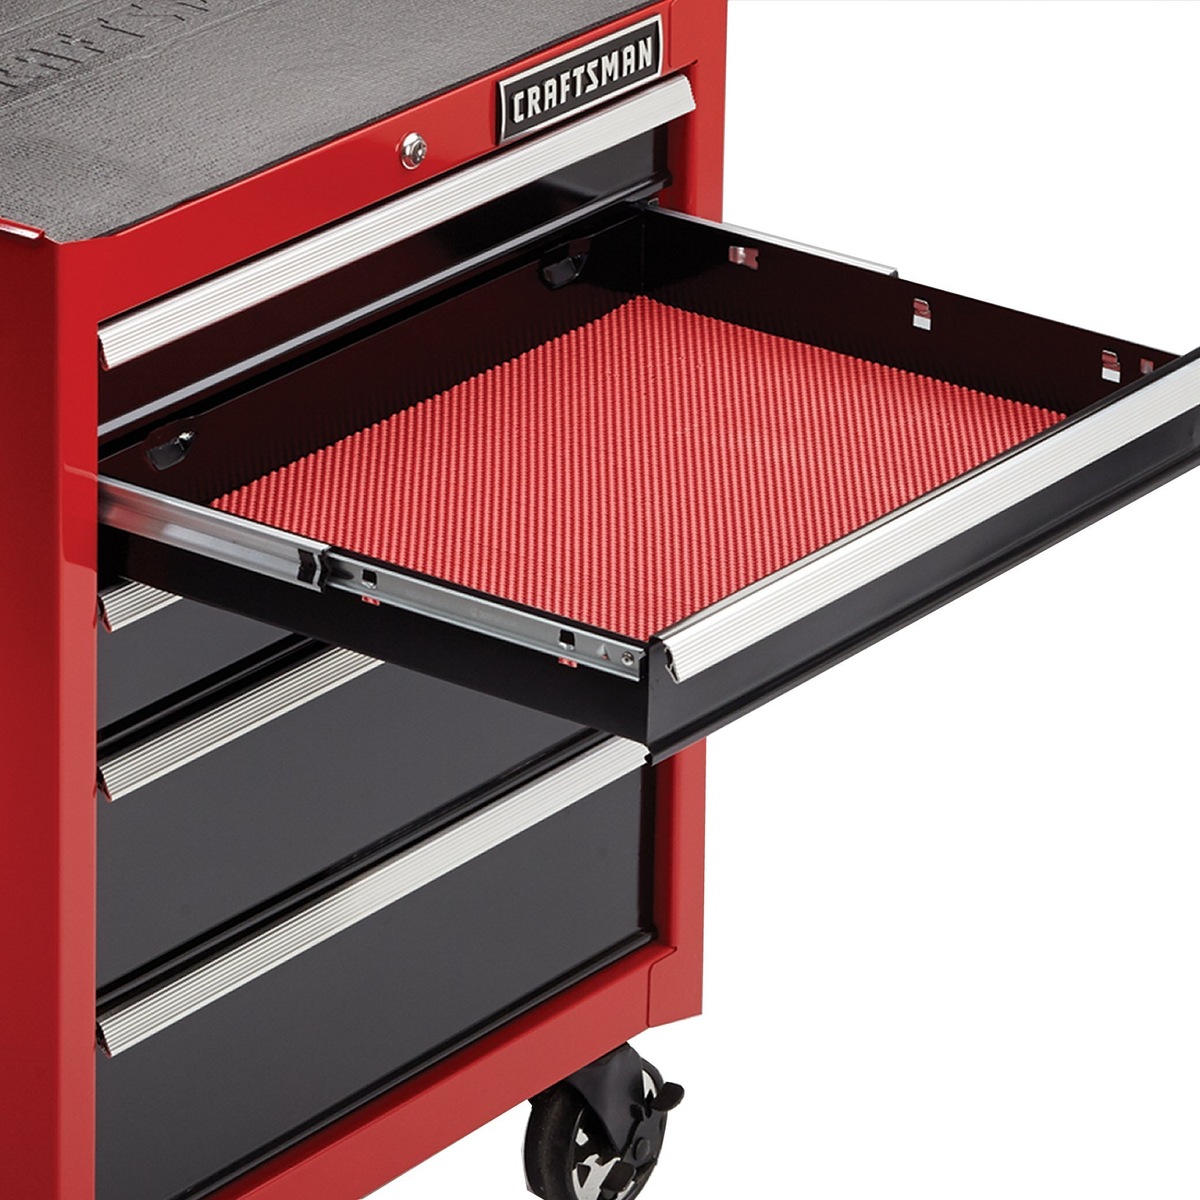
Employ Toolbox Liners: Toolbox liners, typically made of non-slip materials, help keep your tools and items in place. These liners can be cut to fit the drawers or compartments of your tool box, providing a cushioned surface that prevents tools from sliding around. They are particularly useful for keeping items secure in mobile tool boxes or during transportation.
-
Utilize Bungee Cords or Straps: For larger tools or items that don't fit neatly into compartments, bungee cords or straps can be used to secure them in place. Attach anchor points to the interior of your tool box and use the cords or straps to hold down items such as power tools, extension cords, or bulky equipment. This prevents them from shifting and causing potential damage to other tools.
-
Implement Drawer Latches: If your tool box has drawers, consider installing drawer latches to keep them from sliding open during transport. This not only secures the tools inside but also prevents the drawers from jostling and potentially causing damage to the tools or the box itself.
-
Use Velcro or Adhesive Mounts: Velcro strips or adhesive mounts can be used to secure smaller items such as flashlights, tape measures, or spare batteries to the inner walls of your tool box. This prevents them from rolling around or getting lost in the mix of larger tools.
By employing these methods to secure loose items in your tool box, you can maintain an organized and secure storage space for your tools and equipment, whether at home or on the go.
Frequently Asked Questions about How To Organize Tools In Tool Box
Was this page helpful?
At Storables.com, we guarantee accurate and reliable information. Our content, validated by Expert Board Contributors, is crafted following stringent Editorial Policies. We're committed to providing you with well-researched, expert-backed insights for all your informational needs.


0 thoughts on “How To Organize Tools In Tool Box”