Articles
How To Paint The Inside Of A Microwave Oven
Modified: September 1, 2024
Learn how to safely and effectively paint the inside of your microwave oven with these informative articles. Transform your kitchen with a fresh new look!
(Many of the links in this article redirect to a specific reviewed product. Your purchase of these products through affiliate links helps to generate commission for Storables.com, at no extra cost. Learn more)
Introduction
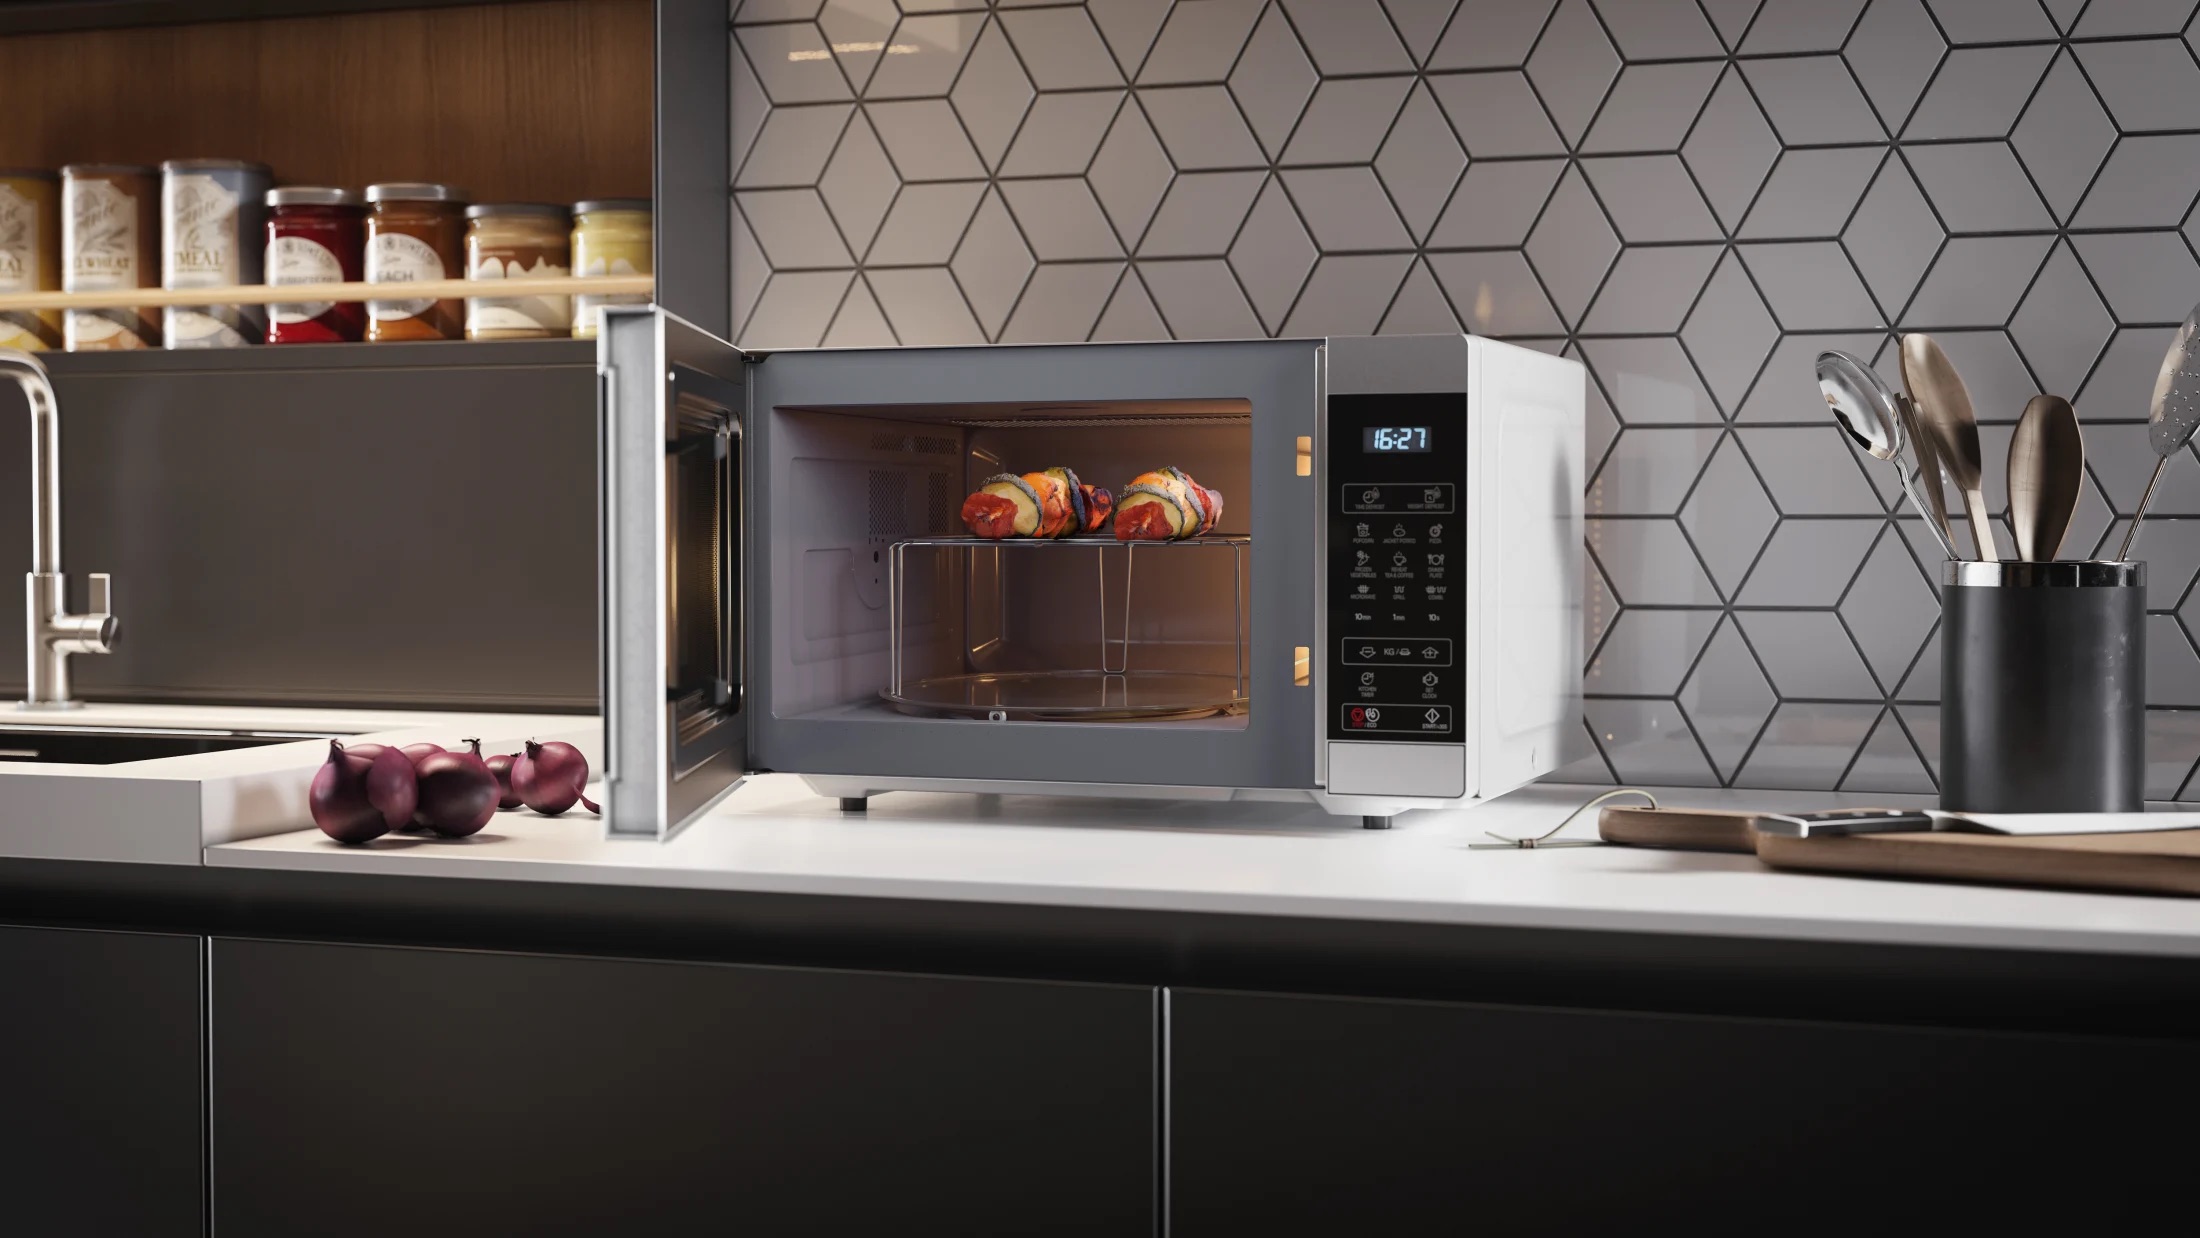
Welcome to our guide on how to paint the inside of a microwave oven! If you’re tired of the dull, outdated color in your microwave and want to give it a fresh new look, painting the interior can be a great solution. However, it’s important to approach this task with caution, as the interior of a microwave oven is exposed to heat and potential food splatters. By following the steps outlined in this article, you can safely and effectively transform the inside of your microwave oven with a vibrant new color.
Why Paint the Inside of a Microwave Oven?
Painting the inside of a microwave oven can serve both aesthetic and functional purposes. Firstly, it allows you to personalize the appearance of your microwave and match it with your kitchen décor. Whether you prefer a bold hue or a subtle hue that complements your existing color scheme, painting the inside of a microwave oven can add a touch of style to your kitchen.
Secondly, painting the interior can also provide a protective layer that makes it easier to clean and maintain. Over time, the interior of a microwave oven can become stained or discolored due to food splatters and general wear and tear. By applying a new layer of paint, you can create a smooth surface that is more resistant to stains and easier to wipe clean.
Safety First!
Before diving into the process of painting the inside of a microwave oven, it’s essential to prioritize safety. Microwaves produce high levels of electromagnetic waves, which can be harmful if not properly contained. Follow these safety precautions to ensure your well-being:
- Disconnect the microwave oven from the power source and remove the plug.
- Wear protective gloves and eyewear while working with the interior components.
- Avoid touching any electrical connections or live wires.
- Work in a well-ventilated area to prevent inhalation of fumes.
- Read and follow all instructions provided by the manufacturer.
By adhering to these safety guidelines, you can minimize potential risks and complete the painting process with peace of mind. Now that we’ve covered the importance of painting the inside of a microwave oven and safety precautions, let’s move on to the step-by-step process of transforming your microwave!
Key Takeaways:
- Transform your microwave oven with a fresh new look by safely painting the interior. Prioritize safety, choose heat-resistant, food-safe paint, and follow the step-by-step process for a stylish and durable finish.
- Enhance your kitchen’s aesthetic and functionality by painting the inside of your microwave oven. Follow safety precautions, choose the right paint, and apply it with care for a vibrant and long-lasting result.
Step 1: Safety Precautions Before Painting the Inside of a Microwave Oven
Before embarking on the project of painting the inside of your microwave oven, it is crucial to take the necessary safety precautions. As mentioned earlier, microwaves generate electromagnetic waves that can be hazardous if not properly contained. Follow these steps to ensure your safety throughout the process:
- Disconnect the Microwave: Start by unplugging the microwave oven and ensuring it’s completely disconnected from the power source. This step eliminates any risk of electrocution and avoids accidental activation during the painting process.
- Wear Protective Gear: Put on protective gloves and safety goggles to shield your hands and eyes from potential harm. These items will protect you from any accidental cuts or exposure to harmful chemicals.
- Remove the Microwave’s Interior Components: To access the inside of the microwave oven effectively, you’ll need to remove its interior components. This typically includes the turntable, roller ring, and any other removable parts. Refer to the manufacturer’s instructions to ensure you remove these components safely.
- Clean the Interior Thoroughly: It’s essential to clean the inside of the microwave oven before applying any paint. Use a mild cleaning solution and a sponge to remove any grease, stains, or food residues. Rinse and dry the interior thoroughly to create a clean surface for the paint to adhere to.
- Mask Off the Perimeter: To protect the outer areas of the microwave oven from accidental paint splatters, use painter’s tape to mask off the perimeter. This will ensure that only the interior will be painted, while the exterior remains untouched.
- Work in a Well-Ventilated Area: For your safety, it’s crucial to work in a well-ventilated area. Choose a location with proper air circulation, such as a ventilated kitchen or a workshop with open windows. This will help prevent the accumulation of fumes and ensure your comfort throughout the painting process.
By following these safety precautions, you can create a safe working environment and protect yourself from potential hazards. Once you have taken these necessary steps, you are ready to move on to the next stage of the process – removing the microwave oven’s interior components.
Step 2: Removing the Microwave Oven’s Interior Components
Now that you have taken the necessary safety precautions, it’s time to remove the microwave oven’s interior components. This step is essential to ensure easy access to the interior surfaces that need to be painted. Please note that the process may vary slightly depending on the make and model of your microwave oven. Follow these general steps:
- Check the User Manual: Refer to your microwave oven’s user manual to identify the specific components that need to be removed. Different models may have different designs and configurations, so it’s important to follow the manufacturer’s instructions.
- Unplug the Microwave: Before starting, ensure that the microwave oven is completely disconnected from the power source by unplugging the power cord.
- Remove the Turntable: Most microwave ovens have a removable turntable that sits on a spindle in the center. Gently lift the turntable from the microwave’s base and set it aside in a safe place.
- Take out the Roller Ring: The roller ring is a plastic or glass ring that supports the turntable and allows it to rotate smoothly. Remove the roller ring by simply lifting it upward and set it aside with the turntable.
- Detach the Microwave’s Side Panels: In some models, the side panels can be removed to access the interior of the microwave. Check the user manual for instructions on how to detach the side panels, if applicable.
- Remove Other Interior Components: Depending on the design of your microwave oven, there may be other removable components, such as a waveguide cover or a grease filter. Remove these components according to the manufacturer’s instructions.
During the process of removing the interior components, handle them with care to avoid any damage. It’s helpful to keep track of the component locations and store them in a safe place. This ensures that reassembling the microwave oven after painting will be a smooth and easy process.
With the interior components removed, you now have a clear and accessible workspace to clean and prepare the inside surfaces of your microwave oven for painting. Proceed to the next step to learn how to clean the interior effectively.
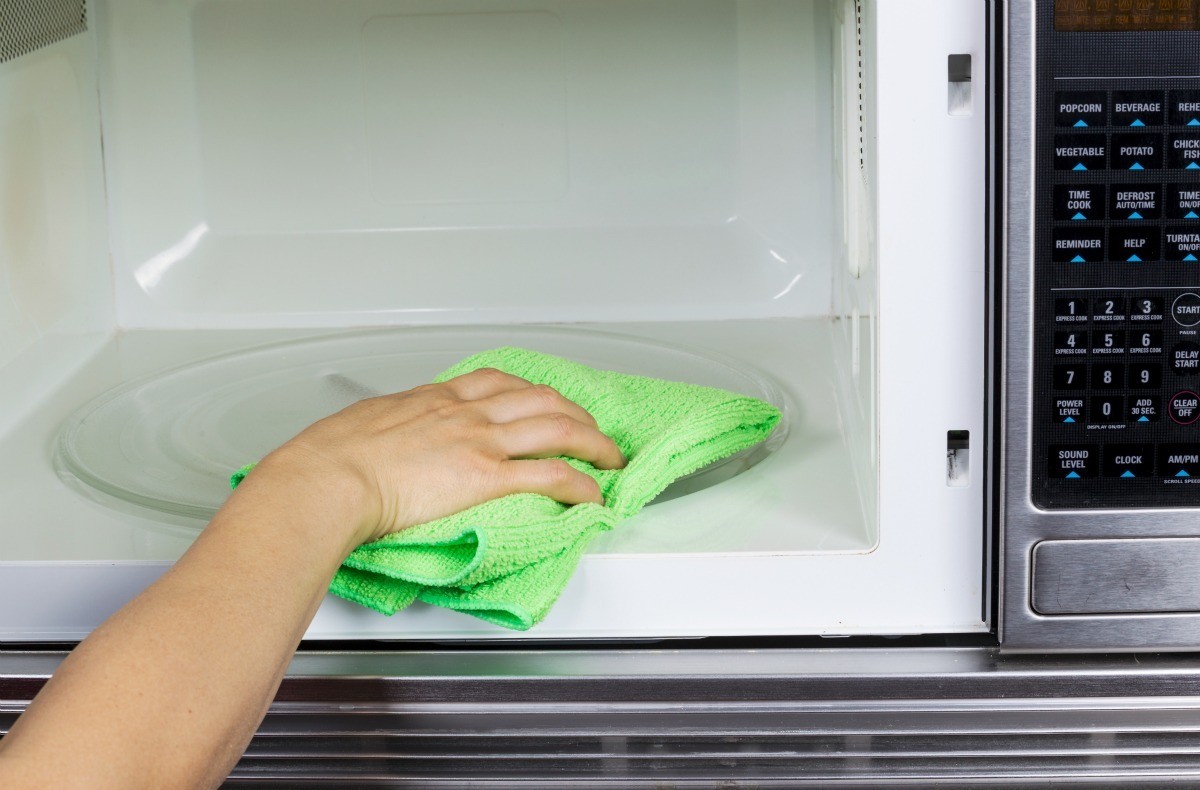
Step 3: Cleaning the Inside of the Microwave Oven
Now that you have successfully removed the interior components of your microwave oven, it’s time to give it a thorough cleaning. Cleaning the inside of the microwave is crucial to ensure that the paint adheres properly and provides a smooth finish. Follow these steps to clean the interior effectively:
- Prepare a Cleaning Solution: Mix a mild dishwashing detergent or a microwave-safe cleaning solution with warm water. Avoid using harsh chemicals or abrasive cleaners, as they can damage the interior surfaces.
- Apply the Cleaning Solution: Dampen a sponge or a soft cloth with the cleaning solution and gently scrub the interior surfaces of the microwave oven. Pay special attention to areas with stubborn stains or food residues. Be careful not to apply excessive pressure, as it may cause scratches.
- Clean the Turntable and Roller Ring: While cleaning the interior, don’t forget to also clean the removable components such as the turntable and roller ring. Use the cleaning solution and a non-abrasive sponge to clean these items thoroughly. Rinse and dry them before putting them back in the microwave.
- Rinse the Interior: Once you have scrubbed the interior surfaces, rinse them with clean water to remove any residue from the cleaning solution. Use a damp cloth or sponge to wipe away any remaining soap or cleaner.
- Dry the Interior: After rinsing, use a dry cloth or paper towel to dry the interior surfaces properly. Ensure that there is no moisture left, as it can negatively affect the paint adhesion.
It’s important to note that when cleaning the inside of the microwave, you should avoid getting water into any electrical components or openings. Take extra care around the microwave’s ventilation outlets and buttons.
By following these steps, you can ensure that the interior of your microwave oven is clean and ready for the next stage, which is preparing the microwave oven for painting. Let’s move on to the next step in the process.
Step 4: Preparing the Microwave Oven for Painting
With the interior of your microwave oven clean and dry, it’s time to prepare it for painting. Proper preparation will help the paint adhere better and ensure a smooth and durable finish. Follow these steps to prepare your microwave oven for painting:
- Choose a Well-Ventilated Workspace: Find a well-ventilated area where you can work comfortably. Adequate ventilation will help reduce fumes and ensure the paint dries properly.
- Protect the Surrounding Area: To prevent accidental paint splatters, cover the surrounding area with a drop cloth or newspaper. Make sure to keep the masked-off perimeter secure to avoid any paint reaching the exterior of the microwave oven.
- Sand the Interior Surfaces: Use fine-grit sandpaper or a sanding sponge to lightly sand the interior surfaces of the microwave. Sanding helps create a roughened surface for the paint to adhere to. Be gentle while sanding to avoid damaging the interior surfaces.
- Clean the Interior Again: After sanding, wipe away any dust or debris using a clean cloth or vacuum cleaner. Cleaning the interior surfaces again ensures that there is no residue left that could impact the paint adhesion.
- Apply a Bonding Primer: Apply a thin and even coat of bonding primer specifically designed for metal or heat-resistant surfaces. A bonding primer will promote better paint adhesion and increase the durability of the finish. Follow the manufacturer’s instructions for drying time before proceeding to the next step.
Preparing the microwave oven for painting sets the foundation for a successful and long-lasting paint job. By following these steps, you can ensure that the paint adheres properly and provides a smooth and durable finish. Now that your microwave oven is properly prepared, it’s time to choose the right paint for the interior. This will be covered in the next step.
Read more: How To Paint The Inside Of A Fireplace
Step 5: Choosing the Right Paint for the Interior of a Microwave Oven
When it comes to painting the interior of your microwave oven, it’s crucial to select a paint that is safe for use in a high-heat environment and food-friendly. The interior of the microwave oven is exposed to heat, steam, and potential food splatters, so choosing the right paint is essential for both functionality and safety. Here are some factors to consider when choosing the paint:
- Heat Resistance: Look for a paint specifically designed for high-heat applications, such as a heat-resistant enamel or a heat-resistant spray paint. These types of paint can withstand the heat produced by the microwave oven without melting or emitting harmful fumes.
- Food-Safe: Ensure that the paint you choose is food-safe, so it won’t release any harmful or toxic substances when in contact with food. Look for paint labels that indicate they are food-grade or safe for appliances that come into contact with food.
- Durability: Opt for a paint that is durable and long-lasting. The interior of the microwave oven is exposed to constant use, cleaning, and potential food splatters, so the paint should be able to withstand these factors without chipping or peeling.
- Color Options: Consider the color options available. Choose a color that matches your kitchen decor or a color that you find appealing. Keep in mind that darker colors may show stains or scratches more easily.
It’s recommended to consult with a professional at a paint store or read paint manufacturer’s labels to find suitable options for painting the interior of a microwave oven. They can guide you towards paints that meet the necessary safety requirements and provide recommendations based on your specific needs.
Remember, it’s essential to strictly follow the paint manufacturer’s instructions for proper application, drying time, and any additional steps needed for optimal results. Taking the time to choose the right paint will ensure that your newly painted microwave oven not only looks great but also maintains its functionality and safety standards.
Now that you have chosen the appropriate paint for the interior, it’s time to move on to the next step – applying the paint to the inside of the microwave oven.
Use microwave-safe paint to cover any rust spots or peeling paint inside the microwave. Make sure to thoroughly clean and dry the interior before applying the paint. Follow the manufacturer’s instructions for best results.
Step 6: Applying the Paint to the Inside of the Microwave Oven
Now that you have prepared the interior of your microwave oven and selected the appropriate paint, it’s time to apply it to the inside surfaces. Follow these steps to ensure a smooth and even application of the paint:
- Stir the Paint: Before applying the paint, thoroughly stir it using a stir stick or a paint mixer. This will help blend any settling or separation that may have occurred.
- Start with Thin Coats: It’s best to apply several thin coats of paint rather than one thick coat. This allows for better adhesion and prevents drips or uneven coverage. Use a foam brush or a paint sprayer for optimal application. Apply each coat in a smooth and even motion, covering the entire inside surface of the microwave.
- Allow for Drying Time: Follow the manufacturer’s instructions for the recommended drying time between coats. It’s important to allow each coat to dry completely before applying the next. This ensures that the paint adheres properly and minimizes the risk of smudging or uneven coverage.
- Inspect for Imperfections: After each coat has dried, inspect the painted surface for any imperfections, such as streaks, drips, or missed spots. If necessary, lightly sand any rough areas or imperfections before applying the next coat of paint.
- Build up Layers: Repeat the process of applying thin coats of paint and allowing for drying time until you achieve the desired level of coverage. It’s better to build up layers gradually rather than applying a single heavy coat, as this can lead to a more durable and even finish.
- Wait for Complete Drying and Curing: Once you have applied the final coat of paint, follow the manufacturer’s instructions for the recommended drying and curing time. This ensures that the paint fully sets and hardens, providing a durable and long-lasting finish.
Remember to work in a well-ventilated area and avoid direct contact with the painted surfaces until the paint has fully cured. It is also important to be patient during the drying and curing process to achieve the best results.
Congratulations! You have successfully applied the paint to the inside of your microwave oven. The next step is to allow the paint to dry and cure before reassembling the interior components. This will be covered in the following step.
Step 7: Drying and Curing the Paint
After applying the final coat of paint to the inside of your microwave oven, it’s crucial to allow the paint to fully dry and cure. The drying process ensures that the paint sets and becomes touch-dry, while the curing process allows the paint to harden and achieve its maximum durability. Follow these steps for proper drying and curing:
- Follow Manufacturer’s Instructions: Refer to the paint manufacturer’s instructions for the recommended drying and curing time. Different types of paint may have varying instructions, so it’s important to follow them precisely.
- Provide Adequate Ventilation: During the drying and curing process, make sure to maintain proper ventilation in the area. This helps dissipate any fumes and expedites the drying process.
- Avoid Contact: While the paint is drying and curing, avoid touching or using the microwave oven. This prevents smudging, dents, or scratches that may occur if the paint has not fully hardened.
- Be Patient: It’s essential to be patient and allow sufficient time for the paint to dry and cure. Rushing this process can lead to premature damage or imperfections in the finish.
Keep in mind that the drying and curing times can vary depending on factors such as paint type, temperature, and humidity levels. It’s better to wait longer than the minimum recommended time to ensure that the paint has fully hardened and become durable.
Once the paint has dried and cured, it’s time to move on to the next step, which involves reassembling the microwave oven’s interior components. This will be covered in the following step.
Step 8: Reinstalling the Microwave Oven’s Interior Components
Now that the paint on the inside of your microwave oven has dried and cured, it’s time to reassemble the interior components. Follow these steps to reinstall the components and put your microwave oven back together:
- Clean the Reinstalled Components: Before placing the interior components back into the microwave oven, ensure they are clean and free from any dust or debris. Use a damp cloth or a mild cleaning solution to wipe them down.
- Replace the Turntable and Roller Ring: Start by putting the turntable back into place on the spindle in the center of the microwave oven. Ensure it sits flat and rotates smoothly. Then, place the roller ring back on top of the turntable, aligning it properly.
- Reattach the Side Panels (if applicable): If you had removed the side panels of your microwave oven, carefully reattach them according to the manufacturer’s instructions. Make sure they are securely in place.
- Attach Other Interior Components: If you had removed any additional interior components, such as the waveguide cover or grease filter, put them back into position according to the manufacturer’s instructions. Ensure they fit properly and are secure.
- Double-Check Reinstallation: Take a moment to double-check that all interior components have been reinstalled correctly and are in their proper places. Ensure nothing is loose or misaligned.
Once you have reinstalled all the interior components, your microwave oven is now ready for use. However, before you start heating food, it’s recommended to carry out a quick test to ensure everything is functioning properly. This will be covered in the next step.
Congratulations on successfully reassembling the microwave oven’s interior components! Now, let’s move on to the final step – testing the newly painted microwave oven.
Read more: What Is A Microwave Oven
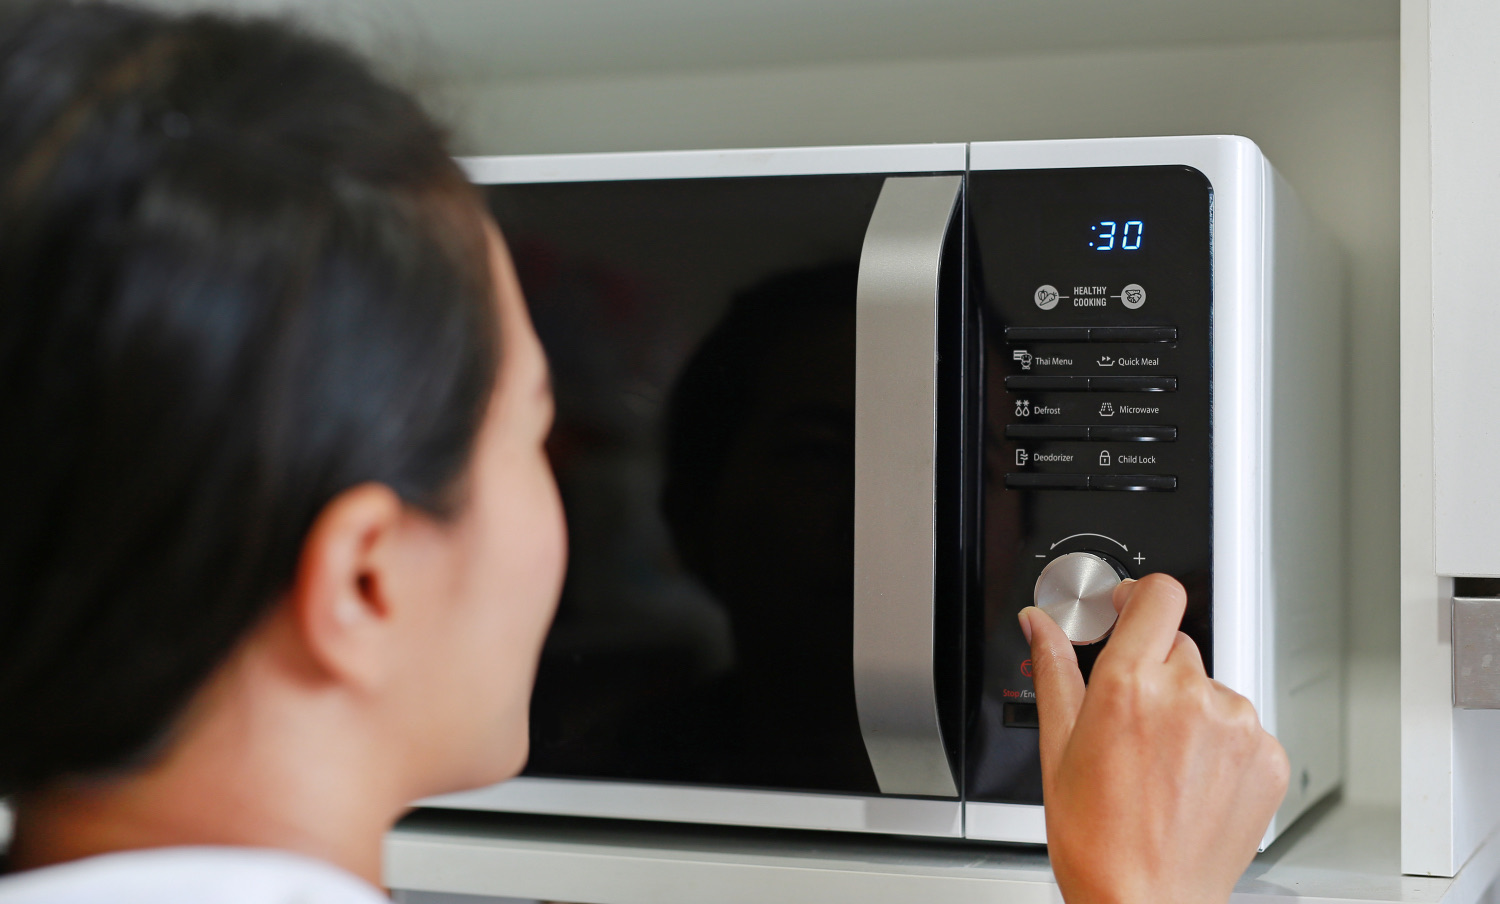
Step 9: Testing the Newly Painted Microwave Oven
Now that you have completed the process of painting the inside of your microwave oven and reassembled the interior components, it’s important to test the microwave oven before regular use. Testing allows you to ensure that the paint has properly cured and that the microwave oven is functioning correctly. Follow these steps to test your newly painted microwave oven:
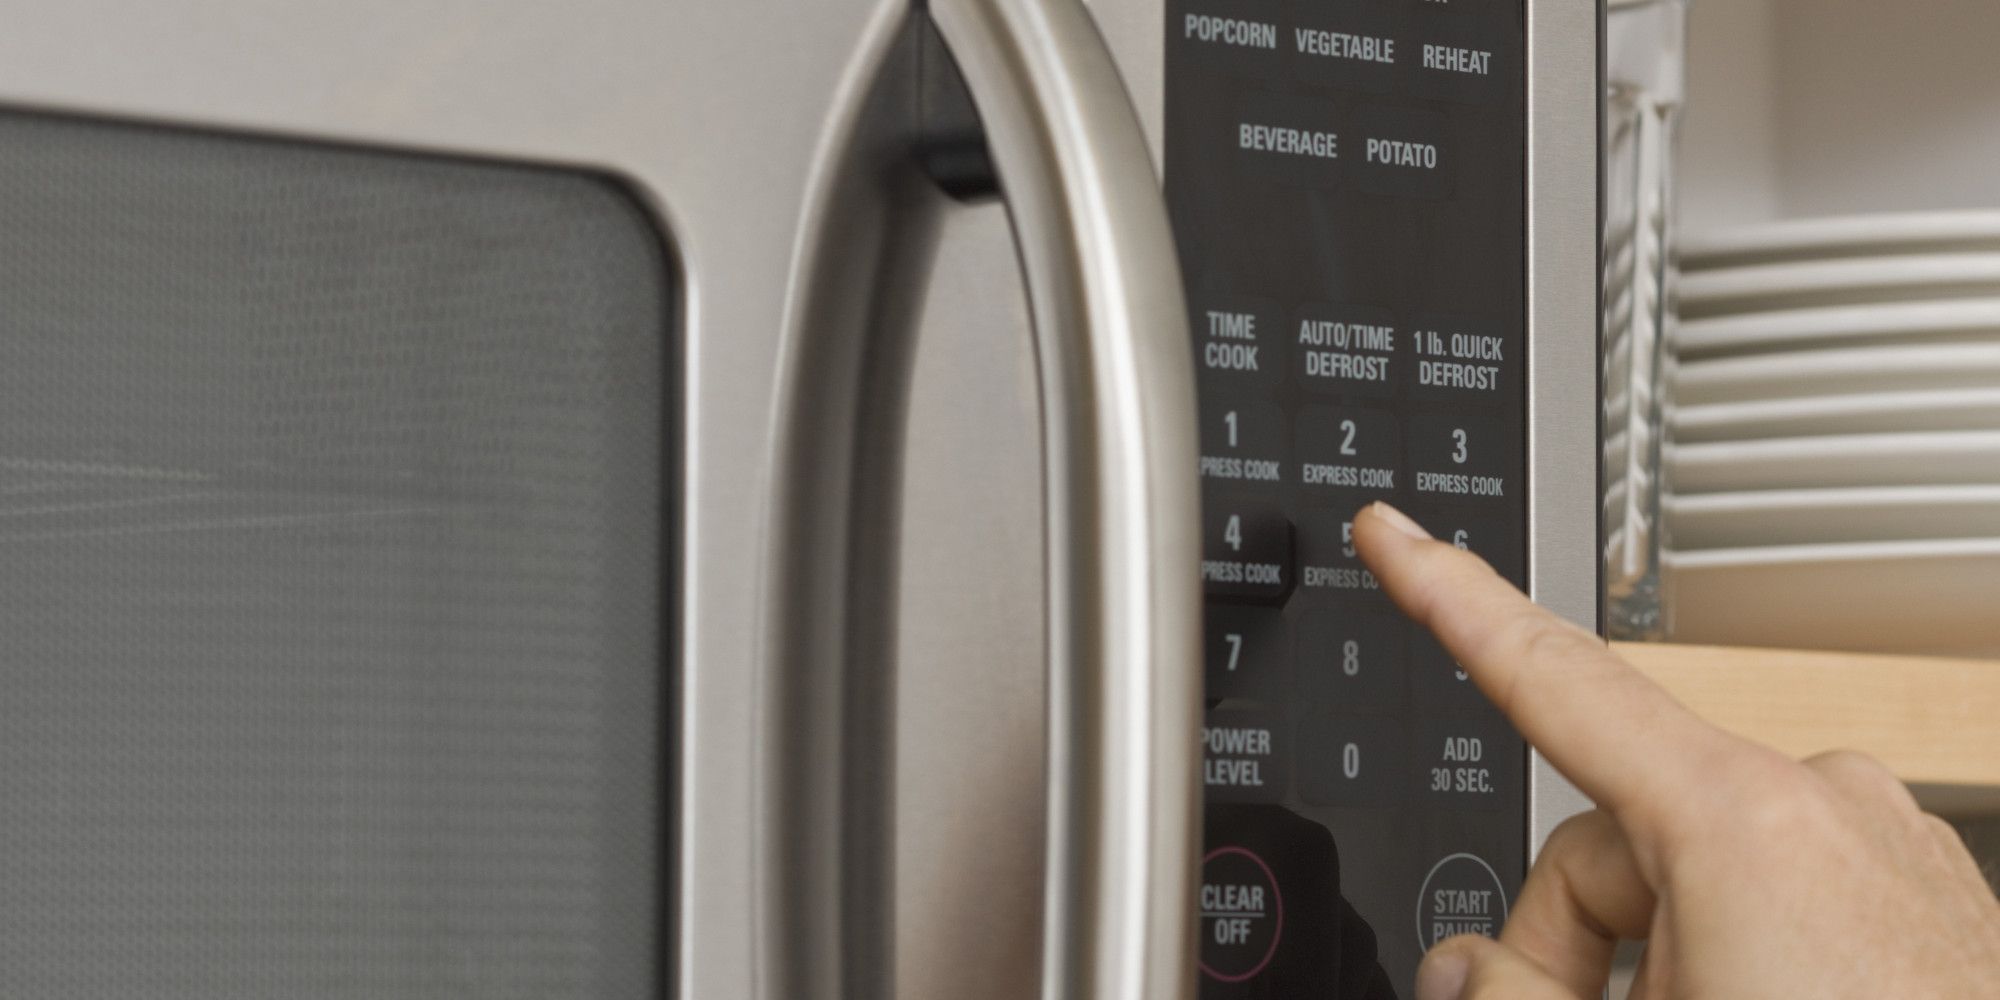
- Plug in the Microwave: Connect the power cord to the electricity source and plug in the microwave oven.
- Set the Time and Power Level: Set the microwave oven to a short duration and a low power level, such as 30 seconds at 50% power. This test run helps ensure that the microwave’s heating functionalities are working properly.
- Observe and Listen: Pay attention to the microwave oven as it operates. Listen for any unusual noises, such as buzzing or grinding sounds, that could indicate a problem with the internal mechanisms. Observe to see if the turntable rotates smoothly and if the microwave heats the food evenly.
- Check for Heat and Odor: After the test run, carefully touch the interior surfaces to assess if they are hot or overheating. Additionally, check for any unusual odors coming from the microwave, which could indicate issues with the paint curing process or other internal components.
- Inspect the Paint Job: Take a closer look at the interior surfaces to check for any signs of paint damage or peeling. Ensure that the paint has adhered properly and is holding up well after the test run.
If everything looks and functions as expected during the test run, congratulations! You have successfully painted and tested your microwave oven. You can now begin using it regularly, enjoying the refreshed look of your kitchen appliance.
However, if you encounter any issues or notice any abnormalities during the testing process, it’s recommended to consult with a professional or contact the manufacturer for assistance. They can provide guidance or troubleshoot the problem to ensure the safe and proper functioning of your microwave oven.
Thank you for following this step-by-step guide on how to paint the inside of a microwave oven. We hope it has been helpful and that you now have a beautifully painted microwave oven that adds a touch of style to your kitchen!
Conclusion
Congratulations on successfully painting the inside of your microwave oven! By following the step-by-step guide outlined in this article, you have transformed your microwave oven, giving it a fresh new look that matches your kitchen’s aesthetic. Not only does a painted interior add a touch of style, but it also enhances the durability and ease of maintenance of your microwave oven.
Throughout the process, it’s crucial to prioritize safety by taking the necessary precautions and following the manufacturer’s instructions. Following safety guidelines ensures that you complete the project without any harm to yourself or the microwave oven.
Remember to choose a paint that is heat-resistant, food-safe, and durable. This ensures that the paint will withstand the heat from the microwave oven, be safe in food contact areas, and provide long-lasting beauty.
Proper preparation and application of the paint are key to achieving a smooth and even finish. Take the time to clean the interior surfaces thoroughly, sand if necessary, and apply multiple thin coats of paint for optimal results. Allow each coat to dry and cure according to the manufacturer’s instructions, and avoid using the microwave oven until the paint is fully hardened.
After reassembling the interior components and conducting a thorough test, you can confidently use your newly painted microwave oven. Enjoy the fresh new look and the satisfaction of a job well done.
As a final note, it’s important to regularly clean and maintain your microwave oven to preserve the beauty and functionality of the painted interior. Follow the manufacturer’s instructions for proper cleaning and care to ensure that the paint remains in excellent condition for years to come.
We hope that this guide has been informative and helpful for your microwave oven painting project. Thank you for joining us, and happy cooking with your newly painted microwave oven!
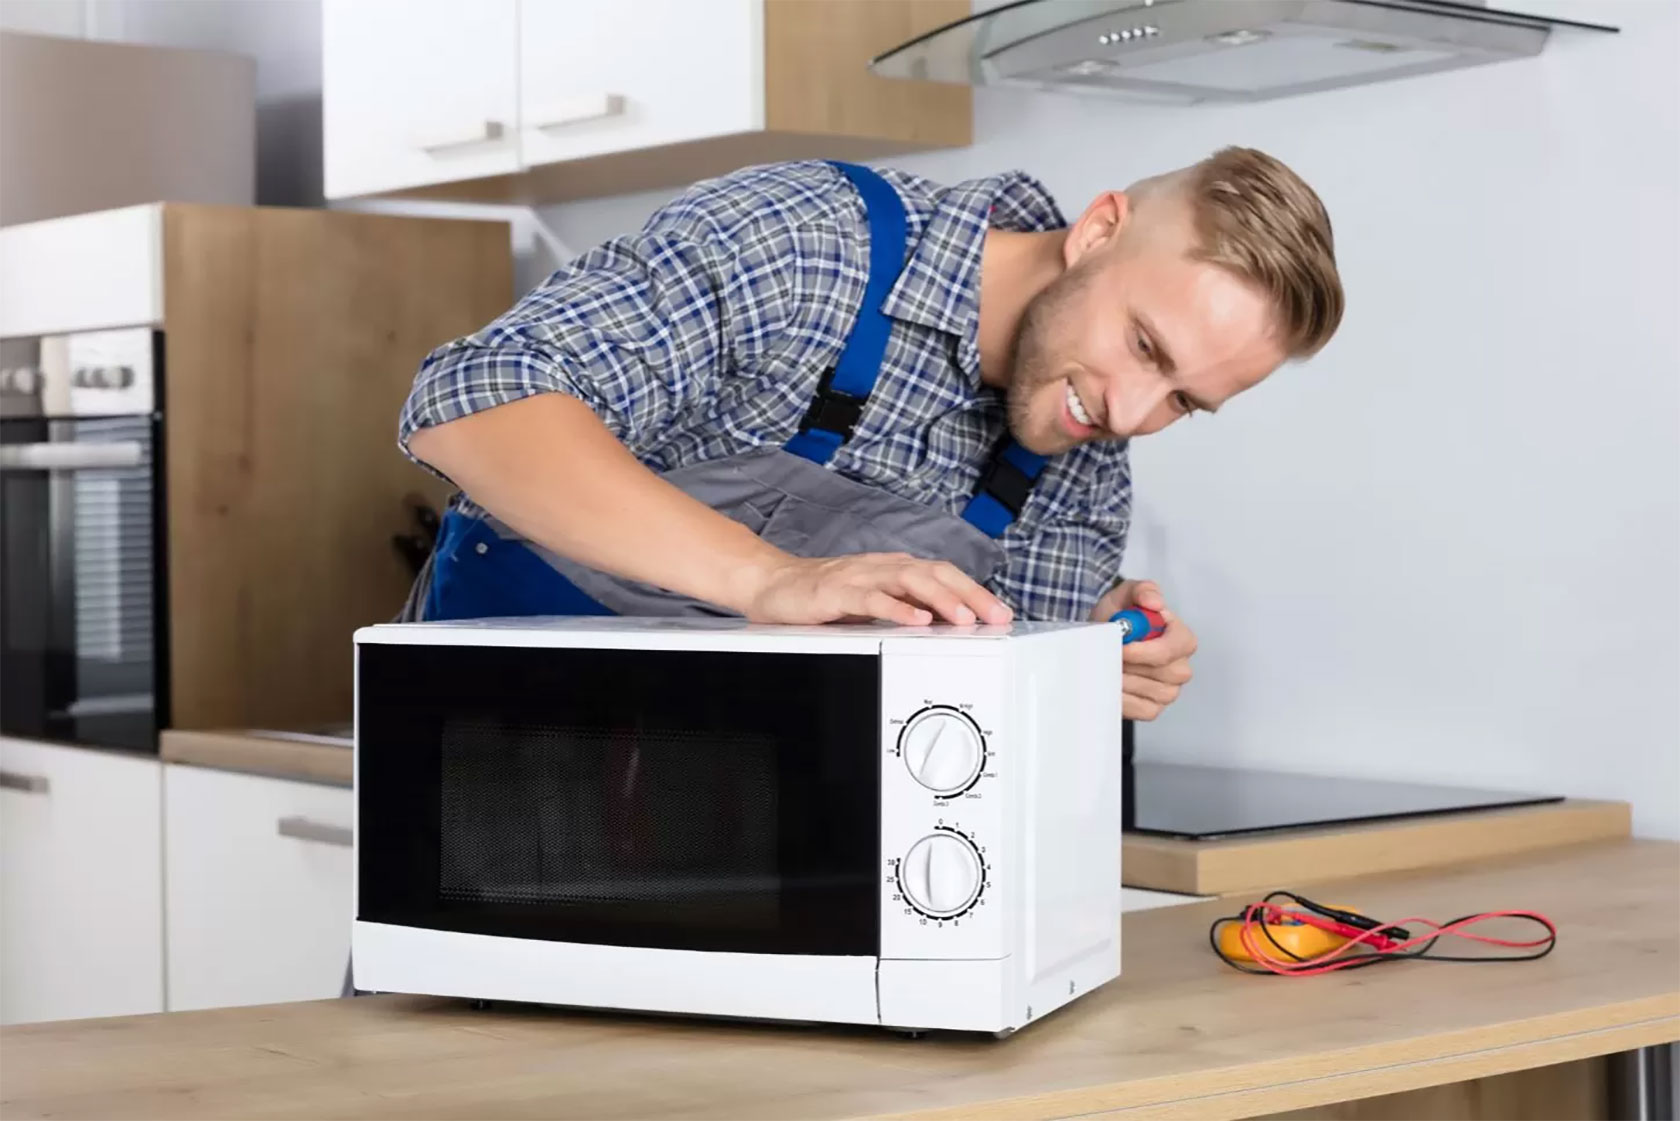
Now that you've mastered painting your microwave's interior, why stop there? Every appliance needs care, and your microwave might need more than a fresh coat of paint. If you're facing issues with its operation, don't fret! Our detailed guide on microwave repair will help you get that microwave running as good as new. So don't wait, give your microwave the attention it deserves and ensure it's in top-notch condition.
Frequently Asked Questions about How To Paint The Inside Of A Microwave Oven
Was this page helpful?
At Storables.com, we guarantee accurate and reliable information. Our content, validated by Expert Board Contributors, is crafted following stringent Editorial Policies. We're committed to providing you with well-researched, expert-backed insights for all your informational needs.


0 thoughts on “How To Paint The Inside Of A Microwave Oven”