Articles
How To Paint The Inside Of A Fireplace
Modified: October 18, 2024
Learn how to paint the inside of your fireplace with our helpful articles. Transform your space with a fresh new look and create a cozy atmosphere.
(Many of the links in this article redirect to a specific reviewed product. Your purchase of these products through affiliate links helps to generate commission for Storables.com, at no extra cost. Learn more)
Introduction
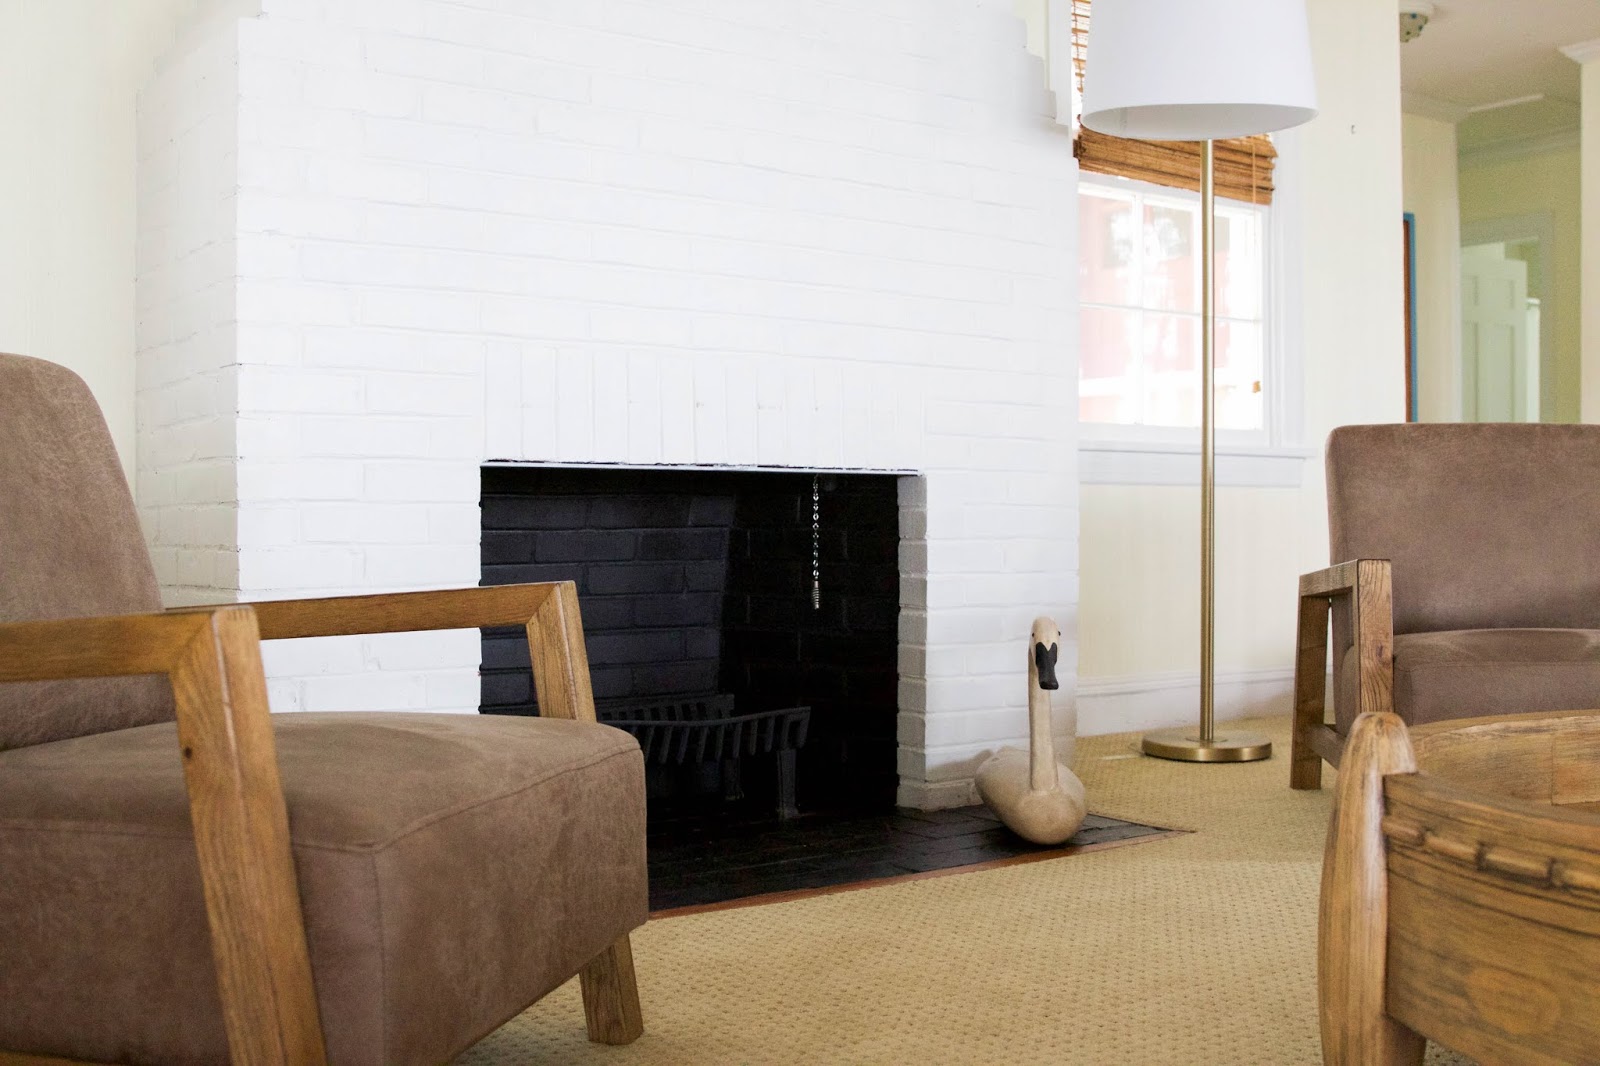
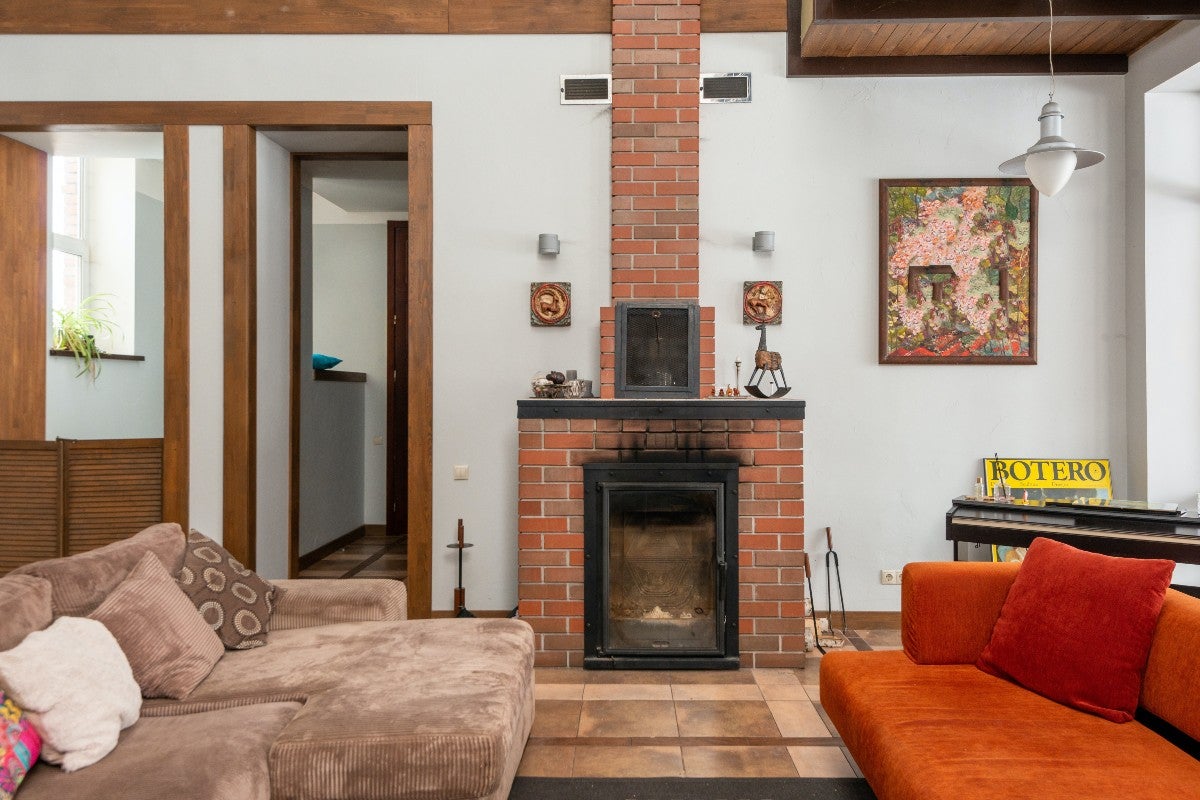
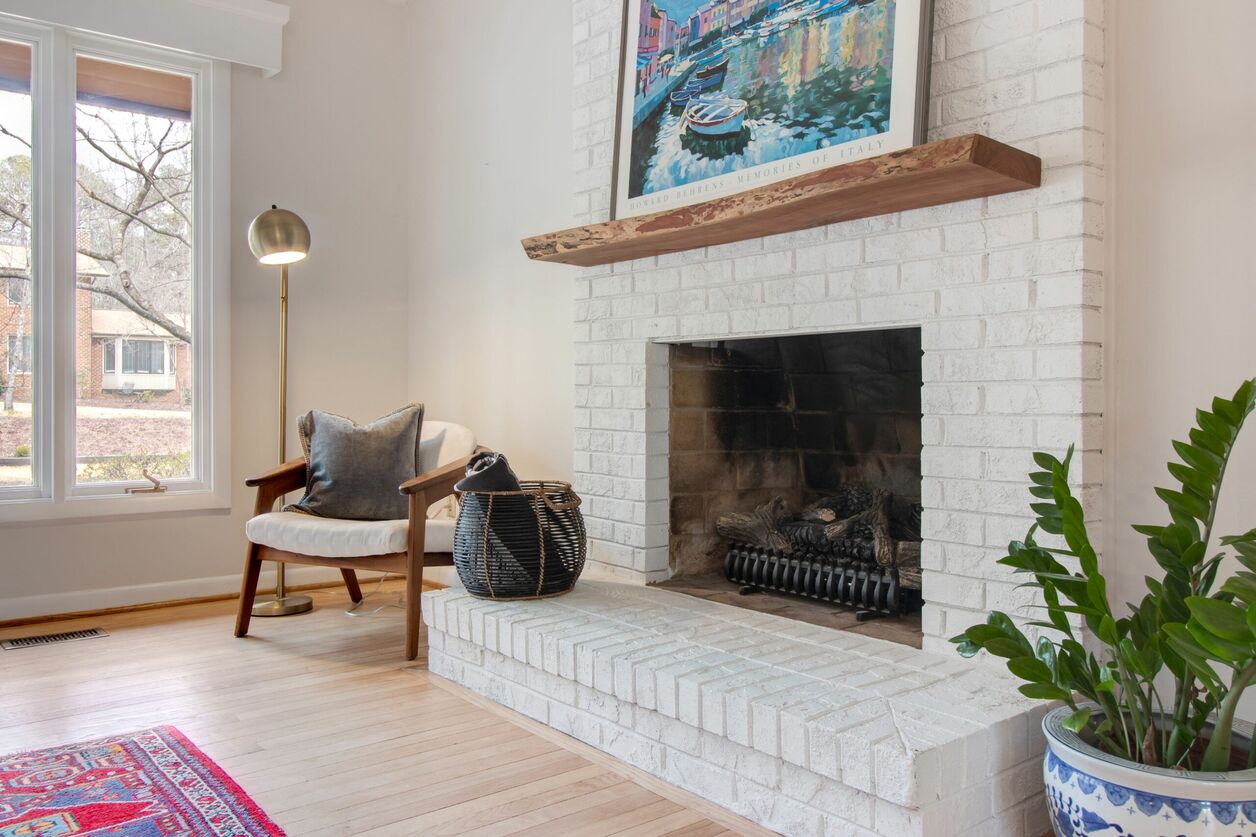
Painting the inside of a fireplace can be a great way to refresh its appearance and give your room a new focal point. It’s a project that can completely transform the look and feel of your living space. Whether you want to cover up outdated brick, change the color to match your decor, or simply bring new life to an old fireplace, painting the inside of your fireplace can be a rewarding and relatively simple task.
However, before diving into this project, it’s important to take some safety precautions and properly prepare the fireplace to ensure a successful and long-lasting paint job. In this article, we will guide you through the step-by-step process of painting the inside of a fireplace, from preparation to the final touches.
Please note that this article is intended for gas or electric fireplaces, as painting the inside of a wood-burning fireplace necessitates different procedures due to the high temperatures involved. It’s always best to consult a professional if you have any doubts or questions regarding safety measures.
Key Takeaways:
- Transform your living space by painting the inside of your fireplace with the right safety measures, preparation, and high-quality, heat-resistant paint for a professional-looking finish.
- Enjoy the process of reinvigorating your fireplace with a fresh coat of paint, from safety precautions to reassembly, and savor the warmth and ambiance it brings to your home.
Read more: How To Paint The Inside Of A Microwave Oven
Safety Precautions
When dealing with any home improvement project, safety should always be the top priority. Before painting the inside of your fireplace, make sure to follow these safety precautions:
- Turn off the gas or electricity supply to the fireplace and ensure it is completely cool before starting the painting process. This will prevent any accidents or injuries.
- Wear personal protective equipment (PPE) such as safety goggles, gloves, and a face mask to protect yourself from dust, debris, and paint fumes.
- Open windows and doors to ensure proper ventilation while working. It’s important to have a well-ventilated area to prevent the buildup of fumes.
- Cover the surrounding area with drop cloths or plastic sheets to protect your flooring and furniture from any paint splatters or spills.
- Keep a fire extinguisher nearby in case of any unforeseen accidents. It’s always better to be prepared for any potential fire hazards.
- Follow the manufacturer’s instructions when working with any cleaning agents, primers, or paints. Use them in a well-ventilated area and avoid contact with your skin or eyes.
- If you are unsure about any step of the process or have concerns about the safety of your fireplace, consult a professional before proceeding.
By taking the necessary safety precautions, you can ensure a smooth and safe painting experience. Now that you’re familiar with the safety measures, let’s move on to the first step of preparing the fireplace.
Step 1: Preparing the Fireplace
Before you can begin the painting process, it’s essential to prepare the fireplace properly. This step will help ensure that the paint adheres well and creates a durable finish. Follow these steps to prepare your fireplace:
- Remove any furniture or decor from the immediate surroundings of the fireplace. This will prevent any accidental damage or obstruction during the painting process.
- Clean the entire area around the fireplace to remove any dust, debris, or loose particles. You can use a vacuum cleaner or a soft brush to sweep away the dirt. This will provide a clean surface for the paint to adhere to.
- If there are any loose or damaged bricks, repair them before painting. Use a fireplace mortar or a heat-resistant compound to fill in any cracks or gaps. Allow it to dry completely before proceeding.
- Inspect the interior of the fireplace for any signs of soot or residue buildup. Use a fireplace cleaner or a mixture of warm water and mild detergent to clean the surfaces. Scrub gently with a brush or sponge, then rinse with clean water and allow it to dry thoroughly.
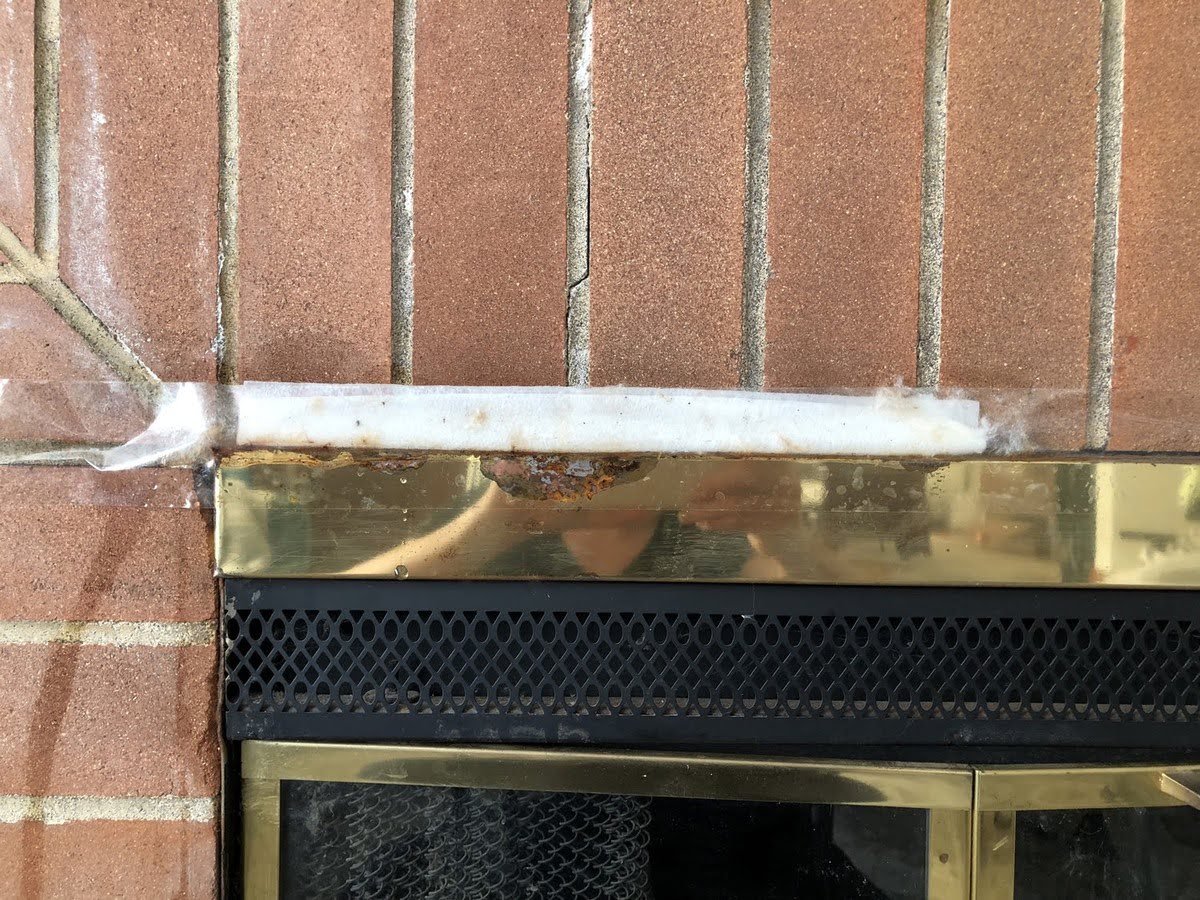
- Mask off any areas you do not want to paint, such as the mantel or the glass doors. Use painter’s tape or masking tape to protect these surfaces from accidental paint splatters.
By preparing the fireplace properly, you’ll create a clean and suitable surface for painting. Once you’ve completed these steps, you’re ready to move on to the next stage of the process: cleaning the fireplace.
Step 2: Cleaning the Fireplace
Before applying any paint to the inside of your fireplace, it’s important to thoroughly clean the surfaces. This will ensure that the paint adheres properly and creates a smooth and even finish. Follow these steps to clean your fireplace:
- Start by using a stiff brush or a chimney brush to remove any loose soot or debris from the interior walls of the fireplace. Be sure to remove as much loose material as possible to create a clean surface for the paint to adhere to.
- Next, mix a solution of warm water and mild detergent or fireplace cleaner in a bucket. Dip a sponge or rag into the cleaning solution and gently scrub the walls of the fireplace. Pay close attention to any areas with stubborn stains or soot buildup.
- Rinse the sponge or rag with clean water and continue to wipe down the interior walls of the fireplace to remove any residue from the cleaning solution. Repeat this process until the walls are completely clean.
- For more stubborn stains or discoloration, you may need to use a stronger cleaning agent specifically designed for fireplace surfaces. Follow the manufacturer’s instructions for application and use caution to avoid any damage to the walls or surrounding areas.
- After cleaning, thoroughly rinse the walls with clean water to remove any remaining residue or cleaning solution. Use a clean cloth or sponge to wipe away excess water and allow the fireplace to air dry completely.
By ensuring that the fireplace is clean and free from debris and stains, you’ll create an ideal surface for the paint to adhere to. Once the fireplace is clean and dry, you’re ready to move on to the next step: choosing the right paint.
Step 3: Choosing the Right Paint
Choosing the right paint for the inside of your fireplace is crucial for a successful and long-lasting finish. The paint you use should be heat-resistant and able to withstand the high temperatures that can occur in a fireplace. Follow these guidelines to select the appropriate paint:
- Look for heat-resistant paint specifically designed for use in fireplaces or stoves. These paints are formulated to withstand high temperatures without discoloration or peeling.
- Read the label or product specifications to ensure that the paint is suitable for the interior surfaces of your fireplace. It should be able to adhere to brick, stone, or metal surfaces.
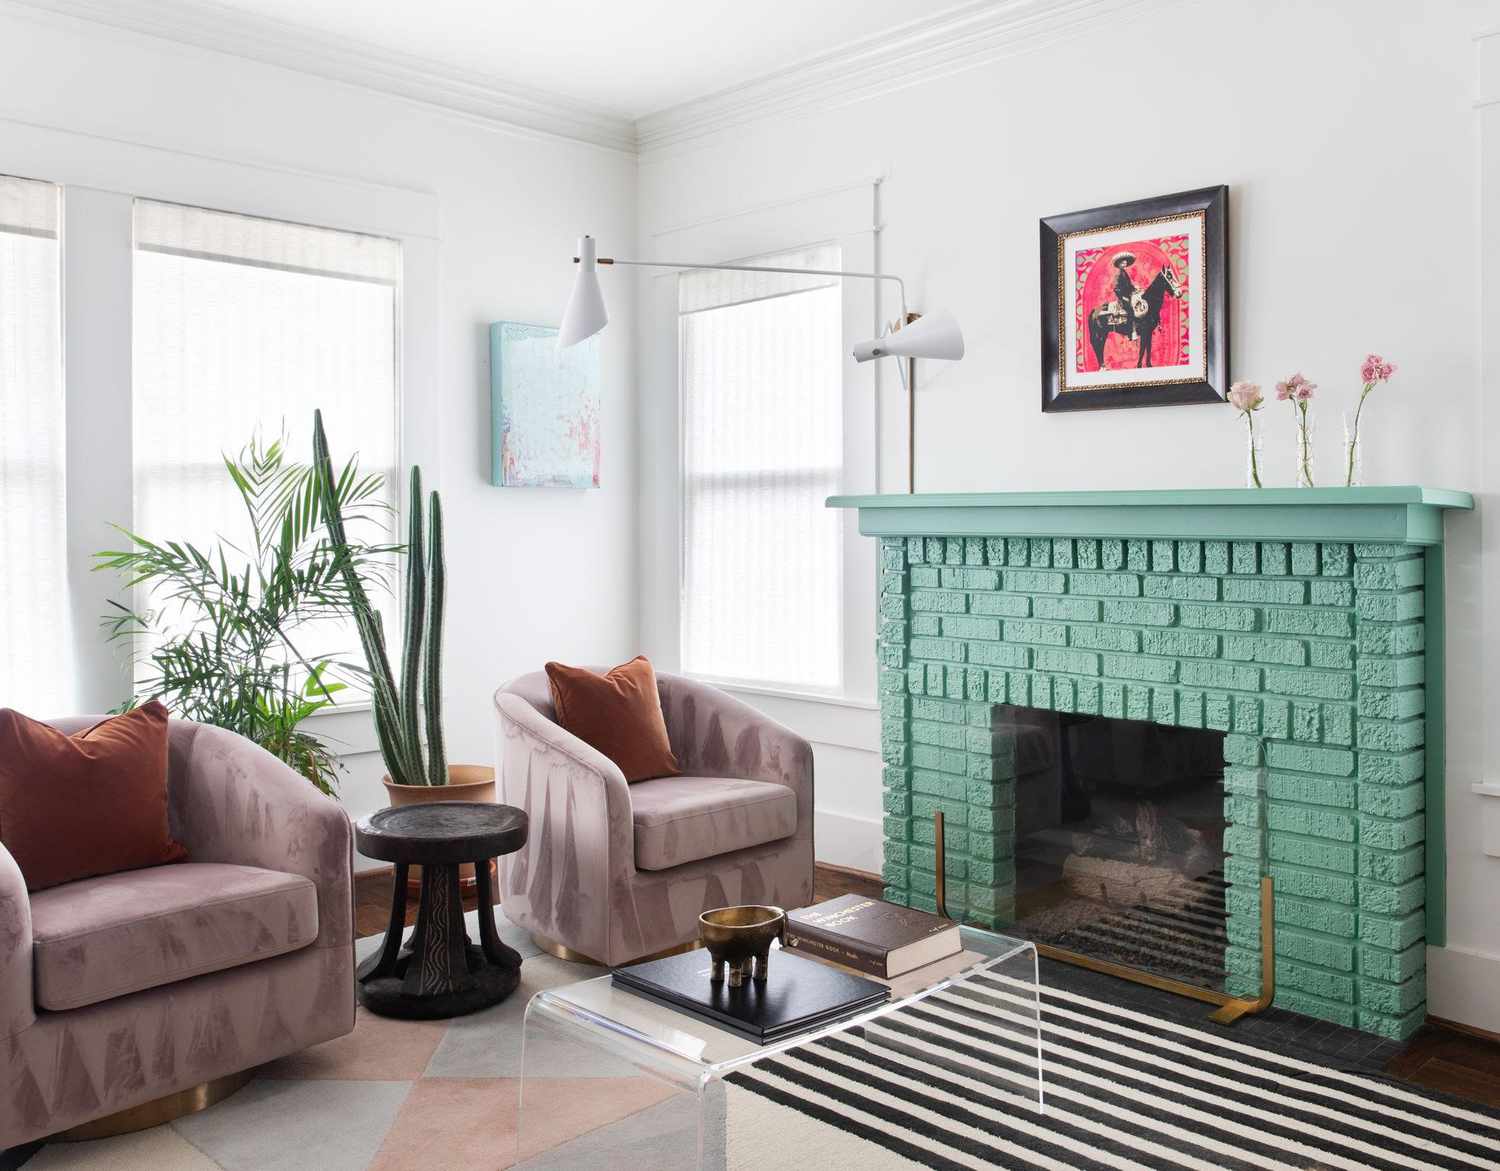
- Consider the color and finish that you want for your fireplace. Choose a paint color that complements your room’s decor and a finish that matches your desired aesthetic, whether it’s matte, satin, or glossy.
- If you have a specific brand or type of paint in mind, check if there are any reviews or recommendations from professionals or other DIYers who have used it on their fireplaces. This can give you valuable insights into the performance and durability of the paint.
- It’s also a good idea to check if the paint you choose is low in volatile organic compounds (VOCs) to minimize the release of harmful fumes during and after the painting process.
Remember, it’s essential to use paint that is specifically formulated for high-heat environments to ensure the safety and longevity of the finish. Once you have selected the right paint, you’re ready to move on to the next step: applying the primer.
Before painting inside a fireplace, make sure to clean the surface thoroughly to remove any soot, dirt, or debris. Use a high-heat resistant paint specifically designed for fireplaces to ensure durability and safety. Apply multiple thin coats for even coverage.
Read more: How To Paint Fireplace Insert
Step 4: Applying the Primer
Before painting the inside of your fireplace, it’s crucial to apply a high-quality primer. The primer will help the paint adhere to the surface and ensure a durable and long-lasting finish. Follow these steps to apply the primer to your fireplace:
- Start by stirring the primer thoroughly with a stirring stick to ensure an even consistency.
- Using a paintbrush or roller designed for rough surfaces, apply an even coat of primer to the interior walls of the fireplace. Make sure to cover the entire surface area, including any cracks or crevices.
- Work in small sections, starting from the top and working your way down. This will help prevent any drips or excess primer from pooling at the bottom of the fireplace.
- Be sure to reach into the corners and edges of the fireplace to ensure complete coverage.
- If you’re using a roller, use a brush to back-brush the primer into the surface, ensuring that it fills any porous areas and provides a smooth finish.
- Allow the primer to dry completely according to the manufacturer’s instructions. This typically takes around 24 hours, but be sure to check the drying time specified on the primer label.
- Inspect the primed surface for any spots that may require additional coats. If necessary, apply a second coat of primer and allow it to dry completely.
Priming the fireplace will help create a solid base for the paint and improve its adhesion. Once the primer is dry and you’re satisfied with the coverage, you’re ready to move on to the next step: painting the inside of the fireplace.
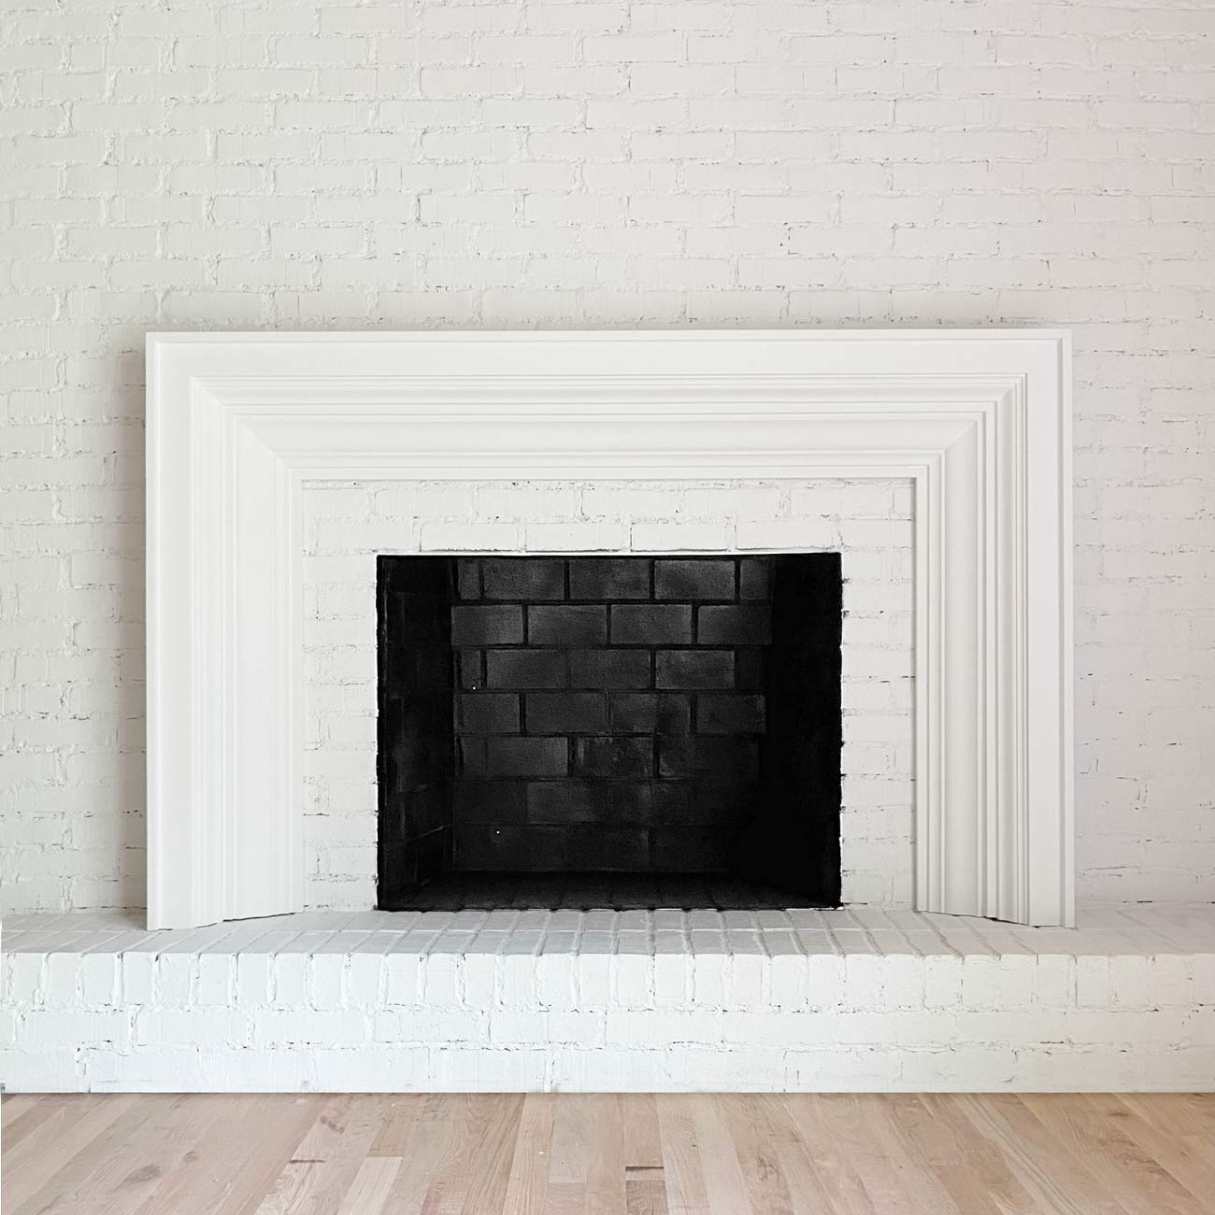
Step 5: Painting the Inside of the Fireplace
Now that you’ve prepared the fireplace and applied the primer, it’s time to paint the inside of the fireplace. Follow these steps to achieve a smooth and professional-looking finish:
- Stir the paint thoroughly with a stirring stick to ensure an even consistency. If using multiple paint cans, mix them together in a larger container to ensure color consistency.
- Using a paintbrush or roller designed for rough surfaces, apply an even coat of paint to the interior walls of the fireplace. Begin at the top and work your way down, focusing on one manageable section at a time.
- Be sure to coat the entire surface area, including corners and edges. Apply the paint in smooth, even strokes for a seamless finish.
- If using a roller, use a brush to back-brush the paint into the surface, ensuring that it fills any porous areas and provides a uniform finish.
- Pay attention to any spots or crevices that may require extra attention to achieve full coverage.
- Allow the first coat of paint to dry completely according to the manufacturer’s instructions. This usually takes around 24 hours, but be sure to check the drying time specified on the paint can.
- Once the first coat is dry, inspect the painted surfaces for any areas that may require additional coats. If necessary, apply a second coat of paint and allow it to dry completely.
By following these steps, you can ensure a smooth and even paint application for the inside of your fireplace. Once you’re satisfied with the finish and it’s completely dry, you’re ready to move on to the next step: allowing the paint to dry.
Step 6: Allowing the Paint to Dry
After painting the inside of your fireplace, proper drying time is crucial to achieve a durable and long-lasting finish. Follow these steps to allow the paint to dry effectively:
- Check the drying time specified on the paint can. Different types of paint may have varying drying times, so it’s important to follow the manufacturer’s instructions.
- Avoid using or touching the painted surfaces until the paint is completely dry. This will prevent any smudging or damage to the finish.
- Keep the room well-ventilated by opening windows and doors, or using fans, to speed up the drying process and promote proper airflow. This will help prevent any fumes or paint odor from lingering in the space.
- Depending on the type of paint, the drying process can take anywhere from 24 to 48 hours. It’s best to give the paint ample time to dry and cure before reassembling the fireplace or using it.
- Avoid exposing the painted surfaces to excessive heat, flames, or direct contact with open flames until the paint has fully cured. This can cause the paint to blister, peel, or discolor.
- Once the paint has completely dried and cured, inspect the painted surfaces for any touch-ups or areas that may require additional coats.
By allowing the paint sufficient drying time, you’ll ensure a durable and professional-looking finish. Once the paint is dry and you’re satisfied with the results, you can proceed to the final step: reassembling the fireplace.
Step 7: Reassembling the Fireplace
Now that the paint has fully dried and cured, it’s time to reassemble your fireplace and bring it back to its original functionality. Follow these steps to reassemble your fireplace:
- If you removed any furniture or decor from around the fireplace, carefully place them back in their original positions. Take care not to scratch or damage the newly painted surfaces.
- If you have glass doors or screens for your fireplace, clean them thoroughly before reinstalling. Use a fireplace glass cleaner or a mixture of warm water and vinegar to remove any smudges or residue.
- Once the glass doors are clean, carefully place them back onto the fireplace, ensuring they are properly aligned and securely fastened.
- If you removed the fireplace grate or any other accessories, clean them thoroughly before putting them back in place. Use a stiff brush or cloth to remove any dust or debris.
- Check the fireplace chimney or vent to ensure it is clear of any obstructions. Remove any accumulated soot or debris using a chimney brush or a vacuum specifically designed for fireplace use.
- Inspect the overall condition of the fireplace, including the painted surfaces, for any touch-ups or areas that may require further attention. If necessary, apply additional coats of paint or touch up any imperfections.
- Once all components have been cleaned and checked, test the fireplace to ensure it is functioning properly. Turn on the gas or electricity supply and ignite the flames to verify that the paint is not impacting the functionality of the fireplace.
By carefully reassembling your fireplace, you can enjoy the fruits of your labor and appreciate the fresh and updated look of the painted interior. It’s important to maintain the cleanliness and condition of the fireplace to preserve the longevity of the paint finish and ensure continued enjoyment for years to come.
Congratulations on successfully painting the inside of your fireplace! With proper maintenance and care, your newly painted fireplace will serve as a beautiful centerpiece in your living space. Now sit back, relax, and enjoy the warmth and ambiance it brings to your home.
Read more: How To Paint Marble Fireplace
Conclusion
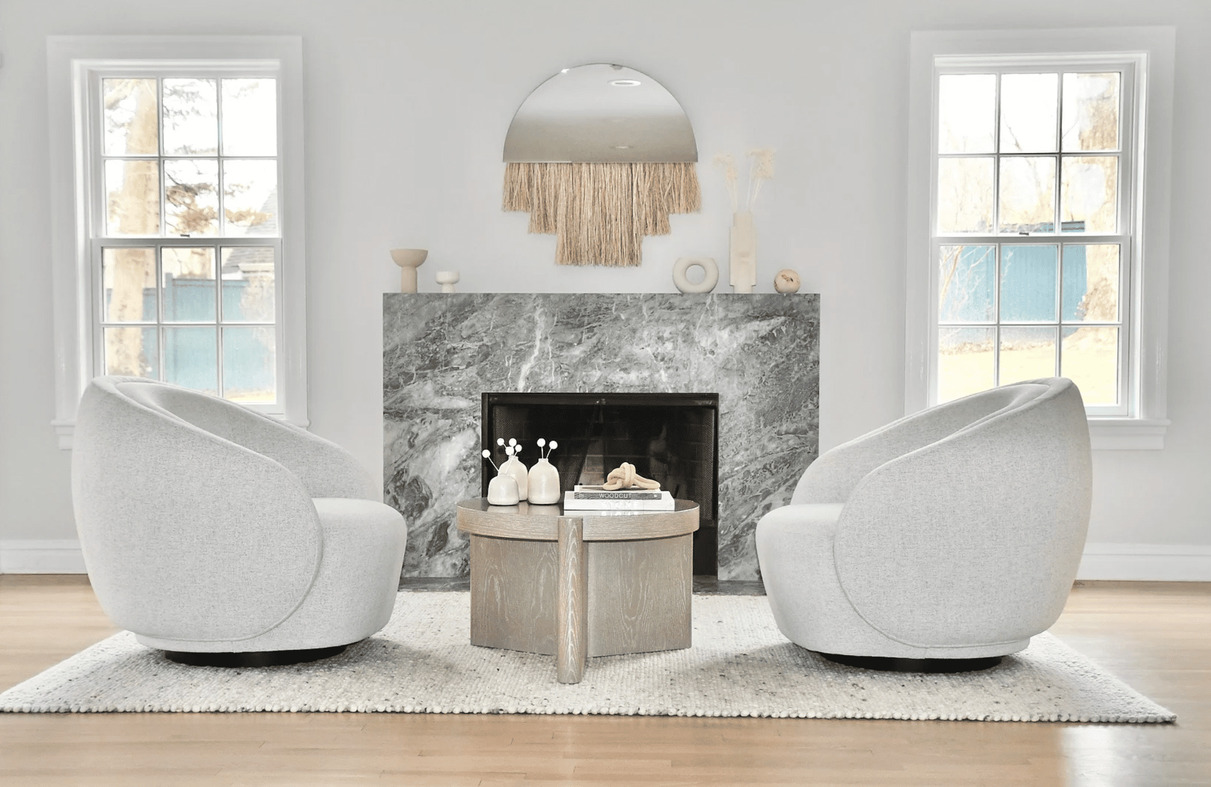
Painting the inside of a fireplace can be a rewarding and transformative project that breathes new life into your living space. It allows you to update the look of your fireplace, cover up outdated brick, or simply create a fresh focal point in your room. By following the step-by-step guide outlined in this article, you can confidently tackle this project and achieve a professional-looking finish.
Remember that safety should always be a top priority when undertaking any home improvement project. Take the necessary precautions, such as turning off gas or electricity, wearing protective gear, and ensuring proper ventilation. Additionally, consult professionals for guidance if you have any concerns or questions regarding safety measures.
Proper preparation of the fireplace is crucial for a successful paint job. Clean the surfaces, repair any damaged areas, and protect surrounding areas from paint splatters or spills. Choose a high-quality, heat-resistant paint that suits your desired color and finish. Apply a primer to create a solid base for the paint and ensure good adhesion.
When it’s time to paint the inside of the fireplace, work in small sections and apply the paint evenly. Allow the paint to dry completely, following the manufacturer’s instructions and adhering to the recommended drying times. Finally, reassemble the fireplace, ensuring all components are clean, properly aligned, and functioning correctly.
By following these steps and exercising patience and attention to detail, you can successfully paint the inside of your fireplace, transforming it into a stunning and visually appealing element in your home. Enjoy the renewed beauty, warmth, and ambiance that your freshly painted fireplace brings to your living space.
Frequently Asked Questions about How To Paint The Inside Of A Fireplace
Was this page helpful?
At Storables.com, we guarantee accurate and reliable information. Our content, validated by Expert Board Contributors, is crafted following stringent Editorial Policies. We're committed to providing you with well-researched, expert-backed insights for all your informational needs.
0 thoughts on “How To Paint The Inside Of A Fireplace”