Articles
How To Plug In Rival Electric Skillet
Modified: January 19, 2024
Learn how to properly plug in and use your rival electric skillet with our informative articles. Improve your cooking experience now!
(Many of the links in this article redirect to a specific reviewed product. Your purchase of these products through affiliate links helps to generate commission for Storables.com, at no extra cost. Learn more)
Introduction
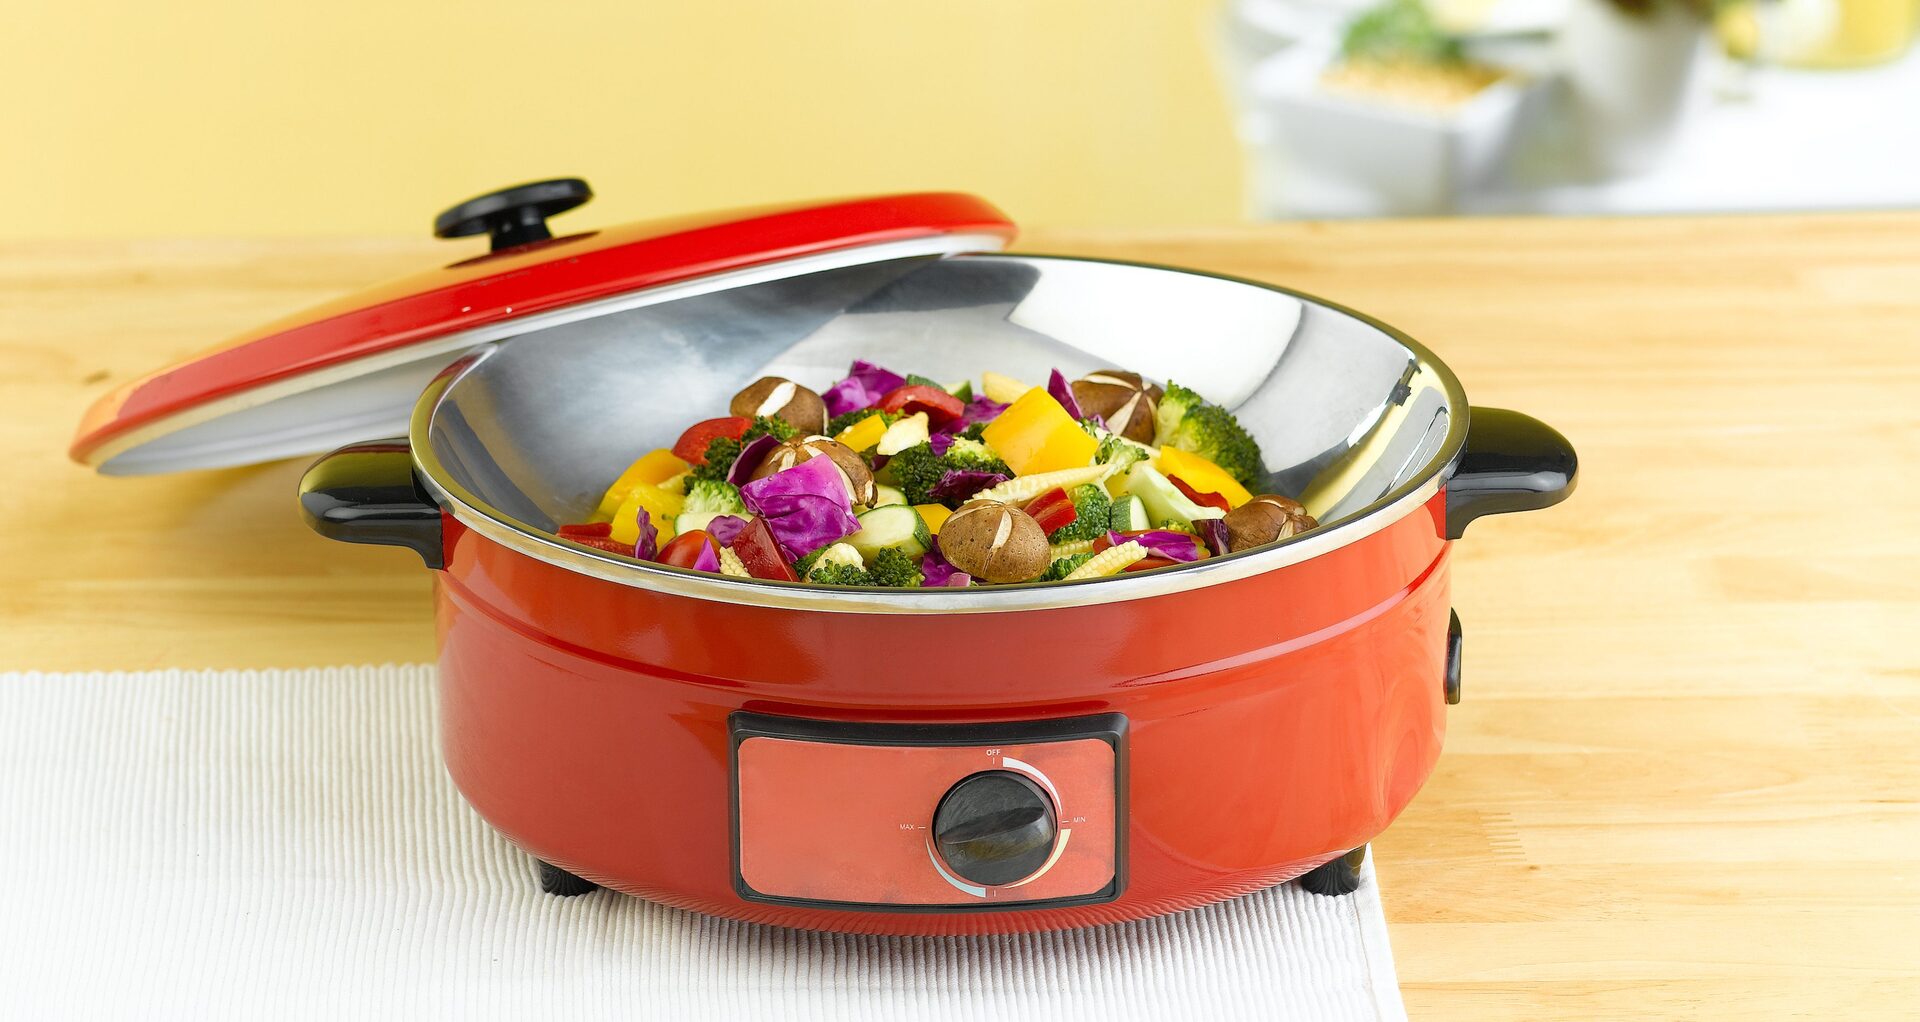
Using an electric skillet for cooking can be a convenient and efficient way to prepare meals. Whether you’re a seasoned chef or a novice in the kitchen, plugging in a rival electric skillet correctly is essential to ensure proper functioning and a safe cooking experience.
In this article, we will guide you through the step-by-step process of plugging in a rival electric skillet. By following these instructions, you’ll be able to enjoy delicious meals prepared with ease and confidence.
Before we dive into the steps, make sure to read the manufacturer’s instructions that came with your electric skillet. These instructions may contain specific information or precautions that are unique to your particular model.
Now, let’s get started with the process of plugging in your rival electric skillet!
Key Takeaways:
- Ensure safety and efficiency by checking the electrical outlet, cleaning the skillet, and securing the power cord before plugging in your rival electric skillet. Enjoy hassle-free cooking experiences with these essential steps!
- Master the art of plugging in, preheating, and monitoring your rival electric skillet to achieve optimal cooking results. Safely unplug and store the skillet for longevity and organized kitchen space. Happy cooking!
Read also: 9 Best Rival Electric Skillet for 2024
Step 1: Check the Electrical Outlet
The first step in plugging in a rival electric skillet is to ensure that the electrical outlet you plan to use is working properly and in good condition. This step is crucial for both the safety and proper functioning of your electric skillet.
Here’s how to check the electrical outlet:
- Inspect the outlet visually: Look for any signs of damage, loose wiring, or discoloration. If you notice any issues, do not use the outlet and consult a qualified electrician.
- Test the outlet: Plug in a known working device such as a lamp or phone charger to the outlet to verify if it’s providing power. If the device doesn’t work or there are any sparks or unusual sounds, the outlet may be faulty and should be avoided.
- Check the voltage: Ensure that the voltage rating of the outlet matches the requirements of your electric skillet. Most electric skillets operate on a standard household voltage of 110-120V, but it’s always best to confirm the specific requirements mentioned in the appliance’s manual.
If you have confirmed that the electrical outlet is in proper working condition and meets the necessary voltage requirements, you can proceed to the next step of the process.
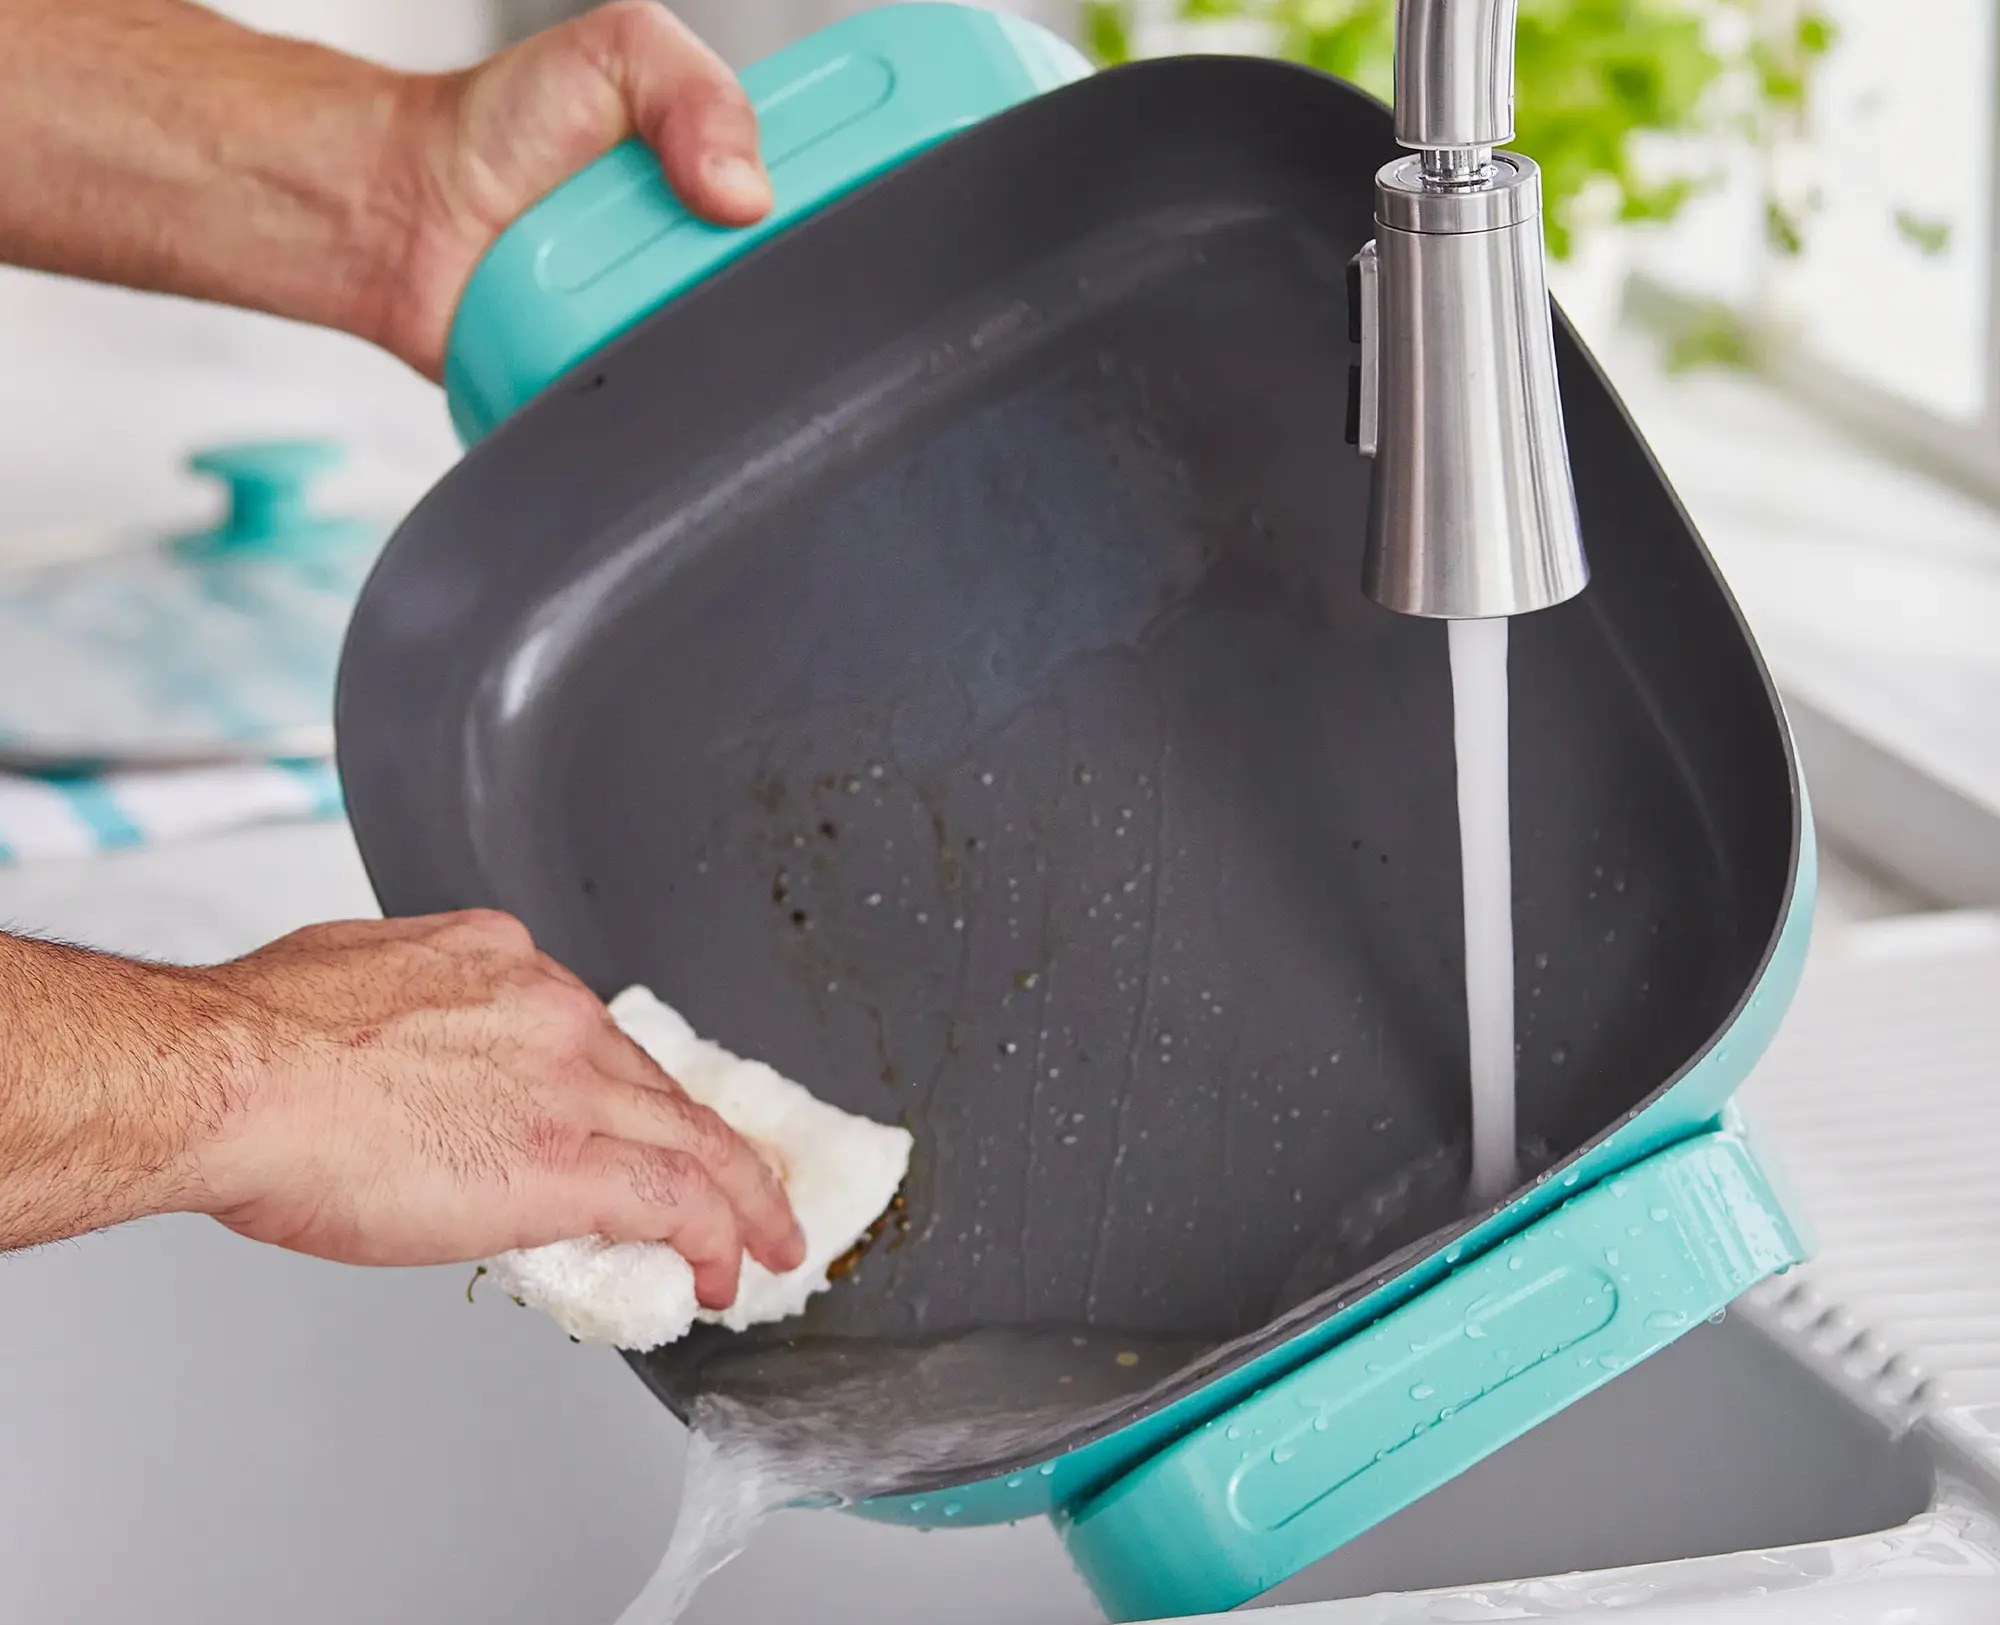
Step 2: Clean the Skillet
Before plugging in your rival electric skillet, it’s important to ensure that it is clean and free from any residue or food particles. Cleaning your electric skillet not only maintains its performance but also ensures the safety of your food.
Follow these steps to clean your electric skillet:
- Unplug the skillet: Before cleaning, make sure the electric skillet is unplugged from the electrical outlet to avoid any accidents.
- Wait for it to cool down: Allow the skillet to cool down completely before cleaning to prevent burns or injuries.
- Remove the temperature control unit: Detach the temperature control unit, if applicable, according to the manufacturer’s instructions. Some models have removable temperature control units that should not be submerged in water.
- Wash with warm, soapy water: Using a mild dish soap and a sponge or non-abrasive cloth, clean the skillet’s cooking surface thoroughly. Pay close attention to any stubborn stains or stuck-on food particles. Avoid using harsh abrasives or steel wool, as they can damage the skillet’s non-stick coating.
- Rinse and dry: Rinse the skillet with clean water to remove any soap residue. Dry it thoroughly with a clean towel or let it air dry.
- Reassemble the temperature control unit: Once the skillet is completely dry, reattach the temperature control unit if you removed it earlier.
By regularly cleaning your electric skillet, you can ensure that it operates efficiently and extends its lifespan. Now that your skillet is clean and ready, let’s move on to the next step of plugging it in!
Step 3: Secure the Power Cord
Before plugging in your rival electric skillet, it’s important to properly secure the power cord to prevent any accidents or damage to the cord.
Follow these steps to secure the power cord:
- Inspect the power cord: Check the power cord for any visible signs of damage, such as fraying or exposed wires. If you notice any damage, do not use the electric skillet and contact the manufacturer for guidance on repairs or replacements.
- Ensure proper length: Make sure the power cord is long enough to reach the electrical outlet without stretching or straining. Using extension cords is not recommended as they can pose safety risks and impact the skillet’s performance.
- Keep away from heat sources: Make sure the power cord is positioned away from any heat sources, such as the heating element or the skillet’s body. This helps prevent the cord from overheating or melting.
- Avoid entanglement: Keep the power cord away from sharp edges or objects that could cause it to get tangled or damaged. Make sure it is not in the way of any moving parts of the electric skillet.
- Use cord management: If your electric skillet comes with cord management features, such as cord clips or built-in storage compartments, utilize them to keep the power cord neatly organized and out of the cooking area.
By following these steps to secure the power cord, you can prevent any potential hazards and ensure a safe cooking experience with your rival electric skillet. Now that the power cord is properly secured, it’s time to move on to the next step of plugging in the skillet.
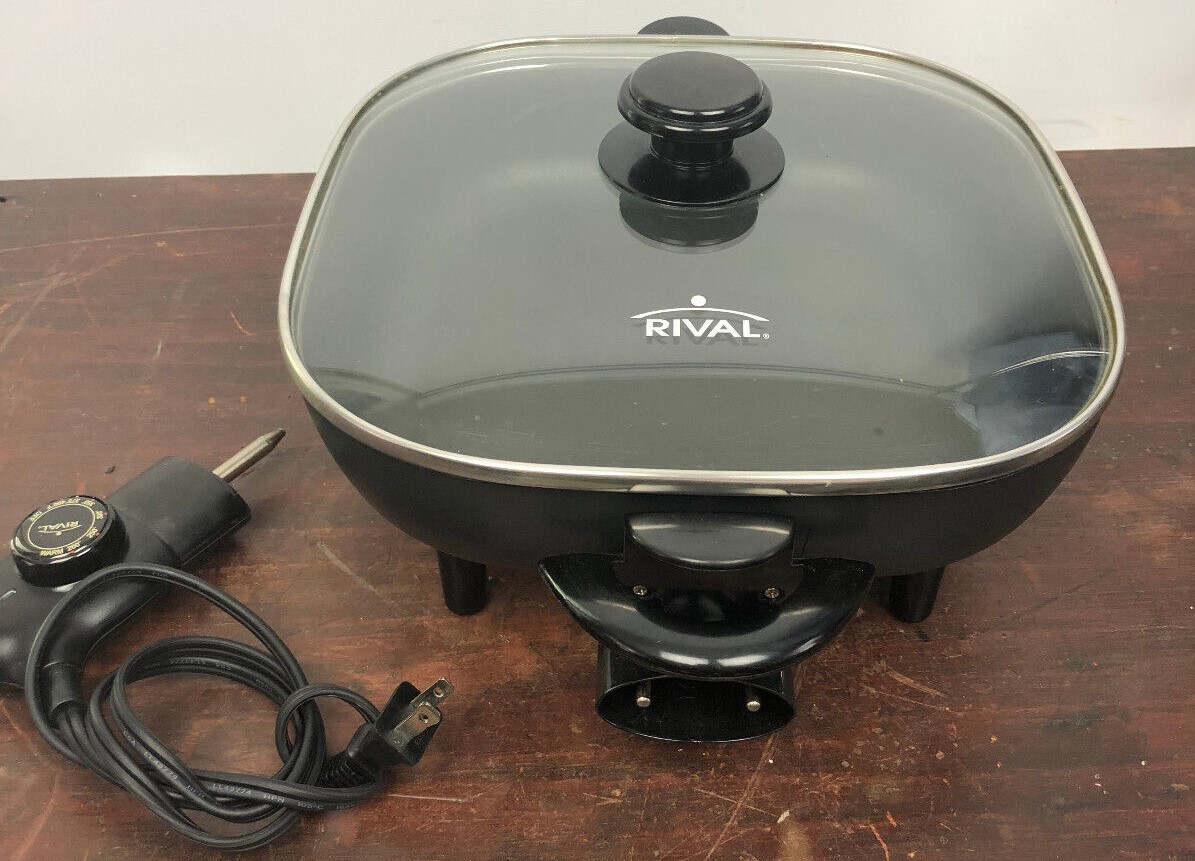
Step 4: Plug in the Skillet
After securing the power cord, it’s time to plug in your rival electric skillet. This step is straightforward but crucial to ensure that the skillet receives the necessary power to operate.
Follow these steps to plug in your electric skillet:
- Locate the power cord: Identify the power cord attached to your electric skillet. It is usually located at the back or side of the skillet.
- Align the prongs: Take a moment to align the prongs of the power cord with the slots in the electrical outlet. Ensure that the prongs are fully inserted and seated securely in the outlet.
- Push in firmly: Apply gentle pressure and push the plug into the outlet until it is fully inserted. Make sure the connection is secure and there are no loose or wobbly connections.
- Check for stability: Once the skillet is plugged in, verify that it is sitting steadily on a flat and stable surface. This ensures that the skillet won’t tip over or become unstable during the cooking process.
Plugging in your rival electric skillet properly sets the stage for a successful cooking experience. Once the skillet is plugged in securely, you can move on to the next step of verifying the power connection.
Read also: 13 Best Rival Electric Kettle For 2024
Step 5: Verify Power Connection
After plugging in your rival electric skillet, it’s important to verify that the power connection is secure and functioning correctly. This step ensures that the skillet is receiving the necessary power to operate and maintain the desired cooking temperature.
Here’s how to verify the power connection:
- Check the power indicator: Look for a power indicator light on your electric skillet. This light usually illuminates when the skillet is properly connected to a power source. If the light doesn’t turn on, double-check the plug connection and the electrical outlet.
- Listen for any sounds: Some electric skillets emit a small humming sound when they’re powered up. If you hear any unusual sounds, such as buzzing or sparking, immediately unplug the skillet and consult the manufacturer for assistance.
- Inspect the temperature control unit: If your electric skillet has a separate temperature control unit, check if it is displaying the appropriate settings or temperature levels. Ensure that the control dial or buttons are working properly.
- Monitor the heating element: Touch the skillet’s cooking surface gently to feel if it is heating up. Be cautious as it may already be hot. If the surface remains cool or doesn’t heat up within a few minutes, there may be an issue with the power connection.
By verifying the power connection, you can ensure that your rival electric skillet is receiving the necessary power and is ready for cooking. If you encounter any issues during this step, it’s important to troubleshoot or seek professional assistance to resolve the problem. Once the power connection is confirmed, you can proceed with preheating the electric skillet in the next step.
Make sure the electric skillet is turned off and unplugged before plugging it in. Also, check the power cord for any damage before plugging it into a power outlet.
Step 6: Preheat the Electric Skillet
Preheating your rival electric skillet is an essential step in preparing it for cooking. By preheating, you can ensure that the skillet reaches the desired temperature before adding your ingredients, resulting in more consistent and effective cooking.
Follow these steps to preheat your electric skillet:
- Adjust the temperature control: Set the desired temperature on the temperature control unit. The specific temperature settings will depend on the recipe or cooking instructions you’re following.
- Turn on the skillet: Switch on the power or heat control button on your electric skillet to start the preheating process. The skillet will begin heating up, and the power indicator light may turn on to indicate that it’s in operation.
- Allow time to preheat: Give your electric skillet sufficient time to preheat. The exact time will depend on the model and temperature settings, but it generally takes a few minutes for the skillet to reach the desired temperature.
- Test the temperature: To ensure that the skillet has reached the desired temperature, you can perform a quick test. Splash a few drops of water on the skillet’s surface. If the drops sizzle and evaporate almost immediately, the skillet is preheated and ready for cooking.
Preheating your rival electric skillet is important for achieving optimal cooking results. It allows the skillet to reach the desired temperature evenly, ensuring that your food is cooked thoroughly and evenly. Now that your electric skillet is preheated, let’s move on to the next step of adjusting the temperature settings.
Step 7: Adjust Temperature Settings
Adjusting the temperature settings on your rival electric skillet is crucial for controlling the cooking process and achieving the desired results. Different recipes and ingredients require specific temperature ranges to ensure proper cooking and flavor development.
Follow these steps to adjust the temperature settings on your electric skillet:
- Refer to the recipe or cooking instructions: Check the recipe or cooking instructions you’re following to determine the recommended temperature settings. It may specify a specific temperature or a general range.
- Turn the temperature control dial: On most electric skillets, you can adjust the temperature using a dial or knob. Turn the dial or knob to select the desired temperature setting. Make sure to set it accurately to match your cooking requirements.
- Allow for temperature stabilization: After adjusting the temperature, give the electric skillet a few moments to stabilize and reach the new temperature. This step ensures that the skillet maintains a consistent heat level for cooking.
- Monitor the temperature: Keep an eye on the temperature throughout the cooking process. If necessary, make minor adjustments to maintain the desired heat level.
Adjusting the temperature settings on your rival electric skillet allows you to have precise control over the cooking process. It ensures that your food is cooked at the ideal temperature, resulting in delicious and perfectly cooked dishes. Now that you’ve adjusted the temperature settings, it’s time to move on to the next step of monitoring the cooking progress.
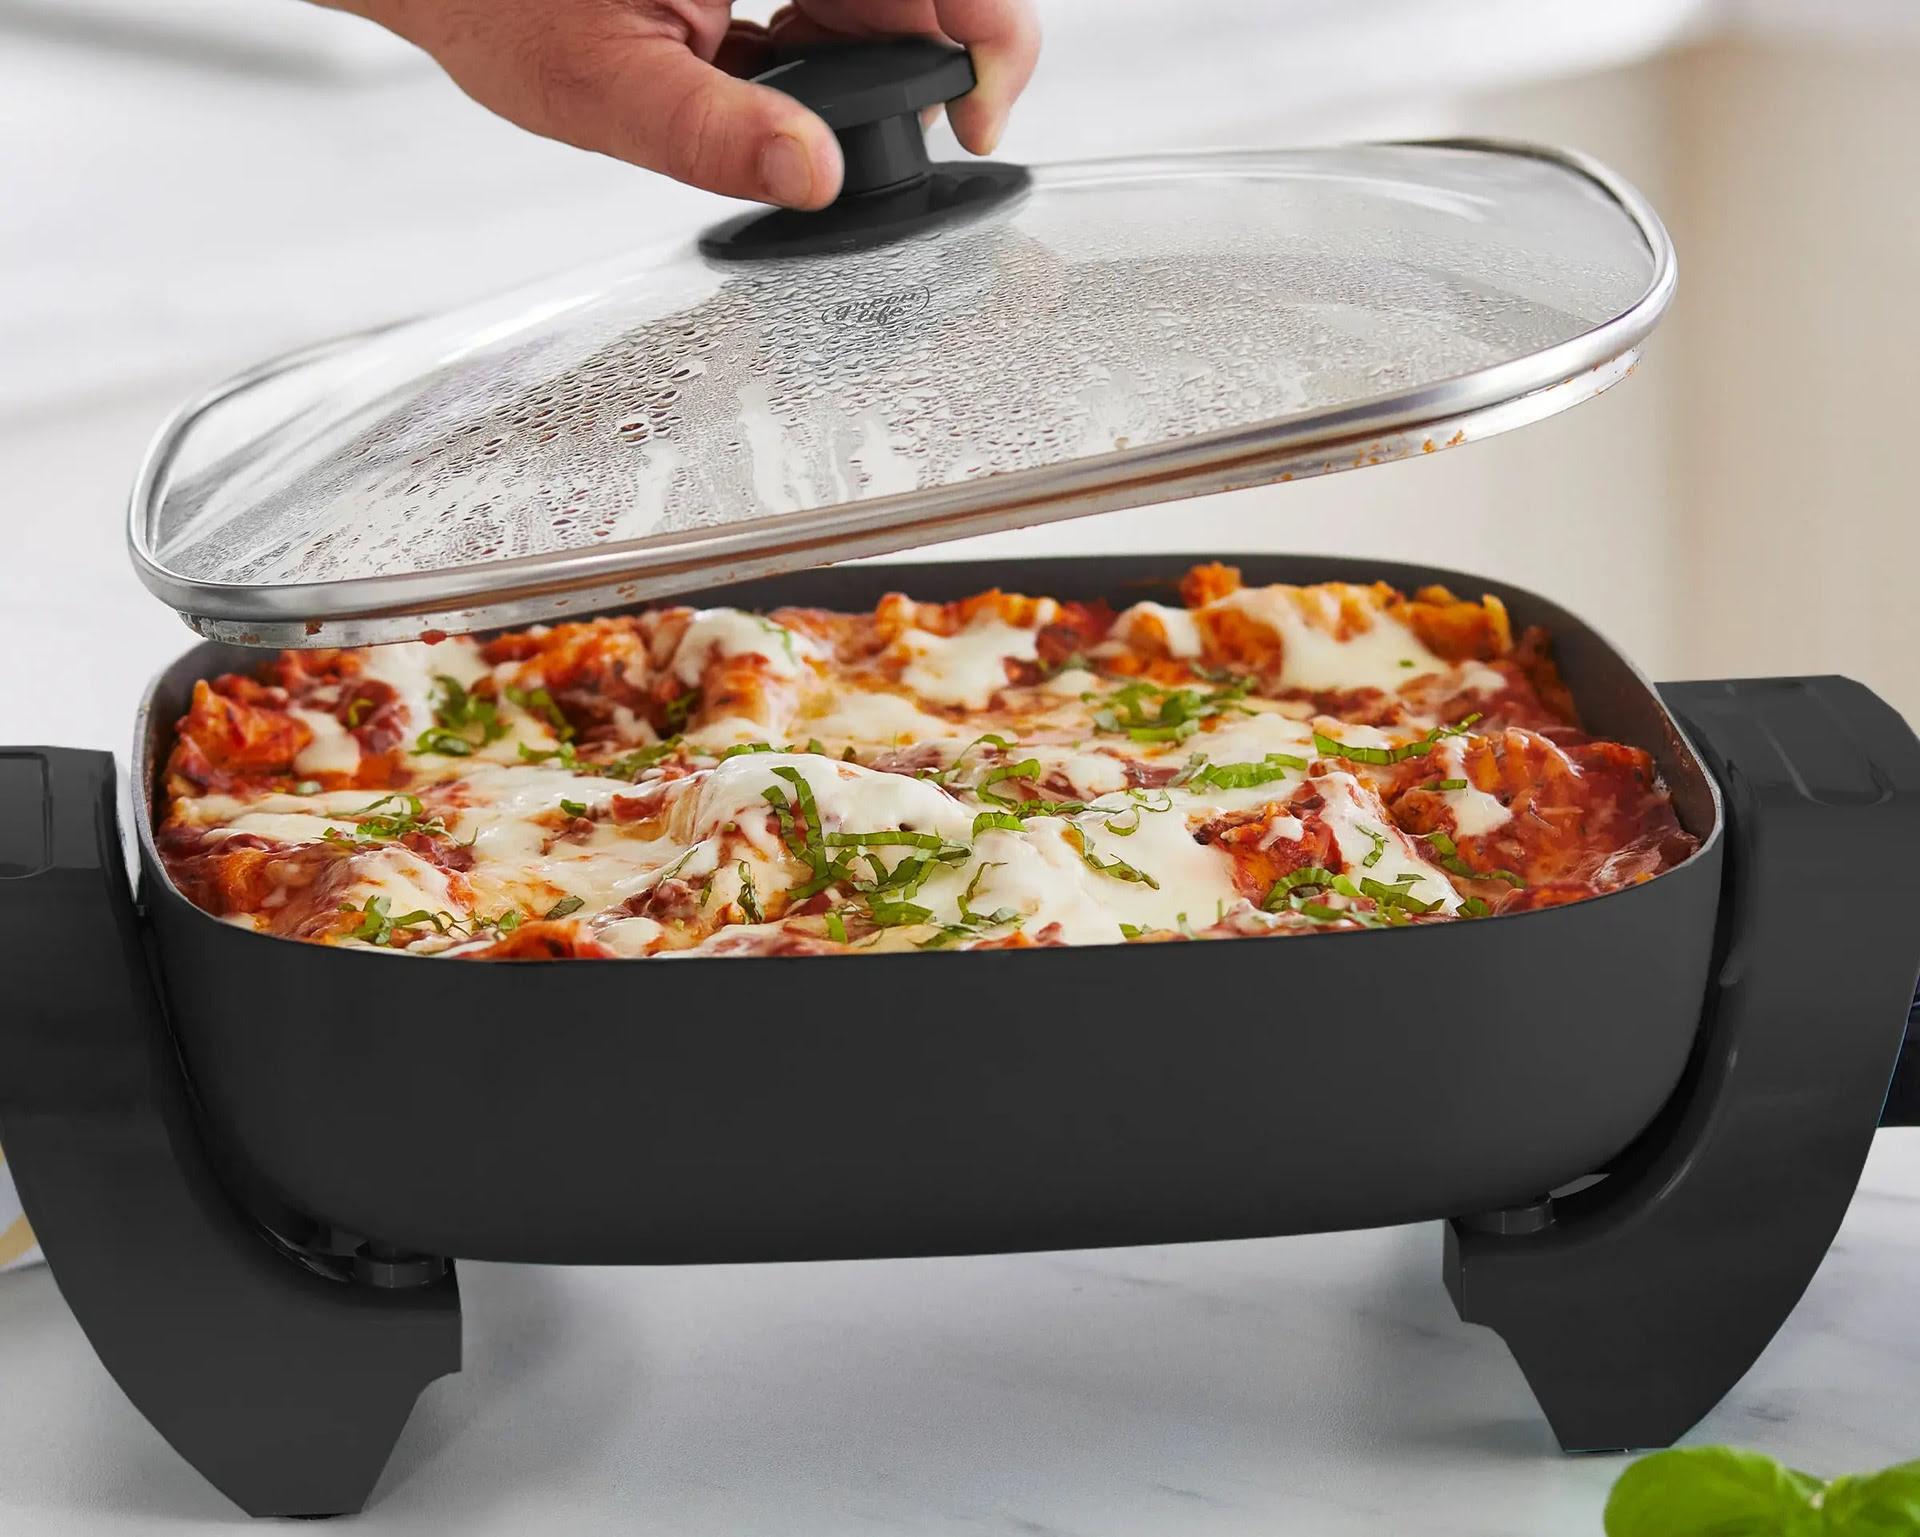
Step 8: Monitor Cooking Progress
Monitoring the cooking progress is an important step in achieving optimal results with your rival electric skillet. By keeping a close eye on your food as it cooks, you can ensure that it’s cooked to perfection and avoid any potential issues or mishaps.
Follow these steps to effectively monitor the cooking progress:
- Stay attentive: Remain present in the kitchen while your food is cooking in the electric skillet. Avoid leaving the area unattended to prevent any accidents or overcooking.
- Use a timer: Set a timer to remind you to check on the food at regular intervals. This helps prevent overcooking or burning.
- Flip or stir as needed: Depending on the recipe or cooking technique, you may need to flip the food or stir it occasionally. This promotes even cooking and prevents sticking or burning.
- Check for doneness: Use the recommended cooking times or visual cues to determine if your food is fully cooked. For example, meat should reach a safe internal temperature, while vegetables should be tender but still retain their texture.
- Adjust heat as necessary: If you find that the food is cooking too quickly or too slowly, make minor adjustments to the temperature settings as needed. This allows you to maintain control over the cooking process.
By monitoring the cooking progress, you can ensure that your food is cooked to your desired level of doneness and avoid any cooking mishaps. Remember to exercise caution and follow any specific instructions outlined in your recipe or cooking guide. As you approach the final stages of cooking, it’s time to move on to the next step of unplugging and storing the electric skillet.
Read more: What Is An Electric Skillet
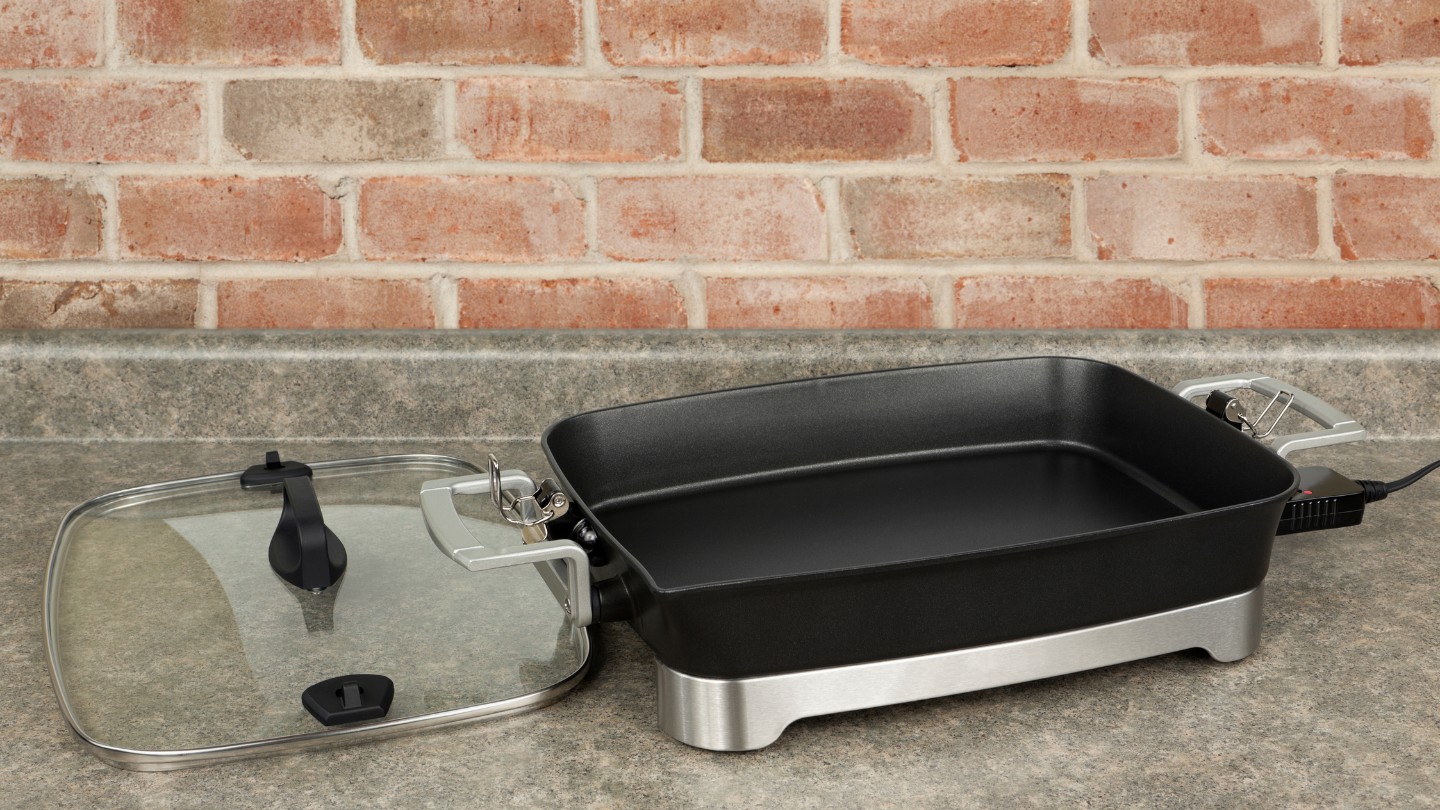
Step 9: Unplug and Store the Skillet
Once you have finished cooking with your rival electric skillet, it’s important to unplug and properly store it to ensure its longevity and maintain a clean and organized kitchen space.
Follow these steps to unplug and store your electric skillet:
- Turn off the power: Switch off the power or heat control button on your electric skillet to stop the heating process.
- Unplug the skillet: Safely unplug the skillet from the electrical outlet by gripping the plug firmly and pulling it out gently. Avoid yanking the cord to prevent damage.
- Allow cooling time: Let the electric skillet cool down before handling or cleaning. This prevents any potential burns or injuries.
- Clean the skillet: Once the skillet has cooled down, follow the manufacturer’s instructions to clean the cooking surface and exterior. Use warm, soapy water and a non-abrasive cloth or sponge. Dry it thoroughly before storing.
- Store in a safe location: Find a designated storage area for your electric skillet. Store it in a clean and dry place, away from extreme temperatures, moisture, or direct sunlight.
- Properly wrap the cord: Avoid tangling or damaging the power cord by wrapping it neatly. You can use twist ties or cord organizers to keep it organized and prevent any tripping hazards.
- Store any accessories: If your electric skillet came with accessories such as lids or cooking utensils, make sure to clean and store them together with the skillet in a coordinated manner.
By following these steps, you can ensure that your rival electric skillet remains in good working condition and ready for your next cooking adventure. Properly storing the skillet reduces the risk of damage and helps to keep your kitchen organized.
With step 9 completed, you have successfully learned how to unplug and store your electric skillet. Congratulations on mastering the process! Remember to always refer to your specific electric skillet’s user manual for any additional instructions or recommendations provided by the manufacturer.
Happy cooking!
Conclusion
Plugging in your rival electric skillet correctly is essential for safe and efficient cooking. By following the step-by-step guide provided in this article, you can confidently plug in your electric skillet and enjoy hassle-free cooking experiences.
Remember to start by checking the electrical outlet for any signs of damage or malfunctions. Clean your skillet thoroughly to maintain its performance and ensure food safety. Secure the power cord to prevent accidents and ensure a steady power supply. Once everything is in order, plug in the skillet and verify the power connection.
Preheat the skillet to the desired temperature and adjust the temperature settings as necessary for precise cooking. Throughout the cooking process, monitor the progress and make any necessary adjustments to achieve optimal results. Finally, unplug the skillet and store it properly to maintain its longevity.
By following these steps, you can enhance your cooking experience and ensure the longevity of your rival electric skillet. Remember to always refer to the manufacturer’s instructions for your specific model and exercise caution when working with electrical appliances.
Now that you have the knowledge and understanding of how to plug in your rival electric skillet, it’s time to unleash your culinary creativity and enjoy the convenience that this versatile kitchen tool offers. Happy cooking!
Frequently Asked Questions about How To Plug In Rival Electric Skillet
Was this page helpful?
At Storables.com, we guarantee accurate and reliable information. Our content, validated by Expert Board Contributors, is crafted following stringent Editorial Policies. We're committed to providing you with well-researched, expert-backed insights for all your informational needs.


0 thoughts on “How To Plug In Rival Electric Skillet”