Home>Articles>How To Prevent A Fitted Sheet From Tangling In The Dryer
Articles
How To Prevent A Fitted Sheet From Tangling In The Dryer
Modified: August 25, 2024
Learn effective techniques to prevent your fitted sheet from tangling in the dryer. Read our helpful articles and keep your sheets in perfect condition.
(Many of the links in this article redirect to a specific reviewed product. Your purchase of these products through affiliate links helps to generate commission for Storables.com, at no extra cost. Learn more)
Introduction
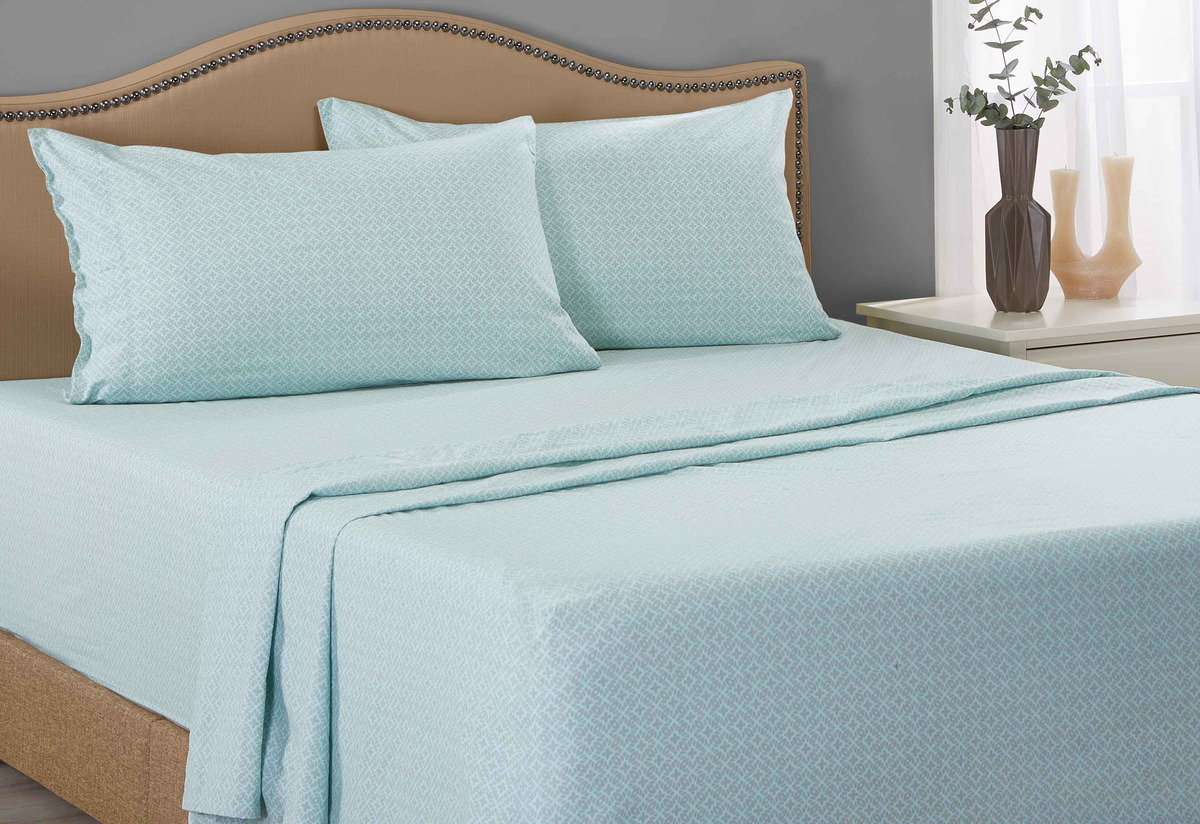
Drying laundry can sometimes be a tricky task, especially when it comes to fitted sheets. These sheets have elastic bands sewn into the corners, making them prone to tangling and wrinkling in the dryer. It can be frustrating to pull out a twisted and crumpled sheet after a drying cycle. However, with a few simple steps, you can prevent your fitted sheet from tangling in the dryer and ensure that it comes out smooth and wrinkle-free.
In this article, we will guide you through the process of drying a fitted sheet without any tangles. We will share some tips and techniques to help you effectively dry your fitted sheet and achieve the desired results. So, let’s dive in and discover how to prevent a fitted sheet from tangling in the dryer.
Key Takeaways:
- Keep your fitted sheet smooth and tangle-free by selecting the delicate dryer setting, securing corners, and using fabric softener for a cozy, wrinkle-free bed linen experience.
- Shake out and smooth your fitted sheet before drying, balance the load, and check dryness periodically to ensure optimal results and prolong the life of your bed linen.
Materials Needed
- Fitted Sheet: You will need a fitted sheet that you want to dry. Make sure it is clean and ready for drying.
- Dryer: You will need access to a clothes dryer. Ensure that the dryer is in good working condition and free from any debris.
- Laundry Detergent: Use your preferred laundry detergent to wash the fitted sheet before drying. Make sure to follow the instructions on the detergent packaging for the correct amount to use.
- Fabric Softener: Fabric softener helps to reduce wrinkles and static cling. You can choose to use fabric softener sheets or a liquid fabric softener in the drying process.
Having these materials ready will ensure that you have everything you need to effectively dry your fitted sheet without any tangles or wrinkles. Now, let’s move on to the step-by-step process of preventing a fitted sheet from tangling in the dryer.
Step 1: Preparing the Fitted Sheet for Drying
Before placing your fitted sheet in the dryer, it’s essential to prepare it properly. Start by giving the sheet a good shake to remove any loose debris or excess moisture. This will help prevent any additional dirt or lint from clinging to the fabric during the drying process.
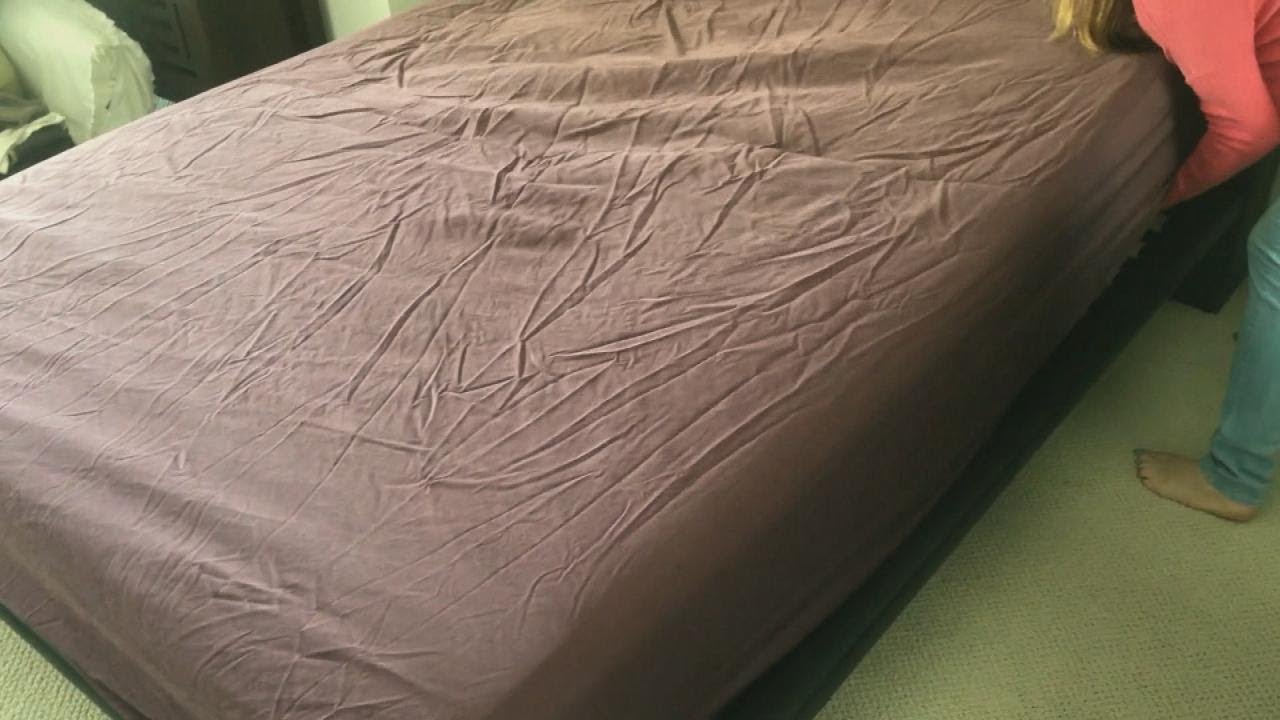
Next, take a few moments to smooth out any wrinkles on the fitted sheet. This will help ensure that the sheet dries evenly and reduces the likelihood of tangles. Use your hands to gently stretch out the fabric and smooth it out as much as possible. If there are stubborn wrinkles, you can also use a hand iron on a low heat setting to remove them.
Taking these preliminary steps will help set the foundation for a successful drying process. By shaking out the sheet and smoothing out any wrinkles, you can minimize the chances of tangling and achieve a better end result.
Step 2: Selecting the Appropriate Dryer Setting
Choosing the right dryer setting is crucial to prevent your fitted sheet from tangling and to preserve the quality of the fabric. Opting for the delicate or low-heat setting is ideal for drying fitted sheets. These settings provide gentle heat and airflow, reducing the risk of the sheet getting tangled or damaged.
Avoid using high-heat settings, such as the “regular” or “heavy-duty” options, as they generate more heat and can cause the elastic bands in the fitted sheet to shrink or warp. High heat can also lead to excessive wrinkling and may even result in the fabric piling or becoming worn out more quickly.
By selecting the delicate or low-heat setting, you ensure that the fitted sheet is subjected to the right level of heat and airflow needed for drying while maintaining its integrity. It’s important to refer to your dryer’s user manual to confirm the appropriate settings for different types of fabrics. Following the manufacturer’s recommendations will help preserve the life of your fitted sheet and prevent any potential damage.
Step 3: Securing the Fitted Sheet
To prevent a fitted sheet from tangling in the dryer, it’s essential to secure it properly before you start the drying process. Follow these simple steps to secure the fitted sheet and minimize the chances of tangles:
- Insert one corner of the fitted sheet inside another corner. This will create a pocket-like shape where the two corners overlap.
- Repeat this process with the remaining corners of the fitted sheet, ensuring that each corner is tucked inside another corner.
By securing the corners in this way, you create a compact and organized shape for the fitted sheet. This helps to prevent the sheet from becoming entangled with other garments or itself during the drying process. Additionally, it promotes more even airflow around the sheet, resulting in more effective drying and reduced wrinkling.
Make sure to smooth out any wrinkles as you secure the corners, ensuring that the sheet lies as flat as possible. This will help maintain the sheet’s shape and minimize the chances of wrinkles or creases forming during drying.
Securing the fitted sheet properly is a crucial step in preventing tangling and achieving optimal drying results. By following these simple steps, you can ensure that your fitted sheet remains in place and comes out of the dryer in great condition.
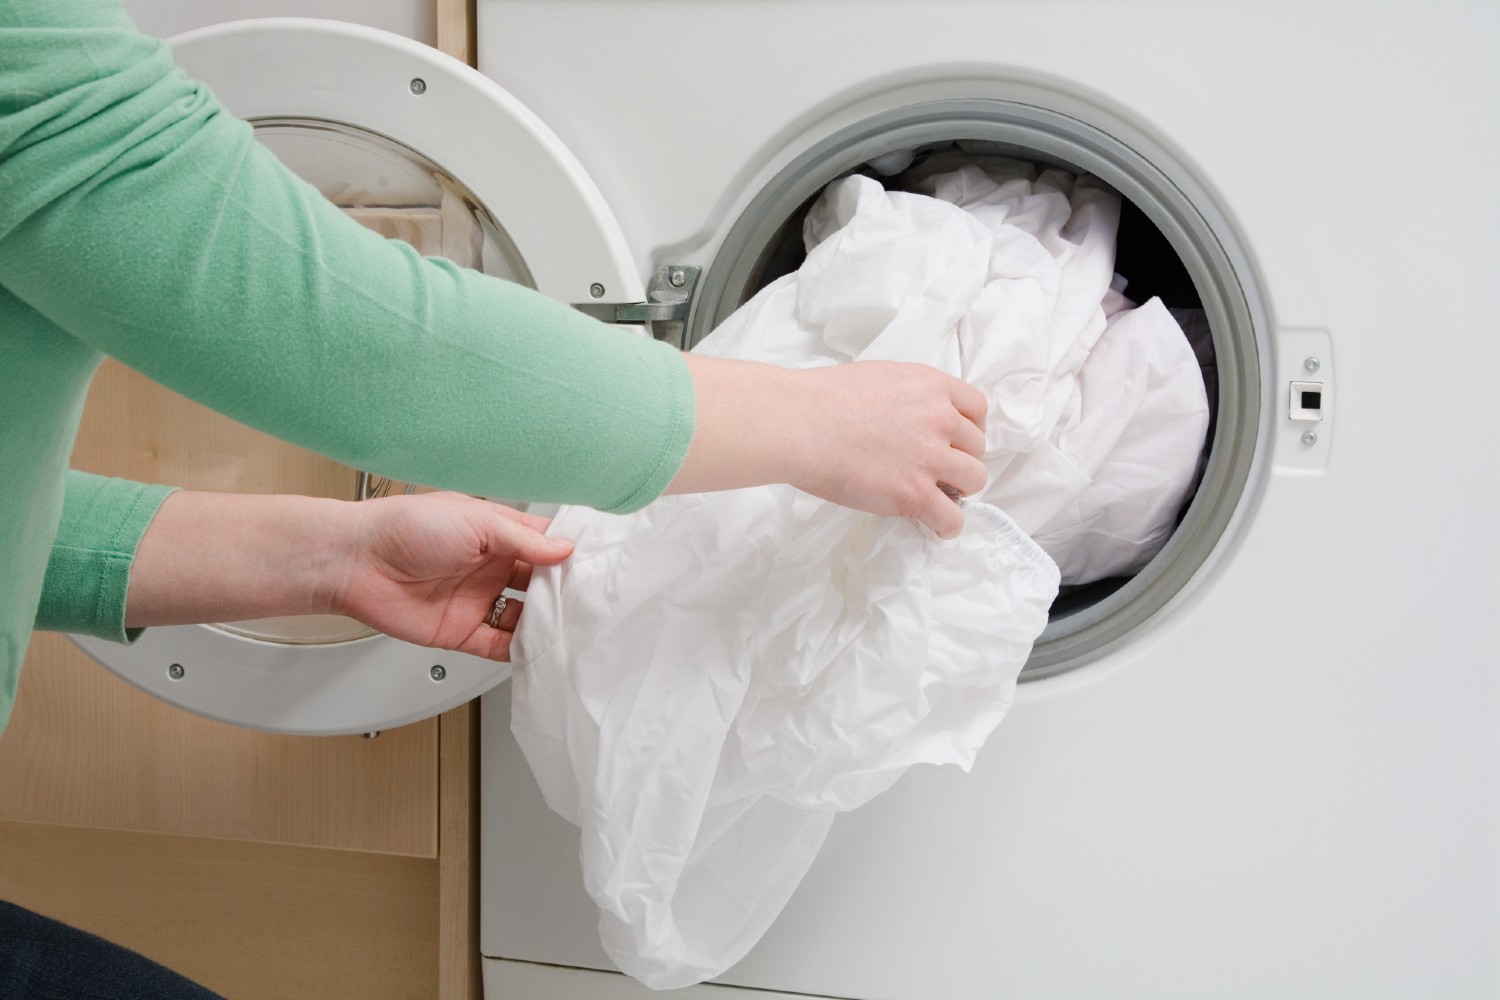
Step 4: Placing the Fitted Sheet in the Dryer
Once you have secured the corners of the fitted sheet, it’s time to carefully place it inside the dryer. Follow these steps to ensure a smooth and effective drying process:
- Gently place the fitted sheet inside the dryer, making sure to unfold it completely. Avoid forcefully cramming or stuffing the sheet into the dryer as this can lead to excessive wrinkling or tangling.
- Spread the sheet out as evenly as possible to allow for better airflow. This will help in drying the sheet more efficiently and reducing the chances of excessive wrinkling.
It’s important to avoid overloading the dryer with too many items, as this can cause tangling and decrease the effectiveness of drying. If necessary, dry the fitted sheet separately or with a small load of lightweight items to ensure proper ventilation and even drying.
By gently placing the fitted sheet inside the dryer and avoiding overstuffing, you create optimal conditions for the sheet to dry evenly and efficiently. This step is essential in minimizing the risk of tangling and achieving the desired wrinkle-free result.
To prevent a fitted sheet from tangling in the dryer, try placing the sheet in a mesh laundry bag before drying. This will help to keep it from getting tangled with other items in the dryer.
Step 5: Adding Laundry Items
When drying a fitted sheet, it’s important to consider the overall load balance in the dryer. To prevent tangling and promote even drying, follow these steps when adding laundry items:
- Consider adding other lightweight items, such as pillowcases or small towels, to balance the load. This helps prevent the fitted sheet from getting bunched up and tangled with itself.
- Avoid overcrowding the dryer to allow for proper airflow. Leaving ample space between items allows hot air to circulate freely, ensuring that the fitted sheet and other items dry evenly.
By adding additional lightweight items and maintaining proper load balance, you can minimize the chance of the fitted sheet becoming entangled and ensure that it dries effectively. Avoiding overcrowding in the dryer helps to maintain optimal drying conditions, reducing the risk of wrinkles and tangles.
Remember to refer to your dryer’s user manual for instructions on recommended load sizes and weight limits. Adhering to these guidelines will ensure that the dryer functions efficiently and that your fitted sheet receives the best drying conditions possible.
Step 6: Starting the Dryer
Once you have placed the fitted sheet and other laundry items in the dryer, it’s time to start the drying process. Follow these simple steps to get your dryer up and running:
- Close the dryer door securely. This ensures that the hot air remains inside the dryer and circulates around the items, facilitating efficient drying.
- Set the desired drying time on the dryer control panel or knob. Refer to the manufacturer’s instructions for the recommended drying time based on the fabric type and the size of the load.
Closing the dryer door properly helps to maintain the internal temperature and prevents any disruption to the drying process. Selecting the appropriate drying time based on the specific needs of your fitted sheet and other laundry items ensures that they dry thoroughly without unnecessary overheating.
For optimal results, consider using the low-heat or delicate setting as discussed earlier. This gentle heat promotes even drying and reduces the risk of wrinkling or tangling. Additionally, it helps preserve the quality and longevity of your fitted sheet.
By following these steps, you can initiate the drying process and let your dryer do its job effectively. It’s now time to wait patiently until the drying cycle is complete.
Step 7: Using Fabric Softener
Fabric softener is a useful tool in preventing wrinkles and maintaining the softness of your fitted sheet. Follow these steps to effectively use fabric softener during the drying process:
- Add fabric softener sheets to the dryer. As the dryer heats up, the fabric softener sheets release a pleasant scent and reduce static cling. They also help to minimize wrinkles and make the fitted sheet feel softer.
- Alternatively, you can use liquid fabric softener in the washer during the initial wash cycle. This allows the fabric softener to penetrate the fibers of the fitted sheet, making it softer and more wrinkle-resistant from the start.
Fabric softener sheets are convenient to use and offer quick results. Simply place them in the dryer with the fitted sheet and other items, and they will work their magic. Liquid fabric softener, on the other hand, requires adding it to the washer during the wash cycle. This method ensures that the softening agents become fully integrated into the fabric for long-lasting softness.
Remember to follow the manufacturer’s instructions on the proper usage and quantity of fabric softener. Overloading on fabric softener may leave a residue on the fitted sheet or cause an overpowering scent. Finding the right balance will help you achieve the desired softness and wrinkle reduction without any drawbacks.
By incorporating fabric softener into your laundry routine, you can enhance the comfort and appearance of your fitted sheet, making it even more enjoyable to use.
Read more: What Is A Fitted Sheet
Step 8: Checking the Dryness Level
To ensure that your fitted sheet is effectively dried without any tangling or excessive wrinkling, it’s important to periodically check its dryness level during the drying cycle. Follow these steps to monitor the dryness and avoid extended drying times:
- Periodically open the dryer door and remove the fitted sheet for inspection. Check for any remaining damp or wet areas.
- If the sheet feels slightly damp, you can continue drying it for a bit longer. However, if it feels mostly dry, it’s best to remove it from the dryer to prevent over-drying, which can lead to increased wrinkling.
- Keep in mind that different fabrics and thicknesses may require varying drying times. Thin sheets typically dry faster, while thicker ones may take longer.
It’s important to avoid leaving the fitted sheet in the dryer for extended periods as this can lead to unnecessary wrinkling or even damage to the fabric. By periodically checking the dryness level, you can ensure that the sheet is dried to the appropriate level and prevent any potential issues.
If you find that your fitted sheet is consistently taking longer to dry, consider reducing the load size or checking your dryer’s vent for any blockages. Proper maintenance and load management can contribute to more efficient drying times and better results.
By being attentive to the dryness level of your fitted sheet, you can achieve optimal drying without any tangles or excessive wrinkling. It’s time to move on to the final step to complete the drying process successfully.
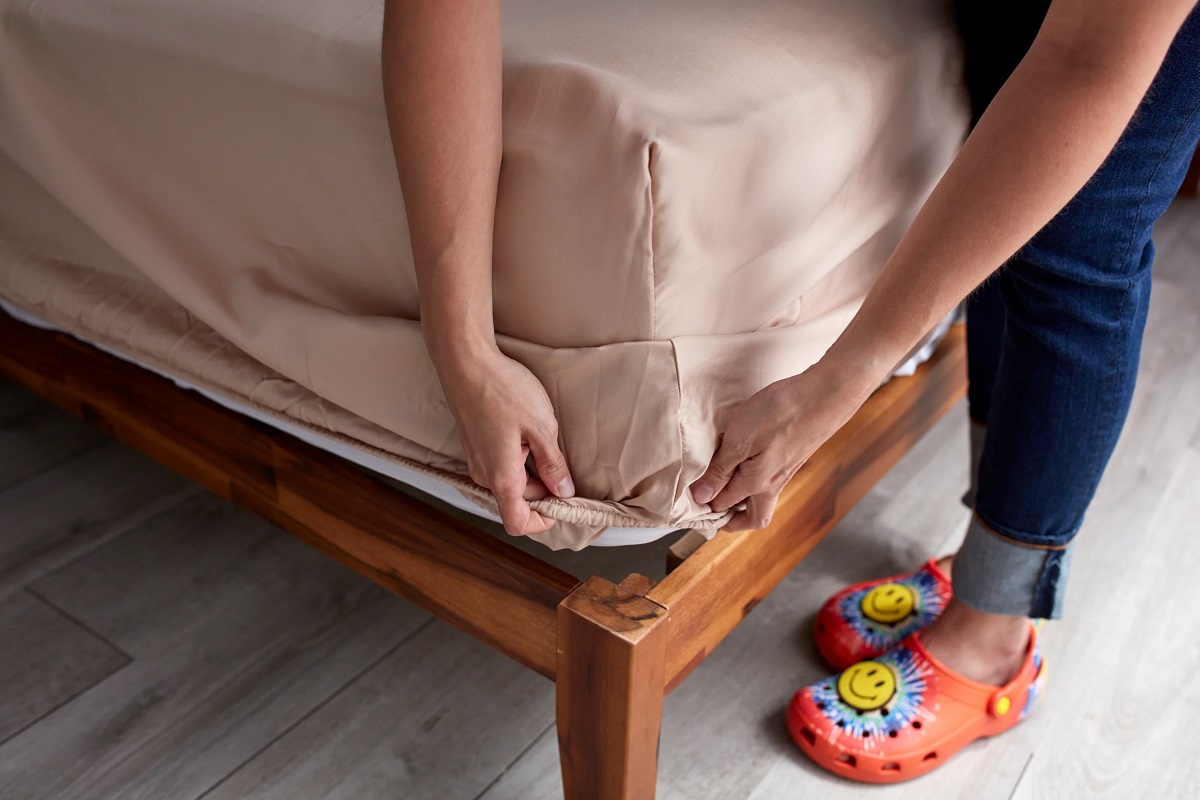
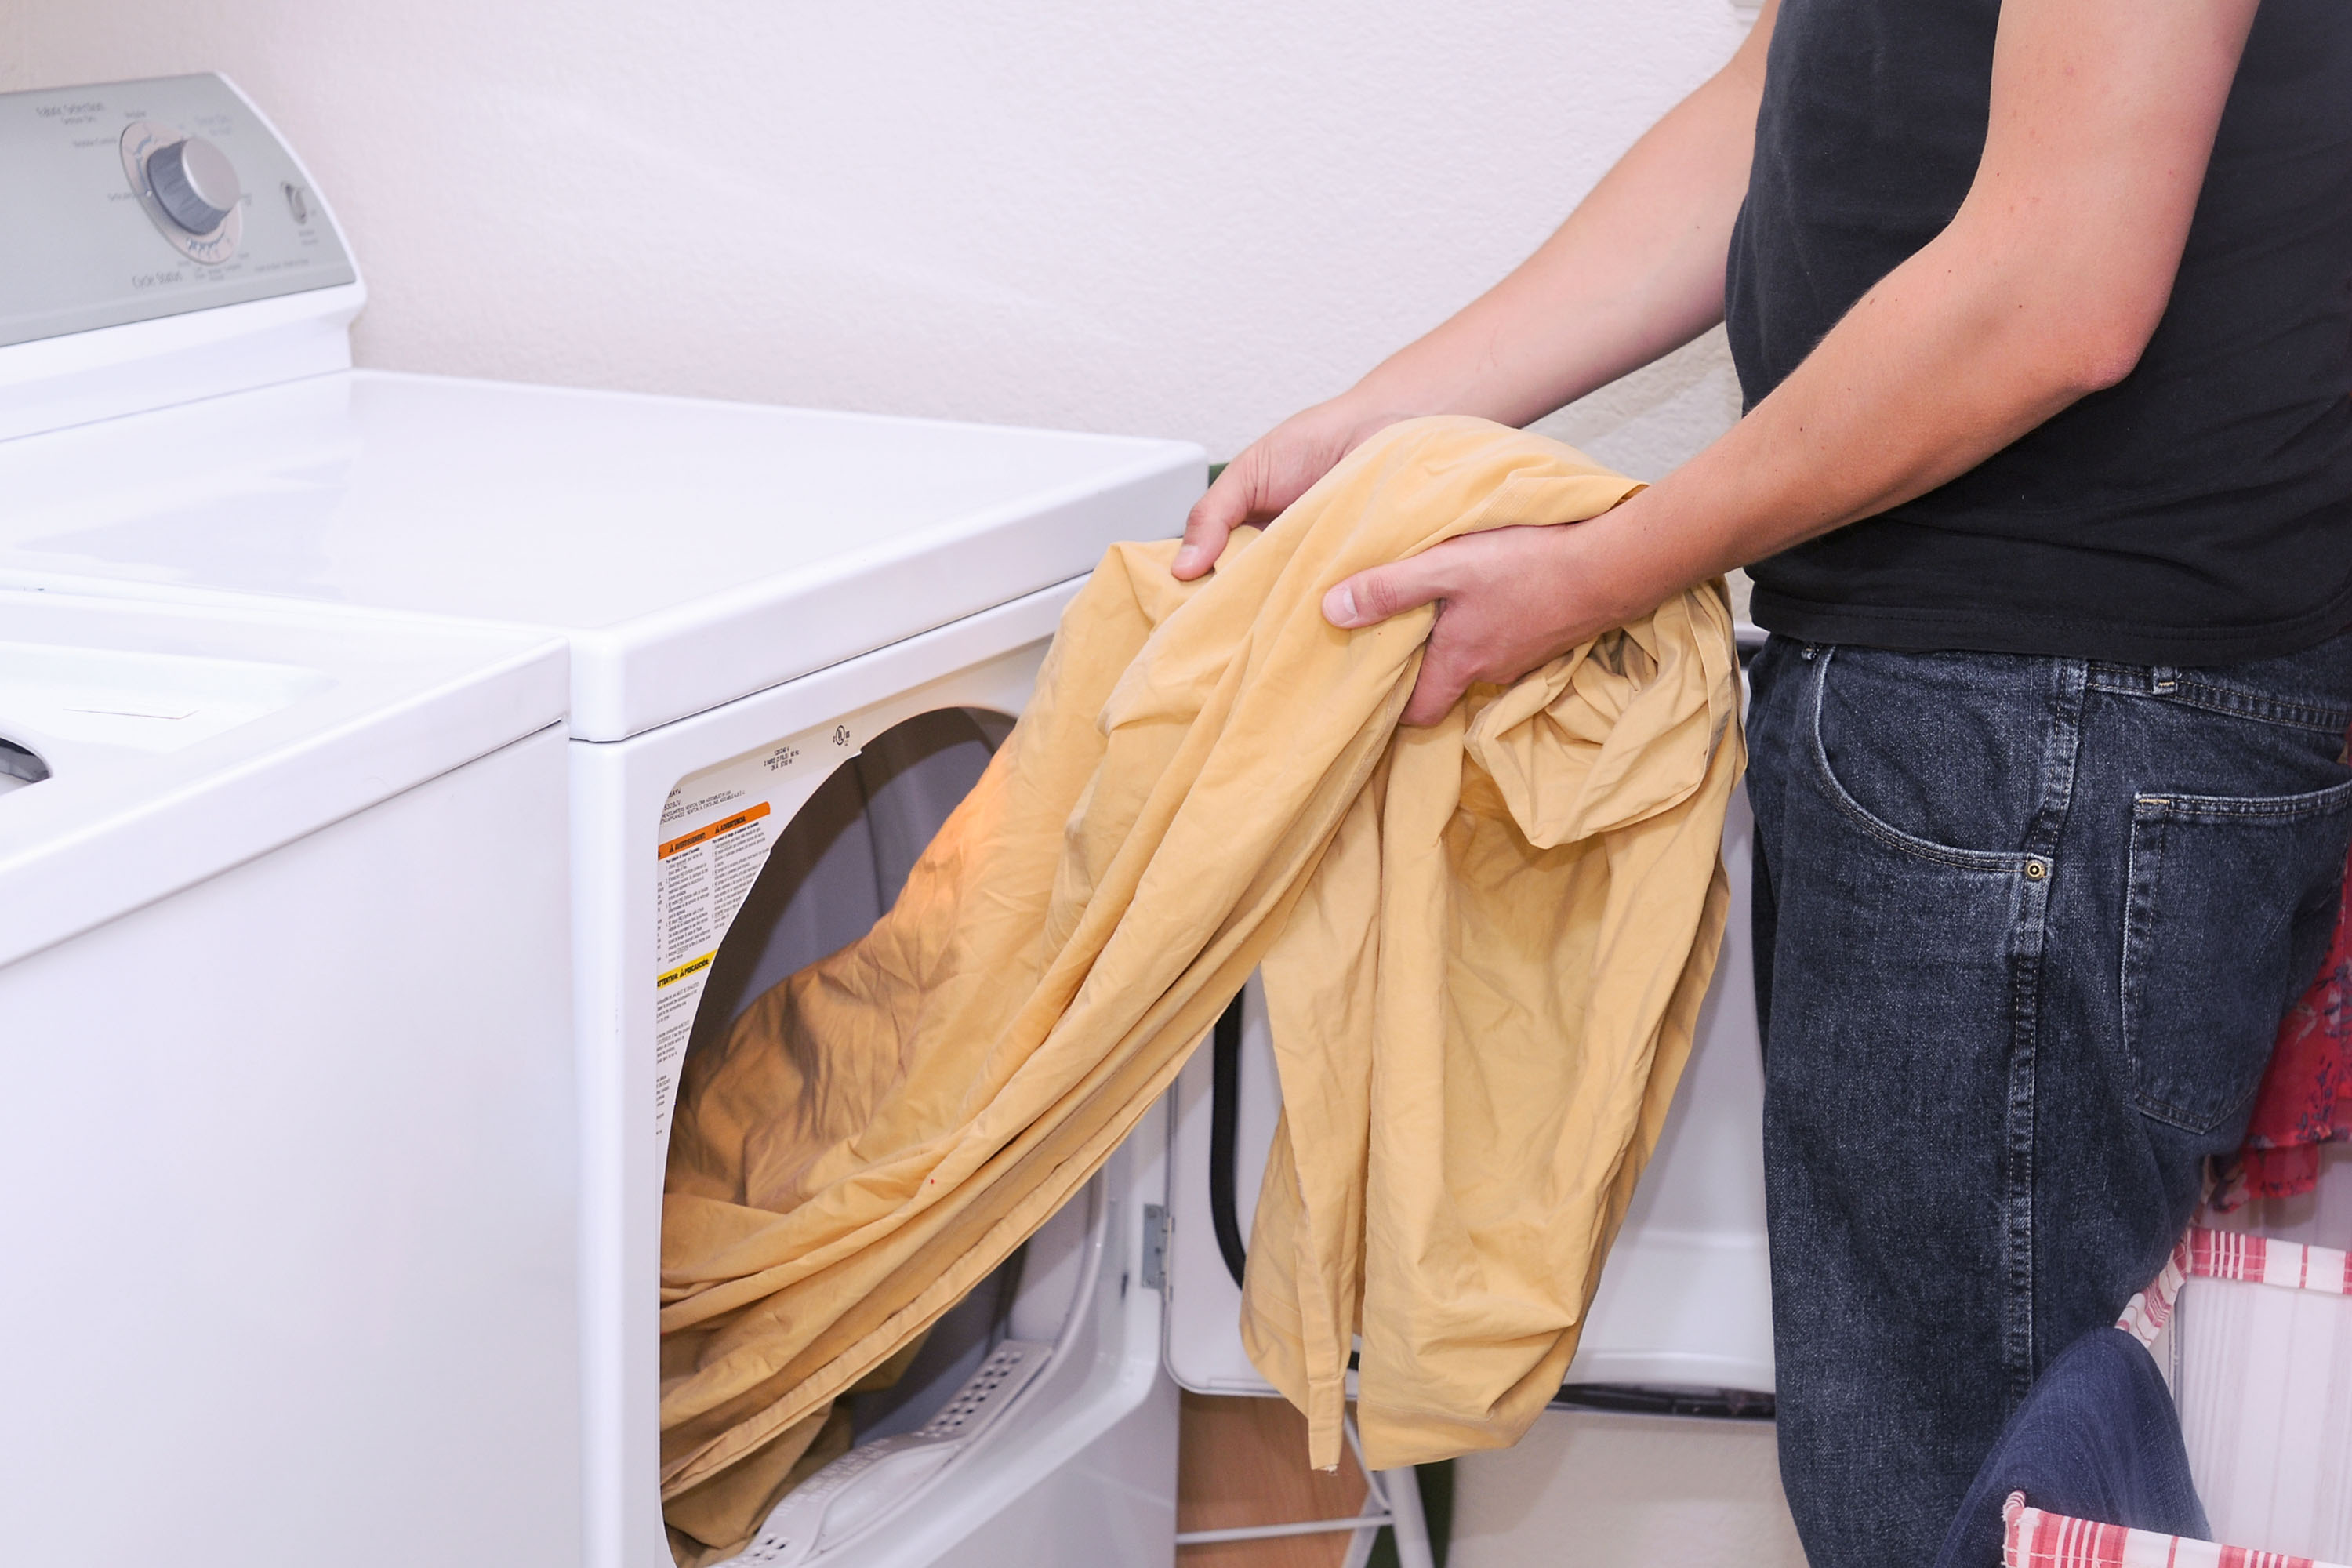
Step 9: Removing the Fitted Sheet from the Dryer
Once the fitted sheet is completely dry, it’s time to remove it from the dryer. Follow these steps to safely and effectively take out the sheet, ensuring minimal wrinkling:
- Gently open the dryer door and carefully remove the fitted sheet. Be cautious not to tug or pull on the sheet forcefully, as this can lead to unwanted creasing.
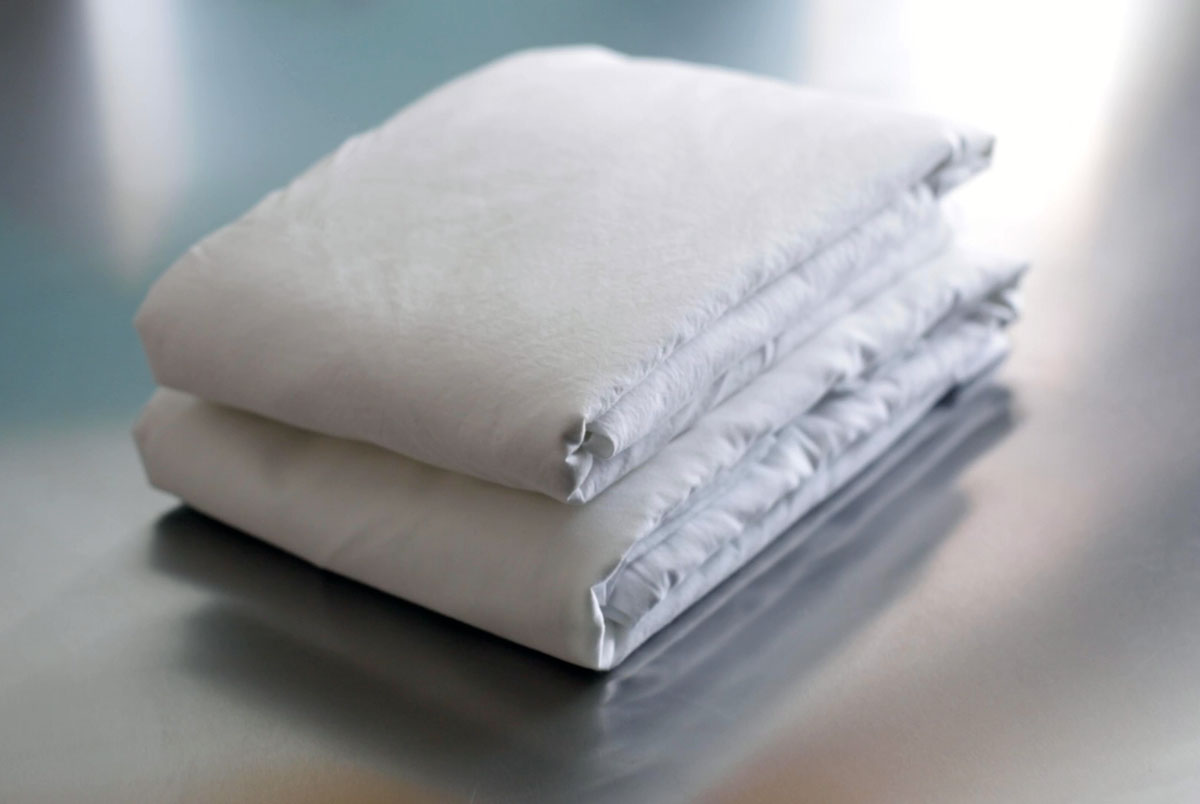
- Immediately after taking out the sheet, fold it neatly. Folding the sheet right away helps prevent wrinkles from setting in while the fabric is still warm from the dryer.
By gently removing the fitted sheet from the dryer, you avoid any unnecessary tugging or stretching of the fabric. This helps maintain the sheet’s shape and elasticity, prolonging its lifespan.
Folding the sheet immediately after removing it from the dryer is crucial to prevent wrinkles. The warm fabric is more pliable at this stage, making it easier to create smooth folds without creasing. Plus, folding the sheet right away ensures that it stays organized and ready for future use.
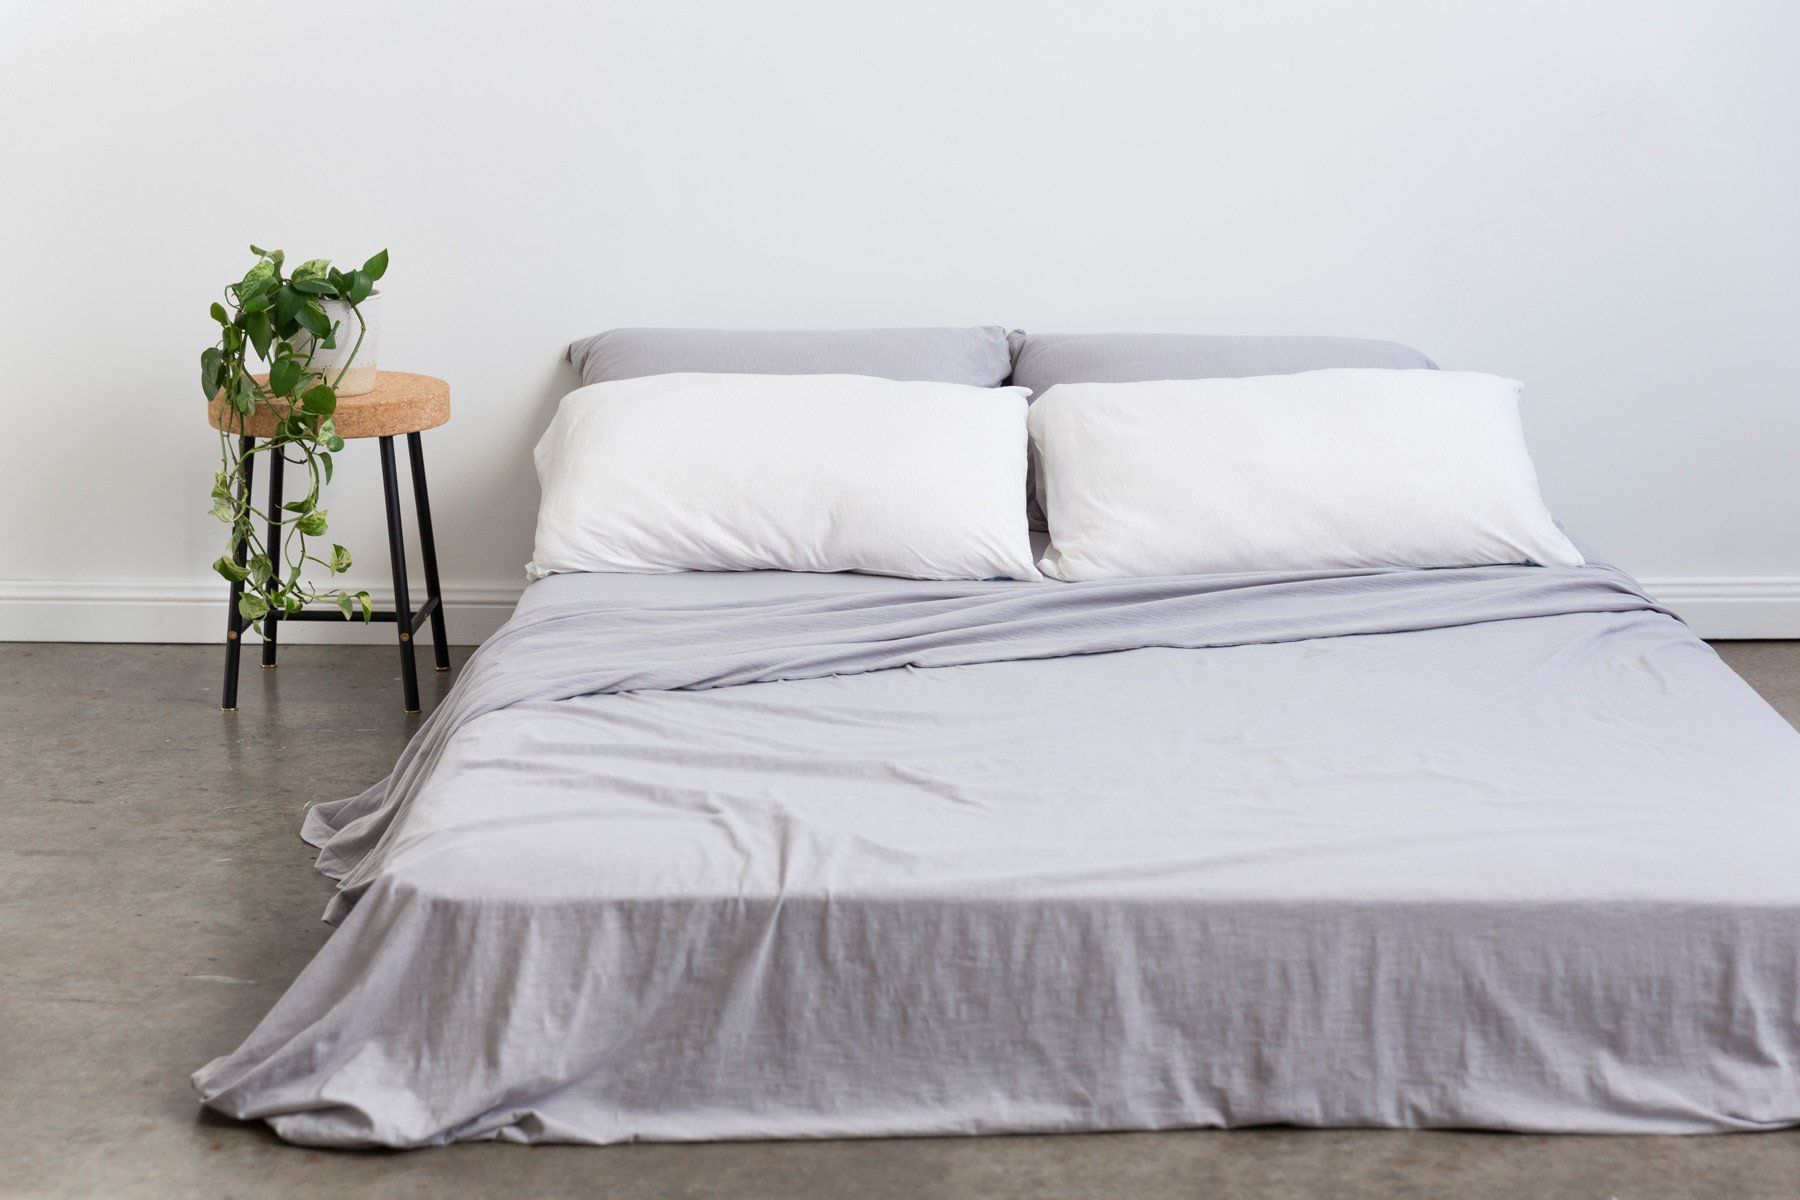
Remember to store your folded fitted sheet in a cool, dry place to keep it in optimal condition until the next use.
With this final step, you have successfully completed the process of preventing your fitted sheet from tangling in the dryer. By following these steps, you can enjoy a smooth and wrinkle-free fitted sheet every time you do your laundry.
Conclusion
Drying a fitted sheet without it tangling in the dryer can seem like a challenge, but with the right techniques, it can be easily accomplished. By following the steps outlined in this article, you can achieve a smooth, wrinkle-free fitted sheet every time.
Preparing the fitted sheet by shaking it out and smoothing out any wrinkles sets the foundation for successful drying. Selecting the appropriate dryer setting, such as the delicate or low-heat option, ensures that the sheet is dried gently without any damage to the elastic bands or fabric.
Securing the fitted sheet by inserting one corner inside another and placing it in the dryer with care prevents tangling. Adding other lightweight items to balance the load and avoiding overcrowding enhances the drying process.
Using fabric softener, whether in the form of sheets in the dryer or liquid softener in the washer, helps reduce wrinkles and keeps the fitted sheet soft and cozy.
Regularly checking the sheet’s dryness level and removing it from the dryer at the appropriate time prevents extended drying and excess wrinkling. Finally, gently removing the sheet from the dryer and folding it immediately keeps it looking crisp and tidy.
By following these steps, you can prolong the life of your fitted sheet and enjoy the comfort and convenience it provides for years to come. Take the time to properly care for your fitted sheet during the drying process, and you’ll be rewarded with a smoother, more wrinkle-free bed linen.
So, next time you do your laundry, remember these tips and techniques for preventing a fitted sheet from tangling in the dryer. Enjoy the satisfaction of neatly dried sheets and bed linens, making your bed even more inviting and cozy.
Frequently Asked Questions about How To Prevent A Fitted Sheet From Tangling In The Dryer
Was this page helpful?
At Storables.com, we guarantee accurate and reliable information. Our content, validated by Expert Board Contributors, is crafted following stringent Editorial Policies. We're committed to providing you with well-researched, expert-backed insights for all your informational needs.


0 thoughts on “How To Prevent A Fitted Sheet From Tangling In The Dryer”