Articles
How To Open A Dryer
Modified: August 16, 2024
Learn the step-by-step process of opening a dryer with this informative article. Discover useful tips and tricks for safely accessing and repairing your dryer.
(Many of the links in this article redirect to a specific reviewed product. Your purchase of these products through affiliate links helps to generate commission for Storables.com, at no extra cost. Learn more)
Introduction
Welcome to our guide on how to open a dryer. If you’re experiencing issues with your dryer, such as it not heating up or taking longer than usual to dry your clothes, it might be time to inspect the internal components. Opening up your dryer can help you identify the problem and potentially save you from calling a technician or buying a new appliance.
Before we dive into the step-by-step process, it’s important to note that opening a dryer can be potentially hazardous. Always prioritize your safety by following the necessary precautions and, if you’re unsure or uncomfortable with any step, it’s best to consult a professional.
In this article, we’ll provide you with the necessary instructions to safely open your dryer, locate the problematic component, and even guide you through replacing it if needed. So, let’s get started on diagnosing and fixing your dryer issues!
Key Takeaways:
- Prioritize safety by following the necessary precautions when opening a dryer, including unplugging the appliance, wearing protective gear, and working in a well-ventilated area. Always consult a professional if unsure.
- Gather the necessary tools and materials before opening your dryer to ensure a smooth repair process. From screwdrivers to cleaning solutions, having the right items on hand can save time and minimize potential issues.
Read more: How To Open Ge Stacked Washer Dryer
Safety Precautions
Before you begin opening your dryer, it’s crucial to prioritize your safety. Here are some important safety precautions to keep in mind:
- Always unplug the dryer: Before starting any work on your dryer, make sure it is completely unplugged from the electrical outlet. This will prevent any risk of electrical shock while handling the internal components.
- Wear protective gear: It’s recommended to wear safety goggles to protect your eyes from any debris or dust that may be released when opening the dryer. Additionally, wearing gloves can help protect your hands from sharp edges or moving parts.
- Work in a well-ventilated area: It’s important to have proper ventilation when working on your dryer. Open windows or doors to ensure fresh air circulation and prevent the buildup of any potentially harmful fumes or gases.
- Use proper tools: Make sure you have the necessary tools for the job. Using the wrong tools can lead to accidents or damage to the dryer. Refer to the manufacturer’s instructions or consult a professional if you’re unsure about the tools you need.
- Work on a stable surface: Ensure that your dryer is placed on a stable and level surface before you begin working on it. This will prevent the dryer from toppling over and causing injury.
- Follow manufacturer’s instructions: Different dryer models may have specific instructions or precautions. Always refer to the manufacturer’s manual for any specific guidelines or warnings.
- Proceed with caution: Take your time when working on your dryer. Rushing or forcing components can lead to damage or injury. Stay focused, follow the instructions carefully, and stay mindful of your surroundings.
By following these safety precautions, you can minimize risks and ensure a safe working environment as you open and inspect your dryer.
Tools and Materials Needed
Before you begin opening your dryer, it’s important to gather all the necessary tools and materials. Here’s a list of what you’ll need:
- Screwdriver: Depending on the type of dryer you have, you may need a Phillips or flathead screwdriver to remove screws and access panels.
- Socket Set: In some cases, a socket set may be required to remove bolts or nuts holding components in place.
- Multi-meter: A multi-meter is a useful tool for testing the continuity and voltage of electrical components within the dryer.
- Replacement Parts: If you’ve already identified the problematic component, make sure you have the necessary replacement part on hand before you start the repair process.
- Work Gloves: Wearing work gloves will protect your hands from sharp edges or getting pinched during the disassembly process.
- Safety Goggles: Safety goggles provide eye protection from any debris or dust that may be released while working on the dryer.
- Lint Brush: As you have your dryer open, it’s a good opportunity to clean out any built-up lint from the internal components. A lint brush or vacuum attachment can help with this task.
- Cleaning Solution: Depending on the condition of your dryer, you may need a cleaning solution or mild detergent to clean any greasy or dirty parts.
- Towels or Drop Cloth: Place towels or a drop cloth around your work area to catch any debris or prevent scratches on the floor during the disassembly and repair process.
Make sure to gather all the necessary tools and materials before you start opening your dryer. This will save you time and ensure a smooth repair process.
Step 1: Unplug the Dryer
Before you begin opening your dryer, it’s important to ensure that it is completely disconnected from the power source. This will prevent any risk of electrical shock while handling the internal components. Follow these steps to safely unplug your dryer:
- Locate the power cord: The power cord is typically located at the back of the dryer. It is connected to an electrical outlet or a power source.
- Access the electrical outlet: Move the dryer slightly away from the wall to expose the electrical outlet behind it.
- Unplug the dryer: Firmly grip the plug of the power cord and gently pull it out from the outlet.
- Double-check the power supply: After unplugging the dryer, ensure that there is no power supply to the appliance by checking that the lights or control panel are off.
Once you have successfully unplugged your dryer and confirmed that there is no power supply, you can proceed with the next steps to open it and diagnose any issues.
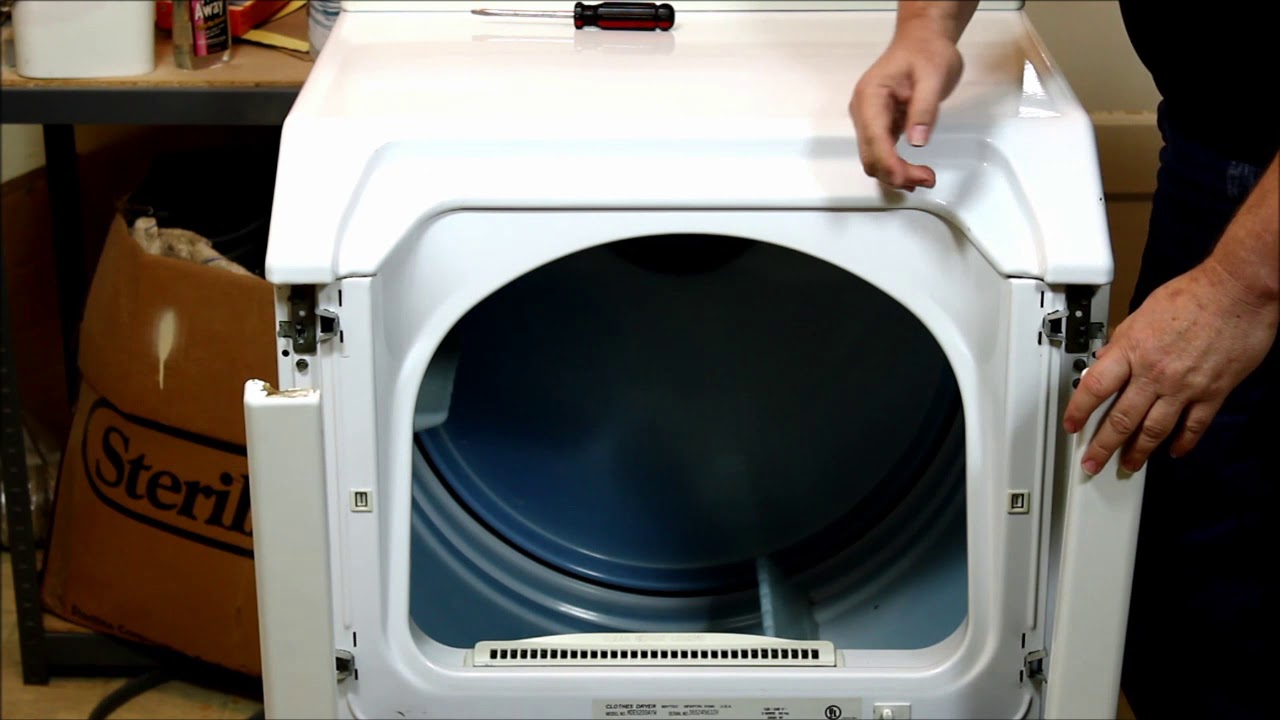
Step 2: Locate the Access Panel
Once your dryer is safely unplugged, the next step is to locate the access panel. The access panel allows you to gain entry to the internal components of the dryer. Follow these steps to find the access panel on your dryer:
- Consult the manufacturer’s manual: The location of the access panel can vary depending on the make and model of your dryer. Refer to the manufacturer’s manual to determine where the access panel is located.
- Inspect the back or front of the dryer: In most cases, the access panel is located on either the back or front of the dryer. Check the sides, top, and bottom of the dryer as well, as some models may have access panels in these areas.
- Look for screws or clips: The access panel is typically secured with screws or clips. These fasteners hold the panel in place and need to be removed to gain access to the internals of the dryer.
- Inspect for any removable parts: Some dryers may have additional removable parts, such as a lint filter housing or a top panel that needs to be lifted or removed before reaching the access panel.
Take your time to locate the access panel on your specific dryer model. If you’re having trouble finding it, consult the manufacturer’s manual or consider searching online for diagrams or videos specific to your dryer model.
Read more: How To Open Kenmore Stacked Washer Dryer
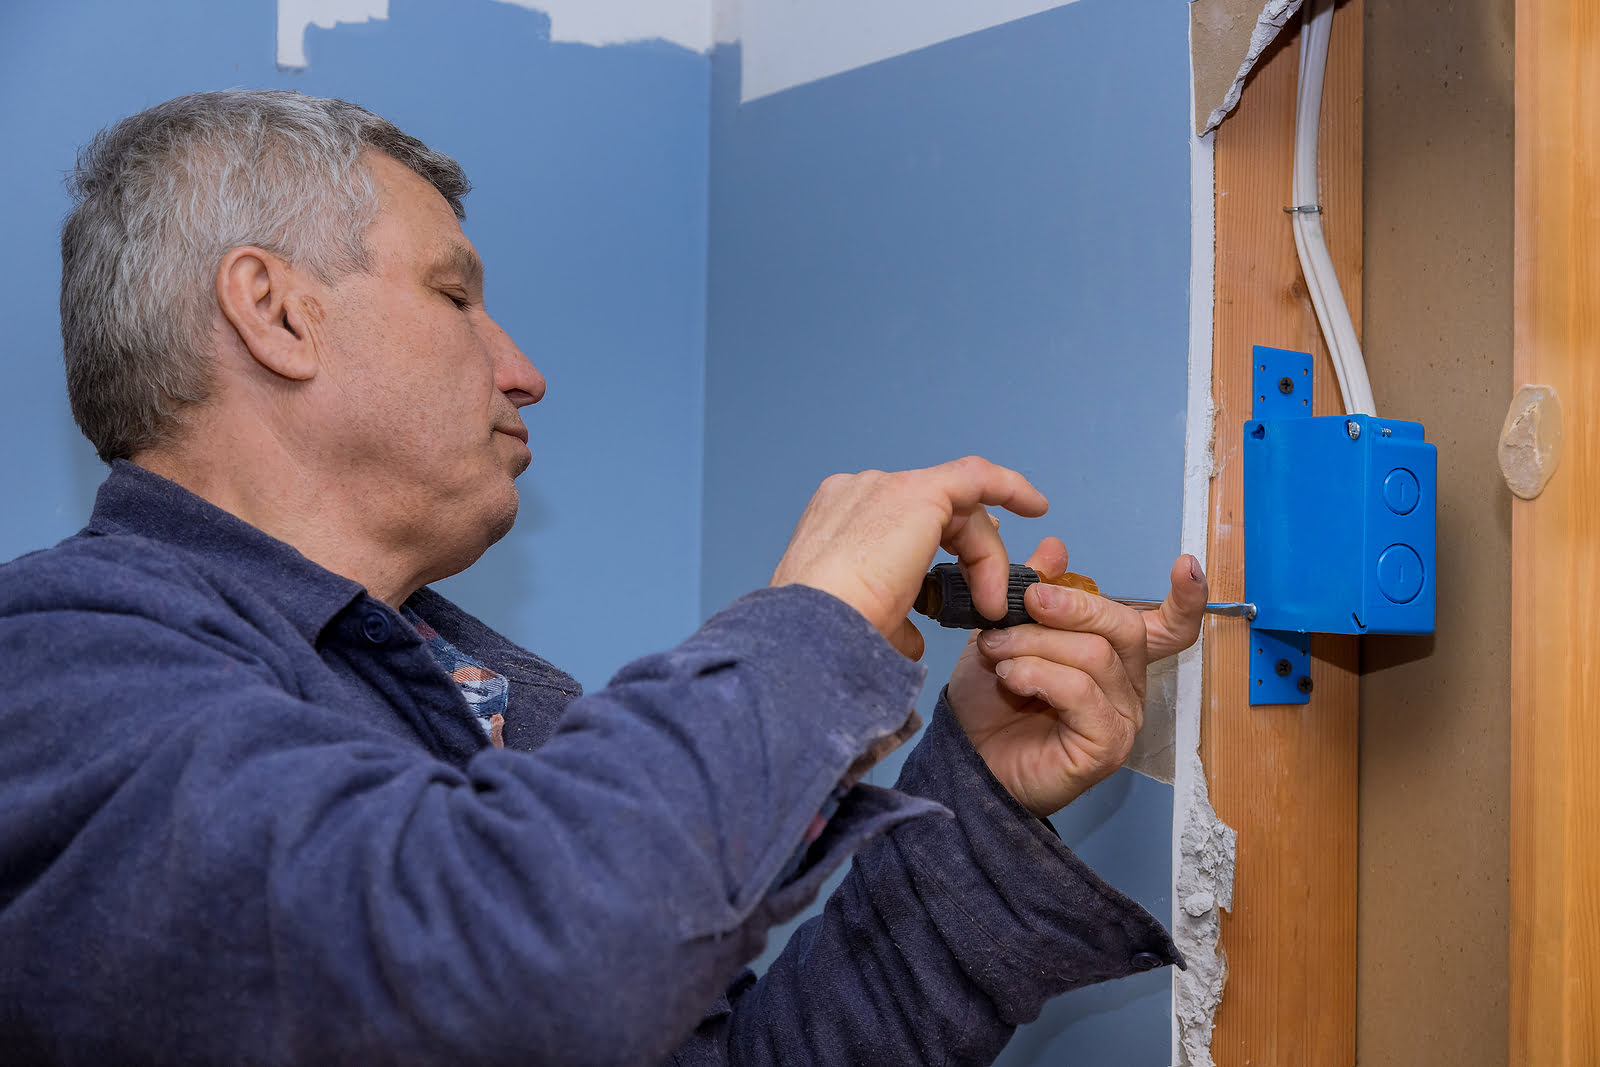
Step 3: Remove the Access Panel
Now that you have located the access panel, it’s time to remove it in order to gain access to the internal components of your dryer. Follow these steps to safely remove the access panel:
- Gather the necessary tools: Before you begin, ensure that you have the appropriate screwdriver or other tools required to remove any screws or fasteners securing the access panel.
- Remove the screws or fasteners: Using the appropriate tool, carefully unscrew or unfasten the screws or clips securing the access panel in place. Be sure to keep the screws or clips in a safe place so you don’t lose them.
- Set the panel aside: Once the screws or fasteners have been removed, gently pull the access panel away from the dryer. Set it aside in a safe location where it won’t get damaged.
After removing the access panel, you should have a clear view of the internal components of your dryer. Take a moment to inspect the area and familiarize yourself with the various parts before proceeding to the next steps of troubleshooting and repair.
Remember, if at any point you’re unsure or uncomfortable with the process, it’s always best to consult a professional for assistance.
Before opening a dryer, always unplug it from the power source to avoid any risk of electric shock. This is an important safety precaution to take before attempting any maintenance or repairs.
Step 4: Identify the Heating Element or Igniter
With the access panel removed, you can now proceed to identify the heating element or igniter, depending on the type of dryer you have. The heating element or igniter is responsible for generating the heat needed to dry your clothes. Follow these steps to locate and identify the heating element or igniter:
- Refer to the manufacturer’s manual: The manual can provide specific guidance on the location and appearance of the heating element or igniter in your dryer.
- Inspect the internal components: Carefully examine the inside of the dryer and look for components that resemble metal coils or a ceramic igniter. These are usually located near the back or bottom of the dryer.
- Look for labels or markings: The heating element or igniter may have labels or markings that indicate its purpose. These labels can help you easily identify the component.
- Refer to online resources: If you’re still unsure about the location or appearance of the heating element or igniter, consider searching online for diagrams or videos specific to your dryer model. These resources can provide visual references to assist you.
Identifying the heating element or igniter is essential for troubleshooting and determining whether it needs to be replaced. Once you have successfully located and identified the component, you can move on to the next step of the repair process.
Remember to always exercise caution and consult a professional if you’re unsure or uncomfortable with any step of the process.
Step 5: Replace Heating Element or Igniter (if necessary)
If you have identified that the heating element or igniter is faulty and needs replacement, you can proceed with this step to replace the component. Here’s how to replace the heating element or igniter in your dryer:
- Disconnect the component: Before replacing the heating element or igniter, ensure that the dryer is still unplugged from the power source.
- Remove any mounting screws or clips: Depending on the dryer model, you may need to remove screws or clips that secure the heating element or igniter in place. Use the appropriate tool to carefully remove them and set them aside.
- Disconnect the wiring harness: The heating element or igniter will be connected to a wiring harness. Gently disconnect the wiring harness by pulling it apart or using a tool to release any connectors or clips.
- Install the new heating element or igniter: Take the new heating element or igniter and carefully position it in the same location as the old one. Make sure it is aligned correctly with any mounting holes or brackets.
- Secure the component: Once the new heating element or igniter is in place, reattach any mounting screws or clips to secure it. Ensure it is firmly in position.
- Reconnect the wiring harness: Connect the wiring harness to the new heating element or igniter, ensuring the connectors are securely fastened.
It’s important to follow the specific instructions provided by the manufacturer for your particular dryer model. Always refer to the manufacturer’s manual or consult a professional if you have any doubts or questions about replacing the heating element or igniter.
After completing the replacement, it’s a good idea to double-check all connections and ensure that everything is securely in place before proceeding to reassemble the dryer.
Step 6: Reassemble the Dryer
After replacing the heating element or igniter, it’s time to reassemble the dryer. Follow these steps to put all the components back together:
- Retrieve the access panel: Take the access panel that you set aside earlier and position it back into place.
- Align the panel: Ensure that the screw holes or clips on the access panel align with the corresponding holes or slots on the dryer body.
- Secure the panel: Using the same screws or clips that you removed earlier, securely fasten the access panel back onto the dryer. Tighten the screws evenly to ensure a snug fit.
- Double-check connections: Before moving on, double-check all the internal connections, such as the wiring harness and any other components you may have touched during the repair process. Make sure everything is securely connected and properly routed.
Take your time and be mindful of the integrity of the dryer’s internal components as you reassemble it. It’s important to ensure that everything is properly aligned and secured to avoid any issues or further damage.
Once you are confident that the dryer has been reassembled correctly, you can proceed to the final step of the process.
Read more: How To Open A Can With A Wine Opener
Step 7: Plug the Dryer Back In
Now that you have successfully reassembled the dryer, it’s time to plug it back in and get it up and running. Follow these steps to safely plug your dryer back in:
- Position the dryer: Move the dryer back into its designated spot, ensuring that it is placed on a stable and level surface.
- Locate the electrical outlet: Find the electrical outlet that you previously unplugged the dryer from.
- Insert the plug: Align the prongs of the plug with the slots of the outlet and firmly push the plug into the socket until it is fully inserted.
- Check the power supply: Once the dryer is plugged in, check the power supply by verifying that the lights or control panel display are active.
After plugging in the dryer, you can test it by running a short cycle to ensure that it is functioning properly. Monitor the appliance closely during the initial operation to check for any unusual noises or performance issues. If you notice any problems, it is recommended to consult a professional for further assistance.
Now that your dryer is plugged in and operational, you can enjoy the benefits of having a properly functioning appliance that efficiently dries your clothes.
Remember, the steps outlined in this guide are general instructions and may vary depending on the make and model of your dryer. Always refer to the manufacturer’s manual or consult a professional for any specific guidance or troubleshooting procedures.
Conclusion
Congratulations! You have successfully learned how to open a dryer and troubleshoot common issues. Opening your dryer and inspecting the internal components can help you diagnose and potentially fix problems, saving you time and money on professional repairs or a new appliance.
Throughout this guide, we emphasized the importance of safety and provided you with the necessary precautions to follow. Remember to always unplug your dryer before starting any work and wear appropriate protective gear to minimize the risk of injury.
We discussed the tools and materials needed for the job, including screwdrivers, socket sets, and safety equipment. It’s crucial to have these items on hand before beginning the process to ensure a smooth repair experience.
We then guided you through each step, from unplugging the dryer to locating and identifying the heating element or igniter. If necessary, we also explained how to safely replace the heating element or igniter, followed by reassembling the dryer and plugging it back in.
By following these steps and exercising caution, you can successfully open your dryer, troubleshoot issues, and potentially solve problems on your own. However, if you encounter any difficulties or if you’re unsure about any step, it is always wise to consult a professional technician for further assistance.
Remember, regular maintenance and cleaning of your dryer are essential to keep it running optimally. Be sure to follow the manufacturer’s guidelines for maintenance and clean the lint filter and vent regularly to prevent lint buildup and reduce the risk of fire.
We hope this guide has been helpful in guiding you through the process of opening a dryer. By understanding the internal workings of your appliance, you can better care for it and enjoy its efficient functionality for years to come.
Frequently Asked Questions about How To Open A Dryer
Was this page helpful?
At Storables.com, we guarantee accurate and reliable information. Our content, validated by Expert Board Contributors, is crafted following stringent Editorial Policies. We're committed to providing you with well-researched, expert-backed insights for all your informational needs.


0 thoughts on “How To Open A Dryer”