
Articles
How To Remove Burn From A Carpet
Modified: August 28, 2024
Learn effective methods for removing burn marks from your carpet with these helpful articles. Say goodbye to unsightly stains and restore the beauty of your flooring.
(Many of the links in this article redirect to a specific reviewed product. Your purchase of these products through affiliate links helps to generate commission for Storables.com, at no extra cost. Learn more)
Introduction
Carpet burns can be a frustrating and unsightly problem in any home or office. Whether caused by a hot iron, a dropped cigarette, or a mishap in the kitchen, these burns can leave permanent damage to your carpet fibers. While replacing the entire carpet may seem like the only solution, there are actually several methods that can effectively remove or repair burns, saving you time and money.
In this article, we will explore various techniques to tackle carpet burns and restore the beauty of your flooring. We will discuss the causes of carpet burns, the supplies needed for repair, and step-by-step instructions for different methods. Whether you prefer a DIY approach or seek professional assistance, we have you covered. By the end of this article, you will have the knowledge and confidence to remove burns from your carpet and prevent future damage.
But before we dive into the solutions, let’s first understand what causes carpet burns and how to assess the extent of the damage.
Key Takeaways:
- Don’t let carpet burns ruin the beauty of your flooring. From DIY methods to professional assistance, there are effective ways to remove or repair burns, saving you time and money.
- Prevention is key! Implement simple measures like using heat-resistant mats and attending to spills promptly to minimize the risk of future carpet burns.
What Causes Carpet Burns
Carpet burns can occur for a variety of reasons, from accidental spills and hot objects to careless handling of open flames. Understanding the causes can help you prevent future accidents and minimize the risk of burns on your carpet.
One common cause of carpet burns is hot objects such as irons, curling irons, or hair straighteners. Accidentally placing these items on your carpet, even for a brief moment, can leave unsightly burn marks. Similarly, dropped cigarettes or embers from a fireplace can quickly damage the delicate fibers of your carpet.
In some cases, carpet burns may be the result of accidents in the kitchen. For example, hot oil or boiling water spilled onto the floor can cause burns if not immediately cleaned up. It’s important to be cautious while cooking and take measures to prevent such accidents.
Another cause of carpet burns is the mishandling of candles or other open flames. Knocking over a candle or leaving it unattended can lead to a fire, which can quickly spread to the surrounding carpet. Always remember to keep candles in stable holders and place them away from flammable objects.
Pets, particularly playful ones with sharp claws, can also cause damage to carpets. While not exactly burns, their scratching and digging behaviors can create frayed or torn areas that may require repair.
Now that we understand what can cause carpet burns, let’s move on to assessing the extent of the damage.
Assessing the Damage
Assessing the extent of the damage caused by a carpet burn is an important first step in determining the best course of action for repair. By evaluating the severity and size of the burn, you can determine whether it can be fixed through DIY methods or if professional help is required.
First, examine the size of the burn. Is it a small spot or a larger area? If it is a small burn, such as a cigarette or iron mark, it may be easier to repair. Larger burns or multiple burns may require more extensive repair or even partial carpet replacement.
Next, evaluate the depth of the burn. Is it superficial, affecting only the surface fibers, or has it penetrated through to the backing of the carpet? Superficial burns can often be disguised or repaired more easily, while deeper burns may require more extensive measures.
Consider the location of the burn as well. Is it in a high-traffic area where it will be constantly underfoot? Burns in heavily used areas may require more durable repair techniques to ensure that the fix holds up to daily wear and tear.
Finally, take note of the overall condition of the carpet. If it is already worn, stained, or faded, repairing a small burn may not yield satisfactory results. In such cases, it may be more practical to consider replacing the carpet entirely.
By carefully assessing the damage, you can make an informed decision about which methods of repair to pursue. However, regardless of the size or severity of the burn, it is always recommended to address the issue as soon as possible to prevent further damage and maintain the appearance of your carpet.
Supplies Needed
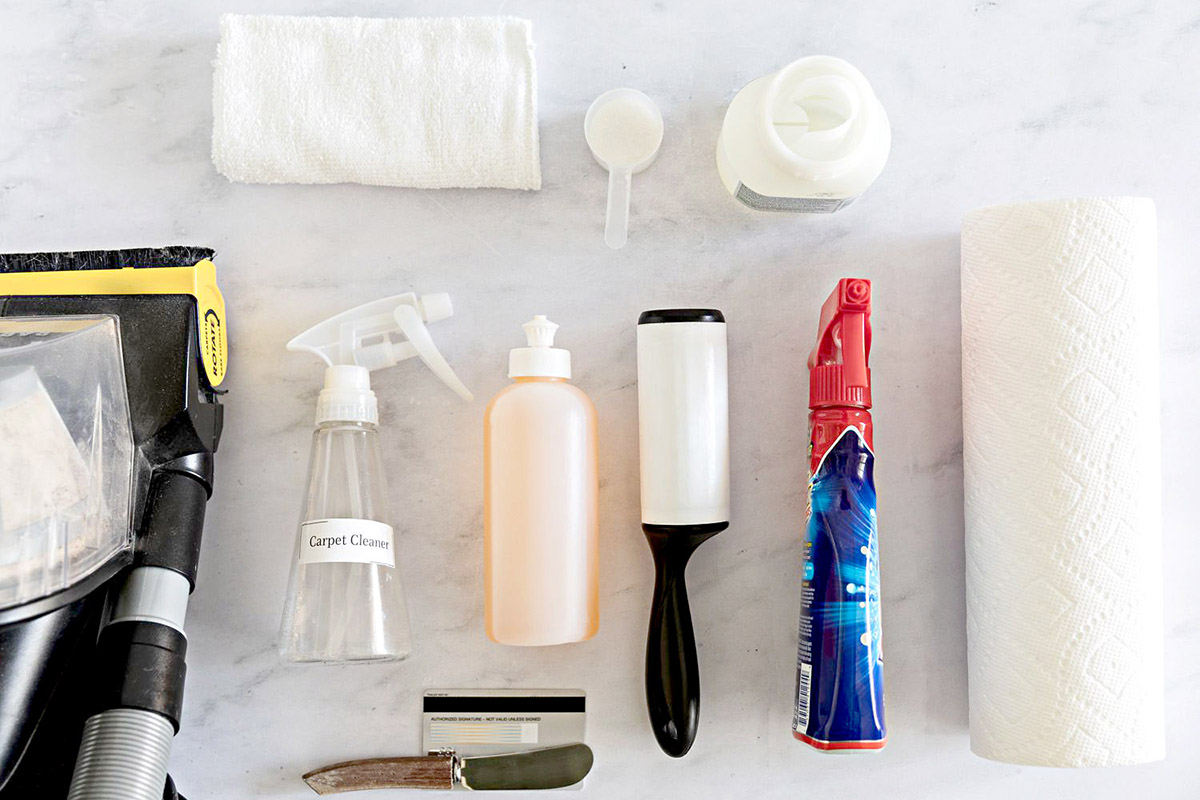
Before you begin repairing a carpet burn, it is essential to gather the necessary supplies. Having the right tools and materials on hand will ensure a smoother and more successful repair process. Here is a list of supplies you may need:
- Scissors: Sharp, fabric-friendly scissors are a must for trimming and cutting carpet fibers.
- Tweezers: Small tweezers can be helpful for removing burnt or damaged fibers from the carpet.
- Carpet Repair Kit: You may choose to use a carpet repair kit, which typically includes items such as adhesive, a heating tool, and replacement carpet fibers.
- Replacement Carpet Fibers: If the burn has caused permanent damage that cannot be repaired, you may need to have replacement carpet fibers on hand. These fibers should match the color and texture of your carpet.
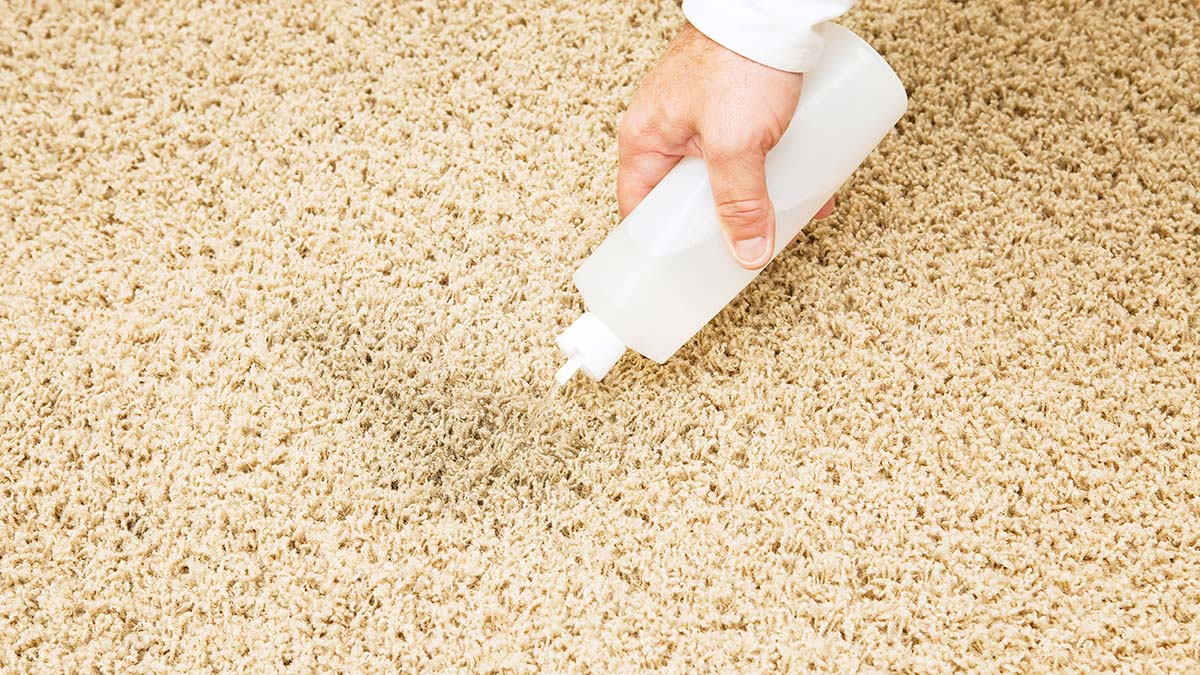
- Carpet Cleaning Solution: Before repairing the burn, it is necessary to clean the area thoroughly. A carpet cleaning solution or mild detergent can help remove any stains or dirt.
- White Cloth or Paper Towels: These are useful for blotting and absorbing excess moisture during the cleaning process.
- Carpet Adhesive or Glue: Depending on the repair method you choose, you may need carpet adhesive or glue to secure replacement fibers or patches.
- Carpet Repair Tape: Carpet repair tape can be used to hold down loose fibers or secure patches in place.
- Heat Source: If your chosen repair method involves heat, such as using a carpet repair kit, make sure you have a heat source available, like a hot iron or heating tool.
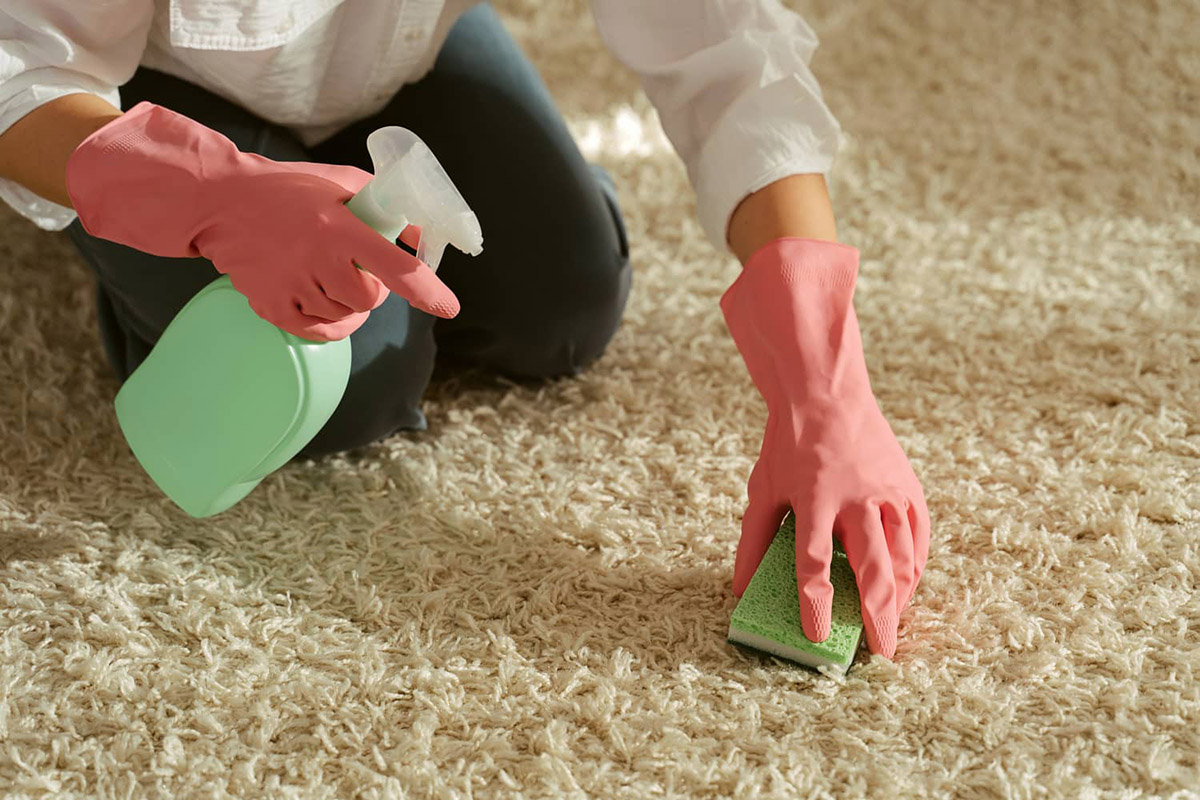
- Protective Gloves: It is always a good idea to wear protective gloves to shield your hands from any harsh cleaning chemicals or sharp tools.
Keep in mind that the specific supplies you need may vary depending on the repair method you choose and the condition of your carpet. It is also important to read and follow the instructions provided with any repair kit to ensure safe and effective use.
Now that you have gathered all the necessary supplies, let’s explore different methods to remove or repair carpet burns.
Method 1: Using a Carpet Repair Kit
One of the easiest and most convenient methods for repairing a carpet burn is by using a carpet repair kit. These kits are readily available in hardware stores or online, and they typically contain all the necessary tools and materials to complete the repair.
Here is a step-by-step guide on using a carpet repair kit:
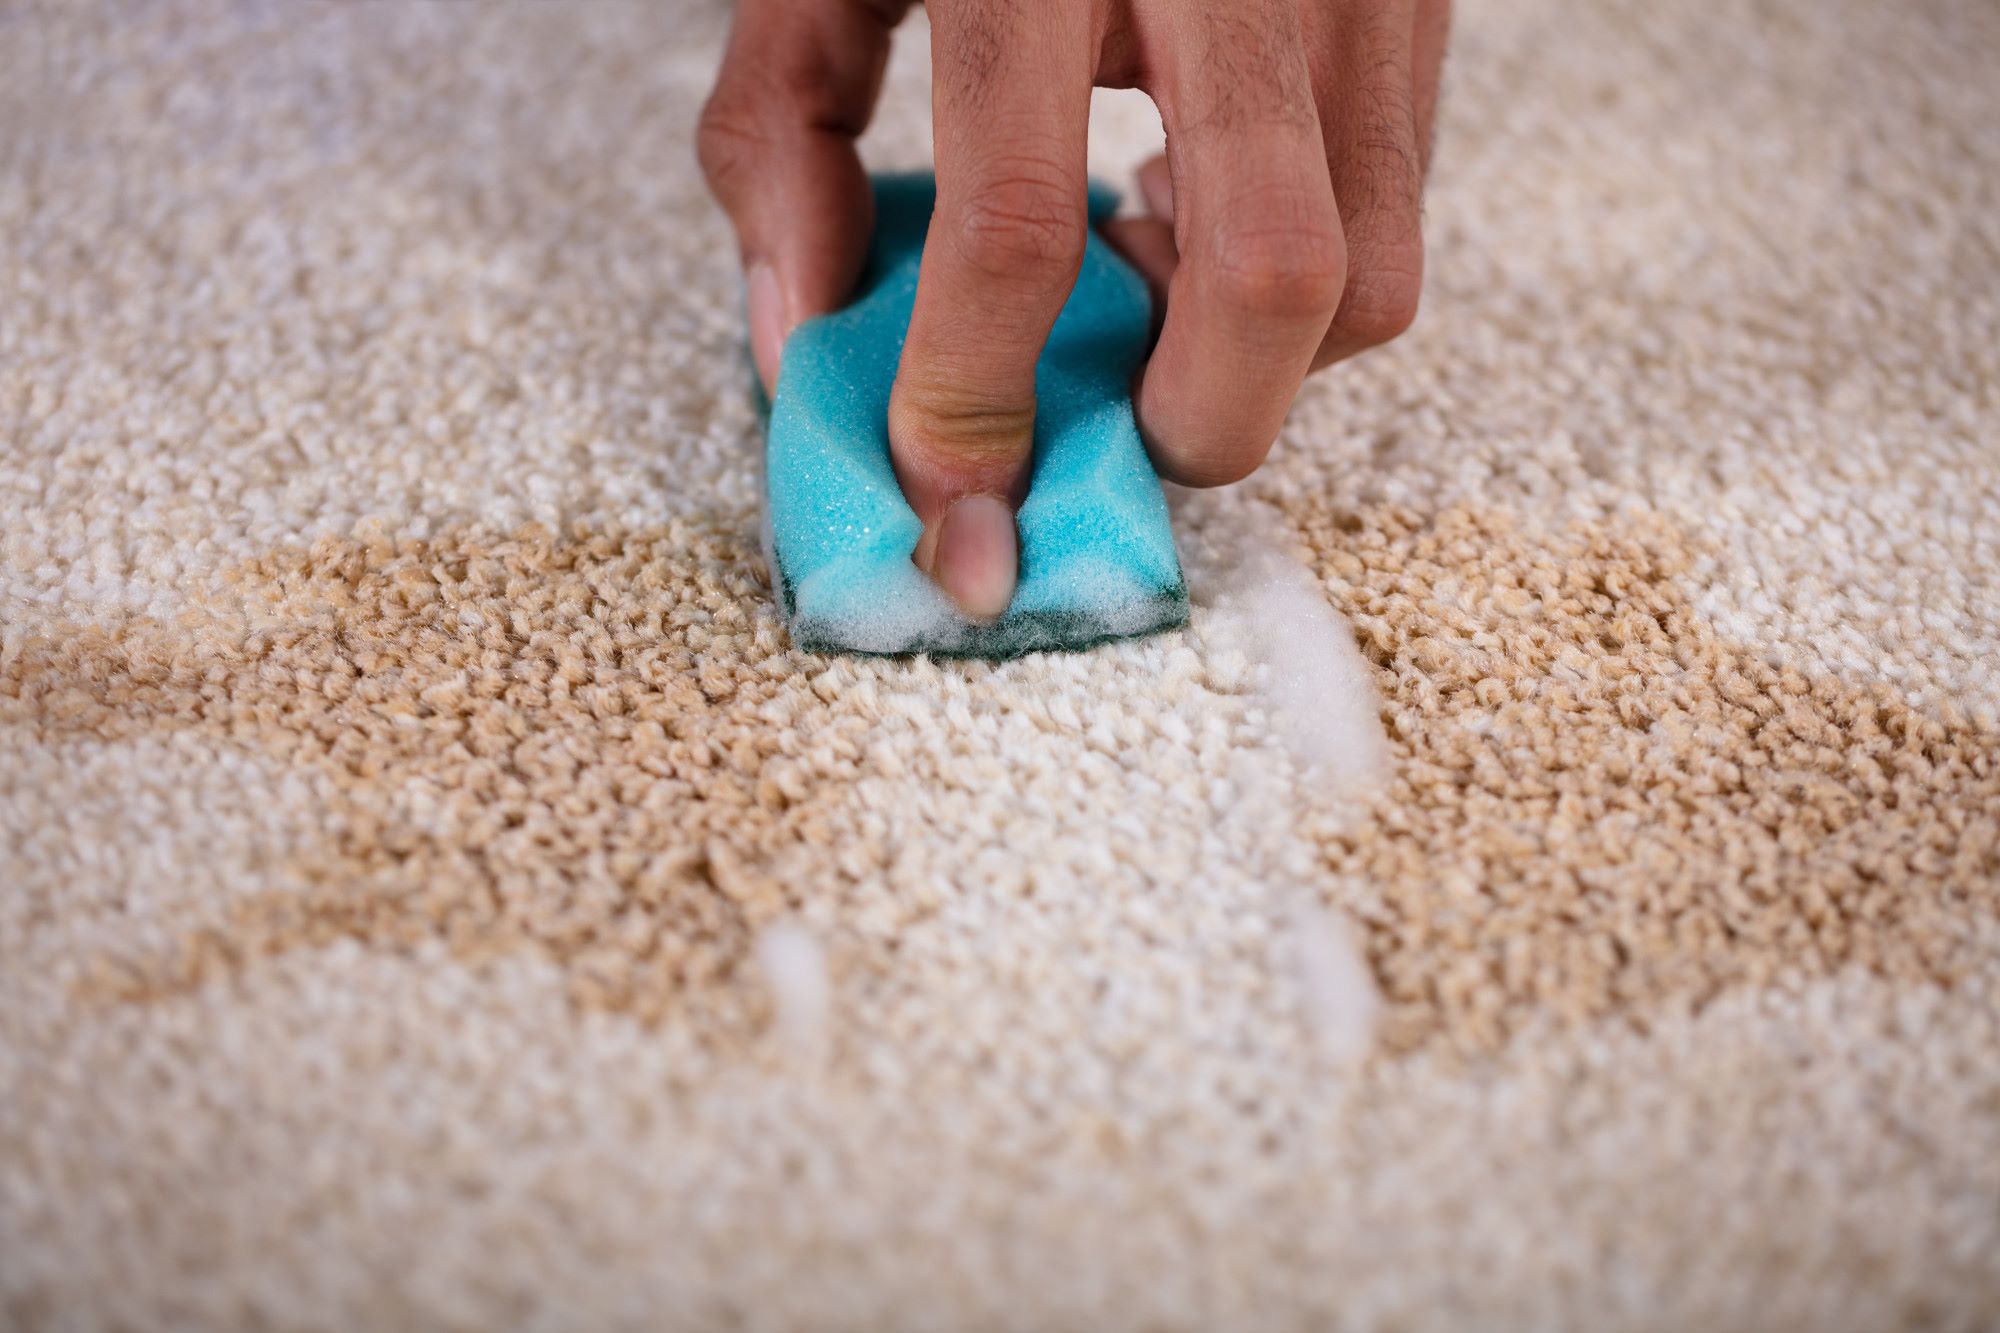
- Clean the area: Begin by thoroughly cleaning the area around the burn. Use a carpet cleaning solution or mild detergent to remove any stains or dirt. Blot the area with a white cloth or paper towels until it is dry.
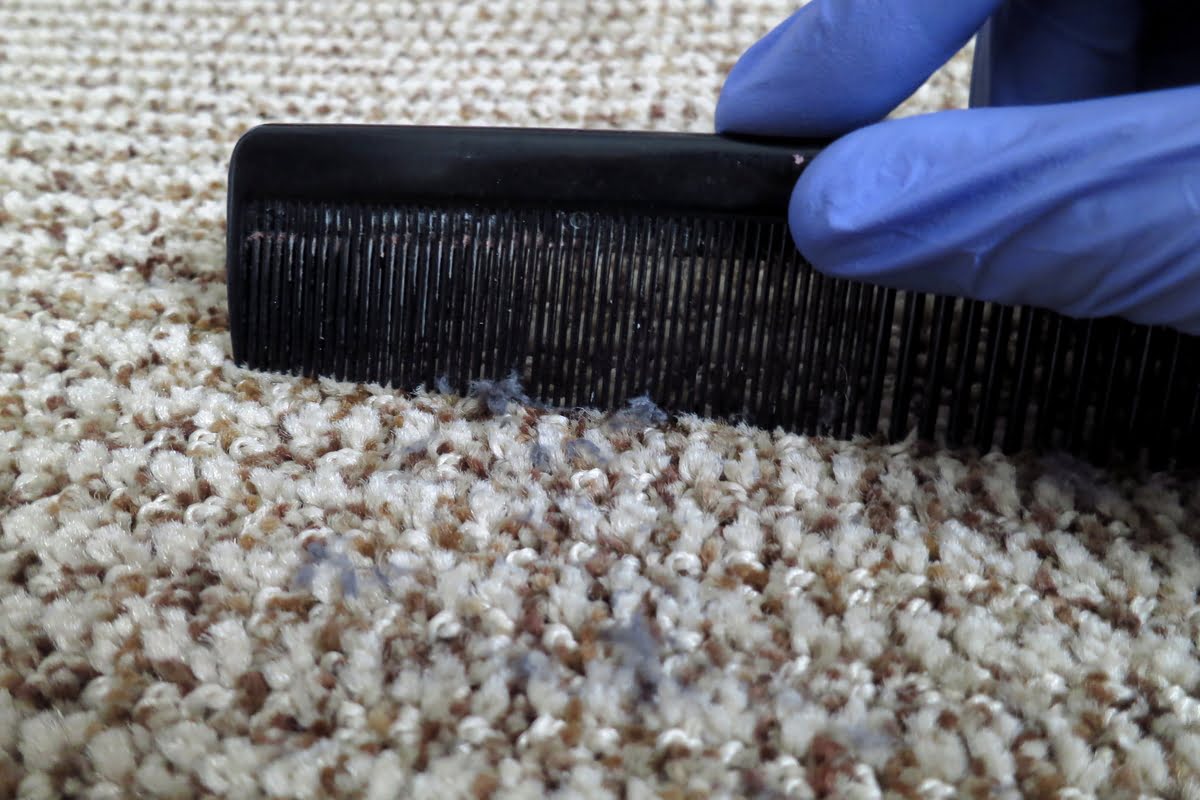
- Trim the burn: Using scissors, carefully trim away any charred or damaged fibers from the burn. Make sure to trim only the affected area, avoiding unnecessary damage to the surrounding carpet.
- Apply adhesive: Apply a small amount of the adhesive included in the repair kit to the burned area, following the instructions provided. Be sure to spread the adhesive evenly and avoid using excess amounts.
- Insert replacement fibers: Take the replacement fibers provided in the kit and gently insert them into the adhesive. Use tweezers or your fingers to position the fibers, ensuring they blend seamlessly with the surrounding carpet. Be careful not to press too hard, as this can cause the adhesive to seep through the fibers.
- Trim and blend: Once the adhesive has dried, use scissors to trim the replacement fibers to match the length of the surrounding carpet. Take your time to blend the repaired area with the rest of the carpet, ensuring a smooth and seamless appearance.
- Heat and set: If the repair kit includes a heating tool, carefully follow the instructions provided to heat the repaired area. This helps to set the adhesive and bond the replacement fibers to the carpet.
- Allow it to dry: Give the repaired area sufficient time to dry completely before allowing any foot traffic. This will ensure the adhesive sets properly and prevents any accidental damage.
Using a carpet repair kit can be an effective solution for smaller burns or areas with superficial damage. It allows you to quickly and easily replace the burned fibers, restoring the appearance of your carpet. However, keep in mind that this method may not work for more extensive burns or deep damage.
Next, let’s explore another method for removing or repairing carpet burns: trimming and replacing the burned fibers.
Method 2: Trimming and Replacing the Burned Fibers
If you’re dealing with a small burn or a burn that hasn’t penetrated too deeply into the carpet, another effective method for repair is trimming and replacing the burned fibers. This method involves carefully removing the damaged fibers and replacing them with new ones.
Here is a step-by-step guide on trimming and replacing the burned fibers:
- Clean the area: Begin by cleaning the area around the burn to remove any debris or dirt. Use a carpet cleaning solution or mild detergent and blot with a white cloth or paper towels until dry.
- Trim the burn: Using fabric-friendly scissors, carefully trim away the burned or damaged fibers from the carpet. Take your time and be precise to avoid cutting beyond the affected area.
- Collect replacement fibers: Look for spare carpet fibers that match the color and texture of your carpet. You can often find spare fibers in inconspicuous areas, such as inside closets or hidden corners.
- Insert replacement fibers: Take the replacement fibers and insert them into the empty spaces left by the trimmed fibers. You can use tweezers to position them accurately and ensure a seamless blend with the surrounding carpet.
- Trim and blend: Once you’ve inserted the replacement fibers, use scissors to trim them to match the length of the surrounding carpet. Take your time to blend the repaired area, making it indistinguishable from the rest of the carpet.
Trimming and replacing burned fibers is a simple and cost-effective method, especially when dealing with small burns or surface damage. It allows you to specifically target the burned area and replace only the affected fibers, ensuring a seamless repair.
However, keep in mind that this method may be more challenging for larger or deeper burns. In such cases, you may need to consider more extensive measures, such as patching or seeking professional assistance. Speaking of patching, let’s move on to the next method.
Use a mixture of equal parts white vinegar and water to gently dab at the burn mark on the carpet. Blot with a clean cloth and repeat until the burn mark fades.
Method 3: Patching the Burned Area
If you’re dealing with a larger burn or a burn that has penetrated deep into the carpet, patching the burned area may be the most suitable method. Patching involves cutting out the damaged section and replacing it with a matching piece of carpet.
Here is a step-by-step guide on patching the burned area:
- Clean the area: Start by cleaning the area around the burn to remove any dirt or debris. Use a carpet cleaning solution or mild detergent and blot with a white cloth or paper towels until dry.
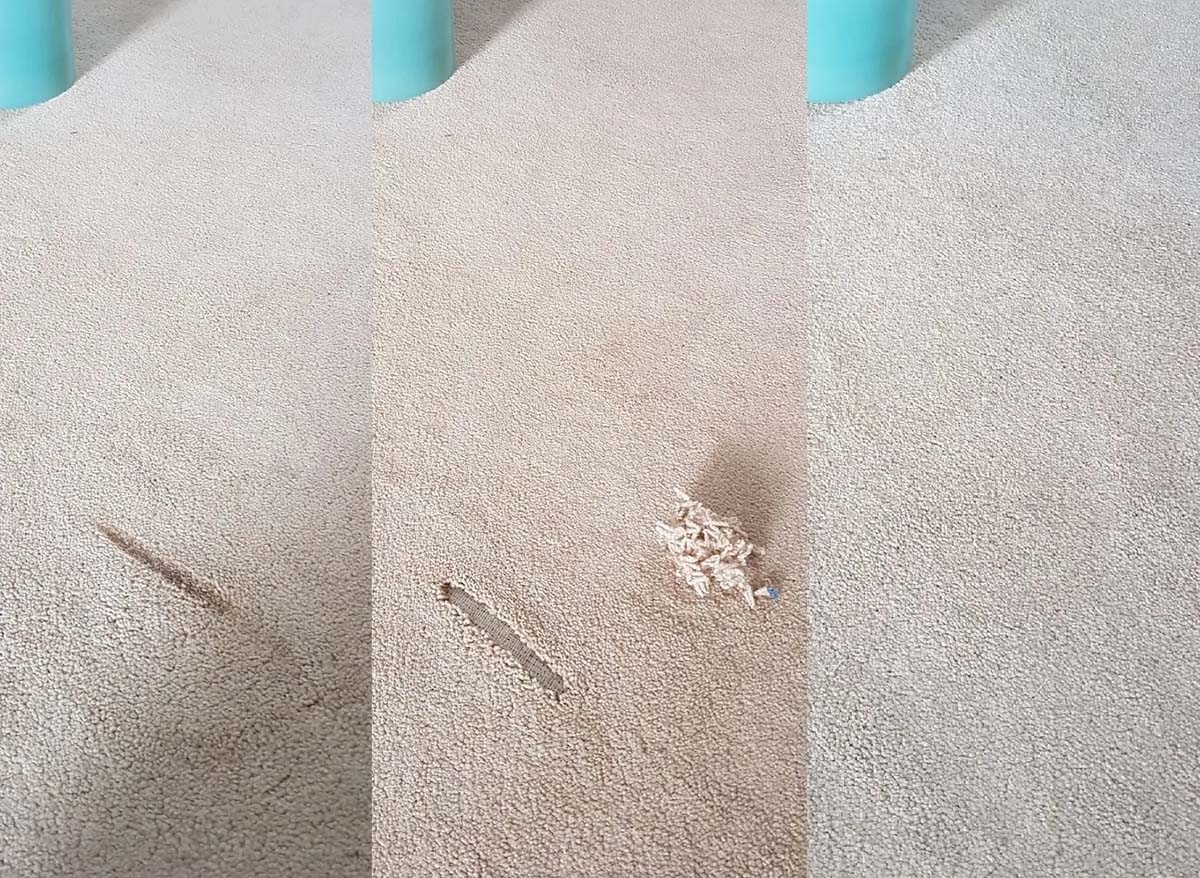
- Cut out the burn: Using a carpet knife or sharp utility knife, carefully cut out the burned section of the carpet. Cut a square or rectangular shape, ensuring that the edges are straight and clean.
- Collect a patch: Look for a spare piece of carpet that matches the color, texture, and pile height of your existing carpet. This patch can be taken from a hidden area, like the back of a closet, or you can purchase a matching piece from a carpet supplier.
- Cut the patch: Using the removed section as a template, cut the patch to fit the shape and size of the hole. Ensure that the patch aligns perfectly with the surrounding carpet.
- Apply adhesive: Apply carpet adhesive to the hole, spreading it evenly with a small brush or spatula. Make sure to follow the adhesive manufacturer’s instructions for proper application.
- Insert the patch: Carefully place the patch into the hole, pressing it firmly into the adhesive. Use your hand or a blunt tool to smooth out any wrinkles or bubbles.
- Blend the patch: Gently blend the edges of the patch with the surrounding carpet fibers, ensuring a seamless transition. Use a carpet brush or your fingers to achieve a natural look.
- Allow it to dry: Give the patch sufficient time to dry completely before allowing any foot traffic. This will help the adhesive bond properly and ensure the patch stays in place.
Patching the burned area provides a more comprehensive and long-lasting solution for larger or deeply damaged burns. However, it requires precision and skill to ensure a seamless integration of the patch with the surrounding carpet.
If you’re not confident in your ability to execute this method effectively, or if the burn is too extensive for DIY repair, it may be best to seek professional help. Let’s explore that as the next method.
Method 4: Using Carpet Burn Repair Sprays
If you’re looking for a quick and hassle-free solution to repair a small carpet burn, carpet burn repair sprays can be a convenient option. These sprays are specially formulated to help mask the appearance of burns by adding color and texture to the damaged area.
Here is a step-by-step guide on using carpet burn repair sprays:
- Clean the area: Begin by cleaning the area around the burn to remove any dirt or debris. Use a carpet cleaning solution or mild detergent and blot with a white cloth or paper towels until dry.
- Shake the can: Shake the carpet burn repair spray can well before use to ensure that the color and fibers are properly mixed.
- Apply the spray: Hold the can approximately 6-8 inches away from the burn and spray a light, even coating over the damaged area. Be sure to follow the instructions on the spray can for the best results.
- Blend the color: Use your fingers or a clean, soft brush to gently blend the color of the spray with the surrounding carpet fibers. This will help create a more natural and seamless appearance.
- Allow it to dry: Give the repaired area sufficient time to dry completely. This usually takes a few hours, but drying times may vary depending on the specific product.
- Assess the result: Once the repair spray has dried, assess the result and determine if any additional touch-ups are needed. Repeat the process if necessary until you are satisfied with the repaired area.
Carpet burn repair sprays can be a quick and easy solution for small burns that require immediate attention. However, keep in mind that these sprays are typically a temporary fix and may not provide a permanent solution for deeper or more extensive burns.
If the burn is too large or if you are not confident in your ability to use repair sprays effectively, it may be best to consider other methods or consult a professional. Let’s explore the final method for removing or repairing carpet burns: seeking professional help.
Method 5: Seeking Professional Help
If you’re dealing with a particularly stubborn or extensive carpet burn, or if you simply prefer to leave the job to the experts, seeking professional help is a wise choice. Professional carpet repair technicians have the experience, equipment, and expertise to handle even the most challenging carpet burns.
Here are some reasons why you might consider seeking professional help:
- Expertise: Professional carpet repair technicians are trained in identifying and addressing different types of carpet burns. They can assess the damage accurately and recommend the most suitable repair method.
- Specialized Equipment: Professionals have access to specialized tools and equipment, enabling them to carry out precise and seamless repairs. They can match the color, texture, and pile height of your existing carpet, ensuring a seamless integration of the repair.
- Time and Convenience: Having professionals handle the repair saves you time and effort. They will take care of everything, from initial assessment to the final repair, allowing you to focus on other tasks and responsibilities.
- Quality Results: Professional technicians have the knowledge and skills to deliver high-quality results. They can restore the appearance of your carpet and extend its lifespan, ensuring a long-lasting and satisfactory repair.
When seeking professional help, be sure to research and choose a reputable carpet repair company with a track record of success. Read customer reviews, ask for recommendations, and get quotes from multiple professionals before making your decision.
While professional help may come at an additional cost, it can provide peace of mind and ensure a successful outcome for your carpet repair needs.
Now that we’ve covered various methods for removing or repairing carpet burns, let’s explore some preventive measures to avoid future damage.
Read more: How To Remove Carpet From Stairs
Preventing Future Carpet Burns
Prevention is always better than repair when it comes to carpet burns. By implementing a few simple measures, you can significantly reduce the likelihood of future damage to your carpet. Here are some preventive tips:
- Use Heat-Resistant Mats: When using heat-generating appliances such as irons or curling irons, place them on heat-resistant mats to prevent direct contact with the carpet.
- Designate Safe Zones for Open Flames: Keep candles, incense, and any other open flames in designated areas away from carpets. Ensure they are placed in stable holders and never left unattended.
- Take Precautions in the Kitchen: Be cautious when cooking with hot oil or boiling water. Always use appropriate safety measures to prevent spills and accidents in the kitchen.
- Protect High-Traffic Areas: Place rugs or mats in high-traffic areas to protect the carpet from wear and tear. This can help prevent fraying or tearing of the carpet fibers.
- Trim Pets’ Claws: If you have pets, regularly trim their claws to prevent them from causing damage to the carpet. You can also train them to avoid scratching or digging on the carpeted areas.
- Be Mindful of Sharp Objects: Avoid placing sharp or pointed objects, such as furniture with exposed screws or nails, directly on the carpet. These objects can easily snag or tear the carpet fibers.
- Attend to Spills Immediately: Promptly clean any spills on the carpet to prevent stains and potential damage. Blot the spill using a white cloth or paper towels, and use a suitable carpet cleaning solution if necessary.
- Regular Maintenance: Perform regular carpet maintenance such as vacuuming and professional cleaning, as this can help keep the carpet in good condition and prevent it from becoming worn or frayed.
By adopting these preventive measures, you can maintain the beauty and longevity of your carpet, minimizing the risk of future burns and the need for repairs.
Now that you have learned how to prevent carpet burns, let’s wrap up this article.
Conclusion
Carpet burns can be a frustrating and unsightly problem, but they don’t have to be a permanent issue. With the right knowledge and techniques, you can effectively remove or repair burns on your carpet, saving time and money in the process.
In this article, we explored various methods for removing or repairing carpet burns. From using carpet repair kits and trimming burned fibers to patching the damaged area or seeking professional help, each method offers a unique approach to address different types and extents of burns.
Remember to assess the damage carefully before deciding on the best method for your situation. Also, gather the necessary supplies to ensure a smooth repair process. Whether you choose to take the DIY route or seek professional assistance, there is a solution that fits your needs.
Preventing future carpet burns is equally important. By implementing simple preventive measures such as using heat-resistant mats, designating safe zones for open flames, and staying mindful of sharp objects, you can minimize the risk of damage to your carpet.
In conclusion, by following the steps and tips provided in this article, you can effectively remove or repair carpet burns and maintain the beauty and longevity of your carpet. Remember, early intervention is key, so address burns as soon as possible to prevent further damage.
Whether you choose to tackle the repair yourself or rely on professional expertise, restoring your carpet to its former glory is within reach. Enjoy a beautiful, burn-free carpet that enhances the aesthetic appeal of your home or office.
Frequently Asked Questions about How To Remove Burn From A Carpet
Was this page helpful?
At Storables.com, we guarantee accurate and reliable information. Our content, validated by Expert Board Contributors, is crafted following stringent Editorial Policies. We're committed to providing you with well-researched, expert-backed insights for all your informational needs.
