Articles
How To Remove Carpet From Stairs
Modified: October 20, 2024
Learn the step-by-step process of removing carpet from stairs with our informative articles. Say goodbye to worn-out carpet and hello to beautiful hardwood steps.
(Many of the links in this article redirect to a specific reviewed product. Your purchase of these products through affiliate links helps to generate commission for Storables.com, at no extra cost. Learn more)
Introduction
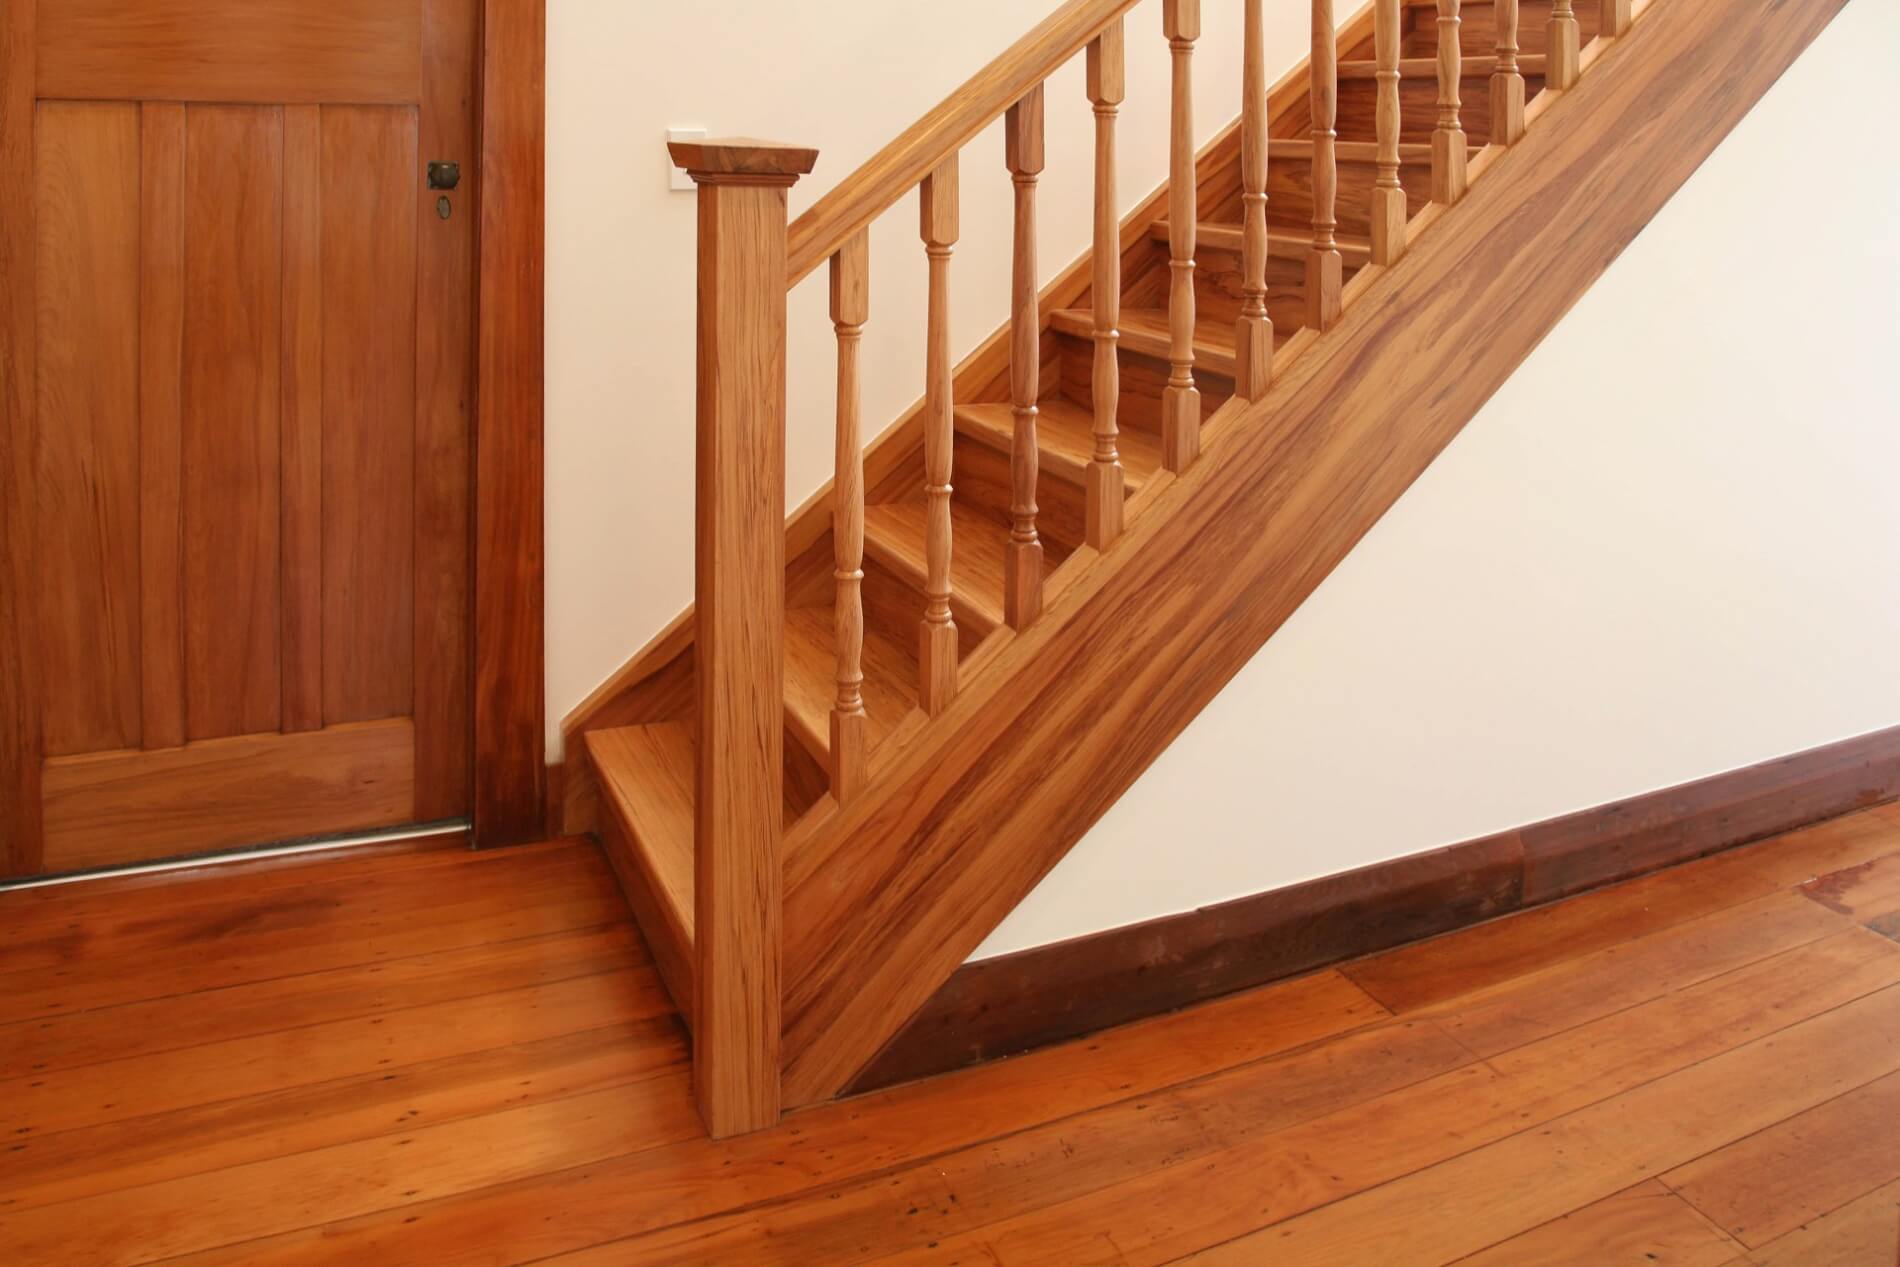
Removing carpet from stairs can be a daunting task, but it’s a rewarding way to transform the look and feel of your home. Whether you’re planning to replace the carpet with a different flooring option or leave the stairs bare, removing the carpet is the first step in the process.
Carpeting on stairs can become worn, stained, or dated over time, and removing it can reveal beautiful hardwood or other materials underneath. By following a few simple steps, you can successfully remove the carpet from your stairs and give them a fresh new look.
In this guide, we’ll walk you through the process of removing carpet from stairs, step by step. We’ll also provide tips on evaluating the condition of your stairs and making necessary repairs before deciding on the next steps. So let’s get started and bring a new lease of life to your staircase!
Key Takeaways:
- Transform your home by removing carpet from stairs and revealing beautiful hardwood or other materials underneath. Follow the steps to remove, clean, repair, and refinish for a stunning new look.
- Consider adding new flooring or leaving the stairs bare to personalize your staircase. Whether it’s hardwood, laminate, carpet runners, or a minimalist look, your transformed stairs will elevate your home’s aesthetic.
Read more: How To Remove Carpet Glue From Wood Stairs
Step 1: Gather the necessary tools and materials
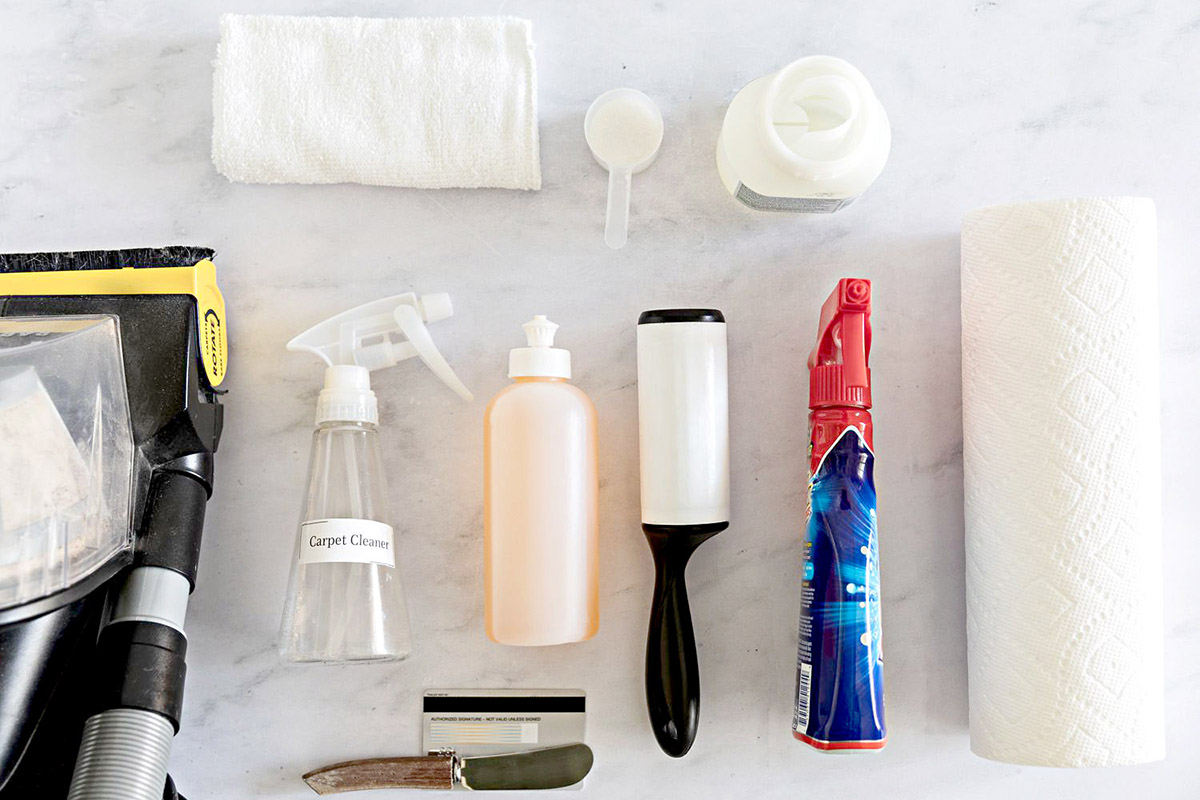
Before you start removing the carpet from your stairs, it’s important to gather all the necessary tools and materials for the job. Having everything on hand will make the process smoother and more efficient. Here’s a list of what you’ll need:
- Gloves: Protect your hands from any potential sharp edges or staples while working.
- Utility knife: A sharp utility knife will be essential for cutting and removing the carpet.
- Pliers: Use pliers to grip and pull out staples and tacks that secure the carpet.
- Crowbar or pry bar: This will help you lift and remove the carpet padding or any attached carpet strips.
- Dust mask: It’s important to protect yourself from dust and allergens, so wear a dust mask to prevent inhaling particles.
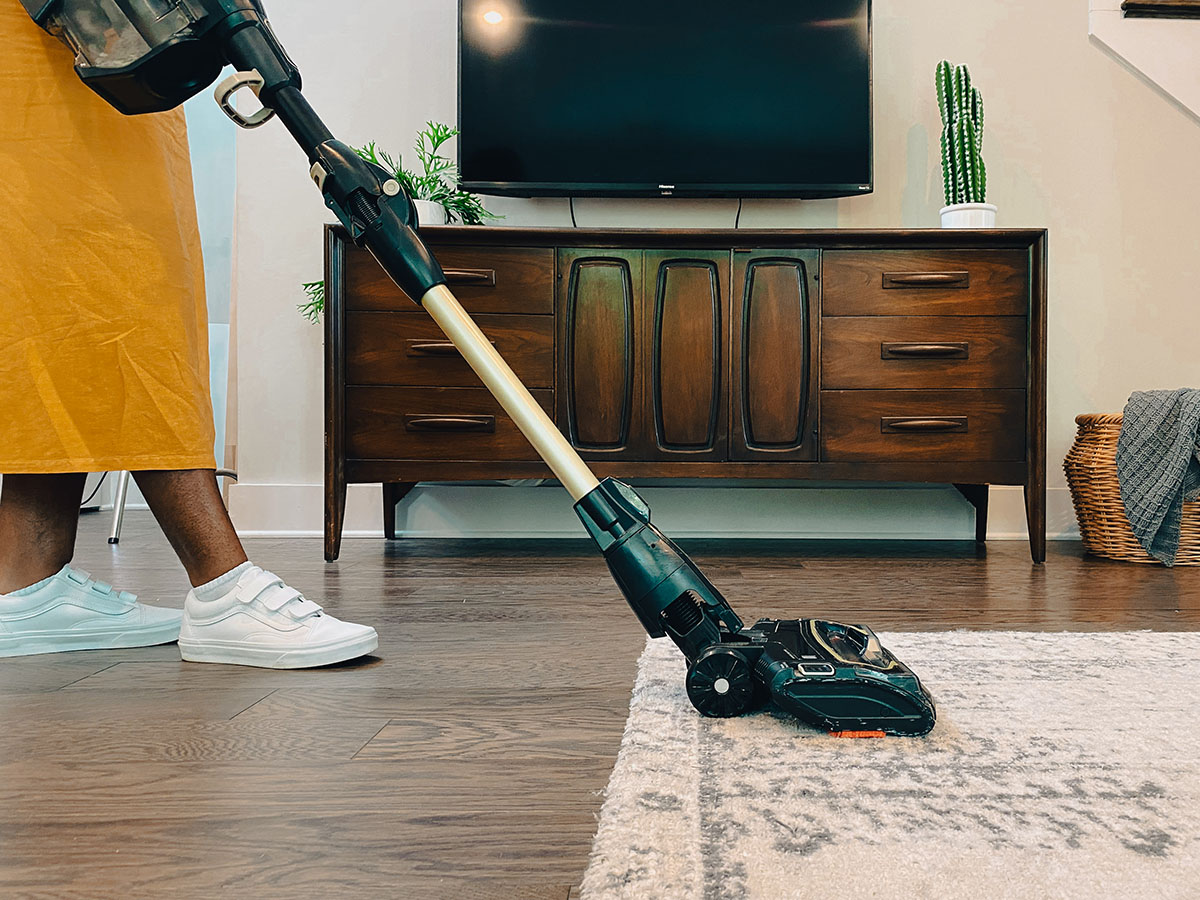
- Vacuum cleaner: Before you begin, vacuum the carpeted stairs to remove any loose dirt or debris.
- Trash bags: You’ll need bags for disposing of the removed carpet, padding, and any other waste.
Additionally, you might need a few other tools or materials depending on the specific condition of your stairs. These could include a hammer, screwdriver, pliers, sandpaper, wood filler, or paint if you plan on refinishing or repairing your stairs.
Make sure you have all the necessary tools and materials ready before you start the removal process. This will save you time and prevent any unnecessary interruptions during the project.
Step 2: Prepare the area
Before you begin removing the carpet from your stairs, it’s important to prepare the area to ensure a smooth and safe process. Here are the steps to follow:
- Clear the surrounding area: Remove any furniture, rugs, or obstacles near the stairs. This will provide you with enough space to work and prevent accidental damage to the surrounding items.
- Protect the walls: Use painter’s tape or adhesive-backed plastic sheeting to cover the base of the walls adjacent to the stairs. This will prevent any accidental scratches or dings during the carpet removal process.
- Wear protective gear: Put on your gloves and dust mask to protect yourself from dust, debris, and potential allergens. Safety should always be a top priority.
- Open windows or use ventilation: If possible, open windows or use fans to ensure proper ventilation during the carpet removal. This will help to minimize the accumulation of dust and odor.
Preparing the area before you start removing the carpet will create a clean and safe workspace. It will also make it easier to maneuver around the stairs and ensure that the surrounding surfaces are protected.
Once you have completed the preparation steps, you’re ready to move on to the actual removal process. Take a deep breath and let’s get started on uncovering the beauty beneath the carpet!
Step 3: Start removing the carpet
Now that you’ve gathered all the necessary tools and prepared the area, it’s time to start removing the carpet from your stairs. Follow these steps to ensure a smooth and efficient process:
- Begin at the top or bottom: Decide whether you want to start at the top or bottom of the stairs. Starting at the top allows you to work your way down, while starting at the bottom allows for easier access to the remaining carpet as you remove it.
- Locate the corner: Find a corner of the carpet and use pliers to grip and pull up the edge. You may need to use a utility knife to make a small cut to get started.
- Slowly pull back the carpet: Gently pull back the carpet from the corner, releasing it from any adhesive or carpet strips beneath. Take your time to avoid tearing the carpet or damaging the stairs.
- Continue pulling: Once you’ve started, continue pulling the carpet towards you, using a back-and-forth motion if necessary. Apply even pressure as you go to prevent any sudden tearing or ripping.
- Remove any staples or tacks: As you pull back the carpet, you’ll come across staples or tacks that secure it to the stairs. Use pliers to grip and remove these, taking care not to scratch or damage the stairs.
- Roll or fold the carpet: Once the carpet is completely removed from the stairs, roll it up or fold it to make it easier to handle and to prevent it from becoming a tripping hazard.
Remember, patience is key when removing the carpet. Take your time and be gentle to ensure that you don’t damage the stairs or injure yourself in the process. If the carpet is particularly stubborn or difficult to remove, you may need to use a utility knife to cut it into smaller sections before pulling it up.
Once you’ve removed the carpet, you’ll be amazed at the immediate transformation of your stairs. But the job isn’t finished yet! Keep reading to learn how to remove the carpet padding and clean the stairs thoroughly for a pristine result.
Step 4: Remove the carpet padding
With the carpet removed, the next step is to remove the carpet padding from your stairs. The padding is usually held in place by staples or adhesive, so here’s how to remove it:
- Inspect the padding: Take a close look at the padding to determine how it is attached. If it’s held down with staples, use pliers to grip and remove them. If it’s glued down, you may need to loosen it by scraping with a putty knife or using a heat gun.
- Start peeling: Once you’ve identified how the padding is attached, start peeling it away from the stairs. Take care not to damage the underlying staircase surface while doing so.
- Roll or fold the padding: Just like you did with the carpet, roll or fold the padding as you remove it to make it easier to handle and dispose of.
- Inspect for residues: After removing the padding, inspect the stairs for any remnants of adhesive or padding residues. Use a scraper or putty knife to remove any leftover material, taking care not to scratch the surface of the stairs.
Removing the carpet padding is an essential step in the process to ensure a clean and smooth surface for the next steps. It may require some effort, especially if the padding was heavily glued or stapled, but persevere and take your time to achieve the best results.
With the carpet padding removed, you’re halfway through the process. The next step is to clean the stairs thoroughly to remove any dirt, dust, or debris that may have accumulated over the years. Read on to find out how to achieve sparkling clean stairs.
Read more: How To Remove Carpet On Stairs
Step 5: Clean the stairs
After removing the carpet and padding, it’s time to give your stairs a thorough cleaning. This step is crucial to ensure a fresh and dirt-free surface for the next steps of your project. Here’s how to clean your stairs effectively:
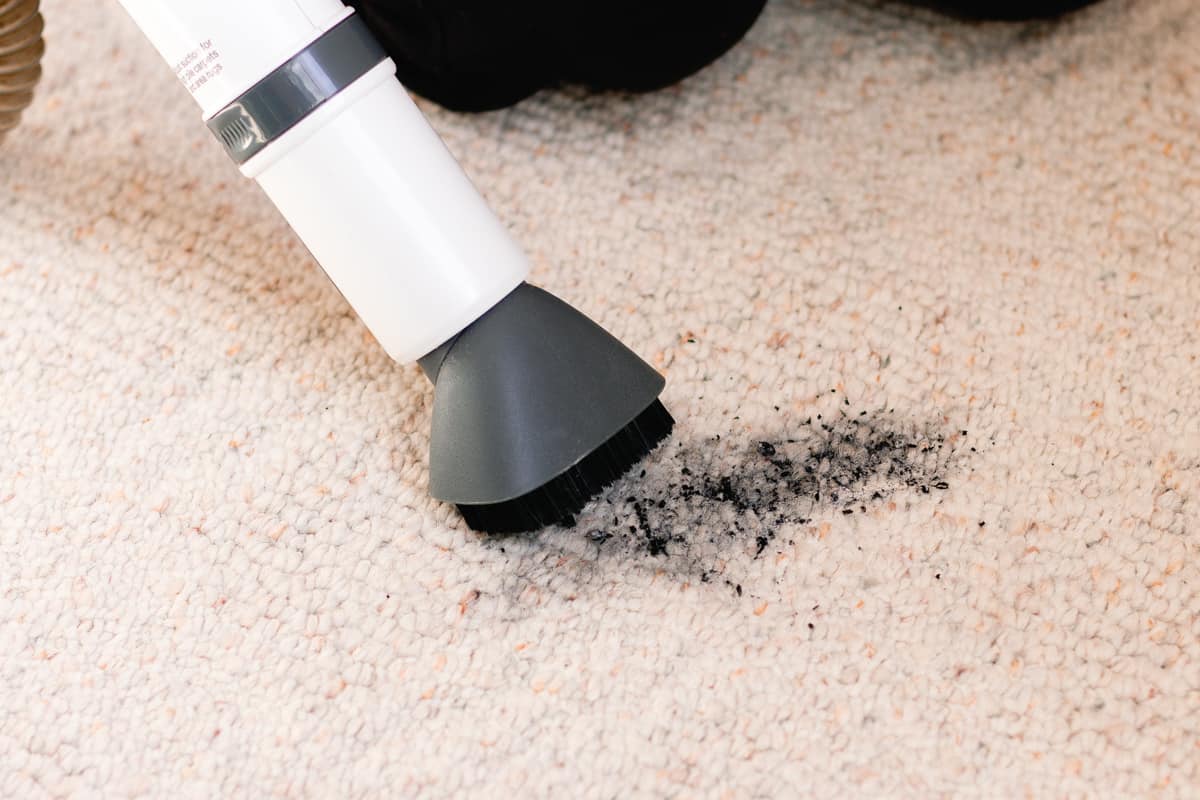
- Vacuum the stairs: Use a vacuum cleaner with a brush attachment to remove any loose dirt, dust, and debris from the stairs. Pay attention to the corners, edges, and crevices, as these areas can often accumulate more dirt.
- Scrub the stairs: Mix a solution of warm water and mild detergent or a specialized cleaner for wooden or laminate stairs. Dip a soft-bristled brush or sponge into the solution and scrub the stairs gently, working from the top to the bottom.
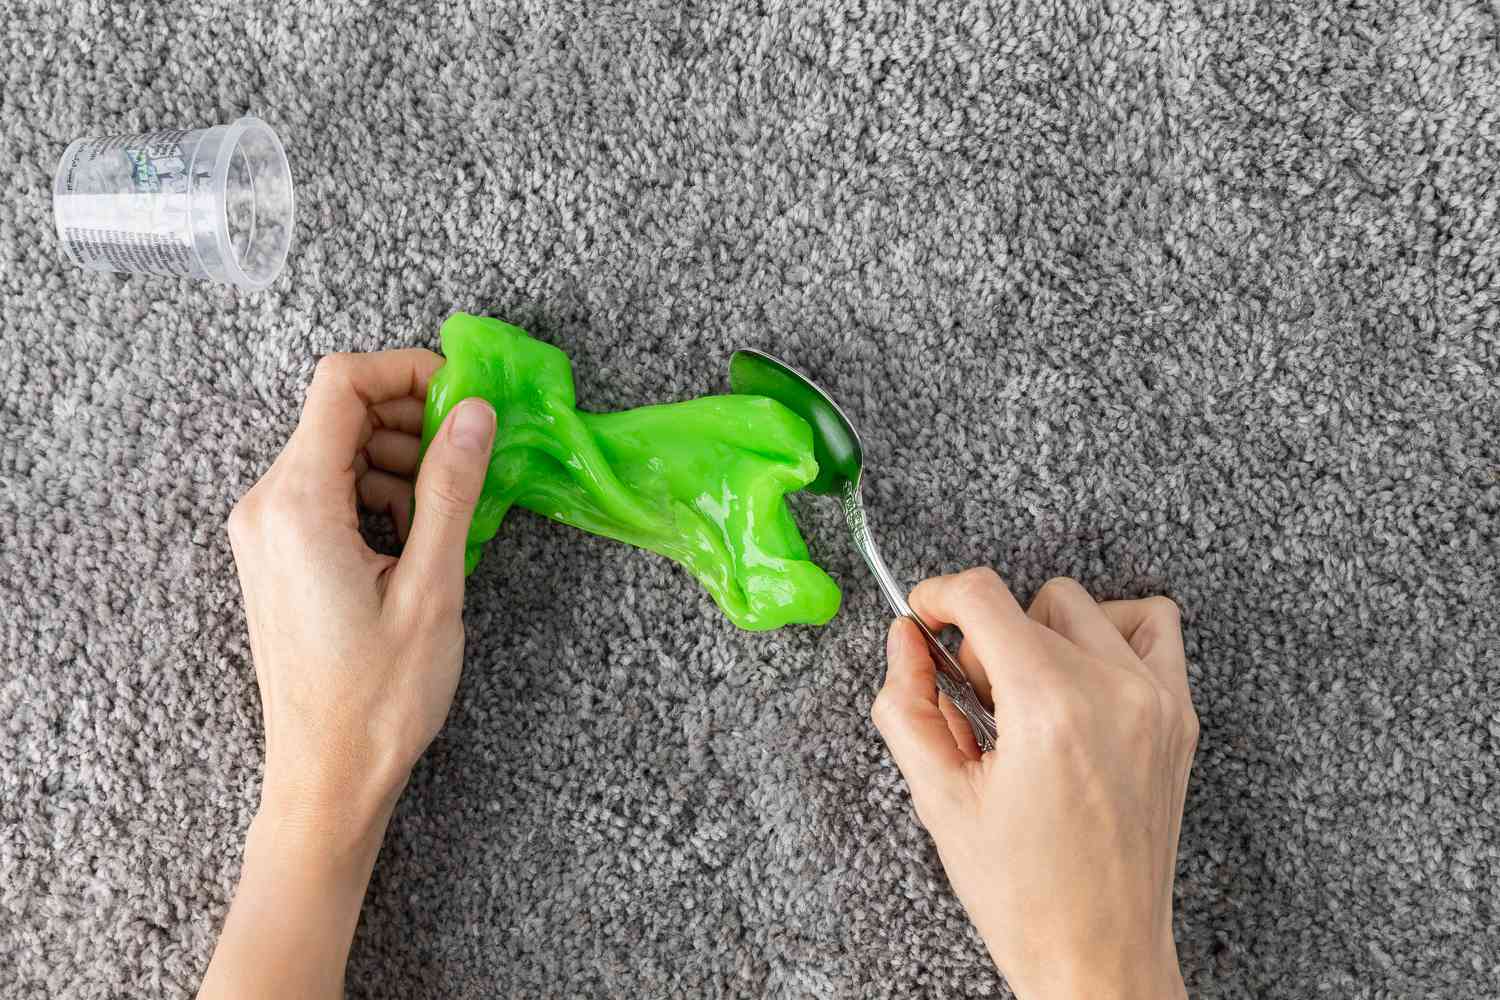
- Pay attention to stubborn stains: If you encounter any stubborn stains or spots, use a stain remover or a mixture of equal parts water and vinegar to tackle them. Apply the solution to the stain and gently scrub until the stain is lifted.
- Rinse the stairs: Once you’ve scrubbed the stairs, rinse them thoroughly with clean water to remove any soap residue. You can use a damp cloth or sponge for this step, ensuring you leave no trace of cleaning solution behind.
- Dry the stairs: Use a clean, dry cloth or towel to dry the stairs completely. Make sure there is no moisture left on the surface to prevent any potential damage or warping, especially if you have wooden stairs.
By following these steps, you’ll be left with clean and refreshed stairs ready for the next stage of your project. Cleaning the stairs not only improves their appearance but also creates the ideal base for any further refinishing or repairs you may undertake.
Now that your stairs are clean and dry, it’s time to evaluate their condition and make any necessary repairs. Continue reading to learn about this crucial step.
Step 6: Evaluate the condition of the stairs
After cleaning the stairs, take a moment to carefully evaluate their condition. This step is important to identify any issues or damage that may need to be addressed before proceeding with further steps. Here’s what you should look out for:
- Inspect for wear and tear: Examine the stairs for any signs of wear and tear such as scratches, dents, or chips. Pay attention to high-traffic areas, edges, and corners.
- Check for loose or damaged treads: Gently walk up and down the stairs, making note of any loose or squeaky treads. If a tread feels unstable or makes noise, it may need to be repaired or replaced.
- Look for gaps or cracks: Check for any gaps or cracks in the stair risers or treads. These can be signs of structural issues that should be addressed to ensure safety.
- Inspect the condition of the railing: If you have a handrail or railing, evaluate its stability and condition. Make sure it is securely attached and in good repair.
If you come across any significant damage or structural issues, it’s recommended to consult a professional for further assessment and repairs. They will have the expertise to handle any necessary repairs and ensure the safety and stability of your stairs.
If the damage is minor, you may be able to address it yourself. Consider using wood filler to fill in any scratches or dents, and sanding the surface to create a smooth finish. Keep in mind that larger repairs or replacements may require more extensive work and time.
By evaluating the condition of your stairs, you can address any necessary repairs before moving on to the next steps. This ensures that your stairs are in the best possible condition for refinishing or further enhancements.
In the next step, we’ll explore the options of refinishing or painting the stairs to give them a fresh new look. Read on to find out more.
Step 7: Make necessary repairs
After evaluating the condition of your stairs, it’s time to make any necessary repairs to ensure that they are in optimal shape. Repairing any damage or addressing issues will not only enhance the appearance of your stairs but also ensure their durability and safety. Here’s what you need to do:
- Address loose treads: If you notice any loose treads during your evaluation, secure them by using screws or nails to reattach them to the stringers beneath. Ensure that the treads are firmly in place and don’t make any squeaking sounds when stepped on.
- Repair scratches or dents: For minor scratches or dents on the stair surface, use wood filler to fill in the imperfections. Allow it to dry, then sand the area until it is smooth and level with the rest of the staircase. This step will create a seamless finish.
- Fix gaps or cracks: If you come across any gaps or cracks in the stair risers or treads, consider using wood glue or epoxy resin to fill them in. Allow the adhesive to dry completely, and sand it down to achieve a flat and even surface.
- Replace damaged parts: In cases where the damage is extensive, such as severely cracked or broken treads, it may be necessary to replace the affected parts. Measure and cut new treads or risers to fit, and secure them properly using adhesive and screws or nails.
- Stabilize handrails or balusters: If your handrails or balusters are loose or wobbly, fix them by tightening screws or replacing damaged parts. Ensure that the handrails and balusters are secure and provide proper support when navigating the stairs.
Making necessary repairs will not only improve the overall condition of your stairs but also prevent further damage and ensure their longevity. Take your time to complete each repair effectively, and don’t hesitate to seek professional help if you encounter any complex issues.
Now that you have addressed any repairs, you can choose to refinish or paint your stairs to give them a fresh new look. Read on to learn more about these options and how they can transform your staircase.
Use a utility knife to cut the carpet into manageable strips. Start at the top and pull the carpet up, using pliers to remove any stubborn staples or tacks. Vacuum any remaining debris.
Step 8: Consider refinishing or painting the stairs
Once you’ve completed necessary repairs on your stairs, you have the opportunity to further enhance their appearance by refinishing or painting them. This step allows you to personalize your staircase and give it a fresh, new look. Here are some options to consider:
Read more: How To Redo Stairs From Carpet To Wood
Refinishing the stairs:
If you have beautiful hardwood stairs, refinishing them can bring out their natural beauty and restore their original luster. Follow these steps to refinish your stairs:
- Sand the stairs: Use sandpaper or a sanding machine to sand the entire surface of the stairs, including treads, risers, and handrails. This process will remove any existing finish and reveal the bare wood.
- Stain the stairs (optional): If you desire a different color or want to enrich the natural color of the wood, apply a wood stain according to the manufacturer’s instructions. Use a brush or rag to evenly distribute the stain and wipe away any excess.
- Apply a protective finish: Once the stain is dry, apply a clear protective finish, such as polyurethane, to protect the stairs from wear and tear. Follow the recommended application instructions, and allow sufficient drying time between coats.
- Enjoy your refinished stairs: Once the finish is fully dry, you can admire and enjoy your beautifully refinished stairs. They will have a fresh appearance and a renewed elegance that adds warmth and character to your home.
Painting the stairs:
If you prefer a different look or have stairs made of materials other than wood, painting them can be a great option. Here’s how to paint your stairs:
- Prepare the surface: Clean the stairs thoroughly and ensure they are free of any dust, dirt, or debris. Sand down any rough areas and fill in any holes or imperfections with wood filler or an appropriate filler for non-wood surfaces.
- Apply a primer: Using a primer specifically designed for painting stairs, apply a coat evenly to the surface. This will create a suitable base for the paint and improve its adherence.
- Choose your paint: Select a high-quality paint suitable for stairs. Consider the desired color, sheen, and durability. Consult with experts at your local hardware store for recommendations.
- Paint the stairs: Begin painting from the top or bottom of the staircase, working your way across each step. Use even brush strokes or a paint roller for larger surfaces. Apply multiple coats as necessary, ensuring sufficient drying time between each coat.
- Allow for proper drying: Once you’ve finished painting, allow the stairs to dry completely before using them. Follow the drying time recommendations provided by the paint manufacturer.
Whether you choose to refinish or paint your stairs, these options provide endless opportunities to customize and update the look of your staircase. Consider your personal style, the overall aesthetic of your home, and the desired durability when deciding on the best approach for your stairs.
With your newly refinished or painted stairs, you’ll have a visually appealing and unique focal point that adds value and charm to your living space.
Now that you’ve completed the refinishing or painting process, you can move on to the final step of either adding new flooring or leaving the stairs bare. Read on to guide your decision-making process.
Step 9: Add new flooring or leave the stairs bare
After all the hard work you’ve put into removing the carpet, making repairs, and refinishing or painting your stairs, you have the final decision of whether to add new flooring or leave the stairs bare. Both options have their advantages and it ultimately depends on your personal style and the overall aesthetic of your home. Consider the following factors as you make your decision:
Add new flooring:
Adding new flooring to your stairs can completely transform the look and feel of your staircase. Here are a few popular options to consider:
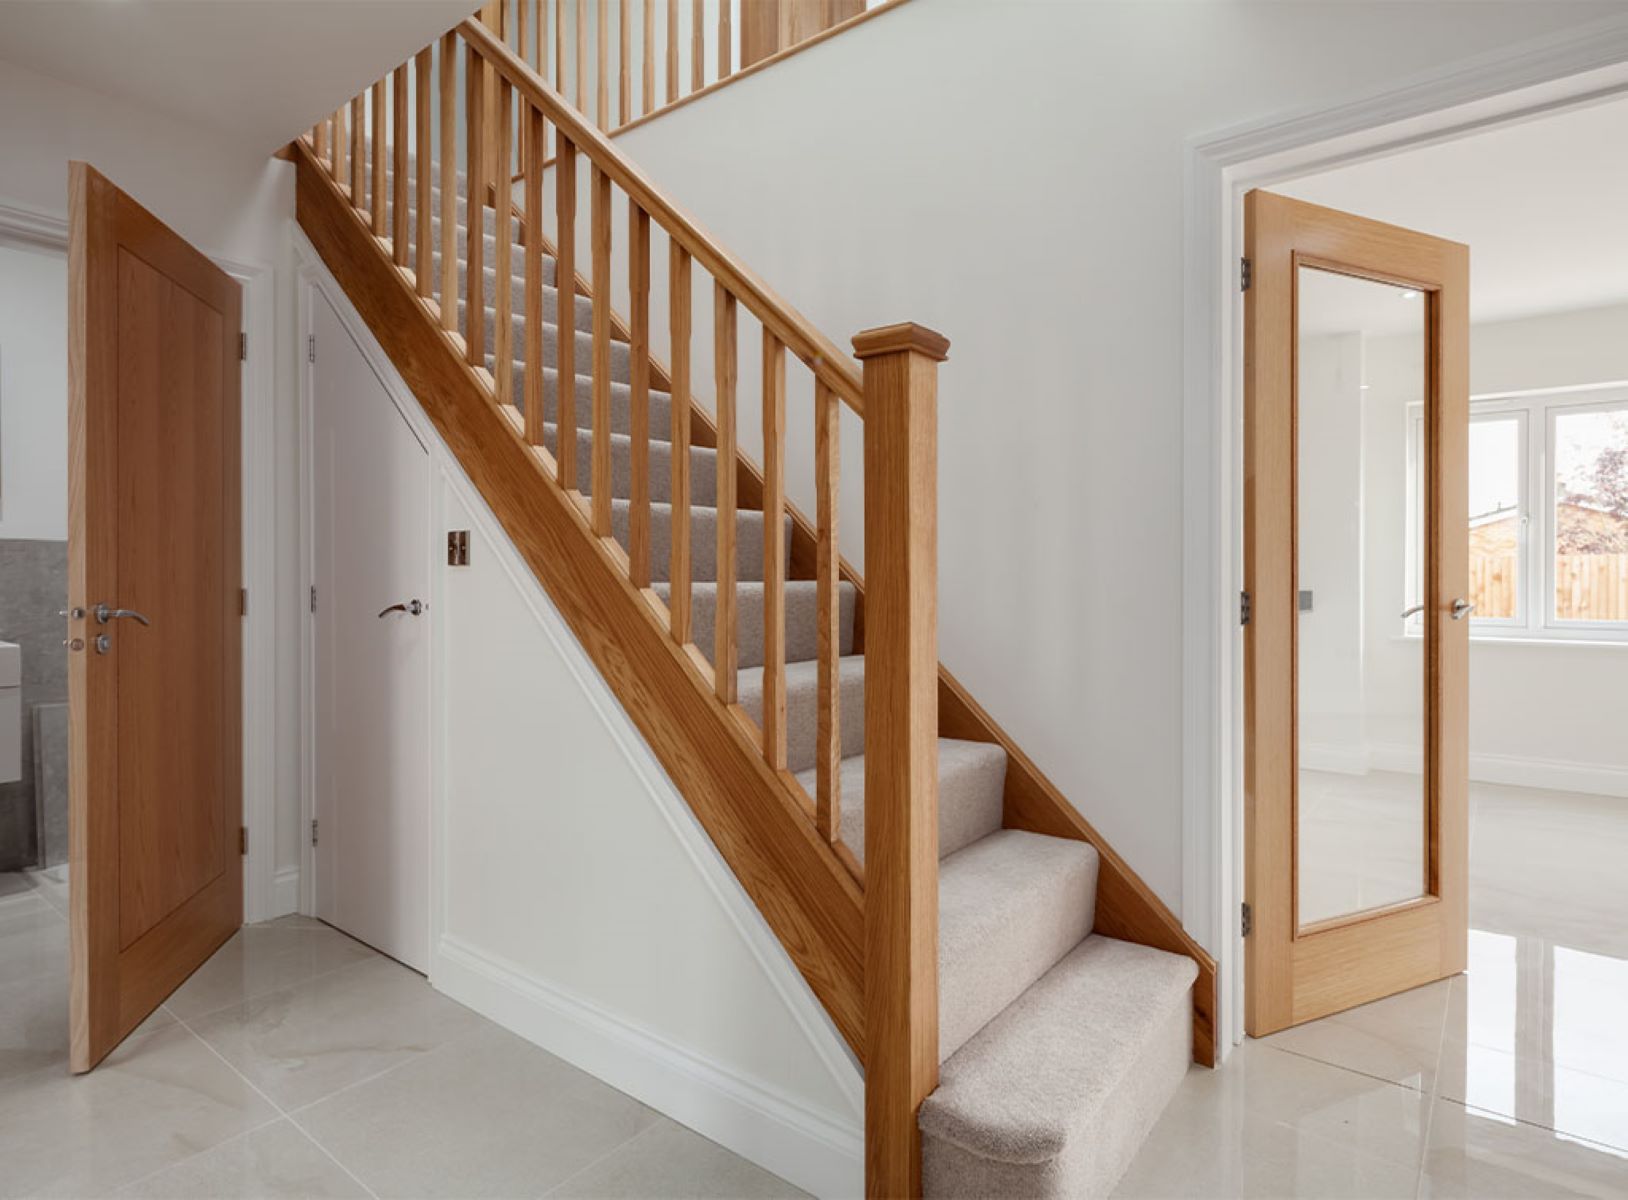
- Hardwood: Install hardwood flooring on the stairs for a timeless and elegant look. Hardwood stairs are durable, easy to clean, and can enhance the overall value of your home.
- Laminate: Laminate flooring offers a budget-friendly option that mimics the appearance of hardwood. It is easy to maintain and comes in a variety of styles and finishes.
- Carpet runners: If you still prefer the comfort and cushioning of carpet, consider adding a carpet runner to your stairs. This allows you to showcase the beauty of your refinished stairs while enjoying the softness underfoot.
- Tiles: Tiles provide a durable and stylish option for stairs, especially in areas that experience heavy foot traffic or higher moisture levels.
Read more: How To Remove Paint From Wooden Stairs
Leave the stairs bare:
Alternatively, you may choose to leave your stairs bare, showcasing the natural beauty of the refinished or painted surface. Leaving the stairs bare offers a clean and minimalist look and is a popular choice for modern or contemporary interior designs. It also eliminates the need for ongoing maintenance and allows the stairs to be a focal point in their own right.
Consider the style and theme of your home, the level of maintenance you’re willing to commit to, and the functionality of the stairs when deciding whether to add new flooring or leave them bare.
No matter which option you choose, your newly transformed stairs will undoubtedly elevate the overall aesthetic of your home and create a visual impact.
With step 9 complete, you’ve successfully gone through the process of removing carpet from stairs, making repairs, refinishing or painting, and deciding on the final look. Congratulations! Your hard work has paid off, and your stairs are now a stunning feature in your home.
Remember to take proper care of your newly transformed stairs to maintain their beauty and longevity. Regular cleaning, periodic maintenance, and prompt repairs when needed will ensure that they remain in top condition for years to come.
Enjoy the fresh new look of your staircase and the joy it brings to your home!
Note: Be sure to check your local building codes and regulations when making any changes to your stairs. Follow proper safety guidelines and obtain any necessary permits or approvals if required.
Conclusion
Removing carpet from stairs is a transformative project that can completely change the look and feel of your home. By following the steps outlined in this guide, you have learned how to successfully remove carpet from your stairs, make necessary repairs, and consider refinishing or painting options.
Gathering the necessary tools and preparing the area set the foundation for a smooth and efficient process. Starting with removing the carpet, you carefully pulled it back, removed any staples or tacks, and rolled it up for disposal. Next, you removed the carpet padding, ensuring a clean surface for the next steps.
Cleaning the stairs thoroughly not only removed any dirt, dust, or debris but also created a fresh canvas for evaluation. Taking the time to inspect and make necessary repairs to loose treads, scratches, cracks, or damaged parts ensured the durability and safety of your stairs.
From there, you had the option to refinish or paint your stairs, allowing you to personalize and enhance their appearance. Whether you chose the natural beauty of refinished hardwood or the fresh look of painted stairs, both options offered a chance to make a visual statement in your home.
Finally, you had the choice to add new flooring or leave the stairs bare. Whether you opted for hardwood, laminate, carpet runners, or even leaving them as exposed painted or refinished stairs, this decision ultimately reflected your personal style and the overall aesthetic of your space.
With each step, you’ve transformed your stairs into a beautiful focal point, one that adds character and value to your home. It’s important to remember to take proper care of your stairs, following regular cleaning and maintenance routines to keep them looking their best for years to come.
Congratulations on successfully completing the journey of removing carpet from your stairs and giving them a fresh new look. Enjoy the beauty and functionality of your revamped stairs, and let them continue to impress both you and your guests.
Frequently Asked Questions about How To Remove Carpet From Stairs
Was this page helpful?
At Storables.com, we guarantee accurate and reliable information. Our content, validated by Expert Board Contributors, is crafted following stringent Editorial Policies. We're committed to providing you with well-researched, expert-backed insights for all your informational needs.