Home>Articles>How To Setup And Assemble The Chefman 12 Inch Top For Electric Skillet

Articles
How To Setup And Assemble The Chefman 12 Inch Top For Electric Skillet
Modified: February 20, 2024
Learn how to setup and assemble the Chefman 12 Inch Top for Electric Skillet through our useful articles. Discover step-by-step instructions and watch helpful videos on our YouTube channel.
(Many of the links in this article redirect to a specific reviewed product. Your purchase of these products through affiliate links helps to generate commission for Storables.com, at no extra cost. Learn more)
Introduction
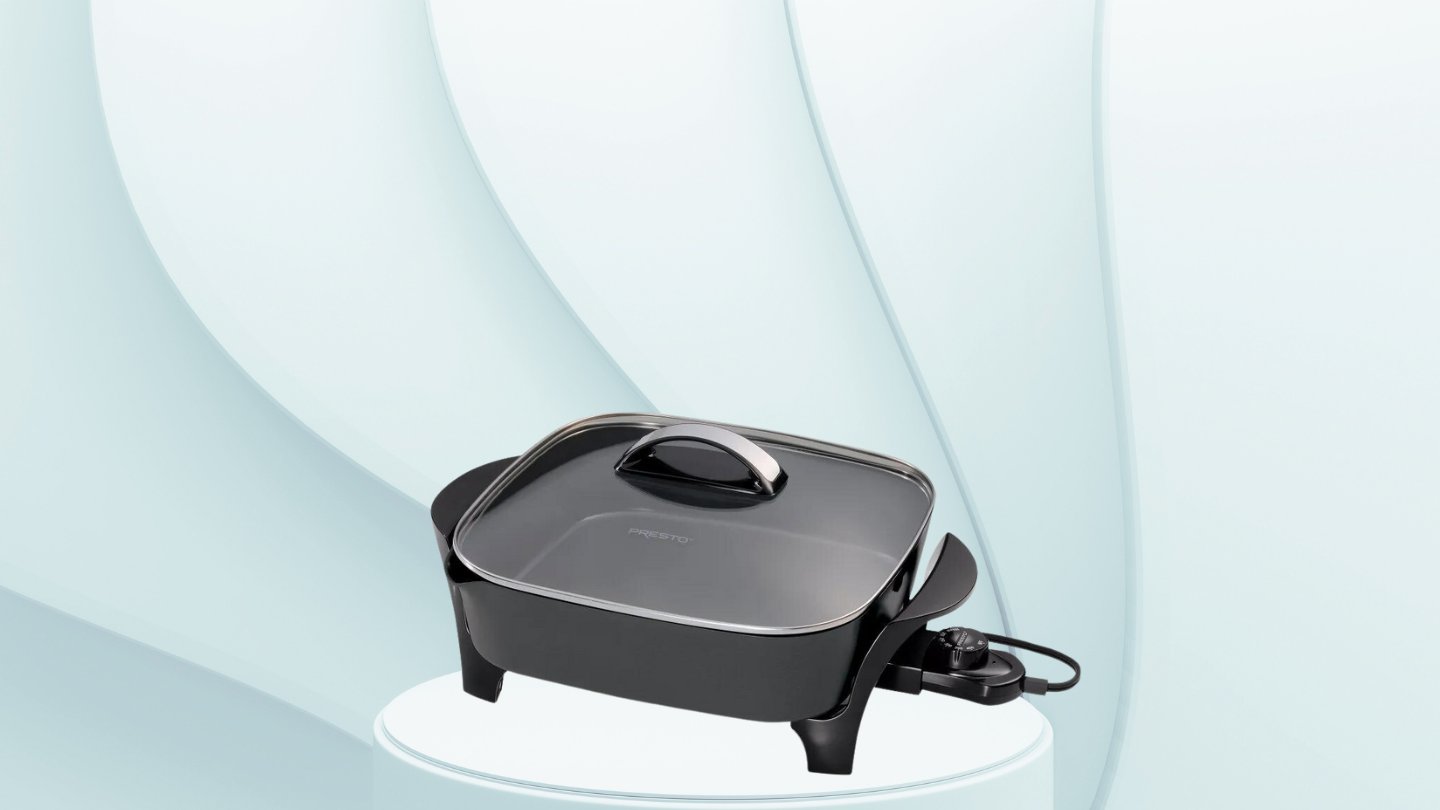
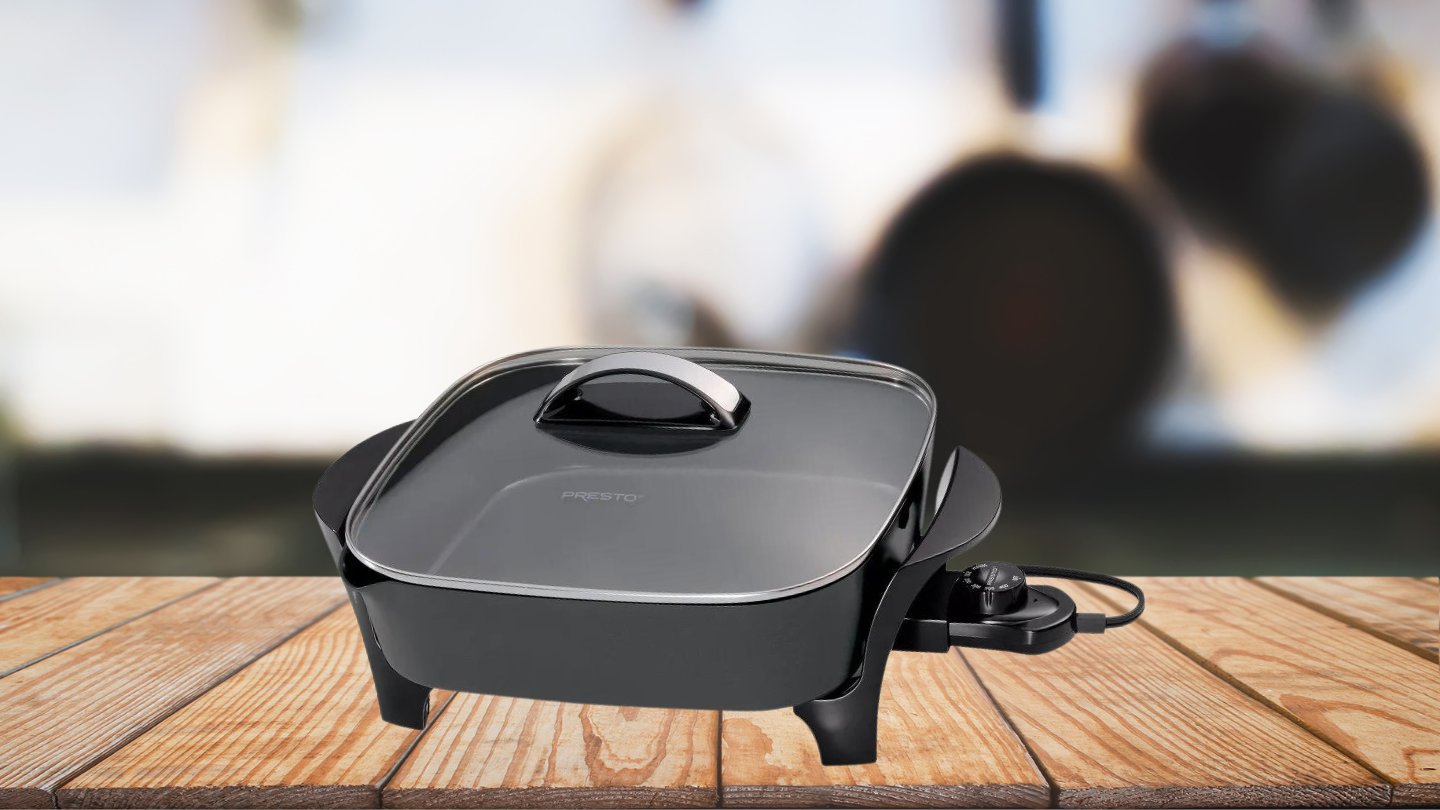
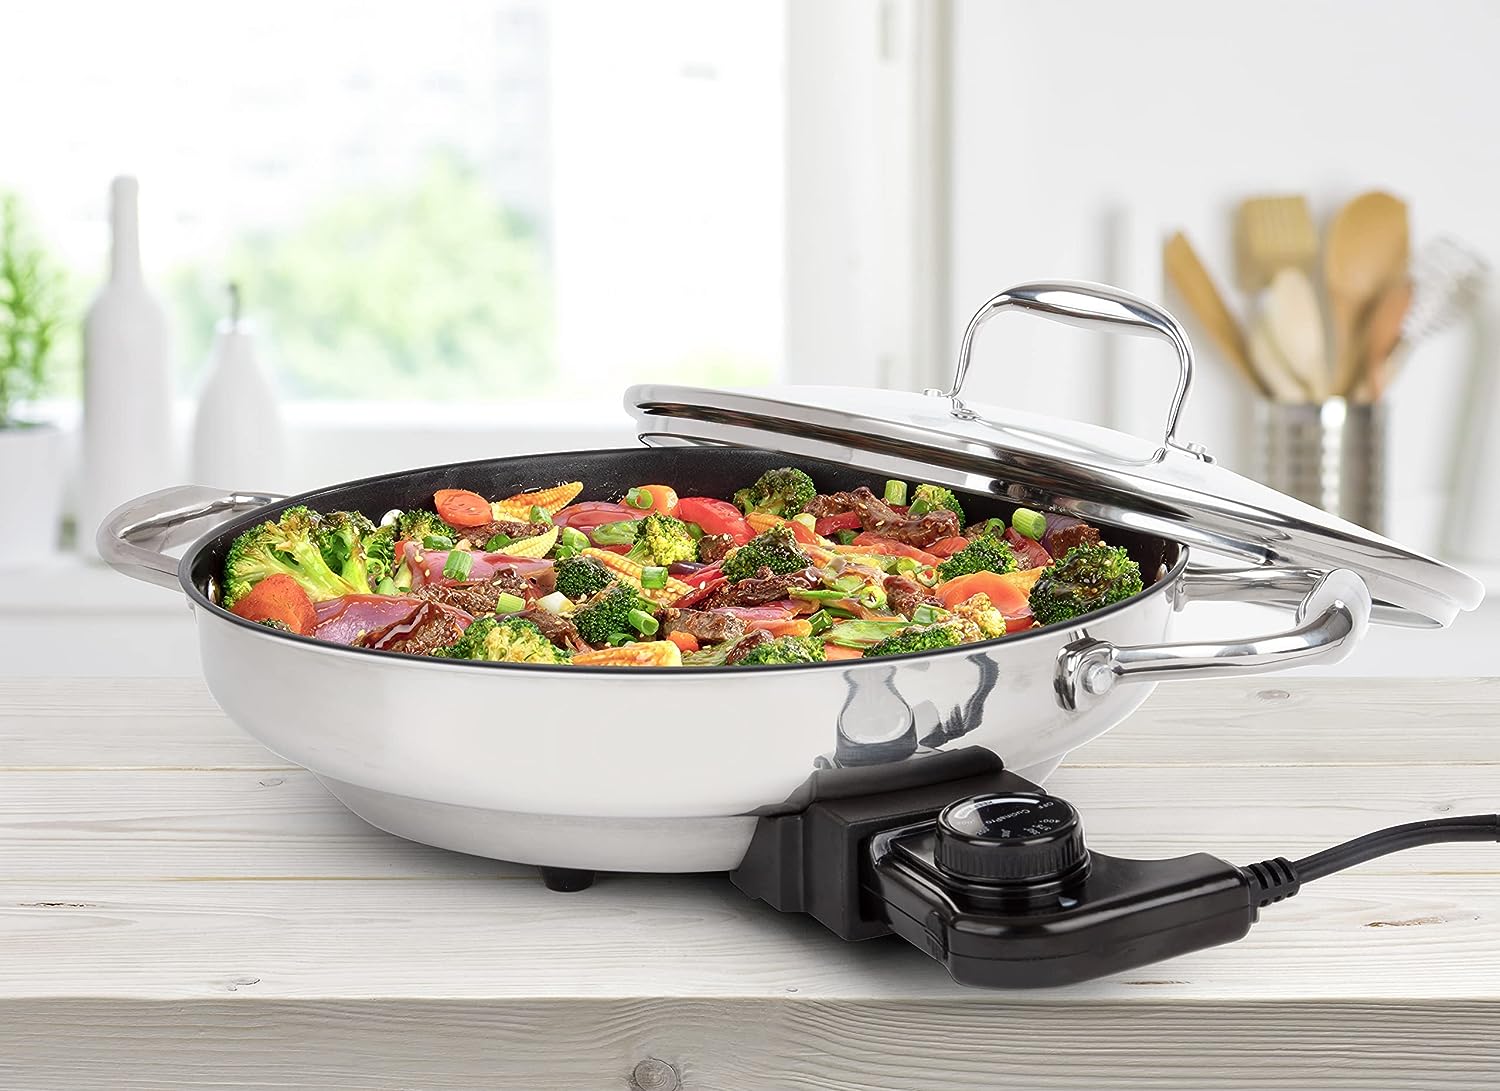
Welcome to this comprehensive guide on how to set up and assemble the Chefman 12 Inch Electric Skillet. Whether you’re a seasoned cook or a novice in the kitchen, this step-by-step tutorial will walk you through the process of unboxing, assembling, and setting up your electric skillet. With the help of this guide, you’ll be ready to start cooking delicious meals in no time.
Electric skillets have gained popularity over the years for their versatility, convenience, and ability to cook a wide variety of dishes. The Chefman 12 Inch Electric Skillet is no exception, offering a spacious cooking surface, temperature control settings, and a non-stick coating for easy cleanup. By following the instructions in this guide, you’ll be able to experience the full potential of this kitchen appliance.
Before diving into the setup process, it’s important to note that safety should always be a top priority. Make sure to read the instruction manual provided by Chefman and familiarize yourself with the safety precautions and guidelines. This will ensure a smooth and enjoyable cooking experience.
Now, without further ado, let’s get started with the unboxing process in the next step.
Key Takeaways:
- Unboxing and assembling the Chefman 12 Inch Electric Skillet requires careful handling and attention to detail. Gathering the necessary tools and materials beforehand ensures a smooth setup process, setting the stage for enjoyable cooking experiences.
- Testing the electric skillet before use is crucial for identifying potential issues and ensuring accurate temperature control. With proper assembly and control setup, users can confidently unleash their culinary creativity and explore a wide range of recipes.
Read also: 12 Best 16-Inch Electric Skillet for 2025
Step 1: Unboxing the Chefman 12 Inch Electric Skillet
The first step in setting up your Chefman 12 Inch Electric Skillet is unboxing the product. As you unbox the skillet, make sure to handle it with care and avoid using any sharp objects that could potentially damage the appliance or its packaging.
Begin by removing the outer packaging, which typically consists of a cardboard box. Use a pair of scissors or a utility knife to carefully cut the tape or seals securing the box. Once the box is open, you will find the Chefman 12 Inch Electric Skillet nestled inside, surrounded by additional packaging materials to protect it during shipping.
Gently lift the skillet from the box, being cautious not to place any unnecessary strain on the handle. Set the skillet on a clean and flat surface, ensuring it is stable and secure.
Next, remove any remaining packaging materials such as plastic wrapping, foam inserts, or cardboard separators. Take the time to inspect the skillet for any visible damage or defects. If you notice any issues, it is recommended to contact the manufacturer or retailer for assistance.
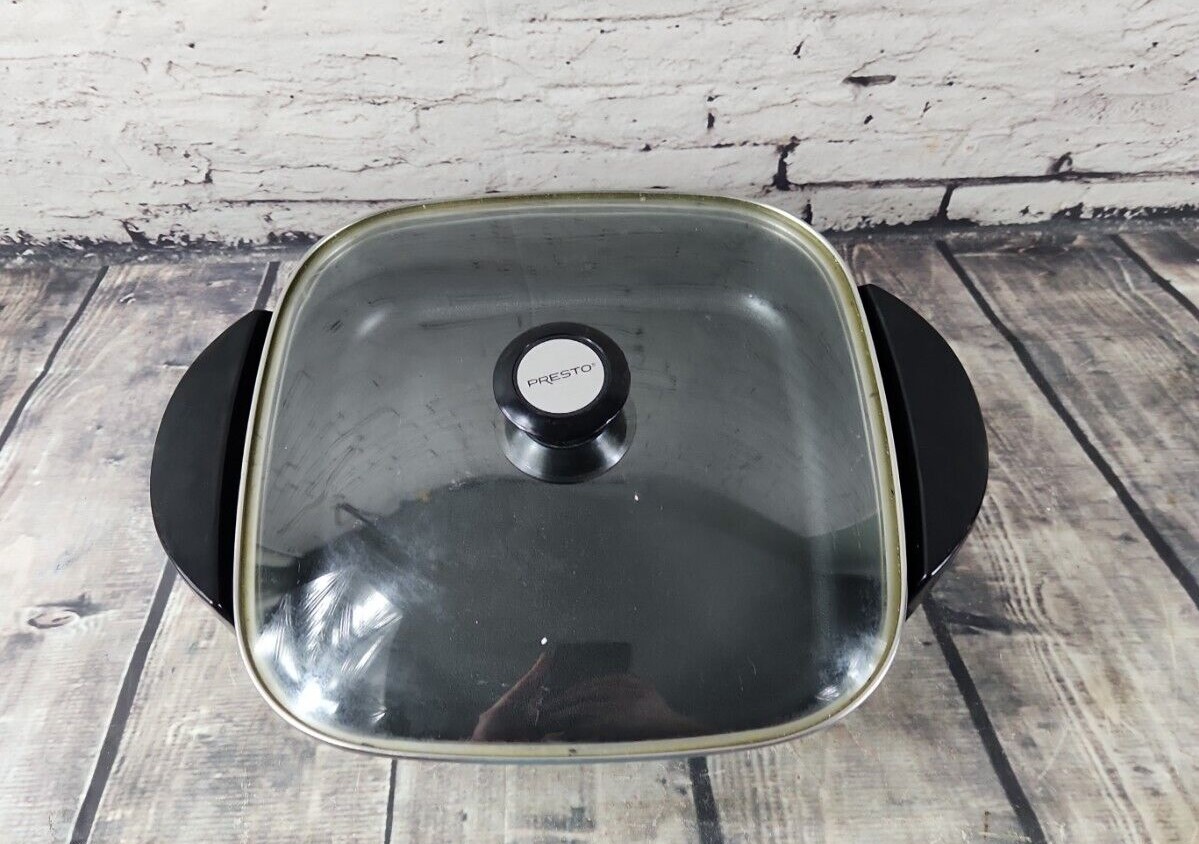
Once you have removed all the packaging materials, take a moment to familiarize yourself with the different components of the Chefman 12 Inch Electric Skillet. The main body of the skillet will have a heating element embedded in it, along with temperature control settings and possibly a digital display.
In addition, you may find accessories such as a removable lid, cooking rack, or spatula included with your specific model. Make sure to check the packaging for any additional items that come with the skillet.
Now that you have successfully unboxed the Chefman 12 Inch Electric Skillet and inspected its components, you are ready to move on to the next step: gathering the tools and materials needed for assembly.
Step 2: Gathering the Tools and Materials Needed
Before you can assemble the Chefman 12 Inch Electric Skillet, it’s important to gather all the necessary tools and materials. Having everything you need on hand will help streamline the assembly process and ensure a smooth setup. Here are the tools and materials you will need:
- Chefman 12 Inch Electric Skillet: The main component of your setup is, of course, the electric skillet itself. Make sure it is clean and free from any dust or debris before proceeding.
- Instruction Manual: Keep the instruction manual handy throughout the assembly process. It will provide valuable information on proper assembly, safety precautions, and troubleshooting.
- Power Cord: Locate the power cord that came with the electric skillet. Ensure it is in good condition and free from any frayed wires.
- Flat and Clean Surface: Find a flat and clean surface where you can assemble the electric skillet. This can be a countertop or table that provides enough space for the skillet and allows for easy access to the power outlet.
- Screwdriver: Depending on the specific model of your electric skillet, you may need a screwdriver to attach certain parts during the assembly process. Check the instruction manual to determine if a screwdriver is required and what type is recommended.
- Additional Accessories (if applicable): Some versions of the Chefman 12 Inch Electric Skillet may come with additional accessories such as a lid, cooking rack, or spatula. Make sure to have these on hand as well.
- Optional Cleaning Supplies: If your electric skillet requires cleaning before assembly, gather any necessary cleaning supplies such as mild soap, warm water, and a non-abrasive sponge or cloth.
By gathering all the necessary tools and materials, you can ensure a smooth assembly process without any interruptions. Once you have everything ready, you’re now prepared to move on to the next step: assembling the Chefman 12 Inch Electric Skillet.
Step 3: Assembling the Chefman 12 Inch Electric Skillet
Now that you have gathered all the necessary tools and materials, it’s time to assemble the Chefman 12 Inch Electric Skillet. Follow these step-by-step instructions to ensure a proper and successful assembly:
- Prepare the Electric Skillet: Start by ensuring that the heating element and cooking surface of the skillet are clean and free from any debris. Use a mild detergent and warm water to clean if necessary. Dry thoroughly before proceeding.
- Attach the Handle: Depending on the model of your electric skillet, the handle may need to be attached. Refer to the instruction manual for specific instructions on how to securely attach the handle. This may involve using screws and a screwdriver.
- Insert the Temperature Probe: If your electric skillet has a detachable temperature probe, locate the socket on the skillet and carefully insert the probe until it clicks into place. Make sure it is securely attached before proceeding.
- Attach any Additional Accessories: If your electric skillet came with additional accessories such as a lid or cooking rack, attach them according to the instruction manual. These accessories may have specific attachment points or hooks to secure them to the skillet.
- Check for Stability: Once all the components are attached, ensure that the electric skillet is stable and secure. Gently wiggle the handle and other attached parts to make sure they are firmly in place.
- Inspect for any Loose Parts: Before using the electric skillet, thoroughly inspect it for any loose parts or screws. Tighten any loose screws or connections as needed, following the guidelines provided in the instruction manual.
Following these steps will guarantee a proper assembly of the Chefman 12 Inch Electric Skillet. It is essential to refer to the instruction manual throughout the process to ensure you are correctly assembling the specific model you own.
Once the electric skillet is fully assembled, you are ready to move on to the next step: setting up the controls.
Step 4: Setting Up the Electric Skillet Controls
After successfully assembling the Chefman 12 Inch Electric Skillet, it’s time to set up the controls. This step is important to ensure that you can properly adjust the temperature and settings for your cooking needs. Follow these steps to set up the electric skillet controls:
- Locate the Temperature Control Dial: Find the temperature control dial on your electric skillet. It is usually located on the side or front of the skillet and may have temperature markings or specific temperature settings.
- Turn the Skillet off: Before adjusting the temperature control dial, make sure the electric skillet is turned off and unplugged from the power outlet.
- Set the Desired Temperature: Use the temperature control dial to set the desired temperature for your cooking. Depending on the model, the temperature control may have specific settings such as low, medium, and high heat, or it may have a numerical temperature range. Refer to the instruction manual for guidance on specific temperature settings.
- Allow the Skillet to Preheat: Once you have set the desired temperature, plug in the electric skillet and turn it on. Allow the skillet to preheat to the set temperature before adding any ingredients.
- Adjust the Temperature as Needed: Throughout the cooking process, you may need to adjust the temperature based on the recipe requirements. Use the temperature control dial to increase or decrease the heat as necessary.
- Monitor the Display (if applicable): If your electric skillet has a digital display, pay attention to any temperature or timer readings displayed. This can help you keep track of the cooking progress and ensure accurate cooking times.
Setting up the electric skillet controls properly is crucial for achieving the desired cooking results. It’s essential to read the instruction manual provided by Chefman for specific guidance on temperature settings and control operation.
With the controls set up, you’re now ready to move on to the next step: testing the electric skillet before use.
When setting up and assembling the Chefman 12 Inch Top for Electric Skillet, make sure to carefully follow the instructions provided in the user manual. It’s important to ensure all parts are securely attached before use to prevent any accidents or malfunctions.
Read also: 12 Amazing Electric Skillet 16 Inch for 2025
Step 5: Testing the Electric Skillet Before Use
Before diving into your culinary endeavors with the Chefman 12 Inch Electric Skillet, it’s important to perform a quick test to ensure everything is functioning properly. Testing the electric skillet before use will help identify any potential issues and allow you to address them before cooking. Follow these steps to conduct a simple test:
- Make Sure the Skillet is Clean: Ensure that the cooking surface and any accessories are clean and free from any residue or debris.
- Plug in the Electric Skillet: Make sure the electric skillet is securely plugged into a functioning power outlet.
- Turn on the Skillet: Use the power switch or toggle to turn on the electric skillet.
- Set the Temperature: Adjust the temperature control dial to a moderate setting, such as medium heat.
- Wait for Preheating: Allow the electric skillet to preheat to the set temperature. This usually takes a few minutes.
- Check for Even Heating: Place a small amount of water or oil on the cooking surface and spread it around to check if it heats up evenly. This test ensures that the heating element is functioning correctly.
- Monitor Temperature Accuracy: Use a food thermometer to test the accuracy of the temperature settings. Place the thermometer in different areas of the cooking surface to check for consistency.
- Verify Control Functions: Test the functionality of the temperature control dial, ensuring it accurately adjusts the heat levels as desired.
- Unplug and Cool Down: Once you have completed the test, unplug the electric skillet and allow it to cool down before cleaning or storing it.
By conducting this test, you can ensure that your Chefman 12 Inch Electric Skillet is in proper working condition and that the temperature control settings are accurate. If you encounter any issues or inconsistencies during the test, refer to the instruction manual for troubleshooting tips or contact Chefman customer support for further assistance.
With the electric skillet tested and ready to go, you’re now fully prepared to embark on your cooking journey. Happy cooking!
Conclusion
Congratulations! You have successfully set up and assembled your Chefman 12 Inch Electric Skillet. By following the step-by-step instructions in this guide, you can now confidently use your electric skillet to prepare delicious meals for yourself and your loved ones.
Remember, safety should always be a priority when using any kitchen appliance. Familiarize yourself with the safety precautions provided in the instruction manual and follow them at all times.
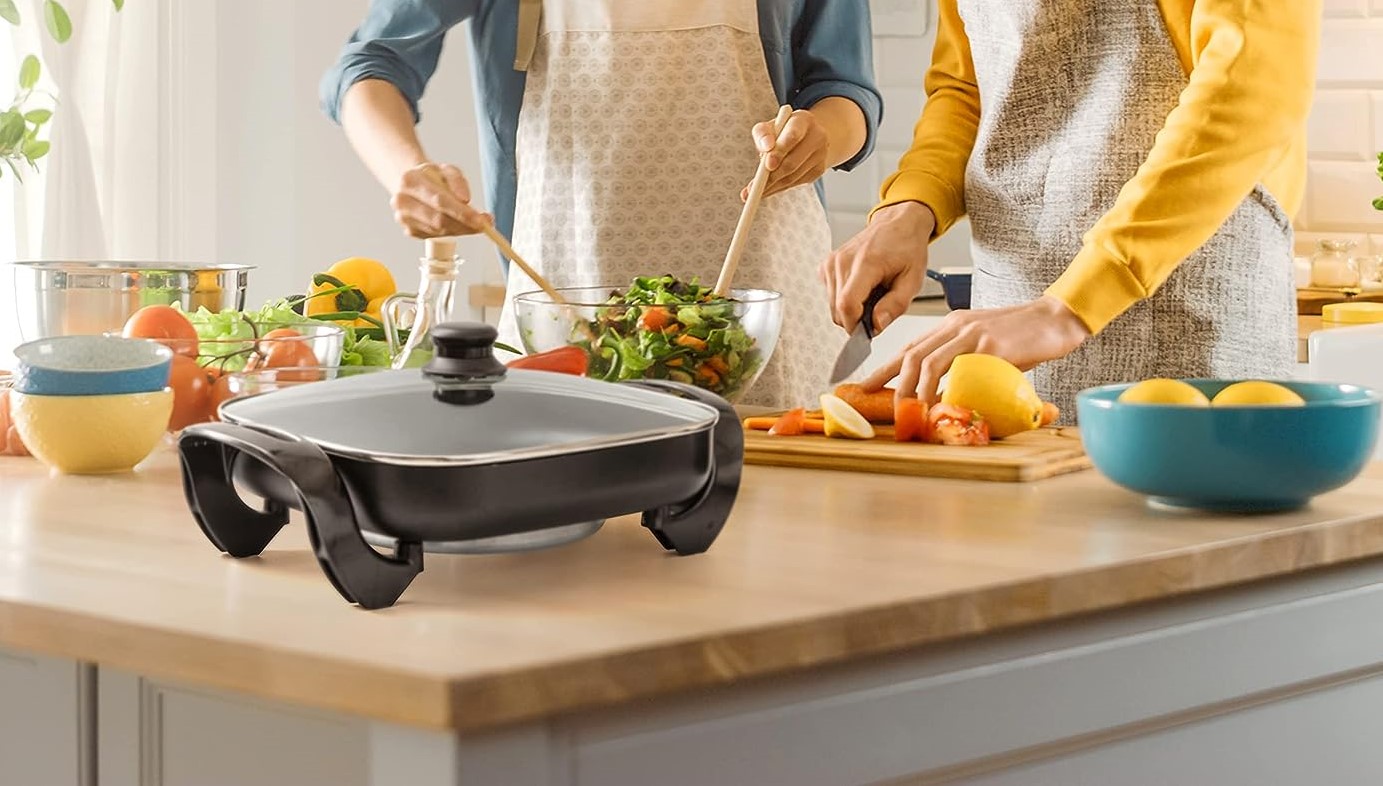
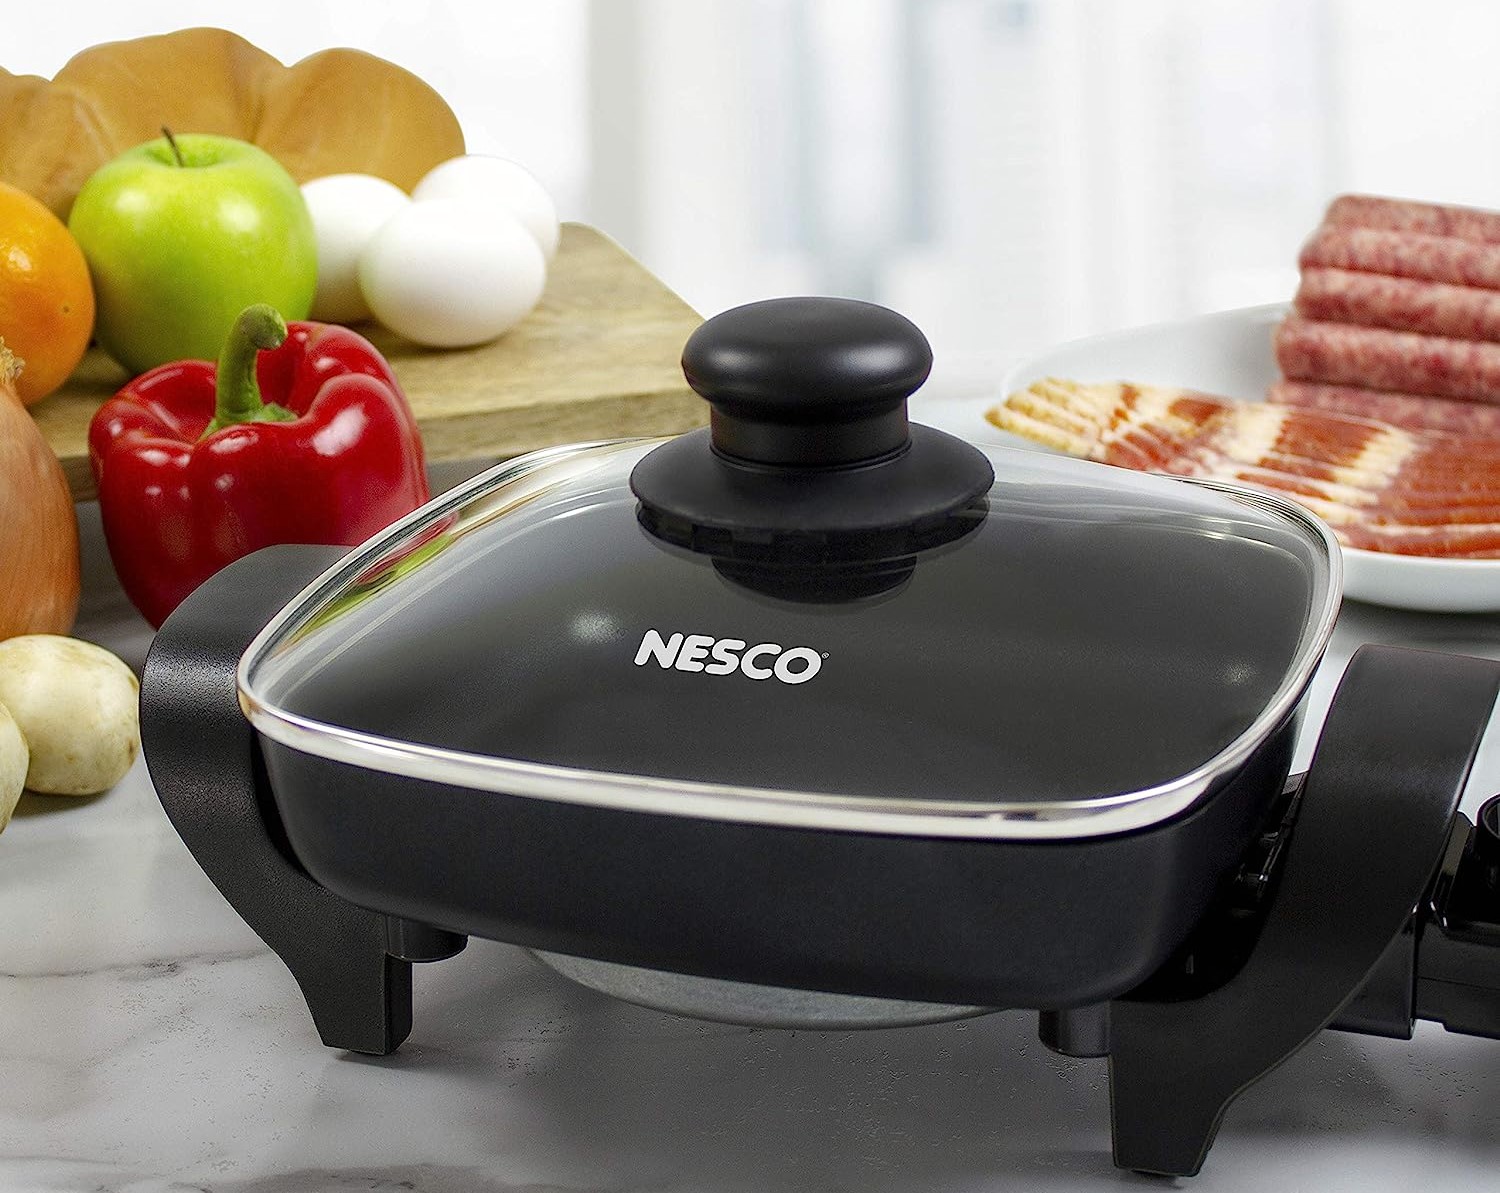
The Chefman 12 Inch Electric Skillet offers a versatile and convenient cooking experience. With its spacious cooking surface, temperature control settings, and non-stick coating, you can explore a wide range of recipes and culinary creations.
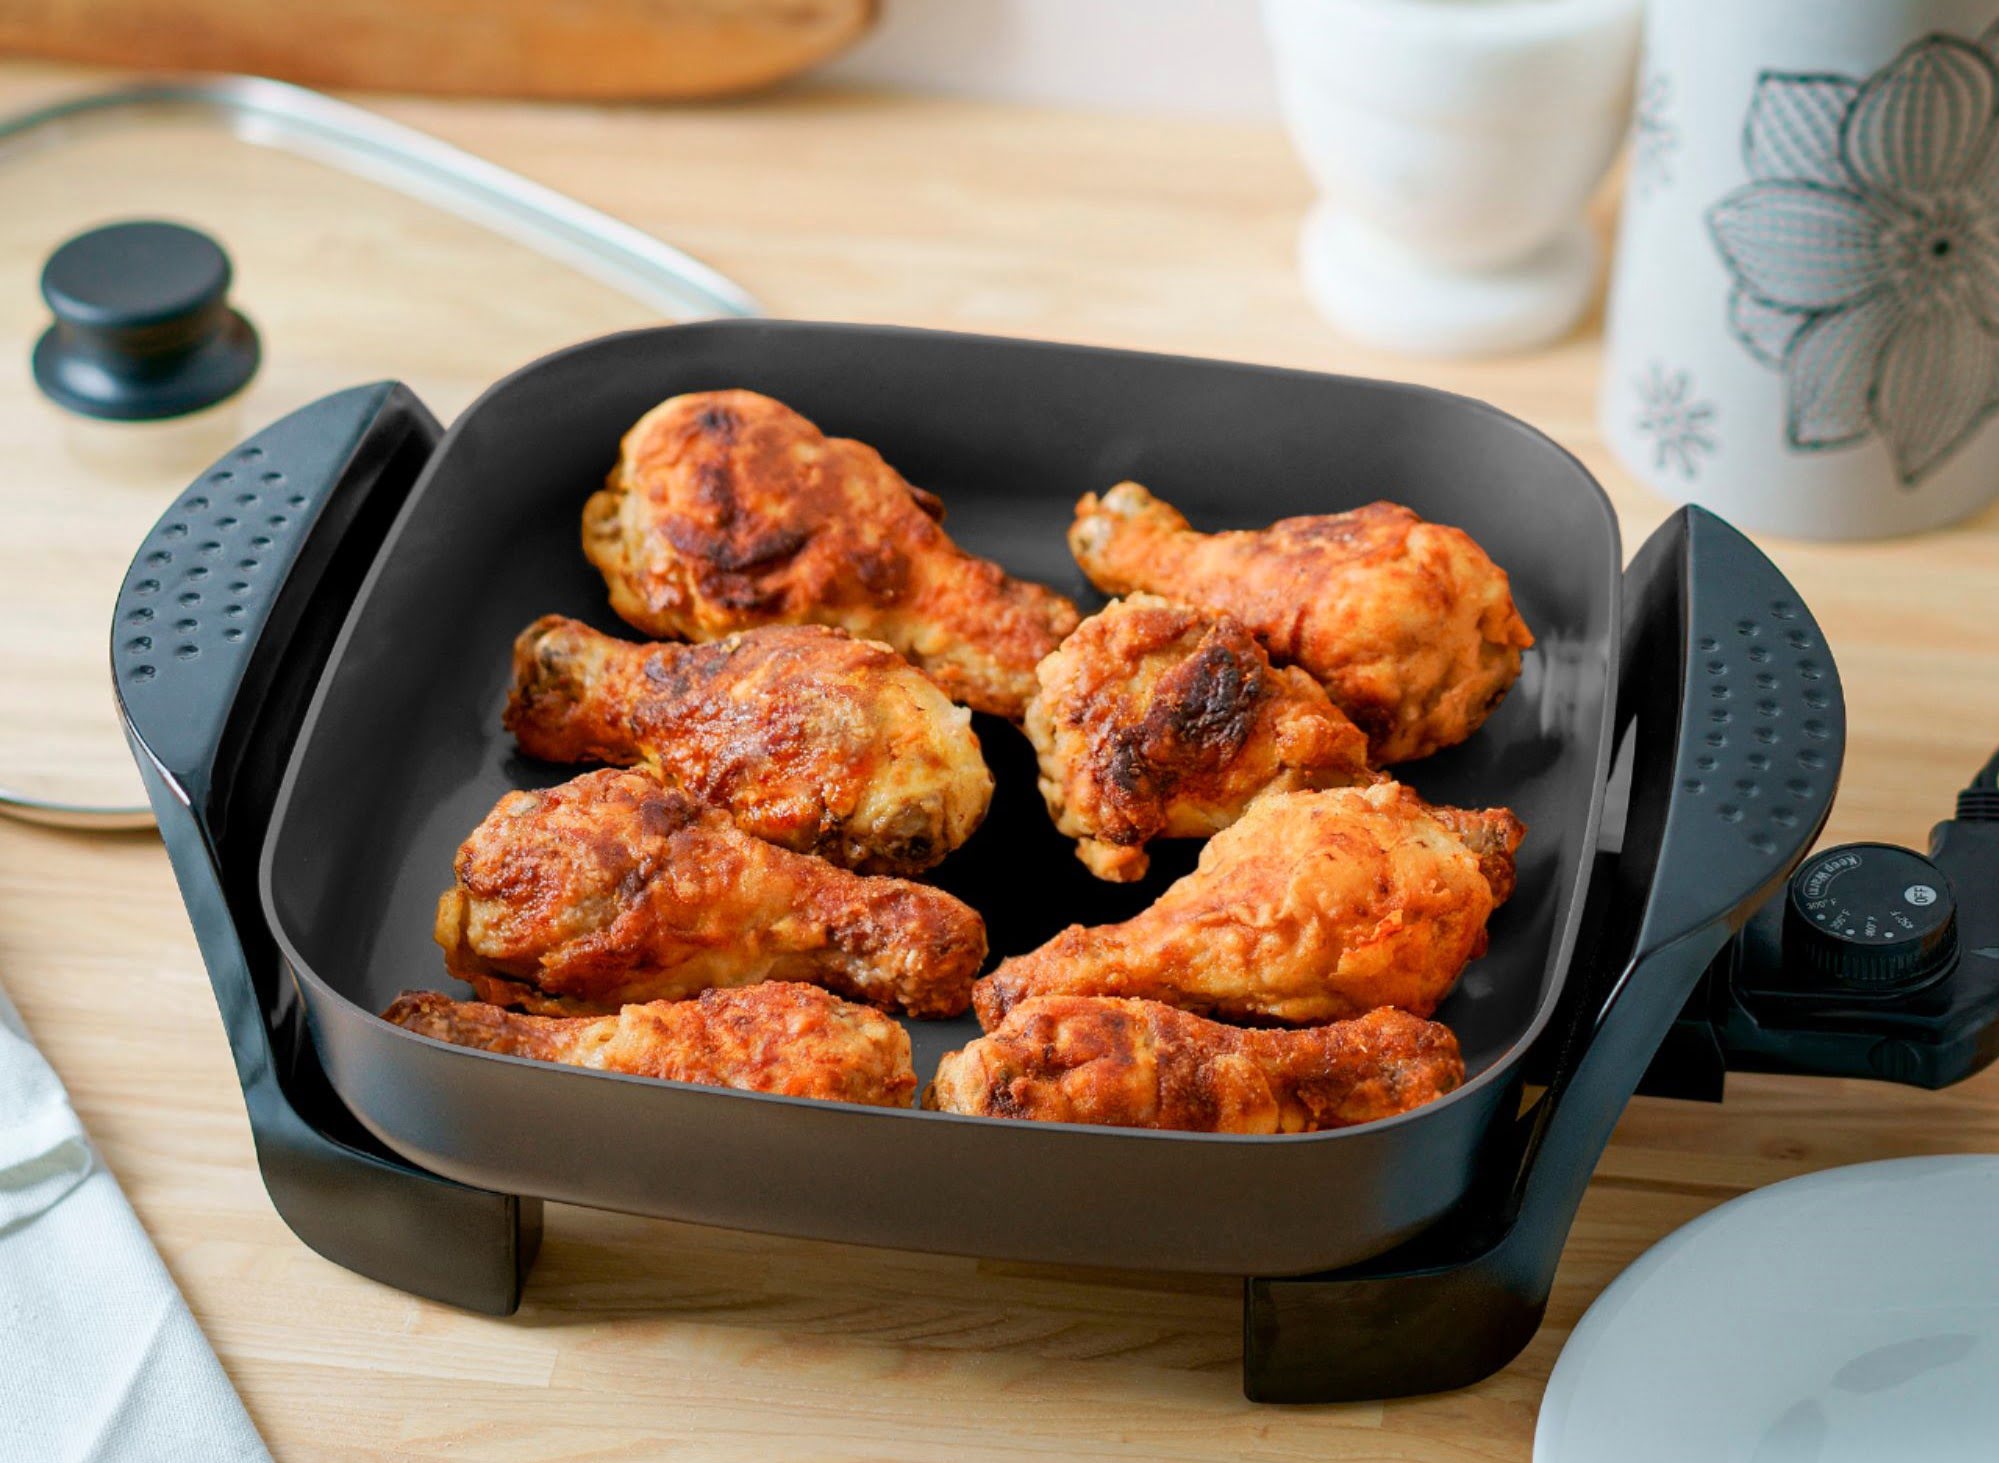
Whether you’re sautéing vegetables, frying up some crispy chicken, or simmering a savory stew, the Chefman 12 Inch Electric Skillet provides consistent and even heat distribution. This makes it a valuable addition to your kitchen arsenal.
Always refer to the instruction manual for specific guidance on temperature settings and cooking times. Additionally, don’t forget to use appropriate utensils and cleaning methods to maintain the longevity of your electric skillet.
Now that you have completed the setup and assembly process, it’s time to unleash your culinary skills and create culinary masterpieces. Enjoy the convenience and versatility of the Chefman 12 Inch Electric Skillet, and let your creativity shine in the kitchen!
For further assistance, recipe ideas, or troubleshooting tips, refer to the additional resources section below. Happy cooking!
Additional Resources:
- Recipe Books and Online Recipe Websites
- Chefman Official Website and Customer Support
- Video Tutorials and Demonstrations on Using the Chefman 12 Inch Electric Skillet
Additional Resources
Here are some additional resources to help you get the most out of your Chefman 12 Inch Electric Skillet:
- Recipe Books and Online Recipe Websites: Explore a variety of recipes specifically designed for electric skillets. Look for cookbooks or visit reputable recipe websites to find inspiration and step-by-step instructions for creating delicious meals.
- Chefman Official Website and Customer Support: Visit the official Chefman website for product information, FAQs, and access to customer support. If you have any questions or issues with your electric skillet, reach out to their knowledgeable support team for assistance.
- Video Tutorials and Demonstrations: Learn visually by watching tutorial videos and demonstrations on how to use the Chefman 12 Inch Electric Skillet. Many channels on platforms like YouTube offer comprehensive guides and tips for getting the most out of your electric skillet.
These additional resources will provide you with more ideas, guidance, and support throughout your culinary journey with the Chefman 12 Inch Electric Skillet. Remember to experiment, have fun, and enjoy the process of cooking delicious meals for yourself and your loved ones!
Frequently Asked Questions about How To Setup And Assemble The Chefman 12 Inch Top For Electric Skillet
Was this page helpful?
At Storables.com, we guarantee accurate and reliable information. Our content, validated by Expert Board Contributors, is crafted following stringent Editorial Policies. We're committed to providing you with well-researched, expert-backed insights for all your informational needs.


0 thoughts on “How To Setup And Assemble The Chefman 12 Inch Top For Electric Skillet”