Home>Articles>How To Clean And Replace Presto Electric Skillet Cover Assembly
Articles
How To Clean And Replace Presto Electric Skillet Cover Assembly
Modified: January 6, 2024
Learn how to clean and replace the cover assembly of your Presto electric skillet with our informative articles. Ensure optimal performance and longevity of your appliance.
(Many of the links in this article redirect to a specific reviewed product. Your purchase of these products through affiliate links helps to generate commission for Storables.com, at no extra cost. Learn more)
Introduction
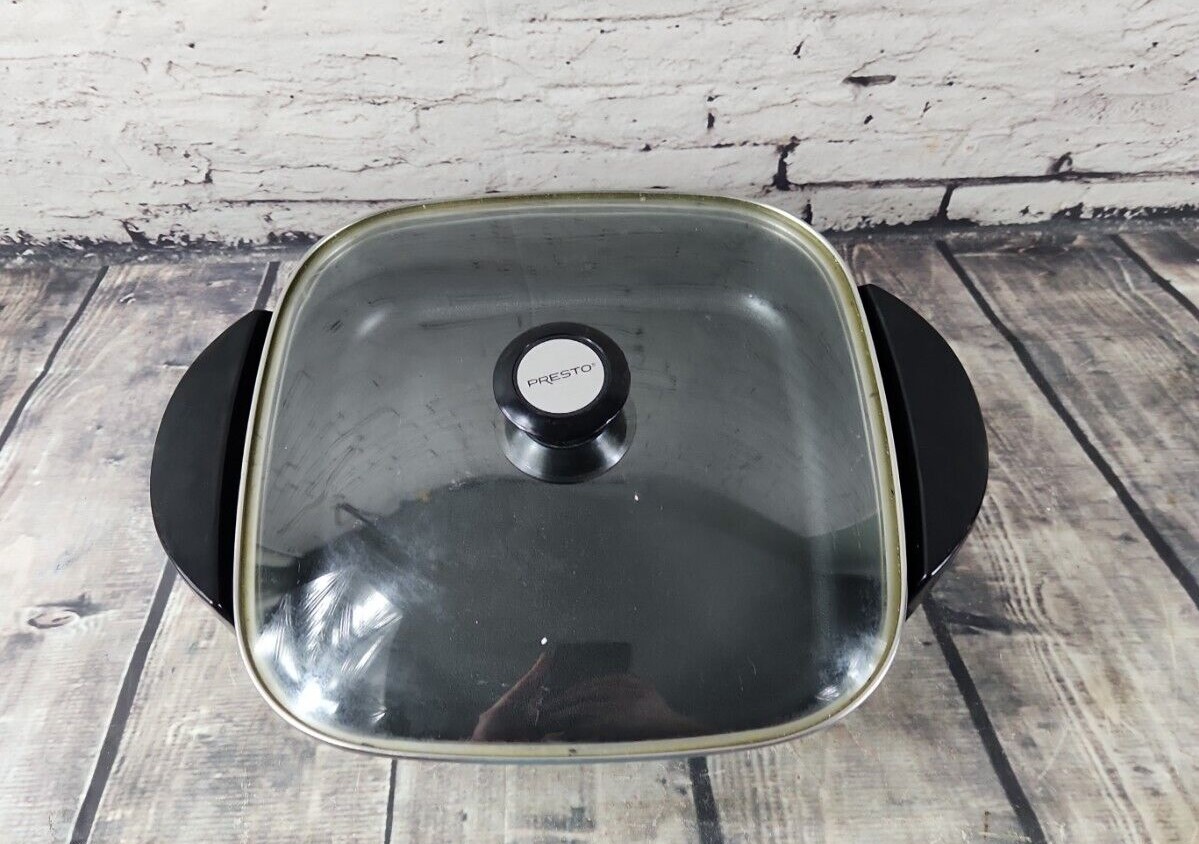
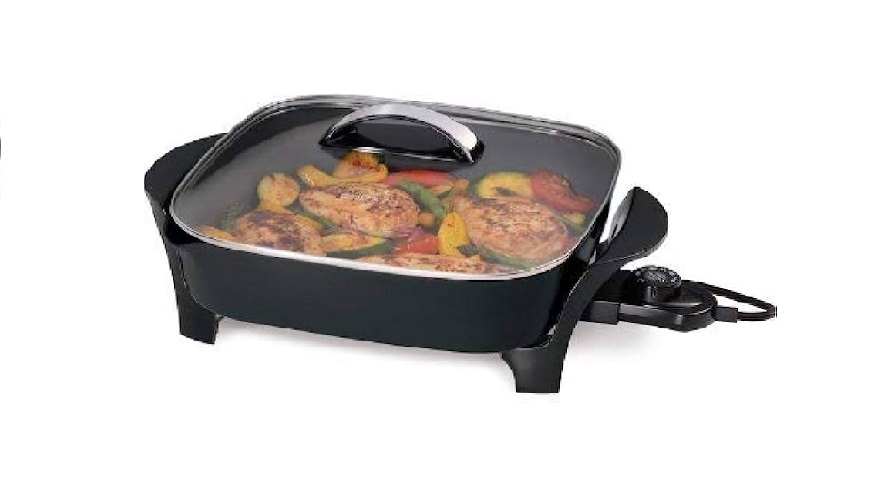
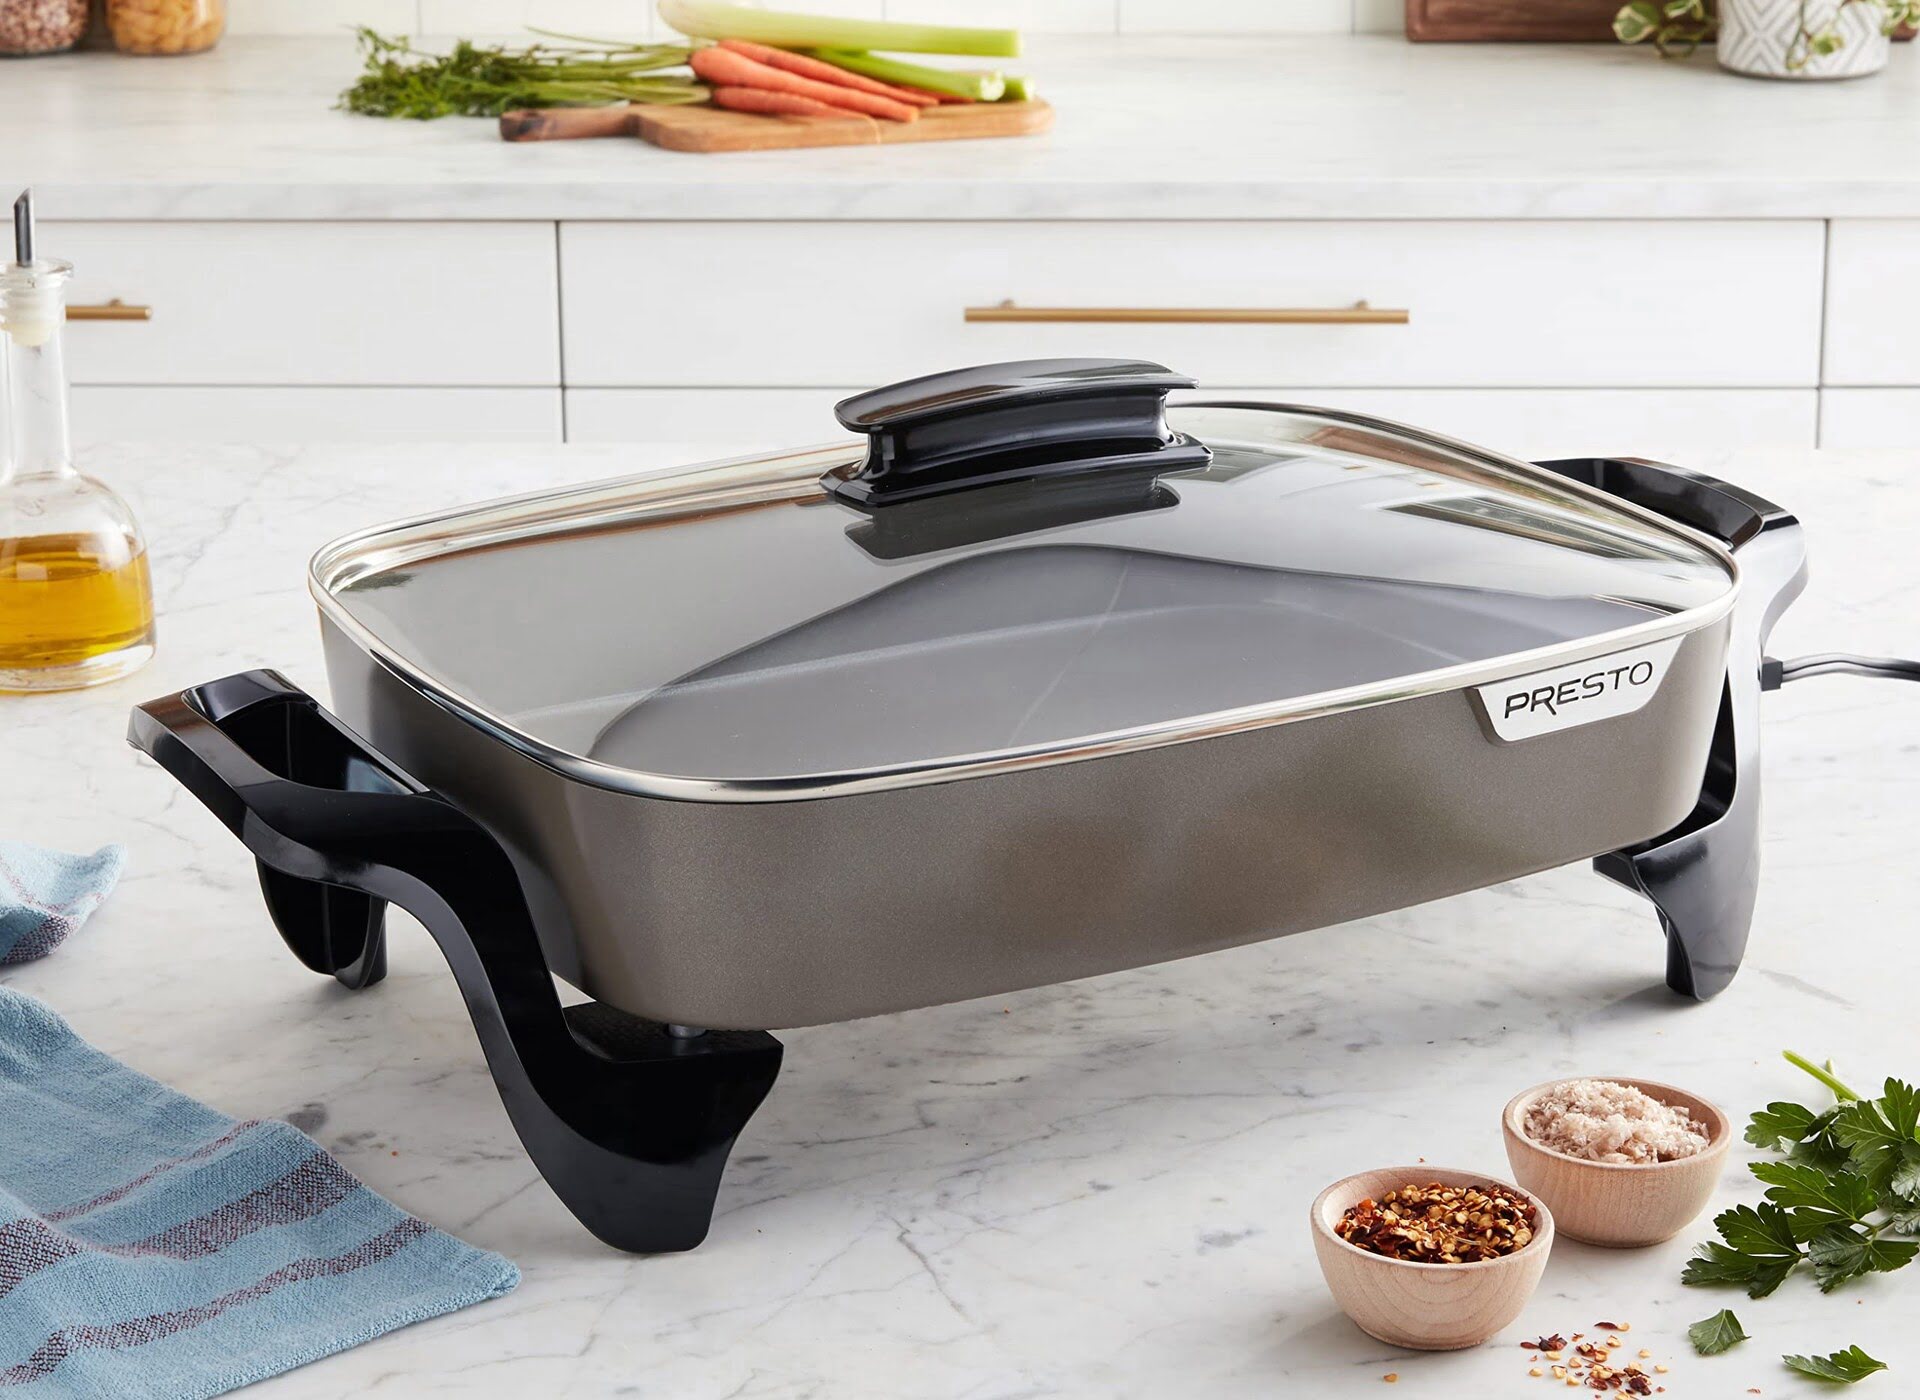
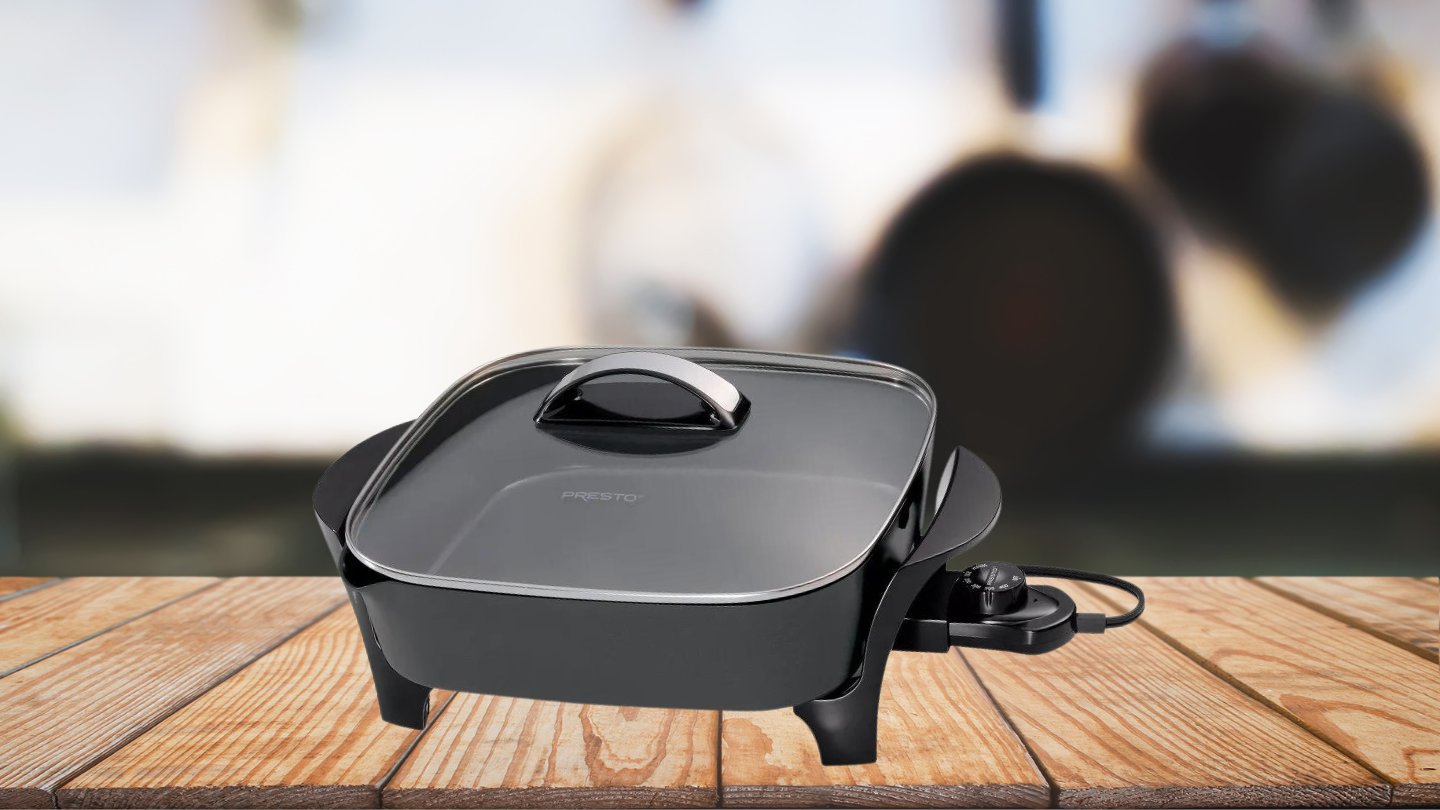
Having a Presto Electric Skillet in your kitchen can be a convenient and versatile addition to your cooking arsenal. It allows you to whip up delicious meals with ease, thanks to its even heat distribution and non-stick surface. However, over time, the cover assembly of the skillet can become worn out or dirty, affecting its functionality and appearance. In this article, we will guide you on how to properly clean and replace the Presto Electric Skillet cover assembly, ensuring that your skillet continues to perform at its best.
Before diving into the process, it’s essential to ensure your safety and the safety of your appliance. Always remember to unplug your electric skillet before starting any cleaning or maintenance tasks. Additionally, handle the cover assembly with care to prevent any injuries or damage to the various components.
To clean and replace the Presto Electric Skillet cover assembly, you will need a few tools and materials. Gather a soft cloth or sponge, mild dish soap, warm water, a screwdriver (either flathead or Phillips, depending on your skillet model), and a replacement cover assembly suitable for your specific Presto Electric Skillet model. Make sure to check the instruction manual or reach out to the manufacturer if you’re unsure about the compatible replacement parts.
Now that you have your tools ready, let’s proceed to the step-by-step guide on cleaning and replacing the Presto Electric Skillet cover assembly.
Key Takeaways:
- Keep your Presto Electric Skillet in top condition by following safety precautions, gathering the right tools, and cleaning and replacing the cover assembly with care. Enjoy safe and efficient cooking for years to come!
- Prioritize safety, gather the right tools, and follow the step-by-step guide to clean and replace your Presto Electric Skillet cover assembly. Ensure proper functionality and longevity for your appliance.
Read more: Where To Buy Presto Electric Skillet
Safety Precautions
Ensuring your safety and the safety of your appliance is of utmost importance when performing any maintenance tasks on your Presto Electric Skillet. Here are some essential safety precautions to keep in mind:
- Always unplug the electric skillet from the power source before starting any cleaning or replacement procedures. This will prevent any electrical shocks or accidents.
- Allow the skillet and cover assembly to cool down completely before handling them. This will protect you from burns or injuries caused by hot surfaces.
- Handle the cover assembly with care, as it contains delicate components. Avoid using excessive force or placing heavy objects on top of it to prevent damage.
- Ensure that the replacement cover assembly is suitable for your specific Presto Electric Skillet model. Check the compatibility information in the instruction manual or reach out to the manufacturer for assistance.
- Follow the instructions provided by the manufacturer for cleaning and maintenance. If you have any doubts or concerns, consult the instruction manual or contact the manufacturer for guidance.
- Take your time and work in a well-lit and well-ventilated area to minimize the chances of accidents or mistakes.
- If you encounter any difficulties or feel unsure about any step of the process, it is advisable to seek professional assistance or contact the manufacturer for support.
By following these safety precautions, you can ensure a safe and successful cleaning and replacement process for your Presto Electric Skillet cover assembly. Let’s move on to gathering the necessary tools and materials for the task.
Tools and Materials Required
Before diving into the process of cleaning and replacing the Presto Electric Skillet cover assembly, it’s essential to gather the necessary tools and materials. Here’s a list of what you’ll need:
- A soft cloth or sponge: This will be used for cleaning the exterior and interior surfaces of the skillet and the cover assembly.
- Mild dish soap: Using a mild dish soap will help remove any grease or food residue from the surfaces effectively.
- Warm water: You’ll need warm water to mix with the dish soap for cleaning purposes.
- A screwdriver (either flathead or Phillips, depending on your skillet model): This will be used to remove the screws or fasteners that hold the old cover assembly in place.
- Replacement cover assembly: Make sure to purchase a replacement cover assembly that is compatible with your specific Presto Electric Skillet model. Refer to the instruction manual or contact the manufacturer for assistance in finding the correct replacement part.
- Optional: A small brush or toothbrush can be helpful for reaching into small crevices and corners during the cleaning process.
By having these tools and materials on hand, you’ll be well-prepared to tackle the task of cleaning and replacing the Presto Electric Skillet cover assembly. Now that everything is ready, let’s move on to the step-by-step process.
Step 1: Unplug the Skillet and Let it Cool
Before starting any cleaning or maintenance tasks, it’s crucial to ensure your safety and the safety of your appliance. The first step is to unplug the Presto Electric Skillet from the power source. This will prevent any electrical shocks or accidents during the process.
After unplugging the skillet, it’s important to let it cool down completely. This will protect you from burns or injuries caused by hot surfaces. Allow sufficient time for the skillet to reach room temperature before proceeding to the next steps.
During the cooling period, take the opportunity to gather the necessary tools and materials mentioned earlier. This will ensure that you have everything within reach when you start cleaning and replacing the cover assembly.
Remember, patience is key. Rushing the process or attempting to clean the skillet while it is still hot can lead to accidents and damage. Once the skillet is fully cooled down, it’s time to move on to the next step: removing the old cover assembly.
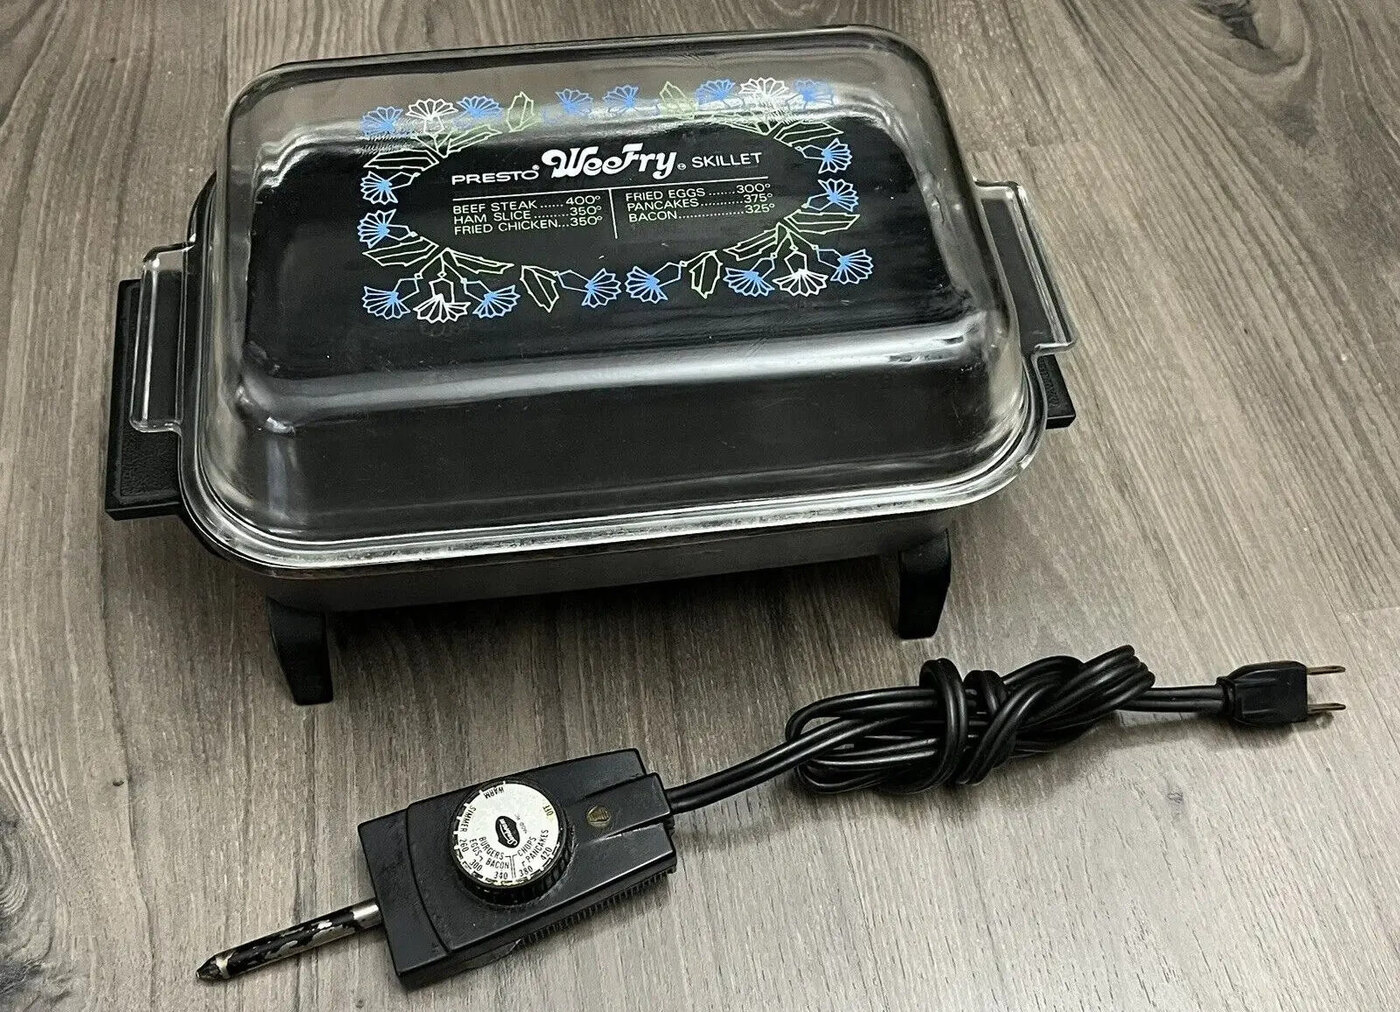
Step 2: Remove the Old Cover Assembly
Now that the Presto Electric Skillet has been unplugged and allowed to cool down, it’s time to remove the old cover assembly. Follow these steps to do so:
- Locate the screws or fasteners that secure the cover assembly to the skillet. These are typically found on the sides or corners of the cover assembly.
- Using the appropriate screwdriver (flathead or Phillips, depending on your skillet model), carefully unscrew the screws in a counterclockwise direction. Place the screws in a safe place to avoid misplacing them.
- Once the screws are removed, gently lift the old cover assembly off the skillet. Take care not to force it or apply excessive pressure, as this could damage the components.
- Inspect the old cover assembly for any signs of damage or wear. This will help you determine if it’s worth trying to repair or if it’s necessary to replace it with a new cover assembly.
After removing the old cover assembly, set it aside for further examination or disposal, depending on its condition. You can now move on to the next step: cleaning the skillet and cover assembly.
When cleaning and replacing the Presto Electric Skillet Cover Assembly, make sure to unplug the skillet and let it cool completely before removing the cover. Use a mild detergent and non-abrasive sponge to clean the cover, and ensure it is completely dry before reattaching it to the skillet.
Read also: 10 Amazing Presto Electric Skillet for 2025
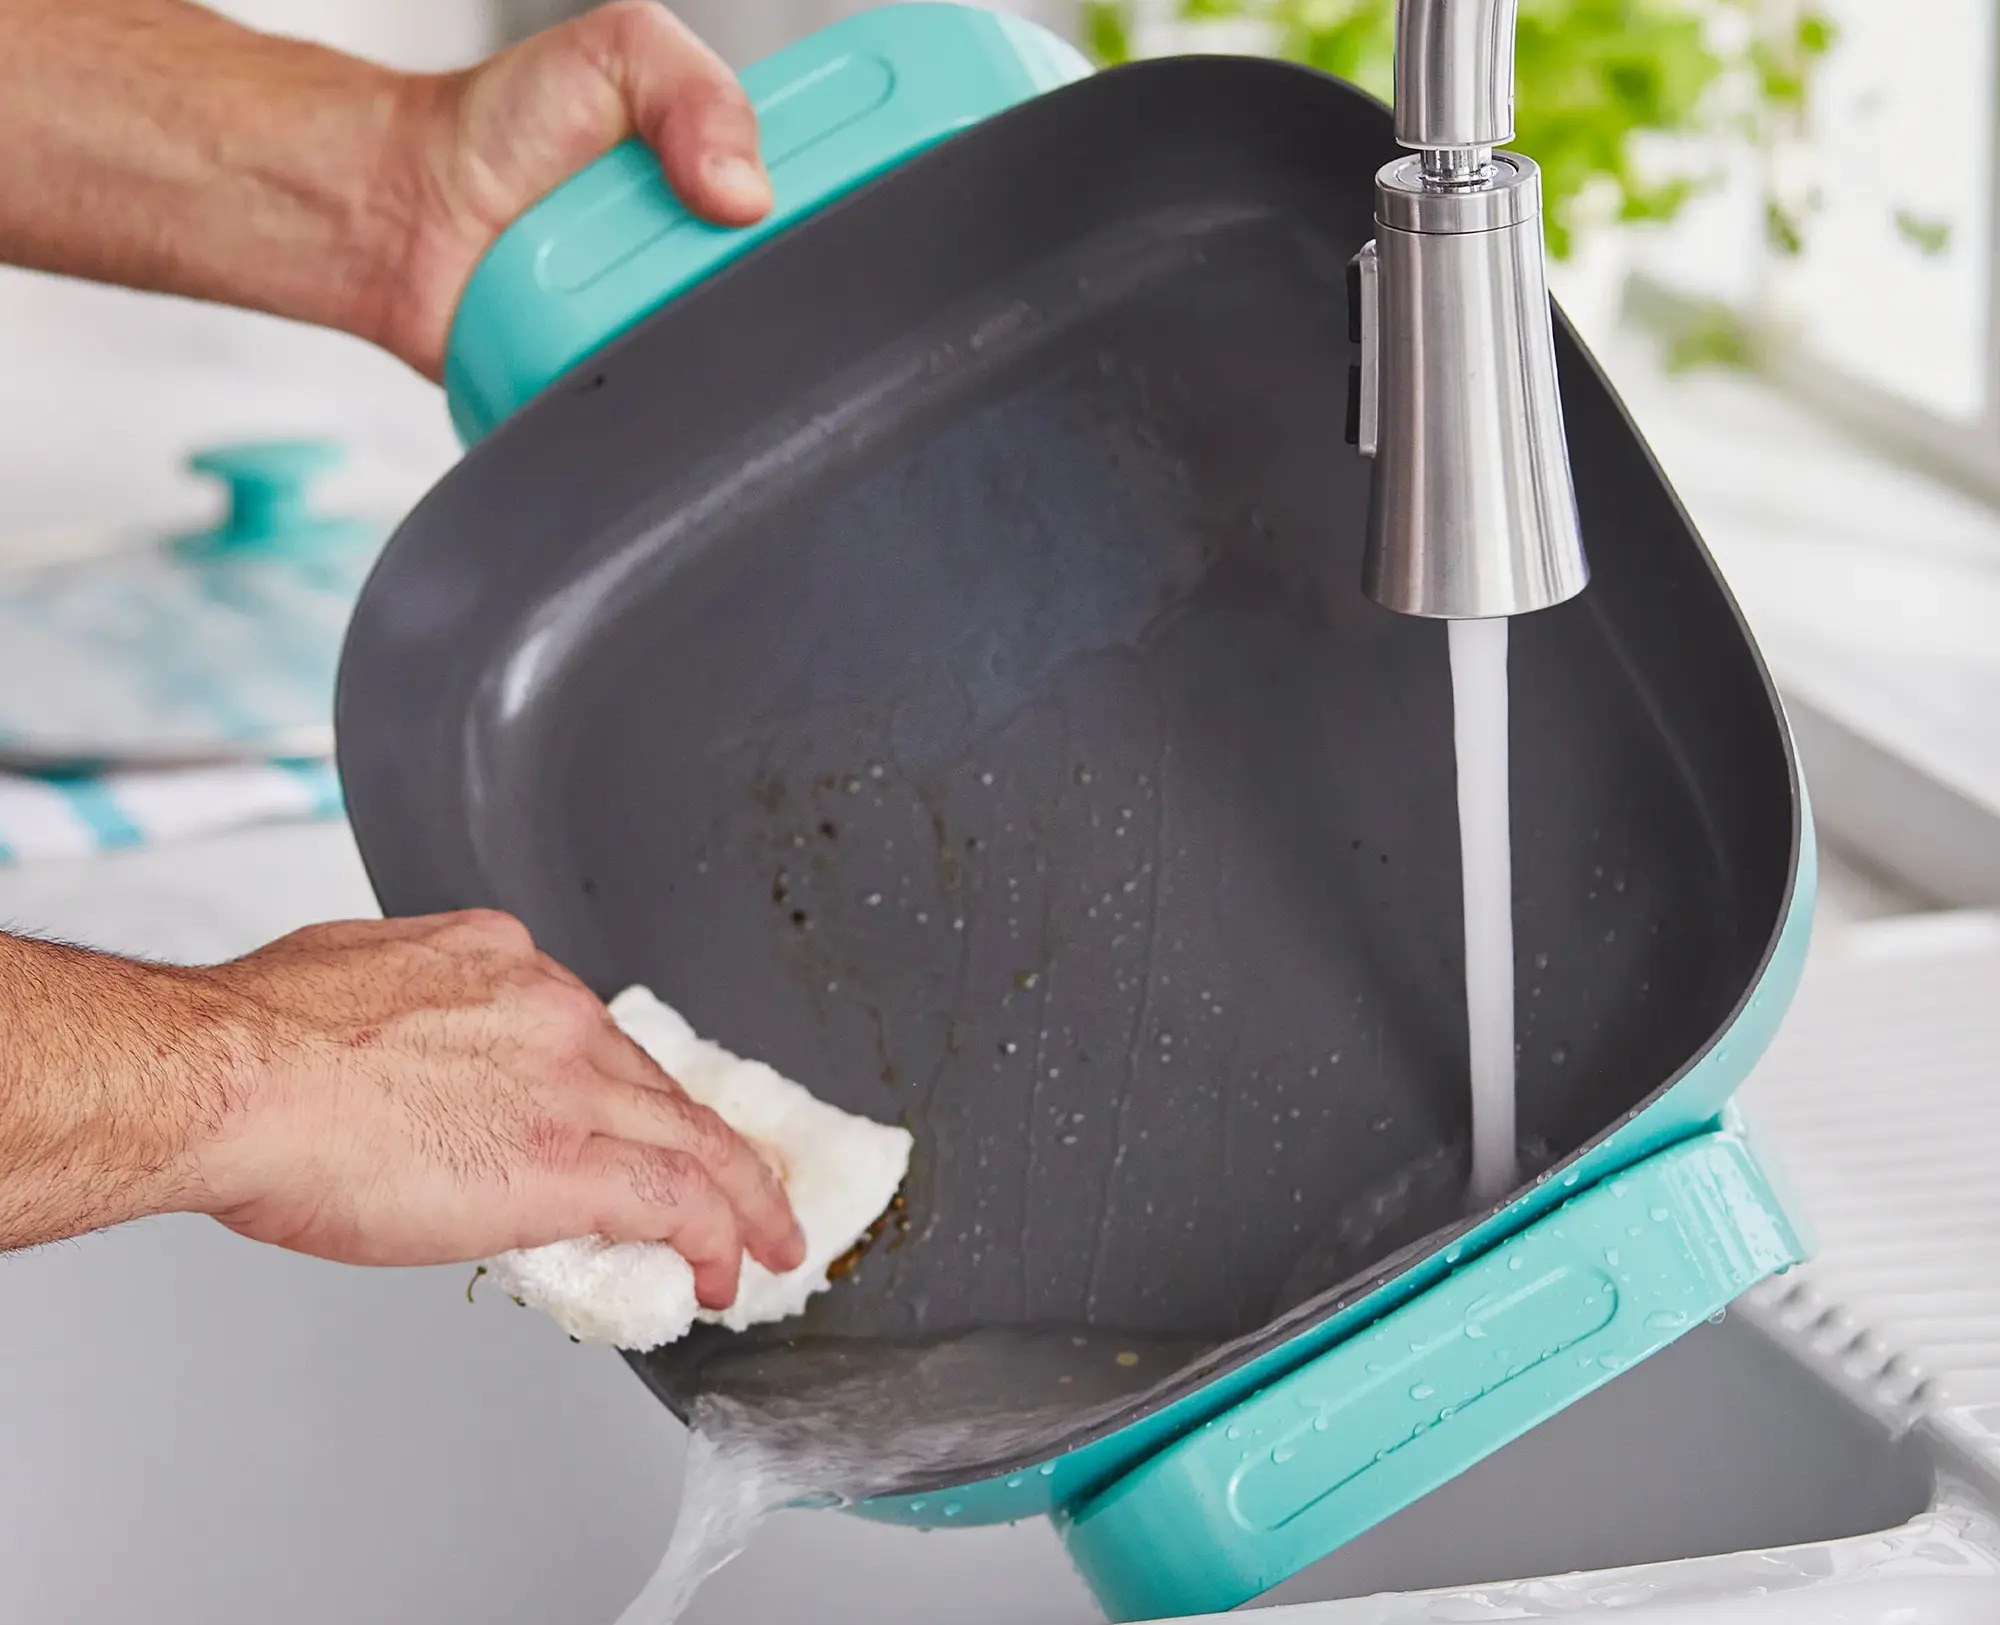
Step 3: Cleaning the Skillet and Cover Assembly
Cleaning the skillet and cover assembly is an essential part of maintaining their functionality and prolonging their lifespan. Follow these steps to effectively clean them:
- Start by preparing a mixture of warm water and mild dish soap in a basin or sink.
- Dip a soft cloth or sponge into the soapy water and gently clean the exterior surface of the skillet. Pay attention to any areas with stubborn stains or grease buildup.
- Rinse the cloth or sponge with clean water and wipe away the soapy residue from the skillet’s exterior.
- For the interior surface of the skillet and the cover assembly, use the same soapy water mixture to remove any food residue or grease. If necessary, you can use a small brush or toothbrush to reach into tight corners or crevices.
- Rinse the interior surface of the skillet and the cover assembly thoroughly with clean water to remove all traces of soap.
- Dry the skillet and cover assembly with a clean, dry cloth or allow them to air dry completely before proceeding to the next step.
Cleaning the skillet and cover assembly will not only improve their appearance but also prevent any potential contamination of your cooked food. Once they are thoroughly cleaned and dried, it’s time to move on to the next step: installing the new cover assembly.
Step 4: Installing the New Cover Assembly
With the old cover assembly removed and the skillet cleaned, it’s time to install the new cover assembly. Follow these steps to ensure a proper installation:
- Take the new cover assembly and align it with the holes on the skillet where the screws were previously located.
- Insert the screws into the holes, making sure they are snug but not overly tightened. Start by hand-tightening the screws, and then use a screwdriver to secure them in a clockwise direction. Be careful not to overtighten, as this can cause damage.
- Check that the new cover assembly sits flush and evenly on the skillet. It should not be loose or wobbly.
- Once the new cover assembly is securely in place, give it a gentle shake or jiggle to ensure that it is stable and properly attached.
If you encounter any difficulties during the installation process, refer to the instruction manual or contact the manufacturer for guidance. It’s important to ensure that the new cover assembly is correctly installed to maintain the functionality and safety of your Presto Electric Skillet.
Now that the new cover assembly is installed, it’s time to move on to the final step: testing the new cover assembly.
Step 5: Testing the New Cover Assembly
With the new cover assembly installed on your Presto Electric Skillet, it’s vital to test its functionality before returning to regular use. Follow these steps to ensure that the new cover assembly is working correctly:
- Plug the Presto Electric Skillet into a power source and turn it on.
- Set the temperature control to the desired setting and allow the skillet to heat up.
- Observe the new cover assembly for any signs of malfunction or abnormal behavior. Pay attention to how it opens, closes, and stays in position.
- Ensure that the cover assembly properly fits and covers the skillet’s surface without any gaps or loose areas.
- Check that the heat distribution is even across the skillet’s surface, including under the cover assembly.
- While the skillet is in use, monitor the handle and other components of the cover assembly for excessive heat or any potential safety concerns.
- If you notice any problems or issues with the new cover assembly, such as improper fit, malfunctioning latches, or inadequate heat distribution, it’s important to contact the manufacturer or seek professional assistance for further evaluation and possible solutions.
By thoroughly testing the new cover assembly, you can ensure that it functions properly and maintains the safety and efficiency of your Presto Electric Skillet. Once you are satisfied with the performance, you can confidently resume using the skillet for your cooking needs.
Congratulations! You have successfully completed the process of cleaning and replacing the Presto Electric Skillet cover assembly. Regular maintenance and care will help keep your electric skillet in excellent working condition for years to come.
Conclusion
Cleaning and replacing the cover assembly of your Presto Electric Skillet is a simple and necessary task to ensure the longevity and optimal performance of your appliance. By following the step-by-step guide outlined in this article, you can effectively clean the skillet and install a new cover assembly without any hassle.
Remember to prioritize safety throughout the process by unplugging the skillet, allowing it to cool down, and handling the cover assembly with care. Adhering to the safety precautions mentioned in this article will protect you from accidents and mishaps.
Gathering the required tools and materials beforehand will make the cleaning and replacement process much smoother. Ensure that you have a soft cloth or sponge, mild dish soap, warm water, a screwdriver, and the appropriate replacement cover assembly for your specific Presto Electric Skillet model.
Cleaning the skillet and cover assembly will enhance its appearance and prevent any potential contamination of your cooked food. Take your time to thoroughly clean and dry both the exterior and interior surfaces before proceeding to install the new cover assembly.
Installing the new cover assembly correctly is essential for ensuring its functionality and proper fit. Make sure to align the cover assembly with the screw holes and secure the screws snugly without overtightening. Testing the new cover assembly for functionality, heat distribution, and safety is crucial before using the skillet again.
By following these steps and maintaining regular cleaning and care for your Presto Electric Skillet, you can enjoy delicious meals and extend the lifespan of your appliance.
Remember to consult the instruction manual or contact the manufacturer if you encounter any difficulties or have any specific questions. They will provide you with the necessary guidance and support to keep your Presto Electric Skillet in excellent condition.
Now, go ahead and enjoy cooking your favorite dishes with a clean and properly functioning Presto Electric Skillet!
Frequently Asked Questions about How To Clean And Replace Presto Electric Skillet Cover Assembly
Was this page helpful?
At Storables.com, we guarantee accurate and reliable information. Our content, validated by Expert Board Contributors, is crafted following stringent Editorial Policies. We're committed to providing you with well-researched, expert-backed insights for all your informational needs.


0 thoughts on “How To Clean And Replace Presto Electric Skillet Cover Assembly”