Home>Articles>How To Setup And Assembly Chefman 12 Inch Electric Skillet Demo
Articles
How To Setup And Assembly Chefman 12 Inch Electric Skillet Demo
Modified: February 28, 2024
Learn how to set up and assemble the Chefman 12 Inch Electric Skillet with our informative demo. Read our helpful articles and become a pro in no time!
(Many of the links in this article redirect to a specific reviewed product. Your purchase of these products through affiliate links helps to generate commission for Storables.com, at no extra cost. Learn more)
Introduction
Welcome to this comprehensive guide on how to set up and assemble the Chefman 12 Inch Electric Skillet. If you’ve recently purchased this versatile kitchen appliance or are considering doing so, you’ve come to the right place. In this article, we will provide step-by-step instructions on how to unbox, set up, and assemble the Chefman Electric Skillet, as well as demonstrate its basic functions.
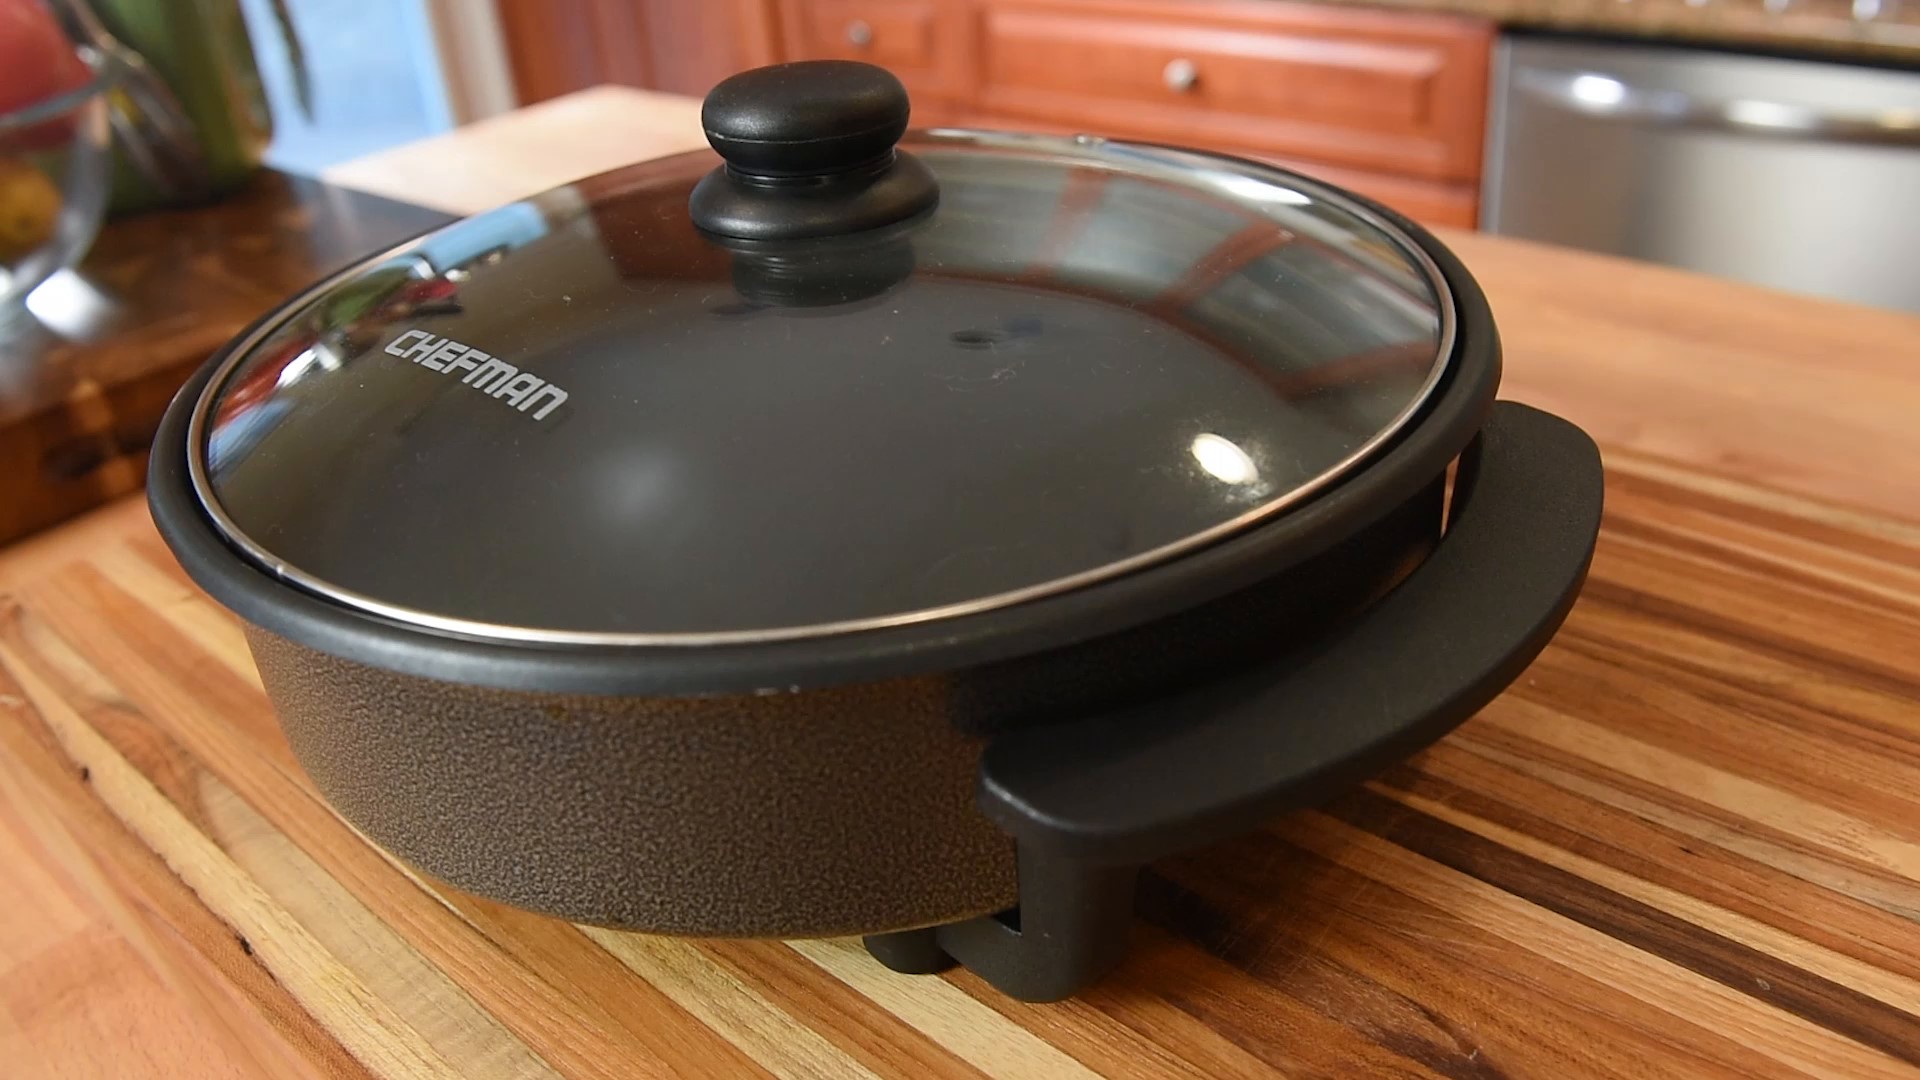
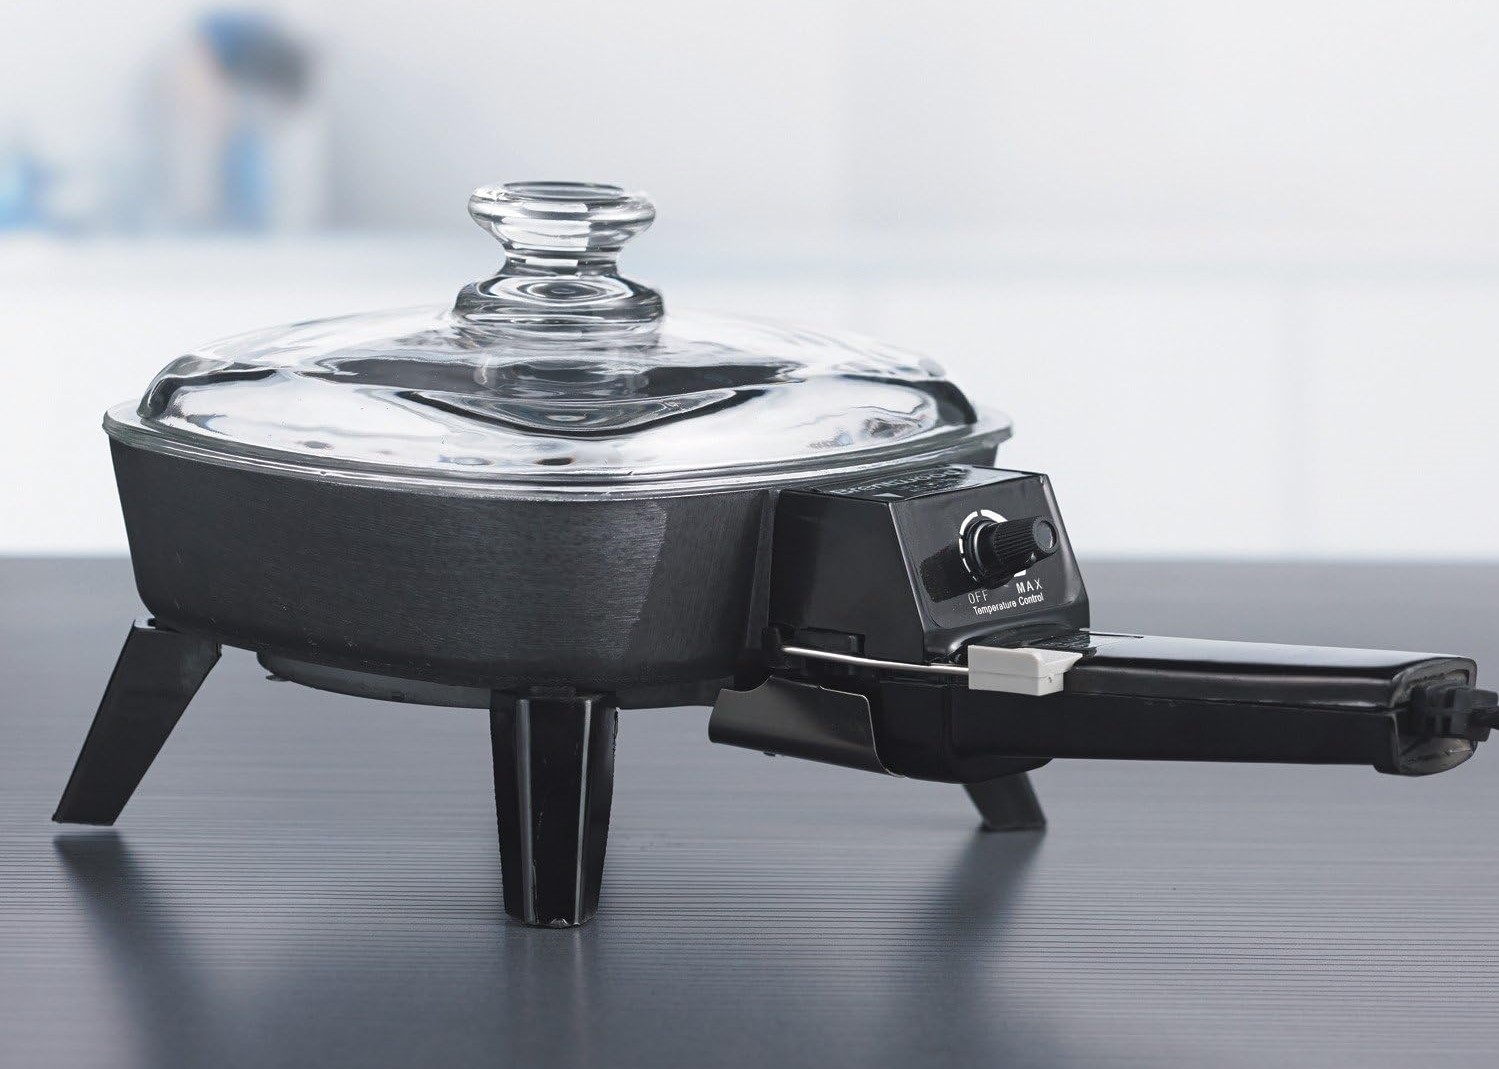
The Chefman 12 Inch Electric Skillet is a convenient and efficient cooking tool that can be used for a variety of dishes, from stir-frying vegetables to frying chicken, cooking pancakes, and much more. Its compact size, non-stick cooking surface, and easy temperature control make it a popular choice among home cooks of all skill levels.
Whether you’re a beginner in the kitchen or an experienced chef, this guide will walk you through the process of getting your Chefman Electric Skillet up and running in no time. So, let’s dive in and discover how to make the most out of this fantastic kitchen appliance!
Key Takeaways:
- Setting up the Chefman 12 Inch Electric Skillet is a breeze with step-by-step instructions for unboxing, assembling, and preparing for first use. Its versatile cooking functions and easy maintenance make it a must-have kitchen appliance for home cooks of all skill levels.
- Troubleshooting tips for common issues such as uneven heating, food sticking, and temperature control malfunction empower users to overcome challenges and make the most out of their Chefman Electric Skillet. With proper care and maintenance, this kitchen appliance promises years of hassle-free cooking experiences.
Step 1: Unboxing and Setting Up the Chefman 12 Inch Electric Skillet
Congratulations on your new Chefman 12 Inch Electric Skillet! The first step to start using it is to unbox and set it up. Follow the steps below to get started:
- Open the package: Carefully remove the Chefman Electric Skillet from its packaging, ensuring that all components are included.
- Inspect the contents: Take a moment to inspect the skillet and its accessories. Make sure there are no visible damages or missing parts.
- Clean the skillet: Before using the skillet for the first time, it’s important to clean it thoroughly. Use warm soapy water and a soft sponge to clean the non-stick cooking surface, the lid, and any included attachments or utensils.
- Dry the skillet: After cleaning, dry all the components completely with a clean cloth or paper towel.
- Place the skillet on a stable surface: Find a suitable spot in your kitchen where you can set up the electric skillet. Ensure that the surface is flat, stable, and heat-resistant.
- Plug in the skillet: Locate the power cord attached to the skillet and plug it into a grounded electrical outlet.
- Power on the skillet: Turn the power dial or switch to the “on” position. Some models may have adjustable temperature settings, so set it according to your desired cooking temperature.
- Wait for preheating: Allow the skillet to preheat for a few minutes. This will ensure that it reaches the desired temperature before you start cooking.
Congratulations! You have successfully unboxed and set up your Chefman 12 Inch Electric Skillet. It’s now ready to be used for cooking delicious meals. In the next step, we will guide you through the process of assembling the skillet and its attachments.
Step 2: Assembling the Skillet and Attachments
Now that you have set up the Chefman 12 Inch Electric Skillet, it’s time to assemble the skillet and any included attachments. Follow these steps to ensure proper assembly:
- Attach the handles: If your skillet came with detachable handles, line them up with the handle slots on both sides of the skillet. Gently slide the handles into place until you feel them securely attach.
- Secure the lid: Place the lid on top of the skillet, aligning it with the handle openings. If your model has a latch or locking mechanism, ensure that it is properly engaged to secure the lid in place.
- Insert temperature probe (if applicable): Some electric skillets come with a temperature probe that allows you to monitor the internal temperature of your food. If your skillet includes a probe, insert it into the designated opening on the skillet’s surface.
- Attach any additional accessories: Depending on the model, your skillet may come with additional accessories such as a steaming rack, spatula, or frying basket. Follow the manufacturer’s instructions to properly attach these accessories.
- Double-check the assembly: Once you have attached all the necessary components, double-check that everything is securely in place. Ensure that the handles, lid, temperature probe, and any accessories are properly attached for safe and efficient cooking.
By following these steps, you have successfully assembled your Chefman 12 Inch Electric Skillet. The skillet and its attachments are now ready to be used for a wide range of culinary delights. In the next step, we will guide you through preparing the skillet for its first use.
Step 3: Preparing the Skillet for First Use
Before using the Chefman 12 Inch Electric Skillet for the first time, it’s important to properly prepare it. Follow these steps to ensure a smooth and successful initial cooking experience:
- Wash the skillet: Start by washing the skillet and all its components with warm soapy water. This will remove any residue or contaminants from the manufacturing process.
- Rinse and dry: Rinse the skillet thoroughly with clean water to remove any soap residue. Use a dry towel or paper towel to dry all the components completely.
- Season the cooking surface: Seasoning the non-stick cooking surface will enhance its performance and prolong its lifespan. To do this, apply a thin layer of cooking oil or cooking spray to the entire surface, including the sides.
- Heat the skillet: Turn on the skillet and set it to a medium heat setting. Allow it to heat up for a few minutes until the oil on the cooking surface begins to shimmer or smoke slightly. This will indicate that the skillet is properly seasoned.
- Cool and wipe clean: Once the skillet has been heated, turn it off and allow it to cool down. Use a paper towel or cloth to wipe away any excess oil from the cooking surface.
By following these steps, you have successfully prepared your Chefman 12 Inch Electric Skillet for its first use. The seasoning process will create a protective layer on the cooking surface, preventing food from sticking and ensuring even heat distribution. In the next step, we will demonstrate the basic functions of the Chefman Electric Skillet.
When setting up and assembling the Chefman 12 Inch Electric Skillet, make sure to carefully read the instruction manual to ensure proper assembly and safe usage of the appliance.
Step 4: Demonstrating the Basic Functions of the Chefman Electric Skillet
Now that you’ve prepared your Chefman 12 Inch Electric Skillet, it’s time to explore its basic functions and unleash its cooking potential. Here, we will guide you through some of the key features and functionalities:
Temperature Control: The Chefman Electric Skillet typically comes with an adjustable temperature dial or control buttons. This allows you to select the desired cooking temperature for your recipes. Follow the recipe instructions or adjust the temperature according to your cooking preferences.
Even Heat Distribution: The skillet’s heating element is designed to ensure even heat distribution across the cooking surface. This ensures that your food cooks evenly without any hot spots. It’s recommended to preheat the skillet before adding ingredients to achieve optimal cooking results.
Non-Stick Cooking Surface: The non-stick coating on the cooking surface of the Chefman Electric Skillet makes it easier to cook and clean up. It prevents food from sticking, reducing the need for excessive oil or cooking sprays. However, it’s still advisable to use a small amount of oil or cooking spray for certain recipes.
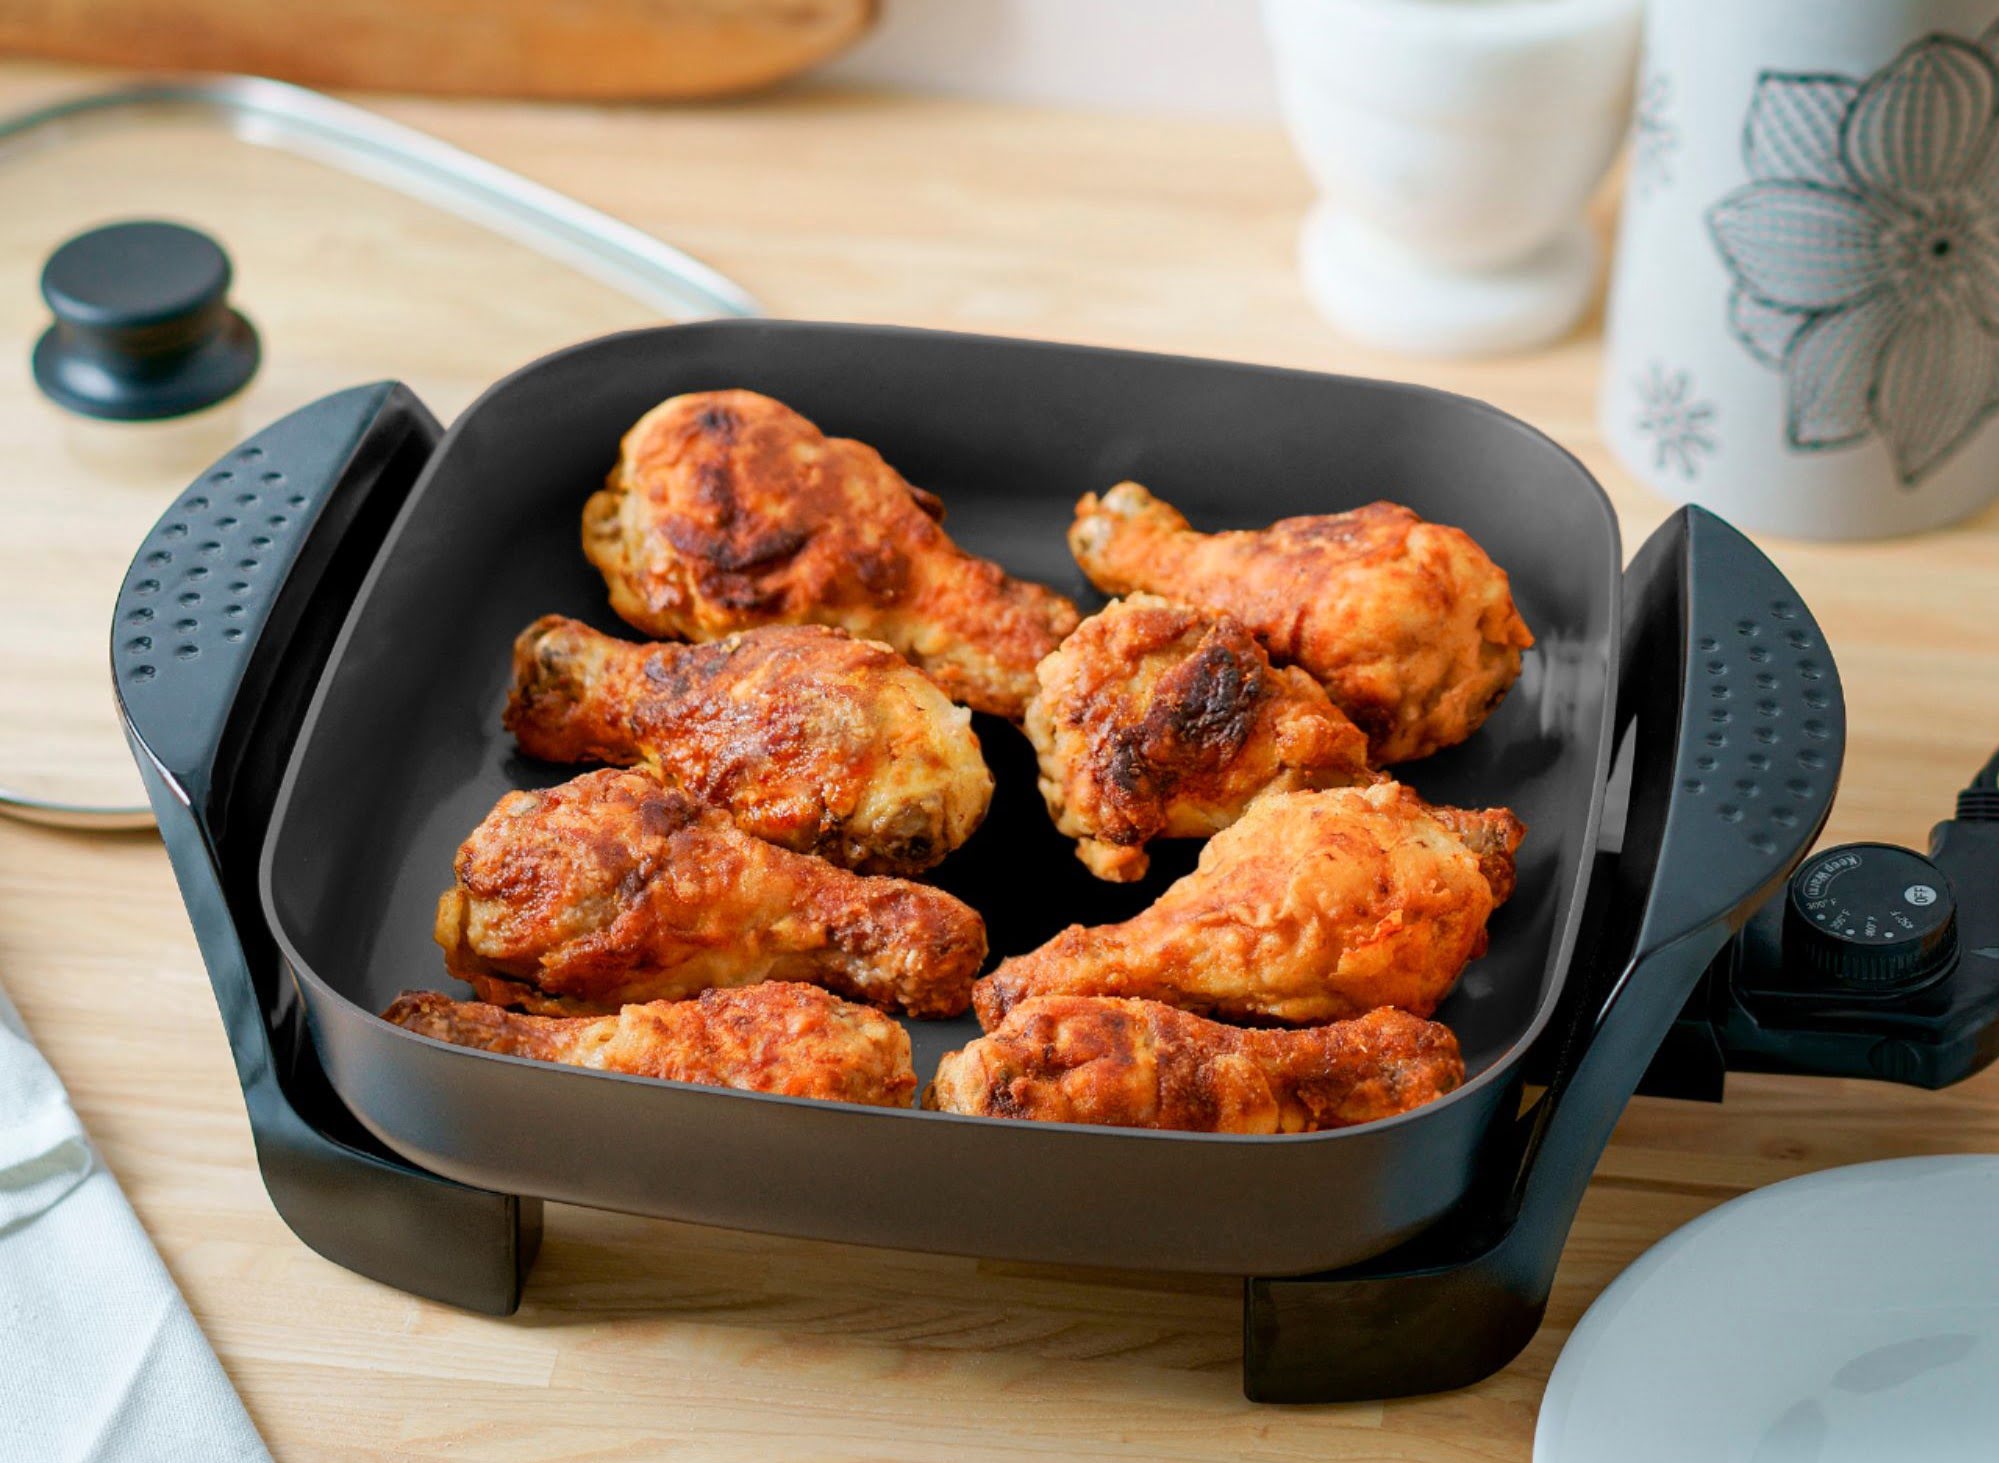
Versatile Cooking Options: The Chefman Electric Skillet offers versatility in its cooking capabilities. You can use it for various cooking methods, including frying, sautéing, stir-frying, braising, and even baking. The high sidewalls of the skillet help contain ingredients and minimize splatter.
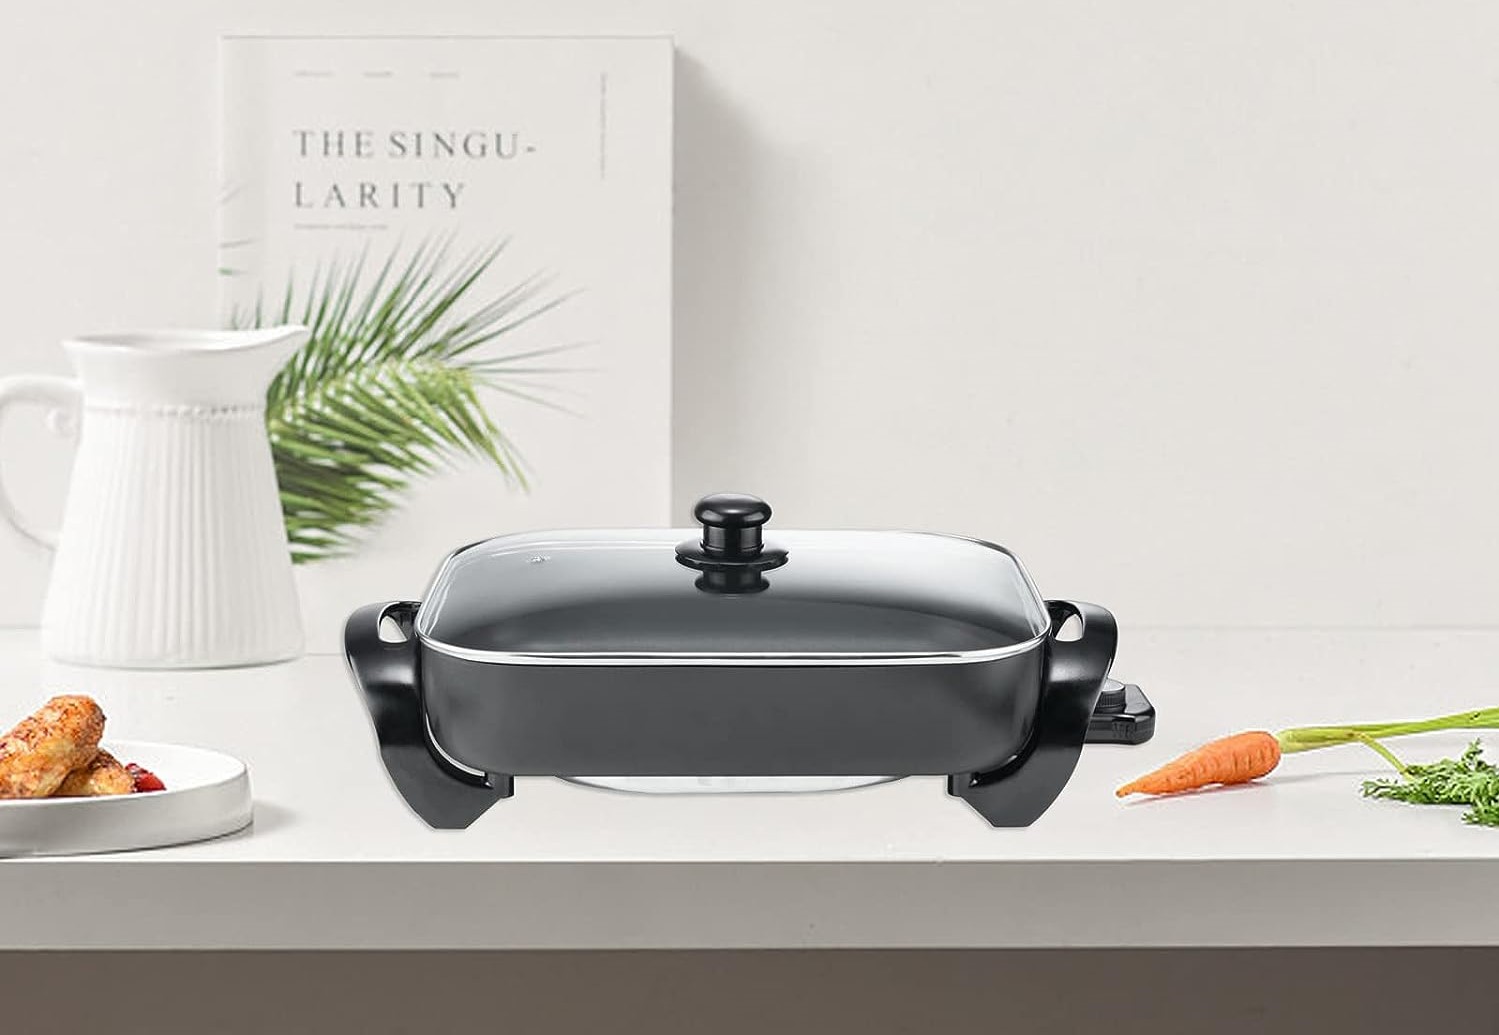
Adjustable Sizes: Depending on your recipe and the number of servings you wish to prepare, the Chefman Electric Skillet allows you to adjust its cooking capacity. The 12-inch size provides ample space for a family-sized meal, while some models include options for smaller portions.
Now that you have a basic understanding of the functions and features of the Chefman Electric Skillet, you’re ready to start exploring different recipes and cooking techniques. In the next step, we’ll provide some tips on caring for and maintaining your electric skillet to ensure its longevity.
Step 5: Tips for Proper Care and Maintenance of the Electric Skillet
To keep your Chefman 12 Inch Electric Skillet in optimal condition and prolong its lifespan, it’s important to follow these tips for care and maintenance:
- Clean after each use: After each use, allow the skillet to cool down and then clean it with warm soapy water and a soft sponge. Avoid using abrasive cleaners or scrubbing brushes that can damage the non-stick surface.
- Avoid metal utensils: When cooking with the electric skillet, use non-metal utensils such as silicone, wood, or plastic spatulas and spoons. Metal utensils can scratch the non-stick coating and reduce its effectiveness.
- Store safely: When not in use, store the skillet in a cool, dry place. If possible, separate the skillet from its detachable handles to prevent any accidental damage or misplacement.
- Avoid extreme temperatures: Do not expose the skillet or its components to extreme temperatures, such as placing them in the oven or freezer. This can cause warping or damage to the skillet.
- Handle with care: Treat the electric skillet and its attachments with care to prevent any accidental drops or mishandling. The non-stick coating is durable but can be easily damaged if subjected to rough handling.
- Regular seasoning: Over time, the non-stick coating may wear off. To maintain its effectiveness, season the skillet periodically as described in the “Preparing the Skillet for First Use” step.
- Follow manufacturer’s instructions: Each electric skillet may have specific care instructions provided by the manufacturer. Consult the user manual for any additional care guidelines specific to your Chefman Electric Skillet model.
By following these tips, you will ensure that your Chefman Electric Skillet remains in great shape for years to come, providing you with delicious meals and hassle-free cooking experiences.
In the next step, we will discuss some common issues that you may encounter while using the electric skillet and how to troubleshoot them.
Step 6: Troubleshooting Common Issues
While the Chefman 12 Inch Electric Skillet is a reliable and durable kitchen appliance, you may come across some common issues during its use. Here are a few troubleshooting tips to help you resolve these problems:
- Uneven Heating: If you notice that the skillet is not heating evenly, check if the power cord is securely plugged into the outlet. Additionally, make sure that the temperature dial or control is set to the desired heat level.
- Food Sticking to the Surface: If food is sticking to the non-stick surface, ensure that you are using an adequate amount of oil or cooking spray. If the non-stick coating is worn out, consider re-seasoning the skillet or using a silicone non-stick cooking mat.
- Lid Doesn’t Fit Properly: If the lid is not fitting properly, check if it is securely locked into place. Make sure that the skillet and lid are aligned correctly and that any locking mechanisms are engaged.
- Temperature Control Malfunction: If the temperature control is not working as expected, check if the power cord is properly connected to the outlet. If the issue persists, contact the manufacturer’s customer support for further assistance.
- Excessive Smoke: If you notice excessive smoke during cooking, reduce the heat level as it may be too high. Additionally, ensure that the skillet is clean and free from any food debris that may be burning.
- Power Interruption: In the event of a power interruption, the skillet may turn off. Once the power is restored, you may need to reset the temperature settings and continue cooking.
If you encounter any persistent issues or problems that cannot be resolved through troubleshooting, it is advisable to contact the manufacturer’s customer support for further assistance. They will be able to guide you through specific solutions or offer repairs if needed.
With these troubleshooting tips, you are now equipped to handle common issues that may arise while using your Chefman Electric Skillet. In the concluding section, we will wrap up and summarize all the steps discussed in this guide.
Conclusion
Congratulations! You have successfully learned how to set up, assemble, and utilize the Chefman 12 Inch Electric Skillet. With its versatile cooking functions, adjustable temperature control, and non-stick cooking surface, this kitchen appliance is sure to elevate your culinary experience.
In this comprehensive guide, we covered the following steps:
- Unboxing and Setting Up the Skillet: We walked you through unboxing the skillet, inspecting its components, cleaning it thoroughly, and setting it up for use.
- Assembling the Skillet and Attachments: We provided instructions on how to attach the handles, secure the lid, insert the temperature probe, and assemble any additional accessories that come with the skillet.
- Preparing the Skillet for First Use: We guided you through the process of washing the skillet, seasoning the cooking surface, heating it, and wiping it clean.
- Demonstrating the Basic Functions: We explained the adjustable temperature control, even heat distribution, non-stick cooking surface, versatile cooking options, and adjustable sizes of the Chefman Electric Skillet.
- Tips for Proper Care and Maintenance: We provided valuable tips for cleaning the skillet, avoiding metal utensils, storing it safely, and regular seasoning to maintain its performance and longevity.
- Troubleshooting Common Issues: We offered troubleshooting tips for uneven heating, food sticking, lid fitting, temperature control malfunction, excessive smoke, and power interruption.
By following these steps and incorporating the tips provided, you can unleash the full potential of your Chefman Electric Skillet and enjoy delicious meals with ease.
Remember, always refer to the manufacturer’s instructions and guidelines specific to your model for a seamless and safe cooking experience. Should you encounter any persistent issues or have further questions, don’t hesitate to reach out to the manufacturer’s customer support for assistance.
Now that you are equipped with the knowledge and skills to maximize the capabilities of your Chefman 12 Inch Electric Skillet, it’s time to put it to use and embark on a culinary journey filled with countless delightful recipes!
Frequently Asked Questions about How To Setup And Assembly Chefman 12 Inch Electric Skillet Demo
Was this page helpful?
At Storables.com, we guarantee accurate and reliable information. Our content, validated by Expert Board Contributors, is crafted following stringent Editorial Policies. We're committed to providing you with well-researched, expert-backed insights for all your informational needs.


0 thoughts on “How To Setup And Assembly Chefman 12 Inch Electric Skillet Demo”