Articles
How To Store A Cake Before Icing
Modified: August 28, 2024
Learn the best methods for storing a cake before icing in this helpful article. Avoid drying out or crumbling with these expert tips.
(Many of the links in this article redirect to a specific reviewed product. Your purchase of these products through affiliate links helps to generate commission for Storables.com, at no extra cost. Learn more)
Introduction
Welcome to the scrumptious world of cake baking! Whether you’re a professional baker or an enthusiastic home cook, there’s nothing quite like the satisfaction of creating a moist, delicious cake from scratch. But what do you do when you need to store your cake before adding the finishing touch of icing? Fear not, for we are here to guide you through the process!
Properly storing a cake before icing is essential to ensure its freshness and flavor. By following a few simple steps, you can keep your cake moist and intact until you’re ready to decorate it. In this article, we will take you through each step of the process, from choosing the right storage container to thawing the cake before icing it.
So let’s not keep your taste buds waiting any longer – let’s dive right in and discover the secrets to storing a cake before icing!
Key Takeaways:
- Properly storing a cake before icing is crucial for maintaining its freshness and flavor. From choosing the right storage container to thawing before icing, each step plays a vital role in preserving the cake’s quality.
- Patience is key when storing a cake before icing. Allowing the cake to cool completely, wrapping it securely, and deciding whether to store it in the refrigerator or freezer are essential steps to ensure the cake remains moist and delicious.
Read more: How To Store An Iced Cake
Step 1: Choose the Right Storage Container
When it comes to storing a cake before icing, selecting the appropriate storage container is crucial. The container should not only be large enough to accommodate the size of your cake but also provide airtight protection to prevent the cake from drying out.
If you have a cake carrier with a snap-on lid, this is an excellent option for storing your cake. The carrier will keep the cake secure and provide a seal to retain its freshness. Alternatively, you can use a sturdy plastic container with a tight-fitting lid or a cake box with a cardboard lid.
Avoid using containers with loose-fitting lids or those that allow air to circulate freely. This can cause the cake to dry out and affect its texture and taste. Opt for containers that have airtight seals to maintain the cake’s moisture.
Additionally, make sure the container is clean and free from any strong odors. Cake is excellent at absorbing odors, so it’s crucial to choose a container that won’t impart any unwanted flavors to the cake.
Once you’ve selected the right storage container, you’re ready to move on to the next step in the cake storing process. So let’s continue our cake journey and learn how to cool the cake completely before storing it!
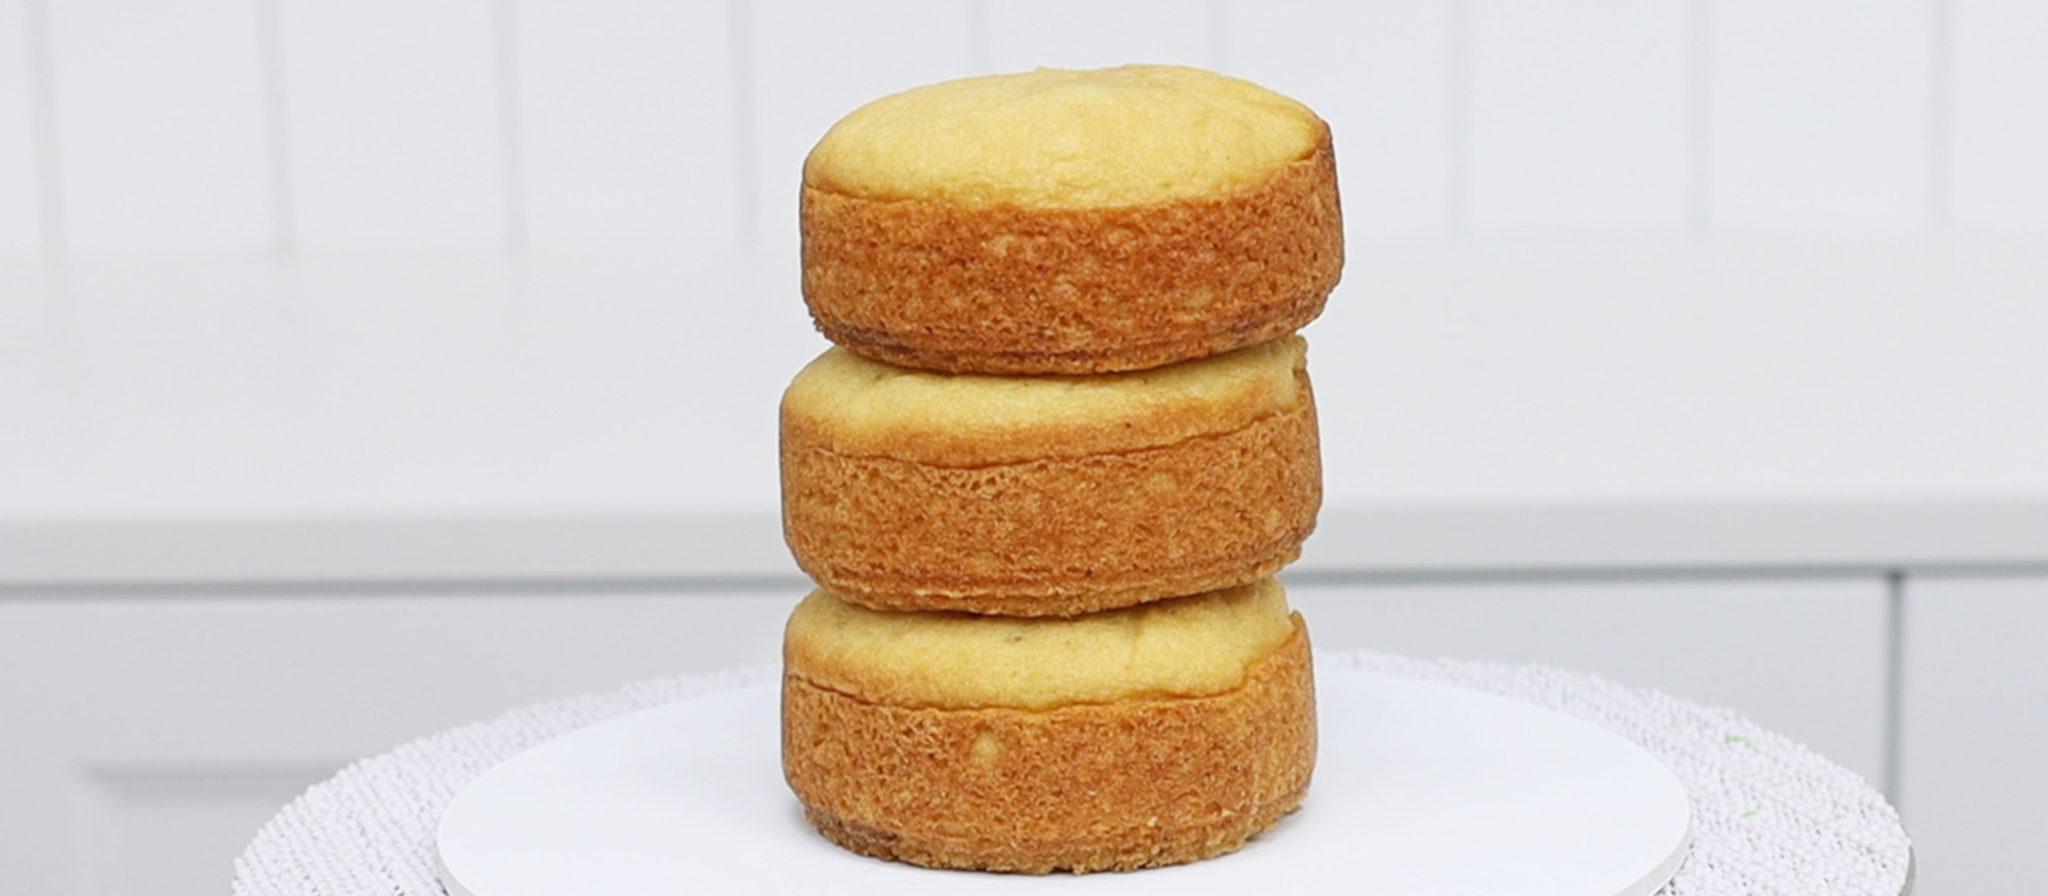
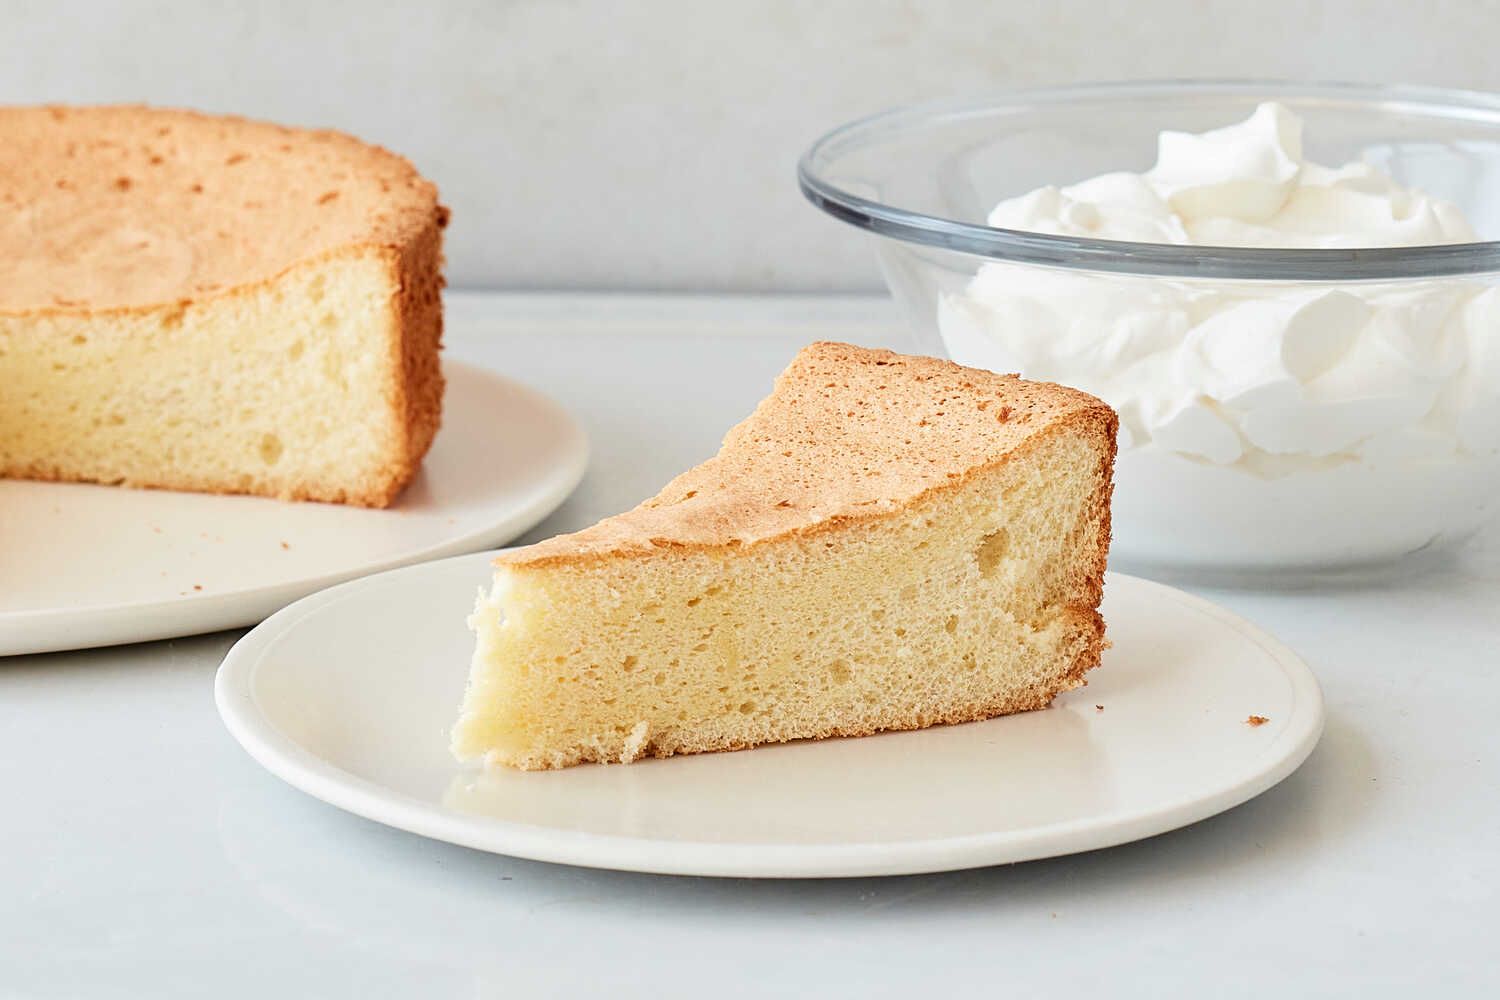
Step 2: Allow the Cake to Cool Completely
Before you can store a cake, it is crucial to allow it to cool completely. This step is essential to prevent condensation from forming inside the storage container, which can result in a soggy cake.
Once you’ve removed the cake from the oven, leave it in the baking pan or cake tin for about 10-15 minutes. This will allow it to firm up slightly and make it easier to transfer to a cooling rack.
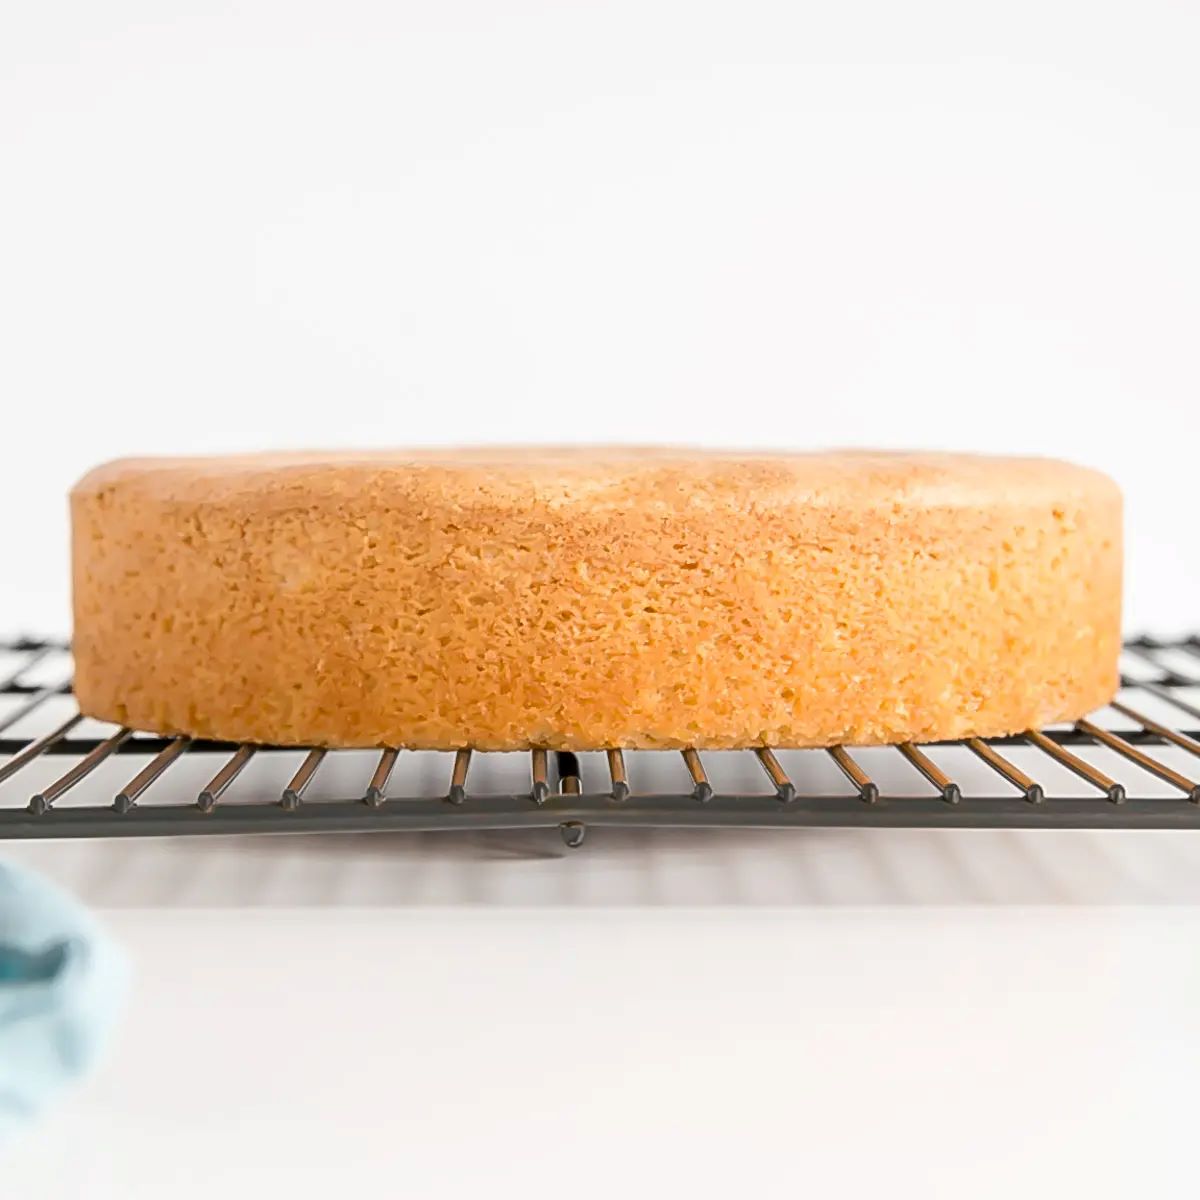
After 10-15 minutes, gently take the cake out of the pan and place it onto a cooling rack. It’s important to give the cake enough space to cool evenly on all sides. You can achieve this by placing the cooling rack on a flat surface, such as a clean countertop or baking sheet.
Allow the cake to cool completely at room temperature. This can take anywhere from 1 to 2 hours, depending on the size and thickness of the cake. To check if the cake is cool, gently touch the top with your fingertips. If it feels cool to the touch and springs back when lightly pressed, it is ready to be stored.
It’s important not to rush this step by placing the cake in the refrigerator to cool faster. Rapid cooling can cause the cake to dry out or develop a dense texture. Patience is key here to ensure your cake remains moist and delicious.
Once your cake has cooled completely, it’s time to move on to the next step: wrapping it securely to maintain its freshness. Let’s find out how to do it in the following step!
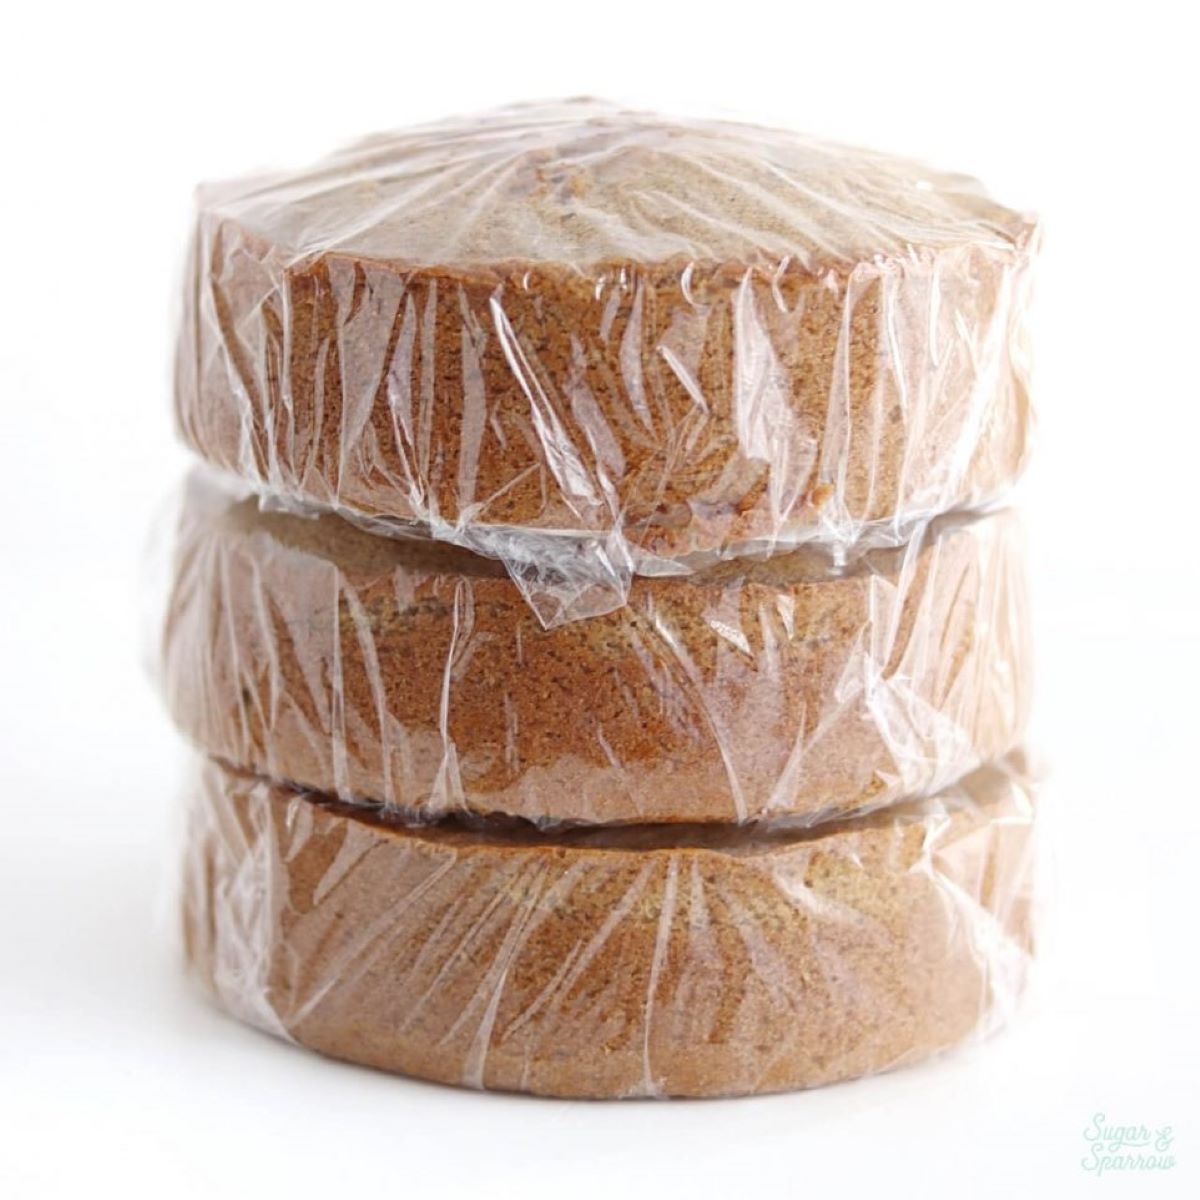
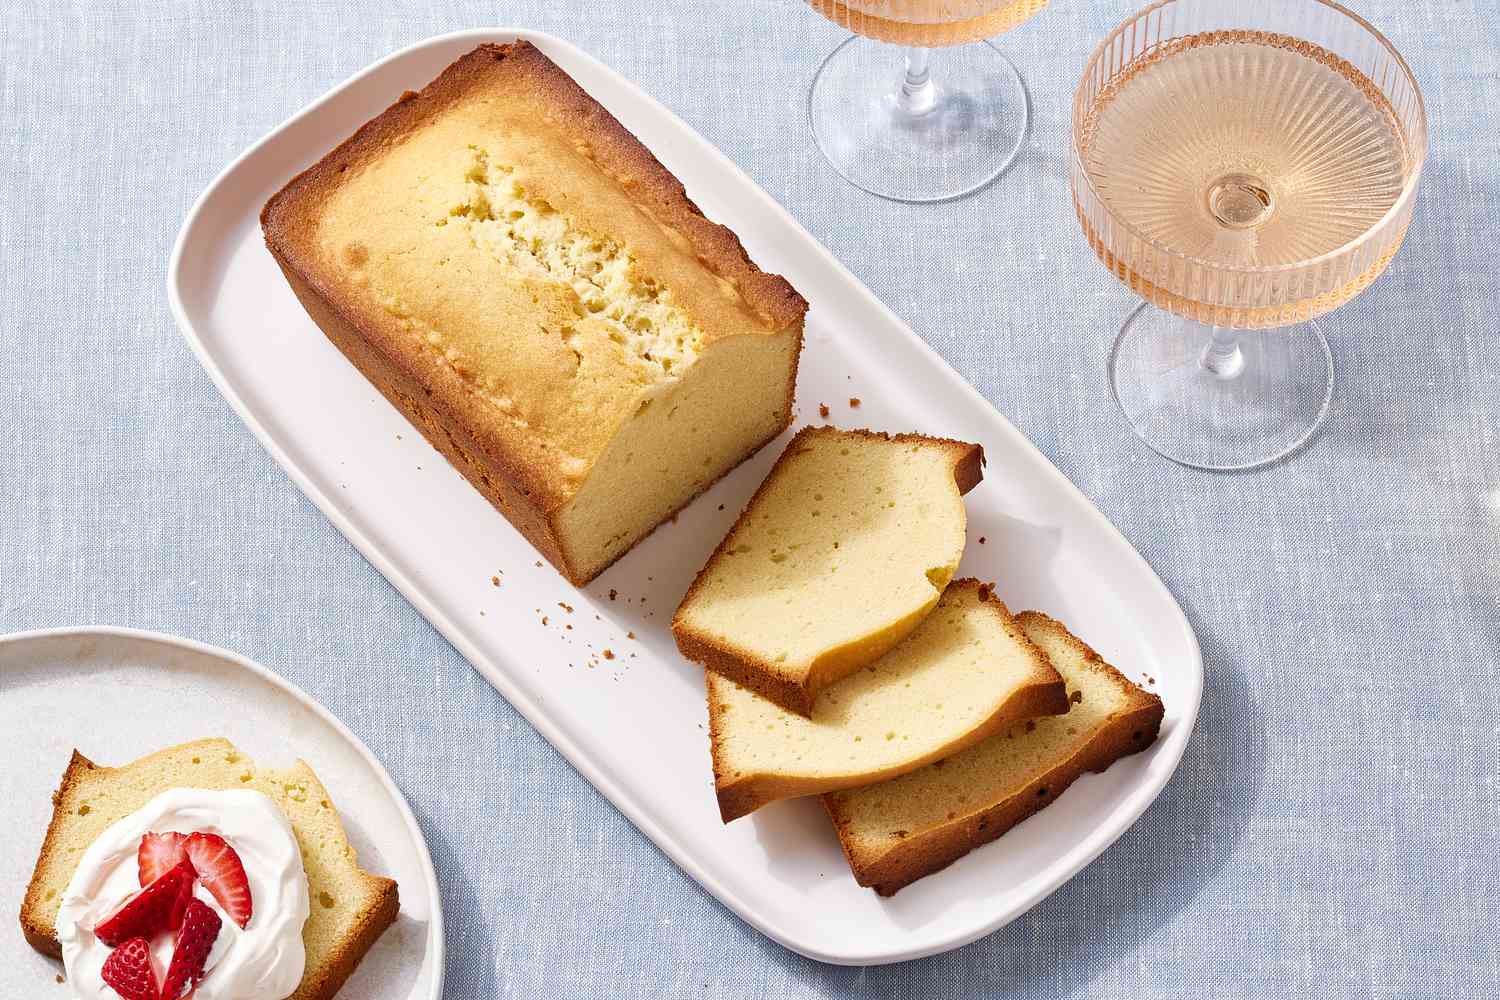
Step 3: Wrap the Cake in Plastic Wrap or Aluminum Foil
After your cake has cooled completely, it’s time to wrap it up to keep it fresh and protect it from any outside elements. Wrapping the cake serves as a barrier against air, moisture, and potential contaminants, ensuring that your cake stays moist and delicious.
There are two popular options for wrapping a cake: plastic wrap and aluminum foil. Both options are effective in preserving the freshness of the cake, so choose whichever is more readily available to you.
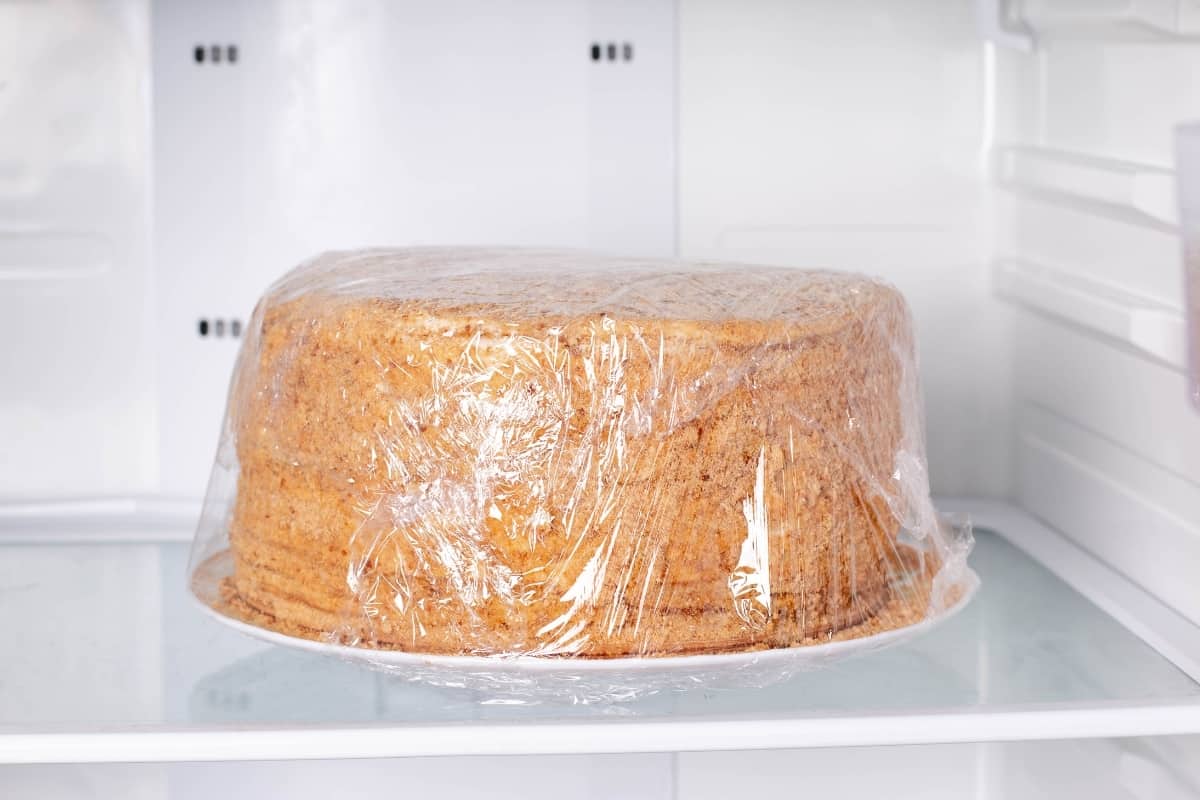
If using plastic wrap, start by placing the cooled cake on a flat surface or a plate. Gently place a sheet of plastic wrap over the top of the cake, ensuring that it covers the entire surface. Carefully smooth out any wrinkles or air pockets to create a tight seal. Then, wrap the sides of the cake, overlapping the plastic wrap to create a sealed package.
If using aluminum foil, follow a similar process. Center the cake on a piece of foil large enough to fully enclose it. Lift the edges of the foil up around the sides, folding them tightly together to create a secure seal.
Regardless of the type of wrap you choose, make sure it is securely sealed to prevent any air from entering. This will help preserve the moisture of your cake and protect it from potential contamination.
Once your cake is securely wrapped, it’s time to move on to the next step: storing it in the proper container. Read on to discover how to choose the right airtight container for your cake!
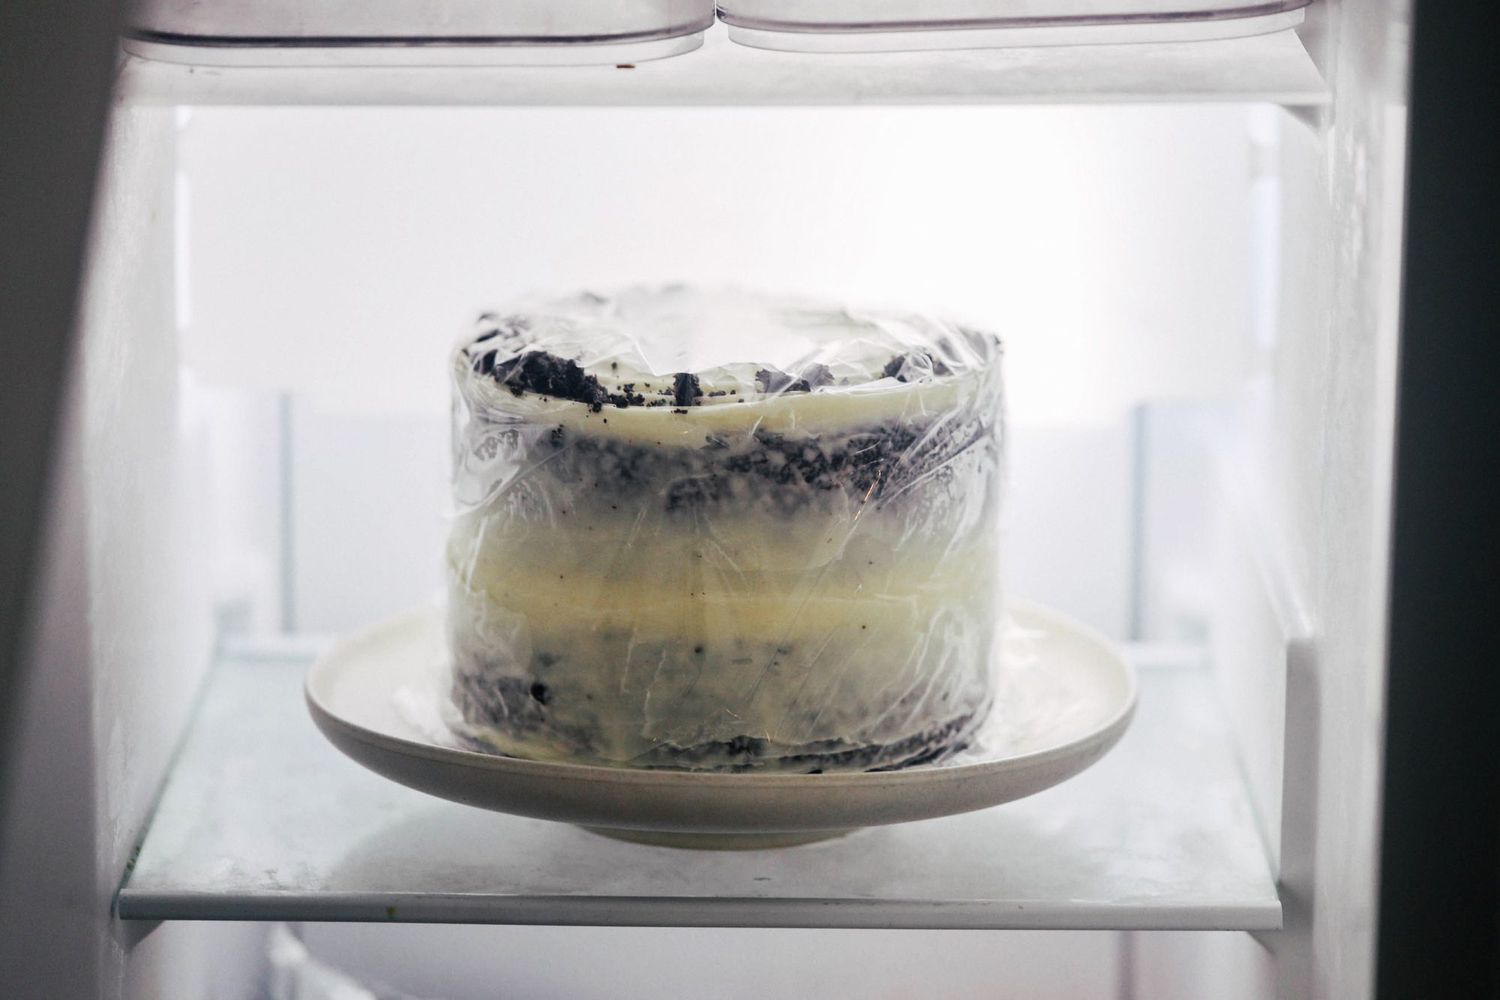
After baking, let the cake cool completely. Once cooled, wrap it tightly in plastic wrap and store it in the refrigerator for up to 2 days before icing. This will help the cake stay fresh and moist for icing later.
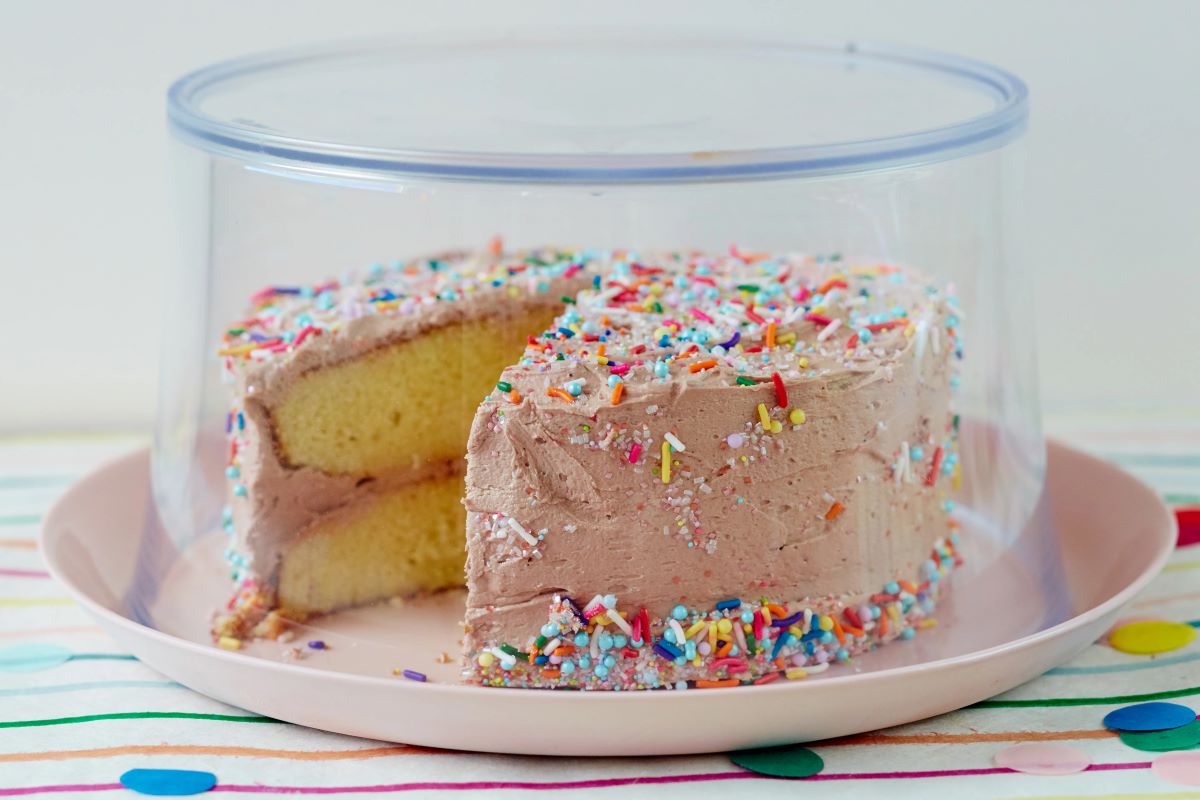
Step 4: Place the Cake in an Airtight Container
Now that your cake is securely wrapped, it’s time to find the perfect home for it – an airtight container. The container you choose should provide a tight seal to prevent air from entering, as exposure to air can dry out the cake.
If you have a cake carrier with a snap-on lid, this is an excellent option as it is specifically designed to keep cakes fresh. Simply place the wrapped cake inside the carrier and secure the lid tightly.
If you don’t have a cake carrier, you can use a sturdy plastic container with a tight-fitting lid or a cake box with a cardboard lid. Make sure the container is clean and free from any lingering odors that could affect the taste of your cake.
When placing the cake inside the container, ensure that it fits comfortably and has a little room around the sides to prevent the wrap from being squeezed or damaged. This will help maintain the integrity of the cake during storage.
Remember to seal the container tightly to create a proper airtight environment. This will help preserve the moisture and freshness of your cake, ensuring it stays delicious until you’re ready to add that finishing touch.
Now that your cake is safely nestled in its airtight container, it’s time to decide whether to store it in the refrigerator or freezer. Read on to discover the best storage option for your cake!
Read more: How To Store Cake Overnight Before Frosting
Step 5: Store the Cake in the Refrigerator or Freezer
Now that your cake is securely wrapped and placed in an airtight container, it’s time to decide the best storage location – the refrigerator or the freezer. The choice depends on how long you plan to store the cake before icing it.
If you only need to store the cake for a short period, such as a day or two, the refrigerator is the ideal option. The cool temperature of the fridge will help to maintain the cake’s freshness and prevent spoilage. Ensure that the airtight container is placed on a flat surface in the fridge to avoid any accidental tipping or damage.
On the other hand, if you need to store the cake for an extended period, such as a week or more, the freezer is your best bet. Freezing the cake will significantly prolong its shelf life. To freeze the cake, place the container in the freezer, ensuring it is placed on a stable surface to prevent any potential damage or squishing.
Before storing the cake in the freezer, it’s crucial to label the container with the date and type of cake. This will help you keep track of its storage duration and easily identify it when it’s time to thaw and decorate. Additionally, consider double wrapping the container with an extra layer of plastic wrap or aluminum foil to provide added protection against freezer burn.
Remember that cakes can absorb odors from other items in the refrigerator or freezer, so it’s best to keep them in a dedicated space away from strong-smelling foods.
When you’re ready to ice the cake, it’s important to thaw it properly. Move on to the next step to learn how to thaw your cake before adding that luscious layer of icing!
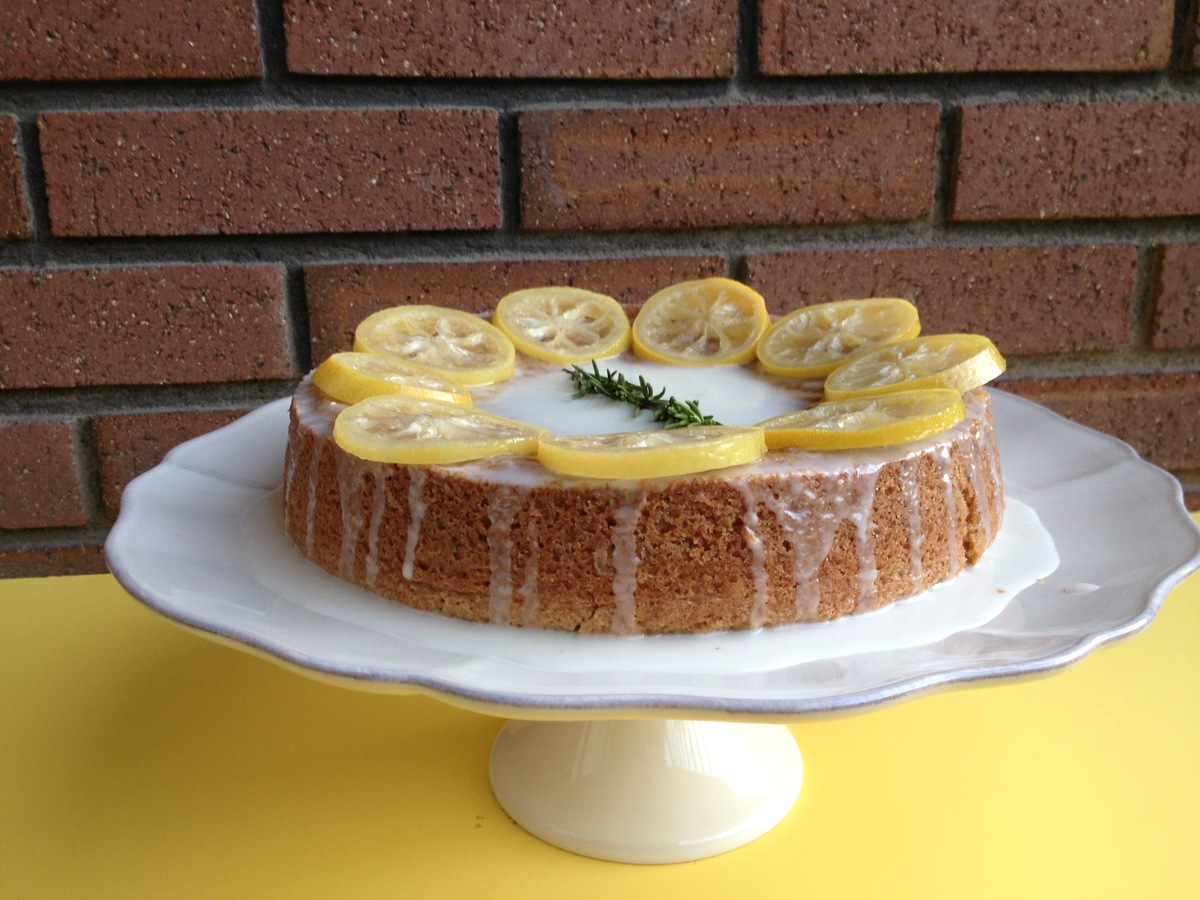
Step 6: Thaw the Cake Before Icing
Now comes the exciting part – thawing your cake before you can finally ice it and turn it into a delectable masterpiece. Thawing the cake properly is essential to ensure that it retains its moisture and texture.
If you stored your cake in the refrigerator, you’ll need to remove it and let it come to room temperature before icing. Take the airtight container out of the fridge and carefully unwrap the cake, being mindful of any condensation that may have formed. Place the unwrapped cake on a cake stand or plate and leave it at room temperature for 1 to 2 hours. This allows the cake to thaw gradually and evenly.
If you stored your cake in the freezer, the thawing process requires a bit more time and planning. Remove the cake from the freezer and leave it in the airtight container to prevent any moisture loss. Place the container in the refrigerator and let it thaw overnight. This slow thawing method helps maintain the cake’s moisture while ensuring it thaws evenly.
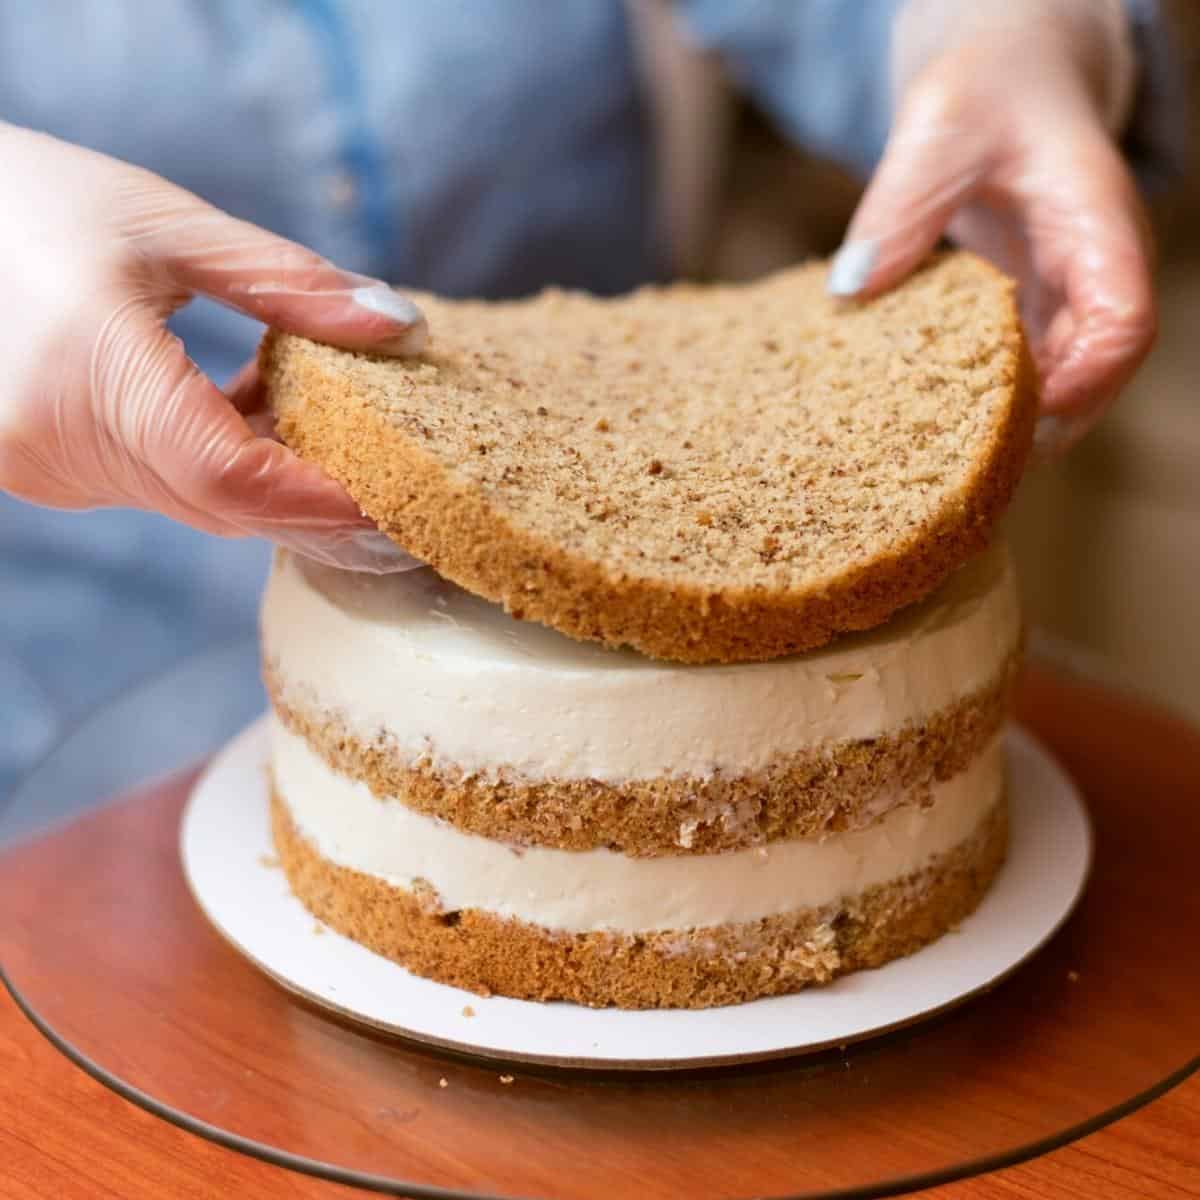
Once the cake has thawed completely, it’s time to unleash your creativity and add the icing. Whether you’re going for a classic buttercream, a smooth ganache, or a light glaze, the icing will elevate the flavor and appearance of your cake.
Take your time to spread the icing evenly over the cake, using a palette knife or spatula. Feel free to get creative with designs, rosettes, or decorative piping. The possibilities are endless! Remember to let your artistic side shine as you ice the cake.
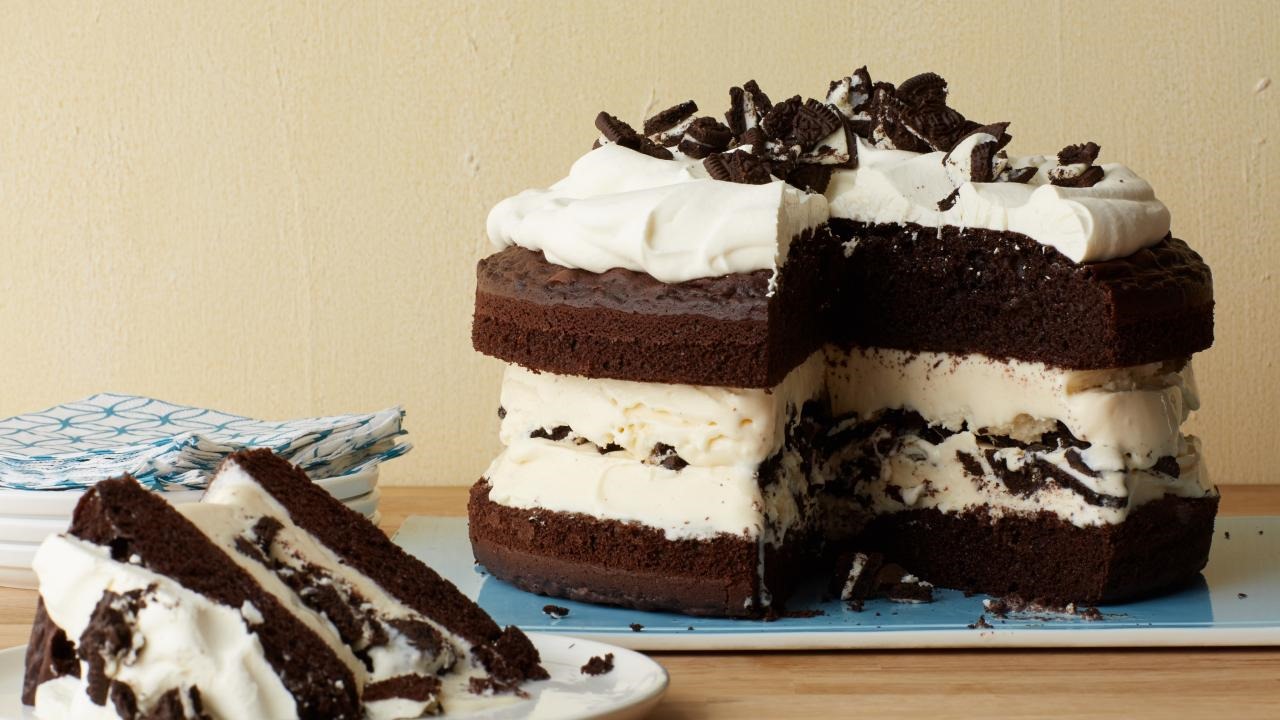
And there you have it – your cake is now thawed, iced, and ready to be devoured. Whether you’re celebrating a special occasion or simply satisfying your sweet tooth, storing your cake before icing is a crucial step to ensure its freshness, moisture, and deliciousness.
So go ahead, slice into that beautifully stored and iced cake, and enjoy every delectable bite!
Remember, with the right storage container, proper cooling, wrapping, and thawing techniques, your cake will remain a delightful treat from the first bite to the last.
Conclusion
Storing a cake before icing it doesn’t have to be a daunting task. By following a few simple steps, you can ensure that your cake remains moist, fresh, and full of flavor until you’re ready to add that final touch of icing.
From choosing the right storage container to allowing the cake to cool completely, wrapping it securely, placing it in an airtight container, and deciding whether to store it in the refrigerator or freezer, each step plays a crucial role in preserving the quality of your cake.
Properly wrapping the cake in plastic wrap or aluminum foil and placing it in an airtight container is vital to protect it from air, moisture, and potential contaminants. This helps to maintain its moisture and texture, ensuring it stays delicious until you’re ready to ice it.
When it’s time to thaw your cake, patience is key. Gradually thawing it at room temperature or overnight in the refrigerator prevents any sudden temperature changes that could affect its texture or taste.
Once your cake is thawed and ready, unleash your creativity and add that luscious layer of icing. Whether it’s a simple glaze or an intricately decorated masterpiece, the icing will transform your cake into a visually stunning and utterly delicious treat.
Remember, practice makes perfect. Don’t be discouraged if your first attempt at storing a cake before icing doesn’t go as planned. With time and experience, you’ll master the techniques and achieve consistently moist, fresh, and delectable cakes.
So the next time you find yourself needing to store a cake before icing, don’t fret. Follow the steps outlined in this article, and you’ll be well on your way to preserving the impeccable taste and texture of your homemade cakes.
Now, go ahead and indulge in the joy of baking, storing, and icing a cake. Enjoy the process, get creative with your decorations, and most importantly, savor every moment and every bite of your moist and delicious creation!
Frequently Asked Questions about How To Store A Cake Before Icing
Was this page helpful?
At Storables.com, we guarantee accurate and reliable information. Our content, validated by Expert Board Contributors, is crafted following stringent Editorial Policies. We're committed to providing you with well-researched, expert-backed insights for all your informational needs.
0 thoughts on “How To Store A Cake Before Icing”