Home>Articles>How Long To Cool Cake In Freezer Before Frosting
Articles
How Long To Cool Cake In Freezer Before Frosting
Modified: February 27, 2024
Discover the optimal time to cool your cake in the freezer before frosting it in this informative article. Find out how long you should wait for the perfect consistency and taste.
(Many of the links in this article redirect to a specific reviewed product. Your purchase of these products through affiliate links helps to generate commission for Storables.com, at no extra cost. Learn more)
Introduction
When it comes to baking a cake, the finishing touch is often the frosting. But to achieve a beautifully decorated cake with smooth and evenly spread frosting, it is essential to cool the cake properly before applying the icing. One effective method to cool a cake before frosting is by placing it in the freezer. Not only does this speed up the cooling process, but it also offers several other benefits that can take your cake decorating game to the next level.
In this article, we will explore the benefits of cooling a cake in the freezer before frosting, the factors to consider before using this method, and the optimal duration for cake chilling. Additionally, we will provide you with a step-by-step guide on how to cool your cake in the freezer and offer some helpful tips for properly freezing and thawing your cake to ensure the best results.
So, if you’re ready to take your cake decorating skills up a notch and create show-stopping treats, keep reading to discover the wonders of cooling cake in the freezer before frosting!
Key Takeaways:
- Speed up cake cooling and enhance frosting by freezing. Retain moisture, ease frosting, and improve decoration results for professional-looking, delicious cakes.
- Consider cake stability, frosting type, and freezer space before freezing. Thaw gradually, label, and date frozen cakes for best results.
Read more: How To Store Cake Layers Before Frosting
Benefits of Cooling Cake in the Freezer Before Frosting
Cooling a cake in the freezer before frosting it offers a range of benefits that can significantly improve the final result. Let’s take a closer look at some of these benefits:
- Faster Cooling Time: A traditional method of cooling a cake is to let it sit at room temperature. However, this can take a considerable amount of time, especially for larger or denser cakes. By placing the cake in the freezer, you can drastically reduce the cooling time and move onto the frosting stage more quickly.
- Moisture Retention: Freezing the cake helps to lock in moisture, resulting in a moist and tender crumb. When a cake cools slowly at room temperature, it is more prone to drying out. By utilizing the freezer, you can preserve the cake’s moisture, ensuring a delicious and flavorful dessert.
- Easier to Frost: Cooling a cake in the freezer firms it up, making it easier to handle and frost. The chilled cake is less likely to crumble or break apart when applying the frosting, allowing you to achieve a smooth and professional-looking finish.
- Improved Frosting Adherence: When the cake is cold, the frosting adheres better to the surface. The lower temperature of the cake helps the frosting set faster, preventing it from sliding off or becoming runny. This ensures that your beautifully piped or spread frosting stays in place, maintaining its shape and design.
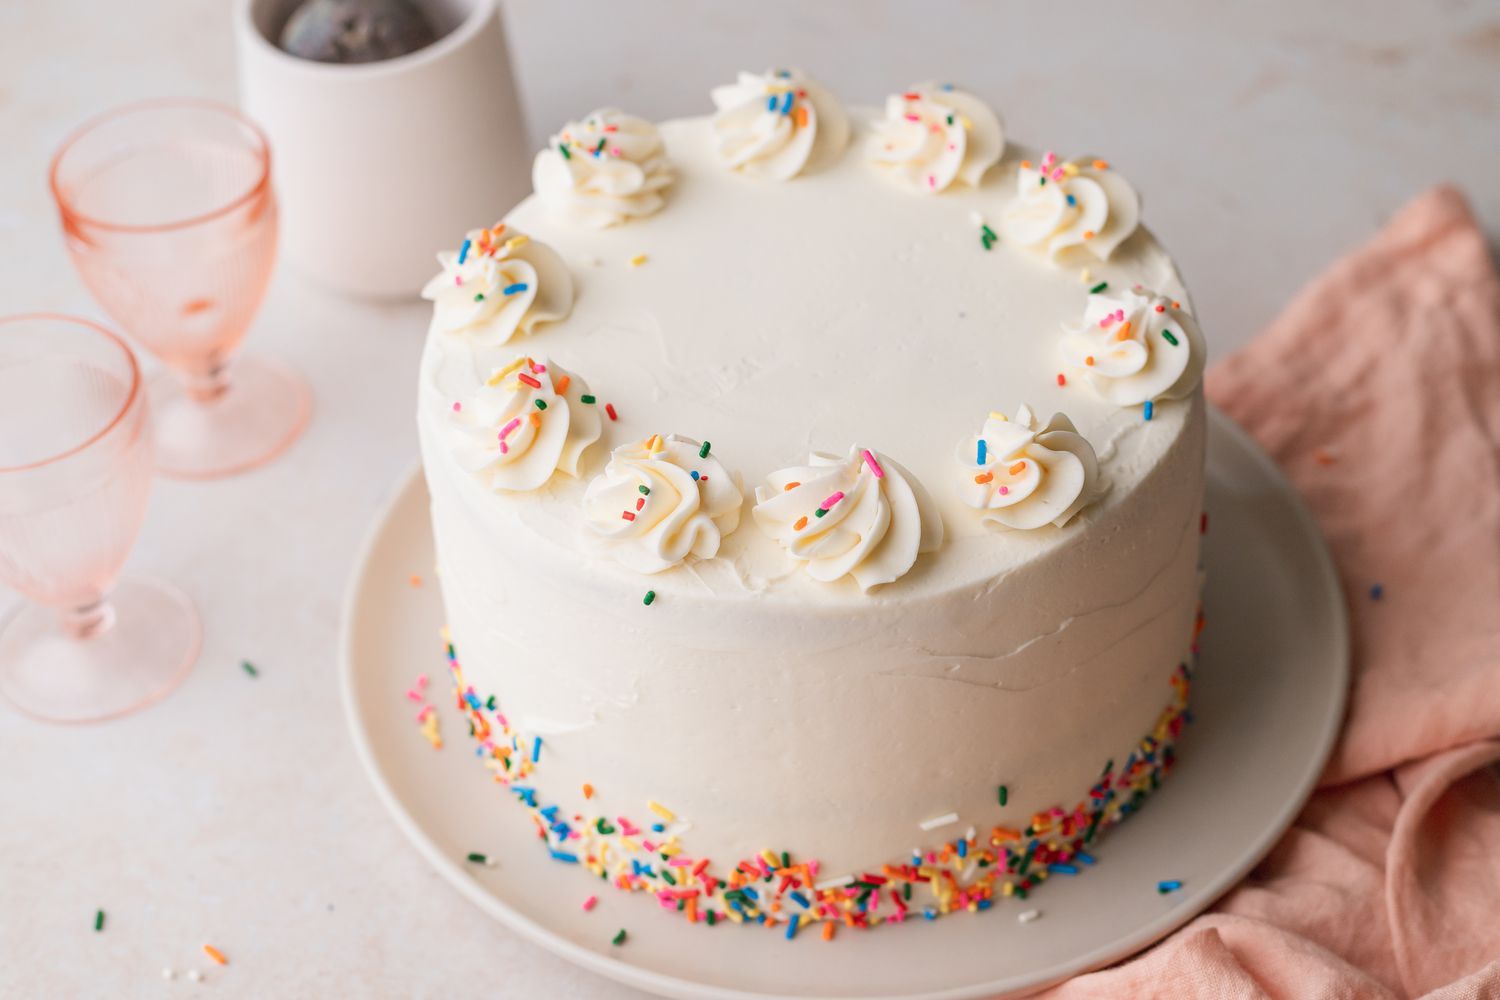
- Better Decoration Results: If you’re planning to add decorative elements to your cake, cooling it in the freezer can enhance the final result. Whether you’re using fondant, piping intricate designs, or applying delicate decorations, a chilled cake provides a more stable canvas for your creativity. It minimizes the risk of smudging or distorting the decorations, allowing you to achieve picture-perfect results.
By cooling your cake in the freezer before frosting, you can speed up the process, retain moisture, and create a stable base for your decorations. These benefits make it a valuable technique for achieving professional-looking and deliciously moist cakes.
Factors to Consider Before Cooling Cake in the Freezer
Cooling a cake in the freezer can be a great technique, but there are a few factors you should consider before using this method. Taking these factors into account will help ensure the best results for your cake. Let’s explore them:
- Cake Stability: Not all cakes are suitable for the freezer. Denser cakes, such as pound cakes and mud cakes, are more likely to hold their shape and texture when chilled. However, delicate sponge cakes may not fare as well in the freezer as they have a lighter and airier texture that can become compacted when frozen. Consider the stability and structure of your cake before deciding to cool it in the freezer.
- Frosting Compatibility: While freezing a cake can benefit the texture and moisture, it’s important to consider the compatibility with the type of frosting you plan to use. Some frostings, like cream cheese or whipped cream-based frostings, may not hold up well to freezing and thawing. Buttercream frostings, on the other hand, are generally more freezer-friendly. Consider the type of frosting you’ll be using and how it might be affected by freezing.
- Freezer Space: Assess the available space in your freezer before deciding to cool a cake. Make sure you have enough space to accommodate the size of the cake. It’s essential to have a flat and stable surface in the freezer to avoid any mishaps or damage to the cake during the cooling process.
- Timing: Consider the timing of your cake preparation. Freezing a cake is best done in advance to allow for sufficient cooling and thawing time. If you’re working on a tight schedule, you may need to adjust your plans accordingly. Plan ahead to ensure you have enough time for cooling, frosting, and any additional decoration steps.
- Personal Preference: Lastly, consider your personal preference when it comes to taste and texture. While cooling a cake in the freezer can enhance moisture and stability, some individuals may prefer the texture and flavor of a cake cooled at room temperature. Taste tests and experimentation can help you determine which method aligns best with your preferences.
By considering these factors, you can make an informed decision about whether cooling your cake in the freezer is the right choice for your specific cake, frosting, and circumstances. Evaluating these considerations will ultimately contribute to a successful cake decorating experience.
Cool the cake in the freezer for about 30-60 minutes before frosting. This will help the frosting to set and spread more easily, giving you a smoother finish.
How Long Should You Cool Cake in the Freezer?
The duration for cooling a cake in the freezer before frosting can vary depending on factors such as the size and density of the cake, as well as the temperature of your freezer. While there isn’t an exact time frame that applies to all cakes, the following guidelines can help you determine an appropriate duration:
- Small Cakes: For small cakes, such as single-layer or petite-sized cakes, a cooling time of around 1 to 2 hours in the freezer may be sufficient. These cakes tend to cool faster due to their smaller size and lower density.
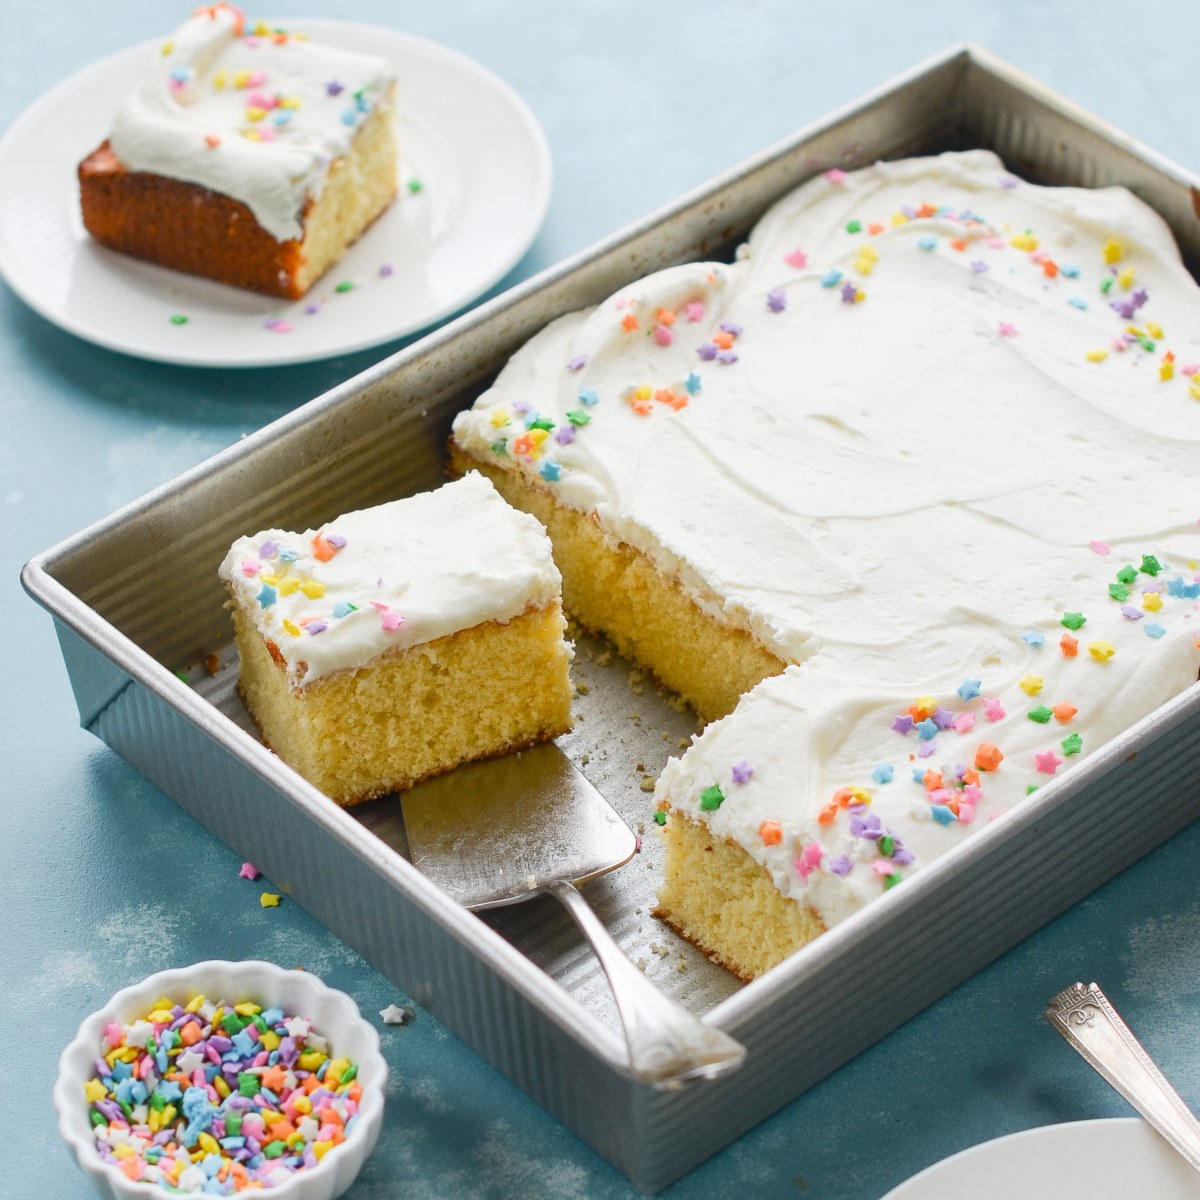
- Medium Cakes: If you’re working with medium-sized cakes, such as standard-sized round cakes or sheet cakes, a cooling time of 2 to 4 hours in the freezer is recommended. These cakes typically have a moderate density, requiring a bit more time to cool and firm up properly.
- Large Cakes: Large cakes, like multi-tiered cakes or those with significant height, may require a longer cooling time. Aim for a period of 4 to 6 hours or even overnight in the freezer to ensure the cake is thoroughly chilled and firm before frosting.
It’s important to note that these time frames are general guidelines and can vary based on multiple factors. The density, thickness, and temperature of your cake, as well as the efficiency of your freezer, will impact the cooling time. It’s always a good idea to check the cake’s firmness by gently pressing the center before proceeding with the frosting.
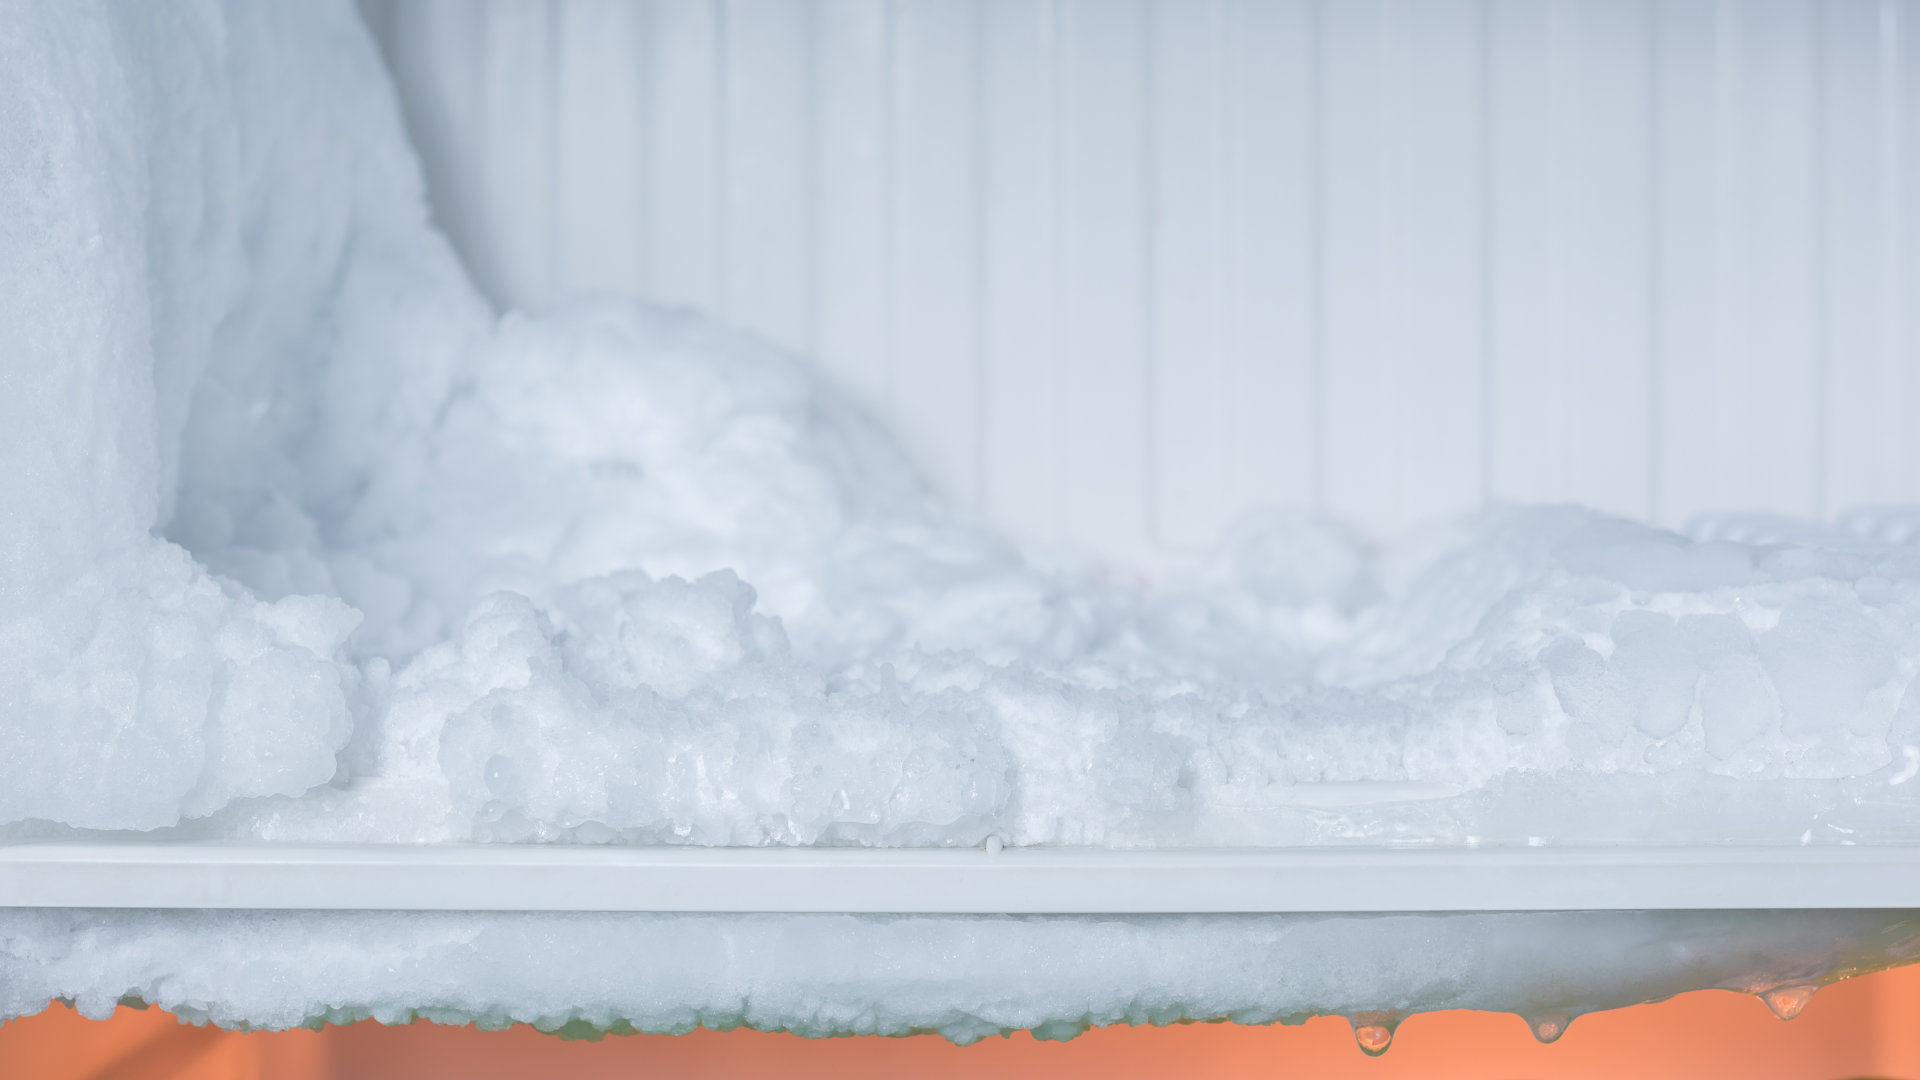
Additionally, it’s worth mentioning that while chilling the cake in the freezer can expedite the cooling process, you should avoid leaving it in the freezer for an excessively long time. Extended freezing can result in an overly firm or icy texture, which may affect the overall taste and quality of the cake.
By considering the size and density of your cake and periodically checking its firmness, you can determine an appropriate duration for cooling in the freezer. Finding the right balance will ensure that your cake is properly chilled and ready for the next step of frosting and decoration.
Step-by-Step Guide on Cooling Cake in the Freezer Before Frosting
Follow this step-by-step guide to effectively cool your cake in the freezer before moving on to the frosting stage:
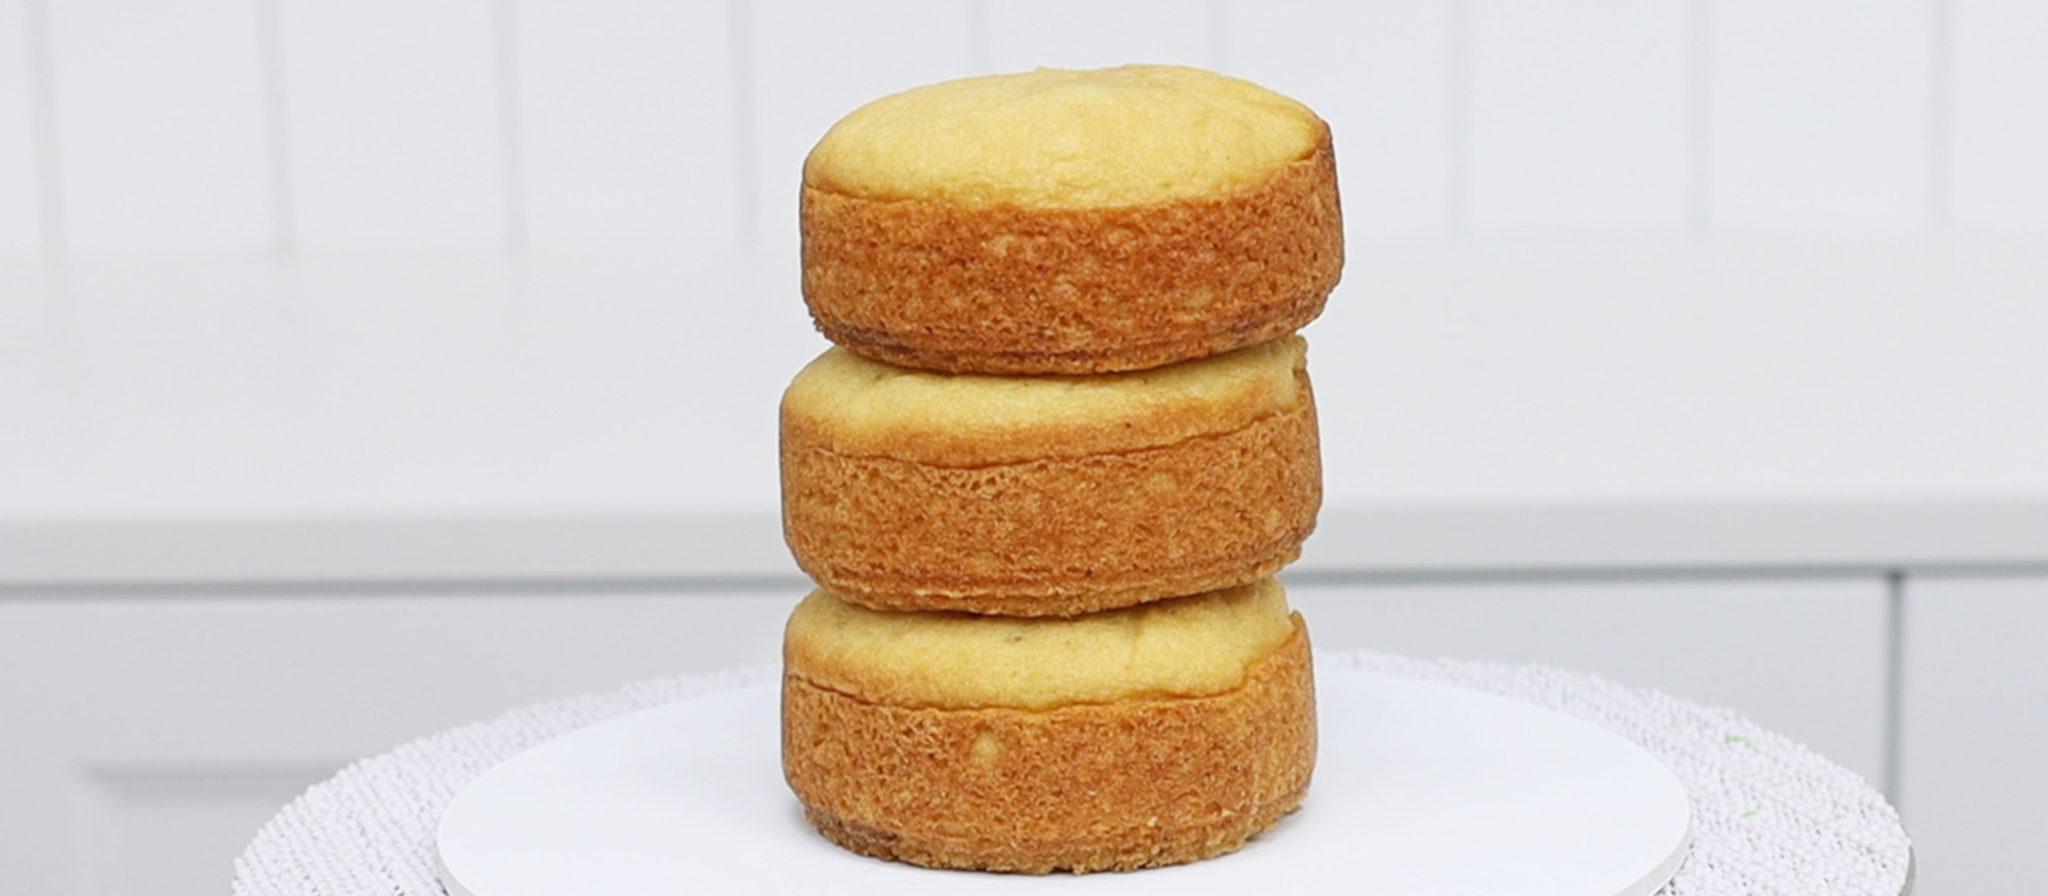
- Bake and Cool: Start by baking your cake according to the recipe instructions. Once it is cooked through, remove it from the oven and allow it to cool completely at room temperature. This initial cooling phase is essential before transferring the cake to the freezer.
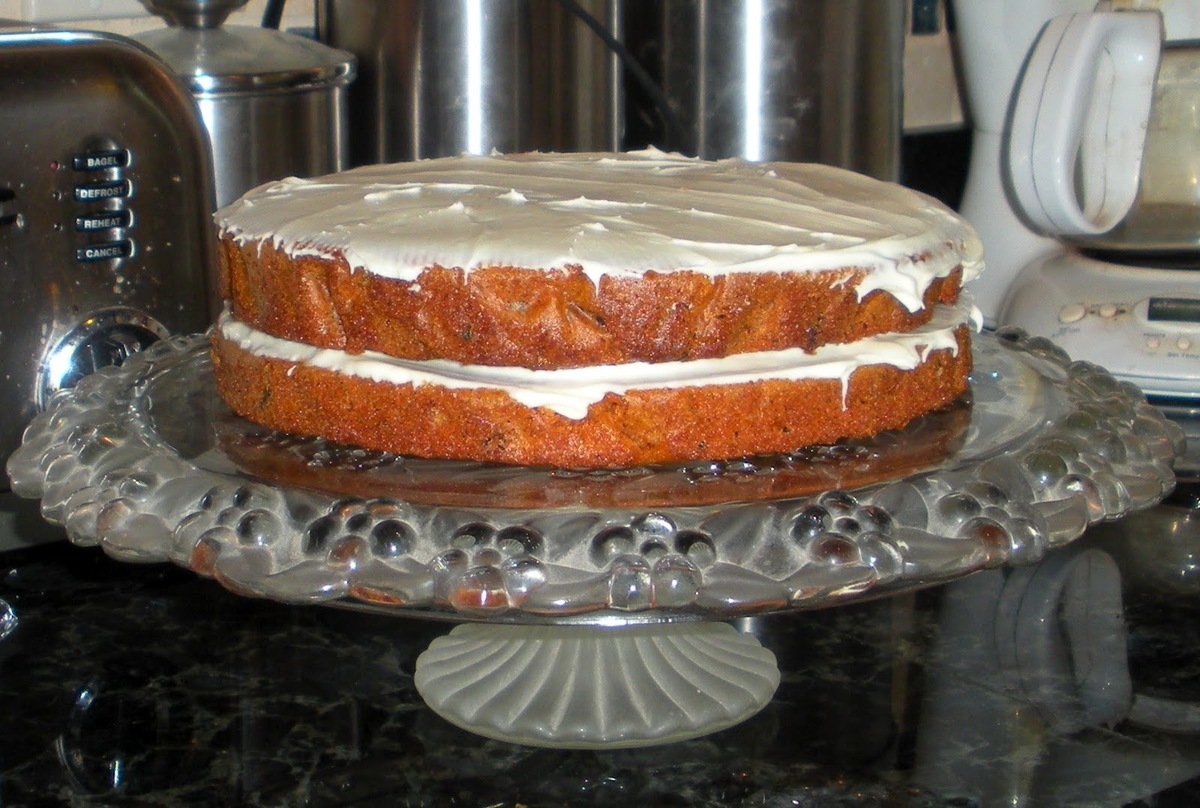
- Prepare the Cake: Once the cake has cooled, remove it from the baking pan and level the top if necessary. Use a serrated knife or a cake leveler to even out any domed or uneven surfaces. This will ensure that the cake cools and chills evenly in the freezer.
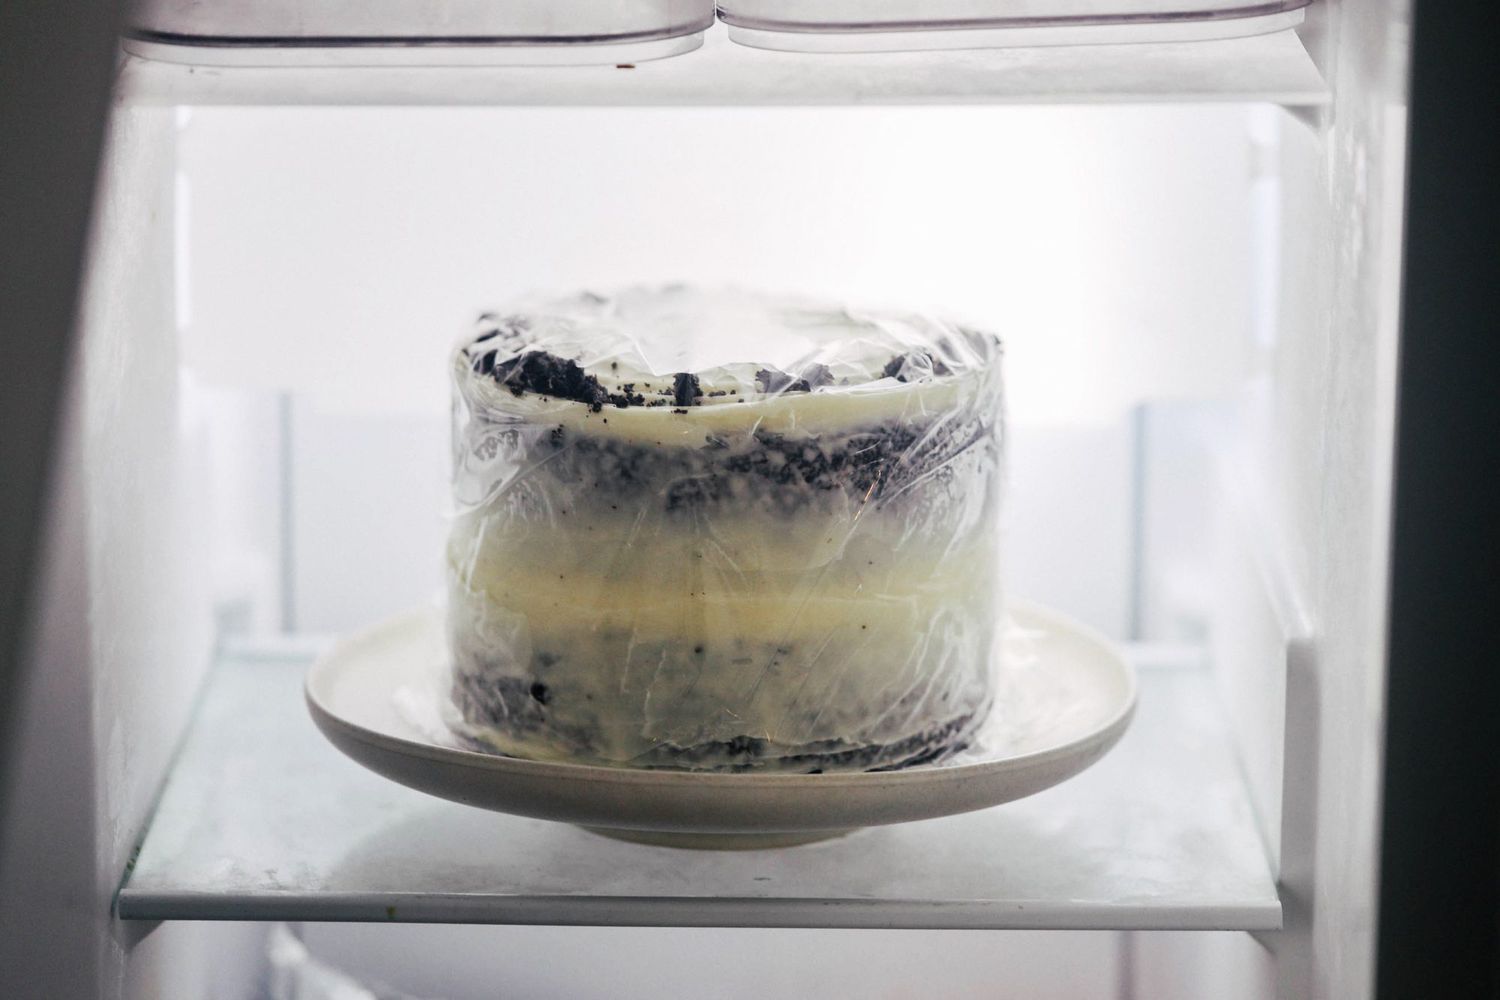
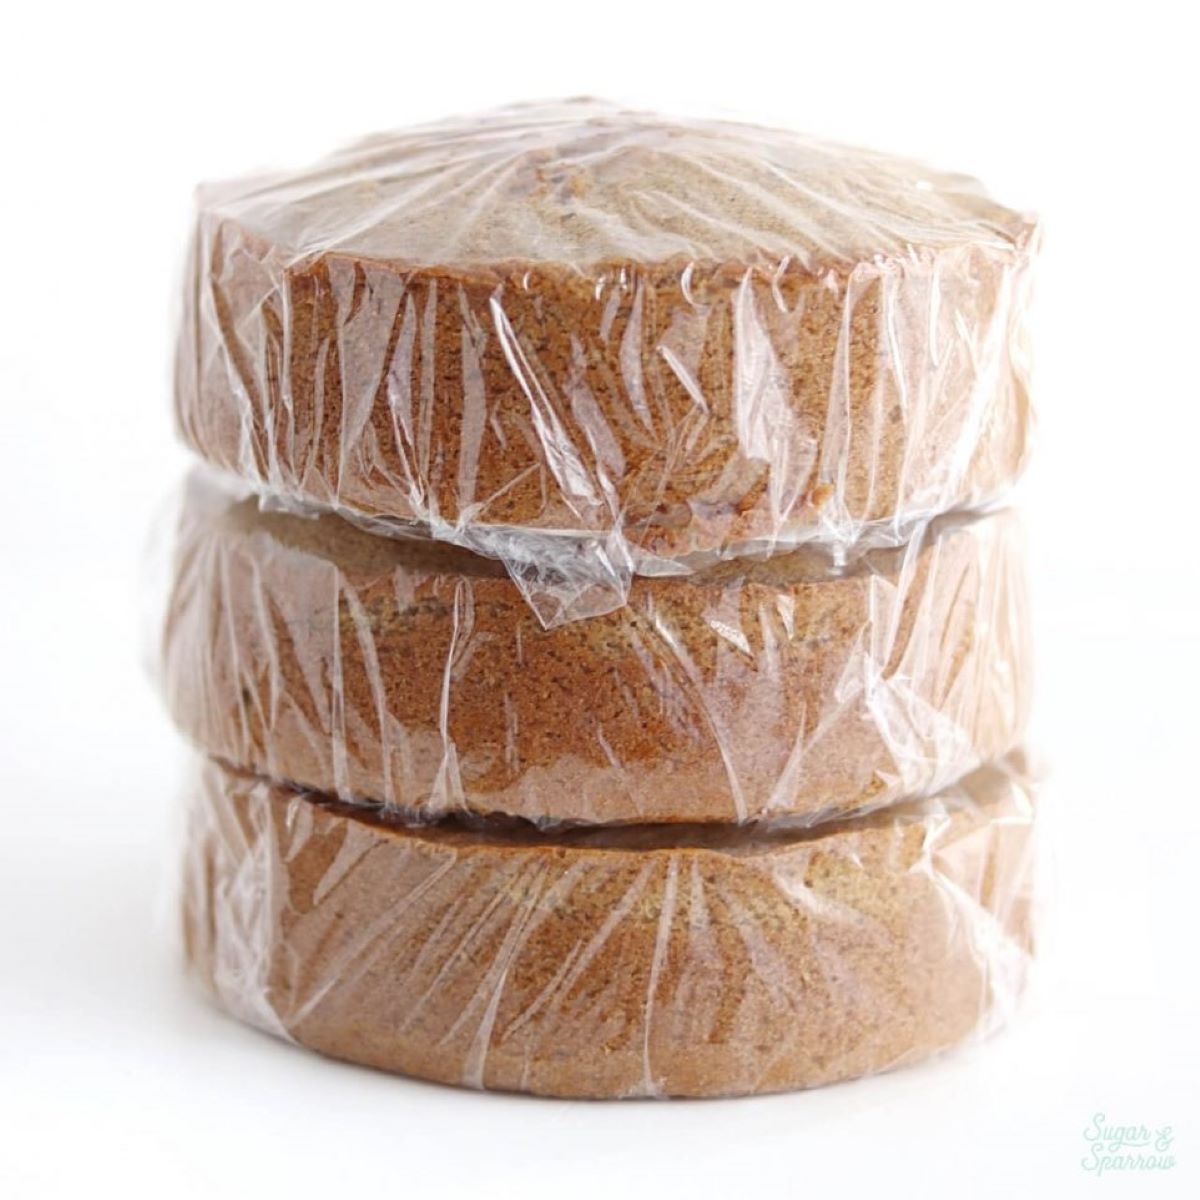
- Wrap the Cake: Take a sheet of plastic wrap or aluminum foil and wrap the cake tightly. Make sure to cover the entire cake to prevent any exposure to the freezer air. This will help retain moisture and protect the cake from absorbing any odors or flavors from the freezer.
- Place in the Freezer: Carefully transfer the wrapped cake to a flat surface or a freezer-safe plate. Place it in the freezer, making sure to keep it level to avoid any distortion or damage. Utilize any available space in the freezer to ensure proper airflow around the cake.
- Monitor the Cooling Time: Keep an eye on the cake while it chills in the freezer to prevent overcooling. Refer to the guidelines mentioned earlier for an estimate of the cooling time based on the size of your cake. Periodically check the firmness of the cake by gently pressing the center with your fingertip. It should feel firm but still retain some give.
- Remove from the Freezer: Once the cake has reached the desired level of firmness, remove it from the freezer. Unwrap the cake and let it sit at room temperature for a few minutes to allow it to slightly soften. This will make it easier to handle and frost.
Following these steps will ensure that your cake is properly cooled and ready for frosting. Cooling the cake in the freezer not only accelerates the process but also helps retain moisture and creates a stable base for your frosting and decorations.
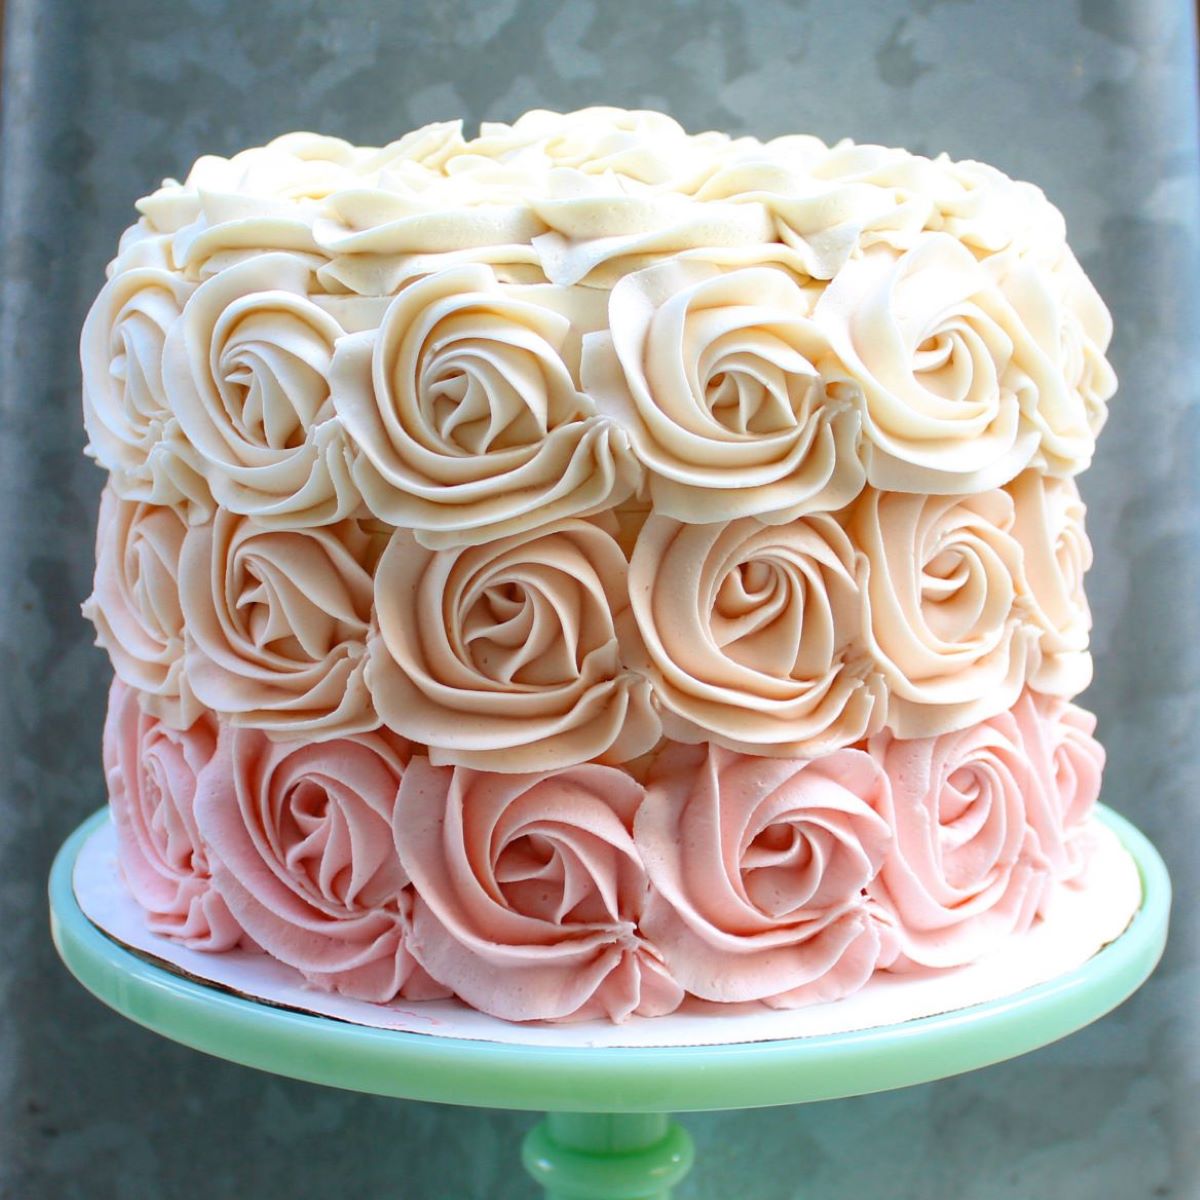
Now that your cake is perfectly chilled, it’s time to unleash your creativity and apply the frosting to create a beautifully decorated masterpiece!
Read more: How To Store Cake Overnight Before Frosting
Tips for Properly Freezing and Thawing Cake
Properly freezing and thawing a cake is just as important as cooling it in the freezer. Here are some valuable tips to ensure that your cake retains its texture, flavor, and quality throughout the freezing and thawing process:
- Cool Completely: Before freezing, make sure that the cake has cooled completely. Freezing a cake that is still warm or even slightly lukewarm can lead to condensation and moisture buildup, resulting in a soggy texture.
- Wrap Securely: Wrap the cake tightly and securely in plastic wrap or aluminum foil to prevent any air or moisture from entering. This will help preserve the cake’s freshness and protect it from freezer burn.
- Use a Freezer-Safe Container: If you prefer to store the cake in a container instead of wrapping it, make sure to use a freezer-safe and airtight container. This will maintain the quality of the cake and prevent any flavors from seeping in or out.
- Label and Date: It’s essential to label your frozen cake with the date and its contents. This way, you can keep track of its freshness and easily identify it in your freezer. It’s recommended to use the cake within 3 months of freezing for the best taste and texture.
- Thaw Gradually: When it’s time to thaw the frozen cake, do it gradually by transferring it from the freezer to the refrigerator. Let it thaw slowly in the fridge for several hours or overnight. Avoid thawing the cake at room temperature, as this can result in uneven thawing and potential quality issues.
- Keep Unfrosted Cakes Wrapped: If you have frozen a cake without frosting, it’s best to keep it wrapped while thawing to prevent dryness. Once it’s completely thawed, you can proceed with frosting and decorating.
- Allow Time for Thawing: Give the cake enough time to thaw properly, especially if it’s a larger or denser cake. Thawing in the refrigerator typically takes around 4 to 6 hours, but it can vary based on the size and density of the cake. Always check the center of the cake for complete thawing before frosting or serving.
- Additional Flavor Enhancements: If you’d like to add some additional flavor to your thawed cake, consider brushing it with a simple syrup or a flavored liqueur before frosting. This can help keep the cake moist and infuse it with extra taste.
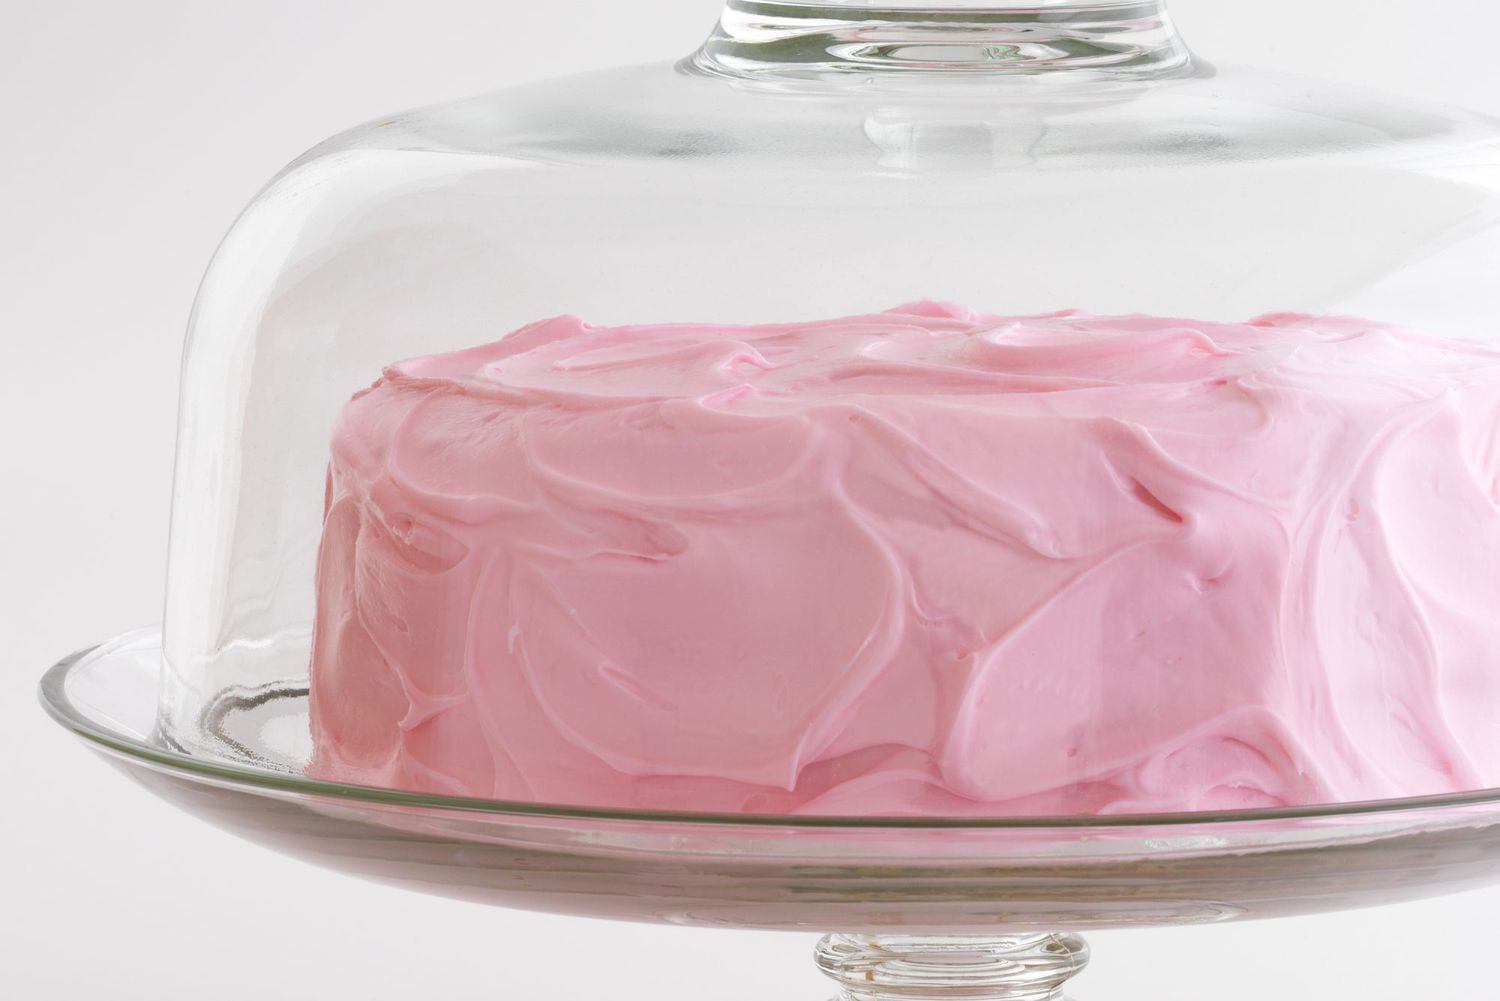
- Decorate After Thawing: It’s best to frost and decorate the cake after it has thawed completely. Thawing may cause condensation on the cake’s surface, so allowing it to come to room temperature before frosting ensures a smooth and dry base for your decorations.
Following these tips will help you maintain the taste, texture, and quality of your cake during the freezing and thawing process. Whether you’re freezing a fully frosted cake or just the layers for future use, proper handling at every step is key to preserving the deliciousness of your baked creation.
Now you’re equipped with the knowledge to cool, freeze, and thaw your cake like a pro. So go ahead and enjoy the convenience of having a beautifully decorated and perfectly chilled cake whenever you need it!
Frequently Asked Questions about How Long To Cool Cake In Freezer Before Frosting
Was this page helpful?
At Storables.com, we guarantee accurate and reliable information. Our content, validated by Expert Board Contributors, is crafted following stringent Editorial Policies. We're committed to providing you with well-researched, expert-backed insights for all your informational needs.


0 thoughts on “How Long To Cool Cake In Freezer Before Frosting”