
Articles
How To Store A Pie
Modified: August 24, 2024
Learn how to store a pie properly with these helpful articles. Keep your pie fresh and delicious for longer with our expert tips and tricks.
(Many of the links in this article redirect to a specific reviewed product. Your purchase of these products through affiliate links helps to generate commission for Storables.com, at no extra cost. Learn more)
Introduction
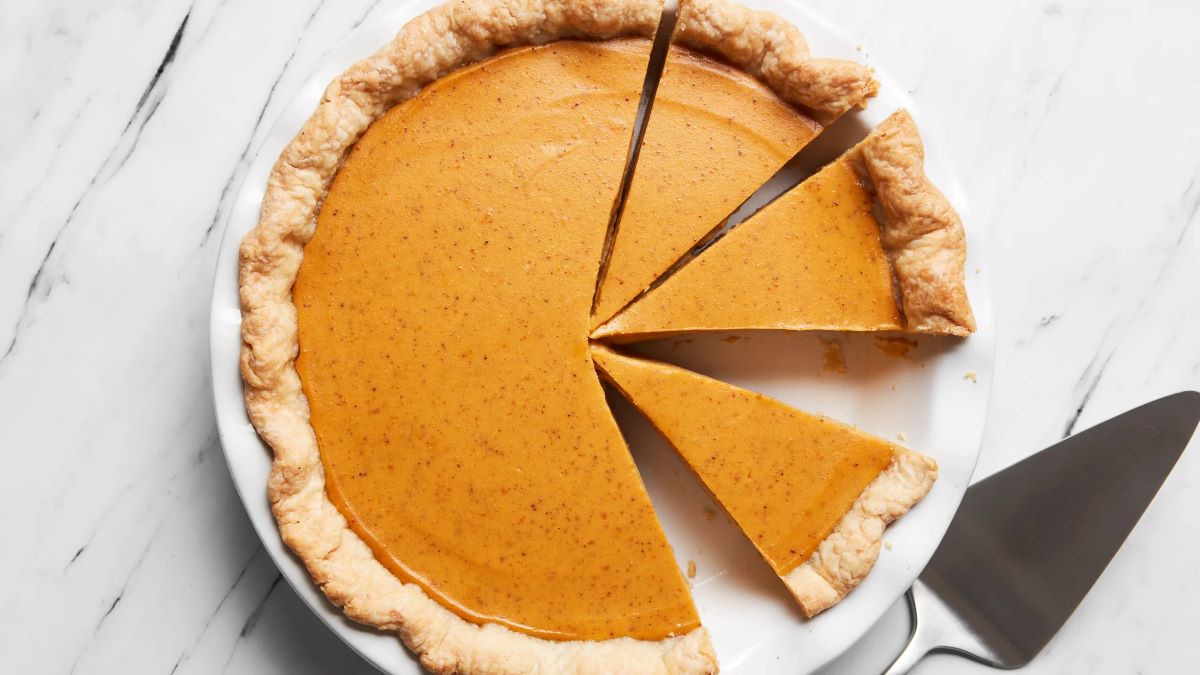
Welcome to the delightful world of pie! Whether you have just baked a mouthwatering homemade pie or have leftovers from a special occasion, knowing how to store a pie properly is essential to keep it fresh and delicious. Proper storage techniques help maintain the pie’s flavor, texture, and appearance, ensuring that you can enjoy every slice for days to come.
In this article, we will guide you through the process of storing a pie effectively. From gathering the necessary supplies to choosing the right storage container, we will cover every step of the way. So, get ready to become a pie storage expert!
Key Takeaways:
- Properly storing a pie involves gathering the right supplies, preparing the pie for storage, wrapping it securely, and choosing the appropriate storage container. Following these steps ensures your pie stays fresh and delicious.
- Whether refrigerating for a few days or freezing for longer storage, knowing how to store and thaw a pie allows you to enjoy its delightful flavors and textures at any time. With the right techniques, you can savor every slice with confidence.
Read more: How To Store Peach Pie
Gathering Supplies
Before diving into the pie storage process, it’s important to gather the necessary supplies. Having the right tools on hand will make the task easier and ensure the best results.
Here are the supplies you will need:
- Plastic wrap or aluminum foil: These materials are essential for wrapping the pie and protecting it from air exposure.
- Zip-lock bags or freezer-safe containers (if you plan to freeze the pie): Proper storage containers are key to preventing freezer burn and retaining the pie’s quality.
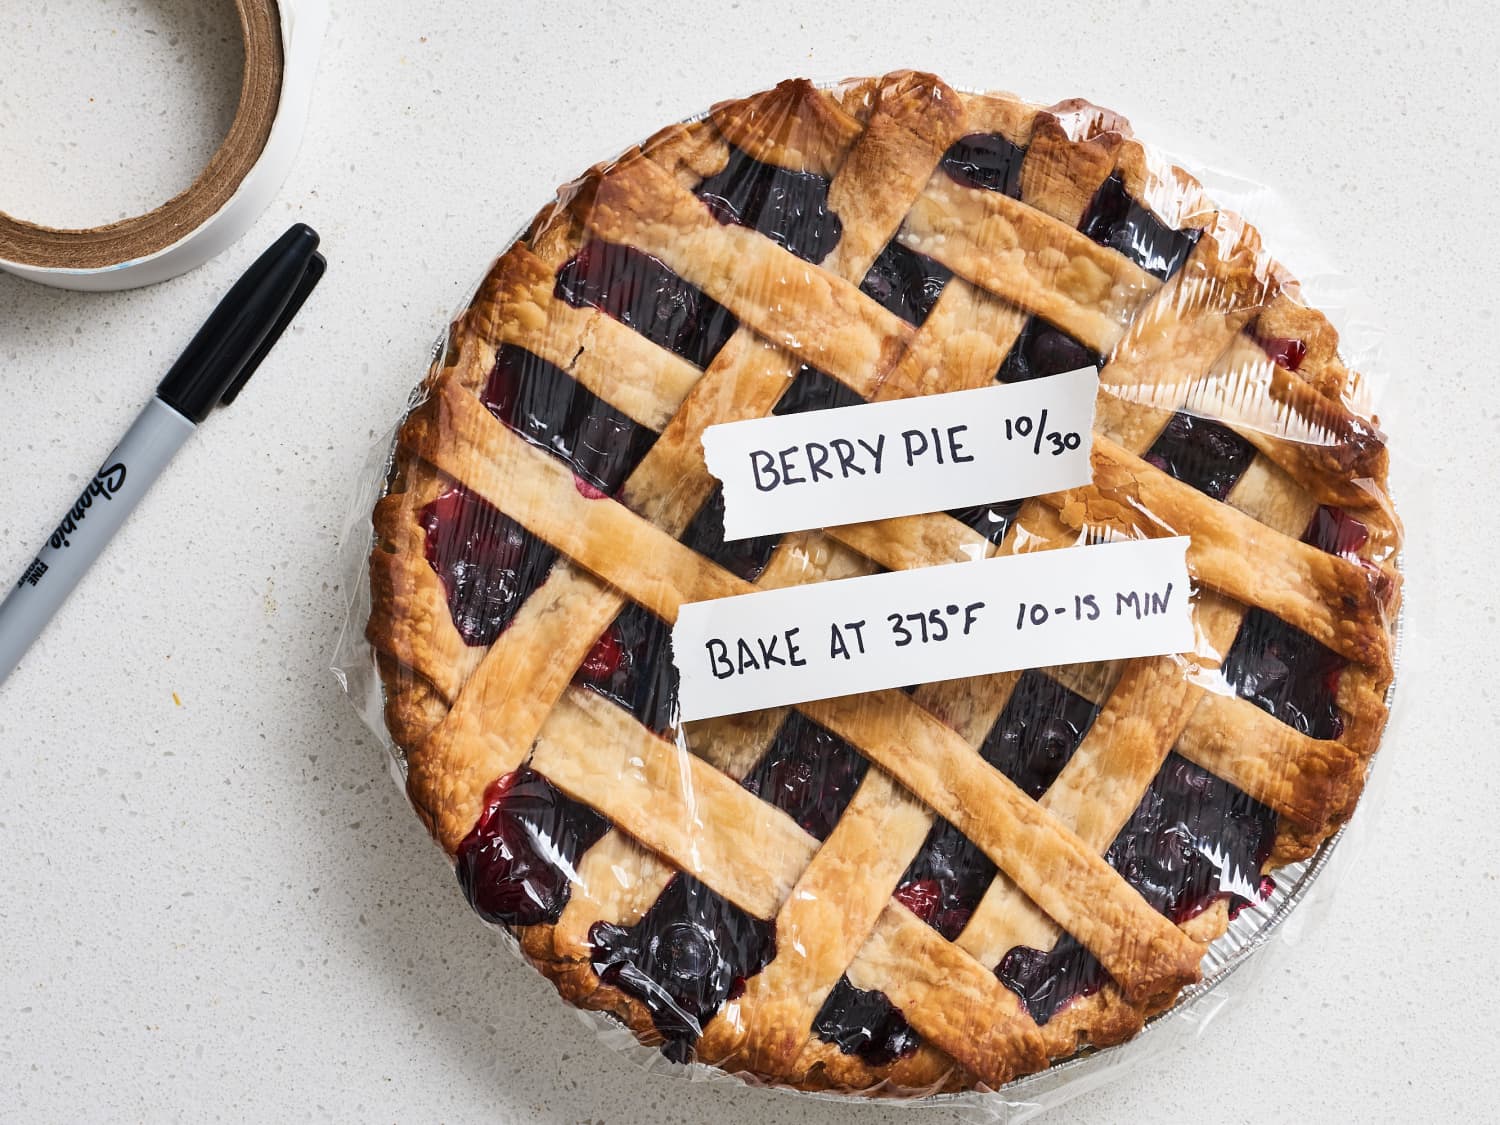
- Masking tape and a marker: If you have multiple pies or plan to store them for a longer period, labeling the containers or bags will help you easily identify the type and date of each pie.
- Scissors: You’ll need these to cut the plastic wrap or foil.
- Refrigerator or freezer space: Make sure you have enough space in your fridge or freezer to accommodate the pie(s).
Once you have gathered these supplies, you will be well-equipped to proceed with storing your delicious pie. Ready to move on? Let’s prepare the pie for storage!
Preparing the Pie for Storage
Before you wrap and store your pie, there are a few steps you should take to ensure that it stays fresh and retains its flavor and texture. Follow these preparation tips:
- Cool the pie completely: Allow the pie to cool at room temperature for a few hours after baking. This helps to set the filling and prevents condensation from forming inside the wrapping.
- Remove any toppings: If your pie has any decorative toppings, such as whipped cream or meringue, it’s best to remove them before storing. Toppings can become soggy or lose their texture during storage.
- Cut the pie into slices (optional): If you anticipate only consuming a portion of the pie at a time, consider slicing it before storing. This will make it easier to retrieve individual servings without thawing the entire pie.
- Use a clean and dry edge: Check the edges of the pie crust to ensure they are clean and dry. Wet or dirty edges can cause the pie to spoil more quickly or develop a soggy texture.
By following these preparation steps, you’ll set the stage for successful pie storage. Once you’ve prepared the pie, it’s time to wrap it up!
Wrapping the Pie
Properly wrapping your pie is crucial to protect it from air exposure, prevent moisture loss, and maintain its freshness. Here’s how to wrap your pie effectively:
- Place the pie on a flat, clean surface: Before wrapping, make sure you have a stable surface to work on. This will help prevent any accidental spills or damage to the pie.
- Cover the pie with plastic wrap or aluminum foil: Start by draping a sheet of plastic wrap or aluminum foil over the pie. Ensure that it fully covers the top and extends down to cover the sides and bottom crust.
- Smooth out any air pockets: Gently press the wrap or foil against the pie to remove any air pockets. This will help create an airtight seal and prevent the pie from drying out.
- Secure the wrap or foil: Use your hands or a piece of tape to secure the edges of the wrap or foil underneath the pie plate. This will ensure that it stays in place during storage.
- If you plan to freeze the pie, double-wrap it: To provide extra protection against freezer burn, wrap the pie again with a second layer of plastic wrap or aluminum foil. Double-wrapping helps maintain the pie’s quality during longer periods of storage.
Remember, the goal is to create a tight seal around the pie to keep it fresh. Take care not to wrap the pie too tightly, as this can crush the crust or filling. With your pie securely wrapped, it’s time to move on to choosing the right storage container.
To store a pie, cover it loosely with plastic wrap or aluminum foil and store it in the refrigerator for up to 4 days. For longer storage, wrap it tightly and freeze for up to 2 months.
Choosing the Right Storage Container
When it comes to storing your pie, selecting the appropriate storage container is essential. Here are some factors to consider:
- Airtightness: Look for containers that offer airtight seals. This helps to prevent air from entering and moisture from escaping, keeping your pie fresh.
- Size: Choose a container that can comfortably accommodate the size of your pie without squishing it. Avoid containers that are too large, as excess space can lead to loss of moisture and potential damage to the pie.
- Material: Opt for containers that are made of food-grade materials, such as glass or BPA-free plastic. These materials are safe for storing food and won’t impart any unwanted flavors or odors to the pie.
- Freezer-friendly: If you plan to freeze your pie, ensure that the container is suitable for freezer storage. Freezer-safe containers are designed to withstand low temperatures and protect the pie from freezer burn.
- Stackability: Consider the space you have available in your fridge or freezer. Choosing containers that are stackable allows for efficient use of space and easy organization.
Whether you prefer glass containers with snap-on lids, plastic containers with locking mechanisms, or even resealable freezer bags, there are options available to suit your needs. Remember to label the container with the type and date of the pie if you have multiple pies or plan to store them for an extended period.
With the right storage container selected, it’s time to move on to the specific storage instructions for refrigerating or freezing your pie.
Read more: How To Store Whoopie Pies
Storing the Pie in the Refrigerator
If you plan to enjoy your pie within a few days, storing it in the refrigerator is the best option. Here’s how to do it:
- Place the wrapped pie in the refrigerator: Carefully place the wrapped pie in the refrigerator on a flat surface. Avoid stacking other items on top of the pie to prevent squishing or damage.
- Position the pie away from strong odors: Keep the pie away from foods with strong odors, as pies can absorb smells easily. This helps to maintain the original flavor of the pie.
- Keep the pie in its original container (if applicable): If your pie came in a pie plate or pan with a cover, you can place it as is in the refrigerator. Make sure the cover is secure to prevent any spills or odors.
- Store the pie for up to 3-4 days: In general, refrigerated pies are best consumed within 3-4 days for optimal taste and quality. Beyond that, the pie may start to lose its texture and flavor.
Remember to bring the pie to room temperature or gently reheat it before serving to enhance the flavors and ensure a delightful experience. If you have leftover pie or need to store it for a longer period, freezing is the way to go. Let’s explore the process of freezing a pie.
Freezing the Pie
If you have leftover pie or want to store it for an extended period, freezing is a great option. Follow these steps to freeze your pie:
- Make sure the pie is fully cooled: Allow the pie to cool completely at room temperature before freezing. This prevents condensation from forming and ensures the pie maintains its quality.
- Double-wrap the pie: To protect it from freezer burn, double-wrap the pie with a layer of plastic wrap or aluminum foil. Ensure that it is tightly sealed to prevent air from reaching the pie.
- Place the wrapped pie in a freezer-safe container or bag: Transfer the wrapped pie to a freezer-safe container or resealable freezer bag. Make sure to remove any excess air from the bag before sealing it.
- Label the container or bag with the pie type and date: Use masking tape and a marker to label the container or bag with the name of the pie and the date it was frozen. This will help you keep track of the pies in your freezer.
- Store the pie in the freezer: Place the pie in the coldest part of your freezer, ensuring it is flat so it doesn’t get squished. Freezing pies at 0°F (-18°C) or below helps maintain their quality for several months.
When you’re ready to enjoy your frozen pie, follow the thawing instructions below.
Note: Some pies freeze better than others, so it’s always a good idea to check specific recipes or manufacturer instructions to ensure the best results for your particular pie.
Thawing and Serving the Pie
When the time comes to enjoy your frozen pie, proper thawing is essential to preserve its texture and flavor. Follow these guidelines to thaw and serve your pie:
- Transfer the pie to the refrigerator: Remove the frozen pie from the freezer and place it in the refrigerator. Allow it to thaw slowly and evenly overnight or for about 6-8 hours.
- Unwrap the pie: Once the pie has thawed in the refrigerator, carefully remove the wrapping. Be gentle to avoid damaging the crust or the filling.
- Bring the pie to room temperature: Let the pie sit at room temperature for about 1-2 hours to fully come to room temperature. This allows the flavors to develop and the textures to soften.
- Warm the pie (optional): If you prefer to serve the pie warm, you can reheat it in the oven. Preheat the oven to 350°F (175°C) and place the unwrapped pie on a baking sheet. Heat it for about 10-15 minutes, or until it reaches your desired temperature. Keep a close eye on it to prevent over-browning or drying out.
- Slice and serve: Once the pie has reached the desired temperature, slice it into portions and serve. Add a scoop of ice cream or a dollop of whipped cream for an extra touch of indulgence.
Now that you know how to properly thaw and serve your pie, you can enjoy the deliciousness you’ve stored to its fullest. Remember to discard any leftovers that have been left at room temperature for more than 2 hours for food safety reasons.
So, whether it’s a homemade fruit pie, a rich custard-filled pie, or a savory quiche, you can now confidently store your pie and savor it whenever you please. Happy pie storage and bon appétit!
Frequently Asked Questions about How To Store A Pie
Was this page helpful?
At Storables.com, we guarantee accurate and reliable information. Our content, validated by Expert Board Contributors, is crafted following stringent Editorial Policies. We're committed to providing you with well-researched, expert-backed insights for all your informational needs.


0 thoughts on “How To Store A Pie”