Articles
How To Store Buttermilk Pie
Modified: October 22, 2024
Looking for tips on storing buttermilk pie? Check out our helpful articles for the best methods to keep your pie fresh and delicious.
(Many of the links in this article redirect to a specific reviewed product. Your purchase of these products through affiliate links helps to generate commission for Storables.com, at no extra cost. Learn more)
Introduction
Welcome to this guide on how to store buttermilk pie! Buttermilk pie is a delicious and creamy dessert that is popular for its smooth texture and tangy flavor. Whether you have just baked a fresh homemade buttermilk pie or have leftovers from a special occasion, it’s important to know how to properly store it to ensure its taste and freshness.
Buttermilk pie is a classic southern dessert that has been enjoyed for generations. It is made with simple ingredients like buttermilk, eggs, sugar, and butter, all baked in a flaky pastry crust. The result is a rich and custard-like filling with a slightly tart taste.
So, if you find yourself with a whole buttermilk pie or a few slices that you’d like to save for later, read on to learn the best practices for storing this delectable treat.
Key Takeaways:
- Properly store buttermilk pie in an airtight container or in the refrigerator to maintain its creamy texture and tangy flavor for up to 5 days, ensuring every slice remains delectable.
- Consider freezing buttermilk pie for longer storage, up to 2-3 months, and use helpful tips like using a pie crust shield and labeling containers to preserve its freshness and quality.
Read more: How To Store Homemade Buttermilk
What is Buttermilk Pie?
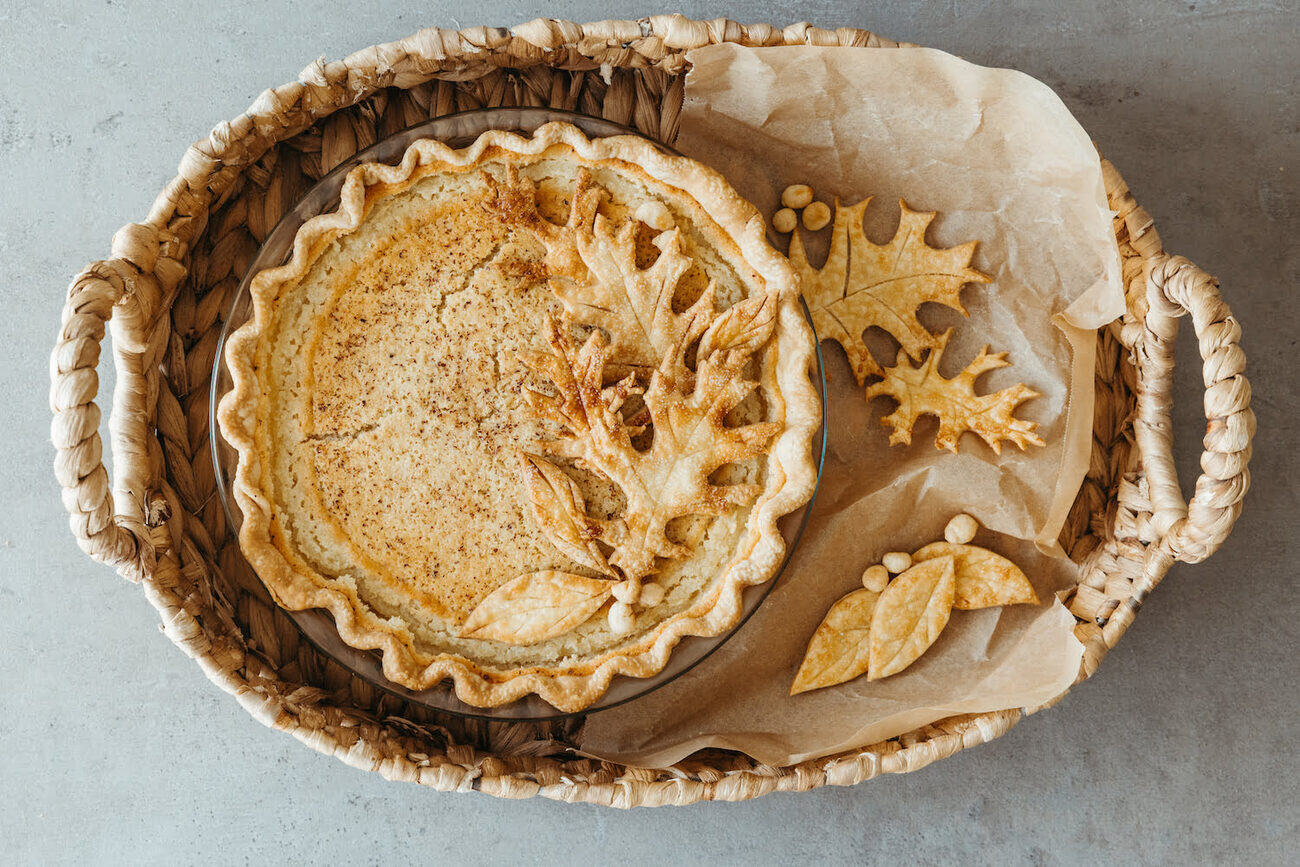
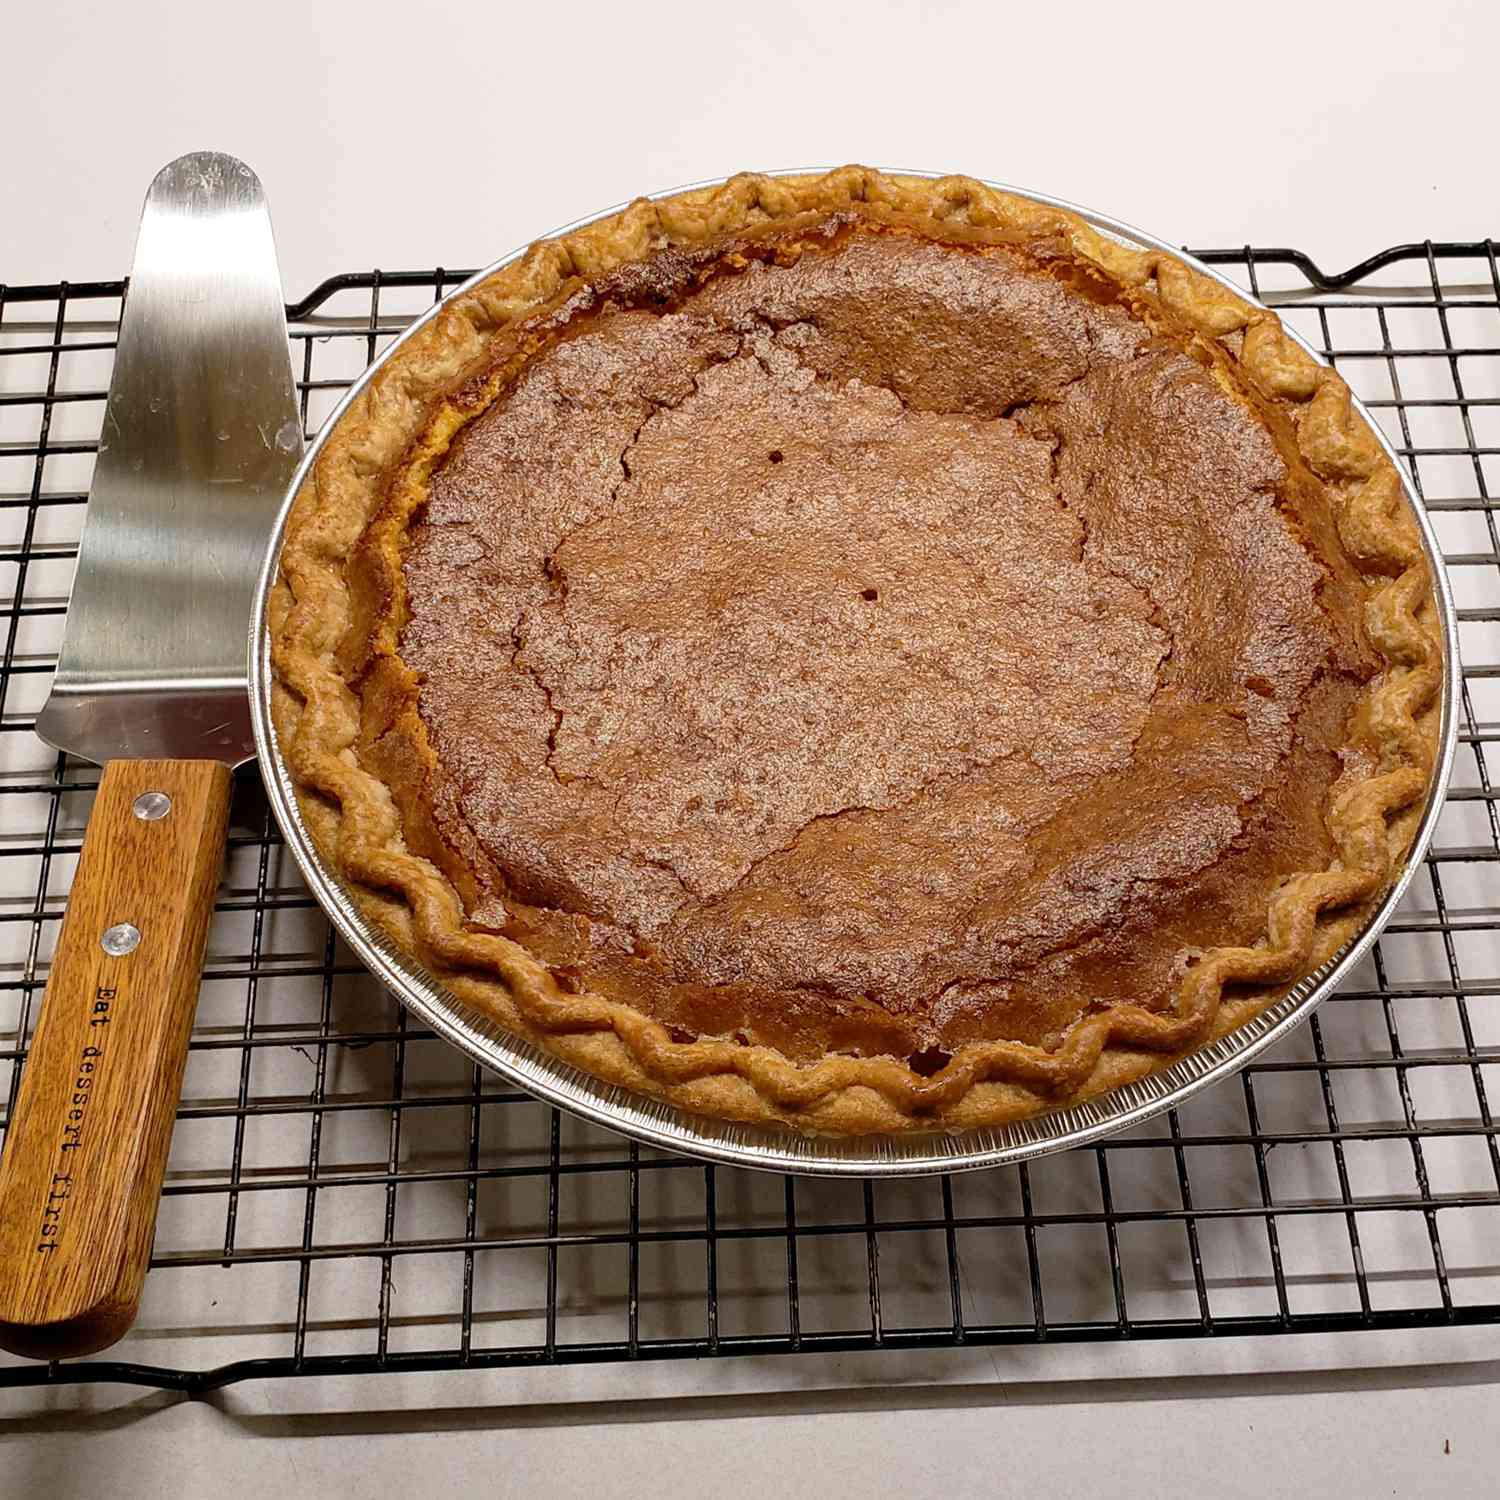
Buttermilk pie is a classic southern dessert that has its roots in American cuisine. It is a custard-like pie with a rich and velvety filling that is sweet, tangy, and slightly creamy. Despite its name, buttermilk pie doesn’t have a strong buttermilk taste; instead, it offers a subtle tanginess that perfectly balances the sweetness.
The pie is typically made with a combination of simple ingredients, including buttermilk, eggs, sugar, butter, flour, and vanilla extract. These ingredients are mixed together to create a smooth and creamy filling, which is then poured into a pie crust and baked until set.
One of the defining characteristics of buttermilk pie is its smooth and silky texture. As it bakes, the custard-like filling sets but remains creamy, resulting in a velvety mouthfeel that melts in your mouth. The pie crust adds a delicious flakiness and provides a sturdy base for the filling.
Buttermilk pie is often served at family gatherings, festive occasions, and holidays. Its simplicity and nostalgic charm make it a favorite among both young and old, and it pairs well with a variety of toppings. Common garnishes include a dusting of powdered sugar, a dollop of whipped cream, or a sprinkle of nutmeg.
Although buttermilk pie is popular in the southern United States, its popularity has spread far and wide. Its combination of sweet and tangy flavors, along with its comforting texture, has made it a beloved dessert across the country.
Now that you know what buttermilk pie is, let’s move on to understanding how to properly store this delectable treat to keep it fresh and enjoyable for days to come.
Ingredients for Buttermilk Pie
To make a delicious buttermilk pie, you will need the following ingredients:
- 1 9-inch pie crust (store-bought or homemade)
- 3 large eggs
- 1 cup granulated sugar
- 1/2 cup unsalted butter, melted
- 1 cup buttermilk
- 2 tablespoons all-purpose flour
- 1 teaspoon vanilla extract
- 1/4 teaspoon salt
The pie crust serves as the base for the filling, and you can either use a pre-made store-bought crust or make a homemade one from scratch. If you opt for the latter, you will need flour, butter, cold water, and a pinch of salt to create the perfect flaky crust.
Eggs are an essential component of the filling as they provide structure and help the pie set during baking. You will need three large eggs for a standard-sized buttermilk pie.
The sweetener in the recipe is granulated sugar, which adds sweetness to balance the tartness of the buttermilk. The melted unsalted butter contributes richness and flavor to the filling.
Buttermilk is the star ingredient of this pie, giving it its distinctive tangy taste. Make sure to use regular buttermilk, not low-fat or fat-free versions, for the best results.
All-purpose flour is added to the filling to help provide stability and thickness to the custard-like consistency of the pie.
A teaspoon of vanilla extract enhances the flavor profile of the pie, while a pinch of salt helps to round out the sweetness and balance the flavors.
Now that you have all the necessary ingredients, it’s time to move on to the step-by-step process of making buttermilk pie!
Steps to Make Buttermilk Pie
Follow these simple steps to create a delicious buttermilk pie:
- Preheat your oven to 350°F (175°C) and prepare your pie crust. If using a store-bought crust, simply remove it from the packaging. If making a homemade crust, roll out the dough and fit it into a 9-inch pie dish. Trim any excess dough and crimp the edges.
- In a large bowl, whisk the eggs until well beaten. Add the granulated sugar and melted butter, and whisk until smooth and well combined.
- In a separate small bowl, combine the all-purpose flour and salt. Gradually add this flour mixture to the egg mixture, whisking until smooth and free of lumps.
- Next, pour in the buttermilk and vanilla extract, and continue whisking until everything is well incorporated.
- Once the filling is mixed, carefully pour it into the prepared pie crust. To prevent any spills, you may want to place the pie dish on a baking sheet before pouring.
- Place the pie in the preheated oven and bake for approximately 45-50 minutes, or until the center is set and the top is golden brown. If the edges of the crust start to brown too quickly, you can cover them with foil or a pie crust shield.
- After the pie is baked, remove it from the oven and let it cool on a wire rack for at least 1 hour. This will allow the filling to set properly.
- Once completely cooled, you can serve the pie immediately or proceed to store it for later enjoyment. Follow the steps in the next section to learn how to properly store your buttermilk pie.
Now that you have successfully baked your buttermilk pie, it’s time to focus on storing it to maintain its freshness and flavor. Let’s dive into the next section to discover the best practices for storing your delicious creation!
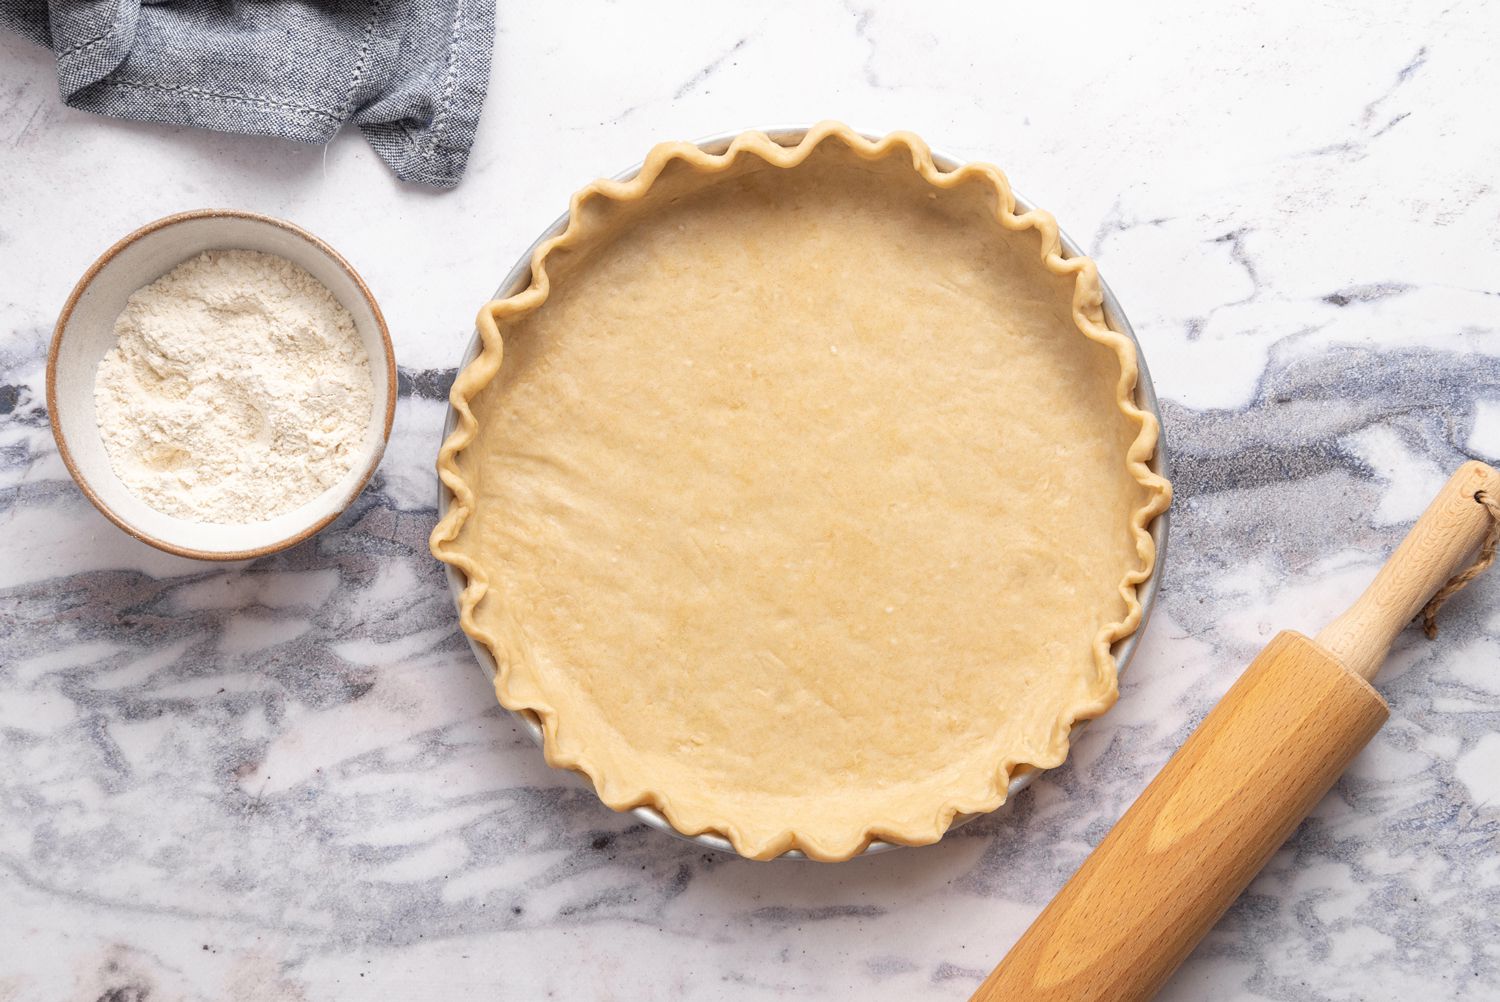
Preparing the Pastry
The first step in making a buttermilk pie is preparing the pastry crust. You have two options: using a store-bought pie crust or making your own from scratch. Both methods yield delicious results, so choose the one that suits your preference and time constraints.
If you decide to use a store-bought pie crust, simply follow the instructions on the packaging. Typically, you’ll need to allow the crust to thaw if it’s frozen, then unroll it and gently press it into your pie dish. Trim any excess crust and crimp the edges for a decorative touch.
If you prefer to make your own pie crust, you’ll need a few ingredients: all-purpose flour, cold butter, ice water, and a pinch of salt. Here’s a basic recipe to guide you:
- In a large mixing bowl, combine 1 ¼ cups of all-purpose flour and a pinch of salt.
- Add ½ cup (1 stick) of cold unsalted butter, cut into small cubes.
- Using a pastry cutter or your hands, work the butter into the flour until it resembles coarse crumbs.
- Sprinkle 3-4 tablespoons of ice water over the mixture, one tablespoon at a time.
- Gently mix the dough with a fork until it starts to come together.
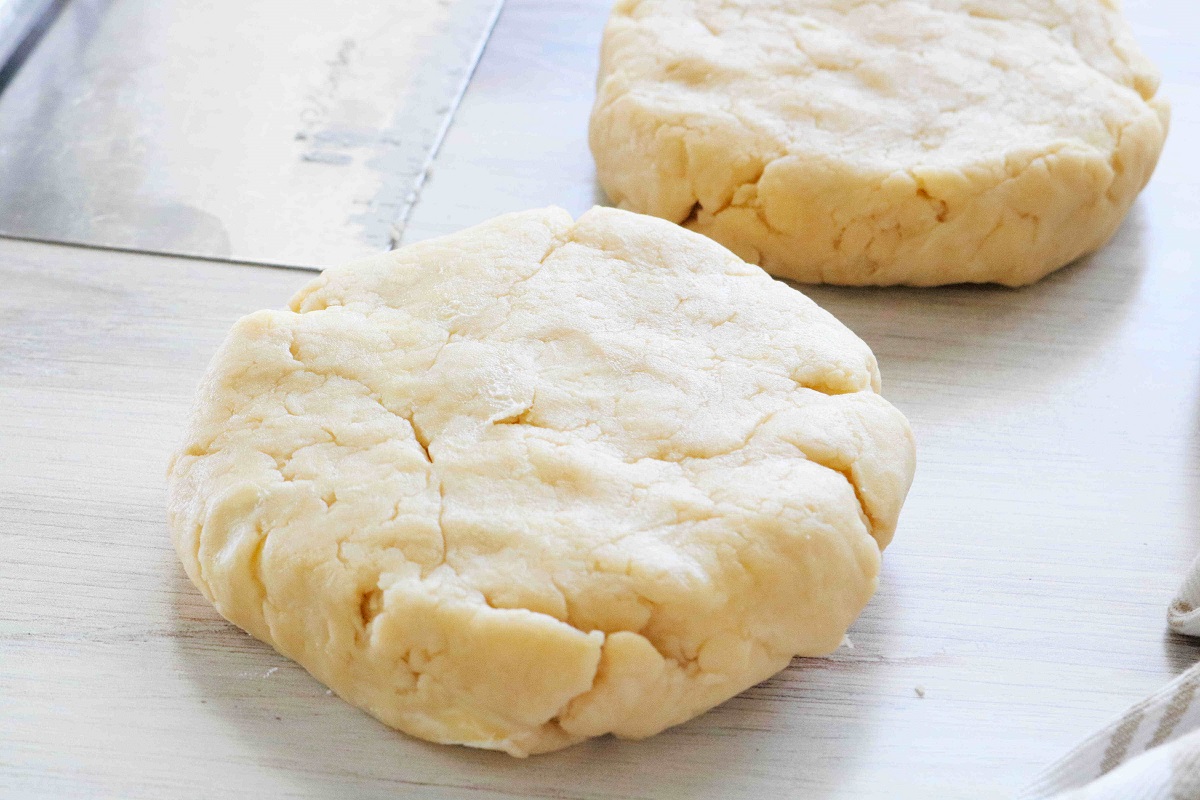
- Transfer the dough onto a lightly floured surface and knead it a few times until it forms a smooth ball.
- Flatten the dough into a disk, wrap it in plastic wrap, and refrigerate for at least 30 minutes.
- After chilling, roll out the dough on a floured surface to fit the size of your pie dish.
- Carefully transfer the rolled-out dough to your pie dish and press it into the bottom and sides.
- Trim any excess dough and create a decorative edge by crimping or using a fork.
Once your pastry crust is prepared, it’s time to move on to making the delicious buttermilk filling. Continue to the next section to learn how to create the creamy and tangy filling for your buttermilk pie.
Store buttermilk pie in the refrigerator, covered with plastic wrap or aluminum foil to prevent it from drying out. It can be kept for up to 3-4 days.
Read more: How To Store A Pie
Making the Buttermilk Filling
After preparing the pastry crust, it’s time to move on to making the delicious buttermilk filling for your pie. The filling is what gives the buttermilk pie its creamy, tangy, and sweet flavor profile. Follow these steps to create the perfect filling:
- In a large mixing bowl, crack three large eggs and whisk them until well beaten.
- Add 1 cup of granulated sugar to the beaten eggs and continue whisking until the sugar is well incorporated.
- Melt 1/2 cup of unsalted butter and allow it to cool slightly before adding it to the egg and sugar mixture. Whisk until everything is well combined.
- In a separate small bowl, combine 2 tablespoons of all-purpose flour and 1/4 teaspoon of salt. Mix well and gradually add this flour mixture to the wet ingredients, whisking until smooth and free of lumps.
- Pour in 1 cup of buttermilk and 1 teaspoon of vanilla extract. Continue whisking until all the ingredients are thoroughly combined.
By now, your buttermilk filling should be smooth and well mixed. The eggs, sugar, flour, buttermilk, and vanilla extract have come together to create a creamy and tangy mixture that will set beautifully as the pie bakes.
Now that you have your buttermilk filling ready, it’s time to pour it into the prepared pastry crust and get ready for baking. Continue to the next section to learn how to bake your buttermilk pie to golden perfection.
Baking the Buttermilk Pie
After preparing the buttermilk filling and pouring it into the pastry crust, it’s time to bake your buttermilk pie to golden perfection. Follow these steps to ensure a beautifully baked pie:
- Preheat your oven to 350°F (175°C) to ensure it reaches the desired temperature for baking.
- Place the filled pie crust in the preheated oven. For additional protection against spills and to catch any drips, you can place the pie dish on a baking sheet.
- Bake the buttermilk pie for approximately 45-50 minutes until the center is set and the top is golden brown. The exact baking time may vary depending on your oven, so keep a close eye on the pie during the last few minutes of baking.
- If you notice that the edges of the pie crust are browning too quickly, you can cover them with aluminum foil or a pie crust shield to prevent burning.
- Once the pie is done baking, remove it from the oven and place it on a cooling rack. Let the pie cool for at least 1 hour to allow the filling to set properly. This cooling time will also prevent any burned tongues or mouths when serving the pie.
As the pie bakes, the creamy buttermilk filling will set and firm up, creating a smooth and custard-like texture. The top of the pie will develop a golden brown color, adding to its visual appeal.
Now that your buttermilk pie is perfectly baked, it’s time to focus on the next crucial step: cooling and storing the pie to maintain its freshness. Continue to the next section to learn how to properly cool and store your delicious buttermilk pie.
Cooling and Storing Buttermilk Pie
Once your buttermilk pie has finished baking, it’s important to allow it to cool properly before storing it. Follow these steps to ensure your pie stays fresh and delicious:
- Remove the baked buttermilk pie from the oven and place it on a cooling rack. Allow the pie to cool completely at room temperature for at least 1 hour. This will give the filling enough time to set properly and will prevent it from being too runny.
- After the pie has cooled, you can choose whether to store it at room temperature or in the refrigerator, depending on your preference and the ambient temperature of your environment.
- If storing at room temperature is suitable, cover the pie with a clean kitchen towel or place it under a pie dome to protect it from dust and keep it fresh. Buttermilk pie can be stored at room temperature for up to 2 days.
- If you prefer to store the pie in the refrigerator, cover it tightly with plastic wrap or place it in an airtight container. Buttermilk pie stored in the refrigerator can stay fresh for up to 5 days.
- Prior to serving the stored pie, allow it to come to room temperature for about 30 minutes. This will ensure the pie is at its best texture and flavor.
It’s worth noting that buttermilk pie tastes best when consumed within a few days of baking. The texture and flavor may start to deteriorate after a certain point, so it’s recommended to enjoy it within the suggested timeframes mentioned above.
Now that you know the proper cooling and storing methods, you can confidently make a delicious buttermilk pie and keep it fresh for as long as possible. Remember to savor each bite and share this delightful treat with your family and friends!
Next, let’s explore some useful tips for storing buttermilk pie to enhance its shelf life and maintain its quality.
Tips for Storing Buttermilk Pie
To ensure your buttermilk pie stays fresh and delicious for as long as possible, consider these helpful tips:
- Properly seal the storage container: When storing your buttermilk pie in the refrigerator, make sure to use an airtight container or tightly wrap it with plastic wrap. This will prevent any air or moisture from reaching the pie, helping to maintain its texture and flavor.
- Avoid storing near strong odors: Buttermilk pie can absorb odors from other foods, so it’s best to avoid storing it alongside pungent or strong-smelling items in the refrigerator.
- Use a pie crust shield: To prevent the edges of the pie crust from becoming overly browned during storage, you can place a pie crust shield or aluminum foil around the edges before storing. This will help maintain the crust’s texture and appearance.
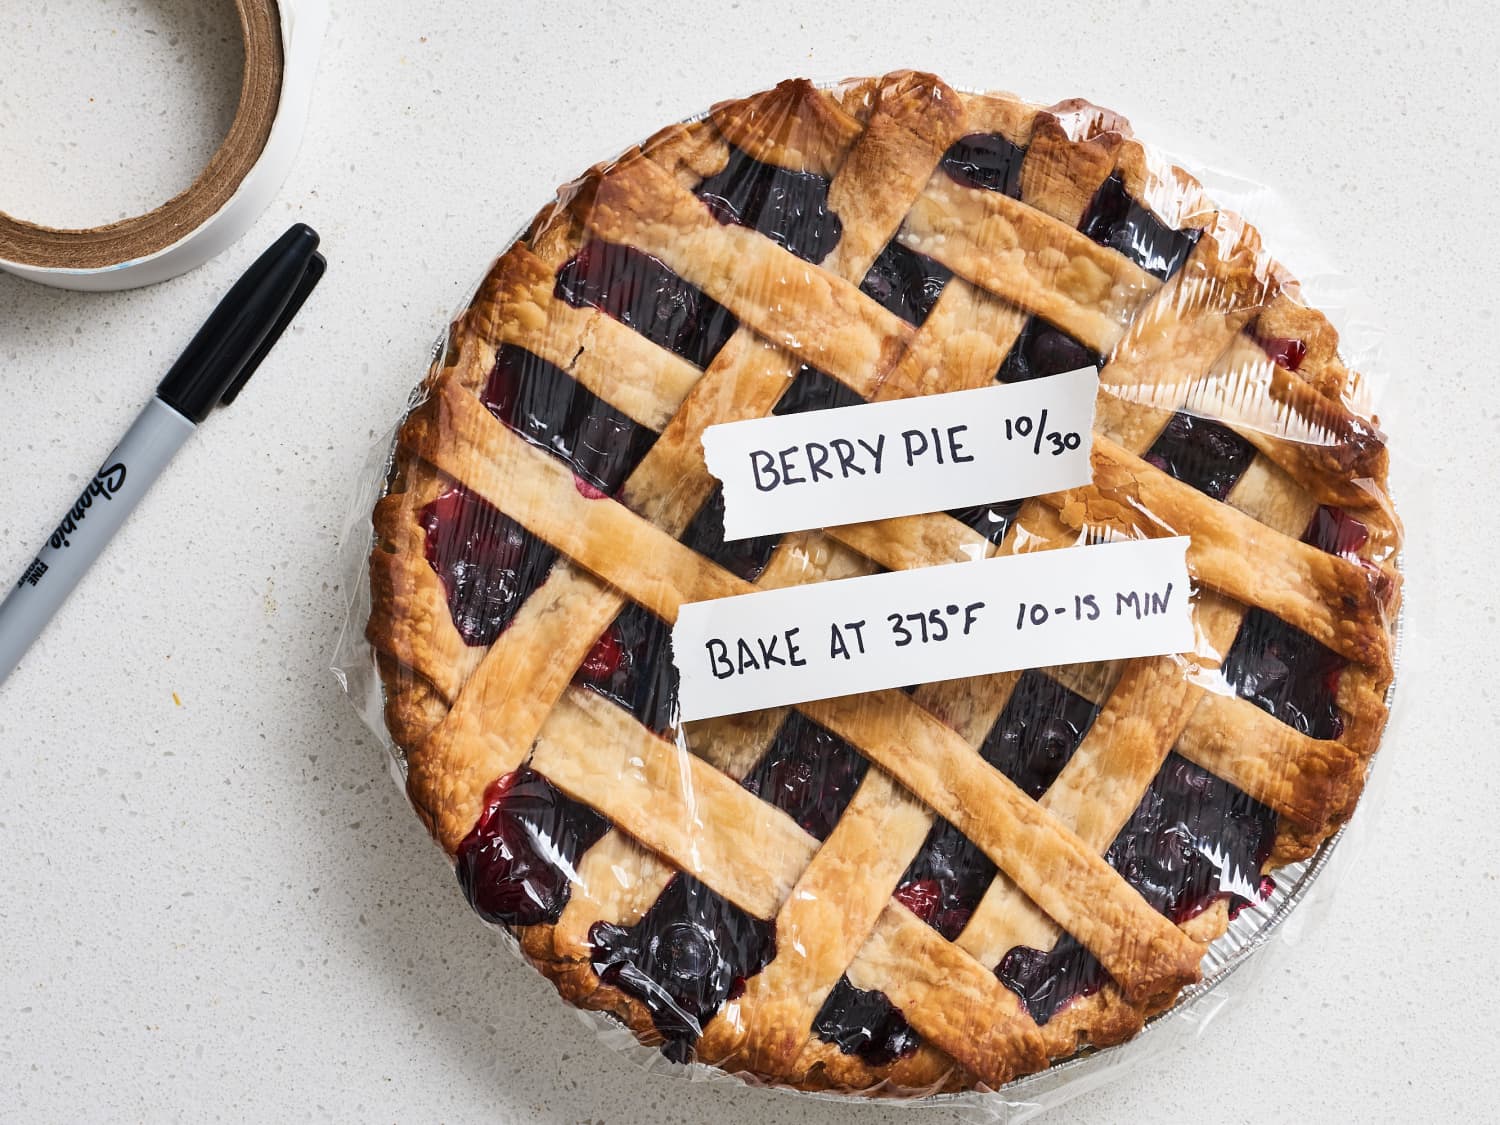
- Label and date the container: If you’re storing multiple pies or have other items in the refrigerator, it’s a good practice to label and date the container holding the buttermilk pie. This will help you keep track of its freshness and ensure you consume it within the recommended timeframes.
- Consider freezing for longer storage: If you want to store your buttermilk pie for an extended period, you may choose to freeze it. Wrap the pie tightly with plastic wrap and aluminum foil, and place it in the freezer. Buttermilk pie can typically be stored in the freezer for up to 2-3 months. Remember to thaw the pie in the refrigerator overnight before serving.
- Protect the pie from moisture: Moisture can affect the quality of the pie’s crust, making it soggy. To prevent this, place a piece of parchment paper or a paper towel between the pie and the container lid or wrap to absorb any excess moisture.
- Freshen the pie when serving: If your stored buttermilk pie has lost some of its freshness, you can freshen it up by lightly dusting the top with powdered sugar or adding a dollop of whipped cream before serving.
By following these tips, you can ensure that your buttermilk pie remains delicious and enjoyable even after it has been stored. Remember to use your judgment when consuming stored pies and to discard them if there are any signs of spoilage or an off taste.
With proper storage and care, you can savor the delightful flavors of buttermilk pie for days to come. Enjoy each slice and make every bite a moment to cherish!
Now that you have learned how to store buttermilk pie effectively, it’s time to put your knowledge into practice. Enjoy your freshly baked or stored pie and share its deliciousness with your loved ones.
Happy baking and storing!
Read more: How To Store Peach Pie
Conclusion
Congratulations! You have reached the end of this comprehensive guide on how to store buttermilk pie. Whether you have just baked a fresh pie or have leftover slices, understanding the proper storage methods will help maintain its taste and texture.
Buttermilk pie is a classic southern dessert known for its creamy filling and tangy flavor. By following the steps outlined in this guide, you can ensure that your buttermilk pie stays fresh and delicious for days to come.
Remember to properly prepare the pastry crust, make the creamy buttermilk filling, and bake the pie to golden perfection. Once it has cooled, you can store the pie at room temperature or in the refrigerator, depending on your preferences.
Keep in mind the useful tips for storing buttermilk pie, such as sealing the storage container, avoiding strong odors, using a pie crust shield, and labeling the pie for easy identification. And if you need to store your pie for a longer period, consider freezing it to maintain its freshness.
Buttermilk pie is a delightful dessert that can be enjoyed on its own or with a dollop of whipped cream or a sprinkle of powdered sugar. Whether you’re serving it to guests or indulging in a slice for yourself, following proper storage methods ensures you can enjoy its delectable flavors anytime.
We hope this guide has provided you with valuable insights and tips to store your buttermilk pie effectively. Remember to savor each bite, share the joy with loved ones, and continue exploring the wonderful world of baking.
Happy baking and storing!
Frequently Asked Questions about How To Store Buttermilk Pie
Was this page helpful?
At Storables.com, we guarantee accurate and reliable information. Our content, validated by Expert Board Contributors, is crafted following stringent Editorial Policies. We're committed to providing you with well-researched, expert-backed insights for all your informational needs.

0 thoughts on “How To Store Buttermilk Pie”