Articles
How To Store Baby Bottles After Sterilizing
Modified: February 24, 2024
Learn the best ways to store baby bottles after sterilizing in this informative article. Find out how to keep your baby's bottles clean and organized for their health and your peace of mind.
(Many of the links in this article redirect to a specific reviewed product. Your purchase of these products through affiliate links helps to generate commission for Storables.com, at no extra cost. Learn more)
Introduction
Welcome to the world of parenting, where every little detail matters in ensuring the health and well-being of your little bundle of joy. As a parent, you strive to provide the best care possible for your baby, and this includes taking the necessary steps to maintain cleanliness and hygiene, especially when it comes to baby bottles. After sterilizing baby bottles, proper storage is crucial to maintain their cleanliness and prevent any contamination.
In this article, we will guide you through the step-by-step process of storing baby bottles after sterilization, ensuring that you are equipped with the knowledge to keep your baby’s bottles safe and sanitary.
Note: It is essential to check the specific guidelines provided by the bottle manufacturer and your pediatrician, as they may have additional recommendations for bottle storage.
Key Takeaways:
- Proper storage of baby bottles after sterilizing is crucial for maintaining cleanliness, preventing contamination, and preserving nutrients. Follow the step-by-step guide to ensure your baby’s bottles are safe and ready for feeding.
- Maintaining cleanliness and hygiene, along with proper storage, is essential for providing your baby with a safe and healthy feeding experience. Follow the outlined steps to ensure optimal bottle care and your baby’s well-being.
Read more: How To Store Bottles After Sterilizing
Why is proper storage of baby bottles important?
Proper storage of baby bottles plays a vital role in maintaining the hygiene and safety of your little one. Here are some key reasons why it is important:
- Prevents contamination: By storing baby bottles properly, you can prevent the risk of contamination by bacteria, viruses, and other harmful microorganisms. This is especially crucial for infants whose immune systems are still developing.
- Maintains sterilization: After sterilizing baby bottles, proper storage ensures that the sterilization process remains effective until you are ready to use them. Storing bottles in a clean and hygienic environment helps to maintain their sterility and minimize the risk of introducing harmful bacteria.
- Preserves quality and nutrients: When baby bottles are stored correctly, the quality and nutrients of the milk or formula inside can be preserved. Exposure to air, sunlight, or improper storage conditions can lead to a loss of nutrients and a decrease in the overall quality of the contents.
- Prevents the growth of mold: Mold growth can be a serious health hazard for infants. Properly storing bottles, especially when they are not in use, helps to prevent the growth of mold and keeps your baby’s bottles safe and clean.
- Convenience and organization: Proper storage of baby bottles helps to keep them organized and readily accessible when needed. This saves you time and ensures that you can easily locate and grab a bottle without any hassle.
By understanding the importance of proper storage, you can take the necessary steps to keep your baby’s bottles clean, safe, and free from any potential sources of contamination. Now, let’s dive into the step-by-step process of storing baby bottles after sterilization.
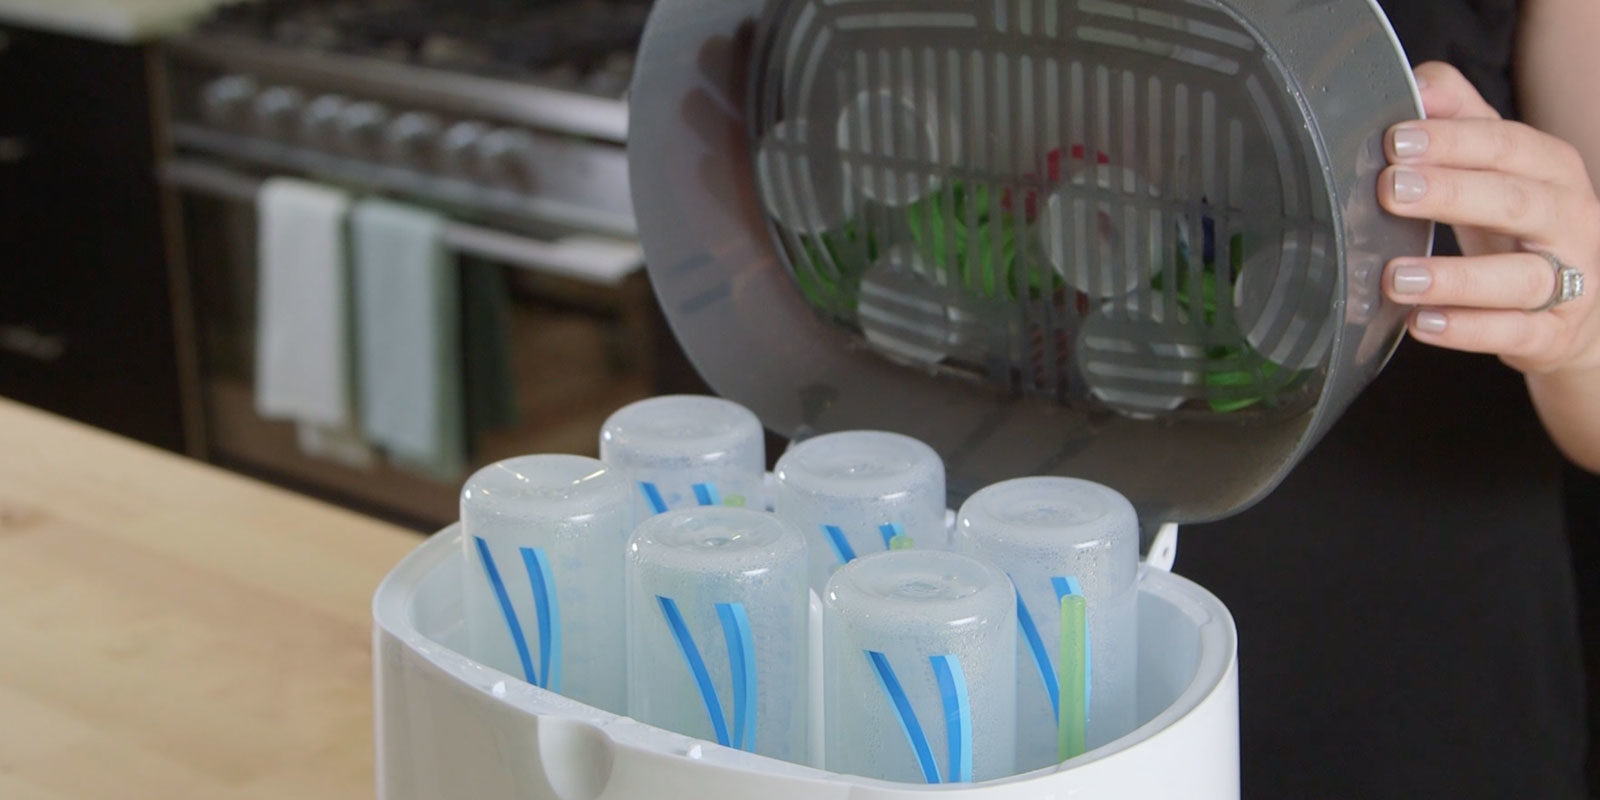
Step 1: Allow bottles to cool down
After sterilizing baby bottles, it is crucial to allow them to cool down before proceeding with the storage process. This step ensures that the bottles are safe to handle and minimizes the risk of any potential damage or warping.
Here’s what you need to do:
- Remove bottles from the sterilizer: Once the sterilization process is complete, carefully remove the bottles from the sterilizer, ensuring that you use oven mitts or allow them to cool down for a few minutes before handling.
- Avoid thermal shock: To prevent thermal shock, which can cause glass bottles to crack or plastic bottles to deform, place the bottles on a heat-resistant surface or a clean and dry kitchen towel. Make sure to keep them away from any direct heat sources, such as stovetops or hot pans.
- Allow adequate cooling time: Give the bottles enough time to cool down completely. This typically takes around 10-15 minutes, but it’s always a good idea to refer to the instructions provided by the sterilizer or bottle manufacturer for specific cooling times.
By allowing the bottles to cool down before storing them, you ensure their integrity and minimize the risk of any accidents or damage. Once the bottles have cooled down, you can proceed to the next step of the storage process.
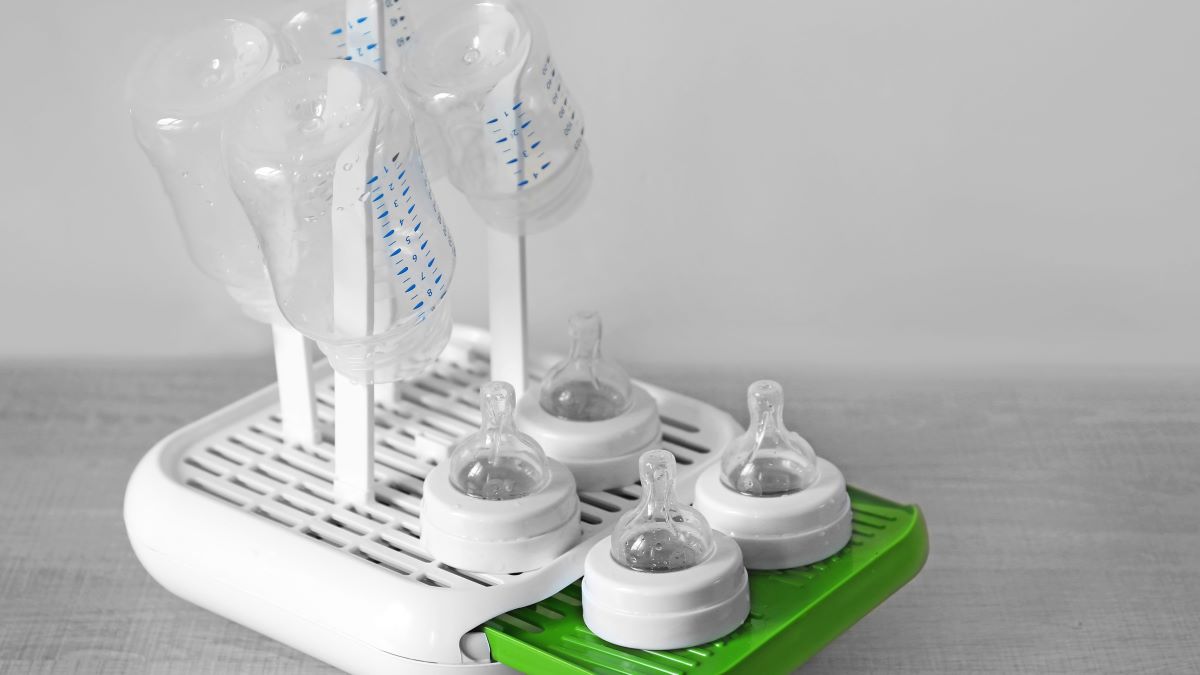
Step 2: Dry bottles thoroughly
Drying baby bottles thoroughly is an essential step in the storage process. Proper drying helps to prevent the growth of bacteria and ensures that the bottles are completely free from moisture, which can lead to mold or mildew development.
Follow these steps to dry your baby bottles thoroughly:
- Drain excess water: After the bottles have cooled down, pour out any remaining water from inside the bottles and discard it. Make sure to remove the nipples, rings, and other detachable parts and drain any water trapped inside them as well.
- Air dry or use a clean cloth: There are two main methods for drying baby bottles:
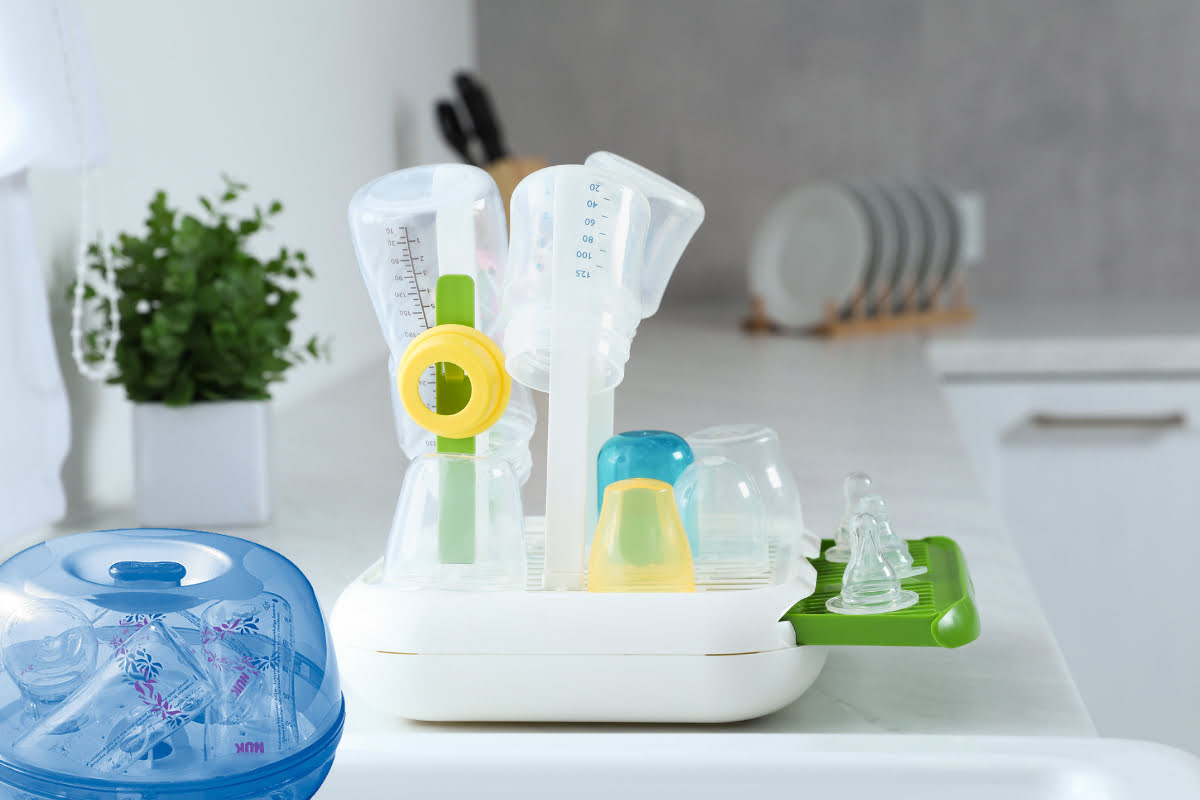
- Air drying: Place the bottles, nipples, rings, and other parts on a clean and dry dish rack or a clean towel. Ensure that they are arranged in a way that allows air to circulate freely around each piece, facilitating proper drying.
- Cloth drying: Use a clean and lint-free cloth, such as a dish towel or microfiber cloth, to hand dry the bottles and their parts. Gently wipe off any remaining moisture, paying close attention to hard-to-reach areas.
- No towels or tissues inside: Avoid leaving towels or tissues inside the bottles, as they can introduce lint or fibers that may contaminate the bottles or pose a choking hazard to your baby.
- Ensure complete dryness: Make sure that all parts of the bottles, including nipples, rings, and bottle caps, are completely dry before proceeding with the storage. This helps to prevent the growth of bacteria or mold that can thrive in a wet environment.
By taking the time to dry your baby bottles thoroughly, you ensure that they are clean, safe, and ready for storage. Once the bottles are completely dry, it’s time to move on to the next step: choosing a suitable storage location.
Step 3: Choose a suitable storage location
Choosing the right storage location for your baby bottles is essential to maintain their cleanliness and ensure they are easily accessible when needed. Here are some factors to consider when selecting a suitable storage location:
- Clean and hygienic: The storage location should be clean, free from dust, and away from potential sources of contamination, such as the kitchen sink or toilet area. It’s a good practice to wipe down the storage area regularly with a mild disinfectant to maintain cleanliness.
- Well-ventilated: Adequate ventilation is crucial to prevent the buildup of moisture, which can lead to the growth of bacteria or mold. Choose a storage location that allows air to circulate freely to keep the bottles dry and fresh.
- Protected from sunlight: Exposure to direct sunlight can degrade the quality of the bottles and their contents over time. Select a storage location that is away from direct sunlight or use a container or cupboard to shield the bottles from UV rays.
- Temperature control: Extreme temperatures can affect the integrity of the bottles and the formula or breast milk stored in them. Choose a storage location that maintains a moderate temperature, avoiding areas that are excessively hot or cold.
- Accessibility: Make sure the storage location provides easy access to the bottles whenever you need them. It’s convenient to have them within reach, especially during late-night feedings or when you have your hands full.
- Separate from other items: Keep your baby bottles separate from other household items to minimize the risk of contamination. Avoid storing them near cleaning supplies, chemicals, or items with strong odors that may transfer to the bottles.
By considering these factors and selecting a suitable storage location, you can ensure that your baby bottles are stored in a clean and convenient manner. Once you have chosen the ideal storage spot, you can move on to the next step: storing the bottles with their respective parts.
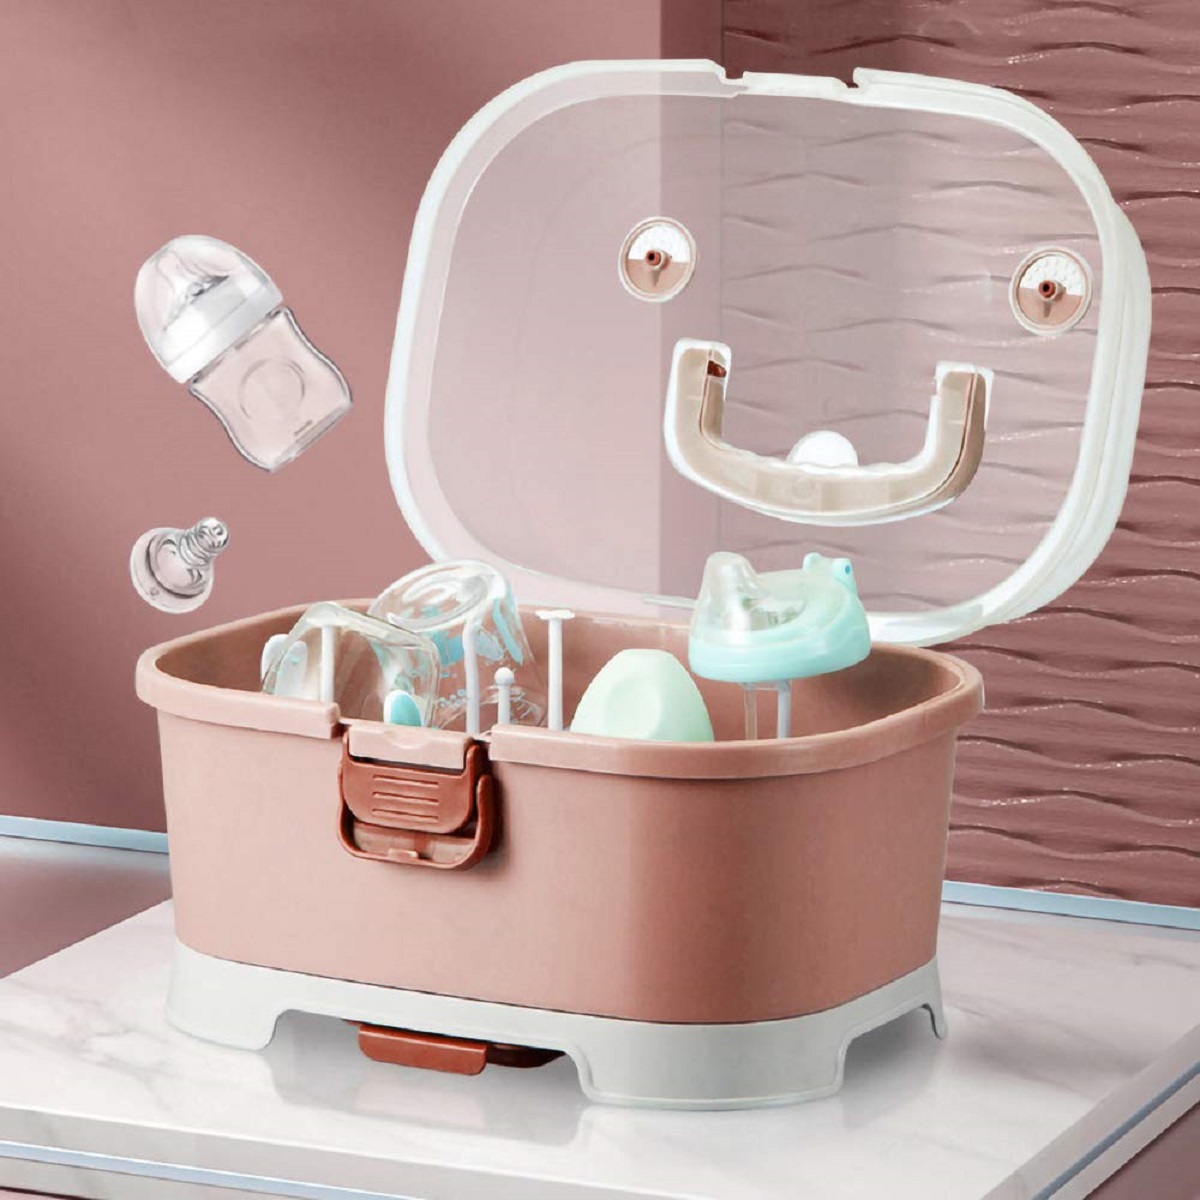
After sterilizing baby bottles, store them in a clean, covered container to keep them free from dust and germs until ready for use.
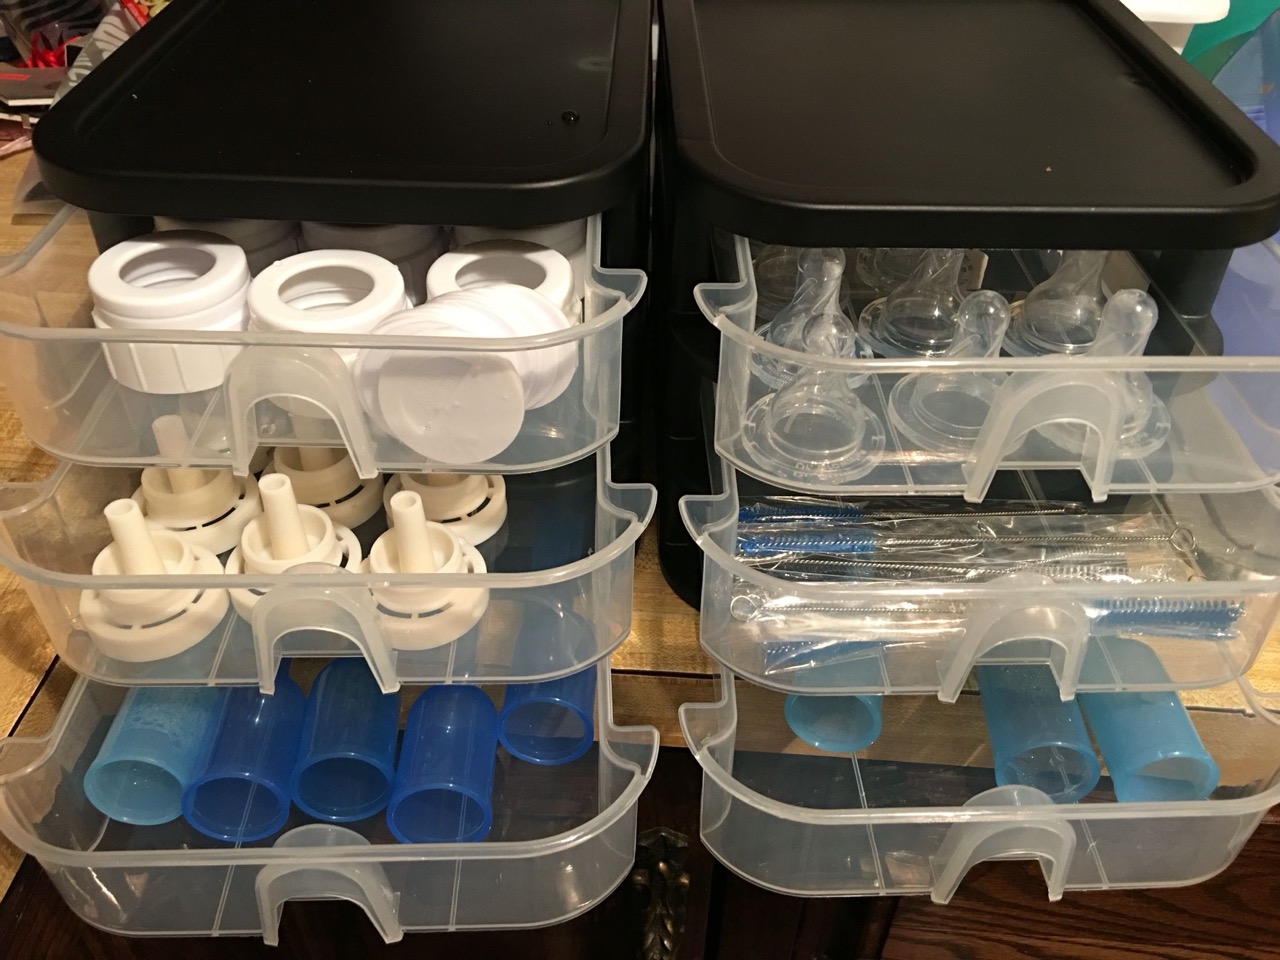
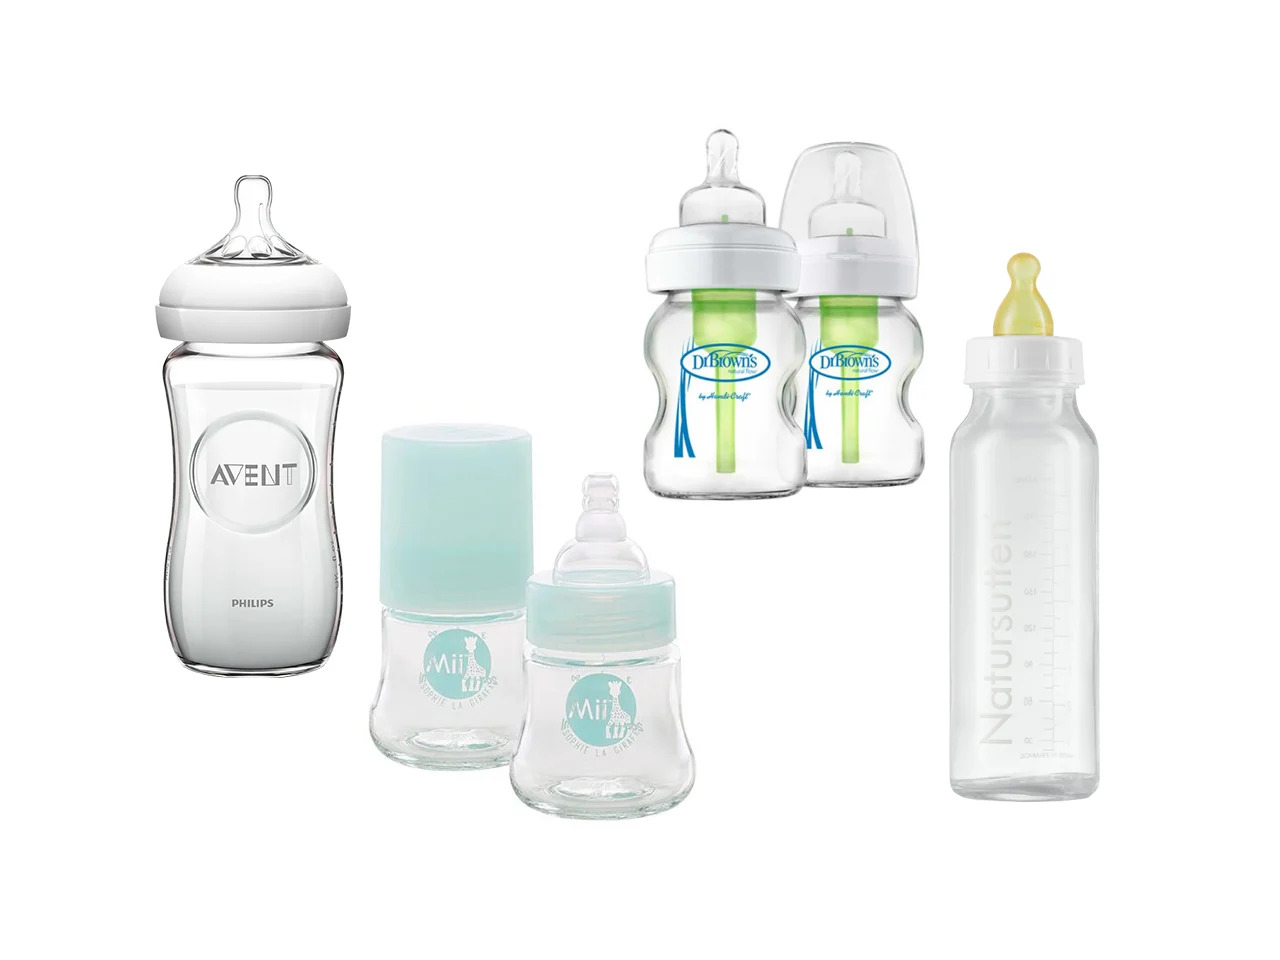
Step 4: Store bottles with their respective parts
Storing baby bottles with their respective parts helps to keep everything organized and easily accessible when it’s time to feed your little one. Here’s how to store the bottles with their various components:
- Reassemble the bottles: Start by reassembling each baby bottle. Place the sterilized nipple onto the bottle and secure it with the ring or cap. Make sure everything fits snugly to prevent any leaks or contamination.
- Keep bottles upright: Store the baby bottles in an upright position. This helps to prevent any potential leakage and ensures that the nipples stay clean and free from any contact with surfaces that may harbor bacteria.
- Organize in a designated container: Use a designated container or baby bottle organizer to keep the bottles and their parts together. This can be a specially designed baby bottle drying rack, a storage bin, or even a drawer with compartments. By keeping everything in one place, you can easily locate the bottles when needed.
- Arrange bottles systematically: If you have multiple bottles, arrange them systematically, either by size or in the order of use. This way, you can grab the bottle you need without having to rummage through the entire storage container.
- Label or color code: If you prefer, you can label or color code the bottles to make it even easier to identify them, especially if you are using different types of bottles or have multiple children. This can be done with removable labels or by using different colored rings or caps.
- Keep extras separate: If you have extra baby bottles that are not in regular use, it’s best to store them separately. This helps to maintain their cleanliness and prevents any mix-ups with the bottles in regular use.
By storing baby bottles with their respective parts in an organized manner, you can ensure that everything is readily available and in proper order for each feeding. This streamlined approach makes feeding time more efficient and stress-free for both you and your baby.
Step 5: Keep bottles covered or sealed
After storing baby bottles with their respective parts, it’s important to keep them covered or sealed to maintain their cleanliness and protect them from outside contaminants. Here’s what you need to do:
- Use bottle caps or covers: Most baby bottles come with their own bottle caps or covers. Ensure that you securely place the caps or covers over the nipples to protect them from dust, insects, and other particles in the air.
- Select sealable storage containers: If you prefer to store your baby bottles in a container or bag, opt for sealable storage containers or bags specifically designed for holding baby bottles. These containers provide an extra layer of protection and keep the bottles secure and free from any potential contaminants.
- Avoid plastic wrap or aluminum foil: While it may be tempting to use plastic wrap or aluminum foil as a makeshift cover for your baby bottles, it’s not recommended. These materials can interact with the bottles or expose them to harmful substances. Stick to using the original bottle caps or invest in proper sealable containers.
- Check for leaks: Before storing the bottles, make sure to check for any signs of leakage. Tighten the bottle caps or covers securely to prevent leaks. If you notice any leakage, replace the cap or cover or consider investing in new bottles to ensure the safety of your little one.
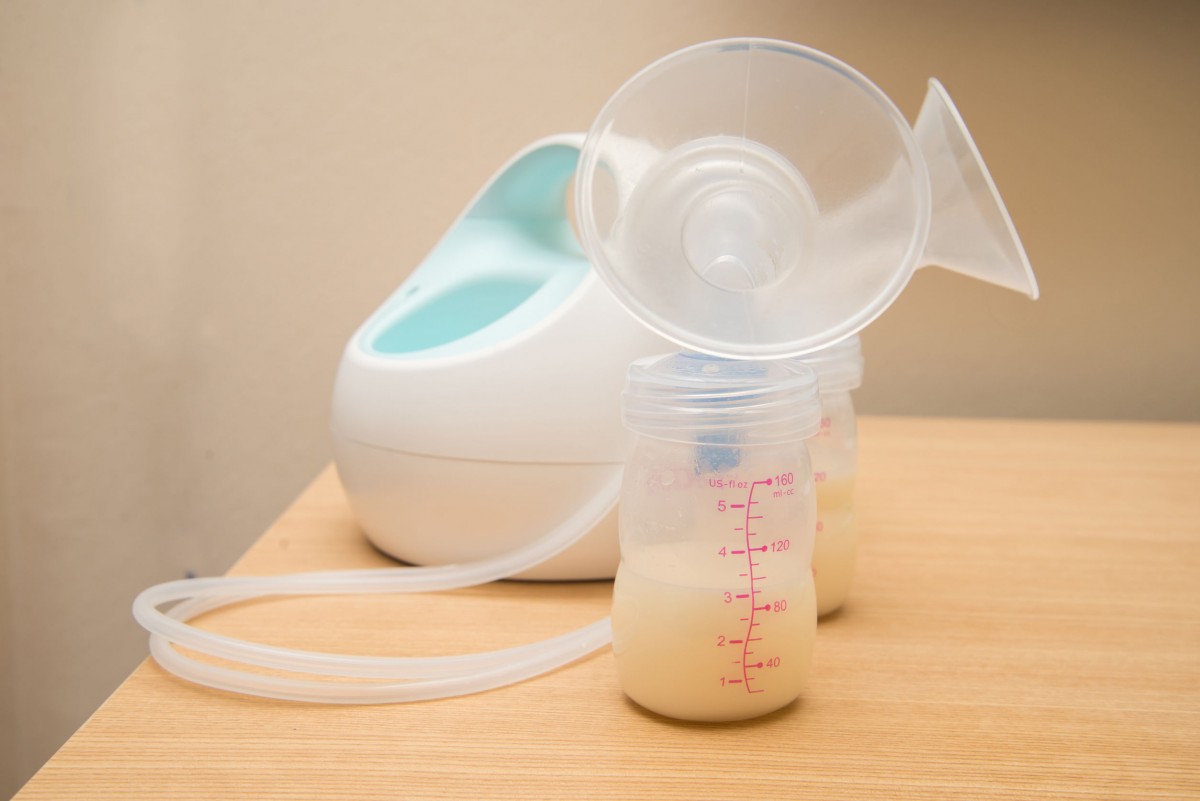
- Store breast milk separately: If you are storing expressed breast milk, it’s essential to use specific storage bags or containers made for breast milk and follow the guidelines for proper storage. Keep the breast milk contained within its designated storage bag and place it in a separate compartment or container within the baby bottle storage area.
By keeping the baby bottles covered or sealed, you maintain their cleanliness and prevent any potential contamination. This step helps to ensure that your baby’s bottles are safe and ready for use whenever hunger strikes.
Step 6: Maintain cleanliness and hygiene
Proper maintenance of cleanliness and hygiene is crucial in keeping your baby’s bottles safe and free from harmful bacteria. Here are some important practices to follow:
- Regular cleaning: Clean the baby bottles and their components thoroughly after each use. Use warm water and mild soap to wash them, making sure to scrub all surfaces, including the inside of the bottle and the nipple. Rinse them well to remove any soap residue.
- Sanitization: In addition to regular cleaning, it’s important to sanitize the baby bottles periodically. This can be done by boiling them in water for 5-10 minutes or using a sterilizer specifically designed for baby bottles. Follow the manufacturer’s instructions for proper sanitization.
- Replace worn-out or damaged bottles: Regularly inspect the baby bottles for any signs of wear and tear, such as cracks, discoloration, or damaged nipples. Replace any bottles or parts that show signs of deterioration to ensure optimal safety and hygiene.
- Avoid sharing bottles: It’s best to refrain from sharing baby bottles with other infants or children. Sharing bottles can lead to the spread of germs and illnesses, increasing the risk of contamination. Each baby should have their own set of bottles to maintain personal hygiene.
- Wash hands before handling: Always wash your hands thoroughly with soap and water before handling the baby bottles or preparing formula or breast milk. This helps to prevent the transfer of germs and maintain overall cleanliness.
- Regularly check storage area: Keep an eye on the storage area for the baby bottles, ensuring that it remains clean and free from any potential contaminants. Regularly wipe down the storage containers or racks with a mild disinfectant to maintain hygiene.
- Stay updated on guidelines: Keep yourself informed about any updated guidelines or recommendations regarding proper bottle hygiene. Stay in touch with your pediatrician or healthcare provider for the latest information on cleaning and storage practices.
By following these cleanliness and hygiene practices, you can ensure that your baby’s bottles remain safe, clean, and free from harmful bacteria. Your baby’s health and well-being are of utmost importance, and maintaining proper cleanliness is an essential part of providing the best care.
Now that you are equipped with the knowledge of how to store baby bottles after sterilizing, you can confidently ensure that your baby’s bottles are safe, clean, and ready for feeding time. By following these steps and maintaining proper hygiene practices, you can provide your little one with the best possible start in life.
Conclusion
Proper storage of baby bottles after sterilizing is an essential step in maintaining their cleanliness and ensuring the health and safety of your little one. By following the steps outlined in this article, you can keep your baby’s bottles free from contamination and in optimal condition for feeding.
From allowing the bottles to cool down and drying them thoroughly to choosing a suitable storage location and keeping the bottles covered or sealed, each step plays a crucial role in maintaining hygiene and preventing the growth of bacteria or mold. Additionally, maintaining cleanliness and hygiene through regular cleaning, sanitization, and replacing worn-out or damaged bottles are equally important aspects of bottle care.
Remember to always follow the guidelines provided by the bottle manufacturer and your pediatrician, as they may have additional recommendations specific to the brand or your baby’s unique needs.
By incorporating these practices into your routine, you can provide your baby with a safe and healthy feeding experience, free from any potential contaminants. As a parent, it’s your dedication and attention to detail that will help create a nurturing and hygienic environment for your little one.
So, embrace the responsibility of proper bottle storage and care, and enjoy the precious moments of feeding your baby with the confidence that you are providing them with the best possible care.
Frequently Asked Questions about How To Store Baby Bottles After Sterilizing
Was this page helpful?
At Storables.com, we guarantee accurate and reliable information. Our content, validated by Expert Board Contributors, is crafted following stringent Editorial Policies. We're committed to providing you with well-researched, expert-backed insights for all your informational needs.


0 thoughts on “How To Store Baby Bottles After Sterilizing”