Home>Furniture>Bedroom Furniture>How To Sterilize A Mattress
Bedroom Furniture
How To Sterilize A Mattress
Modified: October 18, 2024
Learn how to properly sterilize your mattress to ensure a clean and healthy bedroom environment. Discover effective techniques for sanitizing bedroom furniture.
(Many of the links in this article redirect to a specific reviewed product. Your purchase of these products through affiliate links helps to generate commission for Storables.com, at no extra cost. Learn more)
Introduction
Welcome to our comprehensive guide on how to sterilize a mattress. Your mattress is one of the most important pieces of furniture in your bedroom. It provides you with the comfort and support you need for a good night’s sleep. However, mattresses can also be a breeding ground for bacteria, dust mites, and allergens that can negatively impact your health.
Regularly sterilizing your mattress is a crucial part of maintaining a clean and healthy sleep environment. Not only will it help to eliminate unwanted odors, but it will also minimize the risk of allergies and respiratory problems. In this article, we’ll walk you through a step-by-step process to effectively sterilize your mattress and keep it fresh and hygienic.
Before we dive into the details, it’s important to understand that different types of mattresses may require different sterilization techniques. It’s always a good idea to check the manufacturer’s guidelines or consult with a professional to ensure that you are using the appropriate methods for your specific mattress.
Now, let’s explore the reasons why sterilizing your mattress is important for your health and well-being.
Key Takeaways:
- Regularly sterilizing your mattress is crucial for eliminating allergens, preventing bacterial growth, extending its lifespan, and promoting better sleep quality, leading to improved overall well-being.
- Follow a step-by-step guide to effectively sterilize your mattress using a vacuum cleaner, steam cleaner, and disinfectant spray, and maintain its cleanliness with additional tips for a healthy sleep environment.
Read more: How To Sterilize Glass Jars
Why Sterilizing Your Mattress is Important
Keeping your mattress clean and free from bacteria is crucial for several reasons. Here’s why sterilizing your mattress is important:
- Eliminating Allergens: Over time, mattresses can accumulate allergens such as dust mites, pet dander, and pollen. These allergens can trigger symptoms in individuals with allergies or asthma, leading to discomfort and difficulty breathing. Regular sterilization helps to remove these allergens, creating a healthier sleep environment.
- Preventing Bacterial Growth: The warm and moist environment of a mattress can provide a breeding ground for bacteria and fungi. These microorganisms can cause odors, skin infections, and other health issues. Sterilizing your mattress effectively kills these harmful microorganisms and prevents their growth.
- Removing Stains and Odors: Mattresses are prone to stains and odors from spills, sweat, bodily fluids, and other sources. These can be unpleasant and impact the overall freshness of your mattress. Sterilization methods help in reducing and removing stains and odors, making your mattress clean, fresh, and more appealing.
- Extending Mattress Lifespan: Regular sterilization not only improves hygiene but also helps prolong the lifespan of your mattress. By preventing the buildup of dirt, allergens, and bacteria, you can maintain the integrity and functionality of your mattress for a longer period, saving you money in the long run.
- Promoting Better Sleep: A clean and hygienic mattress provides a more comfortable and healthy sleep environment. When you sleep on a clean mattress, you can experience better sleep quality, reduced allergies, and fewer respiratory problems. This can lead to improved overall well-being and a more rejuvenating sleep experience.
Now that you understand the importance of sterilizing your mattress, let’s move on to the step-by-step guide on how to effectively sterilize your mattress.
Step-by-Step Guide to Sterilizing Your Mattress
Follow these steps to effectively sterilize your mattress and keep it clean:
- Gather the Materials: Start by collecting all the necessary materials for the sterilization process. You will need a vacuum cleaner with upholstery attachment, a steam cleaner, disinfectant spray, clean cloths or towels, and a mattress protector.
- Prepare the Mattress: Strip off all the bedding and remove any pillows or mattress toppers from the mattress. This will allow you to have full access to the mattress surface during the sterilization process.
- Vacuum the Mattress: Use the upholstery attachment on your vacuum cleaner to thoroughly vacuum the mattress. Pay special attention to the seams and crevices where dust mites and allergens tend to accumulate. This step will help remove surface debris and allergens from the mattress.
- Use a Steam Cleaner: If you have a steam cleaner, go over the entire surface of the mattress with the steam nozzle. The high temperature of the steam will help kill bacteria, dust mites, and other microorganisms. Move the steam cleaner slowly to ensure that the steam penetrates deep into the mattress fabric.
- Apply Disinfectant Spray: After steam cleaning, let the mattress air dry for a few moments. Then, spray a disinfectant spray evenly over the entire mattress surface. Be sure to choose a disinfectant that is safe for use on mattresses and can effectively kill bacteria and fungi. Follow the instructions on the disinfectant spray regarding the amount and application technique.
- Drying and Reassembling the Mattress: Allow the mattress to air-dry completely before reassembling it. Open the windows in your bedroom or use a fan to expedite the drying process. Once the mattress is dry, place a clean mattress protector on it before putting the sheets and bedding back on.
By following these steps, you can effectively sterilize your mattress and create a clean and healthy sleep environment.
Now, let’s explore the materials you will need for the sterilization process.
Materials Needed
Before you begin sterilizing your mattress, gather the following materials:
- Vacuum cleaner with upholstery attachment: A vacuum cleaner with an upholstery attachment is essential for removing surface debris, dust, and allergens from your mattress.
- Steam cleaner: If you have access to a steam cleaner, it can be a powerful tool for killing bacteria, dust mites, and other microorganisms on your mattress.
- Disinfectant spray: Choose a disinfectant spray that is safe for use on mattresses and effective in killing bacteria and fungi. Look for products specifically designed for mattress sterilization.
- Clean cloths or towels: You will need clean cloths or towels to blot any excess moisture and to apply the disinfectant spray evenly on the mattress surface.
- Mattress protector: Having a good quality mattress protector is essential to prevent spills, stains, and allergens from seeping into your mattress. It also adds an extra layer of protection during the sterilization process.
These materials will help you effectively sterilize your mattress, ensuring a clean and healthy sleep environment.
Next, let’s move on to preparing the mattress for the sterilization process.
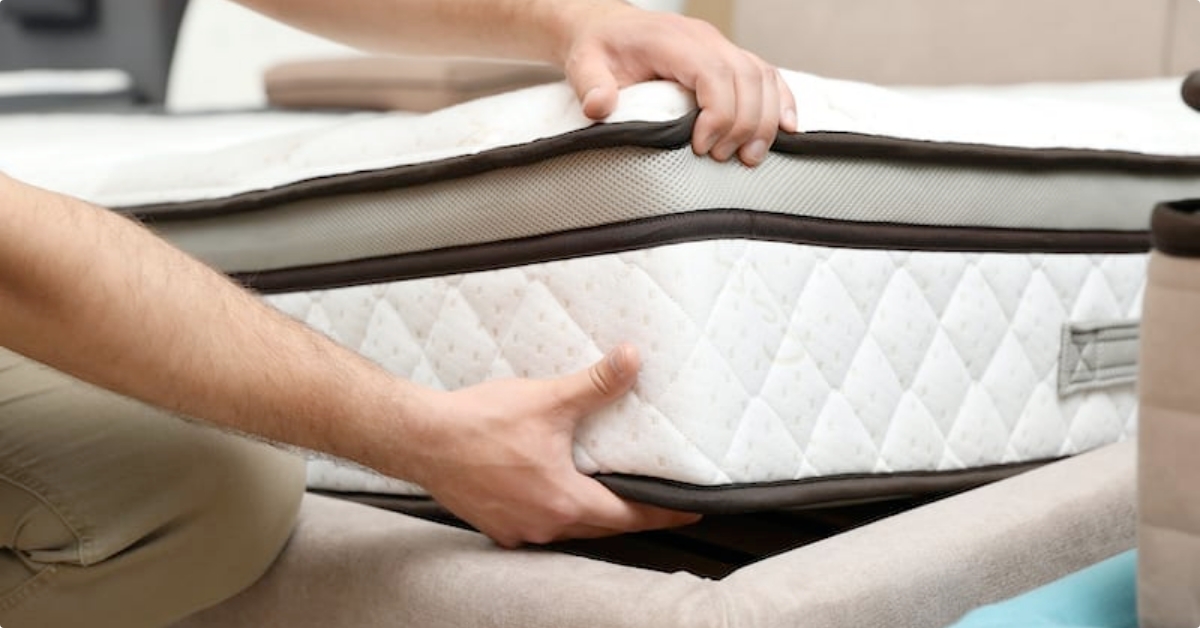
Preparing the Mattress
Before you start sterilizing your mattress, it’s important to properly prepare it. Follow these steps to ensure you have a clean surface for the sterilization process:
- Strip off all bedding: Remove any sheets, pillowcases, blankets, and mattress protectors from the mattress. This will give you clear access to the entire surface of the mattress.
- Check for stains or spills: Take a close look at your mattress for any visible stains or spills. If you notice any, make a note of their location so you can focus on treating those areas during the sterilization process.
- Spot clean stains: If there are stains on your mattress, it’s a good idea to spot clean them before sterilizing. Use a mild detergent mixed with water and a soft cloth to gently dab and clean the stained areas. Avoid saturating the mattress with excessive moisture, as it can cause damage or promote mold growth.
- Allow the mattress to air out: If your mattress has an odor, it’s helpful to let it air out for a few hours before starting the sterilization process. Open the windows in your bedroom or place the mattress in a well-ventilated area to allow fresh air to circulate and remove any unpleasant smells.
By properly preparing your mattress, you’ll ensure that the sterilization process is more effective in removing bacteria, allergens, and odors. Now that the mattress is ready, let’s move on to the next step: vacuuming.
Read more: How To Sterilize Glass Bottles
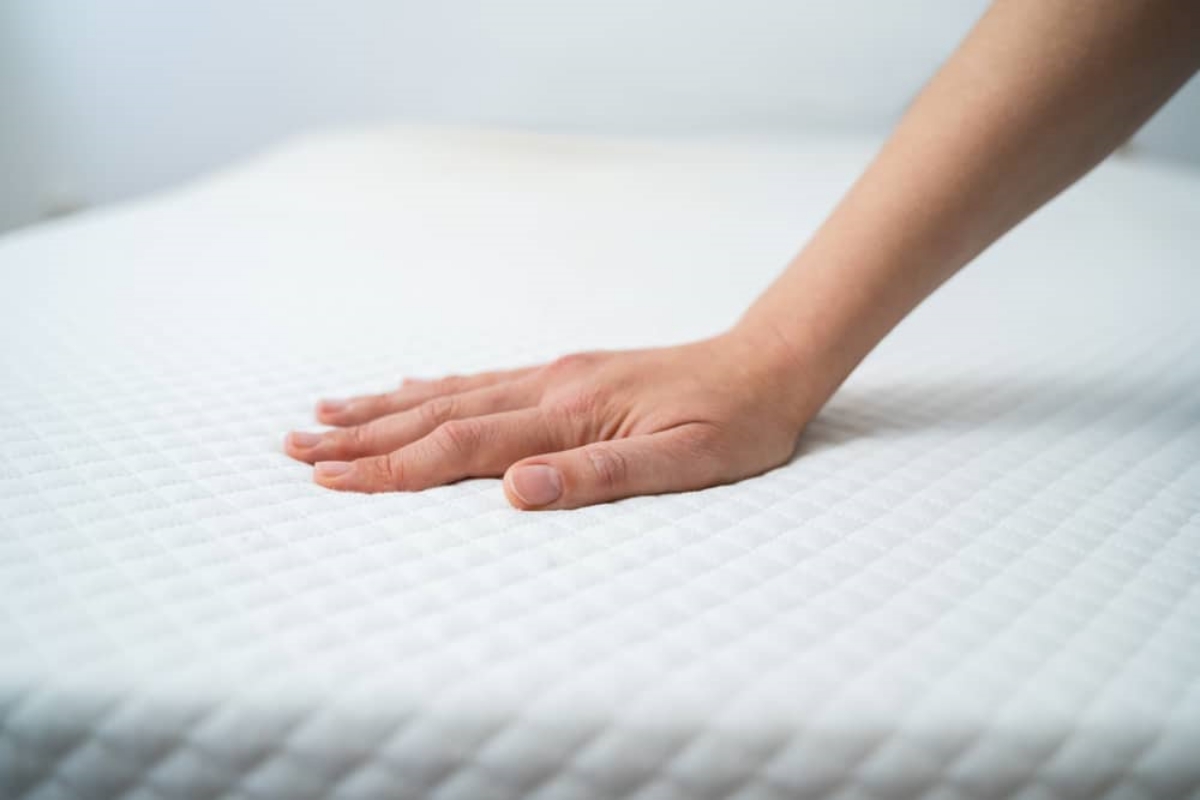
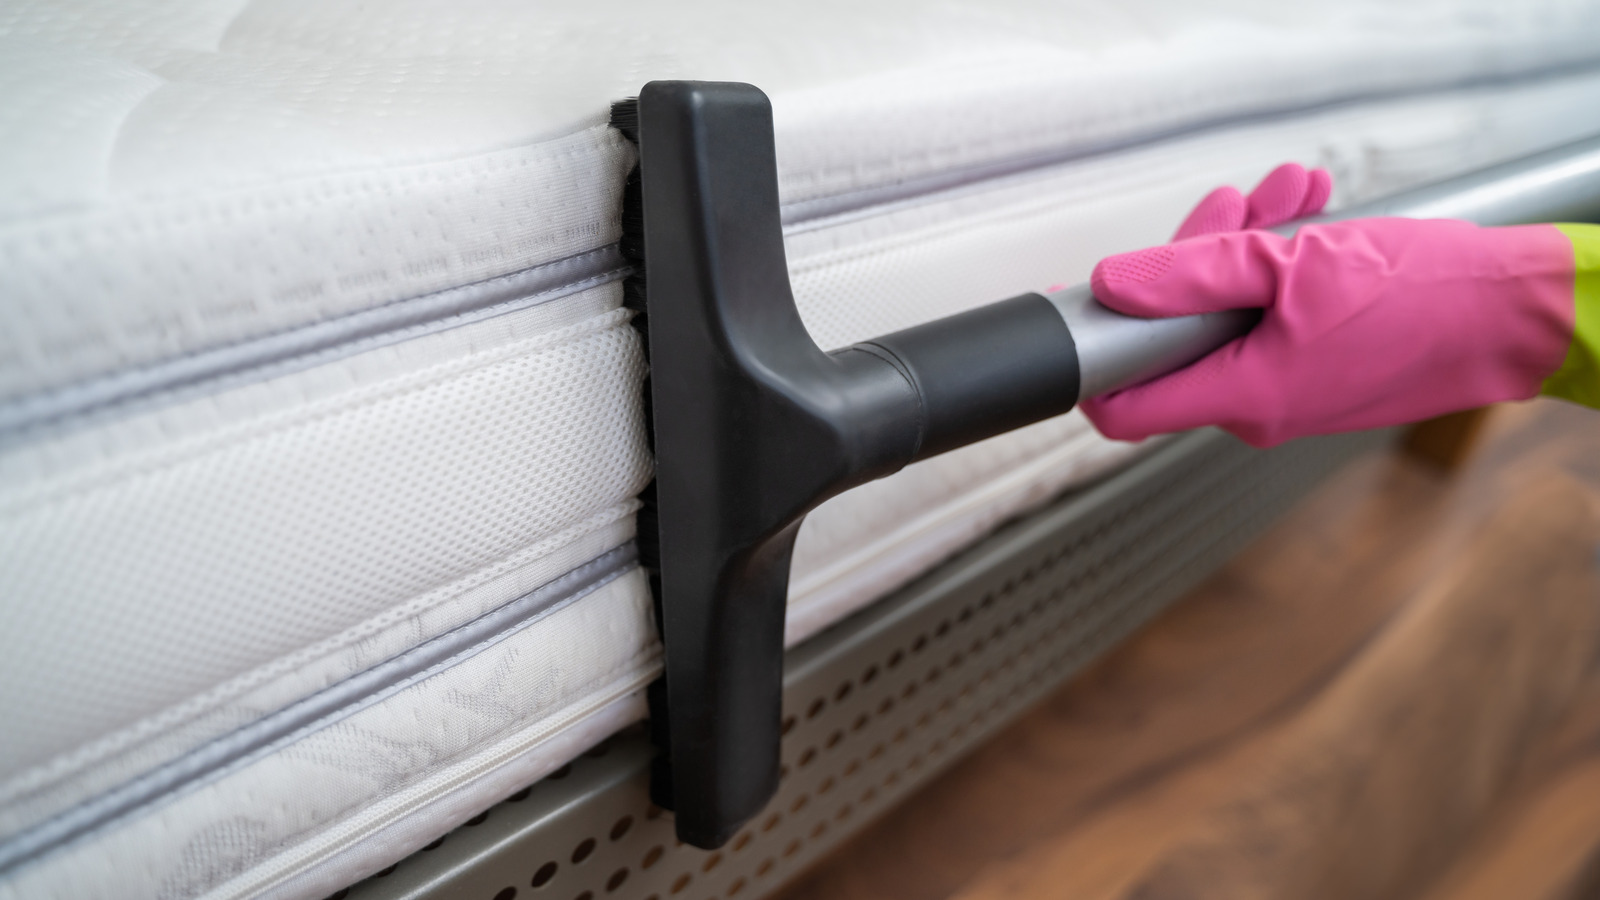
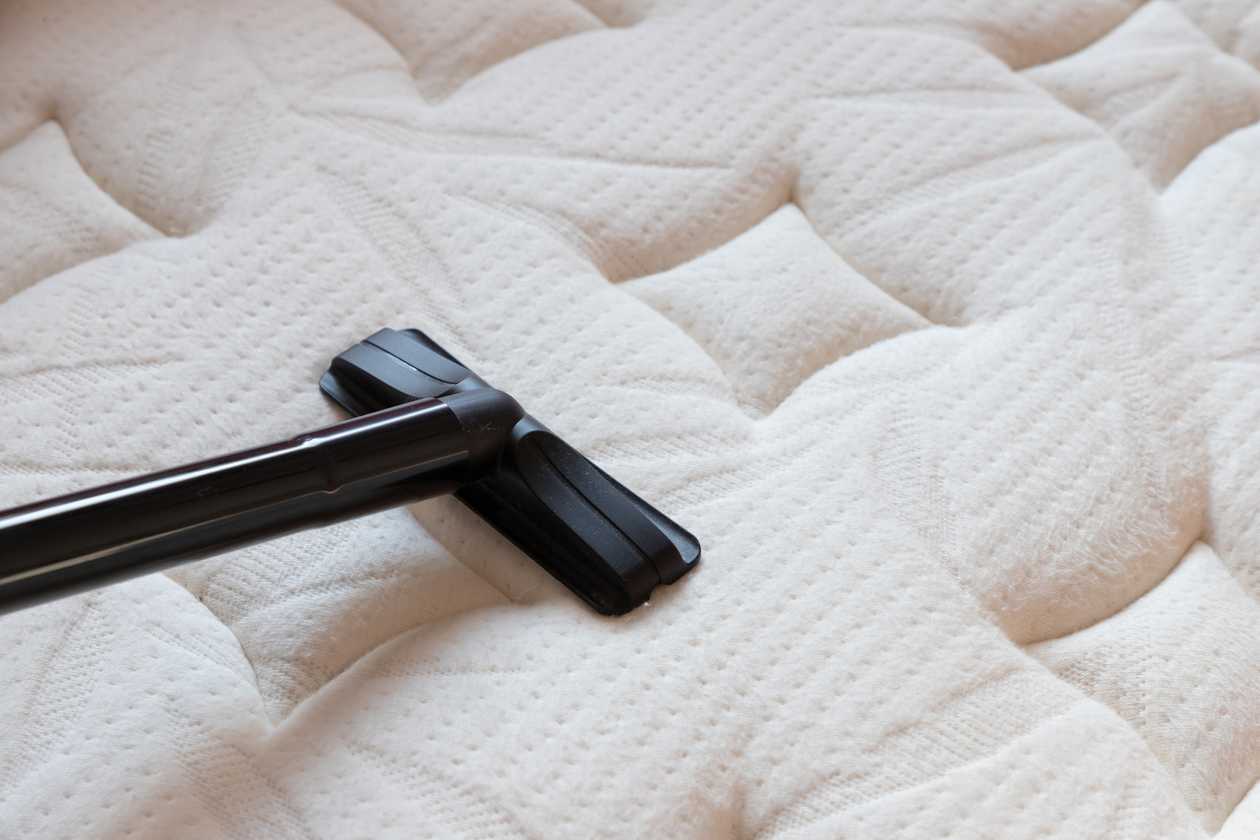
Vacuuming the Mattress
Vacuuming your mattress is an essential step in the sterilization process, as it helps remove dust, debris, and allergens from the surface. Follow these steps to effectively vacuum your mattress:
- Attach the upholstery attachment: Start by attaching the upholstery attachment to your vacuum cleaner. This attachment is specifically designed to clean upholstered surfaces like mattresses.
- Begin at the top of the mattress: Start vacuuming at the top of the mattress and work your way down. Use long, sweeping motions to cover the entire surface area.
- Pay attention to seams and crevices: Dust mites and allergens tend to accumulate in the seams and crevices of the mattress. Take extra time to vacuum these areas thoroughly, using the nozzle or crevice attachment if necessary.
- Vacuum both sides of the mattress: Flip your mattress over and repeat the vacuuming process on the other side. This will ensure a thorough clean and remove any hidden dirt or allergens.
- Use a brush attachment for stubborn debris: If there are any stubborn debris or pet hair on the mattress, consider using a brush attachment on your vacuum cleaner to loosen and remove them effectively.
Remember to vacuum the mattress regularly, not just during the sterilization process. This will help maintain a clean and allergen-free sleep environment. Now that your mattress is vacuumed, let’s move on to the next step: using a steam cleaner.
To sterilize a mattress, use a handheld steam cleaner to kill bacteria and dust mites. Make sure to cover the entire surface and allow the mattress to dry completely before using it again.
Using a Steam Cleaner
A steam cleaner is a powerful tool for sterilizing your mattress, as it uses high-temperature steam to kill bacteria, dust mites, and other microorganisms. Follow these steps to effectively use a steam cleaner on your mattress:
- Read the manufacturer’s instructions: Before using a steam cleaner, carefully read the manufacturer’s instructions to familiarize yourself with the specific features and safety precautions.
- Prepare the steam cleaner: Fill the steam cleaner’s reservoir with clean water according to the manufacturer’s instructions. Allow the steam cleaner to heat up until it reaches the appropriate temperature.
- Test on a small, inconspicuous area: Before steaming the entire mattress, test the steam cleaner on a small, inconspicuous area to ensure that it doesn’t damage or discolor the fabric. This step is especially important for delicate or sensitive mattress materials.
- Hold the steam nozzle above the mattress: Hold the steam nozzle approximately 1-2 inches above the mattress surface. Move the nozzle slowly and steadily across the mattress, covering the entire area. The steam will penetrate the fabric, killing bacteria and dust mites.
- Pay attention to stains and odors: For stubborn stains or odors, spend a little extra time steaming those areas. The high temperature of the steam can help break down and remove stains, as well as eliminate odors.
- Avoid excessive moisture: It’s important not to saturate the mattress with excessive steam or moisture. Move the steam cleaner at an appropriate pace to allow the steam to penetrate without leaving the mattress overly wet.
- Allow the mattress to dry: After steam cleaning, allow the mattress to air dry completely. Open the windows in your bedroom or use a fan to promote proper airflow and expedite the drying process.
Using a steam cleaner is an effective way to sterilize your mattress and eliminate bacteria and allergens. However, if you don’t have access to a steam cleaner, don’t worry. You can still achieve a hygienic mattress by following the next step: applying a disinfectant spray.
Applying Disinfectant Spray
Applying a disinfectant spray to your mattress after vacuuming and steam cleaning is an additional step to ensure thorough sterilization. Follow these steps to effectively apply a disinfectant spray to your mattress:
- Select a suitable disinfectant spray: Choose a disinfectant spray that is specifically formulated for use on mattresses. Look for a product that is effective in killing bacteria, viruses, and fungi.
- Read the instructions: Carefully read the instructions on the disinfectant spray bottle. Pay attention to the recommended application technique, the amount to be used, and any safety precautions.
- Shake the bottle well: Before applying the disinfectant spray, shake the bottle well to ensure that the solution is properly mixed.
- Spray the mattress evenly: Hold the disinfectant spray bottle about 6-8 inches away from the mattress surface. Spray the solution evenly over the entire mattress, making sure to cover all areas, including seams and edges.
- Focus on stained or odor-prone areas: For areas of the mattress that have stains or are prone to odors, apply a slightly larger amount of disinfectant spray and let it sit for a few minutes. This will give the solution more time to work on breaking down stains and eliminating odors.
- Avoid over-saturation: It’s important not to oversaturate the mattress with the disinfectant spray, as excessive moisture can promote mold growth. Use a moderate amount of spray, ensuring that the mattress is lightly damp but not soaked.
- Allow the mattress to dry: After applying the disinfectant spray, allow the mattress to air dry completely. This will typically take a few hours, depending on the ventilation in your bedroom.
Applying a disinfectant spray will further enhance the cleanliness and hygiene of your mattress, ensuring that it is free from harmful microorganisms. Now that your mattress is sterilized, let’s move on to the final step: drying and reassembling the mattress.
Drying and Reassembling the Mattress
After sterilizing your mattress, it’s important to allow it to dry completely before reassembling it. Follow these steps to ensure proper drying and reassembling:
- Air out the mattress: Open the windows in your bedroom or use a fan to promote airflow and aid in the drying process. This will help remove any residual moisture from the mattress.
- Turn on ceiling fans or use a standing fan: If you have ceiling fans in your bedroom, turn them on to increase air circulation. If not, use a standing fan directed towards the mattress to help speed up the drying process.
- Avoid direct sunlight: While it may be tempting to place the mattress in direct sunlight to dry quickly, prolonged exposure to sunlight can cause the fabrics to fade and deteriorate. It’s best to allow the mattress to dry indoors, away from direct sunlight.
- Pat dry any damp spots: If you notice any damp spots on the mattress, gently pat them dry with a clean cloth or towel. Avoid rubbing or applying excessive pressure to prevent damage to the mattress fibers.
- Reassemble the mattress: Once the mattress is completely dry, it’s time to reassemble it. Place a clean mattress protector on the mattress, followed by fresh sheets, pillowcases, and any other bedding you normally use.
- Wash or replace bedding: Take the opportunity to wash your bedding, including sheets, pillowcases, and mattress protectors. If necessary, replace any worn-out or damaged bedding to maintain a clean and hygienic sleep environment.
By properly drying and reassembling your mattress, you can ensure optimum cleanliness, freshness, and comfort for your future nights of restful sleep.
Now that your mattress is clean and ready for use, let’s explore some additional tips for maintaining a clean mattress.
Read more: How To Store Baby Bottles After Sterilizing
Additional Tips for Maintaining a Clean Mattress
Now that you have sterilized your mattress and it is fresh and clean, it’s important to maintain its cleanliness. Here are some additional tips for keeping your mattress clean:
- Regularly vacuum your mattress: Even after the sterilization process, it’s essential to vacuum your mattress regularly to keep it free from dust, allergens, and debris. Aim to vacuum your mattress at least once every few months.
- Rotate and flip your mattress: To ensure even wear and distribution of weight, rotate your mattress every few months. If your mattress is double-sided, flip it over as well. This helps prevent sagging and extends the lifespan of your mattress.
- Use a mattress protector: Invest in a good quality mattress protector to shield your mattress from spills, stains, and allergens. Wash the mattress protector regularly to keep it clean and hygienic.
- Avoid eating or drinking in bed: Eating or drinking in bed can lead to accidental spills and stains on your mattress. Try to limit these activities to prevent unnecessary messes and maintain mattress cleanliness.
- Keep pets out of the bed: If you have pets, it’s best to keep them off your mattress. Pet hair and dander can accumulate on the mattress and trigger allergies. Create a designated sleeping space for your furry friends to avoid any pet-related messes on your mattress.
- Keep the bedroom clean: Maintaining a clean bedroom overall is key to a clean mattress. Regularly dust and clean the bedroom, wash your bedding, and keep the room well-ventilated to prevent dust and allergen buildup.
- Rotate and wash your bedding: Wash your bedding, including sheets, pillowcases, and blankets, regularly in hot water to kill any dust mites or allergens. Rotate and wash your pillows as well to maintain a clean sleeping environment.
- Address stains and spills immediately: If you spill something on your mattress, address it promptly to prevent stains from setting in. Blot the stain gently with a clean cloth or towel and treat it with a mild cleaning solution following manufacturer instructions.
- Consider professional cleaning: If your mattress needs a deep clean or if there are stubborn stains and odors that you can’t remove on your own, consider hiring professional mattress cleaning services. They have specialized tools and expertise to thoroughly clean and sanitize your mattress.
By following these tips, you can maintain a clean and hygienic mattress for a comfortable and healthy sleeping environment. Remember to regularly repeat the sterilization process to keep your mattress fresh and free from allergens and bacteria.
We hope this guide has been helpful in assisting you with sterilizing your mattress. Enjoy a restful and clean night’s sleep!
Contact expert@example.com for more information about mattress cleaning services in your area.
Conclusion
Caring for your mattress goes beyond just changing the sheets and fluffing the pillows. Sterilizing your mattress is a critical part of maintaining a clean and healthy sleep environment. By following the step-by-step guide we’ve provided, you can effectively eliminate bacteria, dust mites, allergens, and odors from your mattress.
Throughout this guide, we’ve highlighted the importance of sterilizing your mattress and explained how to do it properly. Regularly vacuuming, using a steam cleaner, applying a disinfectant spray, and allowing the mattress to dry thoroughly are key steps in the process. Additionally, we’ve shared tips on maintaining a clean mattress, such as using a mattress protector, rotating the mattress, and keeping the bedroom clean.
Remember, a clean mattress not only improves hygiene but also enhances your sleep quality and overall well-being. By eliminating allergens and bacteria, you can reduce the risk of allergies, respiratory problems, and discomfort while sleeping. A fresh and hygienic mattress promotes a better night’s sleep, allowing you to wake up feeling refreshed and rejuvenated.
Incorporate the tips mentioned in this guide into your regular cleaning routine to maintain a clean and healthy sleep environment. However, if you find that your mattress needs a deeper clean, consider seeking professional mattress cleaning services. They have the expertise and specialized equipment to provide a thorough and effective clean.
We hope this comprehensive guide has equipped you with the knowledge and confidence to sterilize your mattress successfully. Take the necessary steps to care for your mattress, and you’ll enjoy a clean and comfortable sleep experience for years to come.
For more information or assistance with mattress cleaning services, contact expert@example.com. Sleep well and sleep clean!
Frequently Asked Questions about How To Sterilize A Mattress
Was this page helpful?
At Storables.com, we guarantee accurate and reliable information. Our content, validated by Expert Board Contributors, is crafted following stringent Editorial Policies. We're committed to providing you with well-researched, expert-backed insights for all your informational needs.