Articles
How To Store Basil With Roots
Modified: October 20, 2024
Looking for articles on how to store basil with roots? Find step-by-step guides and tips to keep your basil fresh and flavorful.
(Many of the links in this article redirect to a specific reviewed product. Your purchase of these products through affiliate links helps to generate commission for Storables.com, at no extra cost. Learn more)
Introduction
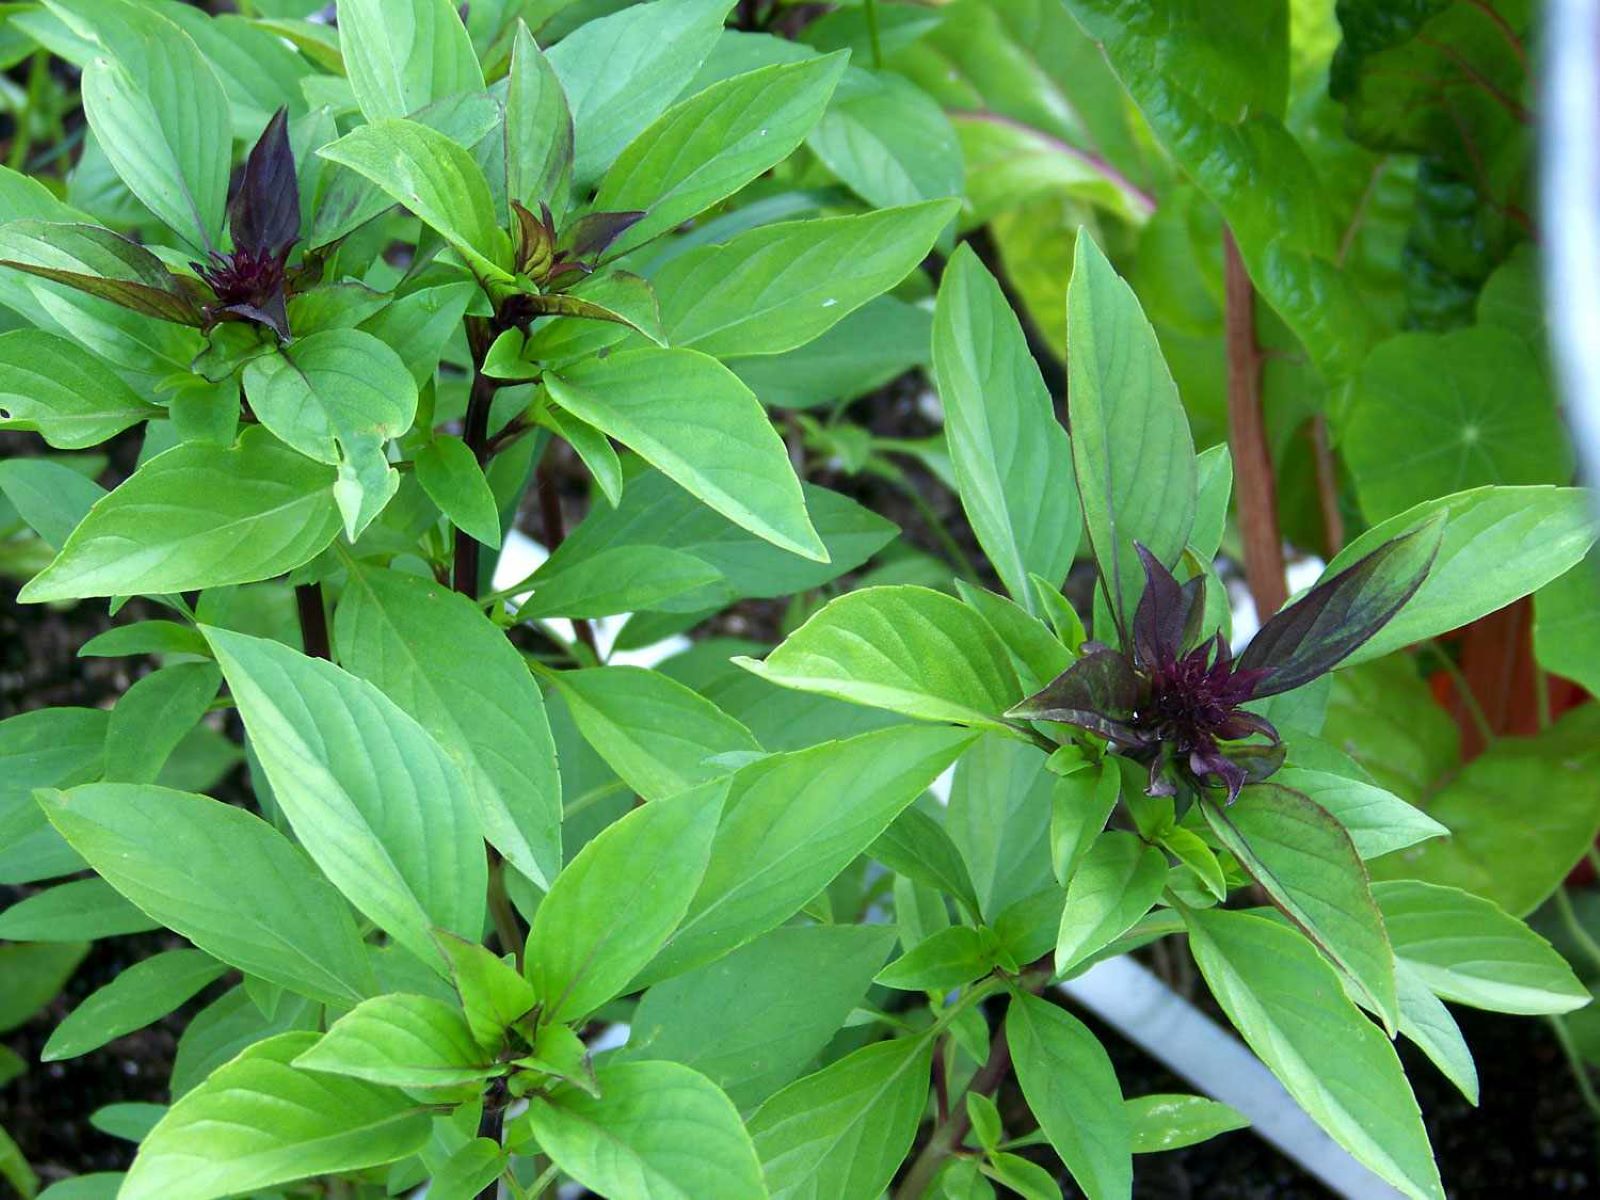
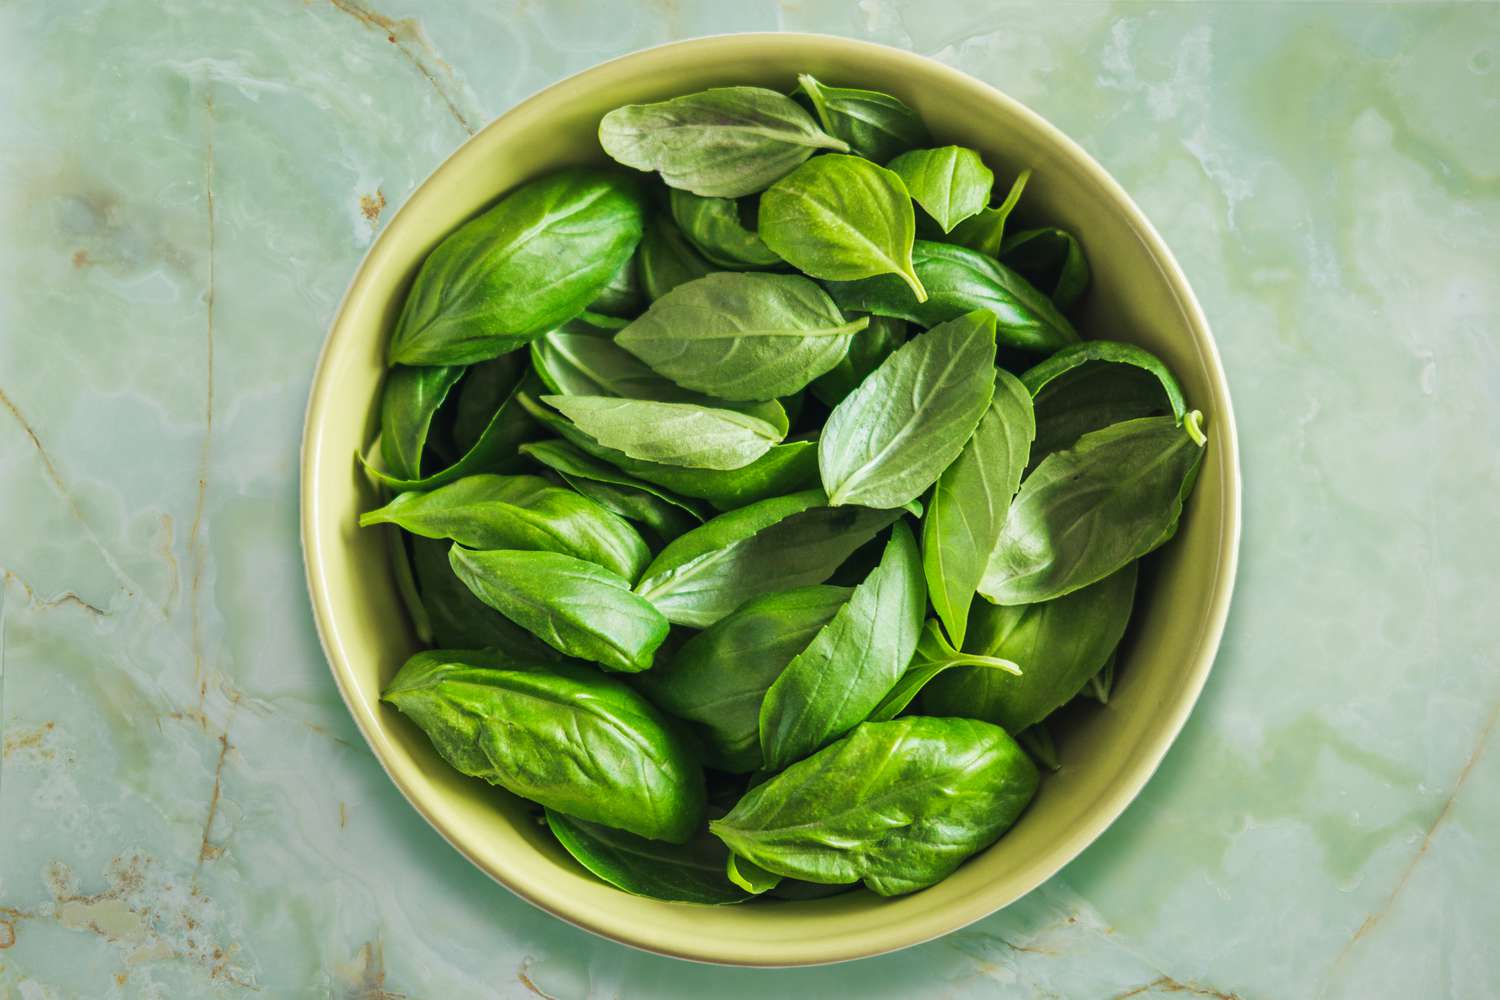
When it comes to cooking with fresh herbs, basil is a beloved and versatile ingredient. Its vibrant flavor and aroma add a delightful touch to various dishes, from pasta and pizzas to salads and sauces. However, keeping basil fresh for an extended period can be a challenge. Basil leaves tend to wilt and lose their aromatic properties quickly.
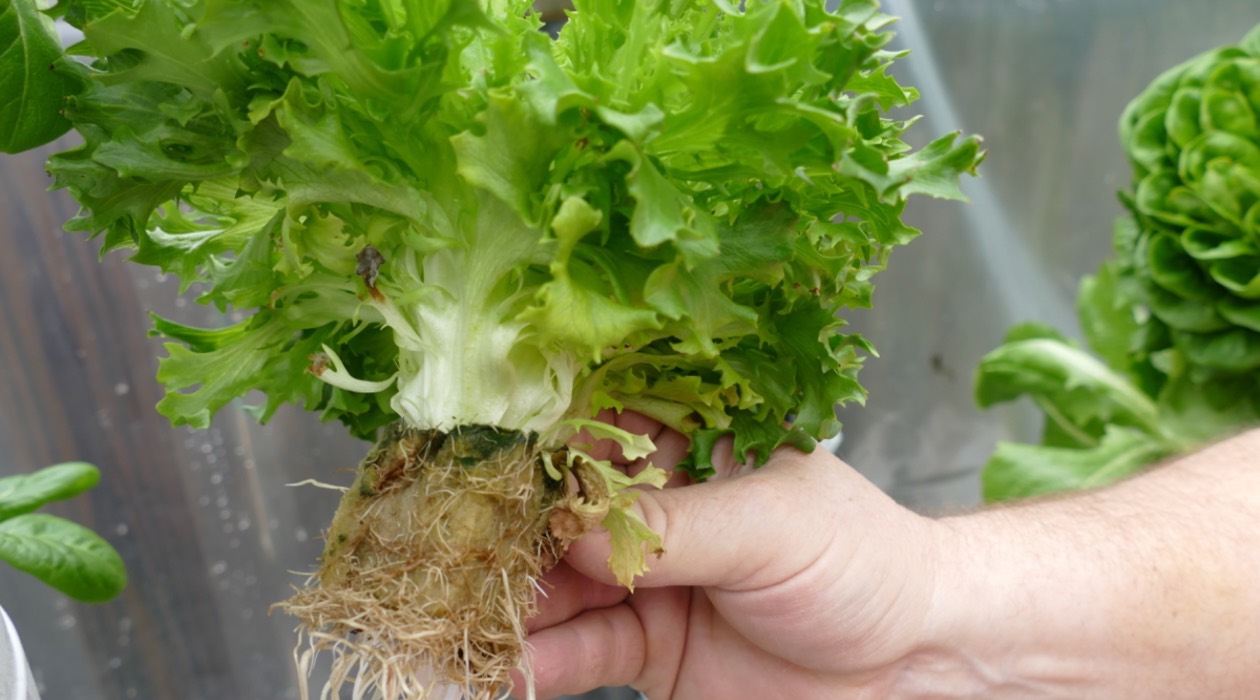
If you’ve ever wanted to extend the shelf life of your basil and enjoy its freshness for longer, then storing basil with its roots can be a game-changer. This method not only helps keep the basil leaves fresh but also allows you to grow new basil plants for future use.
In this article, we will explore the benefits of storing basil with roots and provide a step-by-step guide on how to do it effectively. So, grab your gardening gloves and let’s get started!
Key Takeaways:
- Store basil with roots to prolong freshness, regrow new plants, save money, and reduce food waste. Enjoy convenient access to fresh basil for culinary delights.
- Follow the step-by-step guide to harvest, clean, and care for basil plants, ensuring optimal conditions for continuous growth and bountiful harvests.
Read more: How To Store Dried Basil
Benefits of Storing Basil with Roots
Storing basil with its roots offers several advantages over traditional methods of preserving herbs. Here are some of the key benefits:
- Prolongs Freshness: When basil is stored with its roots, it has a better chance of staying fresh for a longer time. The roots continue to supply the basil leaves with nutrients and moisture, helping to maintain their vibrant color and aroma.
- Regrows Basil Plants: By keeping the roots intact, you create an opportunity to regrow new basil plants. Once the stored basil starts to grow roots in water or soil, you can transplant them into pots or your garden, ensuring a continuous supply of fresh basil.
- Cost-Effective: Buying fresh basil regularly can become costly. With the “store with roots” method, you can save money by growing your own basil plants instead of purchasing multiple bunches of basil every week.
- Reduces Food Waste: Storing basil with roots helps reduce food waste. Instead of throwing away wilted, unused basil, you can extend its shelf life and enjoy it in your meals over a more extended period.
- Convenient and Accessible: Having fresh basil readily available in your kitchen is convenient and enhances your culinary experience. Whether you need a few leaves as a garnish or a handful for a pesto sauce, having a plant on hand makes it easier to incorporate basil into your dishes.
Now that you understand the benefits of storing basil with its roots let’s move on to the materials and tools you will need to get started.
Materials and Tools Needed
Before you begin storing basil with its roots, it’s essential to gather the necessary materials and tools. Here’s what you’ll need:
- Basil plants: Select healthy basil plants with robust stems and leaves. Ensure that the plants have well-developed roots.
- Sharp scissors or pruners: These will be used for harvesting the basil plants.
- Clean water: You’ll need water to rinse the basil plants before storing them.
- A storage container: Choose a container that is large enough to accommodate the basil plants. Opt for a container with drainage holes to prevent waterlogging.
- Well-draining potting soil: This will be used if you plan to transplant the basil plants into pots or your outdoor garden after the storage period.
- Labels or markers: These will help you identify the different basil varieties, if you have multiple types stored.
- Watering can or mister: You’ll need these to water the basil plants while they are stored.
- A sunny location: Find a spot in your home that receives ample sunlight to provide optimal growing conditions for the basil plants.
- A thermometer: This will help you monitor the temperature in the storage area to ensure it remains within the ideal range for basil plants.
Once you have gathered these materials and tools, you are ready to proceed with the step-by-step process of storing basil with roots. Let’s move on to the first step: harvesting the basil plants.
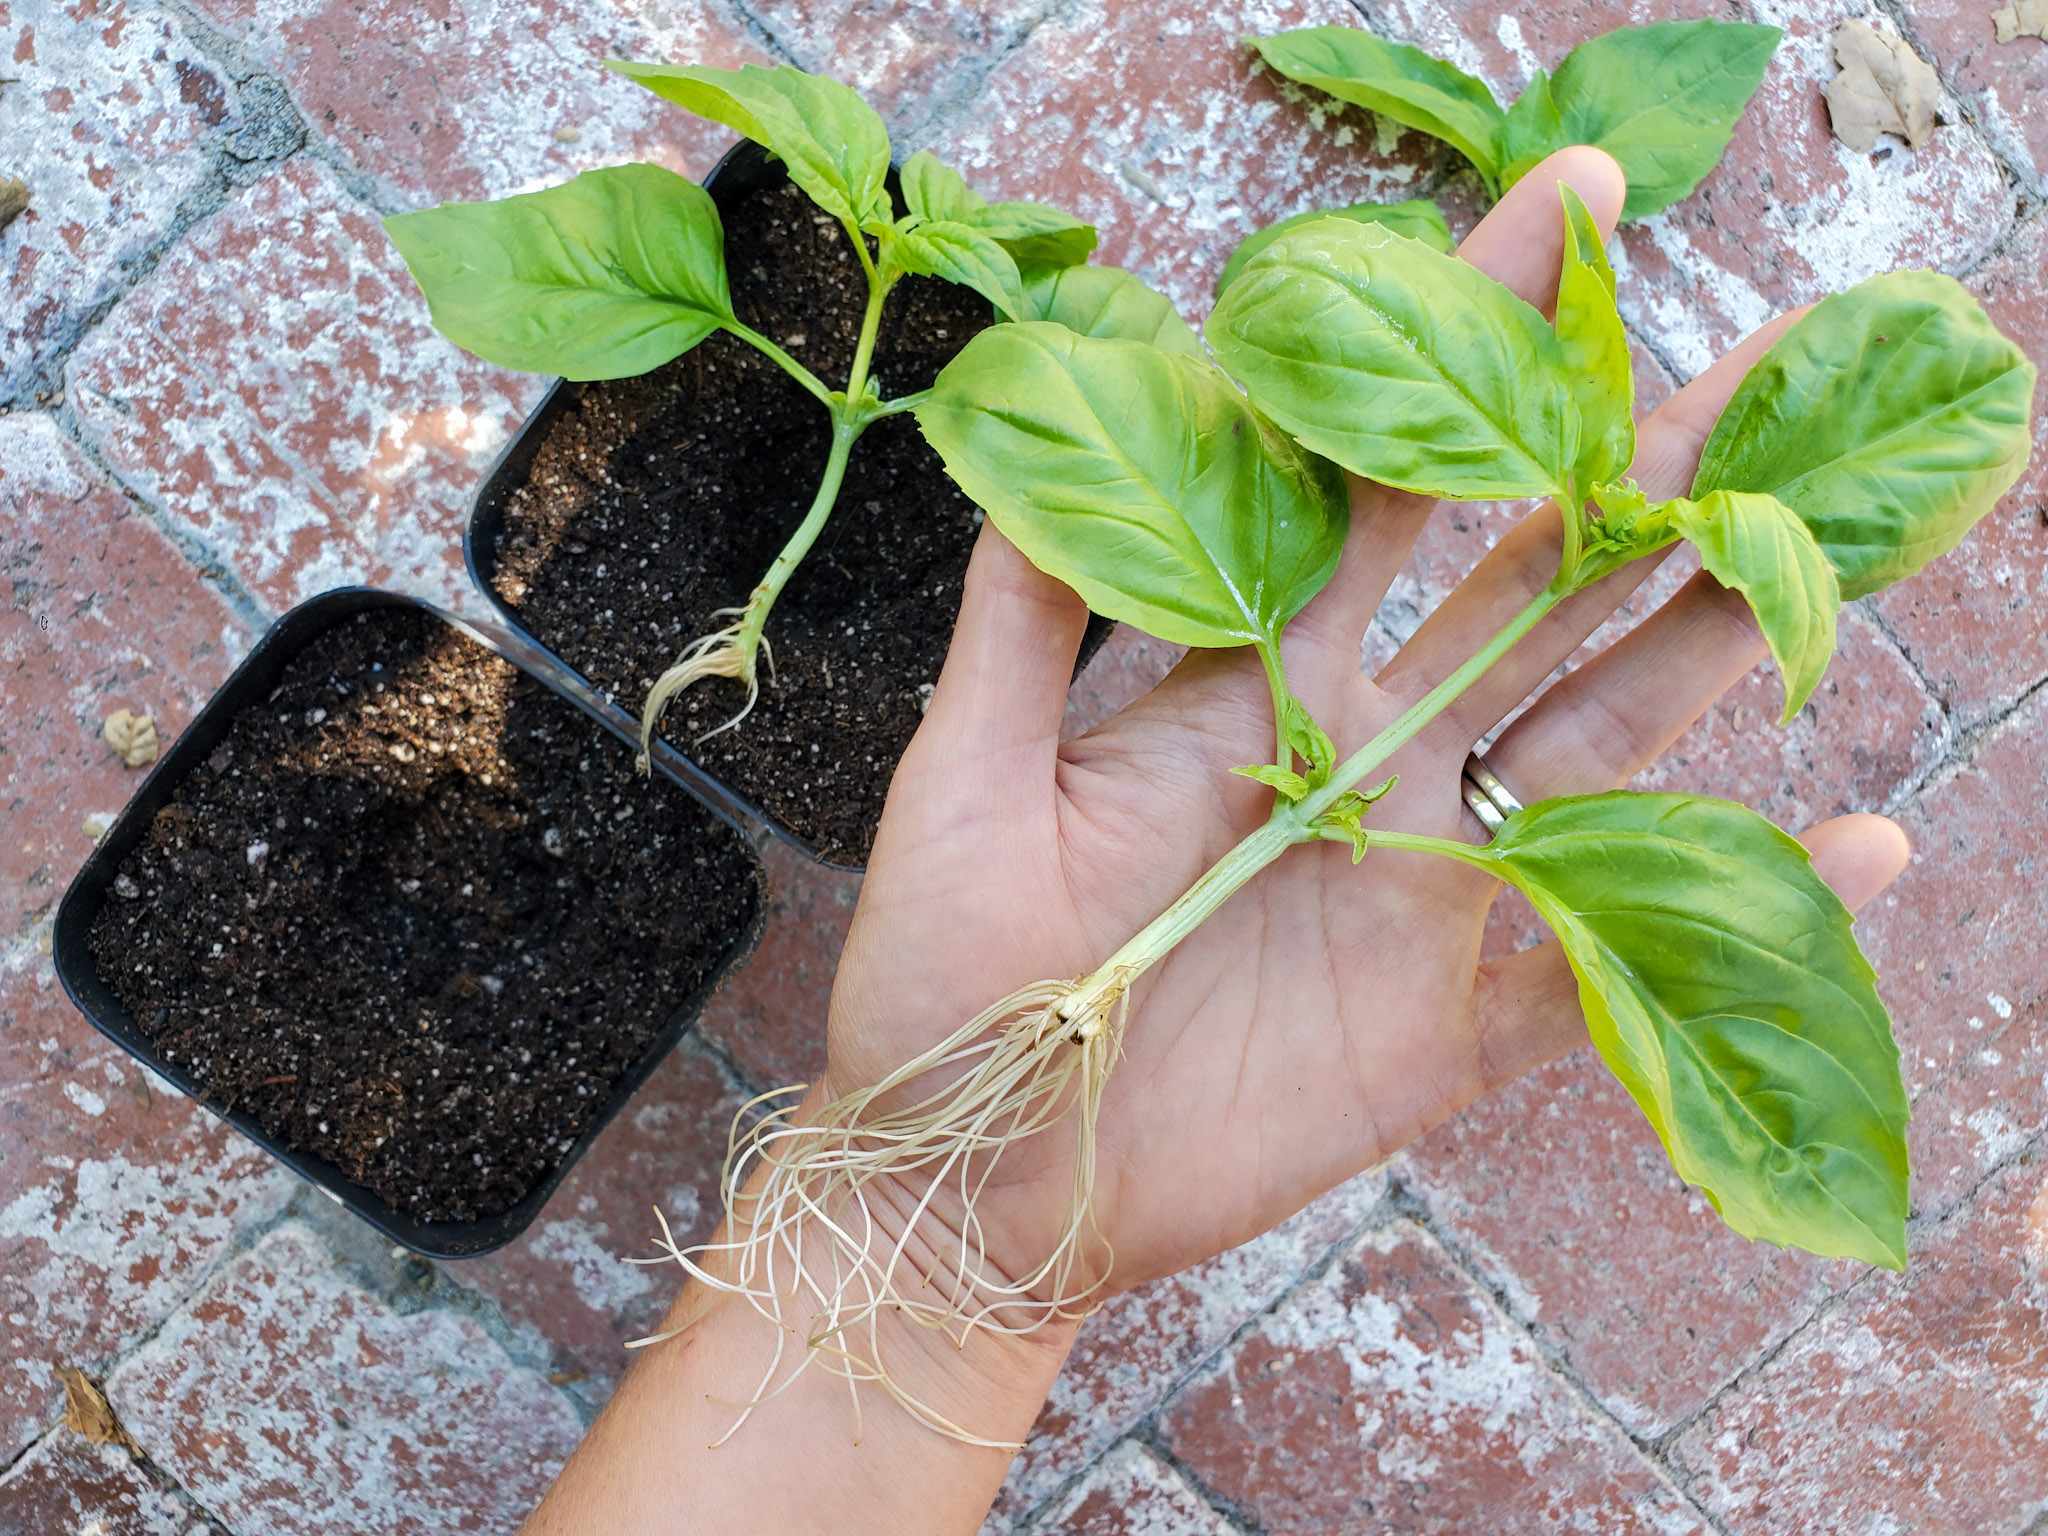
Step 1: Harvesting Basil with Roots
The first step in storing basil with roots is to harvest the basil plants. Follow these simple steps to ensure a successful harvest:
- Select mature basil plants: Choose basil plants that are mature and have a height of at least 6 inches. Look for plants with healthy leaves and sturdy stems.
- Prepare your tools: Use a pair of sharp scissors or pruners to cut the basil stems cleanly. Ensure that your tools are clean and sterilized to prevent the spread of diseases.
- Choose the stems to cut: Select the stems that are about 4-6 inches long. These stems should have healthy leaves and be free from any signs of damage or disease.
- Cut the stems: Position your scissors or pruners just above a set of leaves, and make a clean diagonal cut through the stem. Avoid tearing or crushing the stem, as this can impede proper healing and rooting.
- Leave some leaves on the stem: Make sure to leave a few sets of leaves on each stem. These leaves will provide energy for the newly harvested basil plants.
- Avoid over-harvesting: It’s important not to take too many stems from a single plant. Leave at least two-thirds of the plant intact to ensure its continued growth and health.
- Rinse the stems: After harvesting, gently rinse the stems under cool water to remove any dirt or debris. Pat them dry with a towel or allow them to air dry before proceeding to the next step.
Now that you have harvested the basil plants with their roots intact, it’s time to move on to the next step: cleaning the basil plants.
Step 2: Cleaning Basil Plants
Now that you have harvested the basil plants with their roots, it’s important to clean them properly to remove any dirt, pests, or debris. Follow these steps to clean your basil plants:
- Remove any damaged or yellowing leaves: Inspect the basil plants and remove any leaves that appear discolored, damaged, or yellowing. Maintaining healthy foliage will ensure the best chances of successful storage.
- Rinse under cool water: Hold the basil plants under gentle running water, allowing the water to wash away any dirt or pests clinging to the leaves. Be careful not to apply excessive pressure, as basil leaves can be delicate.
- Pat dry with a towel: After rinsing, gently pat the leaves and stems dry with a clean towel. Drying the plants will help prevent excess moisture, which can lead to fungal growth and rot during storage.
- Inspect for any pests: Take this opportunity to thoroughly examine the leaves and stems for any signs of pests, such as aphids or spider mites. If you notice any infested portions, trim them off and discard them.
- Check for diseases: Look for any signs of diseases, such as fungal lesions or powdery mildew, on the leaves. If you spot any diseased leaves, remove them to prevent further spread.
By cleaning the basil plants thoroughly, you ensure that they are free from dirt, pests, and diseases, which can compromise their overall health and longevity in storage. Now that the basil plants are clean, it’s time to prepare the storage container for their placement. Let’s move on to the next step.
Read more: How To Store Strawberry Roots
Step 3: Preparing Storage Container
To ensure the optimal storage conditions for your basil plants, it’s important to prepare a suitable storage container. Follow these steps to prepare the container:
- Select an appropriate container: Choose a container that is large enough to accommodate the basil plants comfortably. The container should have drainage holes to prevent water from accumulating and causing root rot.
- Clean the container: Thoroughly clean the container with soap and water to remove any dirt or residue. Rinse it well to ensure no soap residue remains, as this can be harmful to the basil plants.
- Add a layer of pebbles or gravel: Place a layer of pebbles or gravel at the bottom of the container. This will promote proper drainage and prevent the roots from sitting in water, which can lead to rot.
- Fill with well-draining soil: Fill the container with well-draining potting soil. Choose a high-quality potting mix that is suitable for growing herbs. Avoid using garden soil, as it may not provide the necessary drainage.
- Level the soil: Gently pat down the soil to create a level surface for placing the basil plants. Ensure that the soil is evenly distributed throughout the container.
Once you have prepared the storage container, you are ready to move on to the next step: placing the basil plants in the container. This step will ensure that the basil plants have a suitable environment for maintaining their root health and promoting new growth. Let’s proceed to the next step.
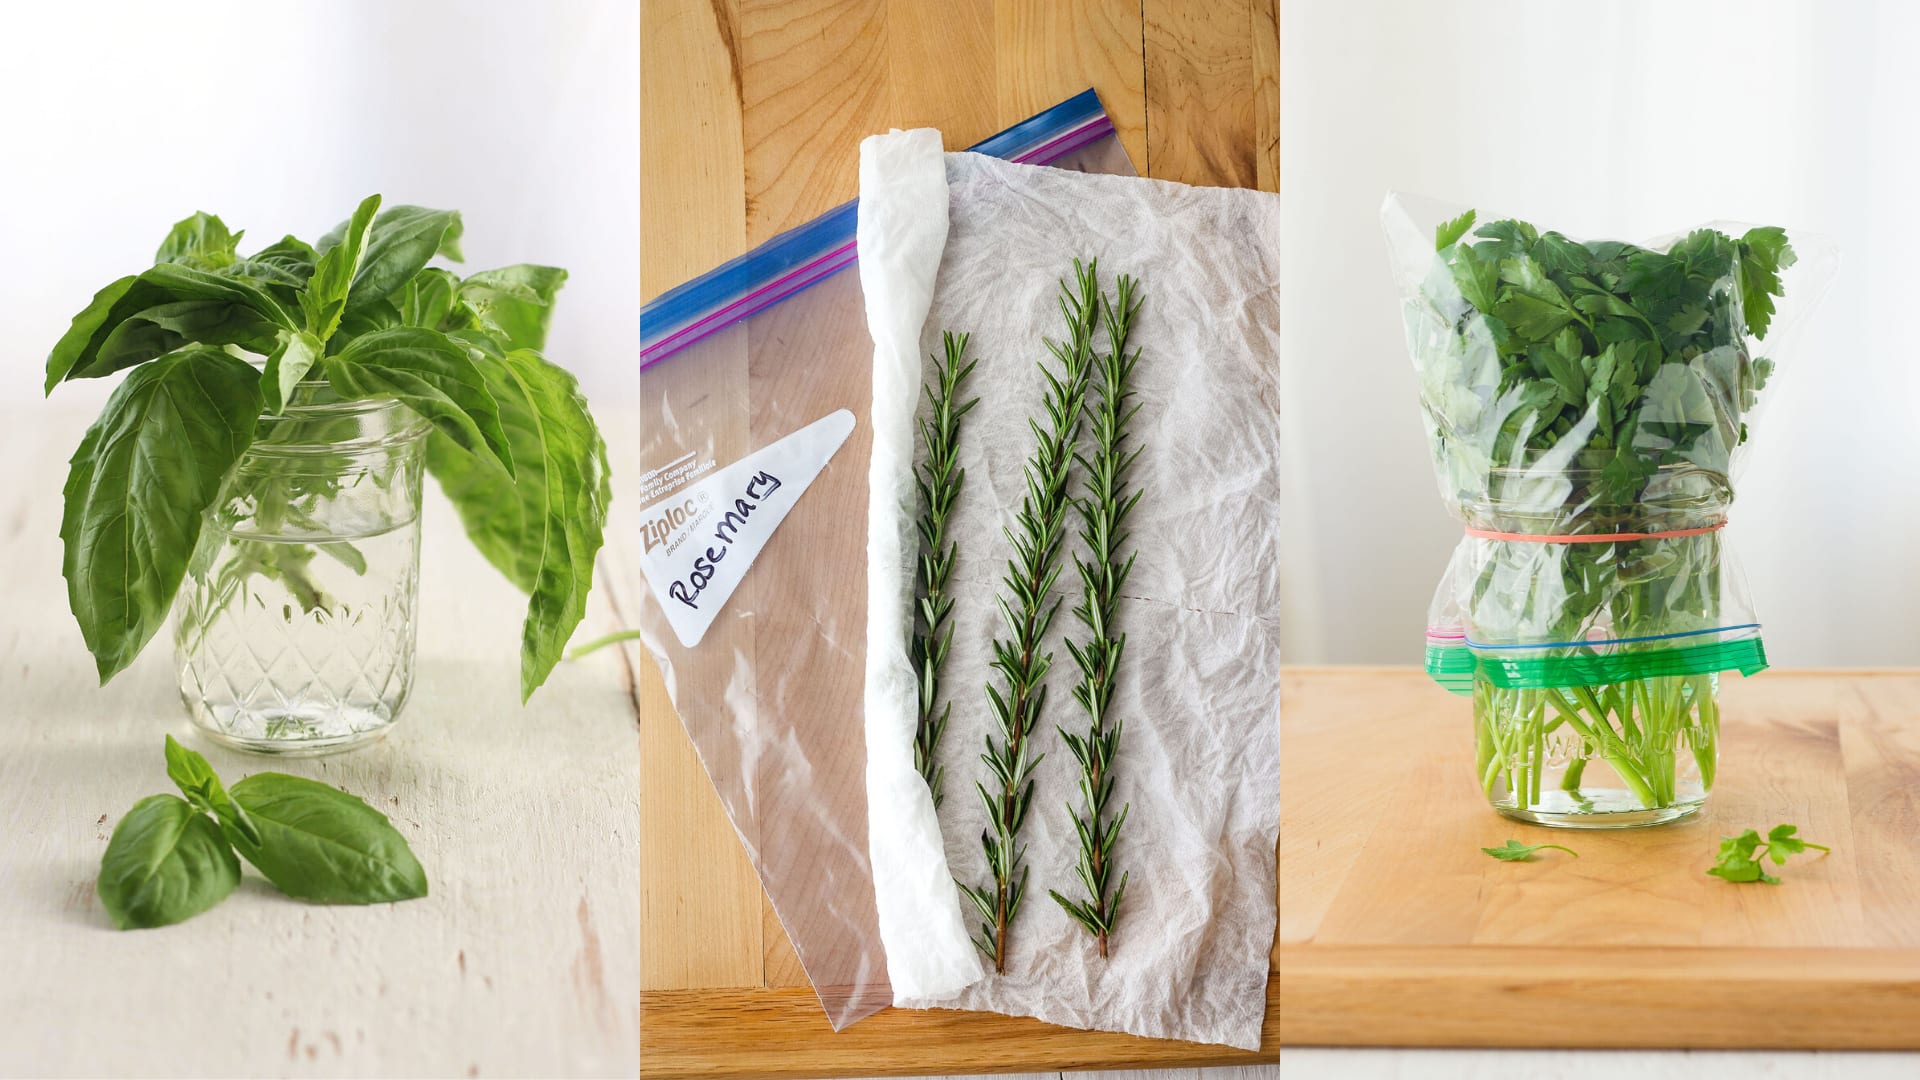
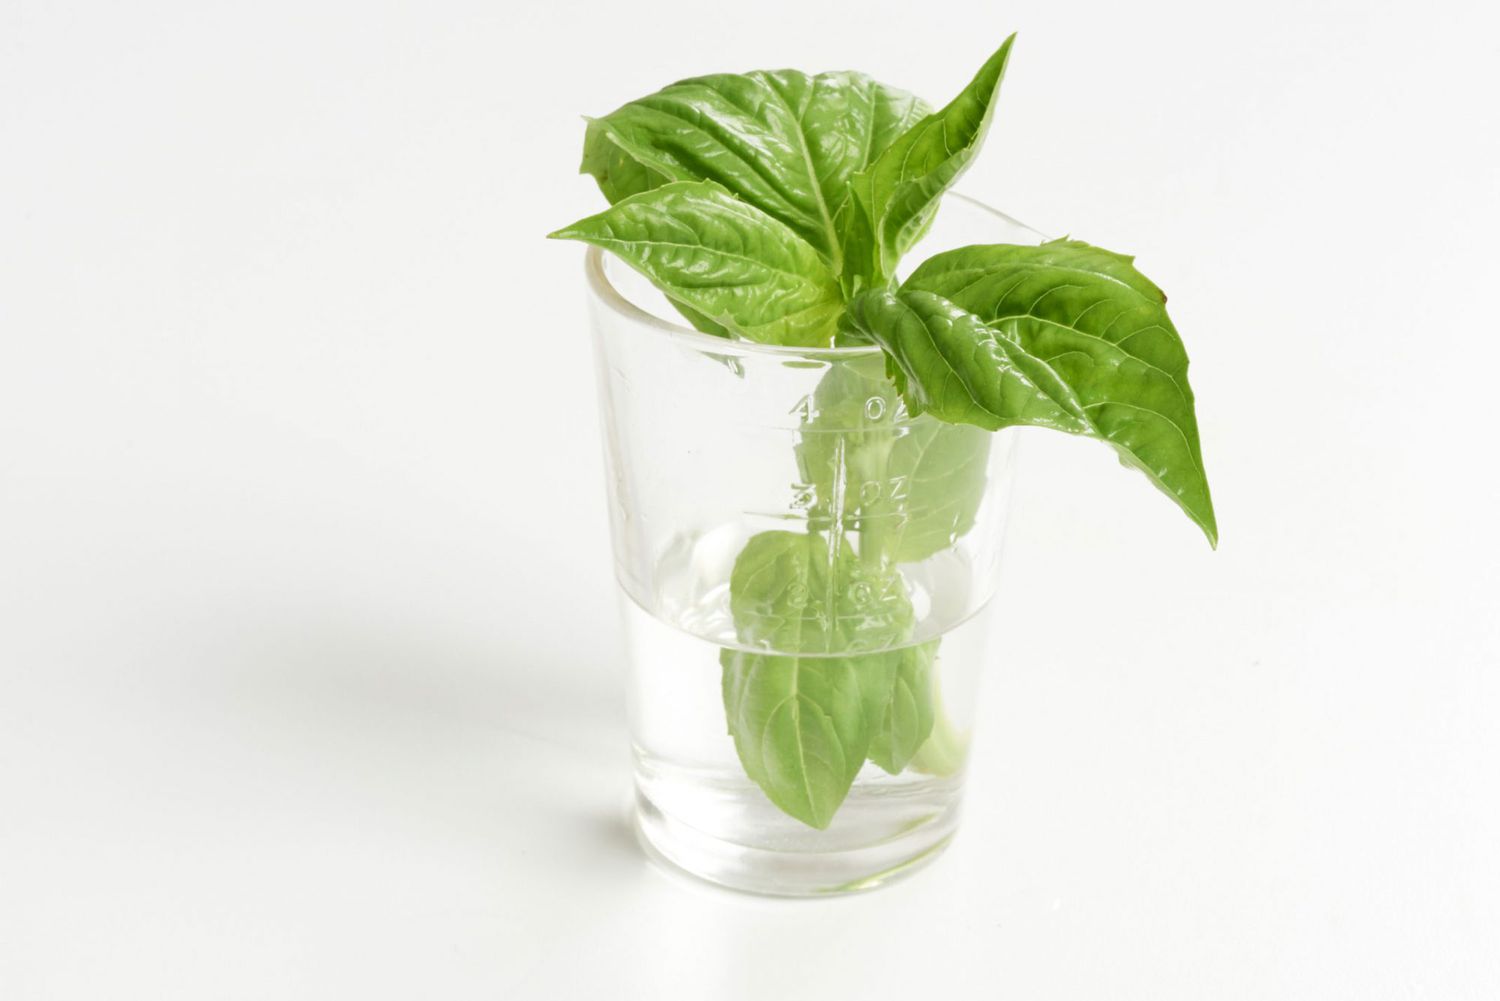
Store basil with roots in a glass of water on the countertop, like a bouquet of flowers. Change the water every few days and cover the leaves with a plastic bag to keep them fresh.
Step 4: Placing Basil Plants in Storage Container
Now that you have prepared the storage container, it’s time to place the basil plants inside. Follow these steps to ensure the proper placement of the basil plants:
- Make holes in the soil: Use your finger or a small tool to create holes in the soil, spaced evenly apart. The holes should be deep enough to accommodate the roots of the basil plants.
- Insert the basil plants: Gently insert the basil plants into the prepared holes, making sure to cover the roots with soil. Be careful not to damage the roots during this process.
- Space the plants adequately: Leave some space between each basil plant to allow air circulation and prevent overcrowding. This will help reduce the risk of disease and ensure each plant receives sufficient sunlight and nutrients.
- Press the soil gently: Once the basil plants are in place, press the soil lightly around the base of each plant to secure them. Make sure the plants are stable and upright.
- Inspect the plants: Take a moment to inspect the basil plants after placing them in the container. Ensure that the leaves and stems are not touching the soil, as this can promote fungal growth.
- Label the container (optional): If you have multiple varieties of basil stored, it can be helpful to label the container to identify each variety. This will make it easier to differentiate them when it’s time to harvest.
By following these steps, you have successfully positioned the basil plants in the storage container, ensuring that their roots are properly covered and supported. The next step will involve providing the basil plants with adequate water. Let’s move on to that step.
Step 5: Watering the Basil Plants
Proper watering is crucial for the health and growth of basil plants during storage. Follow these steps to ensure you are providing the right amount of water:
- Check the moisture level: Before watering, check the moisture level of the soil by inserting your finger about an inch deep. If the soil feels dry, it’s time to water the basil plants.
- Water evenly: Use a watering can or a misting bottle to water the basil plants gently. Apply water evenly throughout the container, making sure not to overwater or create waterlogged conditions.
- Water at the base: Direct the water at the base of the plants, avoiding the leaves as much as possible. Wet leaves can lead to disease and fungal issues.
- Avoid excessive watering: Basil plants prefer slightly moist soil, but overwatering can cause root rot. It’s vital to find a balance and avoid saturating the soil. Allow the top layer of soil to dry out slightly between watering sessions.
- Observe the plants: Pay attention to the basil plants and monitor their response to watering. If the leaves start to turn yellow or show signs of wilting, it may indicate overwatering or inadequate drainage.
- Adjust watering frequency: Adjust the watering frequency based on the specific needs of your basil plants. Factors such as temperature, humidity, and the size of the container can affect the watering requirements.
By following these steps, you will be able to provide the basil plants with the right amount of water, ensuring their well-being and promoting healthy growth. The next step involves providing proper sunlight and maintaining the appropriate temperature. Let’s move on.
Step 6: Providing Proper Sunlight and Temperature
Just like any other plant, basil requires adequate sunlight and a suitable temperature to thrive. Follow these steps to provide the basil plants with the ideal conditions:
- Find a sunny spot: Place the storage container in a location that receives at least 6-8 hours of direct sunlight each day. Basil plants thrive in bright, sunny conditions.
- Monitor sunlight exposure: Keep an eye on the basil plants to ensure they are not exposed to excessively intense sunlight, as this can scorch the leaves. If needed, provide partial shade during the hottest part of the day.
- Maintain a consistent temperature: Basil plants prefer temperatures between 70-85°F (21-29°C). Avoid exposing them to extreme temperature fluctuations, as this can stress the plants and hinder their growth.
- Avoid drafty areas: Ensure that the storage location is free from drafty areas, such as open windows or air conditioning vents, as these can cause temperature variations and affect the basil plants.
- Use a thermometer: Use a thermometer to monitor the temperature in the storage area regularly. This will help you ensure that the conditions remain within the optimal range for basil plants.
- Rotate the container: To ensure even growth, rotate the storage container every few days to expose all sides of the basil plants to sunlight. This will prevent the plants from leaning towards one side.
By providing the basil plants with proper sunlight and maintaining consistent and suitable temperatures, you will create an environment that promotes healthy growth and prolongs the freshness of the basil leaves. The next step involves maintaining the basil plants. Let’s proceed to that step.
Read more: How To Store Cilantro With Roots
Step 7: Maintaining the Basil Plants
Maintaining the basil plants during storage is crucial to ensure their health and vitality. Follow these steps to properly care for your basil plants:
- Monitor soil moisture: Regularly check the moisture level of the soil to ensure it remains slightly moist. Avoid letting the soil dry out completely, as this can stress the plants. However, overwatering should also be avoided to prevent root rot.
- Inspect for pests: Keep a close eye on the basil plants for any signs of pests. Common basil pests include aphids, spider mites, and whiteflies. If you notice any infestations, take appropriate measures to control and eliminate the pests.
- Trim as needed: Prune the basil plants as needed to promote bushier growth and maintain their shape. Regularly pinch off the top leaves to encourage branching and prevent the plants from becoming leggy.
- Remove yellowing leaves: Remove any yellowing or diseased leaves promptly to prevent the spread of diseases to the rest of the plant. This will ensure that the basil plants remain healthy and vibrant.
- Provide occasional fertilization: Depending on the quality of the potting soil, you may need to provide occasional fertilization. Use a balanced liquid fertilizer and follow the recommended instructions for application.
- Safeguard against extreme weather: If the storage location experiences extreme weather conditions, such as heatwaves or frost, take necessary precautions to protect the basil plants. Move them to a more suitable environment temporarily.
- Rotate containers (optional): If you have multiple containers, consider rotating them occasionally to ensure all the basil plants receive equal exposure to sunlight and airflow.
By following these maintenance steps, you’ll be able to ensure the health and longevity of your stored basil plants. Now it’s time to reap the rewards of your efforts by harvesting basil leaves as needed. Let’s move on to the final step.
Step 8: Harvesting Basil Leaves as Needed
One of the advantages of storing basil plants with their roots is the ability to harvest fresh basil leaves as needed. Follow these steps to harvest basil leaves from your stored plants:
- Choose mature leaves: Select mature leaves that are vibrant green and fully developed. These leaves will have the most flavor and aroma.
- Harvest from the top: Start harvesting basil leaves from the top of the plant, working your way down. This allows the lower leaves to continue receiving sunlight and promoting new growth.
- Use clean scissors or your fingers: Use clean scissors or your fingers to remove individual leaves from the stems. Cut or pinch just above a leaf node or pair of leaves to encourage branching.
- Remove leaves as needed: Harvest the number of basil leaves you require for your recipe or meal. Avoid stripping too many leaves from a single stem, as this can weaken the plant.
- Avoid taking all the leaves: Leave a portion of the leaves on the basil plants to ensure they can continue to photosynthesize and produce energy for growth.
- Rinse and use immediately: Rinse the harvested basil leaves under cool water to remove any dirt or debris. Pat them dry gently and use them immediately to enjoy their freshness and flavor.
- Continue harvesting as needed: Throughout the storage period, continue harvesting basil leaves as needed for your culinary creations. The basil plants will continue to produce new leaves, allowing for a continuous supply.
By following these steps, you can enjoy the harvest of fresh basil leaves from your stored plants whenever you need them. Whether it’s for a pesto sauce, salad, or garnish, your basil plants will be ready to provide the flavor and aroma you desire. With these steps completed, you have successfully stored and maintained basil with roots. It’s time to savor the rewards of your efforts!
Conclusion
Storing basil with its roots is a fantastic way to prolong the freshness of this beloved herb and enjoy its flavor in your culinary creations for an extended period. By following the steps outlined in this guide, you can successfully store basil plants and reap the benefits of having fresh basil leaves on hand whenever you need them.
The process of storing basil with roots offers various advantages, including prolonging the freshness of the basil leaves, regrowing basil plants for future use, saving money on frequent basil purchases, reducing food waste, and ensuring convenient access to this versatile herb in your kitchen.
Throughout the step-by-step process, we explored methods for harvesting basil plants with their roots intact, cleaning and preparing them for storage, placing them in a suitable container, and providing proper care, including watering, sunlight, temperature, and maintenance. Each step plays a crucial role in maintaining the health and vitality of the basil plants.
With the right conditions and regular attention, your stored basil plants will continue to thrive and provide an abundance of fresh basil leaves for your culinary adventures. Remember to harvest the basil leaves as needed, ensuring to leave enough leaves on the plants for continuous growth.
So, no more worrying about wilted or expired basil. By storing basil with its roots, you can infuse your dishes with the vibrant flavors and enticing aromas of this versatile herb anytime you desire. Enjoy the bounty of fresh basil and elevate your culinary creations to new heights!
Frequently Asked Questions about How To Store Basil With Roots
Was this page helpful?
At Storables.com, we guarantee accurate and reliable information. Our content, validated by Expert Board Contributors, is crafted following stringent Editorial Policies. We're committed to providing you with well-researched, expert-backed insights for all your informational needs.


0 thoughts on “How To Store Basil With Roots”