Articles
How To Store Belts In Drawer
Modified: August 27, 2024
Discover how to store your belts in a drawer efficiently and keep them organized with these helpful articles.
(Many of the links in this article redirect to a specific reviewed product. Your purchase of these products through affiliate links helps to generate commission for Storables.com, at no extra cost. Learn more)
Introduction
Belts are a staple accessory that can instantly elevate any outfit. Whether you have a few belts or a large collection, storing them properly is essential for maintaining their shape and preserving their quality. One of the most convenient and space-efficient ways to store belts is in a drawer. Not only does this keep them neatly organized and easily accessible, but it also helps to prevent tangling and damage that can occur when they are left hanging or piled together in a disorganized mess.
In this article, we will guide you through the process of storing belts in a drawer effectively. We will cover steps to help you declutter, sort, and fold your belts properly. We will also discuss the selection of appropriate storage organizers and how to maintain and update your belt storage regularly. By following these steps, you can create a functional and visually pleasing setup that makes it easy to find the perfect belt for any occasion.
So, let’s dive into the details and learn the best ways to store belts in a drawer!
Key Takeaways:
- Organize belts in a dedicated drawer by decluttering, choosing appropriate storage organizers, and folding belts properly. Regular maintenance ensures easy access and preserves belt quality.
- Transform your belt storage into a visually pleasing and functional setup by clearing out the drawer, sorting and decluttering belts, and maintaining the system regularly. Enjoy easy access and preserved belt quality.
Read more: How To Store Belt
Step 1: Clear out the drawer
Before you start organizing your belts, begin by emptying out the drawer completely. This will allow you to assess the available space and give you a fresh start to work with. Remove any items that may be occupying the drawer, such as socks, underwear, or miscellaneous items.
Once the drawer is empty, take the time to clean it thoroughly. Wipe down the surfaces and remove any dust or debris that may have accumulated. This will ensure a clean and fresh environment for your belts and prevent any potential damage or staining.
If you have multiple drawers in your dresser or storage unit, consider designating a specific drawer solely for your belts. This will help keep them organized and easily accessible, without mixing them up with other items.
Remember, the key to successful belt storage is having a dedicated space for them. By clearing out the drawer and creating a designated area, you can ensure that your belts have a proper home where they can be stored neatly and protected.
Step 2: Sort and declutter belts
Now that you have a clean and empty drawer, it’s time to go through your collection of belts and sort them out. Start by gathering all your belts and laying them out on a flat surface, such as a bed or table.
Begin by assessing each belt and determining whether you still wear and enjoy it. If you come across belts that are damaged, worn out, or no longer fit your style, consider getting rid of them. This step is crucial for decluttering and ensuring that you only keep belts that you will actually use.
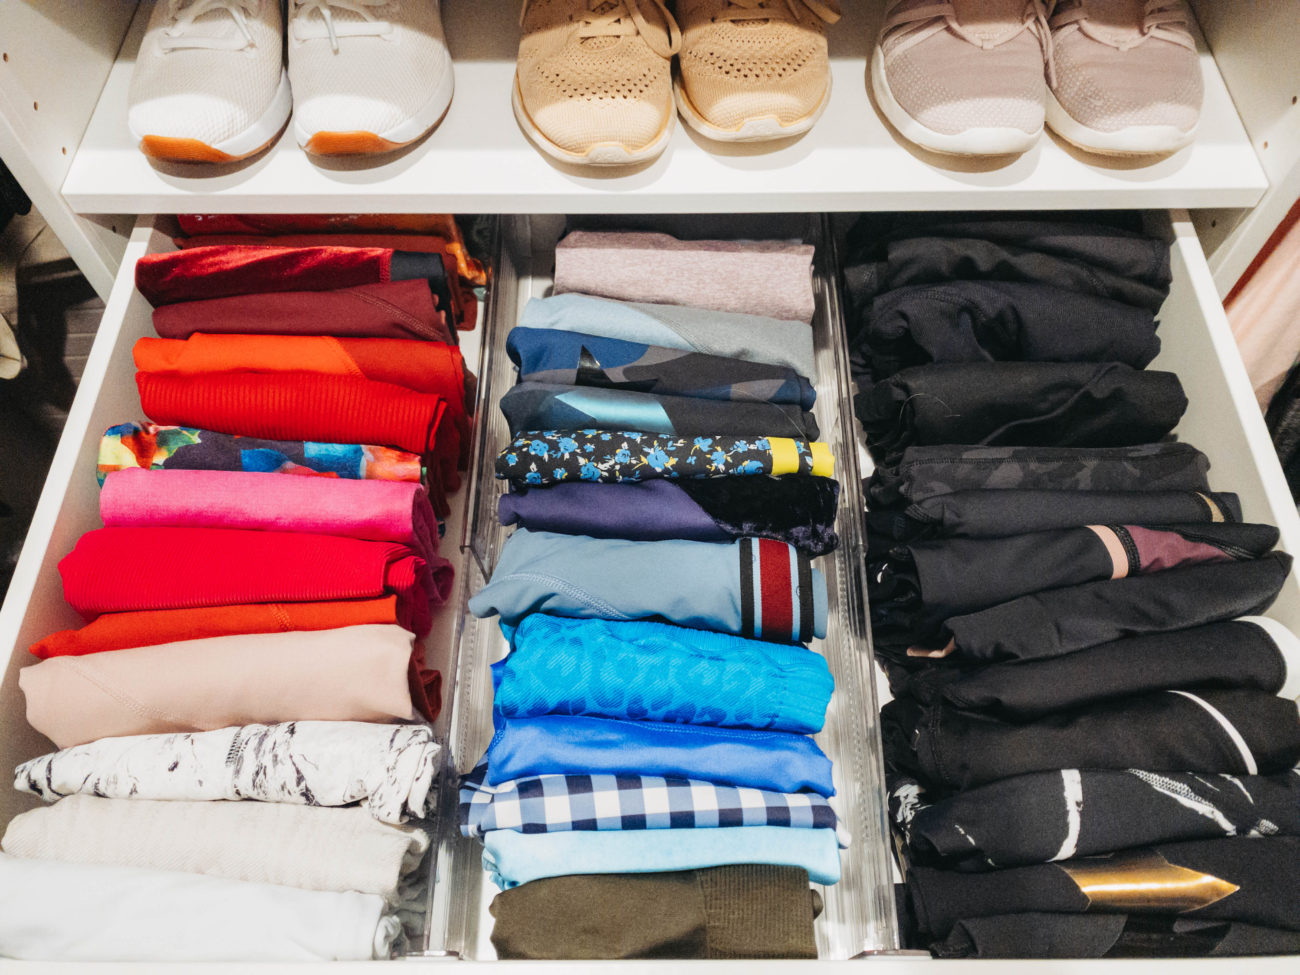
As you sort through your belts, you can also take the opportunity to organize them by type or color. Grouping your belts together can make it easier to find the one you’re looking for and adds an element of visual appeal to your storage setup.
If you find any belts that need repairs, such as loose threads or missing buckles, set them aside for later attention. By addressing these repairs, you can restore your belts to their full functionality and prevent further damage.
Once you’ve sorted through your belts, set aside the ones you plan to keep and discard or donate the ones you no longer need. This process will not only declutter your collection but also make it easier to organize and store your belts in the next steps.
By taking the time to sort and declutter your belts, you’ll ensure that you only keep the belts that you love and use. This not only saves space but also makes it easier to find and access your belts when you need them.
Step 3: Choose appropriate storage organizers
Now that you have sorted and decluttered your belts, it’s time to choose the right storage organizers for your drawer. There are various options available that can help you keep your belts neatly organized and prevent them from tangling or getting damaged.
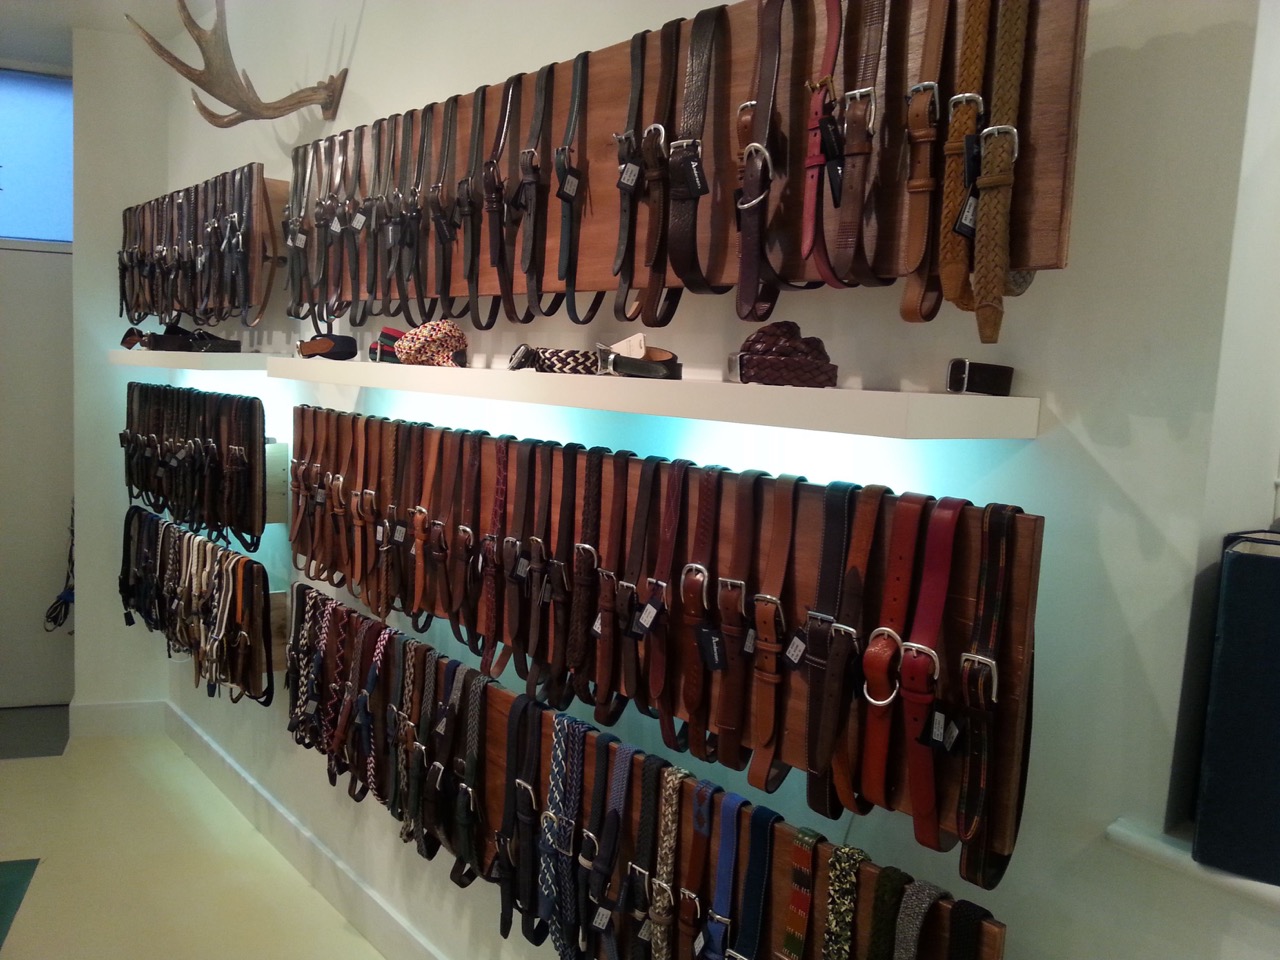
One popular option is a belt rack or hanger. These typically consist of a hinged rack or a series of hooks that can be hung on the side of the drawer or attached to the back of the drawer front. The belts can be easily looped through the hooks or draped over the rack, making them easily accessible and preventing them from getting tangled.
If you prefer a more compact solution, belt clips or belt loops can be a great choice. These are typically made of plastic or metal and can be attached to the sides or back of the drawer. Each belt can be clipped or looped onto a separate hook, keeping them neatly organized and preventing them from sliding around.
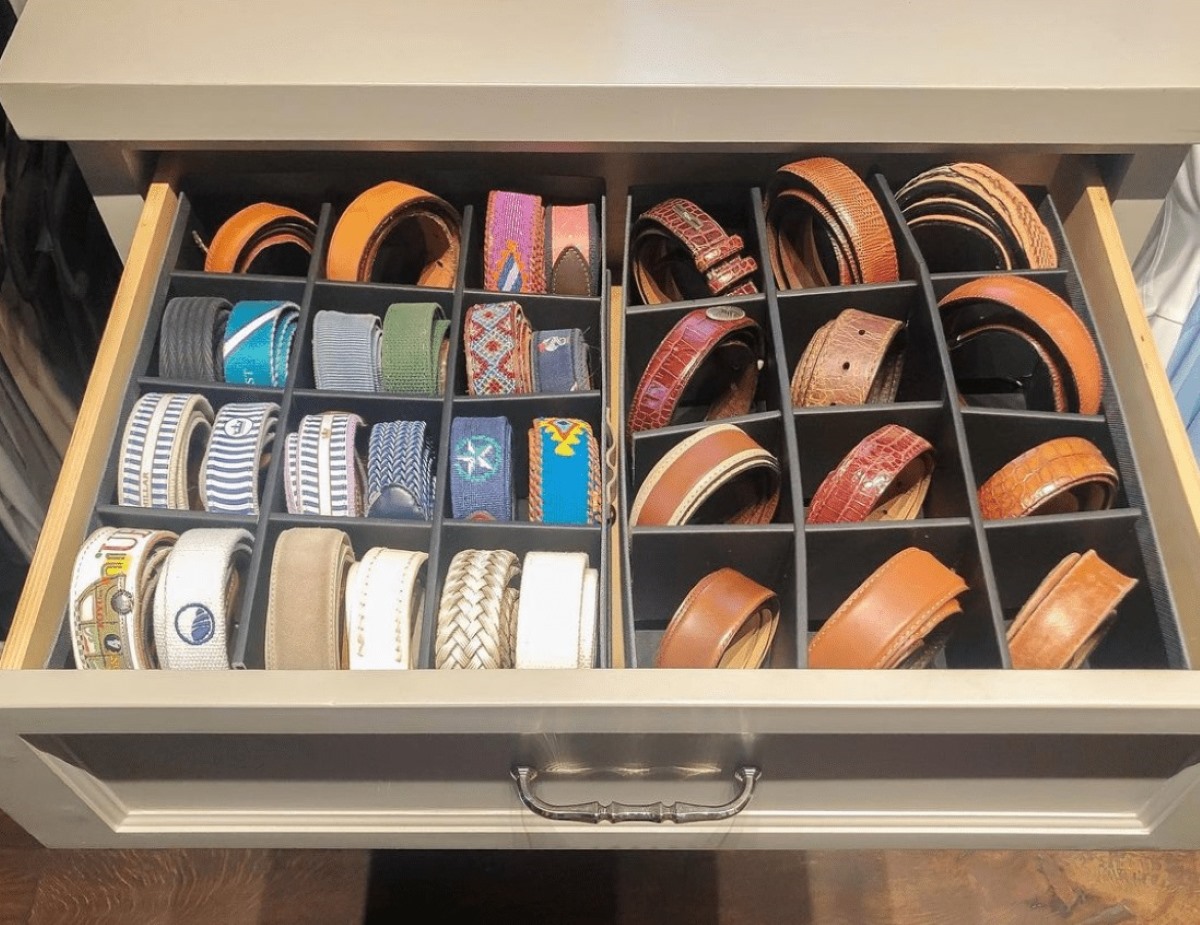
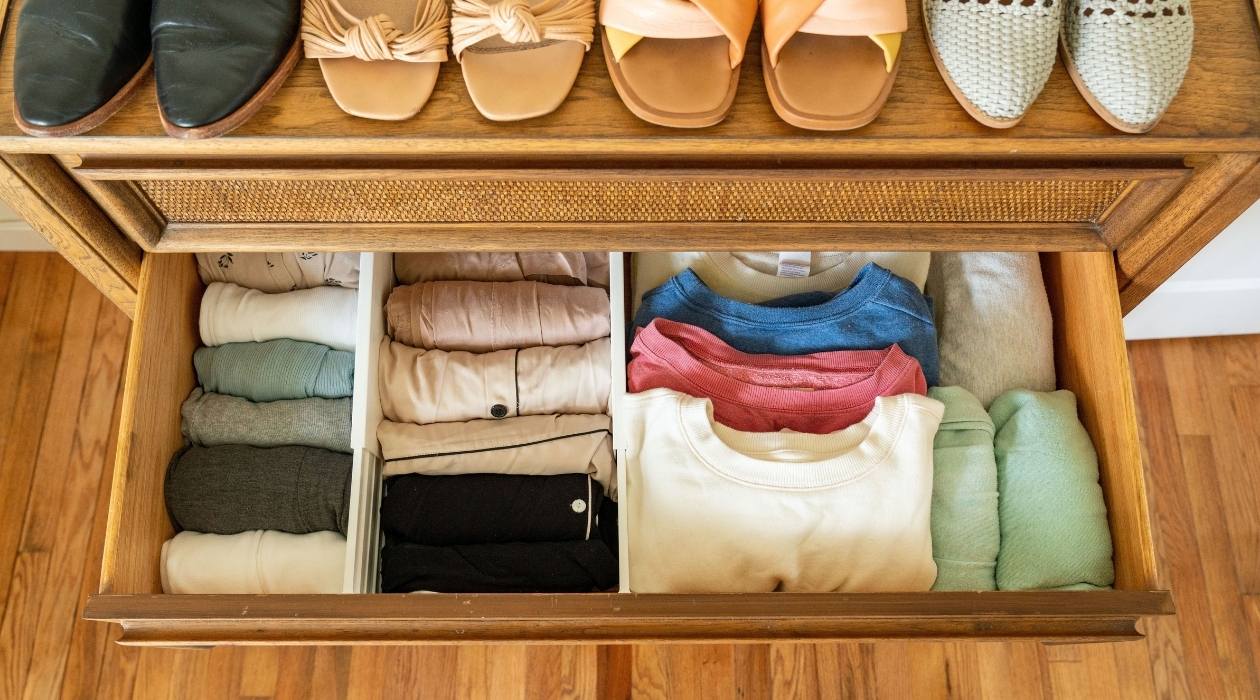
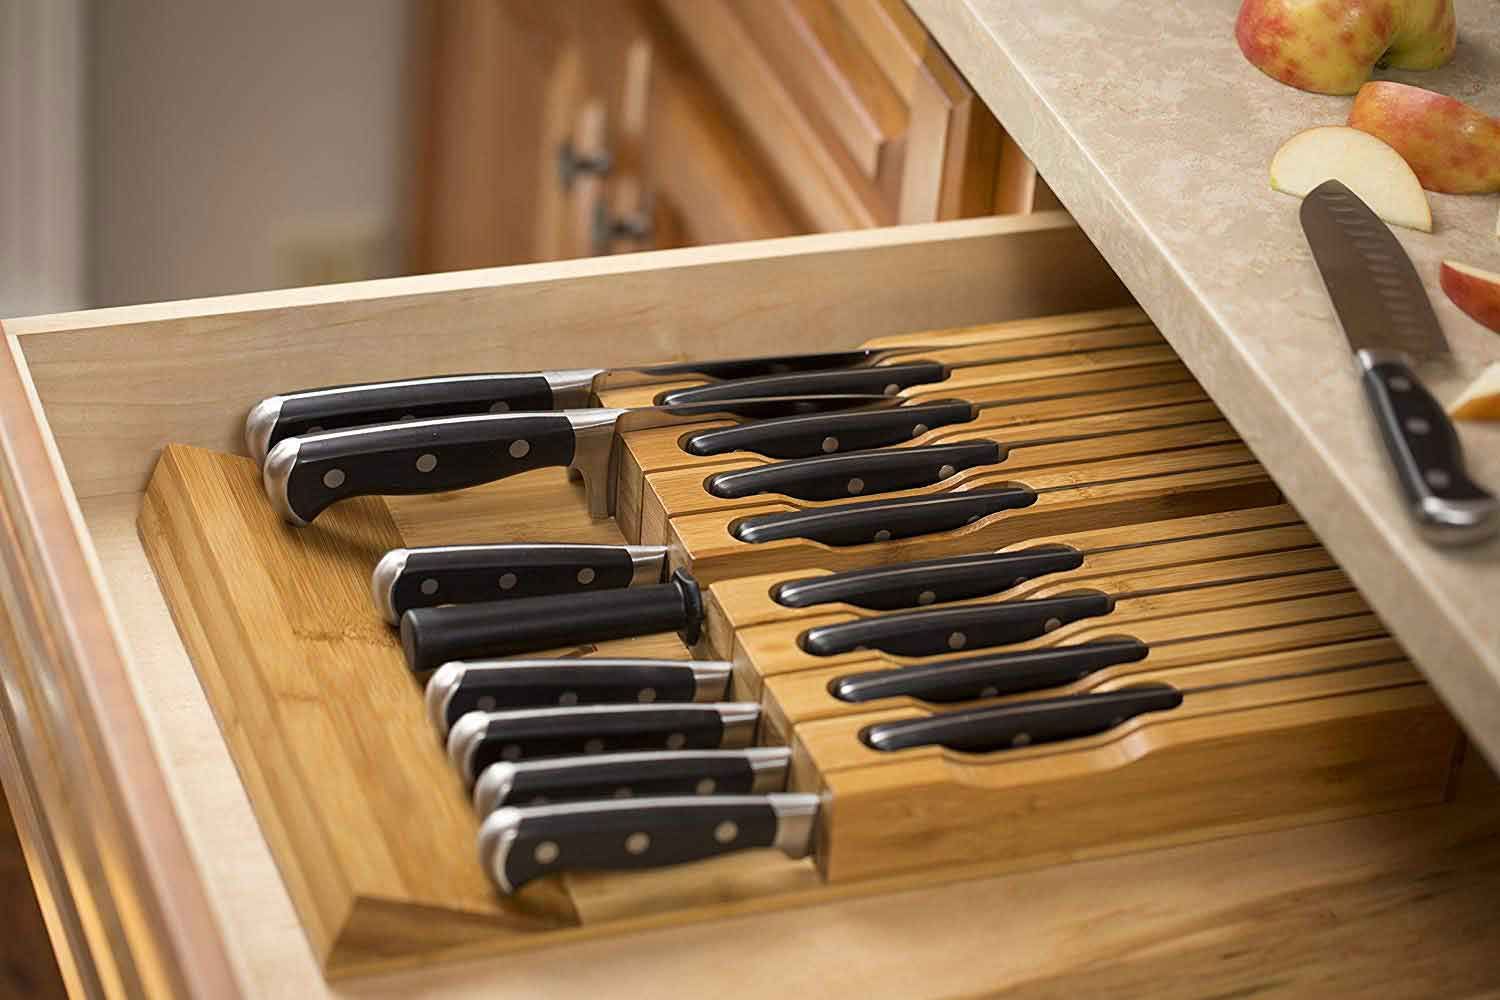
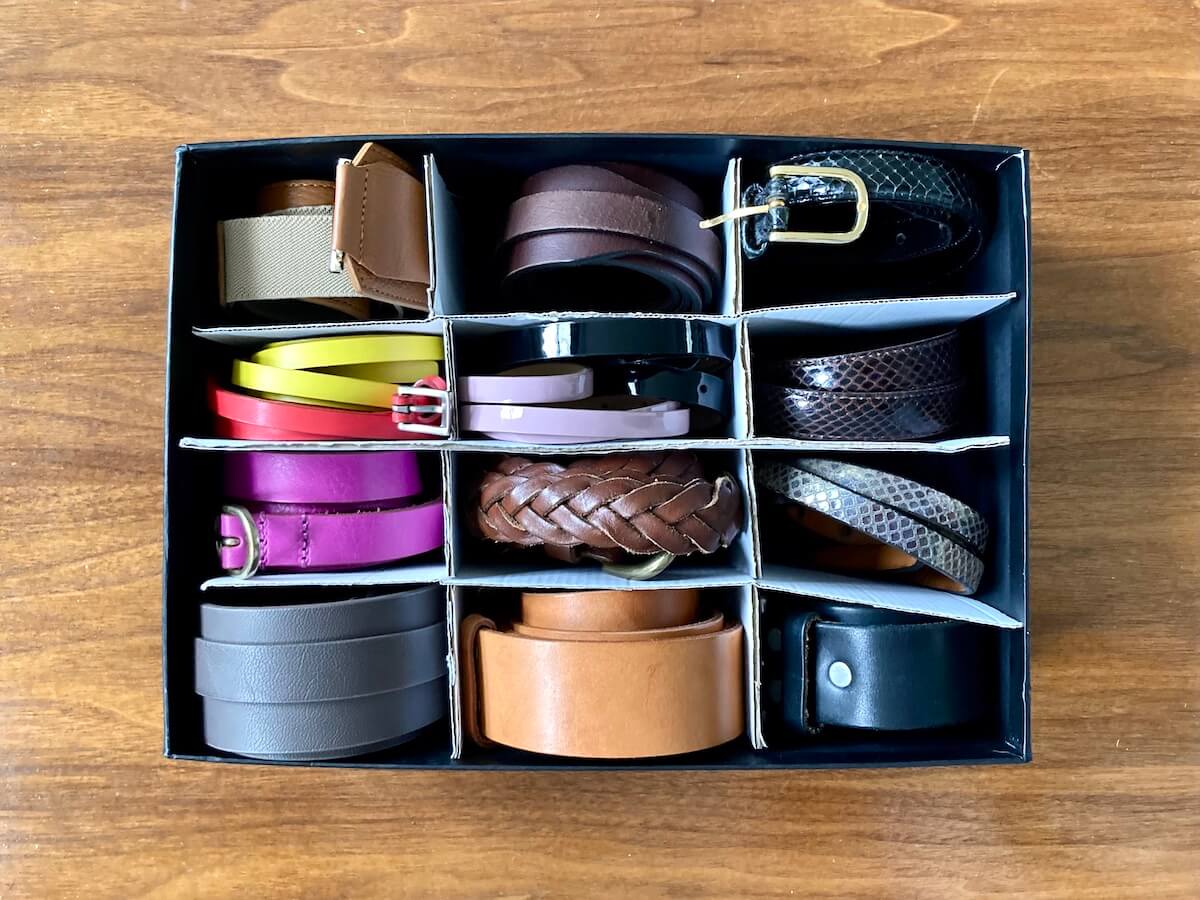
An alternative option is using dividers or compartments within the drawer. These can be purchased separately or made from materials such as cardboard or foam. By inserting dividers or creating compartments, you can create separate sections for each belt, making it easy to find the one you need without them getting mixed up.
Another creative option is using a hanging jewelry organizer. These organizers typically have multiple pockets or compartments that can be used to store belts. Simply fold each belt and place it in a separate pocket, keeping them visible and easily accessible.
When choosing a storage organizer, consider the size of your collection and the available space in your drawer. It’s also important to ensure that the organizer is sturdy and can hold the weight of your belts without sagging or breaking.
By selecting the right storage organizers, you can create a system that keeps your belts organized, prevents tangling, and maximizes the use of space in your drawer.
Step 4: Fold belts properly
Now that you have chosen the storage organizers for your belts, it’s time to learn how to fold them properly. Folding your belts ensures that they take up less space in the drawer and helps to maintain their shape and quality.
Start by straightening out each belt and removing any twists or kinks. Lay them out flat on a smooth surface, such as a tabletop or countertop.
For thinner or fabric belts, fold them in half lengthwise so that the ends meet. This creates a compact and uniform fold, making it easier to stack or place them in the storage organizers. Make sure the buckle is on the outside of the fold to prevent any scratches or damage.
For thicker or leather belts, you can use the “S” fold method. Lay the belt flat and fold one end towards the middle, creating an “S” shape. Then fold the other end towards the middle, crossing over the first fold. This creates a compact and secure fold that keeps the belt’s shape intact.
As you fold each belt, take care to avoid any sharp creases or bends that can damage the material. Gently smooth out the folds and ensure that the belt lays flat before placing it in the storage organizer.
If you have belts with delicate embellishments or hardware, such as studs or rhinestones, you may want to wrap them in tissue paper or a soft cloth before folding. This provides an extra layer of protection and prevents any scratches or damage.
Remember, proper folding techniques not only save space but also keep your belts in good condition. By taking the time to fold your belts properly, you’ll ensure that they stay organized and maintain their quality and appearance.
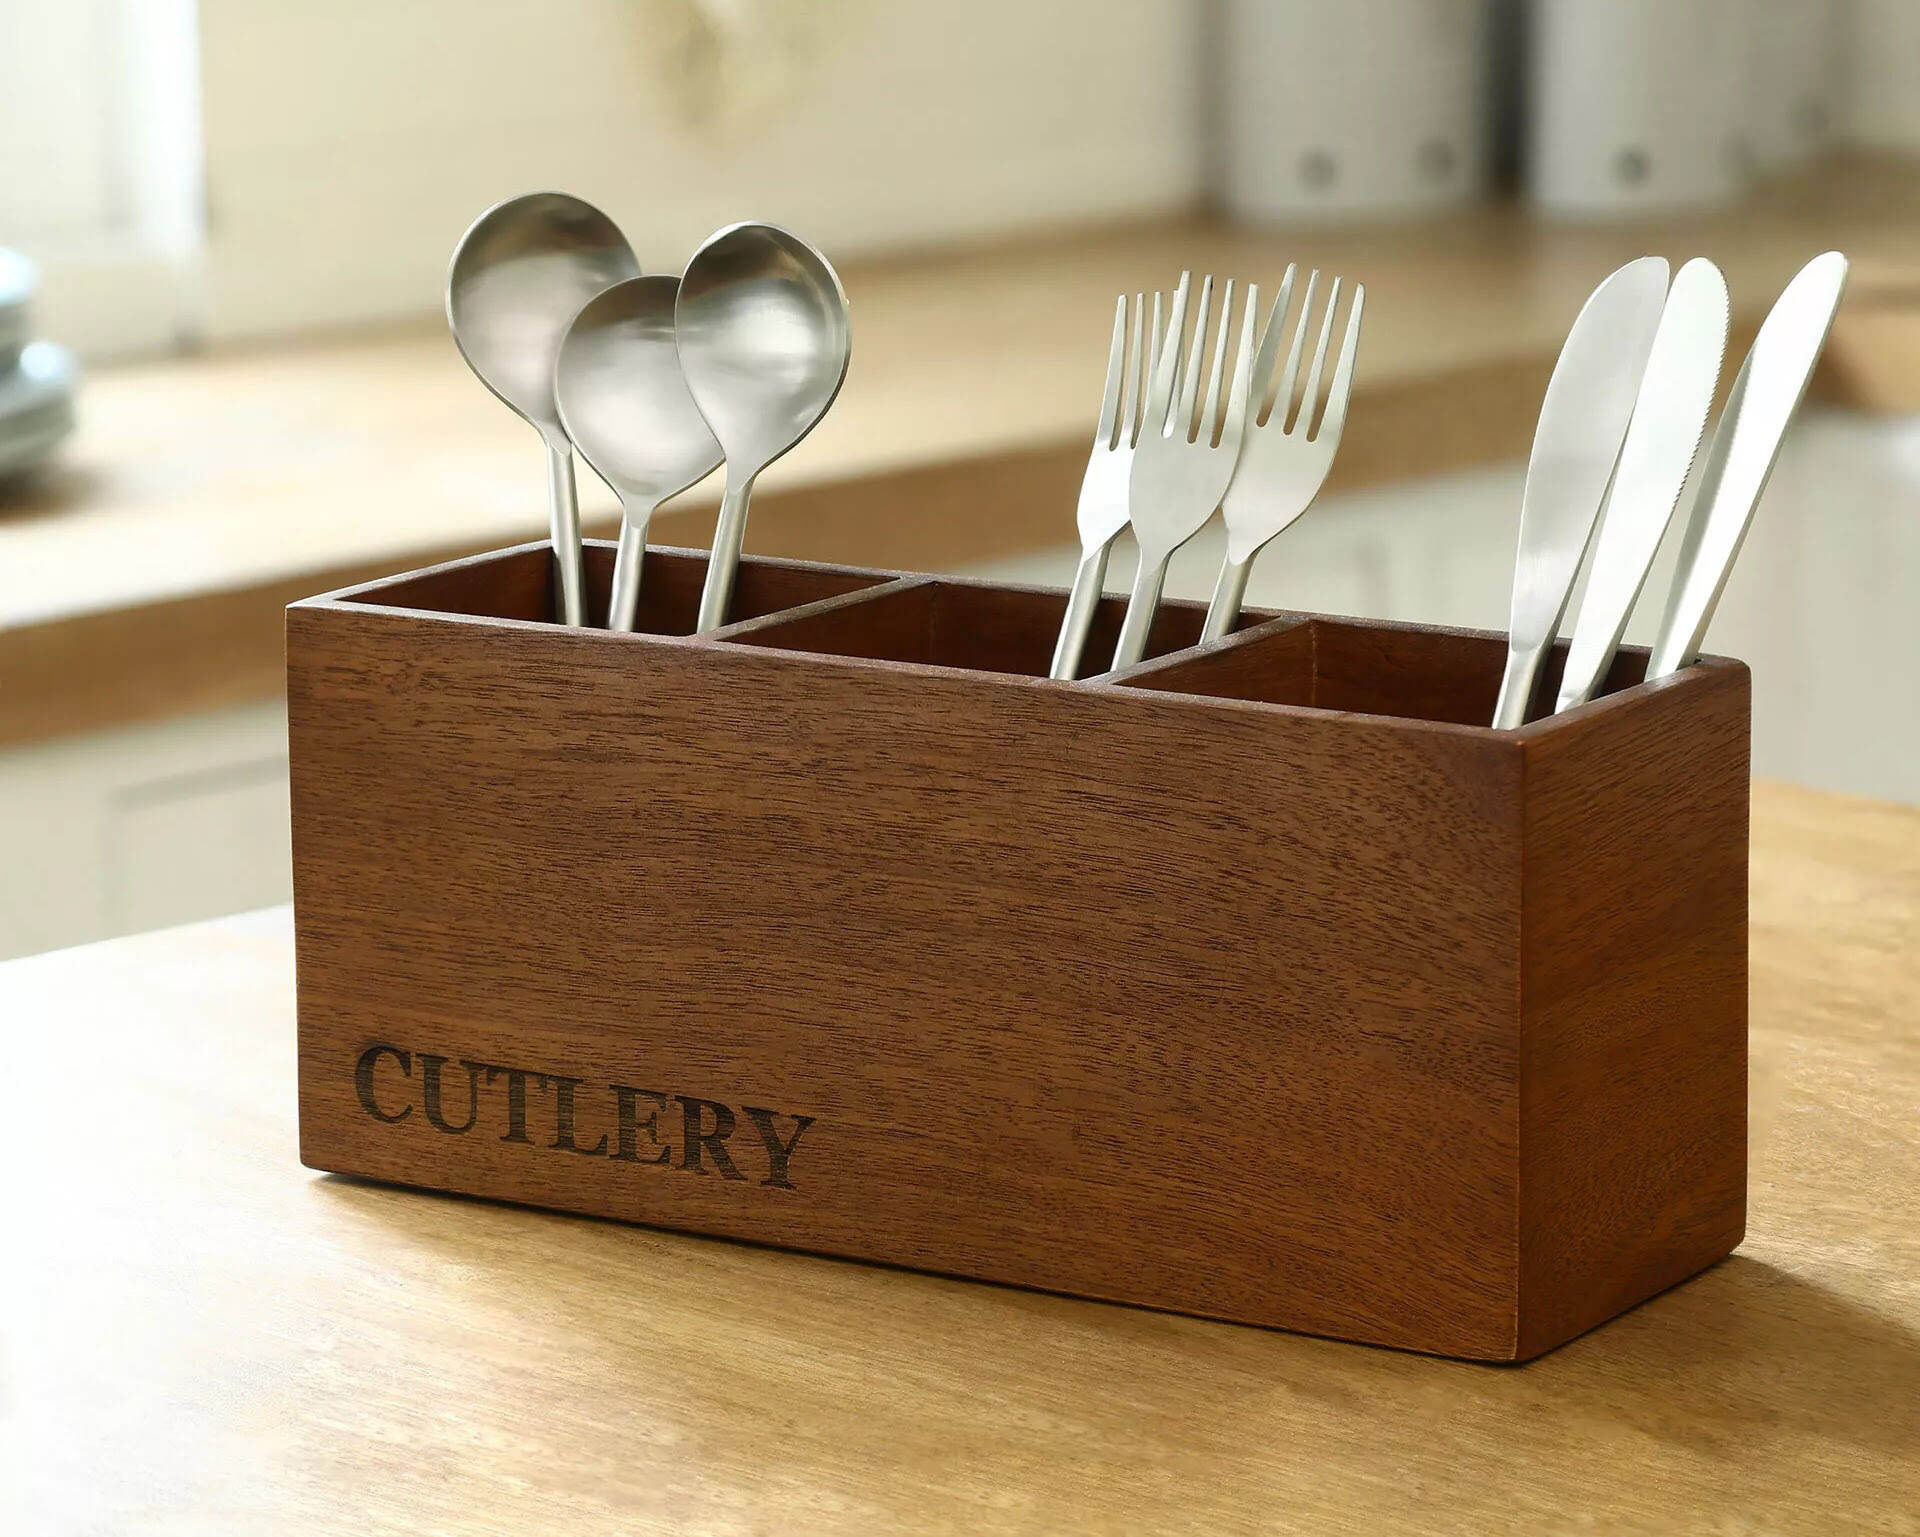
To store belts in a drawer, consider using a belt organizer or a simple DIY solution like hooks or a small box to keep them organized and easily accessible. This will help prevent them from getting tangled and make it easier to find the one you need.
Read more: How To Store Ties And Belts
Step 5: Store belts in organized sections
Now that your belts are neatly folded, it’s time to store them in organized sections within your drawer. This step ensures that each belt has its designated place, making it easy to find exactly what you need without any hassle or chaos.
If you are using a belt rack or hanger, simply loop each folded belt onto the hooks or racks. You can arrange them by color, style, or frequency of use, depending on your preference. This allows for quick and easy access whenever you want to grab a specific belt.
If you opted for belt clips or loops, attach them to the sides or back of the drawer. Insert each belt into a separate clip or loop, making sure they are secure and won’t slide around. This method is great for maximizing space and keeping your belts visible.
If you chose to create compartments or use dividers, carefully place each folded belt in its designated section. Arrange them in a way that makes sense to you, such as by color, thickness, or buckle style. This method adds a touch of organization to your drawer and makes it easy to locate the belt you want.
Consider the size of your belts when determining the number of sections or hooks in each organizer. You want to ensure that there is enough space for each belt to hang or rest without any overlapping or crammed conditions.
By storing your belts in organized sections, you will always know where each belt is located and be able to maximize the efficiency of your drawer space. It also makes it easier to maintain the organization over time, preventing your belts from becoming a tangled mess.
Step 6: Label or color-code sections (optional)
To take your belt organization to the next level, consider labeling or color-coding the sections in your drawer. While this step is optional, it can greatly enhance the ease of finding and selecting the right belt for your outfit.
If you have opted for compartments or dividers, you can use adhesive labels or tags to identify each section. Write the category or description of belts that belong in each section, such as “casual belts,” “formal belts,” or “thick belts.” This labeling system helps you quickly locate the specific type of belt you need, saving you time and effort.
Alternatively, you can color-code the sections in your drawer. Assign a specific color to each category or type of belt and use colored dividers or markers to indicate these sections. For example, you might use blue for casual belts, red for formal belts, and green for skinny belts. This visual cue makes it easy to quickly identify and select the desired belt, even at a glance.
Whether you choose to label or color-code, be consistent with your system to avoid any confusion. The key is to create a system that works for your needs and preferences, allowing for efficient and hassle-free belt selection.
This optional step adds an extra level of organization and personalization to your belt storage. It also enhances the aesthetic appeal of your drawer, giving it a polished and well-organized look.
Step 7: Maintain and update regularly
Once you have organized your belts in the drawer, it’s important to maintain the system and regularly update it as needed. This step ensures that your belts remain easily accessible, organized, and in good condition over time.
Make it a habit to regularly go through your belt collection and reassess which ones you still wear and enjoy. Just as you did in step 2, declutter any belts that are damaged, no longer fit, or no longer align with your style. This prevents your drawer from becoming overcrowded and allows you to create space for new additions, if desired.
As you add new belts to your collection, find a designated spot for them in your drawer. This keeps your storage system consistent and prevents your belts from becoming scattered or disorganized.
Regularly check for any signs of wear or damage on your belts. Look for loose threads, cracks in leather, or any other issues that need attention. Addressing these problems promptly can extend the lifespan of your belts and prevent further damage.
Take a few minutes every so often to straighten and rearrange your belts. Over time, they may shift or become disheveled. By taking the time to realign and tidy them up, you keep your drawer looking neat and ensure that every belt is easily visible and accessible.
Lastly, stay consistent in maintaining your labeling or color-coding system, if you have implemented one. If you acquire new belts or change the categories, update the labels or dividers accordingly. This ensures that your organization remains effective and serves its purpose.
By maintaining and updating your belt storage regularly, you can ensure that your drawer stays organized and your belts remain in good condition. This ongoing effort keeps your storage system functional, efficient, and visually appealing.
Conclusion
Storing belts in a drawer may seem like a simple task, but with the right approach, it can transform the way you organize and access your belts. By following the steps outlined in this article, you can create a well-organized and visually pleasing belt storage system that keeps your belts easily accessible and in optimal condition.
Start by clearing out the drawer and cleaning it thoroughly. Sort through your belts, decluttering any that are no longer needed. Choose the appropriate storage organizers for your drawer, whether it’s a belt rack, clips, dividers, or a hanging organizer. Fold your belts properly to save space and maintain their shape. Store them in organized sections, using labels or color-coding for added convenience.
Remember to regularly maintain and update your belt storage. Declutter, make repairs, and reorganize as needed. This ensures that your belts remain in good condition and your storage system stays efficient and functional.
With a well-organized belt drawer, you’ll be able to easily find the perfect belt for any outfit, saving you time and frustration. Plus, your belts will be protected from damage and tangling, preserving their quality and longevity.
So, take the time to implement these steps and transform your belt storage into a functional and visually pleasing setup. Enjoy the convenience and style that comes with having your belts neatly organized in a drawer!
Once you've mastered belt organization, why stop there? Extend your decluttering journey with our guide on efficient closet management. Our article on using a shirt folding board will streamline your closet space, making morning routines smoother and clothing care a breeze. If you're also looking to revamp other areas of your home, don't overlook our insights on selecting the best fabric storage cubes. These handy organizers will transform your living spaces into models of efficiency and style.
Frequently Asked Questions about How To Store Belts In Drawer
Was this page helpful?
At Storables.com, we guarantee accurate and reliable information. Our content, validated by Expert Board Contributors, is crafted following stringent Editorial Policies. We're committed to providing you with well-researched, expert-backed insights for all your informational needs.

0 thoughts on “How To Store Belts In Drawer”